$100 Room Challenge: The Final Reveal
It is week 4 of the $100 Room Challenge: The Final Reveal! We have a few more projects this week to show you a new light fixture and how we shopped our home for the decor.
Yay, we are so excited about the $100 Room Challenge: The Final Reveal! We had enough money left in the budget that we were able to add a much needed low profile recessed light to our master bathroom toilet room. It will be going directly into the same place as the old dome light (aka the dreaded boob light). As a warm LED we will be adding more light to the space and eliminate that hazy dark cast, which also made the space feel small and tight.
* This post may contain affiliate links for your convenience. These involve no extra cost to you, but may result in me receiving a small commission – for which I am very grateful! You can view my full advertising disclosure here. 
Weeks at a Glance:
WEEK 1 WEEK 2 WEEK 3 WEEK 4
RECAP:
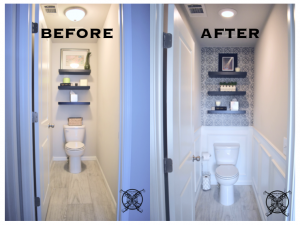
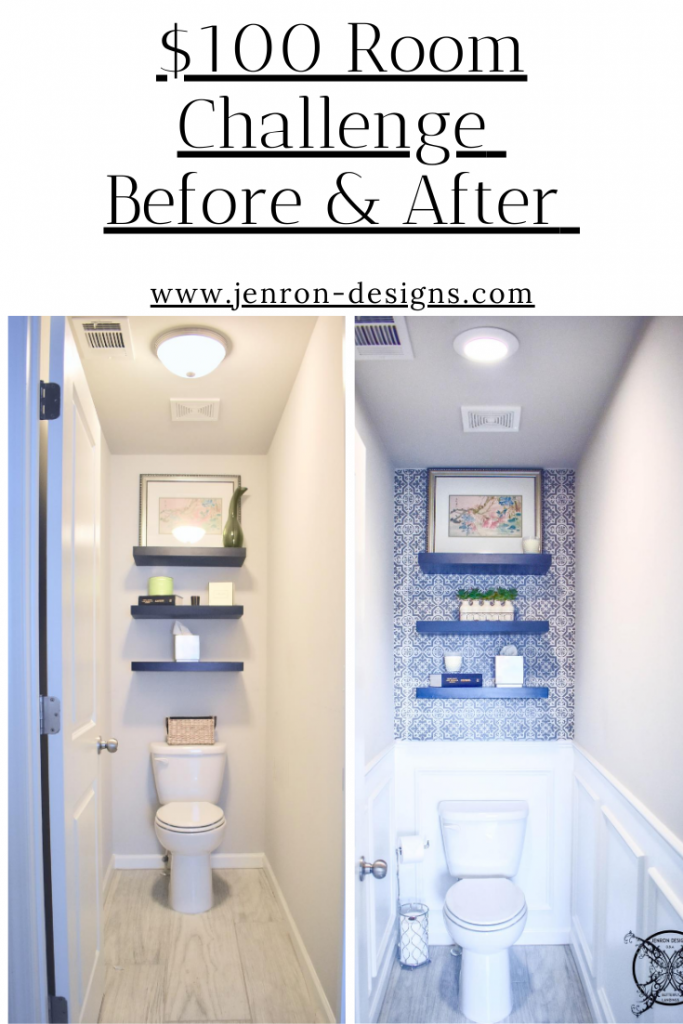
Here we have the before pictures that I posted in our Week 1 launch post. As you can see the “throne room” is not anything grand, it is your basic white box. We have added a few shelves for storage, which we plan to keep, and the tile floor is beautiful but it lacks a certain amount of visual interest. You also can get a good look at the very basic silver nickel dome light in this picture, while we have added LED bulbs to this fixture, it just is not the sleek look that we are going for in this space.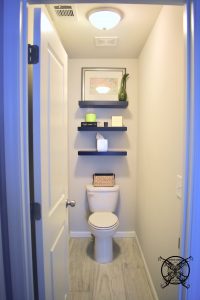 Week 2: we added visual interest by installing a basic set of wainscot trim; which we have done in previous projects like the Kitchen Island Upgrade last year. This is a super easy and inexpensive DIY, that pretty much any one can do with the proper tools, and the results are very impactful in any space, but as you can see in our small toilet room it adds height and light.

PIN ME for later and be sure to follow us on Pinterest at Jen @ JENRON DESIGNS
You can see more of my favorite stencil choices during week 3 of this challenge!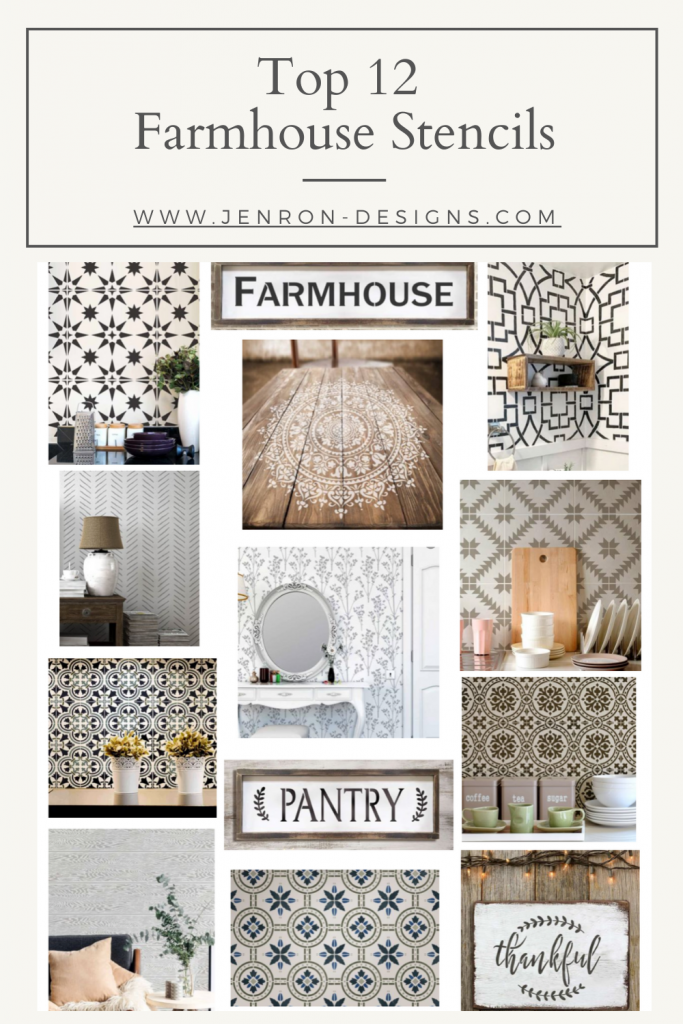
Week 3: was all about adding visual interest to the back accent wall, by way of a farmhouse tile stencil, paint, and good old elbow grease. We were able to achieve this beautiful look in just one day for the super affordable cost of $9.95 for the stencil, and some leftover paint from previous projects. 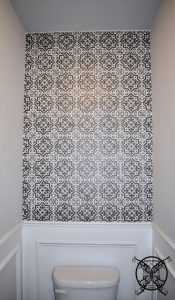 So, we find ourselves at week 4, $100 Room Challenge: The Final Reveal! The first major project we took care of was replacing the old dome light (aka the dreaded boob light) with a Halo SLD 5 in. or 6 in. Matte White Integrated LED Low Profile Recessed Surface Mount Disk Light 90 CRI, 3000K Warm White, available for $34.97 at Amazon, plus since we are Amazon Prime members we got 2 day free shipping, saving us even more money.
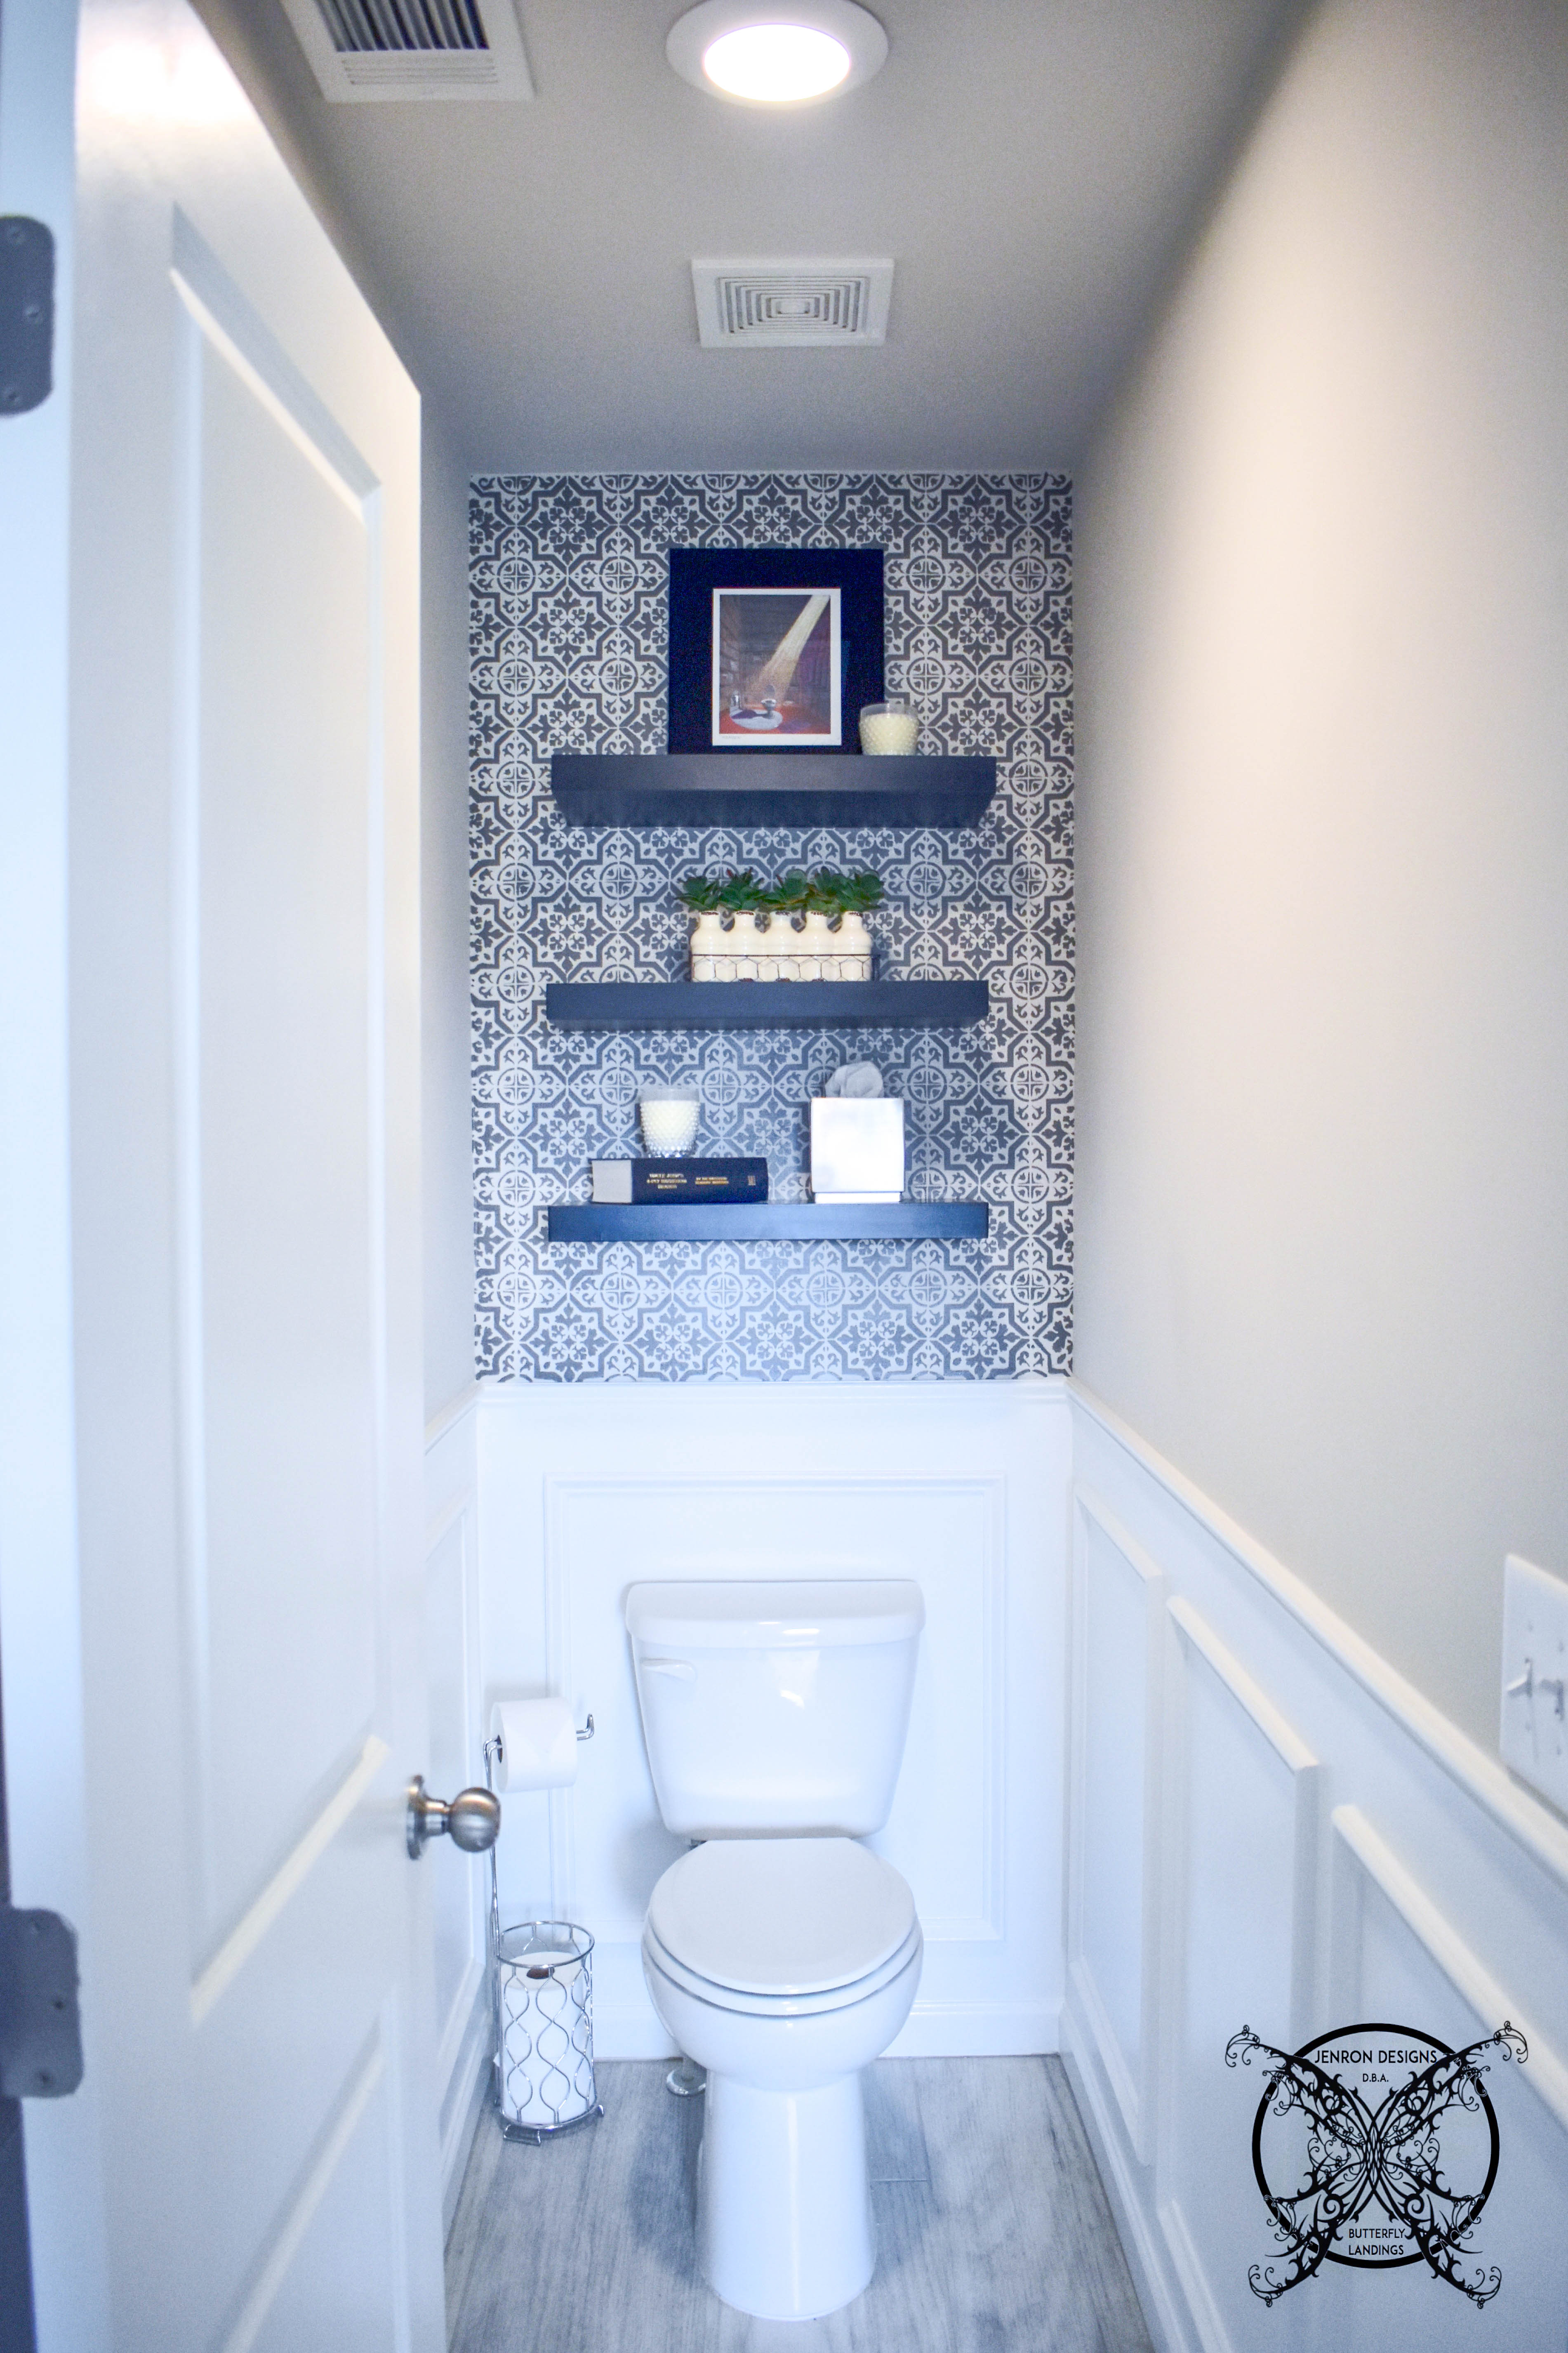
 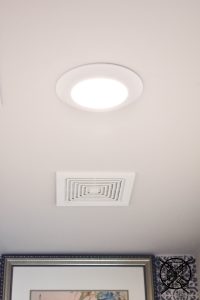 I love the sleek new look of this light and the amount of light it spreads throughout the entire room. It really does make the the tiny space feel much brighter and really reflects nicely off the new white wainscot panels and white flooring. You may even notice a better quality in the photos just from the new light being installed. The light value itself is more clear and not as yellow making everything seem brighter and newer, but since it is a warm LED it also does not product that weird blue under tone either. It is pretty amazing what a small change can really so for a space.
 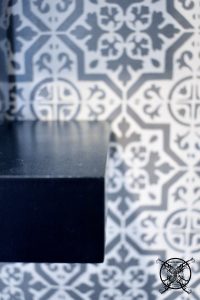 One of my other projects I mentioned was the possibility of painting the existing shelves, but I decided I actually really liked them being black. It made the Gauntlet Gray stencil paint actually look more gray, which might sound odd but before we put the shelves back up the stencil was looking very black against the light gray walls. Now we have more variations of shades, so the eye can differentiate between them.
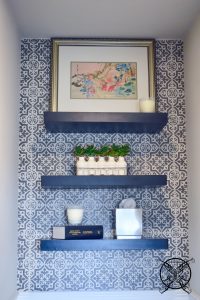 So the next task was shop my home to actually decor the shelves. The first thing you might notice in theses two pictures is the framed art. The original art in the top photo just seemed to large for the space now that we added the pattern to wall, so I opted to remove the bathroom art from the back of the door, and use it on the top shelf instead.
 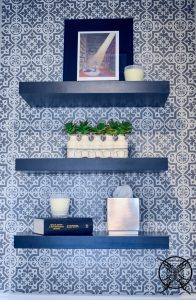 This is it’s normal home, which is a little fun thing for me and the mister since we would be the only people to actual see it when the door is shut. I decided it was really the perfect piece for that open space up top, so it was removed and no one will ever be the wiser.
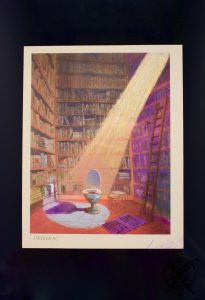
 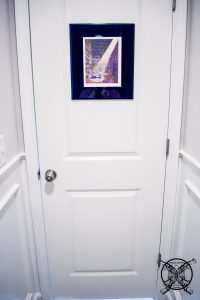 Just to give you a closer look at the print, so you can see why it truly is our bathroom art. The caption below states “Heaven”. I found this original piece at The Dogwood Festival, which is a local art festival held in Atlanta each spring. I find that I always have the best luck finding really unique Art pieces at this particular festival, verses some of the local craft festivals, like the Daisy Festival and Goldrush in fall, which I also love to attend.
Since we kind of have a theme going, I figured the Uncle John’s 4Ply Bathroom Reader had to go back on the shelf. I do not think anyone has read this book in years but I am pretty sure it would get a workout when we had it in our powder room around the holidays. It is actually a pretty interesting book, I think I got it one year as a White Elephant Christmas Present, and I must say it is quite a conversation starter, filled with tons of quirky factoids. 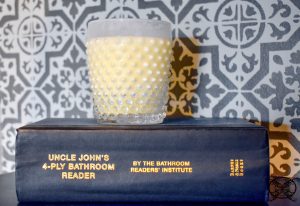 The candles came from my office shelves. My office, due to lack of drapes or blinds, is one of the bedrooms in my house that gets natural light; so I tend to put my live plants on those shelves. I had noticed that my shelves looked a little over crowded so these candles took on a new life in our toilet room, which makes all the sense in the world and they look pretty in here too.
  Now you might remember these sweet little succulents from my Succulent Summertime Tablescape which recently reset to my new Fall table that we just featured last week with my most recent DIY, The Lucky Penny Project, Falling in Love with Rose Gold. Well you guessed it, I repurposed the summertime succulents right into the $100 Room Challenge, again free decor by shopping your own home.
 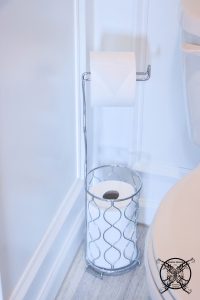 The last thing I want to address is that that we did decide not to add a wall mounted toilet paper holder. For some reason I find wall mounted holders to feel dated. I know that it a very weird and odd statement, with absolutely no design basis what so ever, and it is just my opinion. I also think in toilet rooms they take up too much space and you have to walk around them, so there is that, for all you sleuth seekers.
 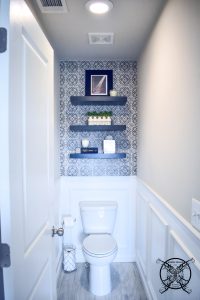 So I present our new toilet room fit for a king made possible by our $100 room Challenge. As I mention before, for the size of this room you could probably apply this upgrade to a small powder room or guest bathroom, as long as you do not plan on touching the plumbing fixtures. So let’s take a look at the breakdown and see where all our money went:
Molding For Wainscot Trim …..$53.70
Lyndhurst Stencil $9.95+ tax…..$10.54
Light Fixture …..$34.97
Total: $ 99.21
So for the price of some wood trim, a really cool stencil and a brand new light fixture, you can do this same type of upgrade just by adding your own leftover paint energy and time. Which seems like a really good deal to me. In fact, the stencil portion of this project took so little paint I could have done this entire bathroom and still had paint leftover in my half quart can, it really is amazing how little paint it actually takes. I may just do another room with my leftovers, who knows.
PIN ME for later and be sure to follow us on Pinterest at Jen @ JENRON DESIGNS
This is beautiful! The wainscoting and stencil give the room such presence and personality!
Beautifully updated! I always love how defining the lower part of the wall makes a space so much more refined.
I love the personality you’ve given this space! The shelf styling is on point!
Looks great! I love the high contrast and pattern the stencil gives the back wall. And aren’t those new recessed lights great? We added a daylight one to our laundry room for the $100 Room Challenge and now the husband wants to switch out all the bulbs in our living room recessed lights to match it.
What a difference the changes made to the room. Lovely.
I adore your tissue paper holder!
I love what you have done in this bathroom. The new wall treatments turned out perfect. I like the shelves staying the black color too. They look great against the stenciled wall.
WOW!! what a difference that made! I would love to use that papistry in my camper bathroom!
Whoa! love the transformation here. the decor is super cute and love the shelving idea.
A throne room fit for a king and queen, ha ha ha! Seriously Jen, it looks amazing. You inspire me to give stencilling a try, this turned out so beautifully!
whoa this is amazing!!! I am so booking this page for when I decide to tackle the boys bathroom! They have a huge mirror I want to frame in white and I don’t know where to start! Also their toilet always smells so bad and I have changed the seal, bleached it, done every cranny and still. I feel we need a new toilet!
Jen this really is so beautiful!! I must bookmark this when I tackle my boys bathroom you have so many great ideas and I just have a hard time remembering all of them!
Can’t believe you did all that for under $100! Seriously impressed!
I love everything about this! Looks amazing. I love to see room makeovers and at an inexpensive price. It looks so fancy when all it took were just a few small things. Great job!
Super great use of $100…Love that stenciled wall!!! Wowzer what a difference. I have a little throne room that needs some love and you’ve inspired me to get it on deck for the next $100 Room Challenge!! Yay and Yay!!! ~~~Susie from The Chelsea Project
This is amazing transformation of an area in a certain budget.
Yay! I was so excited to see this and how the tile stencil turned out. Looks great, Jen <3
What a huge difference for so little cost! I love the stencil you choose. It looks awesome on the accent wall. I was also impressed by how little paint is required. I hardly used anything on my floor. I maybe used 1/2 cup of paint. I am so, so glad you joined the challenge for another round! Awesome job (again)!
this looks so cute!! what a great challenge.
Wow this looks amazing. The trim looks lovely and really effective 💗
I love the stenciled wall! It adds so much flair!
This looks amazing!! And I can’t believe you did this so cheap! Rock on!!
This bathroom looks very high end, great job!
It looks amazing! The stencil, the trim, and even the light make the perfect transformation. Great job, and even under budget!
Such an amazing transformation. I think the trim is my favorite part. Molding makes everything better.
What a great concept! I wish I could do my kitchen for under $100
So cute, will def be reading your other $100 make overs! I have the same toilet paper holder in my bathroom, and yes you’re right it does make it seem a bit nicer!
Great tips for an economical makeover. I admire your skill in giving your throne room a boost.
Looove that stencil! So gorgeous!
Looks great Jen. I love that stencil, it totally looks like tile!
Such a pretty toilet room! You got so much done for $99! My favorite part is the focal wall.
Great outcome for a 100 bucks
Wow! This turned out great and only for $100. I will have to keep this in mind when I want to redo a space.
Oh I love it! That accent wall is just superb. It is amazing what you can do with a little creativity and a little pot of money.
What a huge difference! I love the stenciled wall and floating shelves. It’s great that you were able to re-use items from other rooms as decorations.
Your throne room XD looks awesome! The stencil and mouldings are perfects! Love it!
The stencil turned out so good!! It looks awesome!
Wow! Wainscoting and a stenciled wall and open shelves – 3 things I love! So amazing that you were able to complete them all with a $100 budget. Your room turned out beautiful!