
Adding Wainscot To Your Walls
Headed into ORC Week 3: Adding Wainscot To Your Walls. This week is all about the adding trim to create the Wainscot Wall Panels and custom window cornice for the One Room Challenge.
This season we will be completing our Master Bathroom, which you all may remember got started last fall with our little toilet room upgrade, for the $100 room challenge, The Game of Thrones. That challenge just left us thirsty for more beautiful things in the rest of our Master Bathroom and Hallway, so now we begin ORC Week 3: Adding Wainscot To Your Walls.
WEEKS AT A GLANCE:
WEEK 1 WEEK 2 WEEK 3 WEEK 4 WEEK 5 REVEAL
Just in case you maybe wondering exactly what The One Room Challenge is, here is the link, and the scoop. This event was started by Linda Weinstein @ Calling It Home and is hosted twice a year, in April and October for the past 15 seasons. The ORC has hosted over 300 interior designers & home decor bloggers, that have joined together in this challenge to makeover one room in their own homes. The participants have total of six weeks, from start to finish, to complete a full room transformation. Over 3,500 rooms have been transformed through the One Room Challenge to date, and many spaces have been recognized and featured by several prestigious sites seen here:

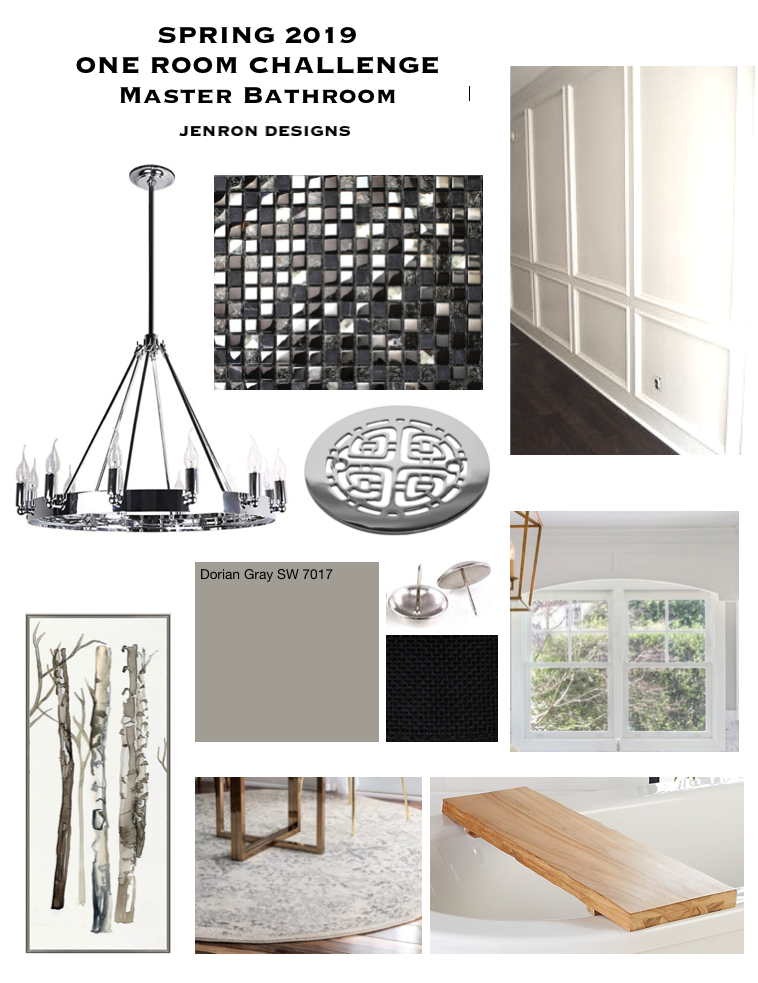
THE INSPIRATION BOARD:
Adding Wainscot To Your Walls:
The history of wainscot dates back to 16th century England and was first used as a type of insulation, to keep out cold and dampness from seeping through cracks of the building materials in homes of the elite and upper class.
 Nowadays wainscot panels are mainly used to add visual interest to a space. I find that Adding Wainscot To Your Walls are a very simple way to upgrade a space and stay budget friendly as well. Simple by adding trim to the walls we are creating a very evaluated look to our bathroom, plus it will then allow us to paint the walls with a paint that carries a higher sheen factor, which makes maintenance and cleaning a dream as well, so for us this a win win.
 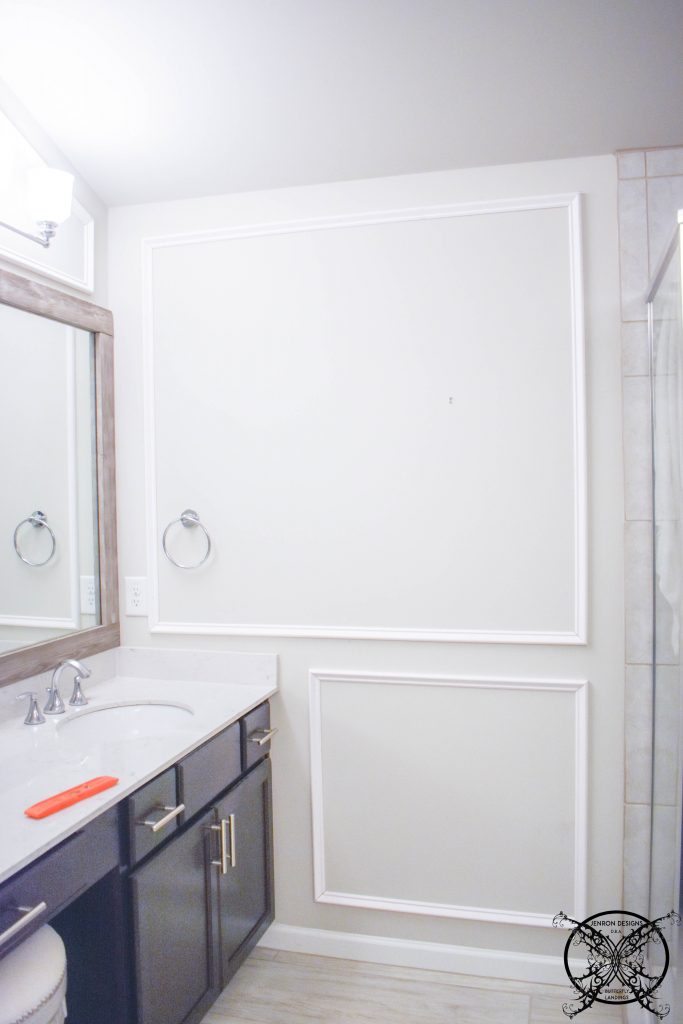 Creating the actual layout really depends on your space, since our bathroom has so many odd angles and spaces, a grid pattern was not particularly suitable for this space. So we ended up creating some very custom shaped squares and frames based on the wall spaces. This will also allow us to add in art work with out being locked into specific sizes after the fact. These are all things you should think about on the front end of your design before you start. Make sure you really plan your space before you just start adding a framework to your walls and you find yourself locked into something that is hard to change after the fact.
Custom Built In Arched Cornice:
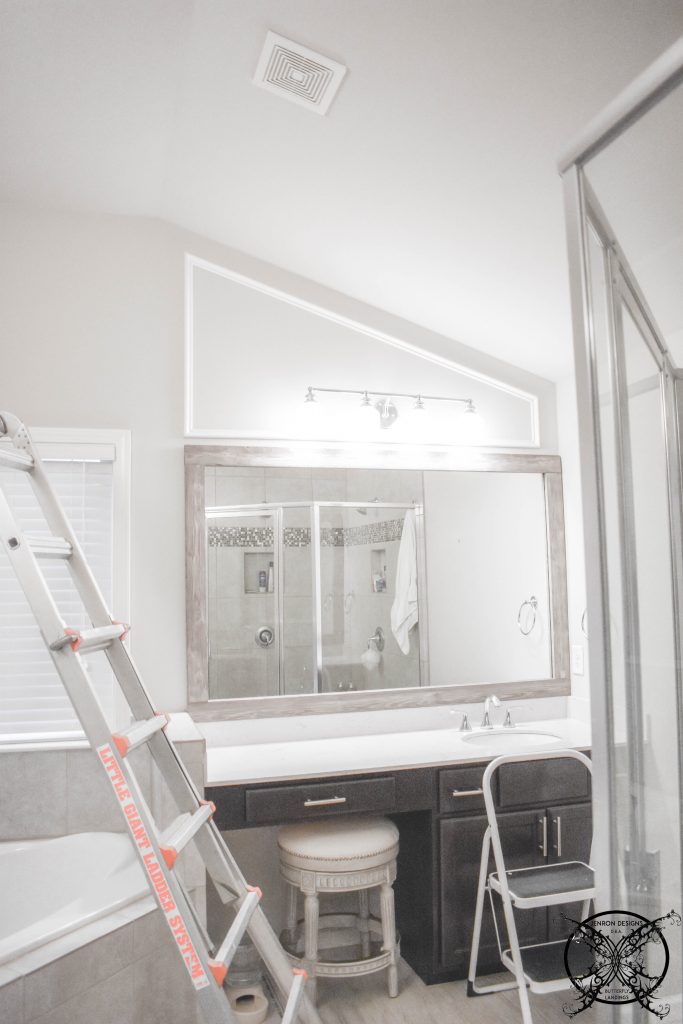
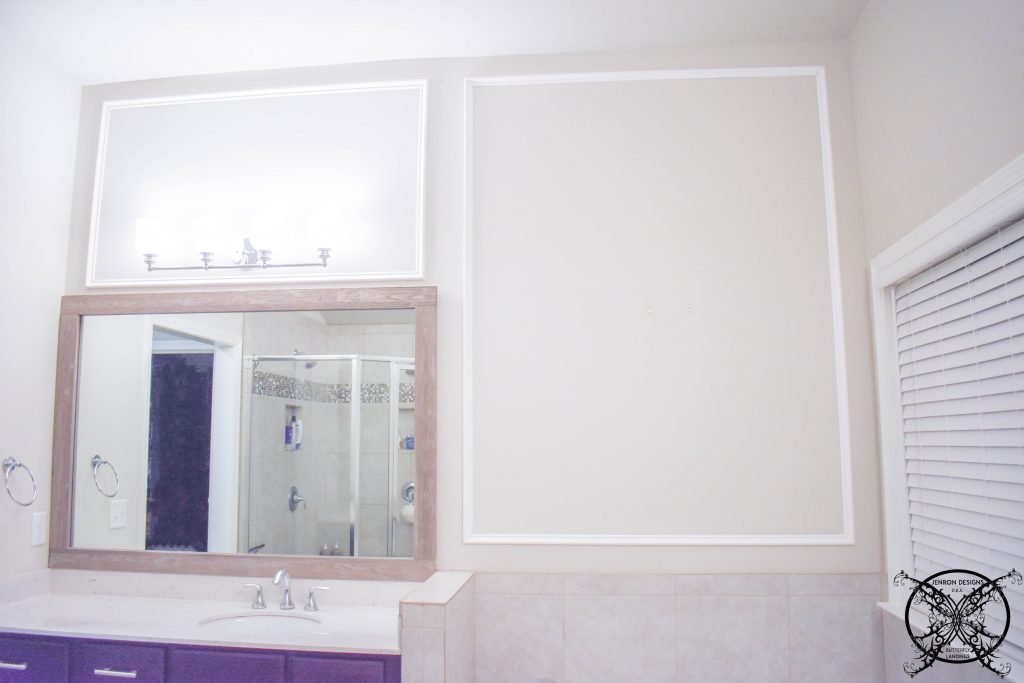
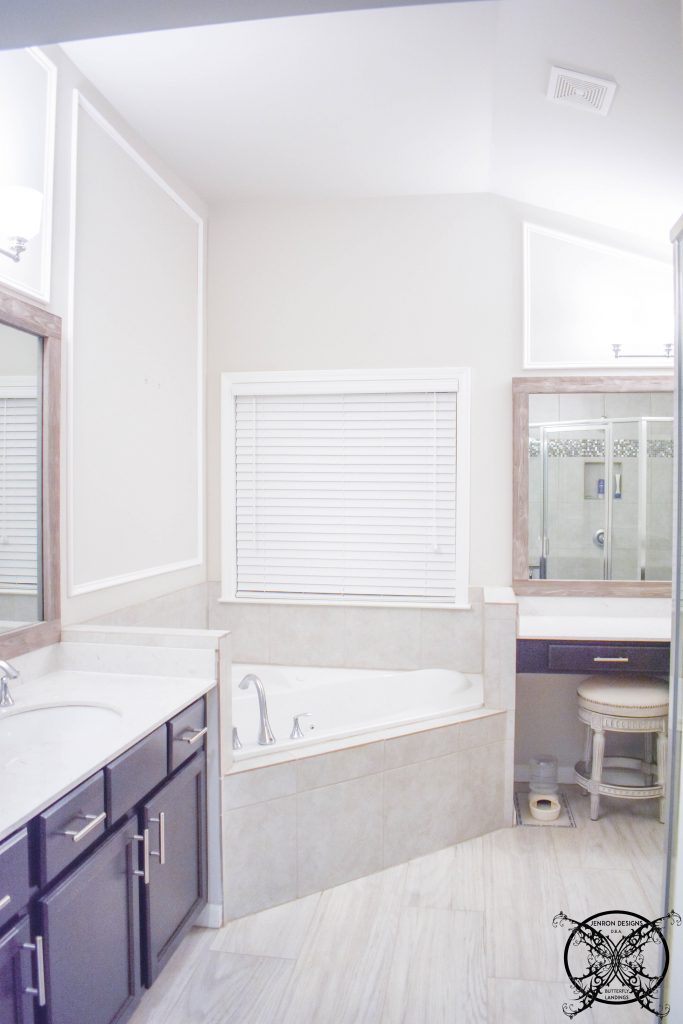
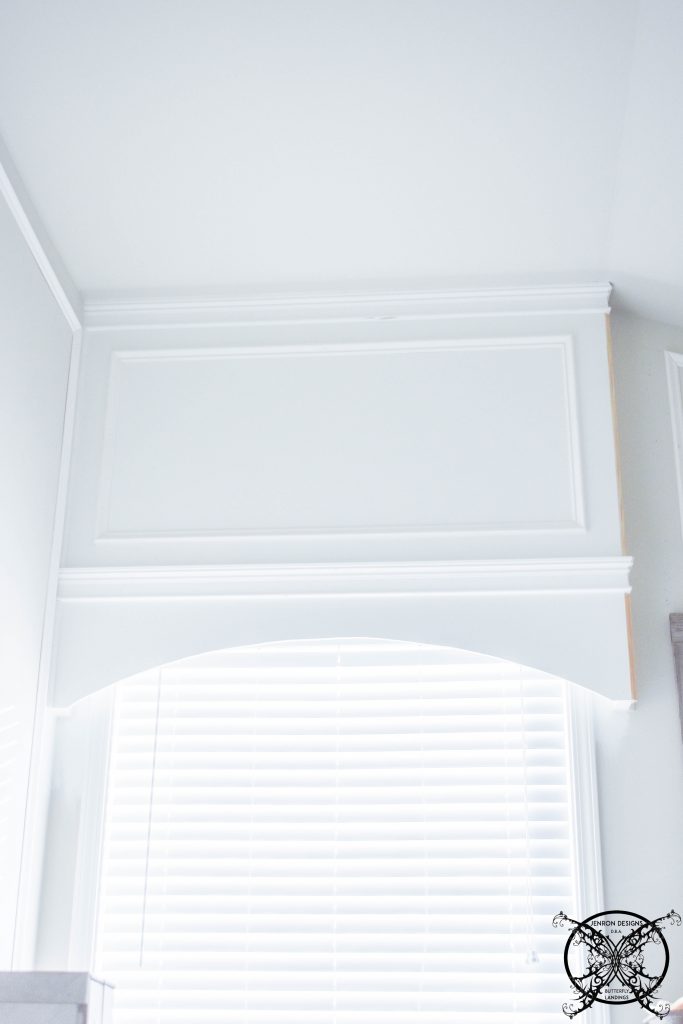
So this is before picture of the window area and you can see that the area above the window is such a a massive space. I also really would love to leave the windows open more regularly just because we do have such a pretty view. However, because this is a bathroom it is not practical to keep this window open at all times. So the thought was to build a cornice that could hide a window treatment inside when the window was open but would still look good with the rest of the room in a built in fashion.  After getting the wainscot panels installed, I knew that I wanted the cornice to have a slight arch to it since we already had a lot of square shapes in the room. It just seemed like that window called for a a slight arch on the base to add some regality. We also decided to build the cornice in place after building the huge beast in my office last time, which was so heavy to left into place.
 We started by building a frame work directly into the wall. Which will be the distance the cornice will stand away from the wall. You may also notice that none of these walls are square which is another reason we choose to build it this way, verses trying to add a solid square cornice to the un-square walls.
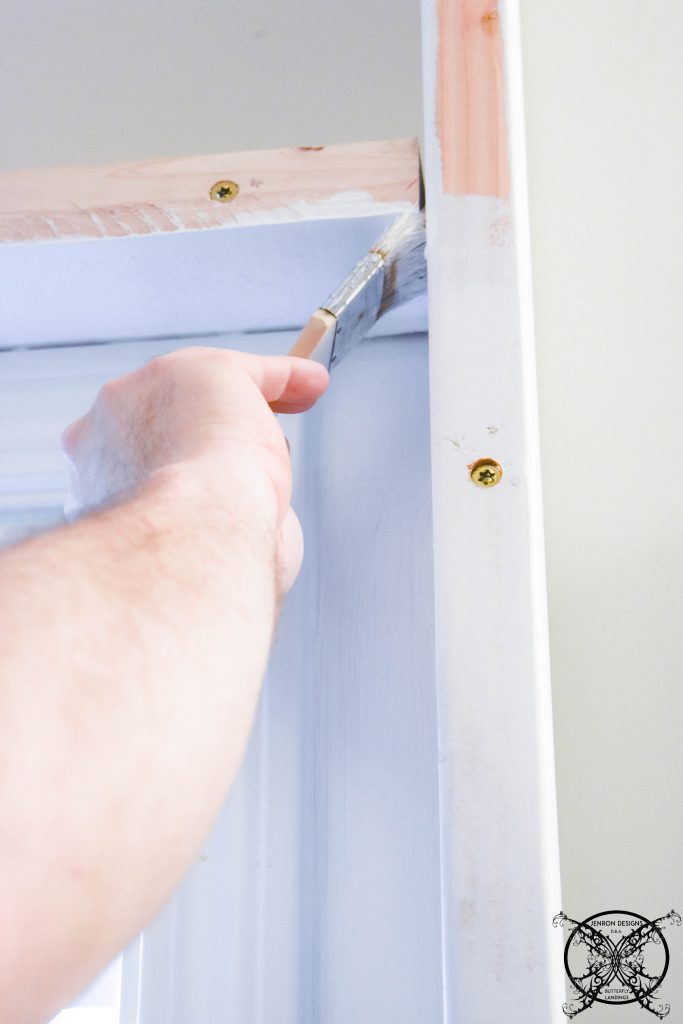
 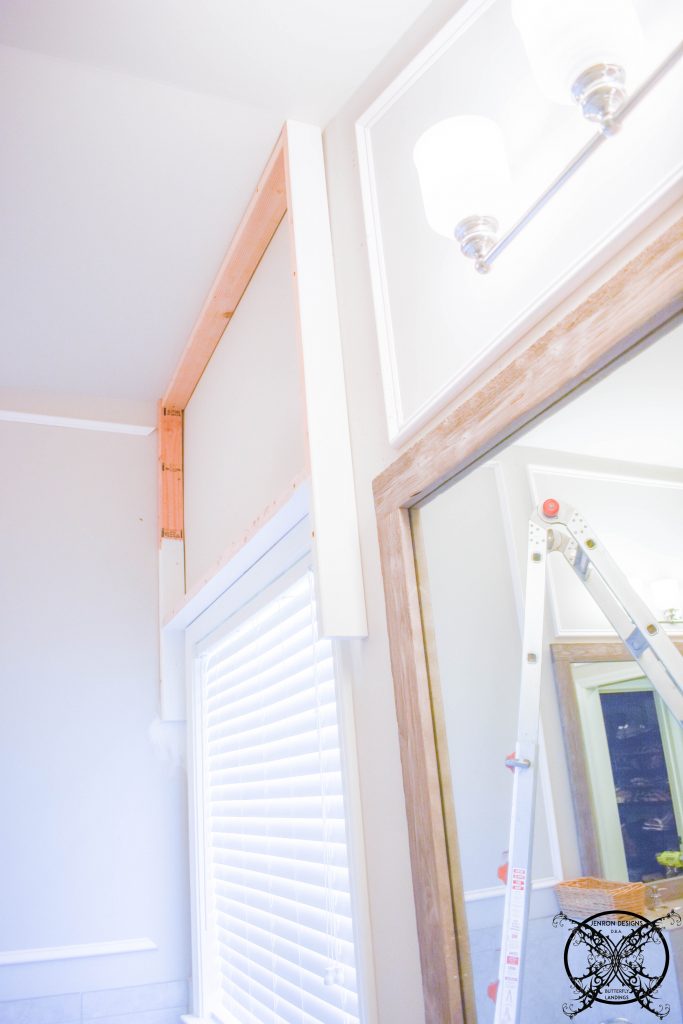 We also decided to pre paint a few of the areas with the white paint, that may be exposed from a tub view below, which would be very hard to paint after the cornice is completely built. Just another tip, really think through your projects, so you can take advantage of the ability to complete a task at the easier stage of the project.
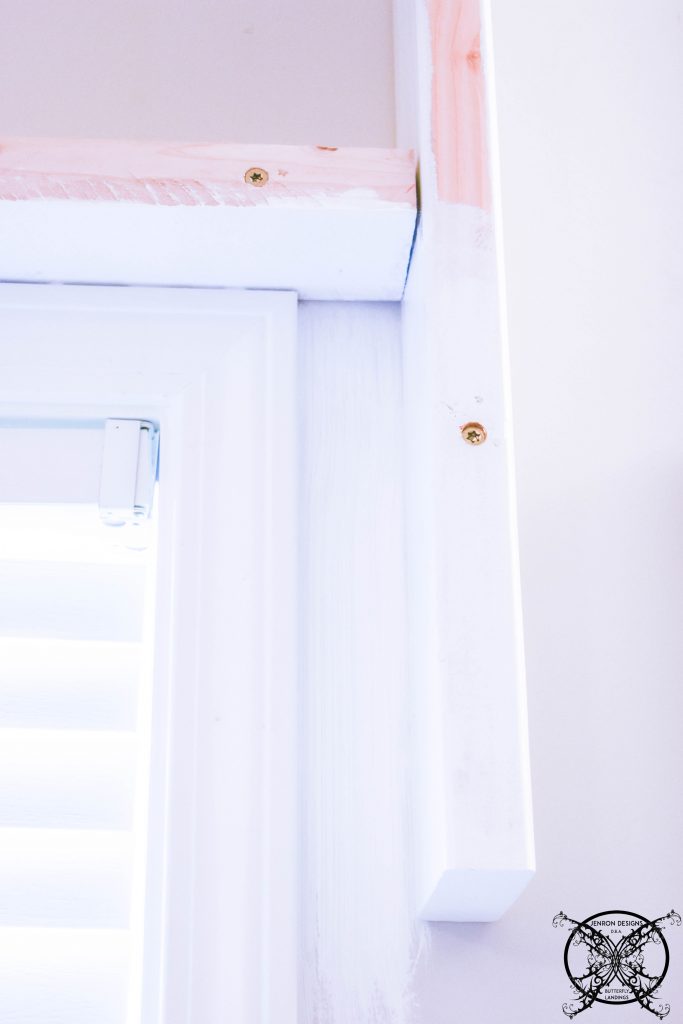
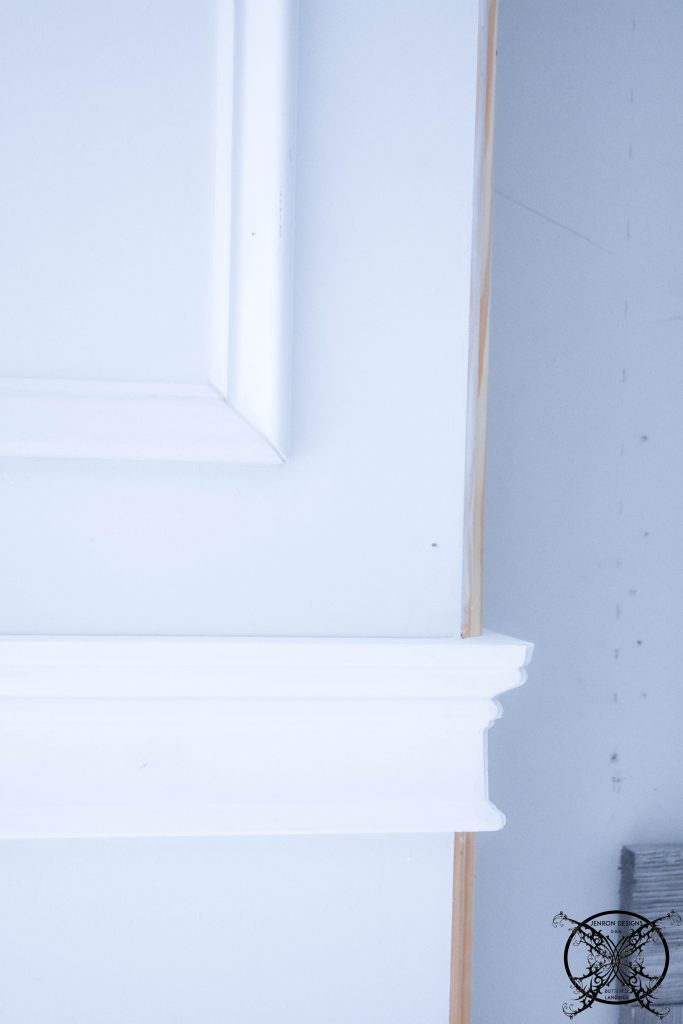
 The next step was to add the masonite front panel to the frame. This was pre-cut, and pre-painted with the arch shape cut into place based on the center point of the window.
 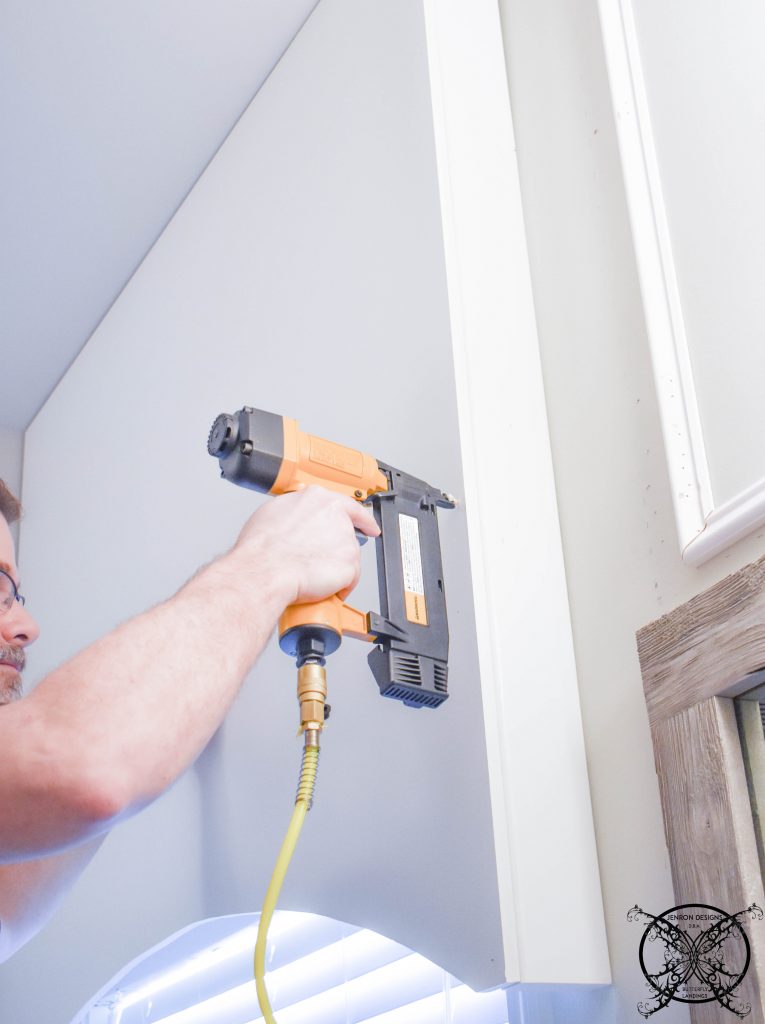 We picked trim pieces to cover the seems between the panels and a quarter round to fill the gaps between the the wall and the board.
 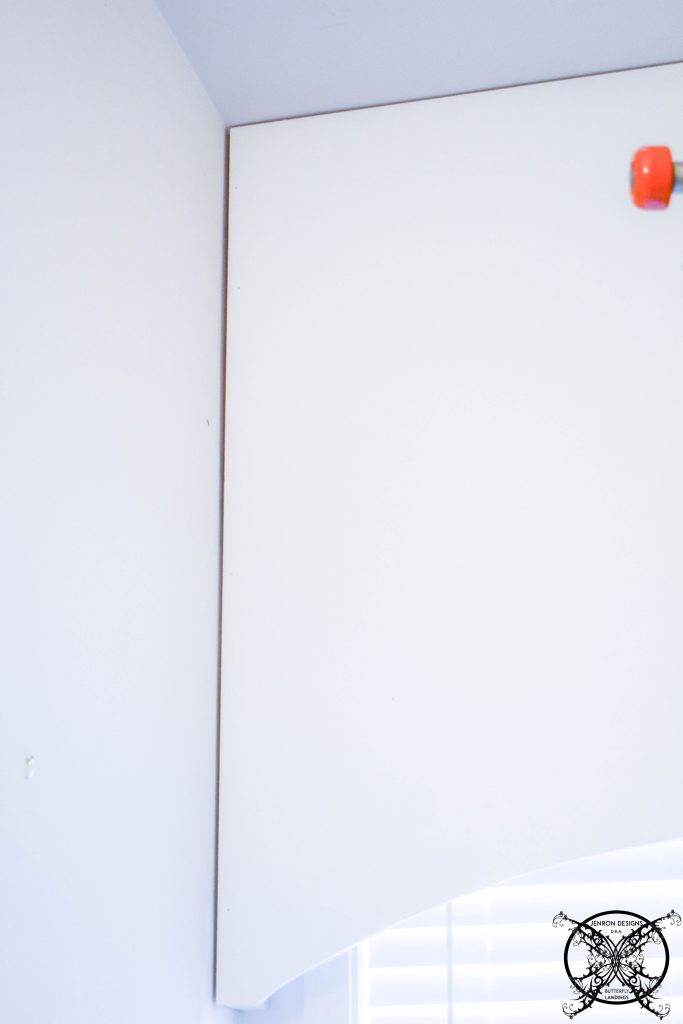 However, the layers of trim needed to be properly planned for the layering to look natural and built-in. So we started with the ceiling trim first to look like a ornate crown molding, then we repeated the same trim directly above the arch. From that point we could fill in the remaining portions with the quarter round and trim to cover the gaps.
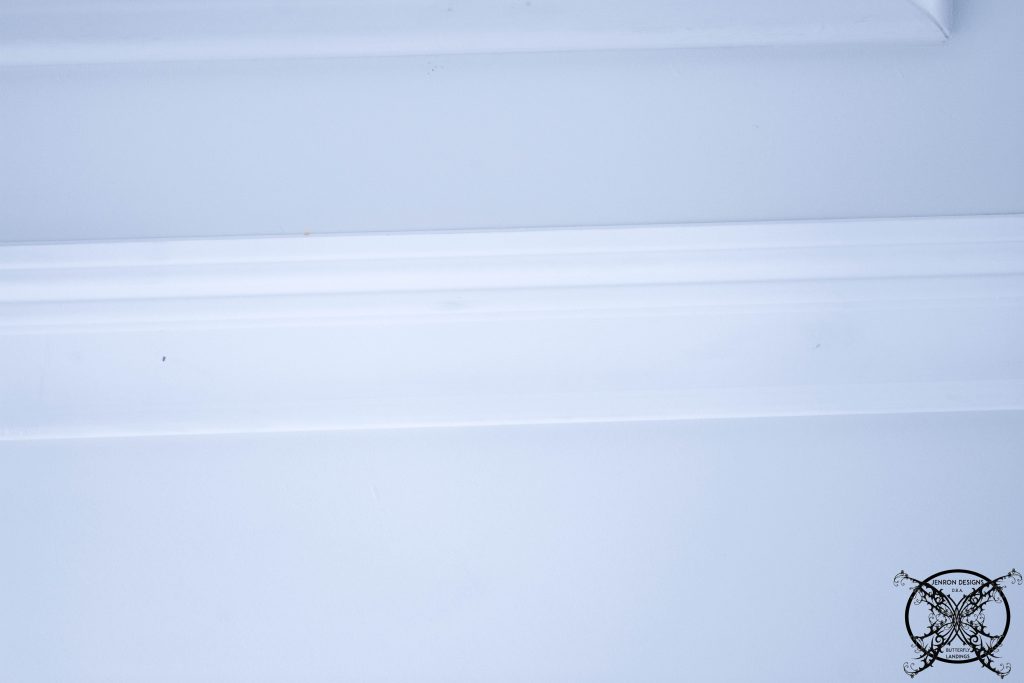 Then we added in a single wainscot box to copy the same look as the rest of the bathroom walls, and one final trim piece to finish off the last seem along the outer edge of the cornice. It will all be painted gloss white next week along with the rest of the walls in the bathroom for a uniform look.
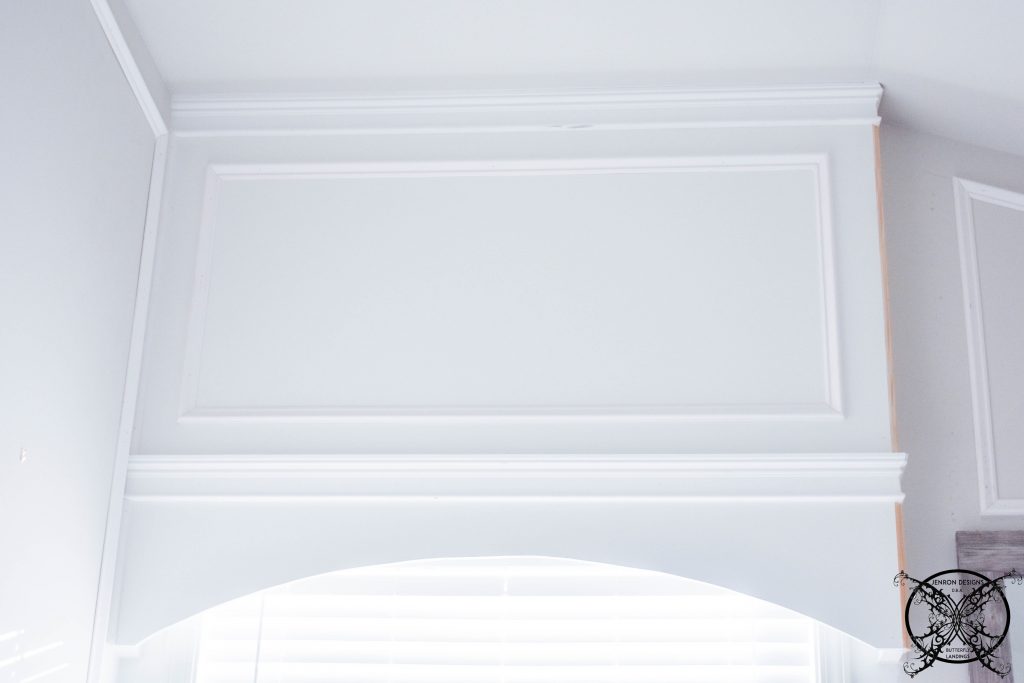
 Building the cornice in place really made a big difference in this project and created the prefect custom look for this window. I am so excited for how it turned out, and can not wait to see it all painted and then the chandelier added to this space.
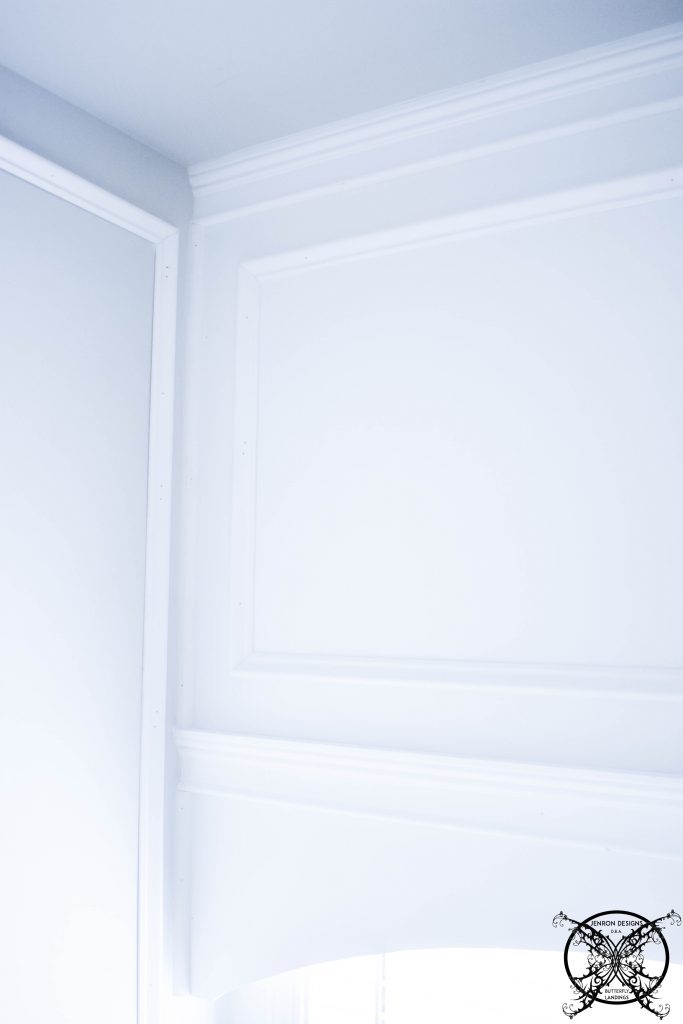
THE PROPOSED SCHEDULE:
WEEK 1: Introduction, Inspiration Board, Ordering and Procurement of Supplies
WEEK 2: TILE- Tile Work in Toilet Room
WEEK 3: TRIM- DIY Wainscot Panels & Built In Window Cornice
WEEK 4: PAINT – Paint Room, Paint Closet Unit, Work on Linen Closet, (DIY-A Tub Tray?)
WEEK 5: ELECTRICAL- Light Fixtures, Chandlier Installation, Ceiling Decor Trim Out, Finishing Touches
WEEK 6: REVEAL
Beautiful photos – I can’t wait to see how the room progresses over the next few weeks!
Turned out nice. I can’t wait to find our forever home, so I can remodel (if needed). We’re military.
Love what you’re doing so far! I think the idea of a $100 room remodel is just genius! Can’t wait to see the reveal!
-madi xo |
I love what you have done so far! I would have never thought to do the window cornice. It’s beautiful! I can’t wait to see the reveal!
I love that detail work, it makes the bathroom looks elegant. How exciting to see the whole bathroom finished!
Wow! That cornice is gorgeous!
Lauren |
Wow Jen! It’s gorgeous!! I love the wainscot and the cornice really makes the window special!
Great work on the trim and cornice!!! I love using Masonite for projects. Your room is really coming together ☺️
Your cornice is such a great addition! It really does draw the eye up and looks like it should have always been there! Looking forward to seeing what you do this week.
These details are what makes the room special! I love watching the progress as the room comes together.
The cornice looks incredible. I am completely inspired by this!
One look at that cornice and SWOON!! It’s so perfect for that space and dials up the elegance level from builder’s grade to super custom. Love!!!
The details look great! Everything is coming out very elegant. Good luck with next week’s progress!
Wow, Jen! That cornice is amazing! I love all the trim details. And thanks so much for reminding everyone to think about each step- painting along the way will really help have a professional look. This is really coming together
Oh my gosh! That cornice looks stunning! great progress in here! Cant wait for the reveal!
These walls are so pretty and make your bathroom so fancy now. I have to say I am shocked at the change but without crazy amount of work, if that makes any sense at all.