DIY an Apothecary Cabinet for Linen Closet Organization
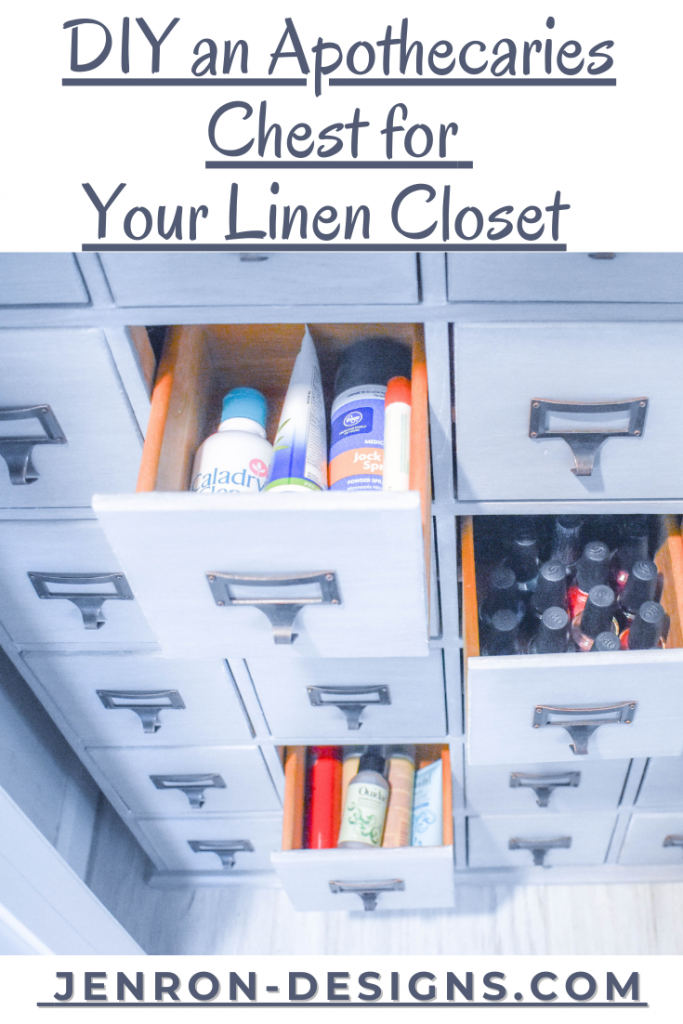
How to DIY an Apothecaries Chest for your Linen Closet. See how I converted a brand new CD holder to look like an old vintage Apothecaries chest for my linen.
Today I am going over how to DIY an Apothecaries Chest for your Linen Closet. This project was done during the ORC in Week 4 and I am so grateful to everyone that followed along during our One Room Challenge journey. It was truly a jam packed 6 weeks with a lot of projects along the way. I got several messages and comments about this DIY portion of the Apothecaries cabinet from Week 4 and this was such a long post on painting and organization. So, I decided to divide the post and release the DIY separately, so you could see exactly how we achieved this look.
*I have included the rest of the ORC post at the bottom of this DIY so you can go back and see the entire project.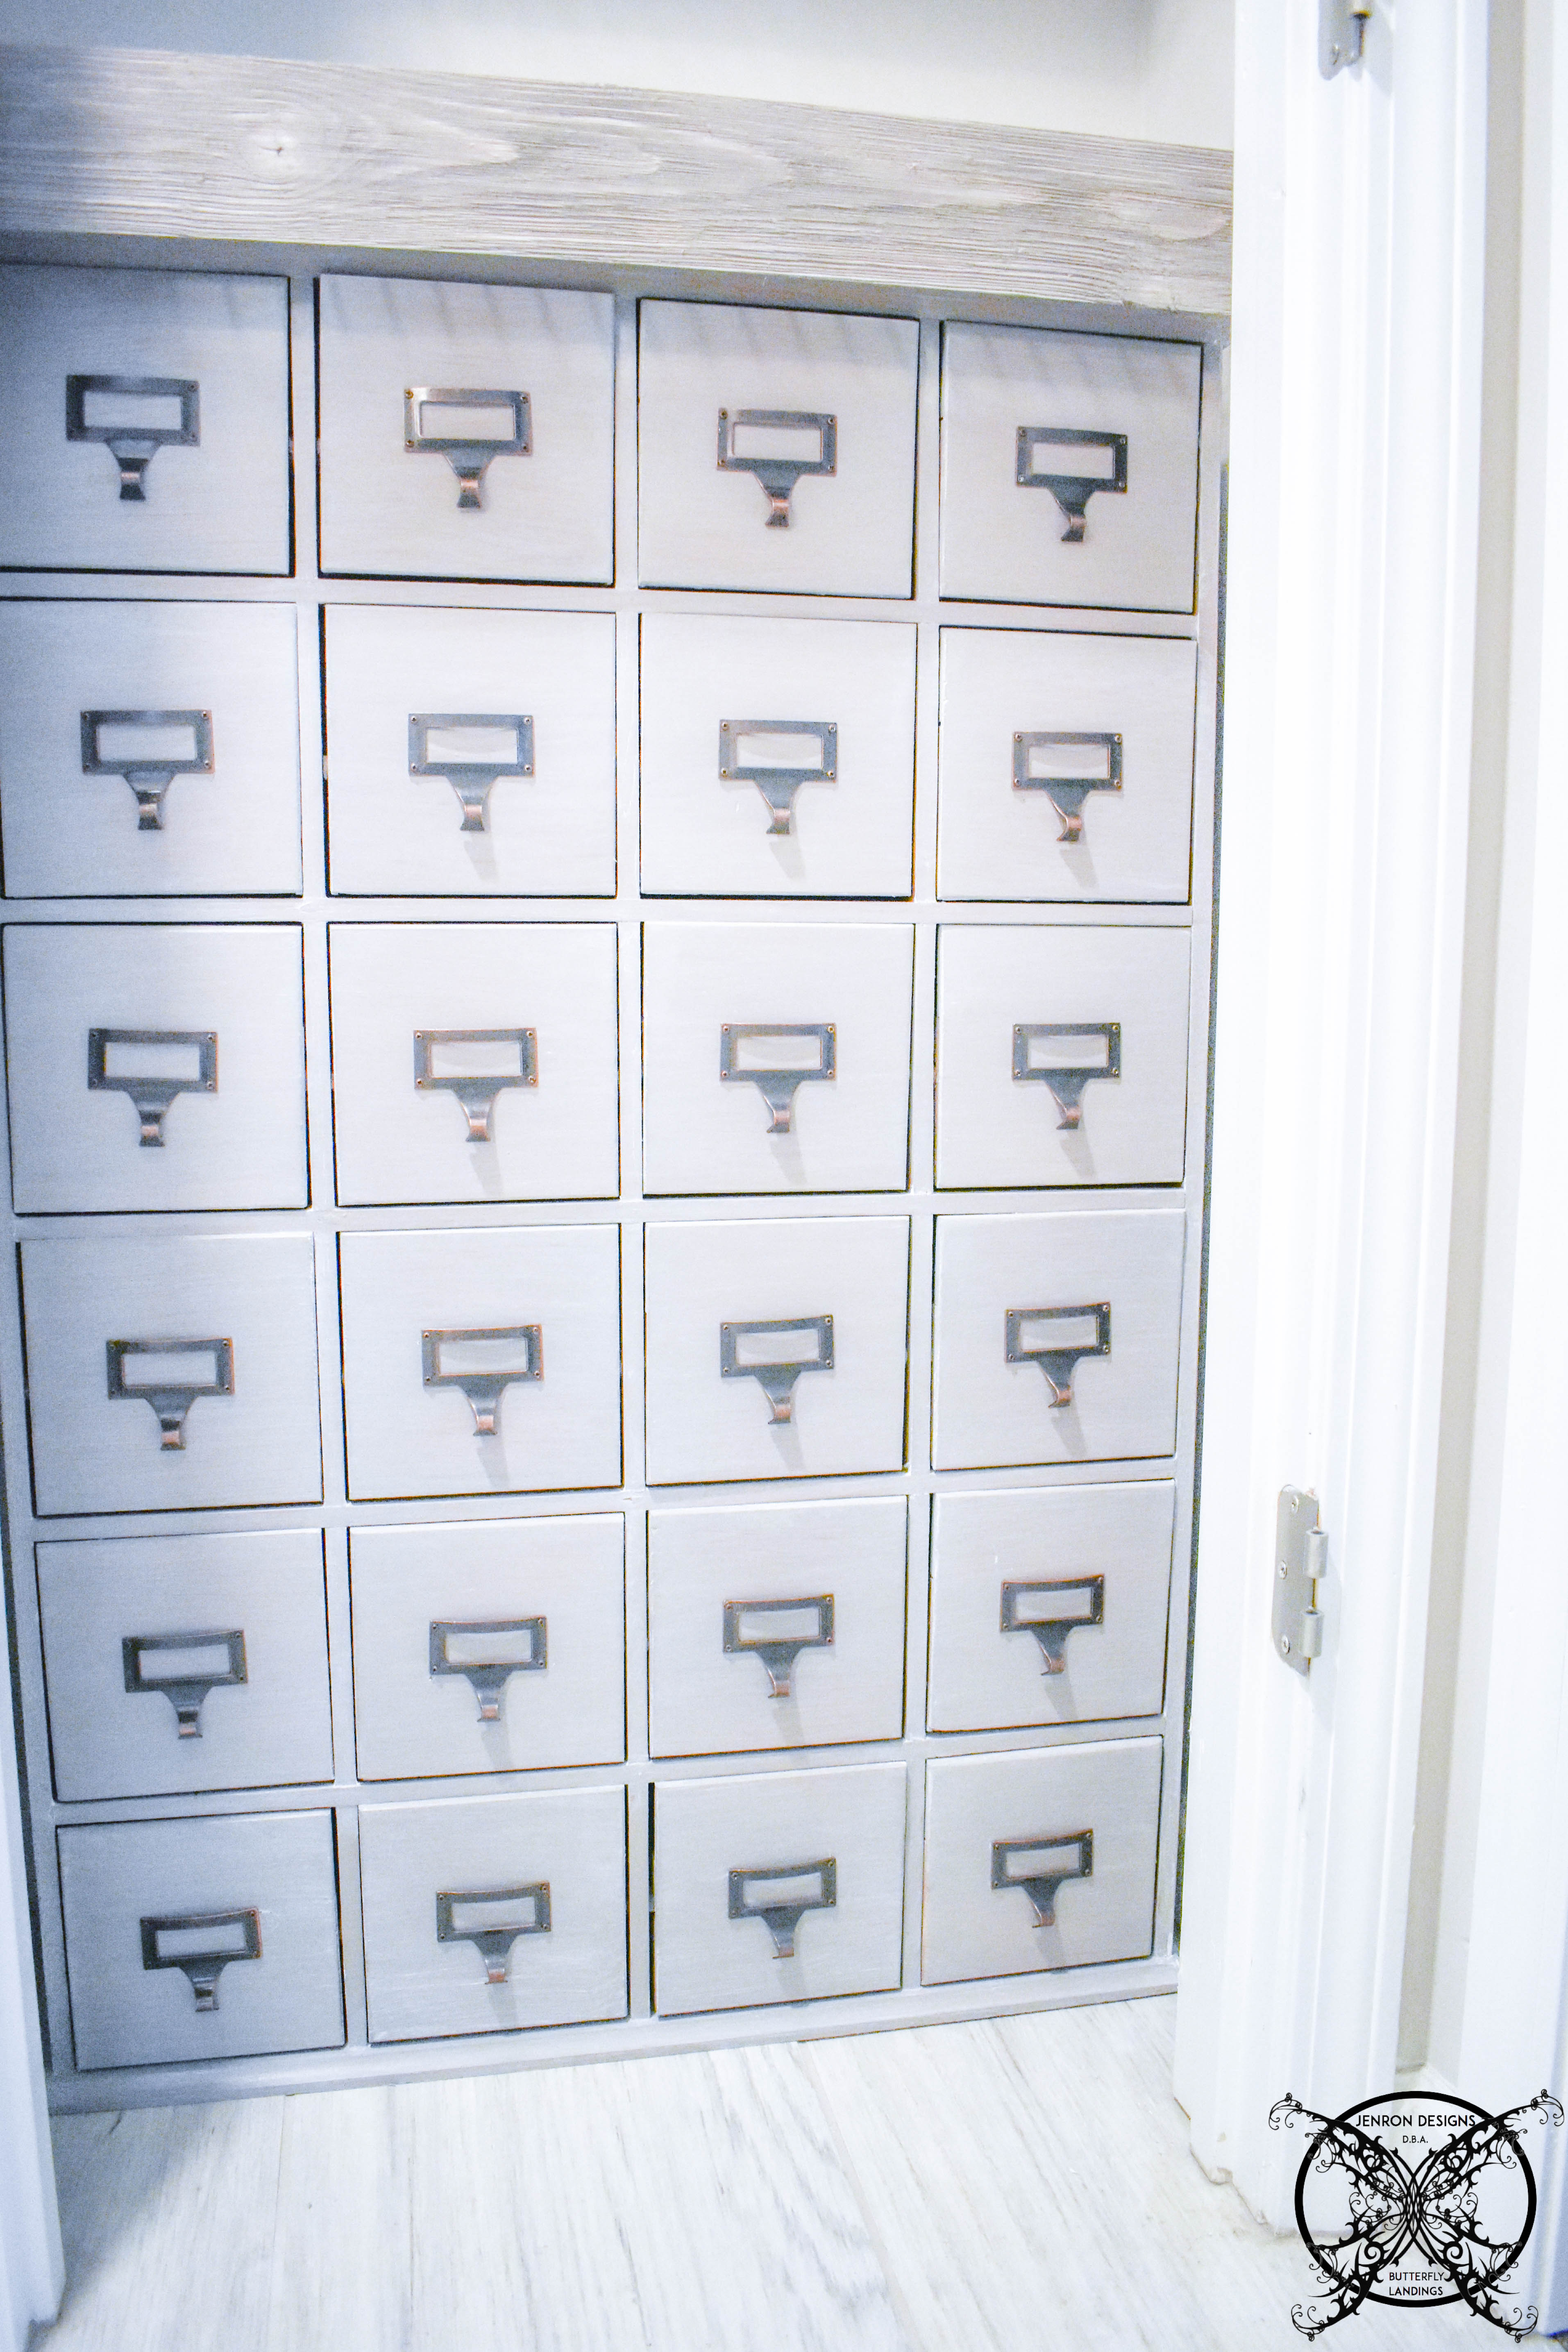
THE CHALK PAINT REFINISHING:
This is my hack on a DIY antique Card Catalogue, because they are getting harder and harder to find. This is a CD cabinet that I found online, for just little over $250, and it is a really great option if you are looking for a card catalogue. I decided that I would add a rough coat of my favorite Amy Howard Selznick Gray chalk paint to give an antique effect, then coated it with light white antique wax to seal it.
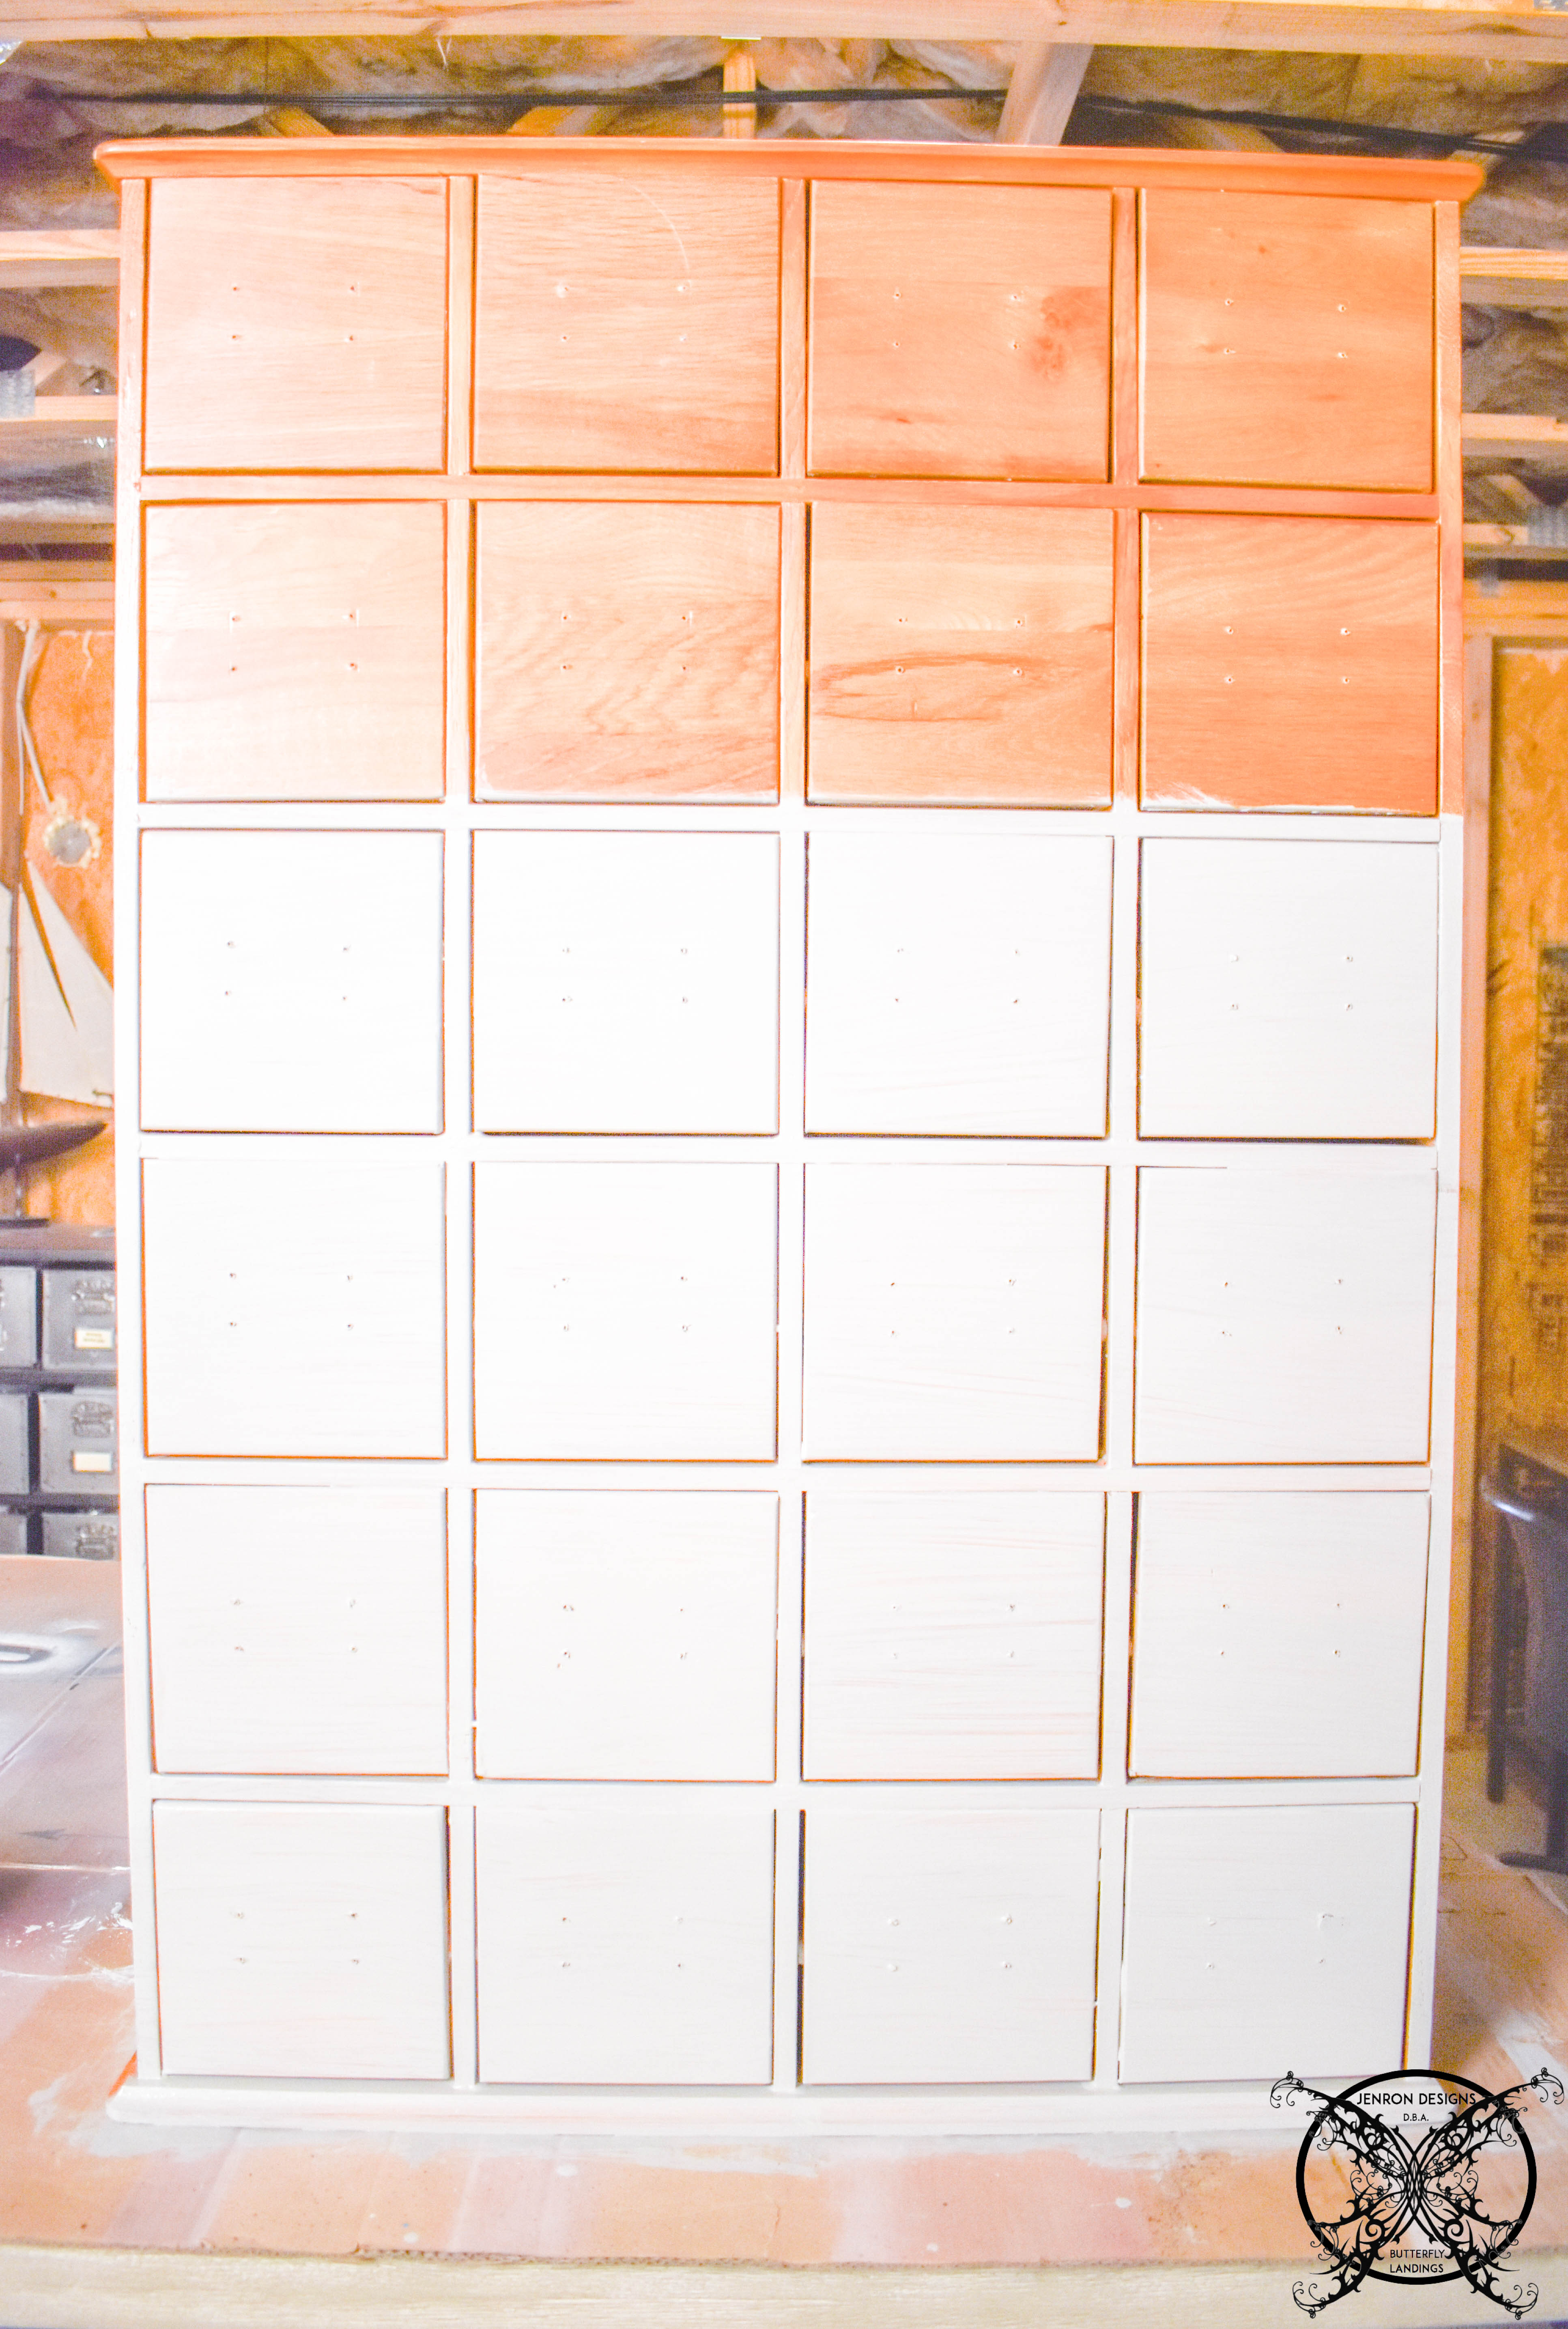
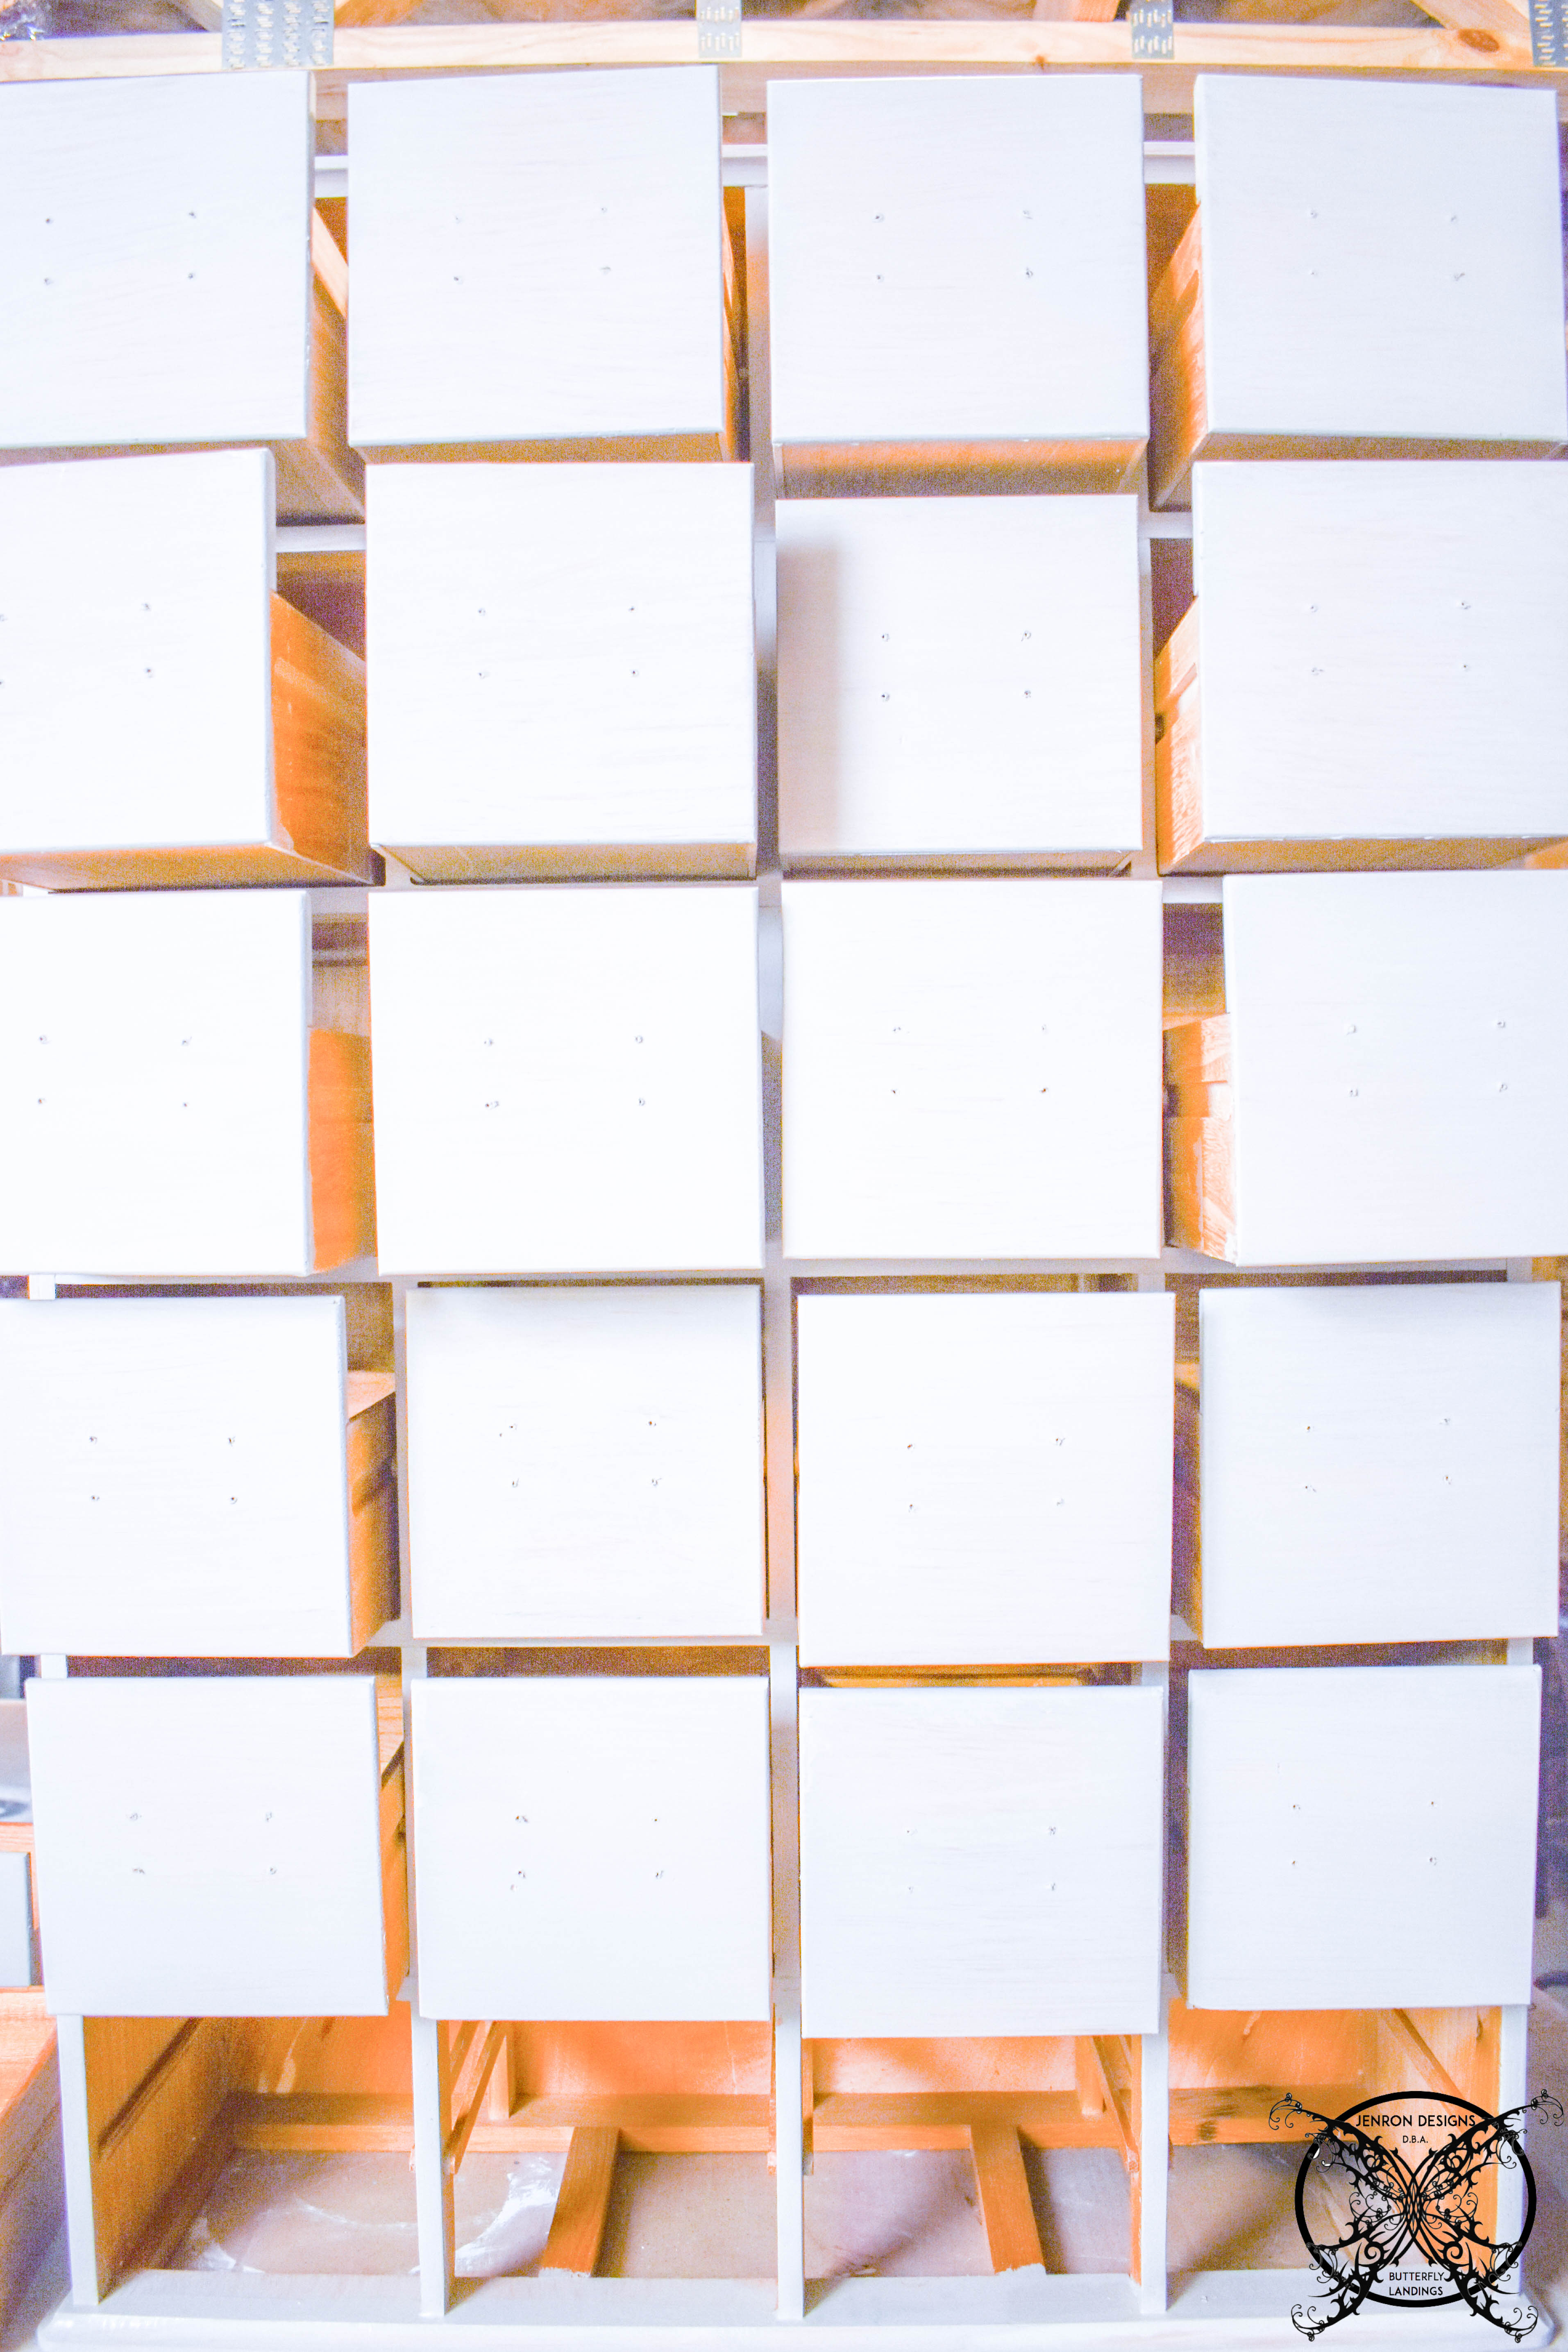
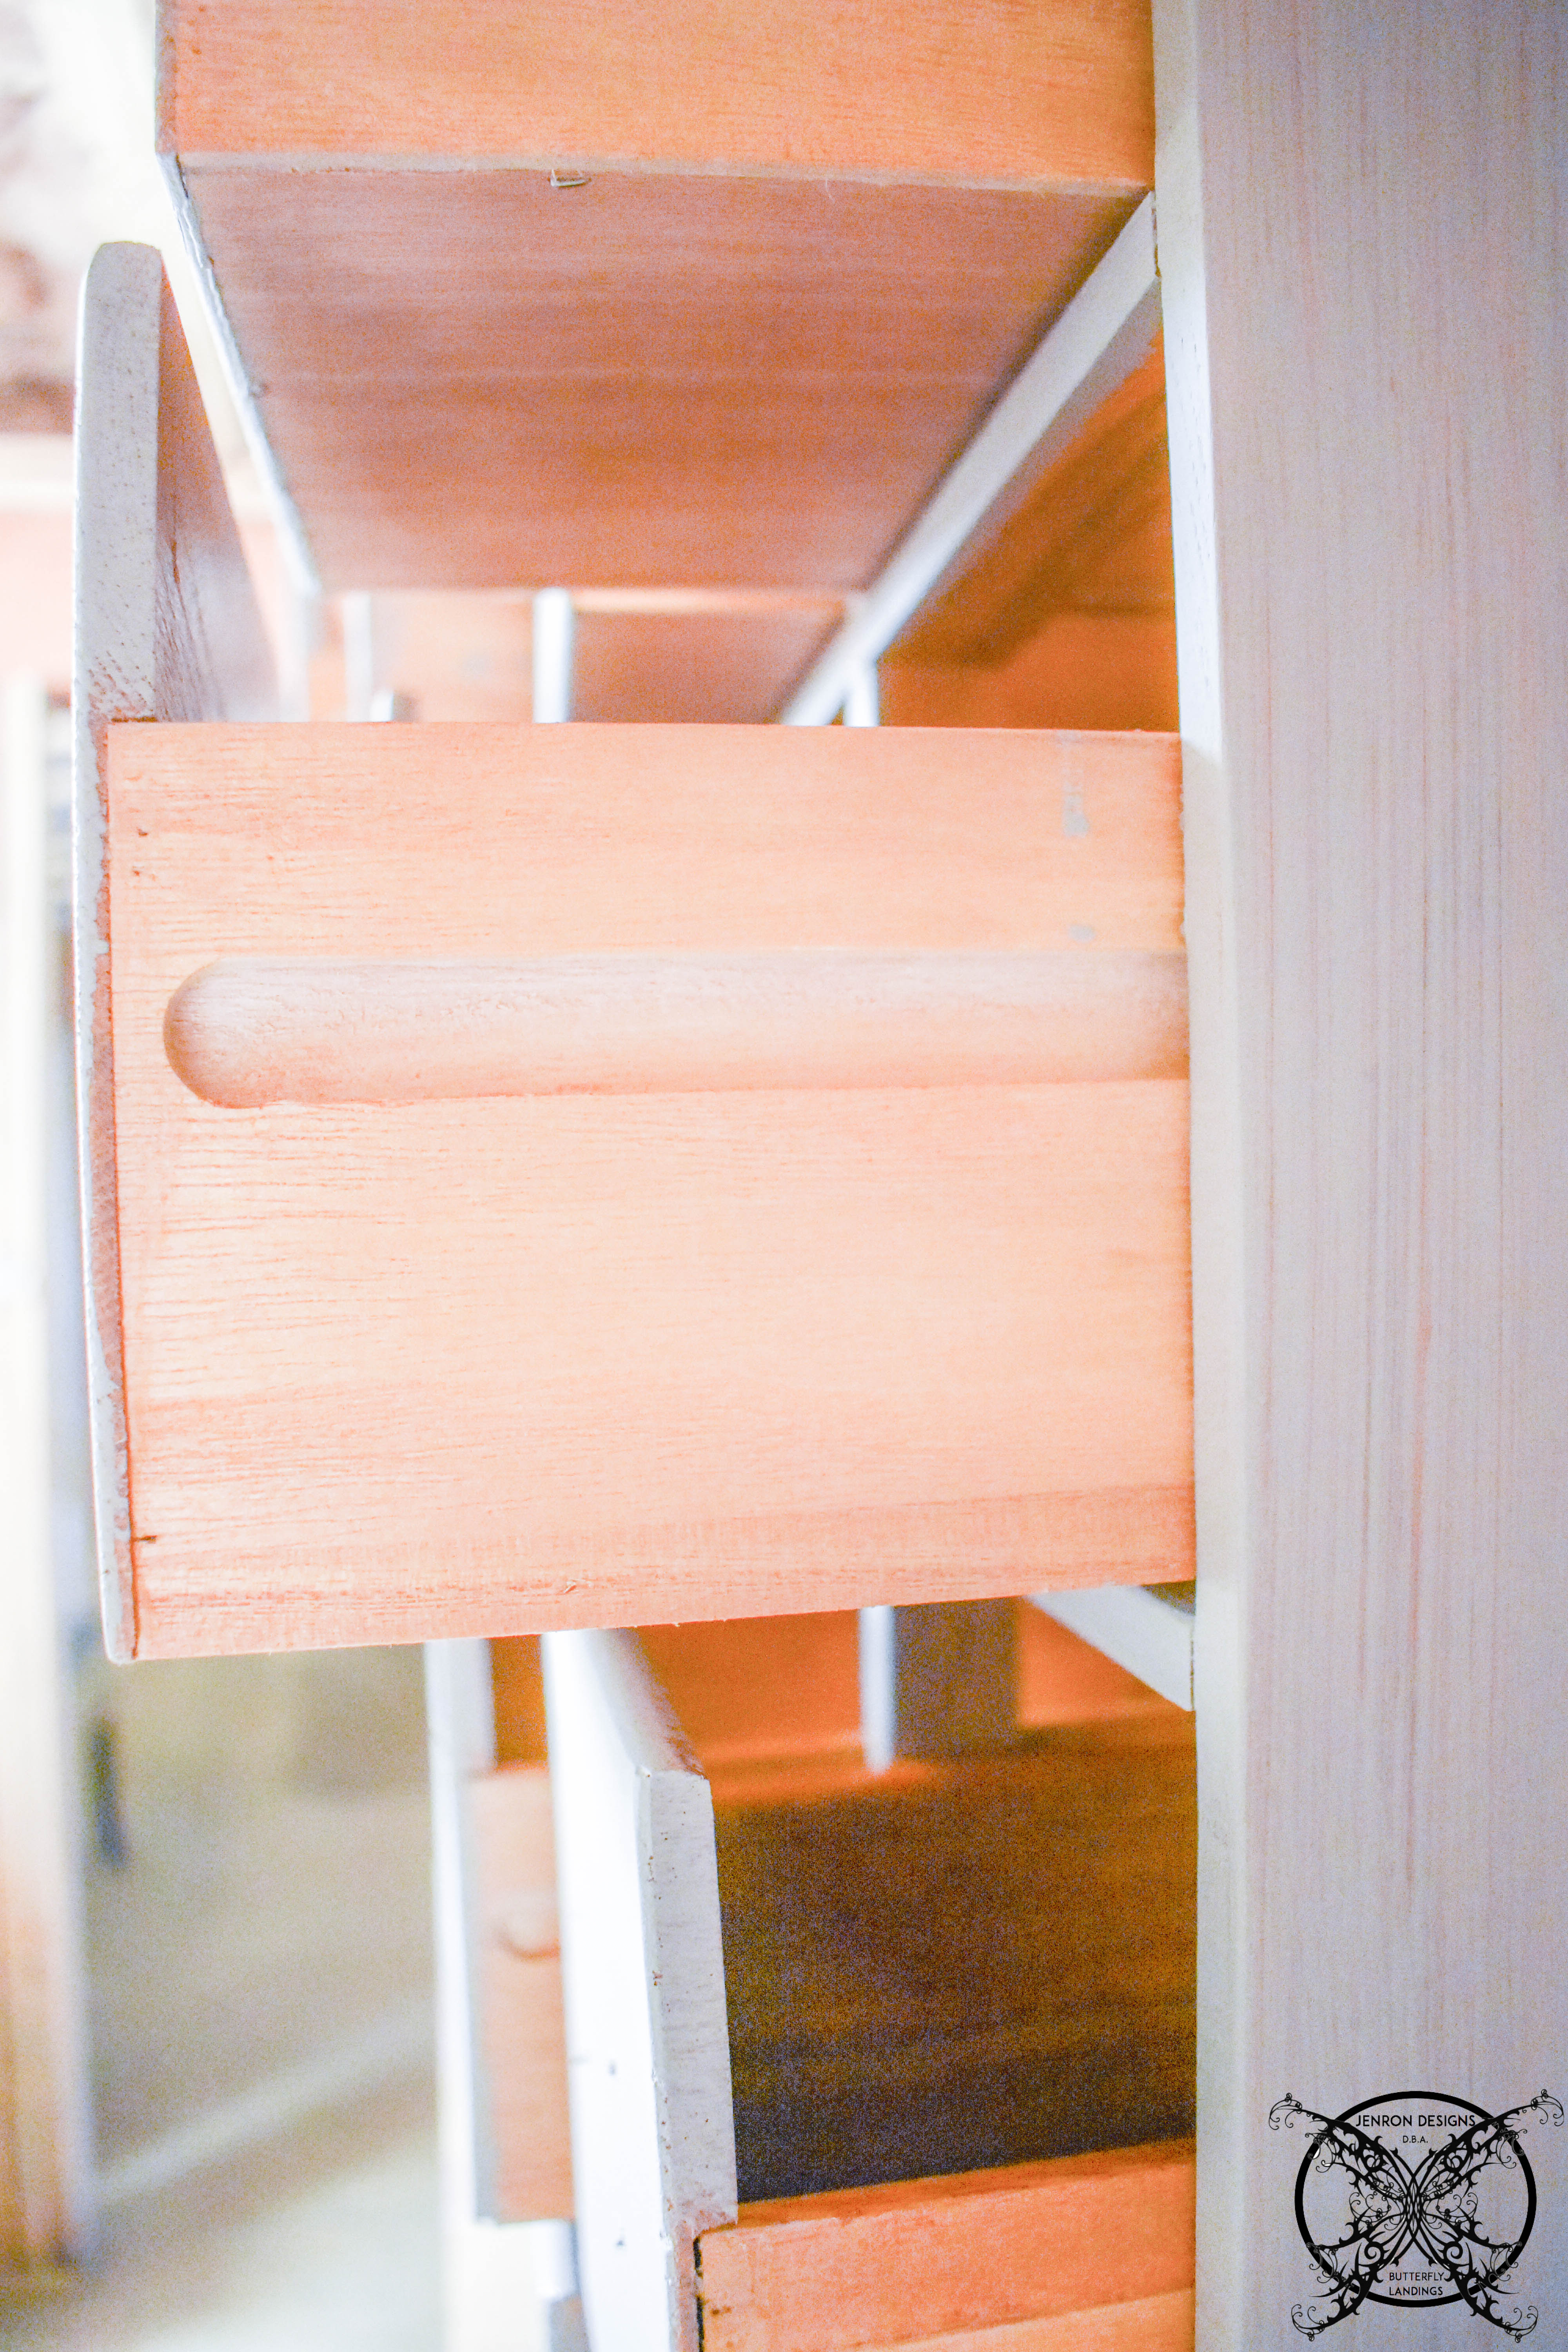
So for this project we removed all the hardware and only painted the fronts of the drawers and the outer shell of the cabinet. I actually like the way it exposes the oak color drawers inside when you open them. To me it makes it feel more like a found antique versus a new item that I purchased, considering all the card catalogues I remember in school were always oak. 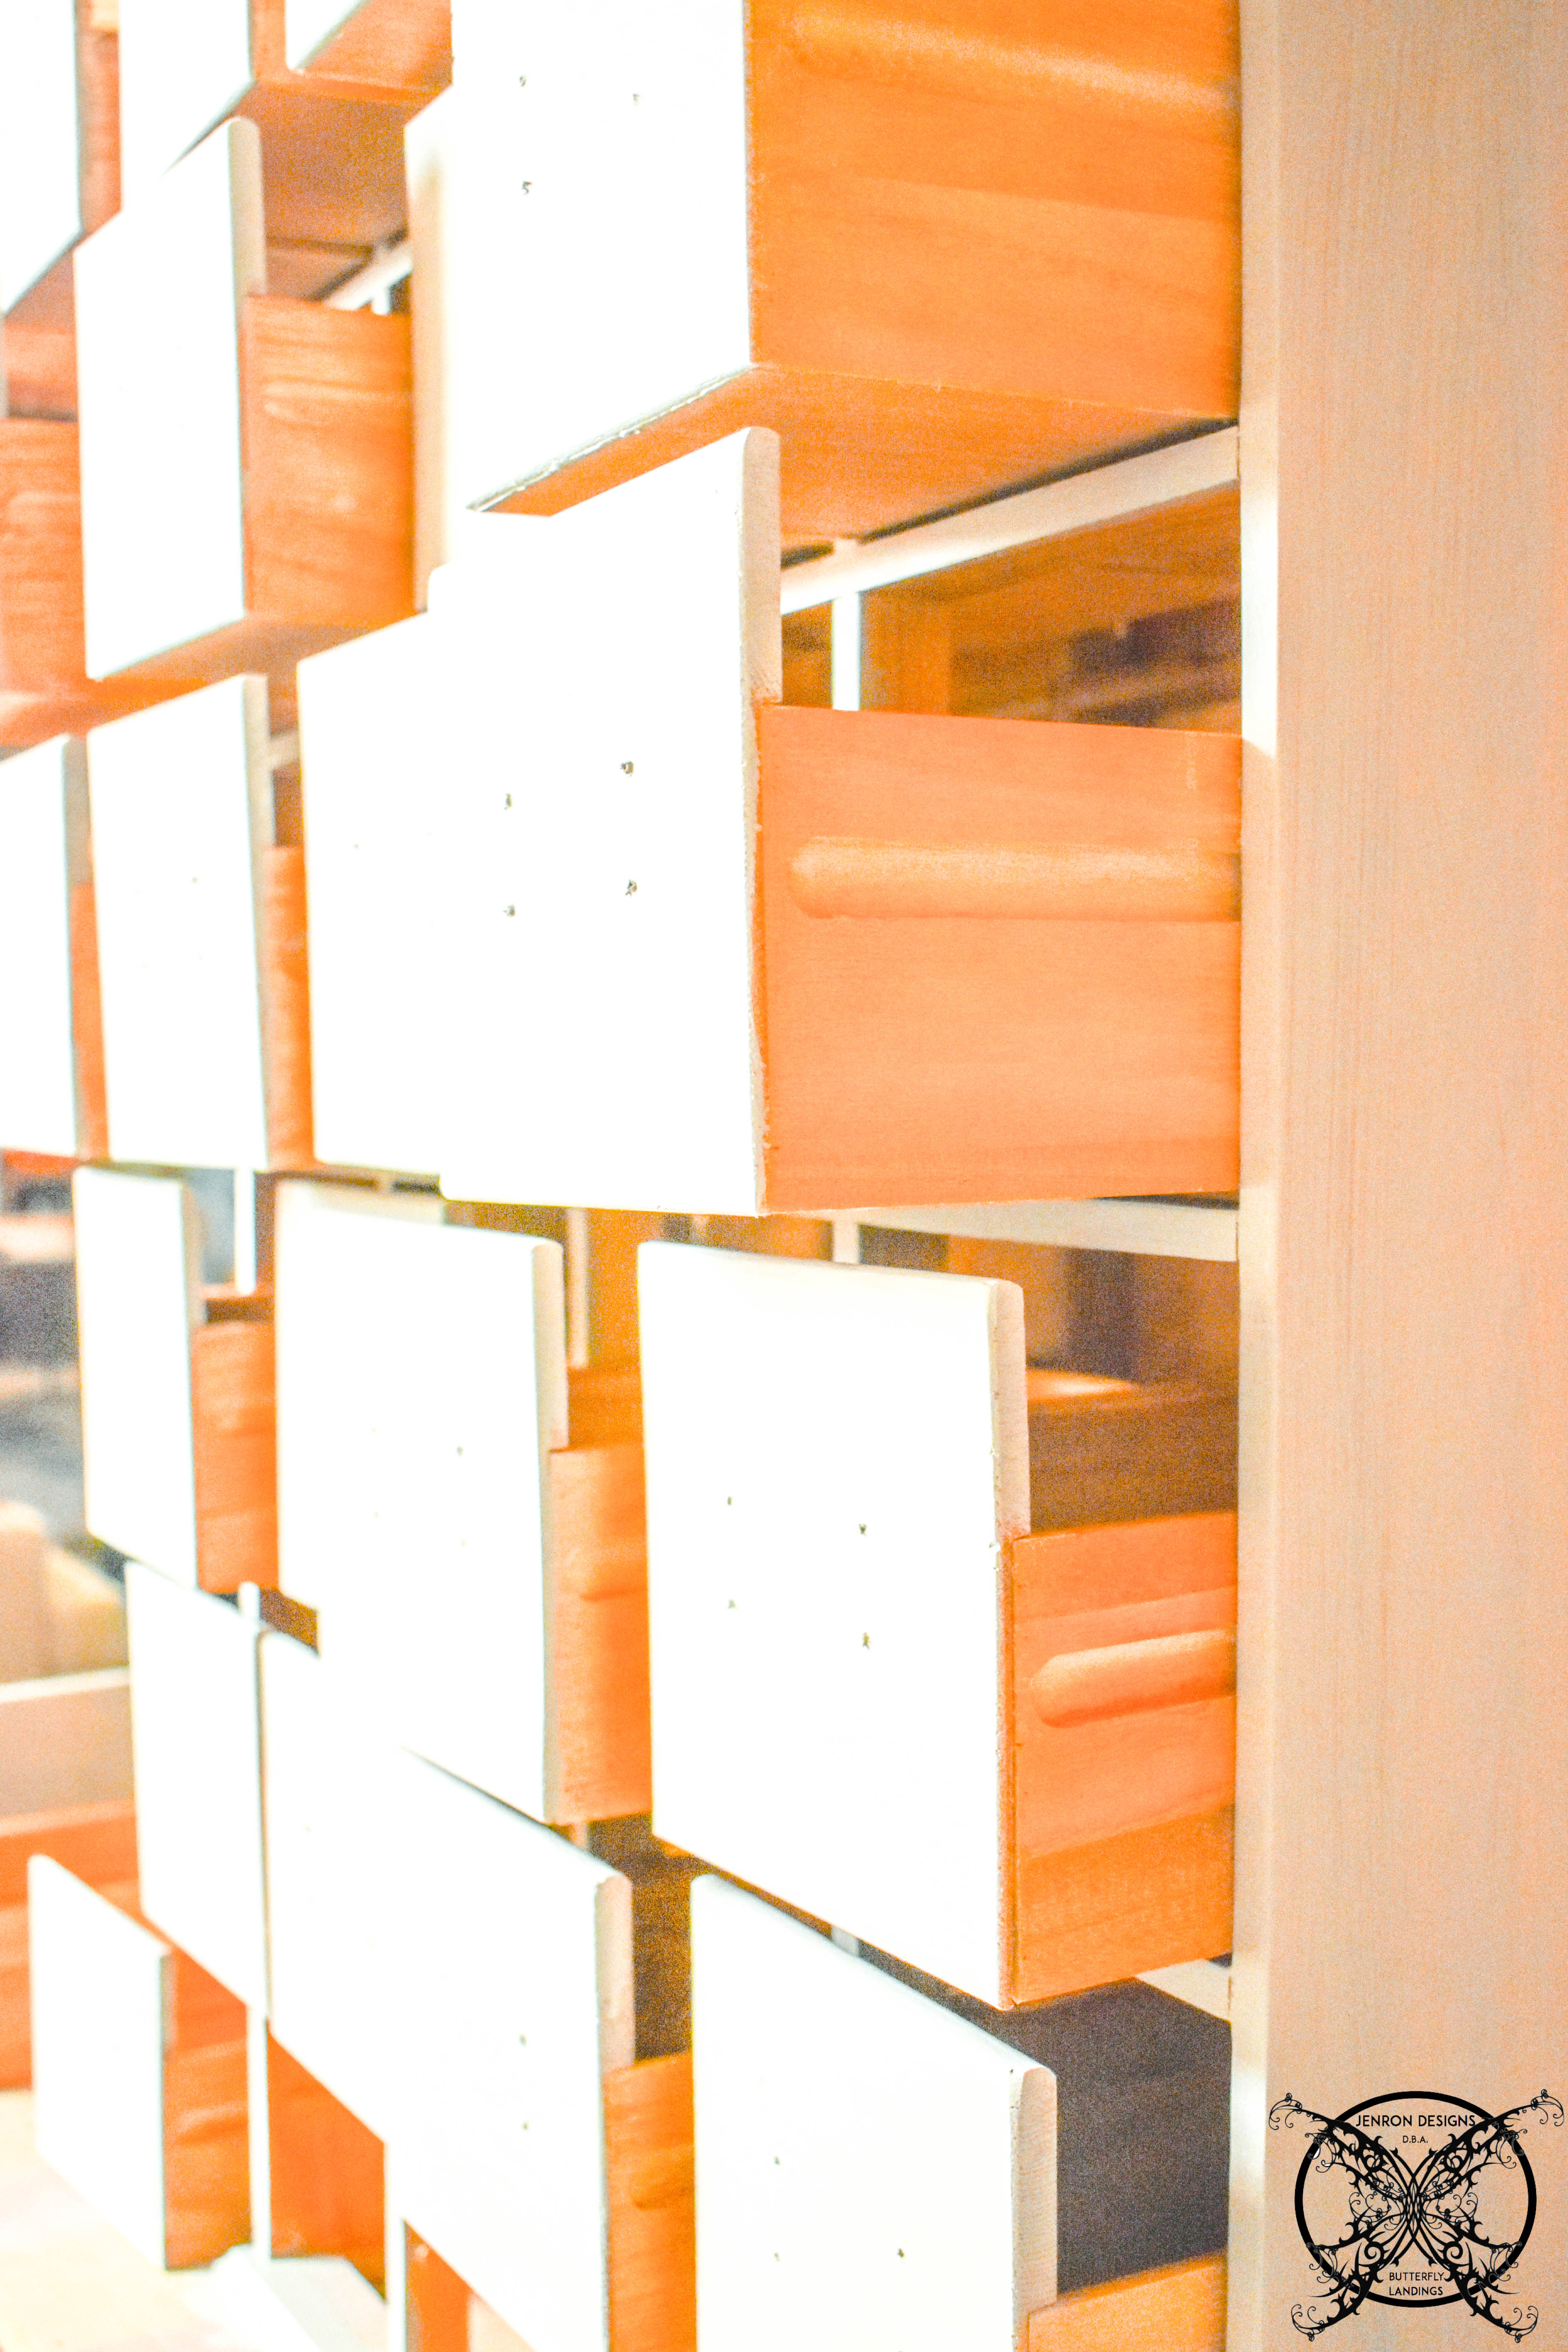
Since the popularity of card catalogues are on the rise, they have become very hard to find. Generally libraries only had one catalogue per library. Back in the day not every city even had a library, only the larger cities and schools. So it boils down to basic supply and demand. I am seeing an influx in a lot of replicas, or items that are similar to what I have just created right here. So if you are looking for an authentic one, make sure to do your homework first and know exactly what you are looking at.
 Once my piece was dry, I waxed the chalk paint to seal it and reinstalled the hardware back to the drawers and it is already to go up for the Linen Closet Organization as my new Apothecaries Chest. These little drawers are going to be perfect for medications, cotton balls and Band Aids.
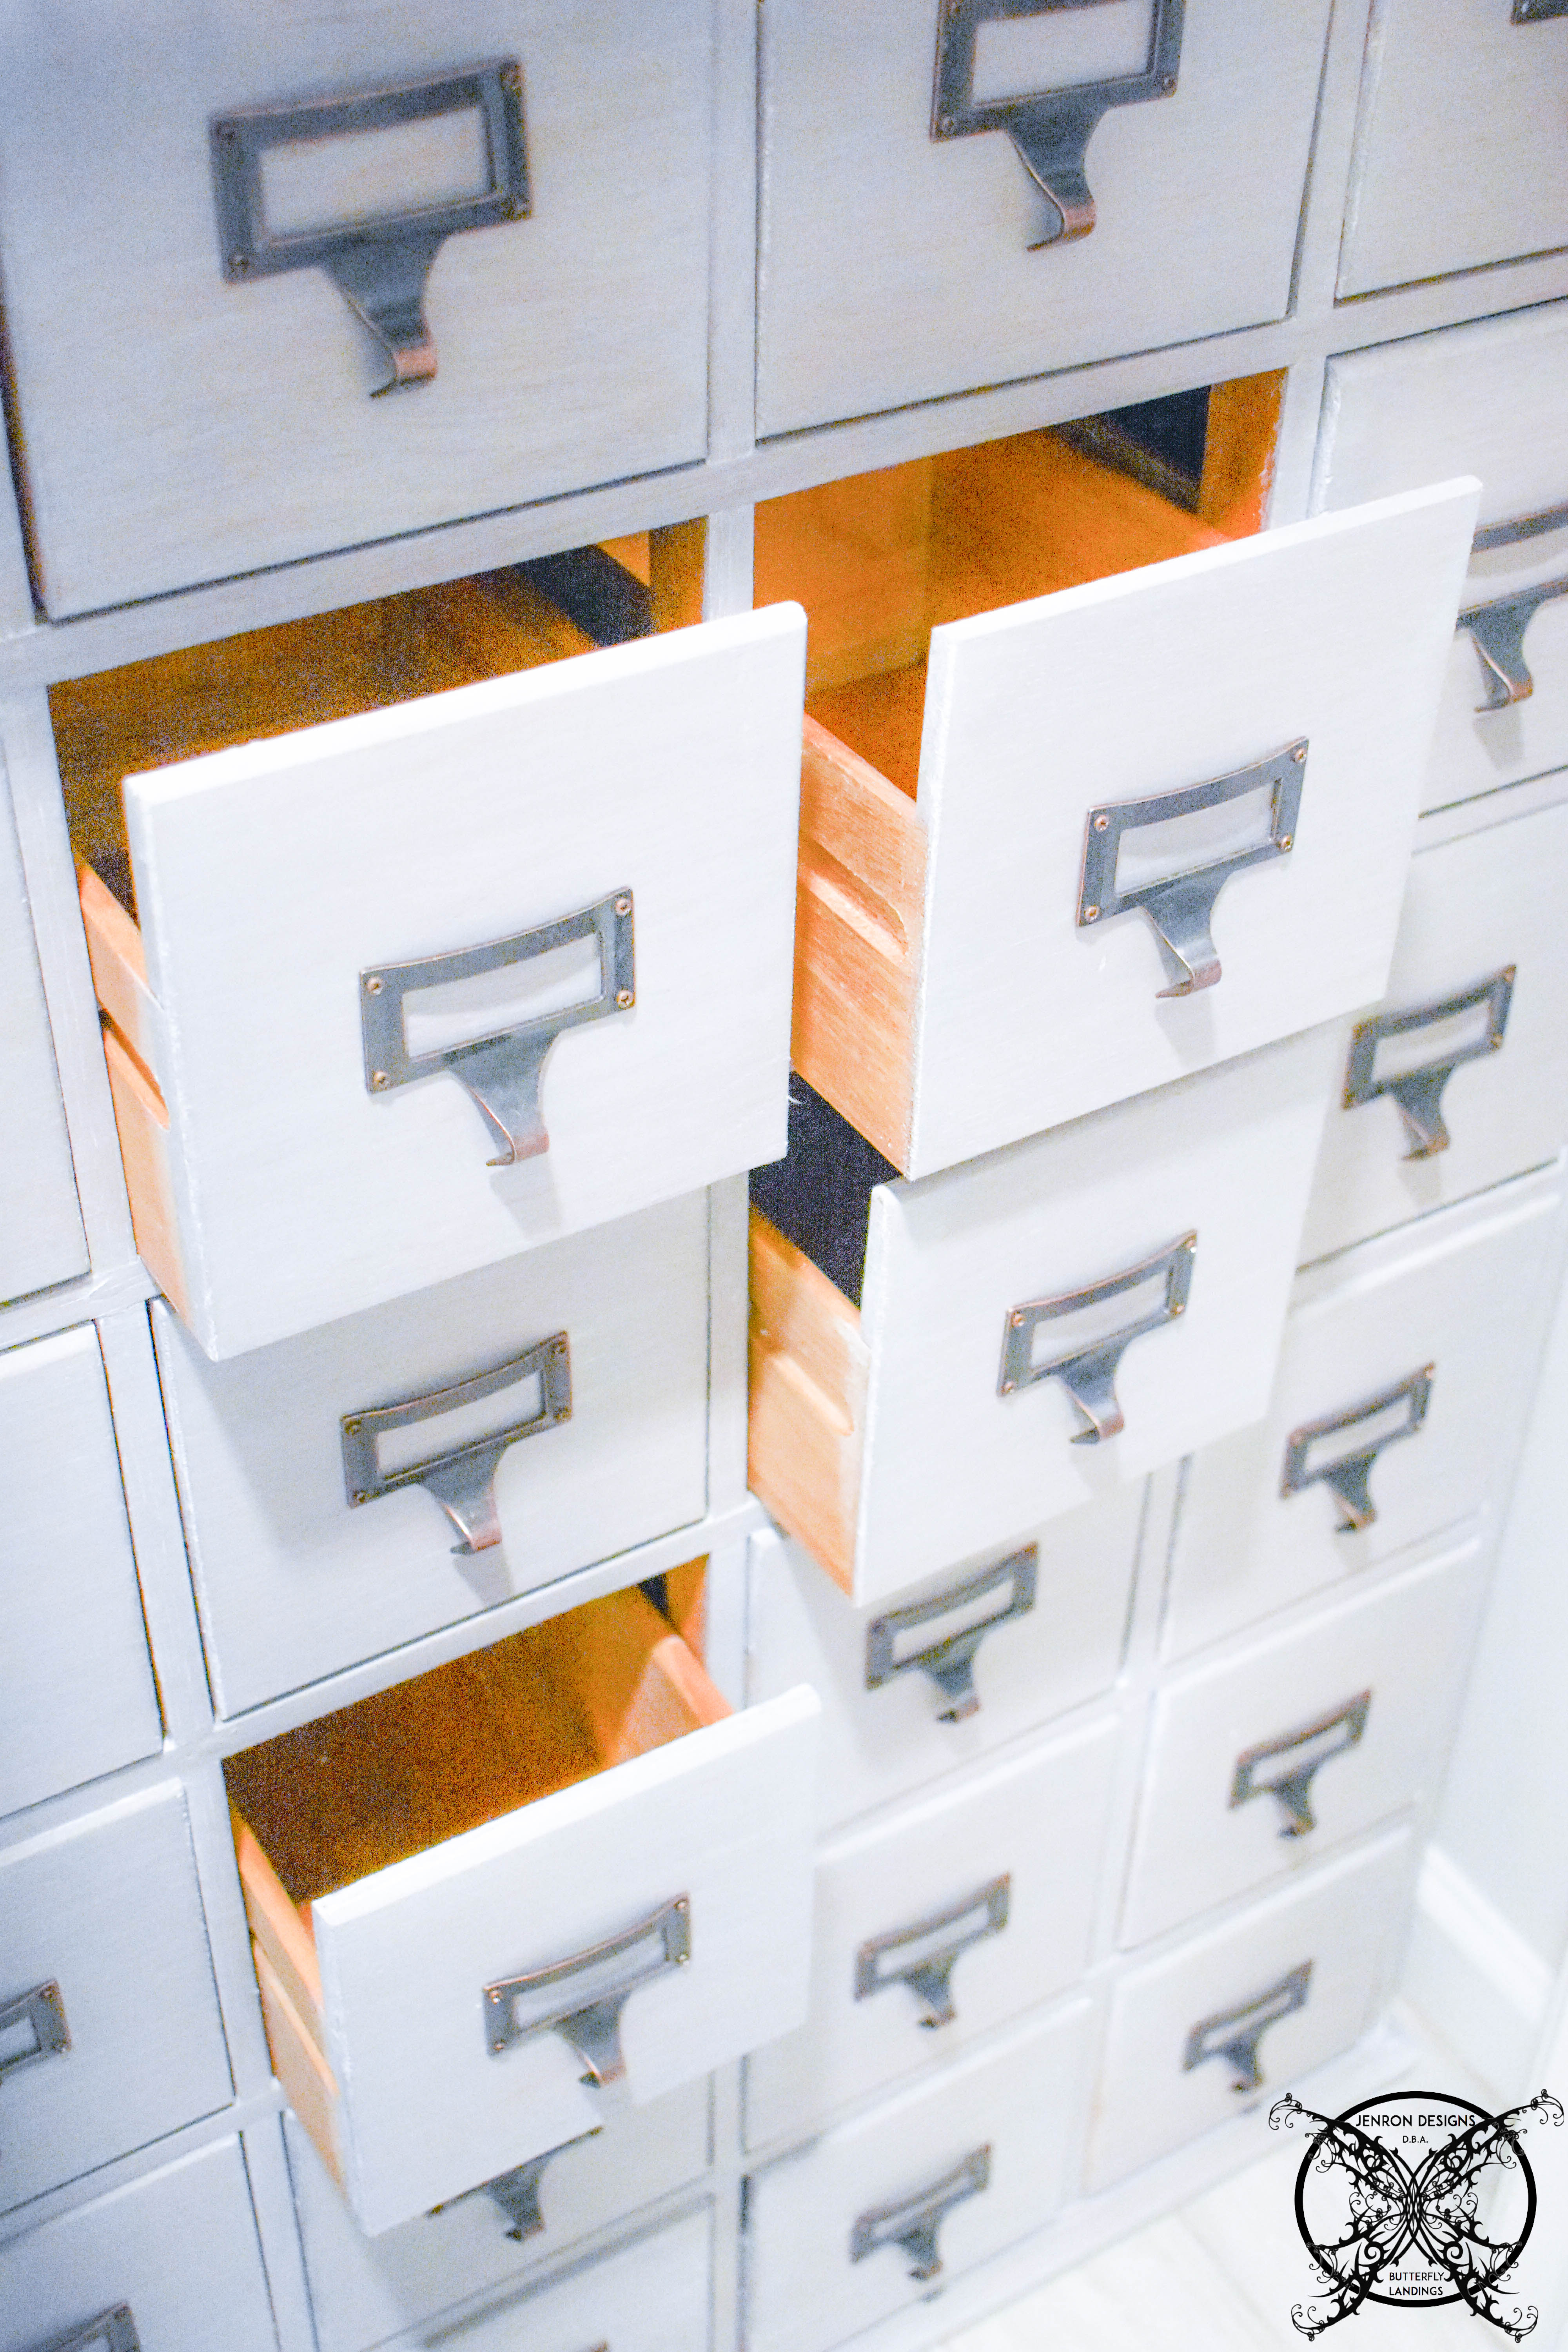
LINEN CLOSET ORGANIZATION:
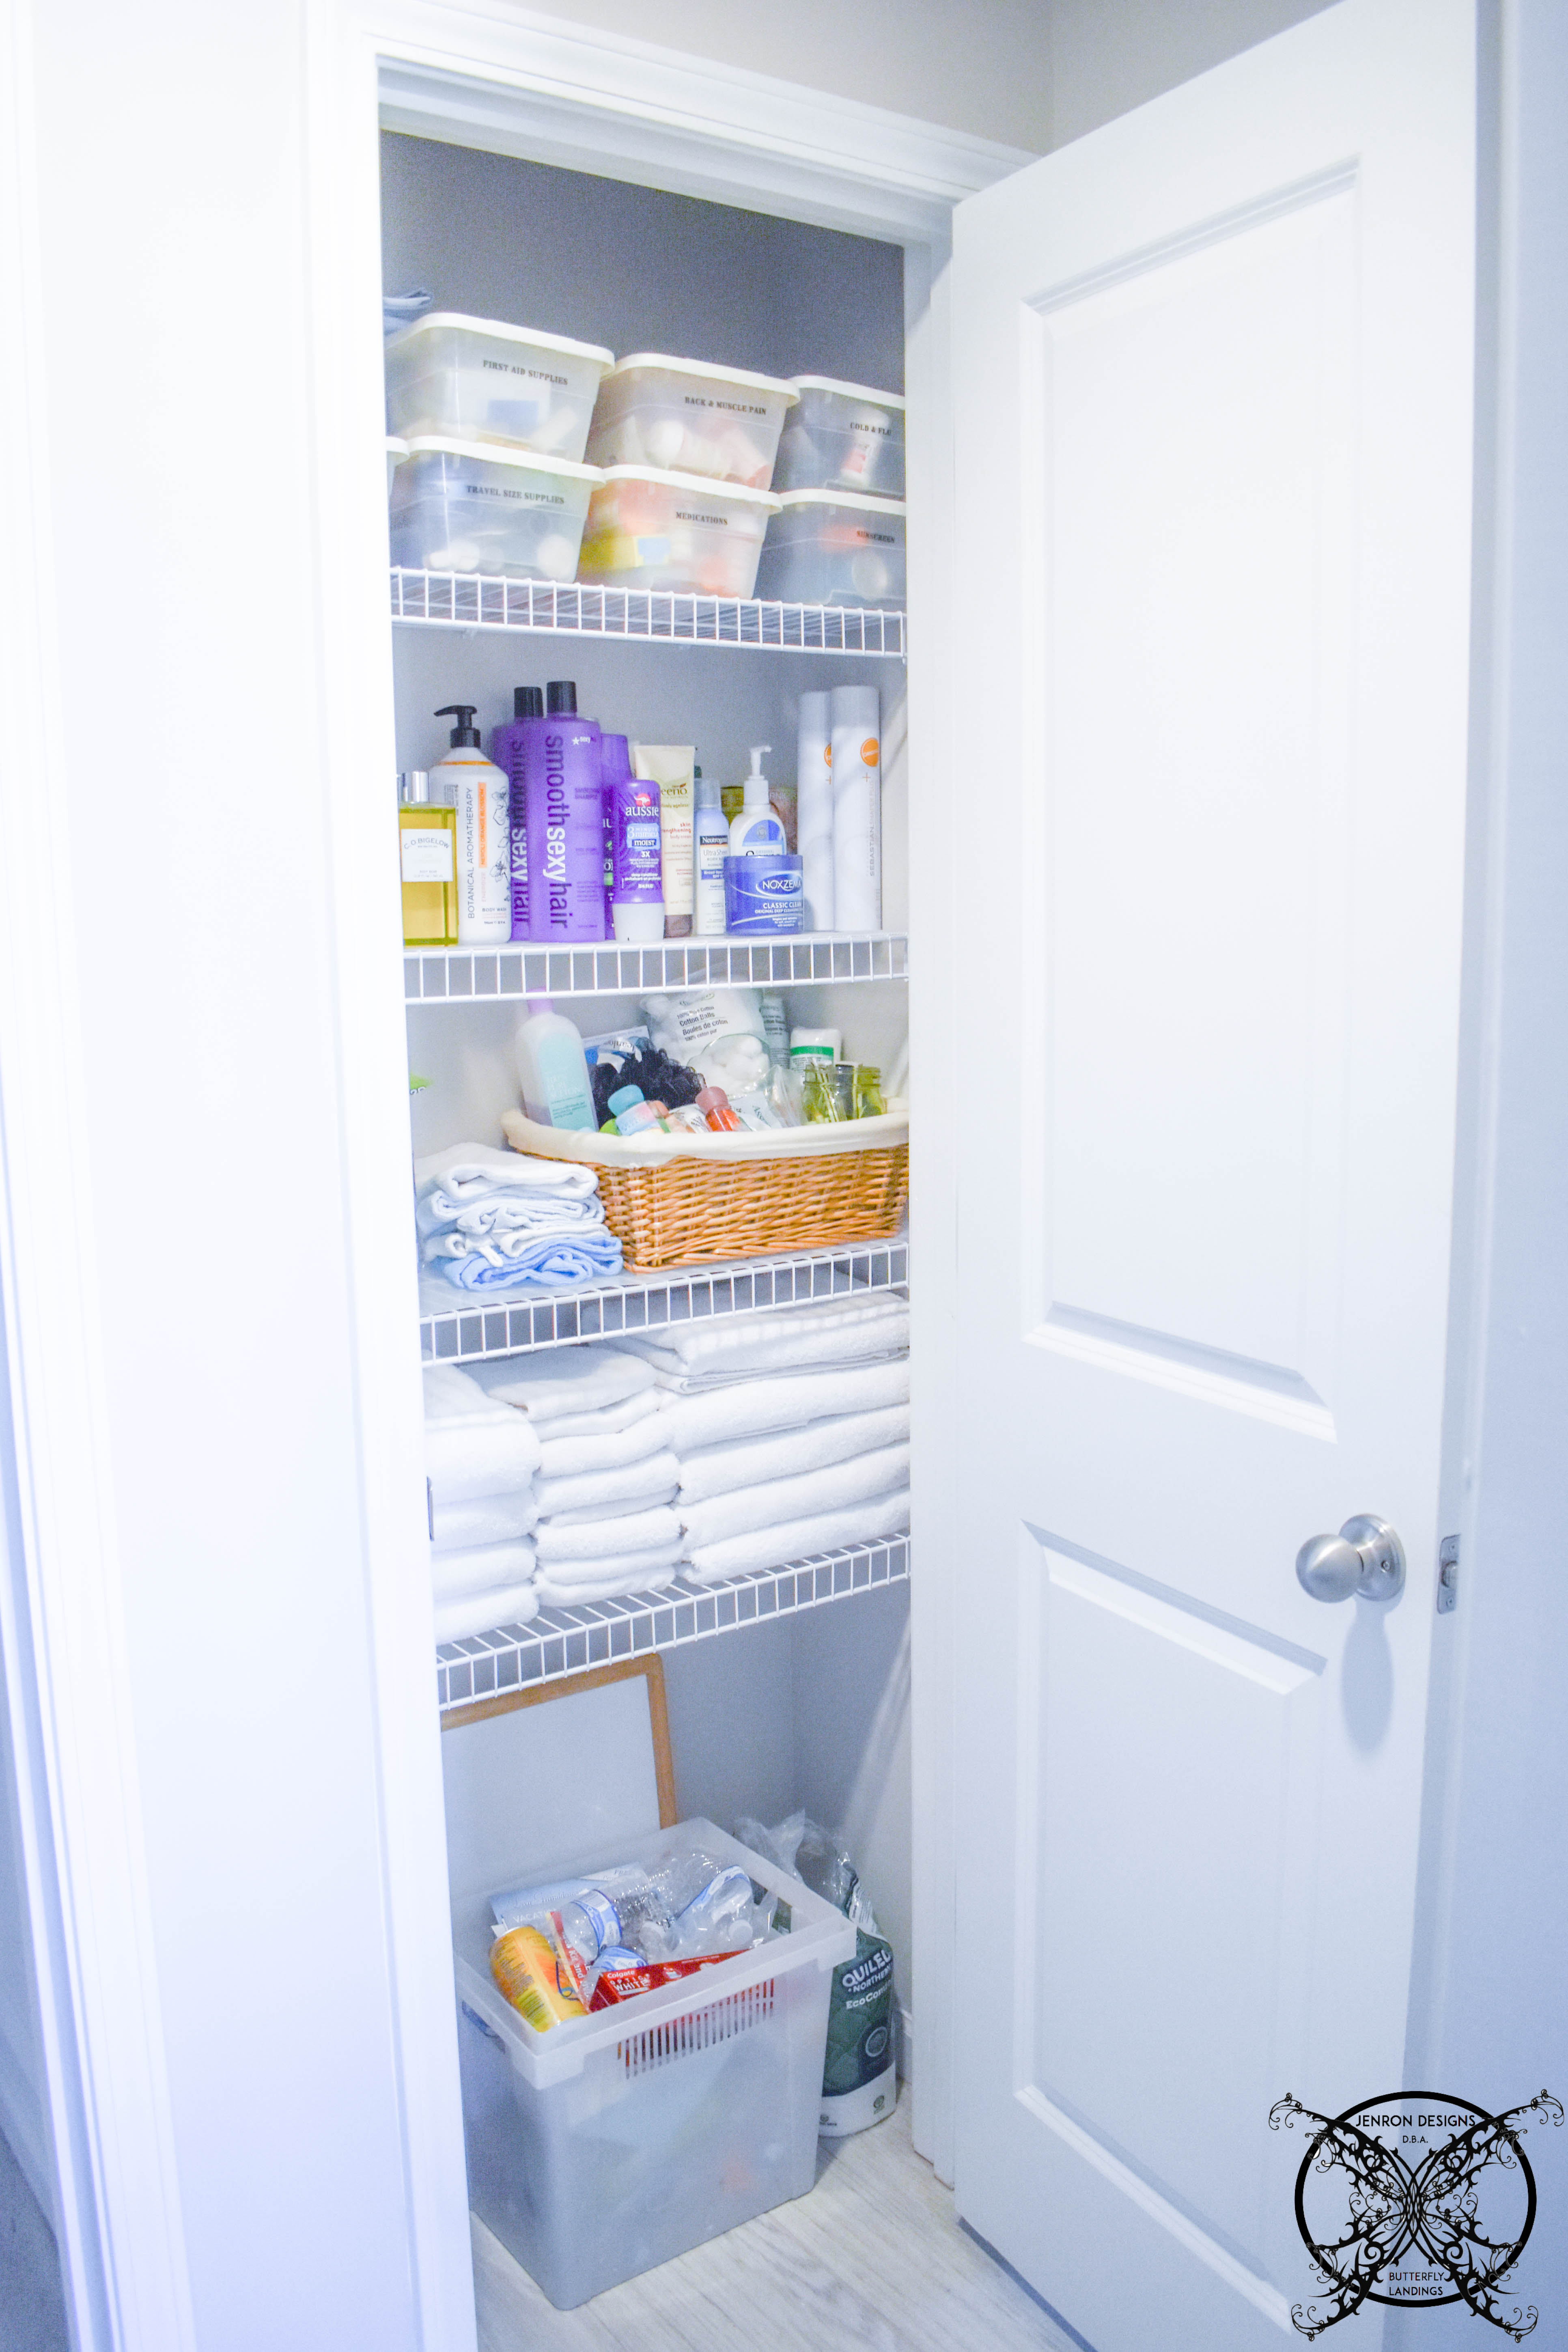
This was the before picture of our linen closet. We have the basic wire shelves which I don’t think are very attractive to look at. Even though they are very functional, allowing air circulation around your towels unlike wooden shelves. Which keeps your towels from getting that musty smell that may remind you of your grandmothers old linen closet. See it really was not her fault, just a lack of materials back then.
 I developed a way to cover the ugly wire in a previous linen closet last year, by using a fascia board to cover only the front rail and still keep the wire rack for air circulation. I loved the look so much that I just knew I had to replicate the look into this linen closet as well. Plus, it matches the UFP Edge Barnwood that I used on my mirrors too!
They now make a PVC version of this available on Amazon (see give someone an idea lol). The only feedback is they are solid so no light get through and it does make your closets darker so keep that in mind, however it does keep things from falling through the wire racks which is a win. Here are a few of my favs comes in tons of size options:
Wire Rack Covers for Shelves for Wires Shelves
Homesprit Wooden Wire Shelf Covers for Pantry & Closet
DUHARS 6-Pack PVC Composite Board Wire Rack Covers for Pantry
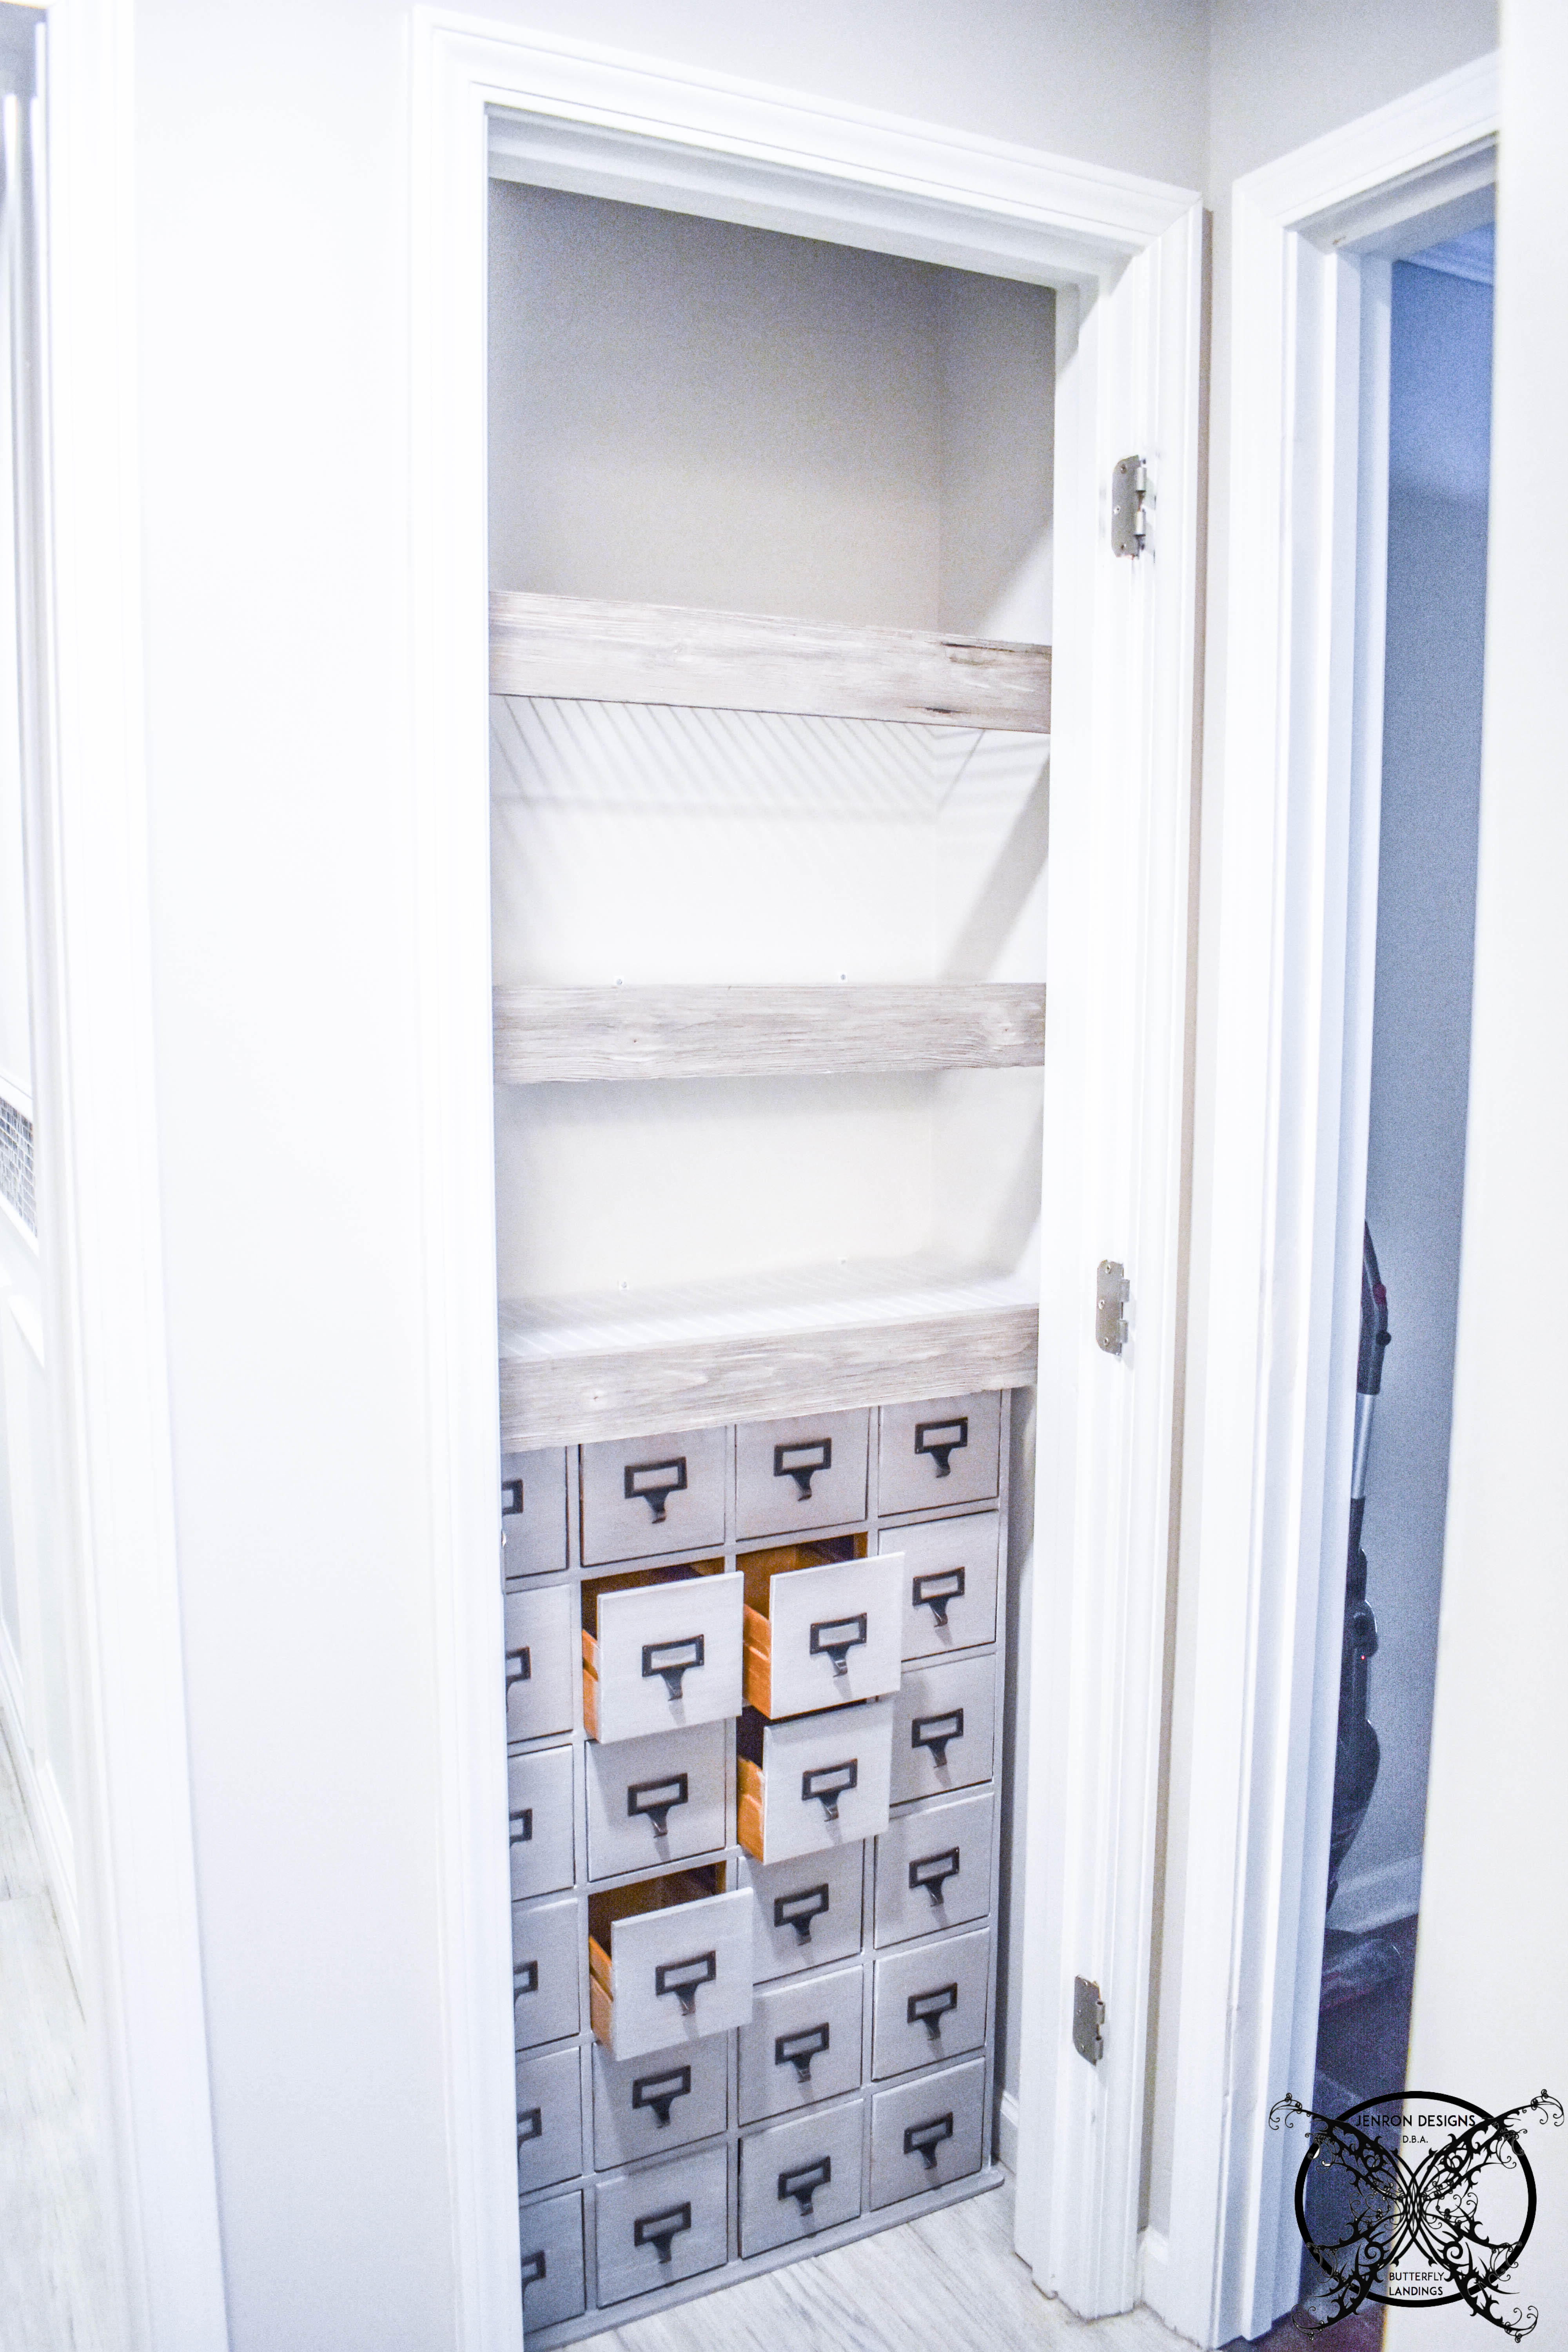 We added the chalk painted card catalogue seen above, to the base of the closet, which was a pretty tight fit, but I had already measured so I knew it would work. We did have to remove one of the wire shelves to accommodate the height of the cabinet. It was absolutely worth it, considering how much the cabinet can hold. We actually gained space by adding this cabinet.
 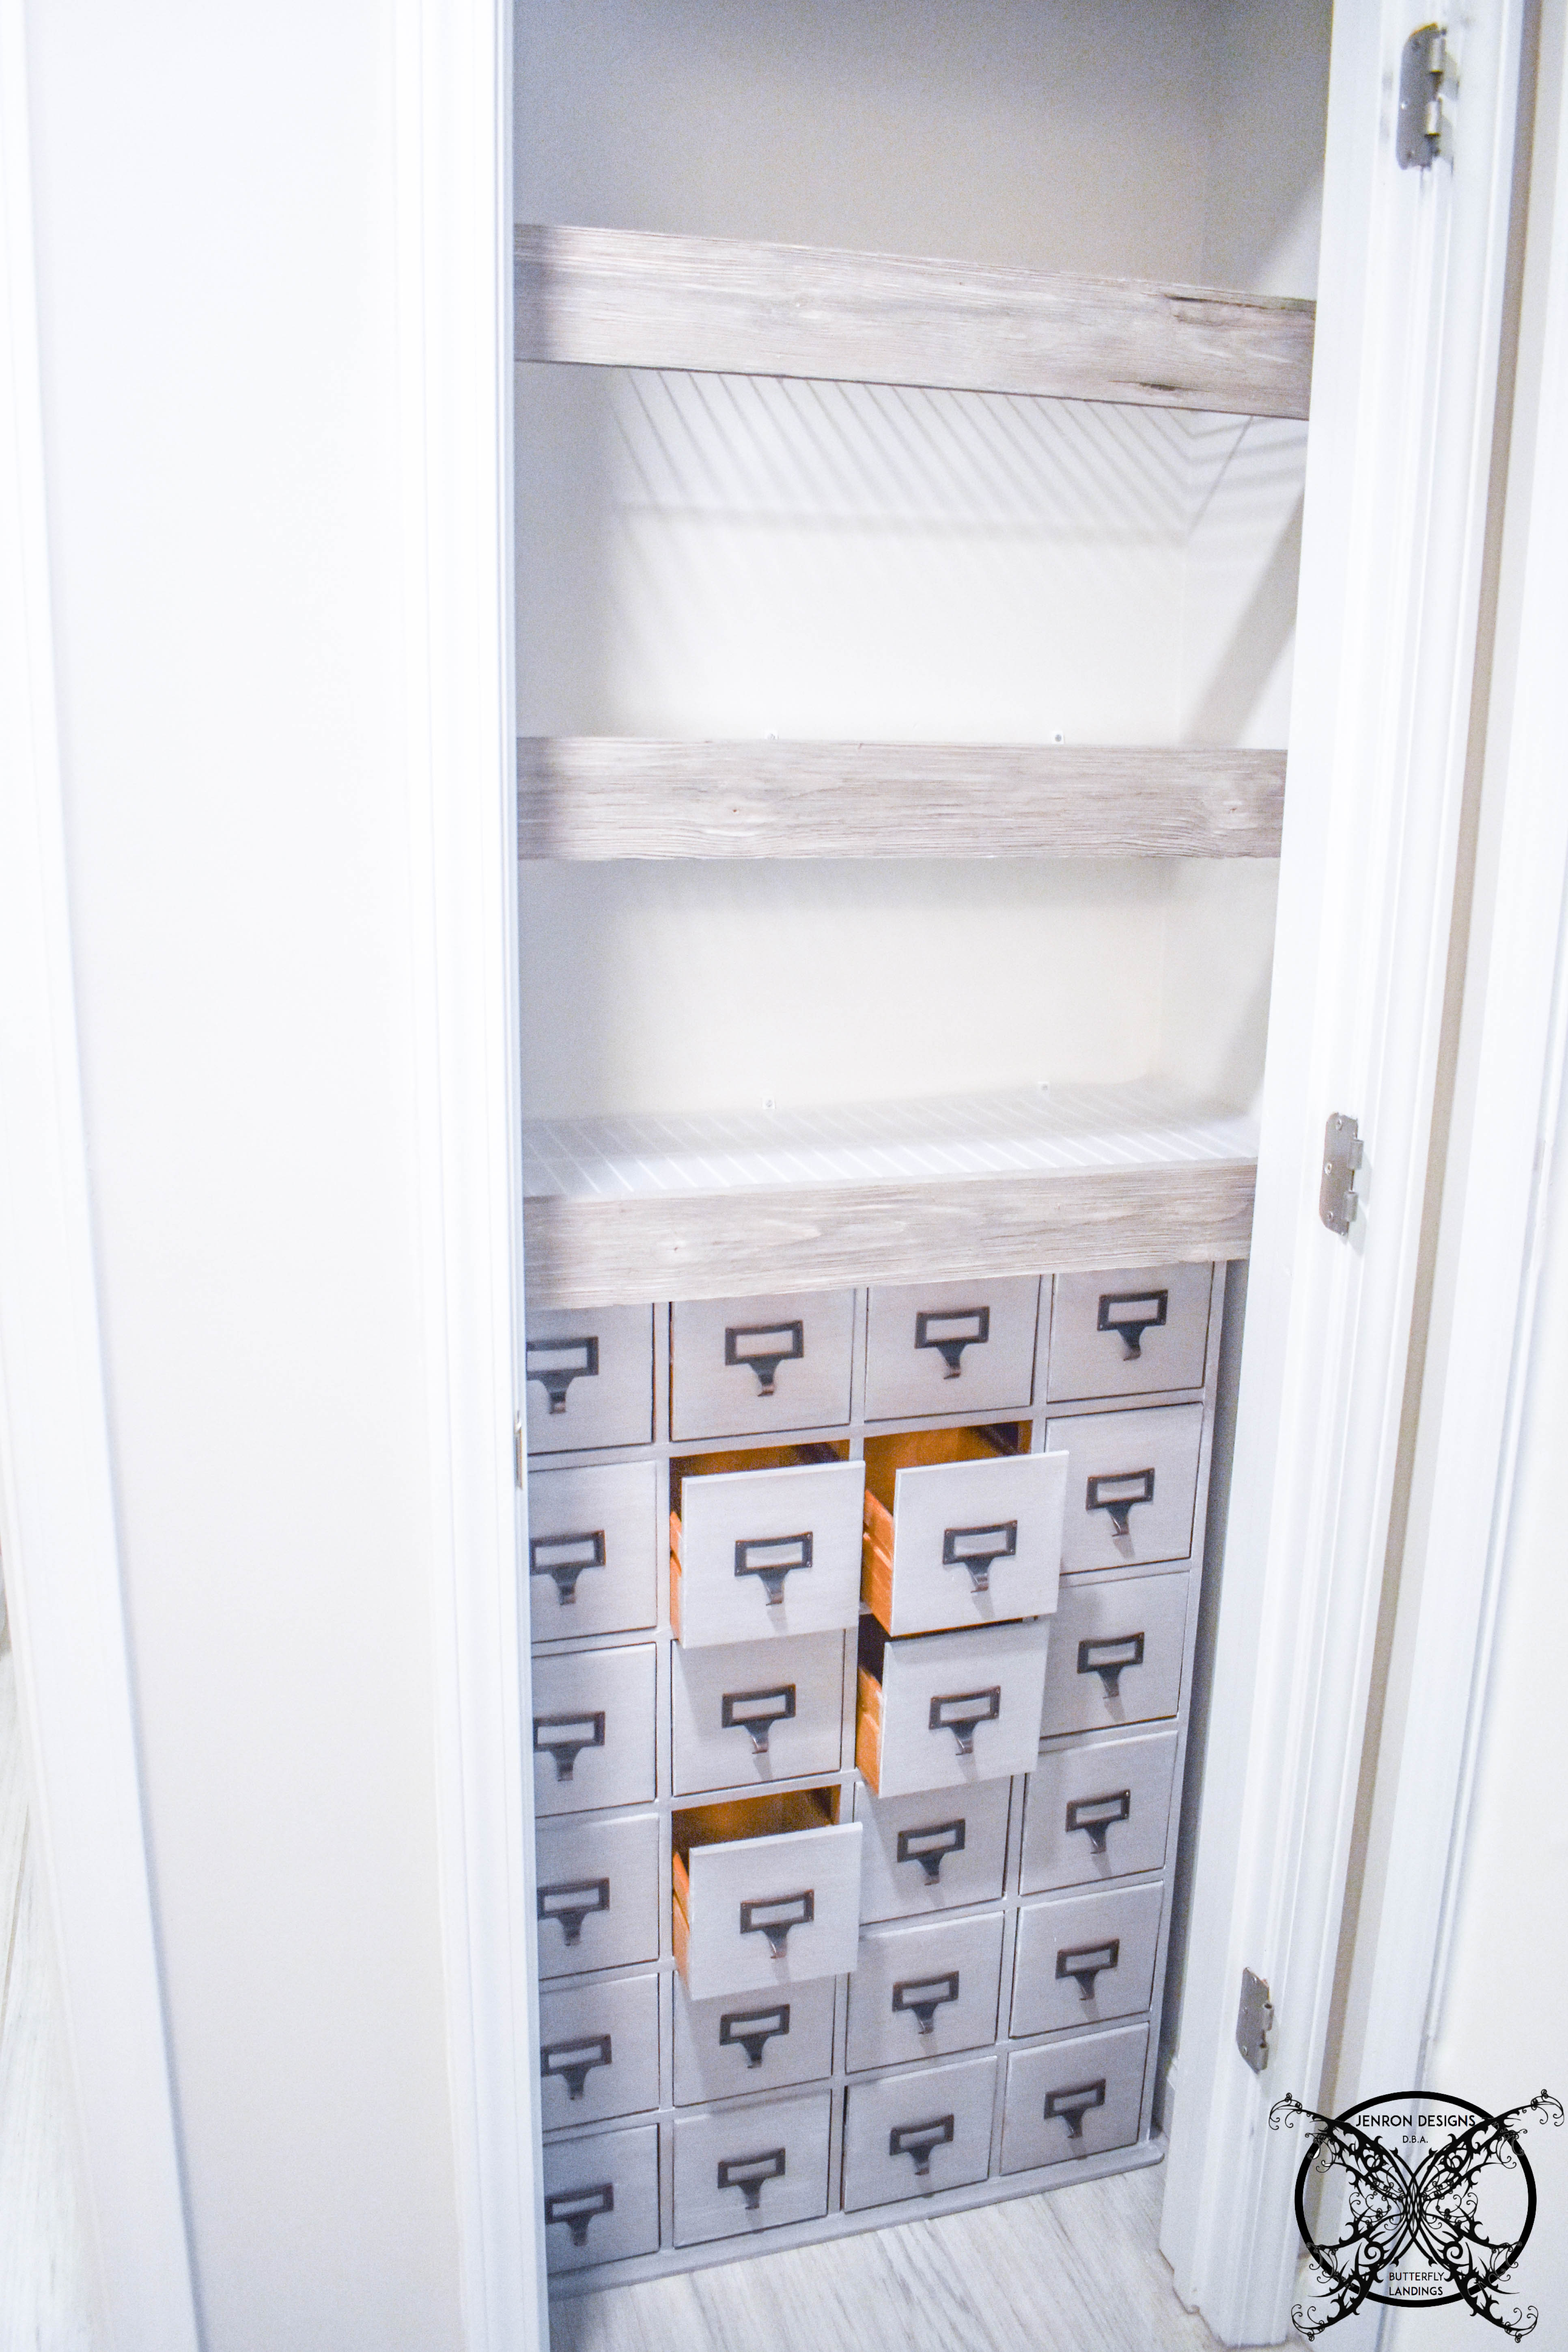 This will now replace all of the plastic totes seen on the top shelf, that was used to house all of our medications, first aid supplies, travel supplies, razors, and tooth bushes. We were also able to add the entire basket of nail supplies, cotton balls, q-tips, cotton pads and many other items to the cabinet.
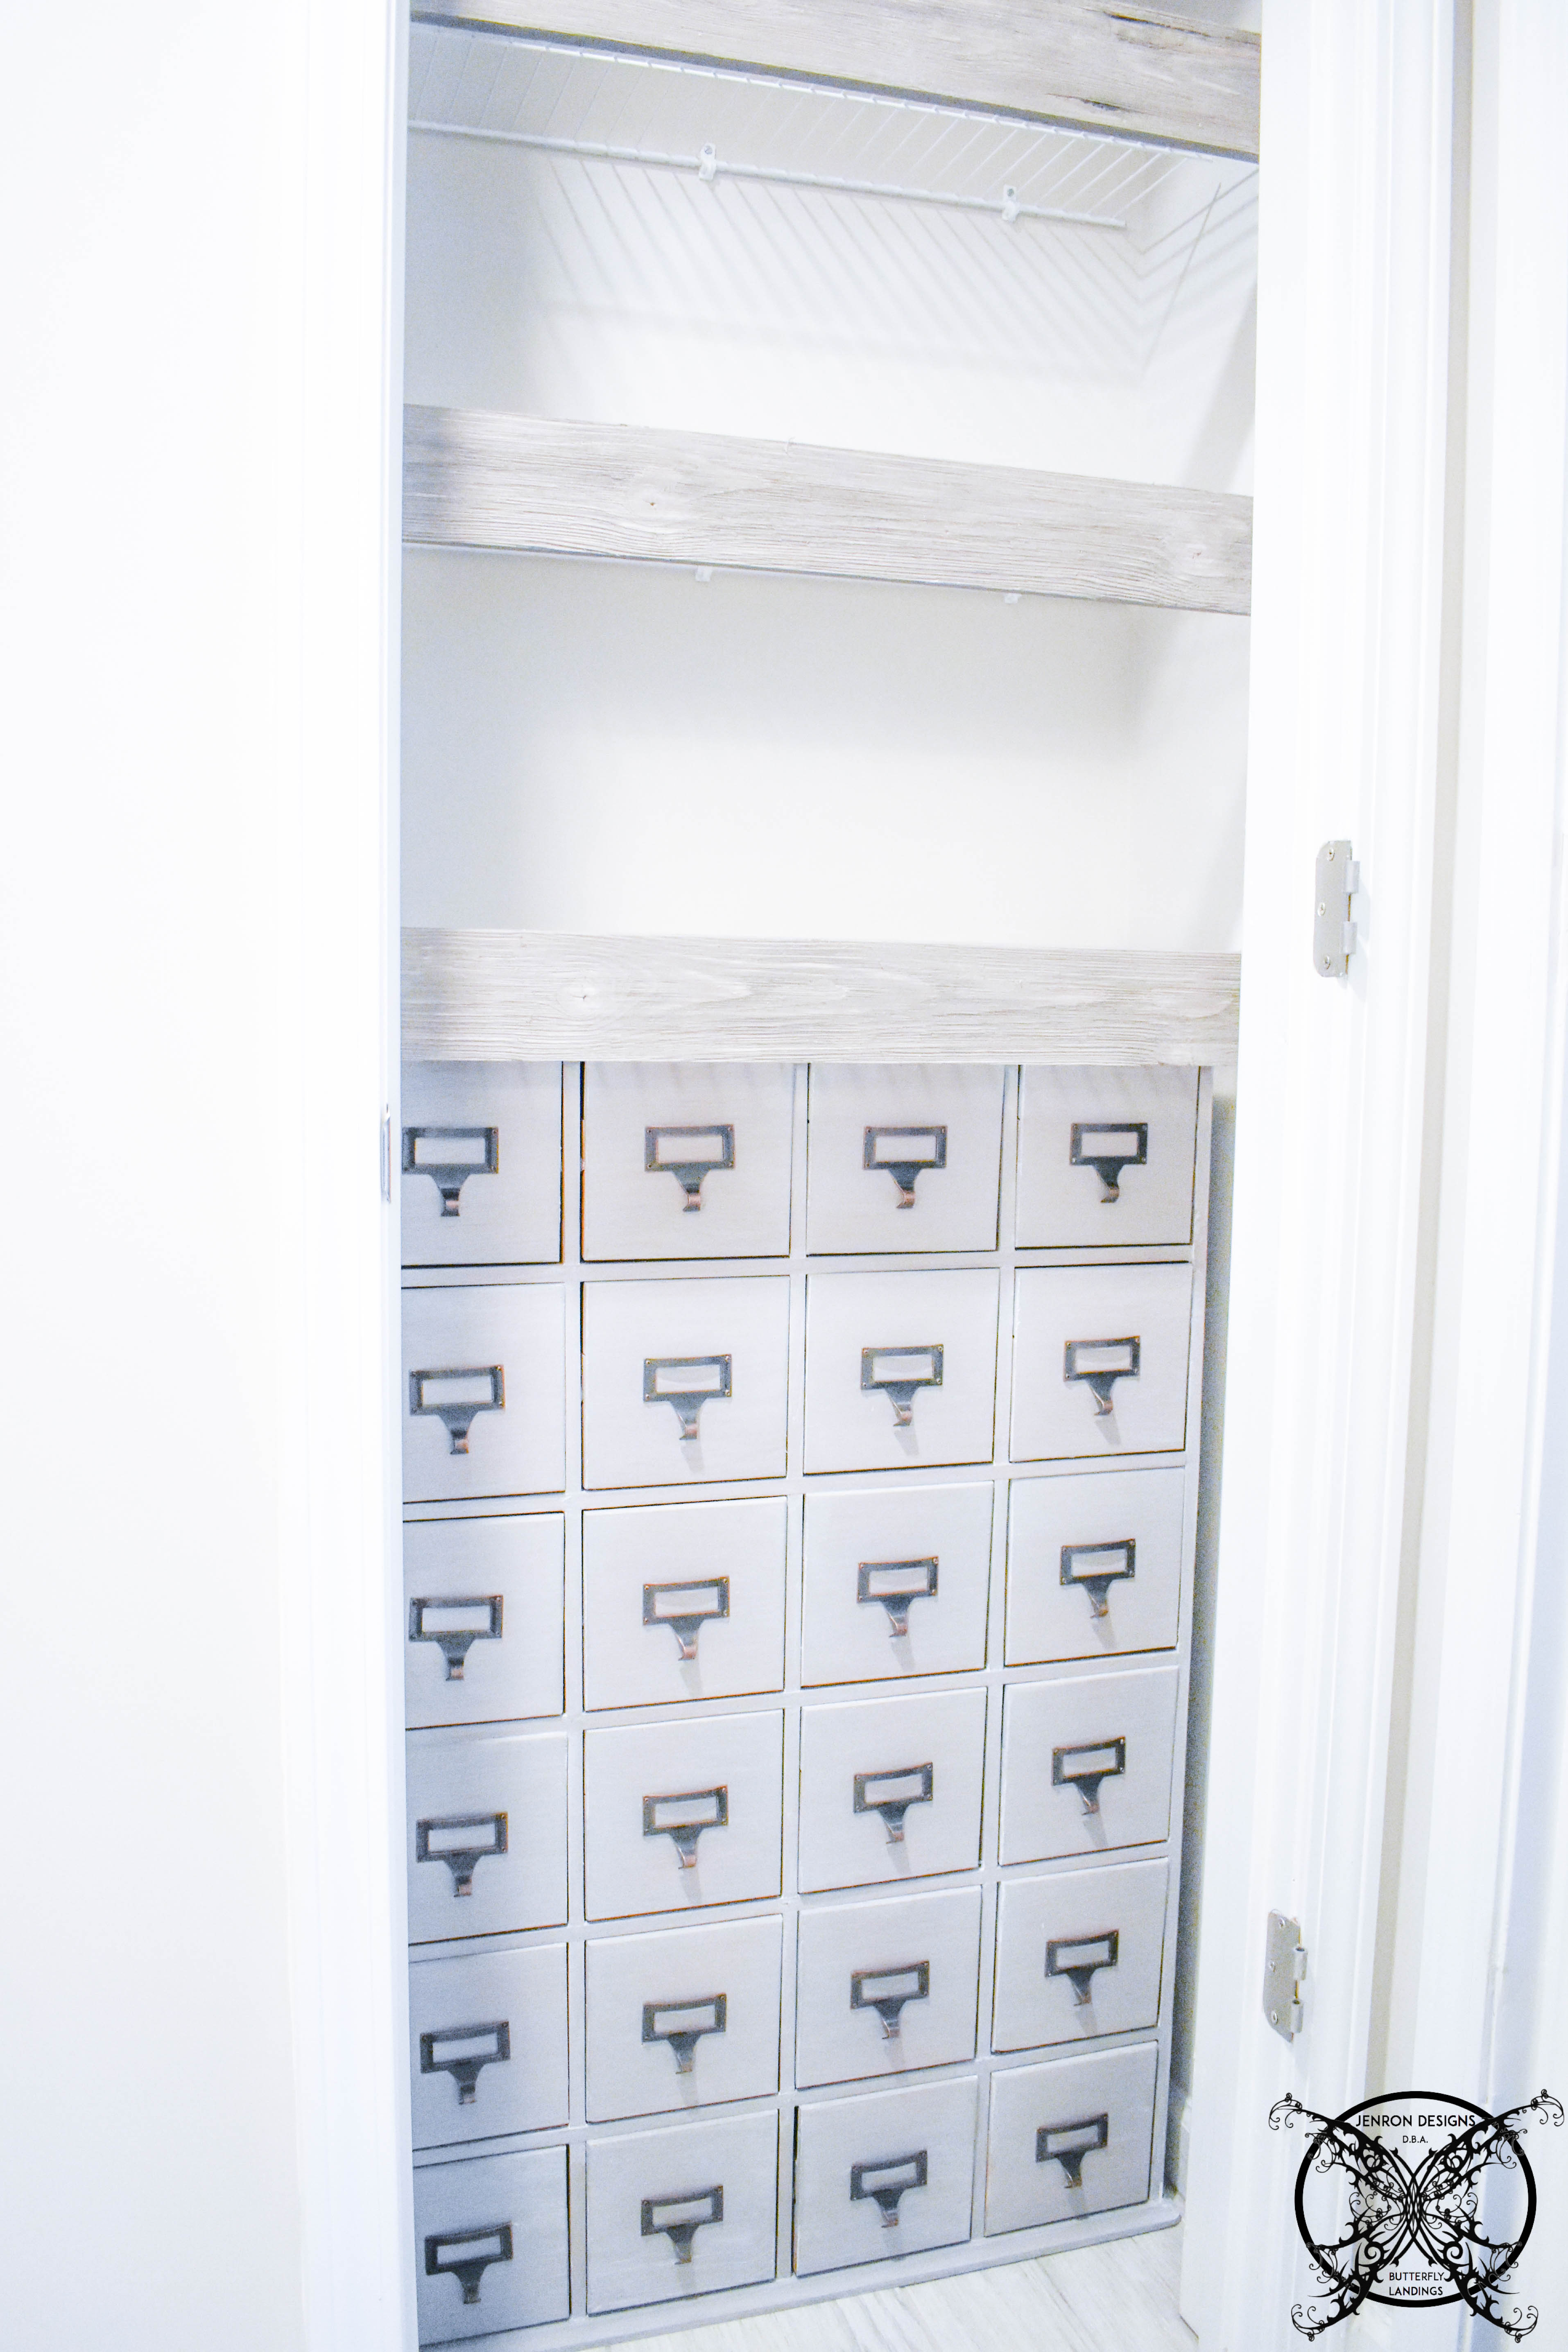 Finally, it was time to add back in the large bulk items like our towels, shampoos, soaps and other toiletries. By eliminating the need for all the miscellaneous baskets and totes, it really streamlined the organization of this linen closet.

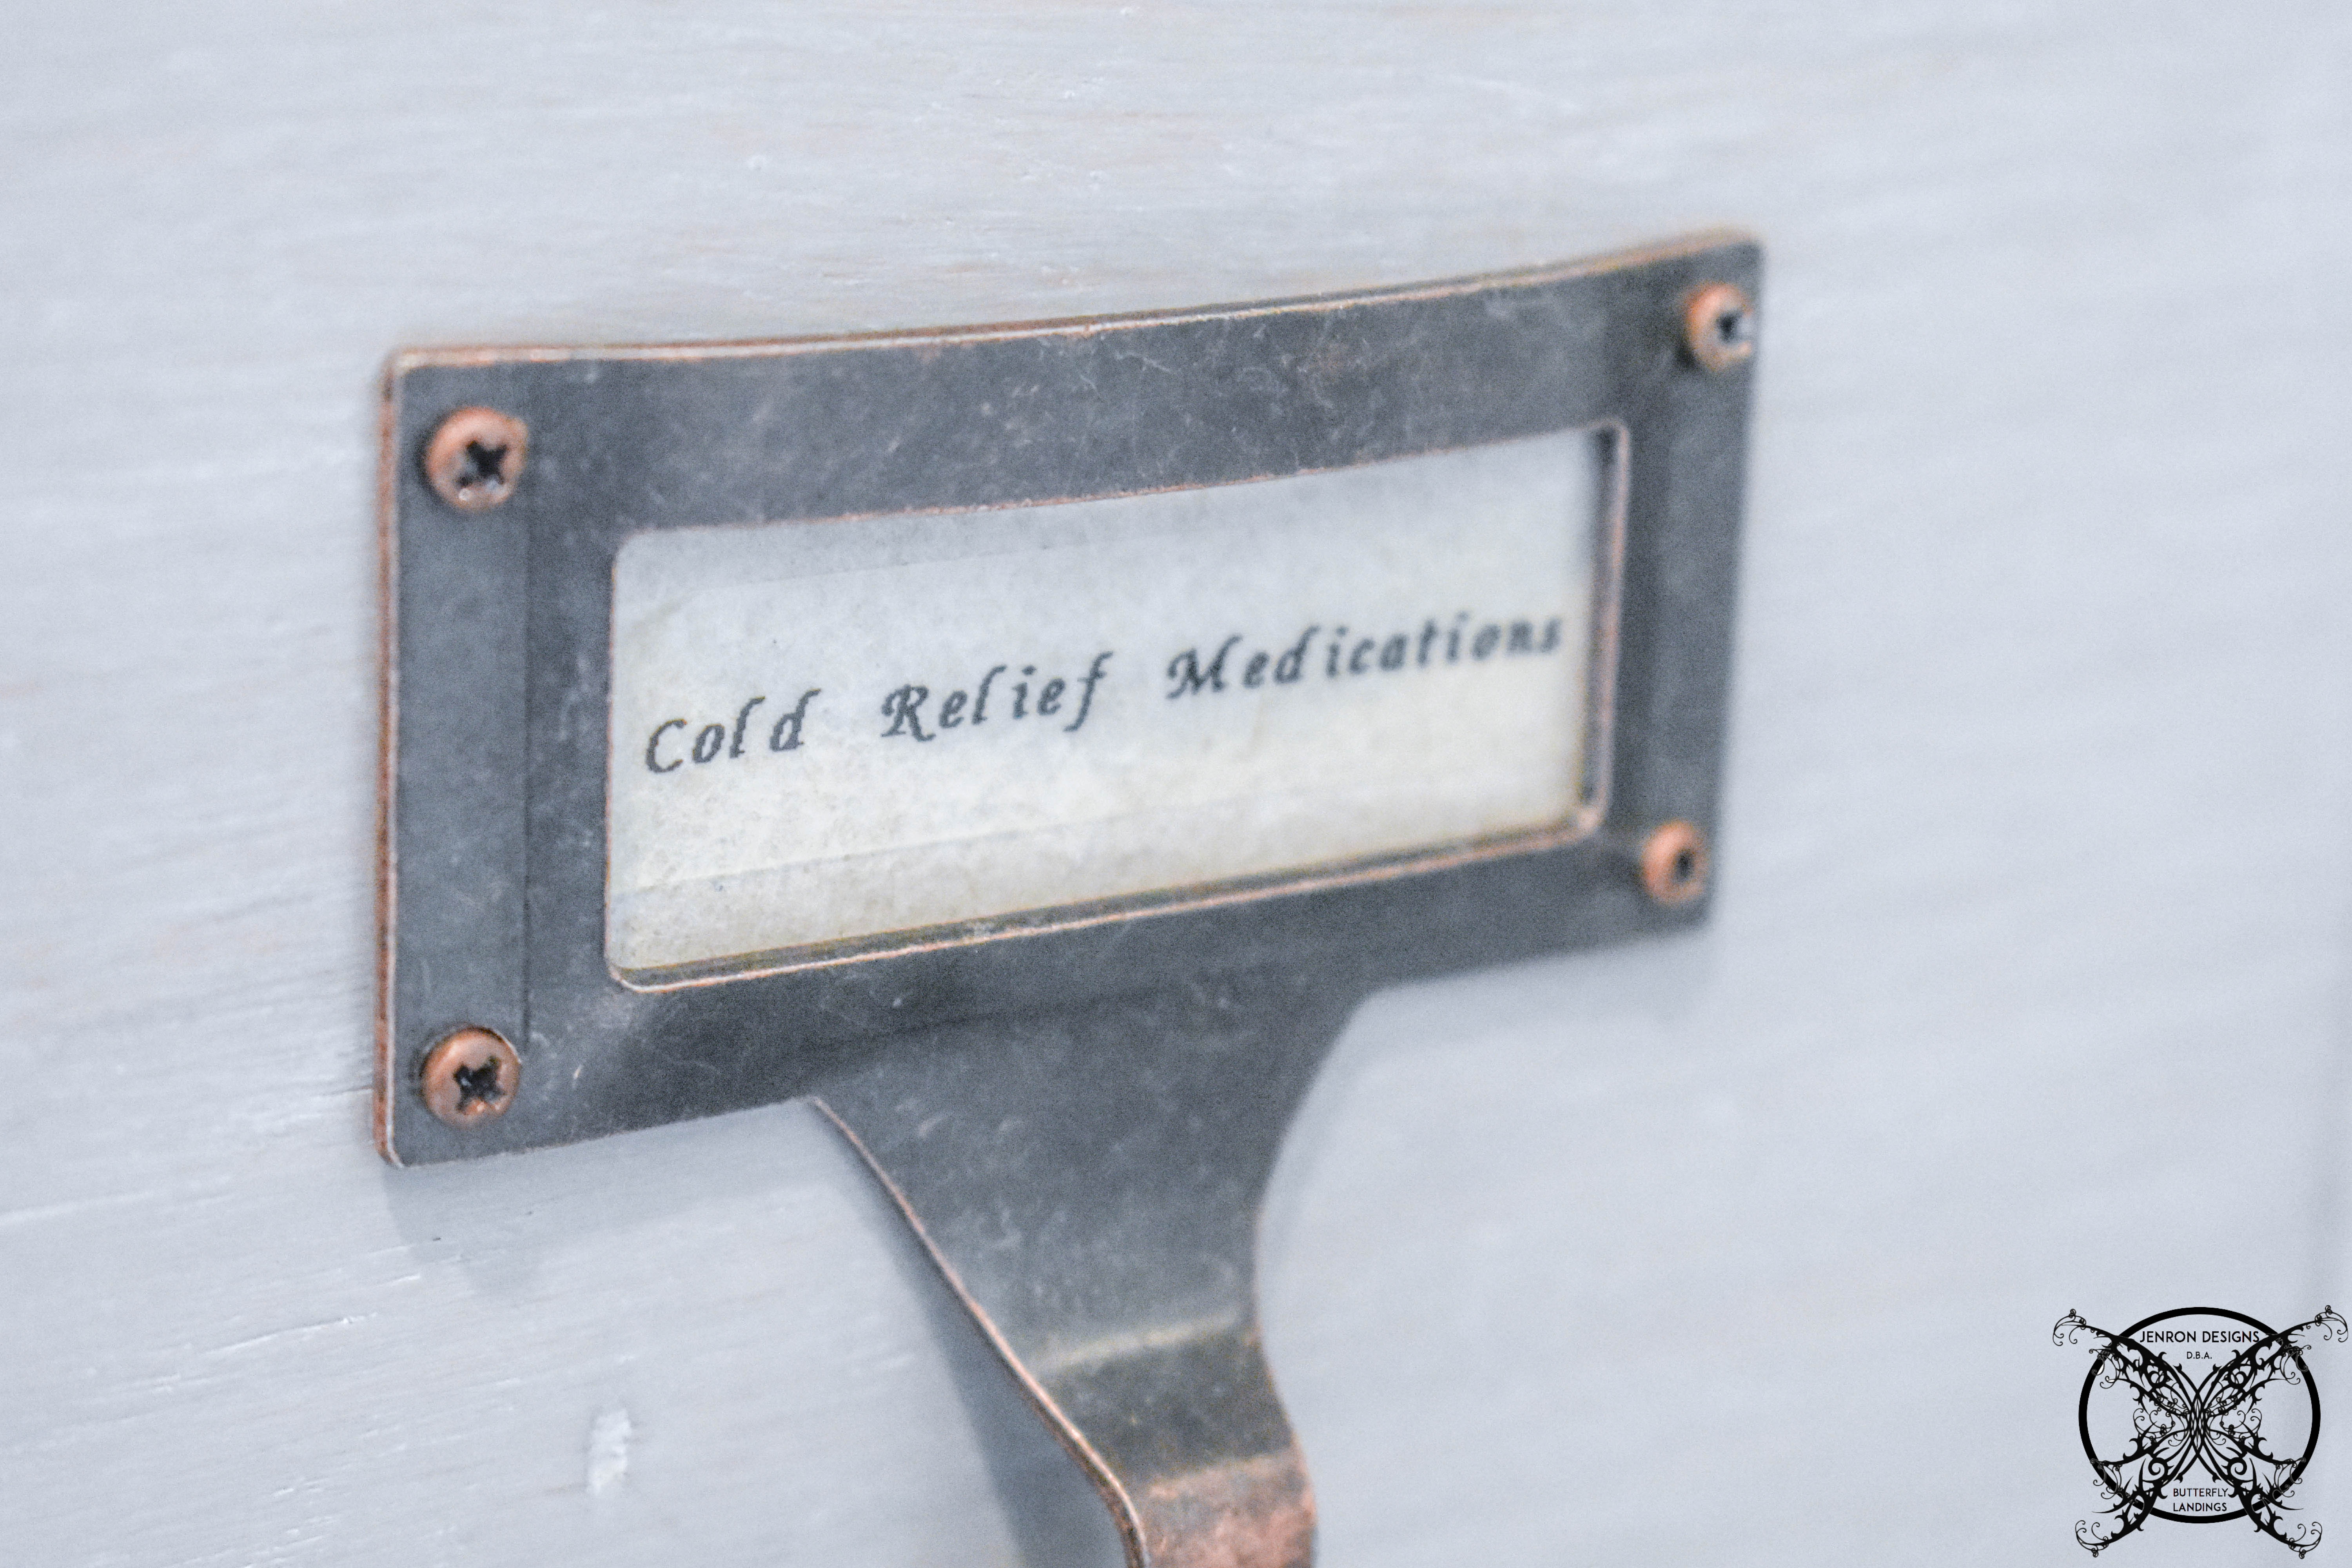
Now the only thing left to do is label each of the drawers with my P-Touch to soothe all my OCD requirements, LOL! I thought it would be cute to use a clear label and showcase the provided gray craft paper tags. 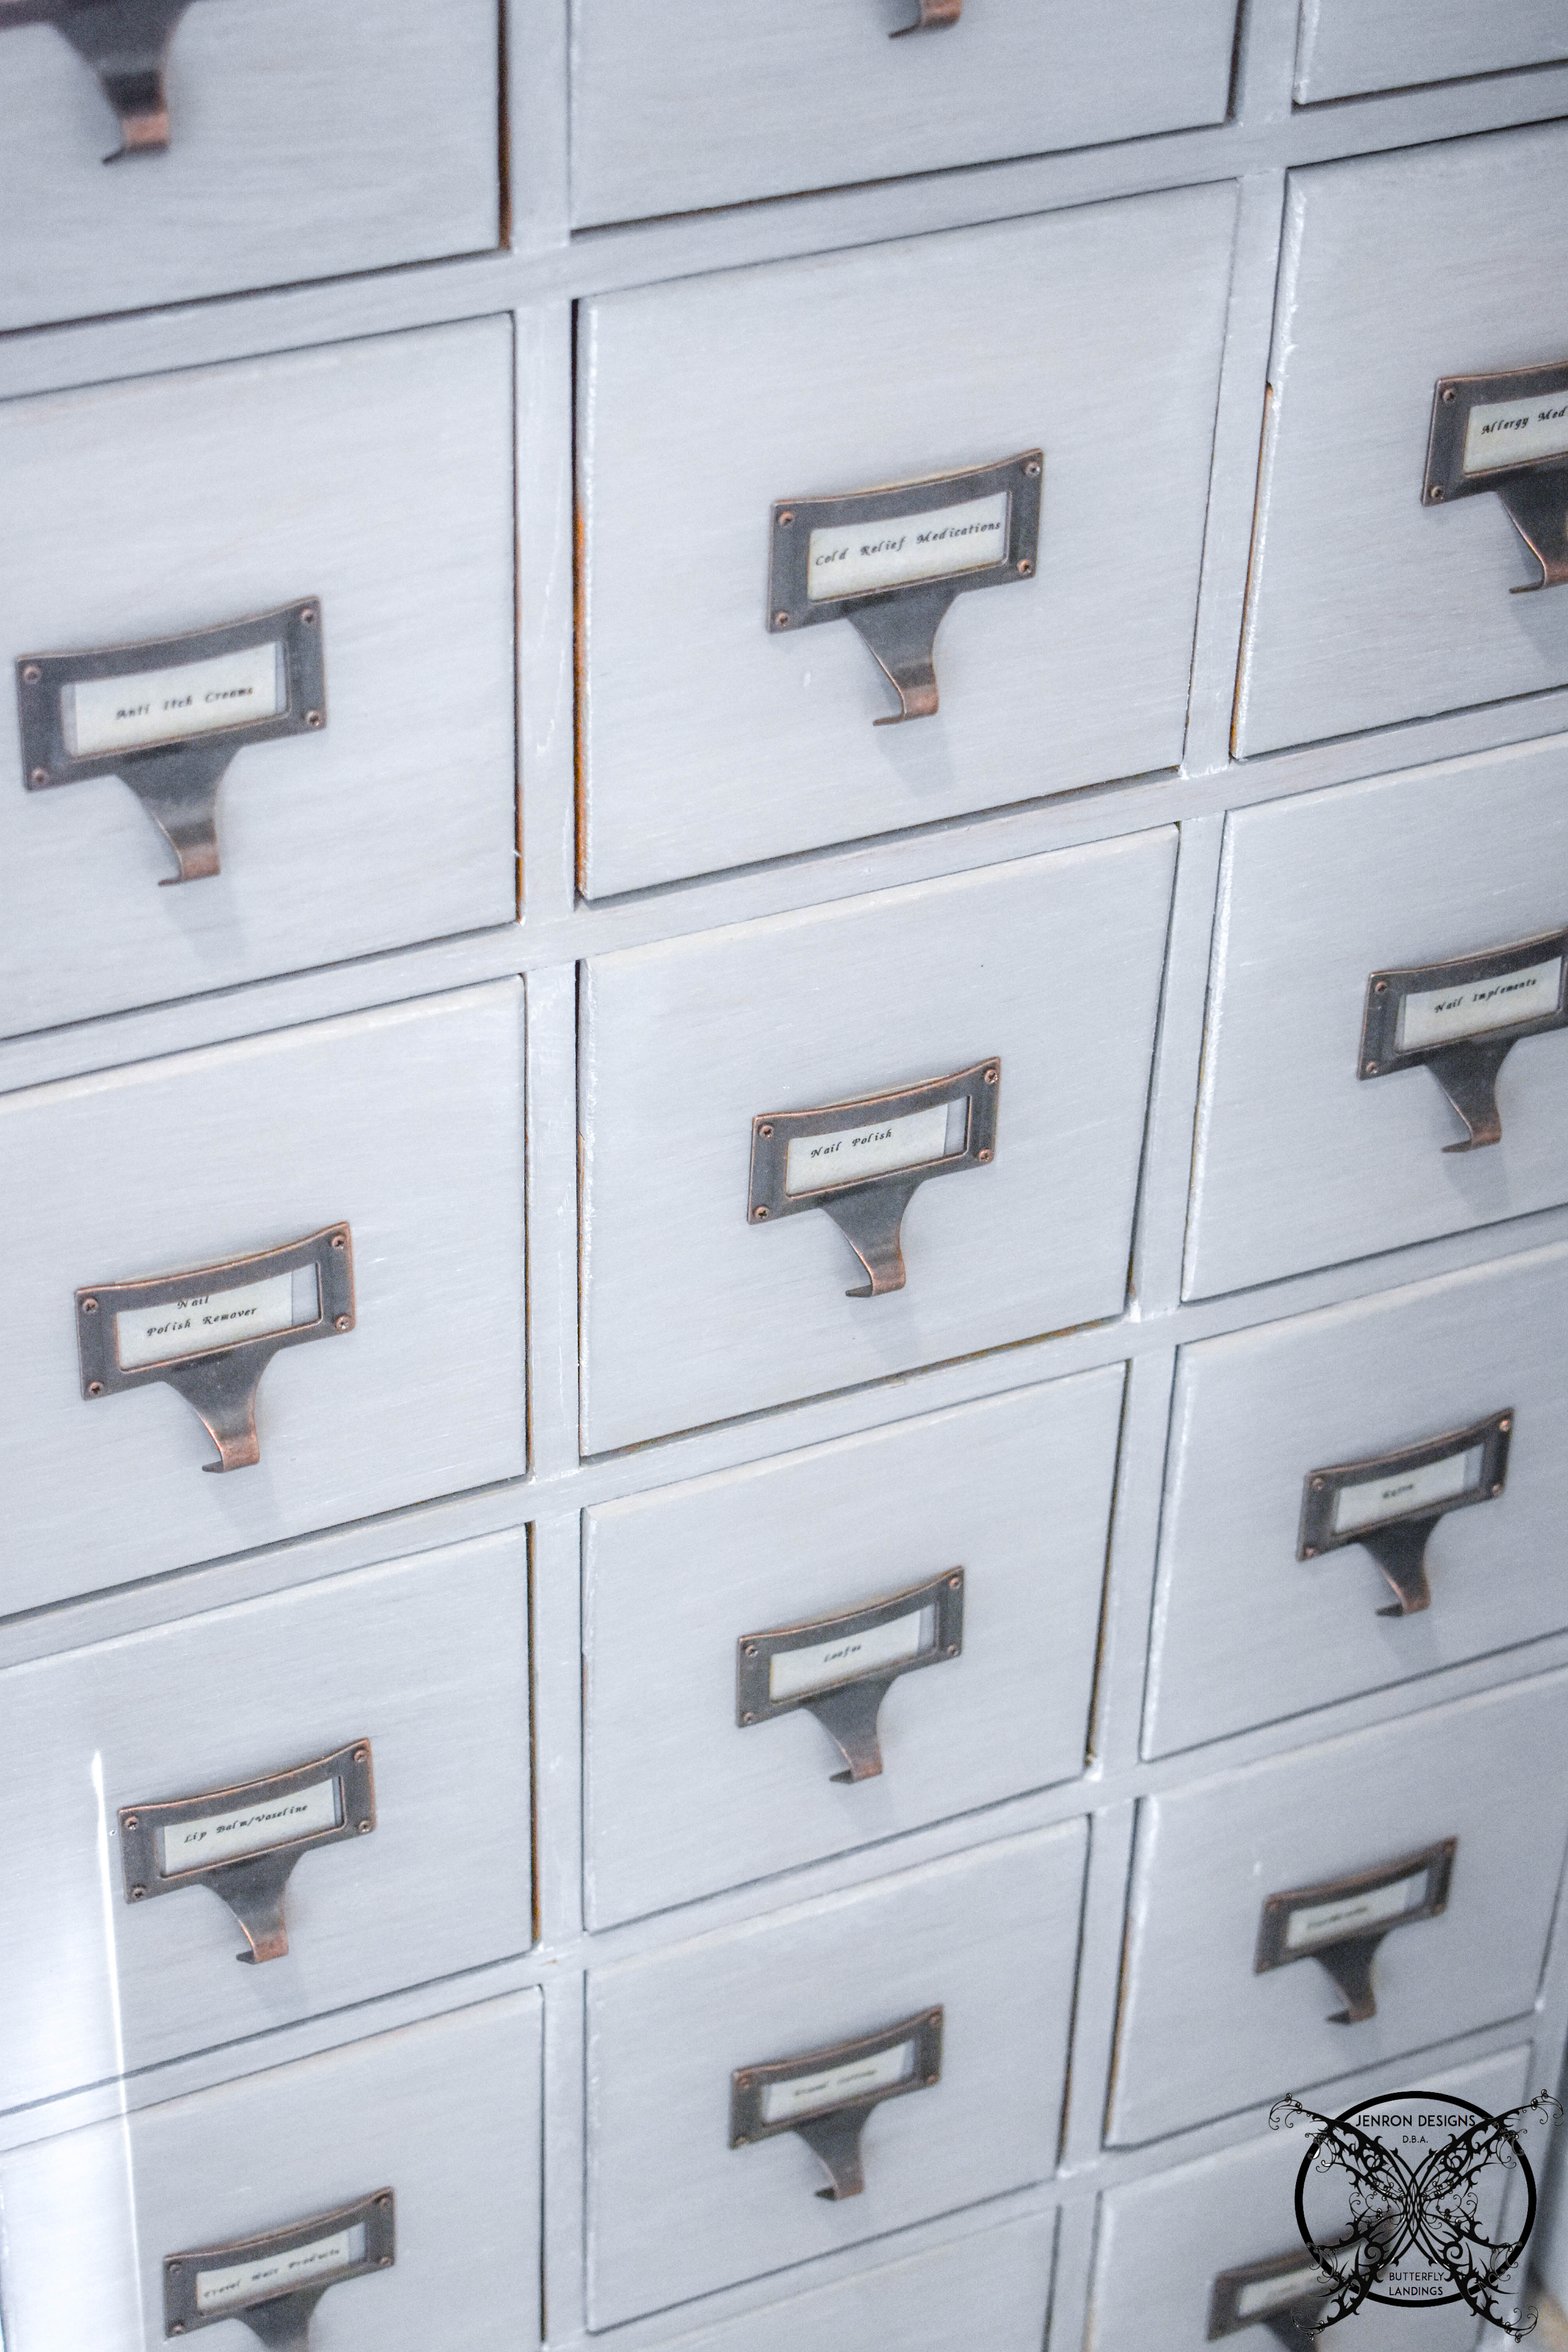 Now with just a glance even my husband can find anything in the linen closet, no more searching for cold medicine, Neosporin, back pain patches or band aids. The drawers are clearly marked and honestly, I am not sure how we ever survived before this cabinet. I am not sure I will ever go back to any other methods of Linen Closet organization. So take notes my fellow Marie Kondo lovers, this is an innovative organizational game changer. If you are worried about little hands getting into to your medicine cabinet? That is an easy fix with child proof locks on the door.
 On to our next project…. You can be the first to know what the Gainer’s are up too! Sign up for our monthly Designer Notes to stay in the know about all of our upcoming projects.
PIN ME for later and be sure to follow us on Pinterest at Jen @ JENRON DESIGNS
The Full ORC POST:
Woohoo it is ORC Week 4: DIY an Apothecary Cabinet for Linen Closet Organization. This week we are painting everything, and I have a great DIY for the ultimate linen closet organization.
This season we will be completing our Master Bathroom, which we are in ORC Week 4: DIY an Apothecary Cabinet for Linen Closet Organization. You all may remember got started last fall with our little toilet room upgrade, for the $100 room challenge, The Game of Thrones. That challenge just left us thirsty for more beautiful things in the rest of our Master Bathroom and Hallway, so now we begin the tile work in this area. Which we have never done tile work before so this should prove to be interesting.
WEEKS AT A GLANCE:
WEEK 1 WEEK 2 WEEK 3 WEEK 4 WEEK 5 REVEAL
Just in case you maybe wondering exactly what The One Room Challenge is here is a link, and the scoop. This event was started by Linda Weinstein @ Calling It Home and is hosted twice a year, in April and October for the past 15 seasons. The ORC has hosted over 300 interior designers & home decor bloggers, that have joined together in this challenge to makeover one room in their own homes. The participants have total of six weeks, from start to finish, to complete a full room transformation. Over 3,500 rooms have been transformed through the One Room Challenge to date, and many spaces have been recognized and featured by several prestigious sites seen here:

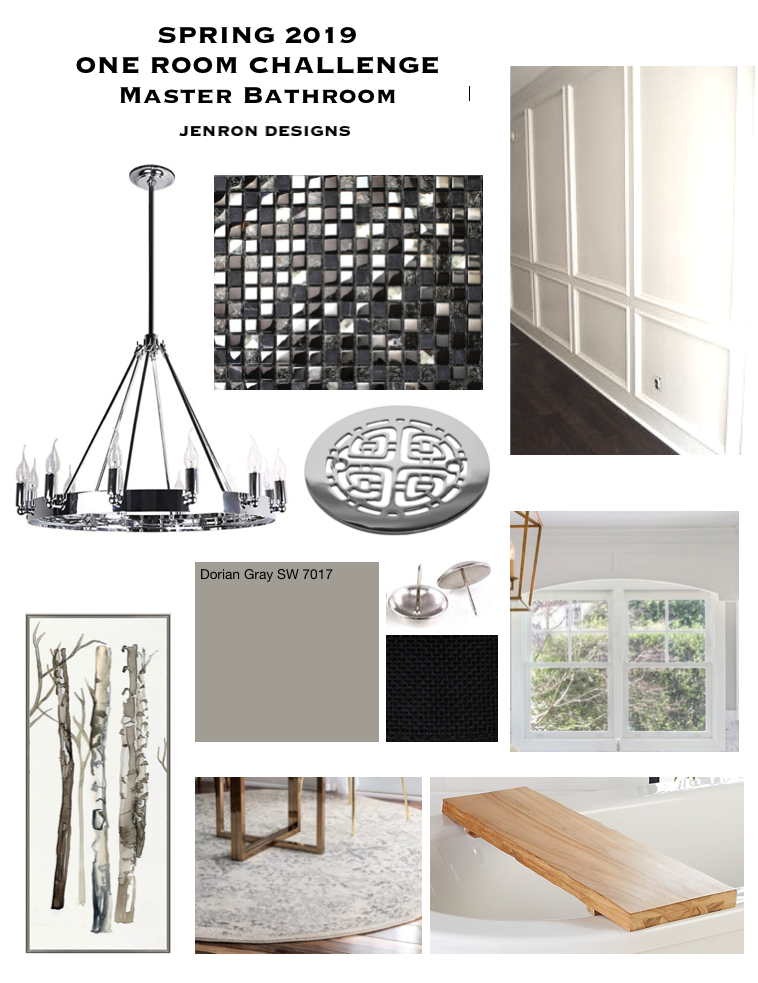
THE INSPIRATION BOARD:
TIME TO PAINT EVERYTHING, HERE ARE MY PAINTING TIPS & TRICKS
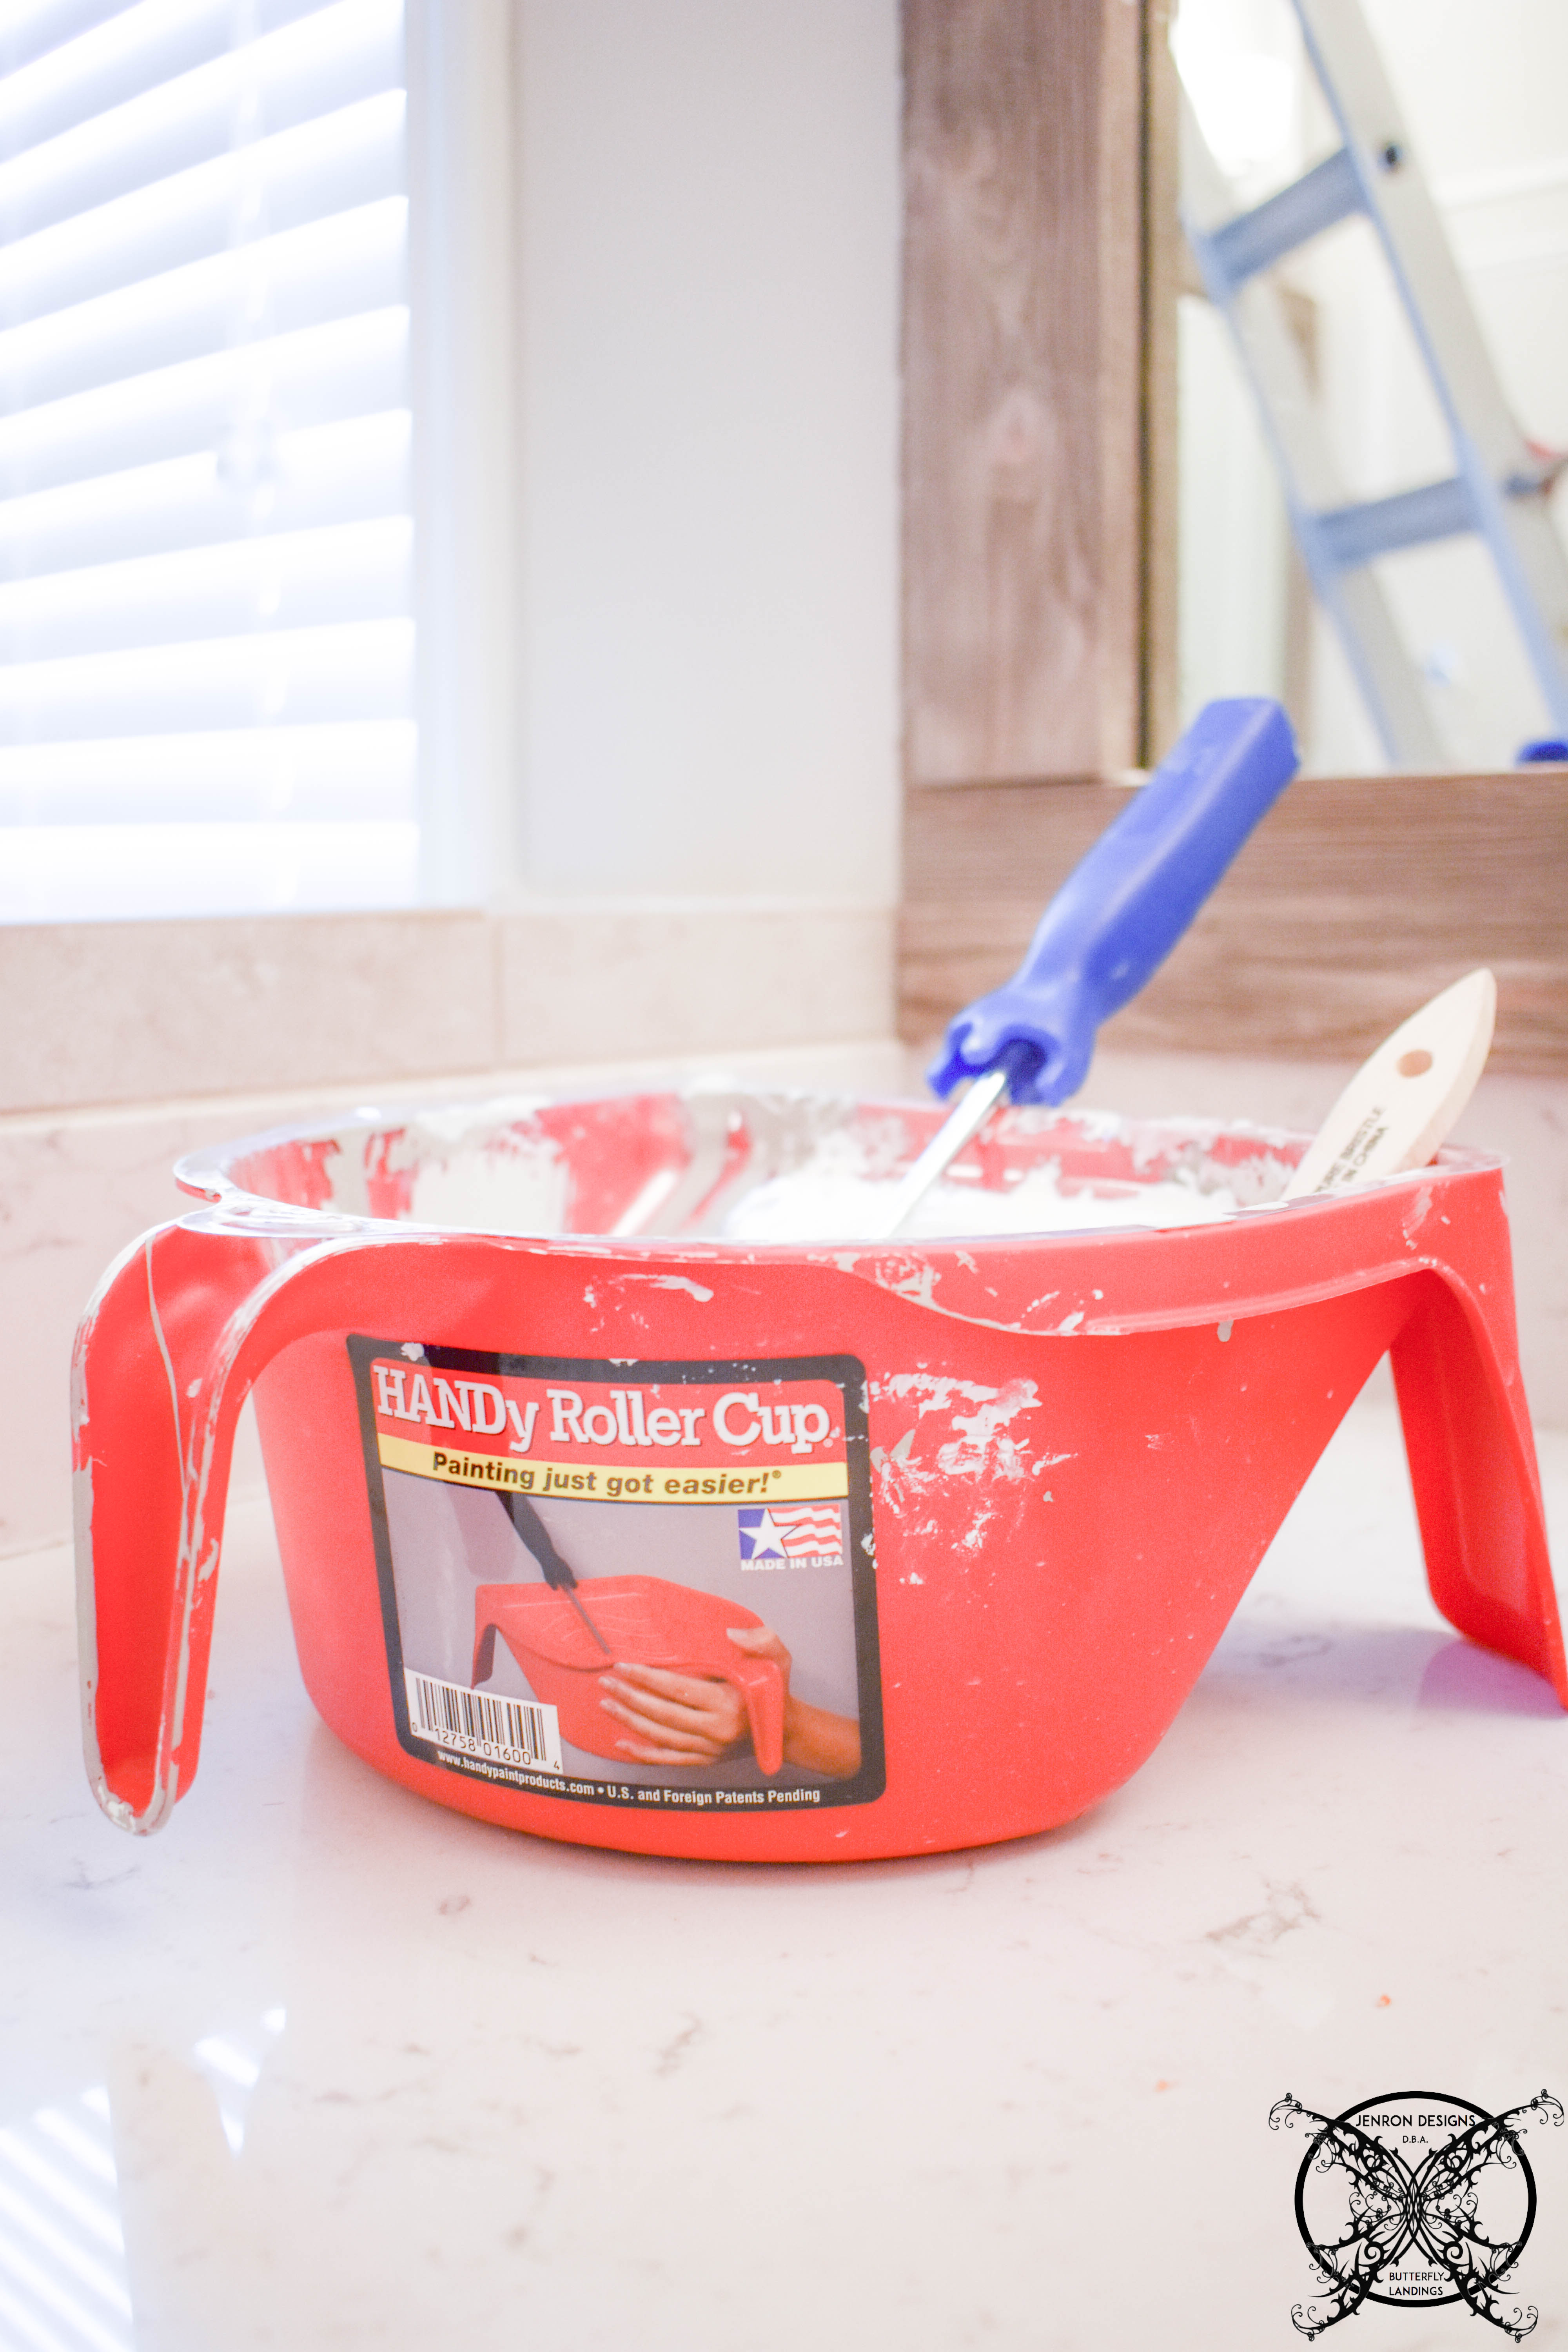
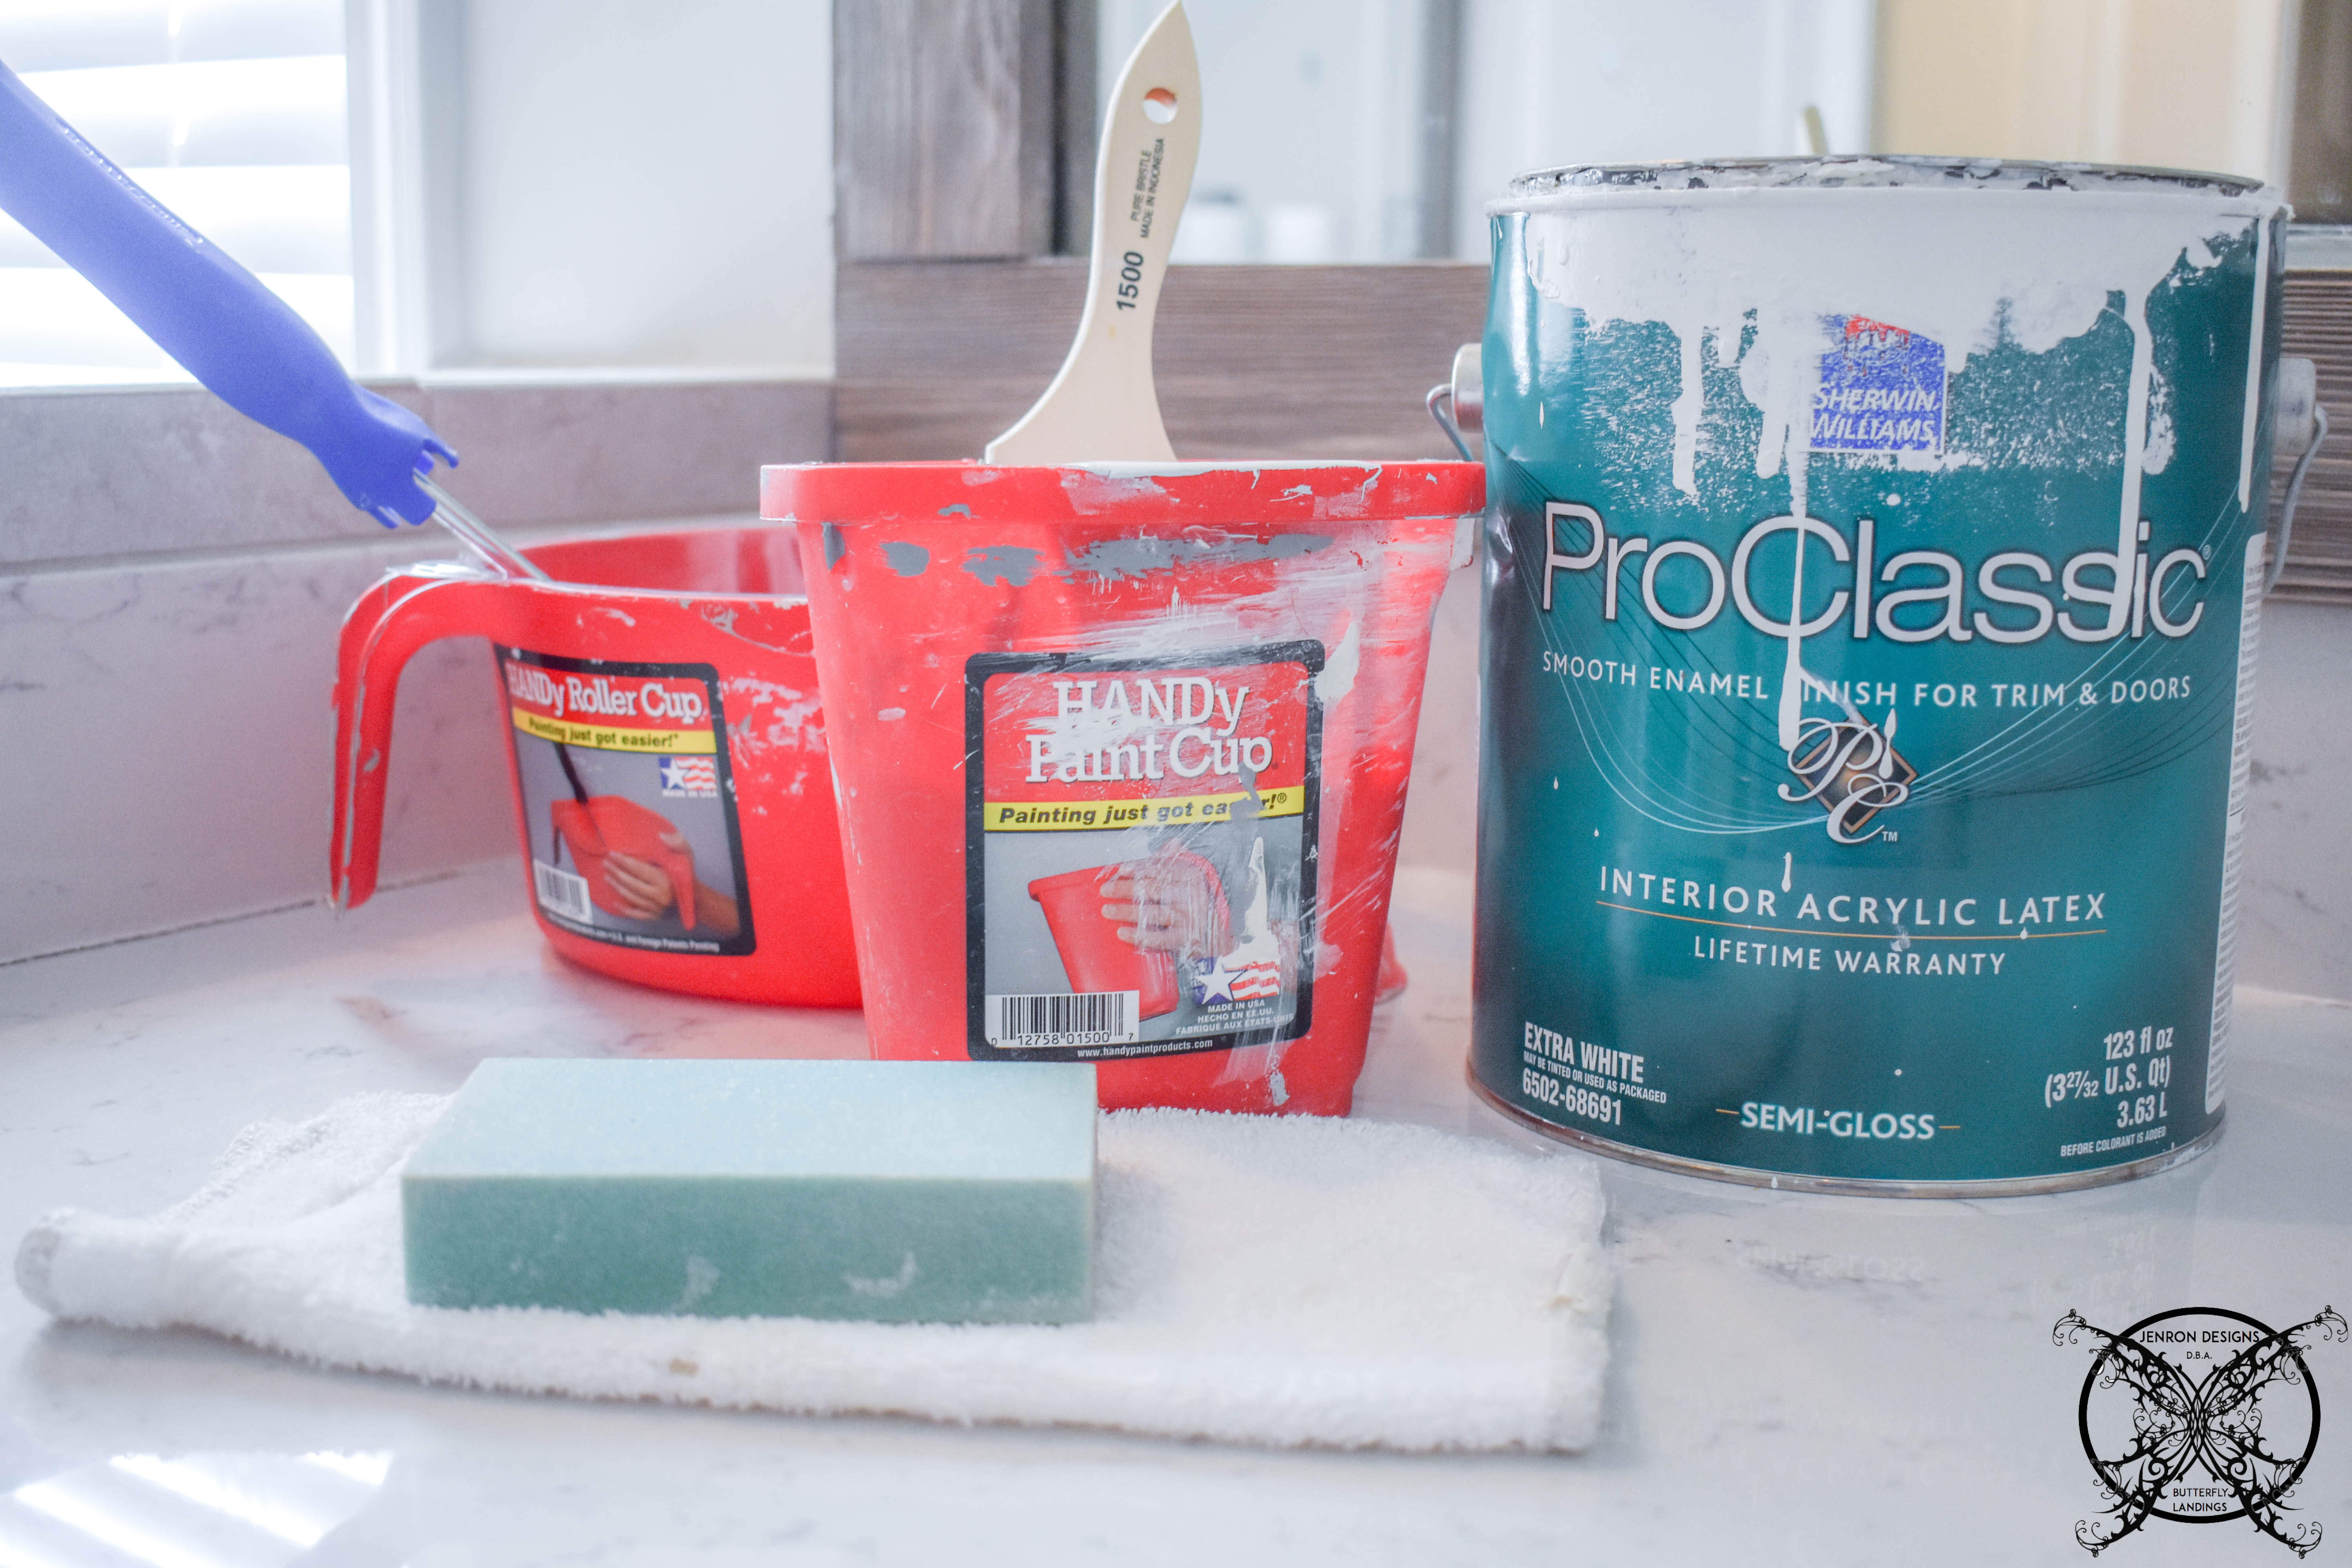
Tip #1: Use the Proper Supplies for the Job:
You may remember that last season HANDy Paint Products sponsored us during the One Room Challenge and supplied us with all of our painting supplies for season four Guest Bedroom update. Well we are so grateful to still have a bunch of their amazing products available for this HUGE painting project! I can not imagine using any other painting supplies now that we have full use of the entire product line and since we a avid DIYers we are always doing our own painting, so I can personally speak from experience
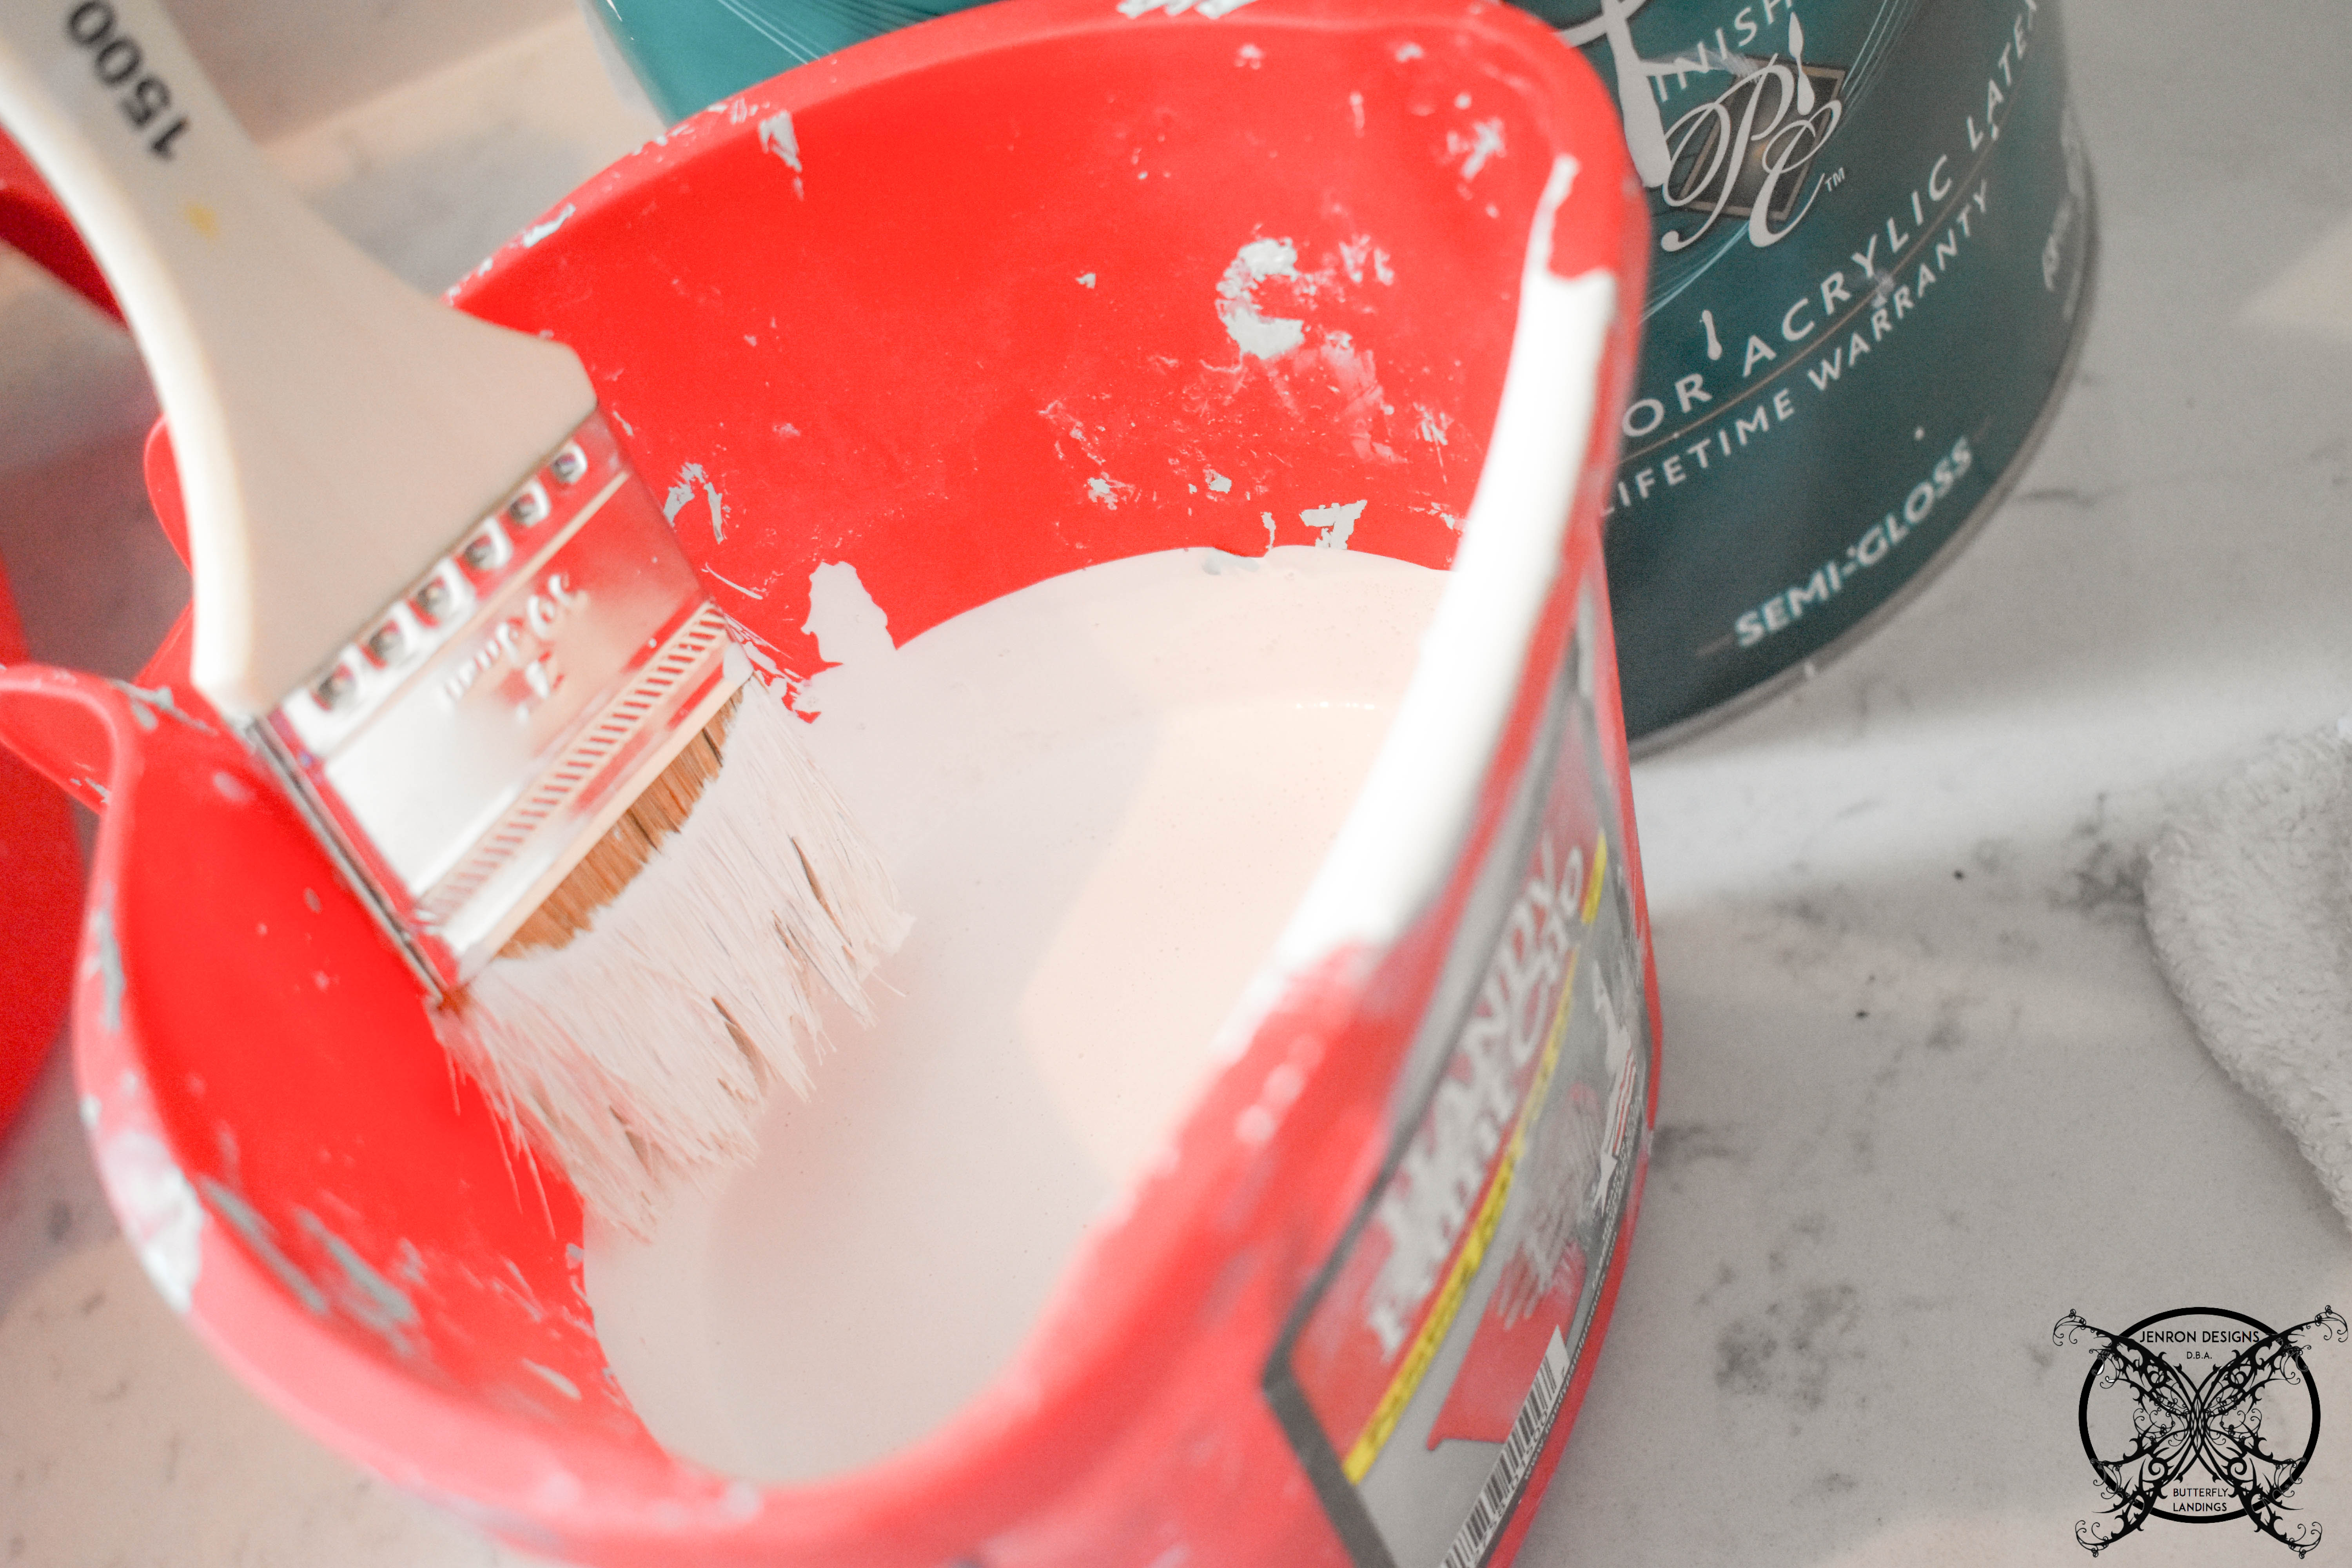
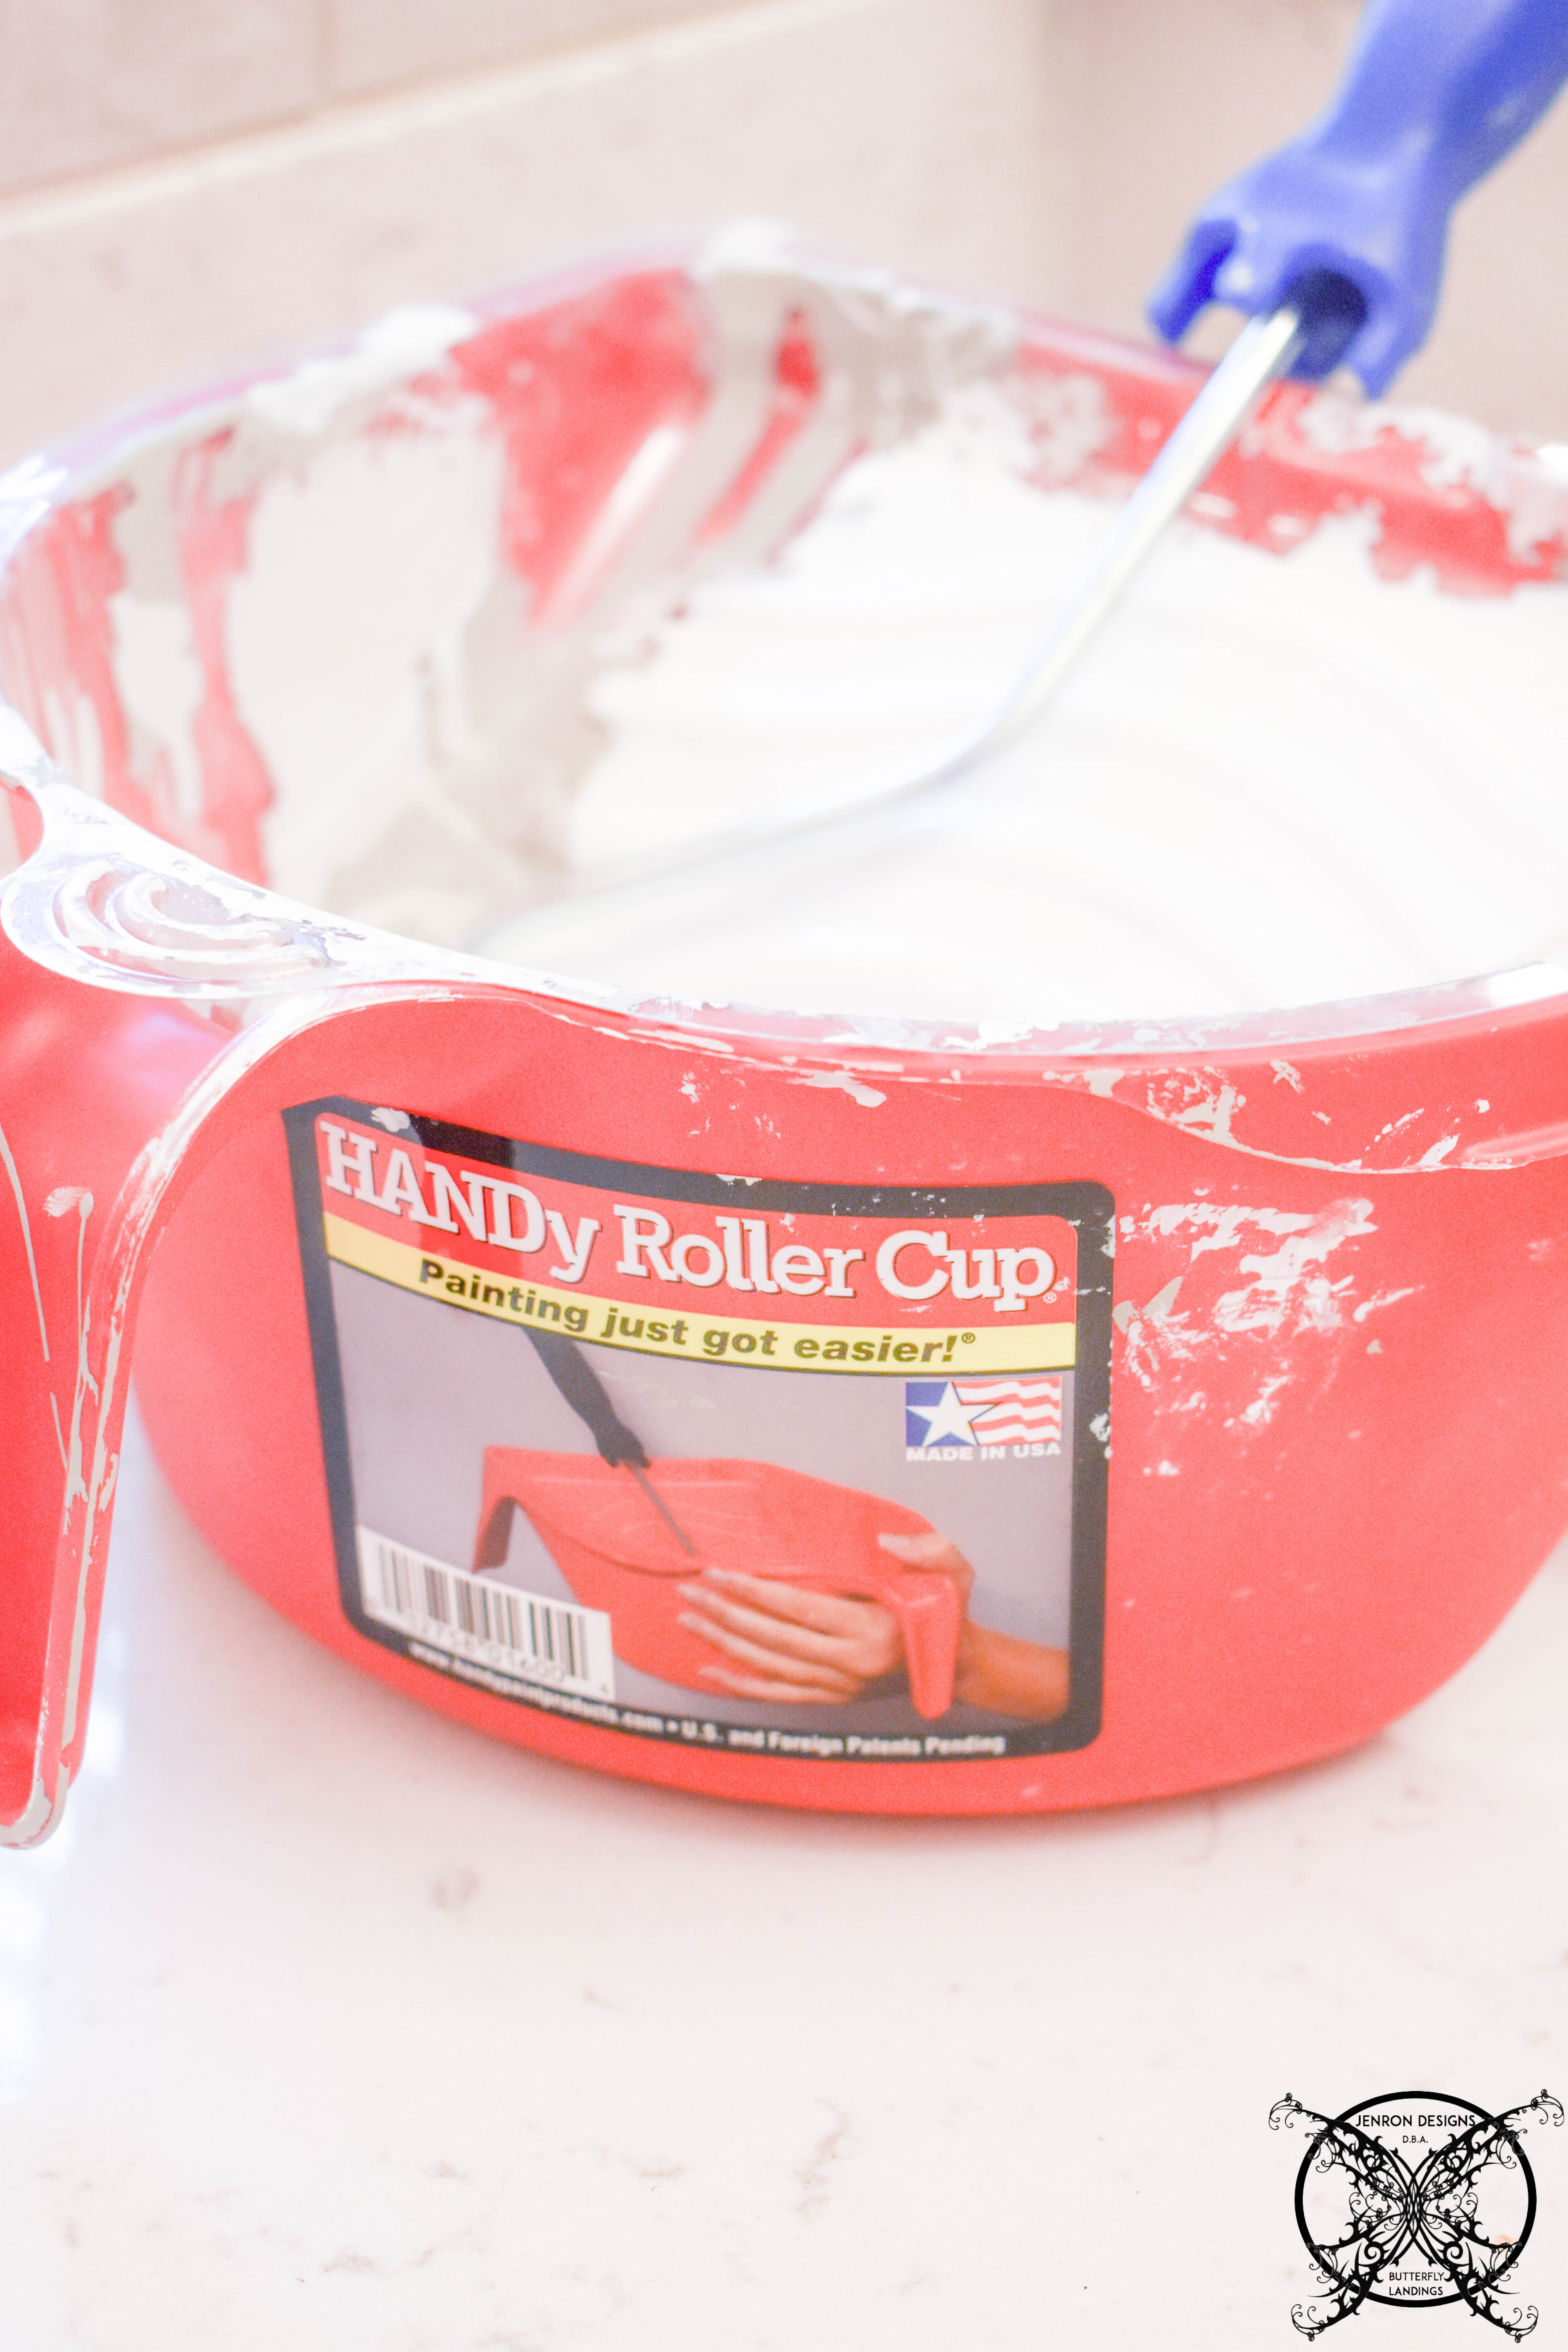
The paint liners seen inside these roller bucket make clean up so easy and my buckets never get those layers of paint build up. Which I will admit, I did find it secretly very satisfying to peel off the paint layer from my old buckets, like those IG videos I get sucked into watching with people smooshing things. However, it’s very time consuming, so in the grand scheme of things I need to save my time from peeling the paint and apply it toward other more useful projects. Now that I think of it, I can actually just save the liners for later….when I have time to peel that paint, but now that makes me sound a bit like a hoarder….. so I may have to re-think that too. Ah decisions, decision, to peel or not to peel….
Tip #2: Pre Paint Hard to Reach Areas in Projects:
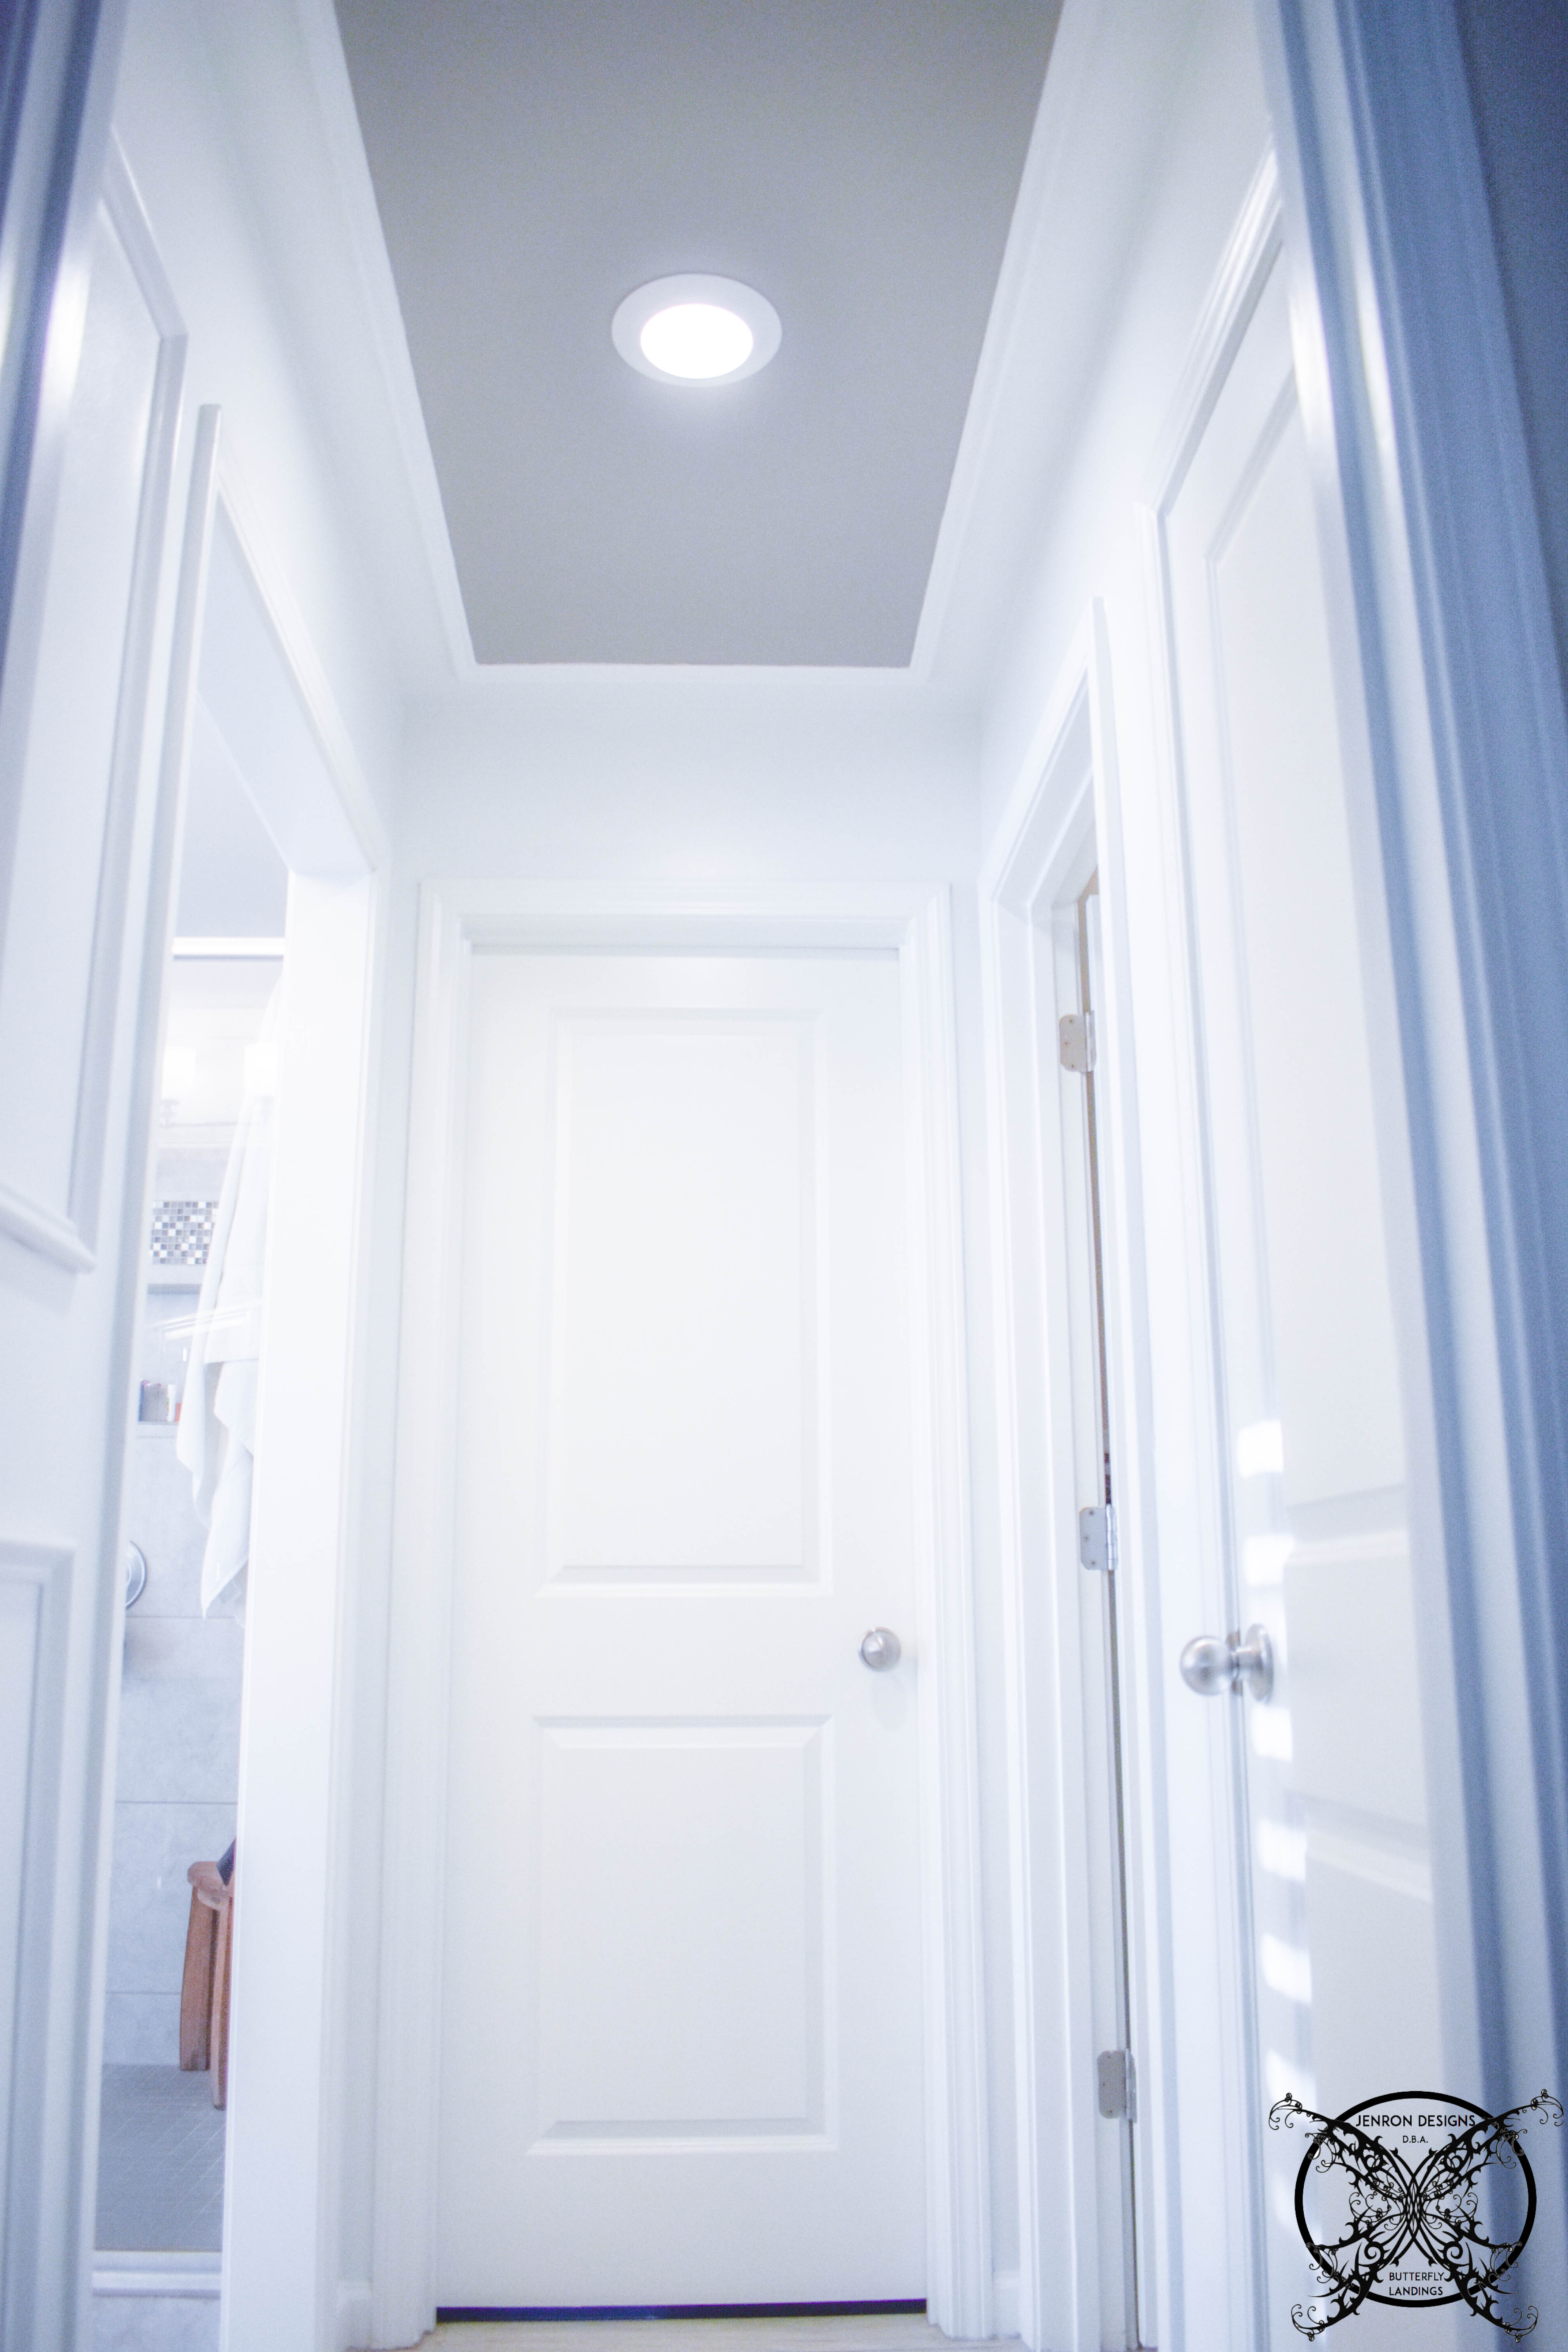
Okay, so some great painting tips are to pre paint anything that will be hard to get too later on. For example, the inside of the custom cornice we installed last week; was pre painted prior to ever building out the front. Along with the wall behind it. This wall can be seen from inside the tub, and needed to be painted. However it would have been a lot more challenging this week after the cornice was installed.
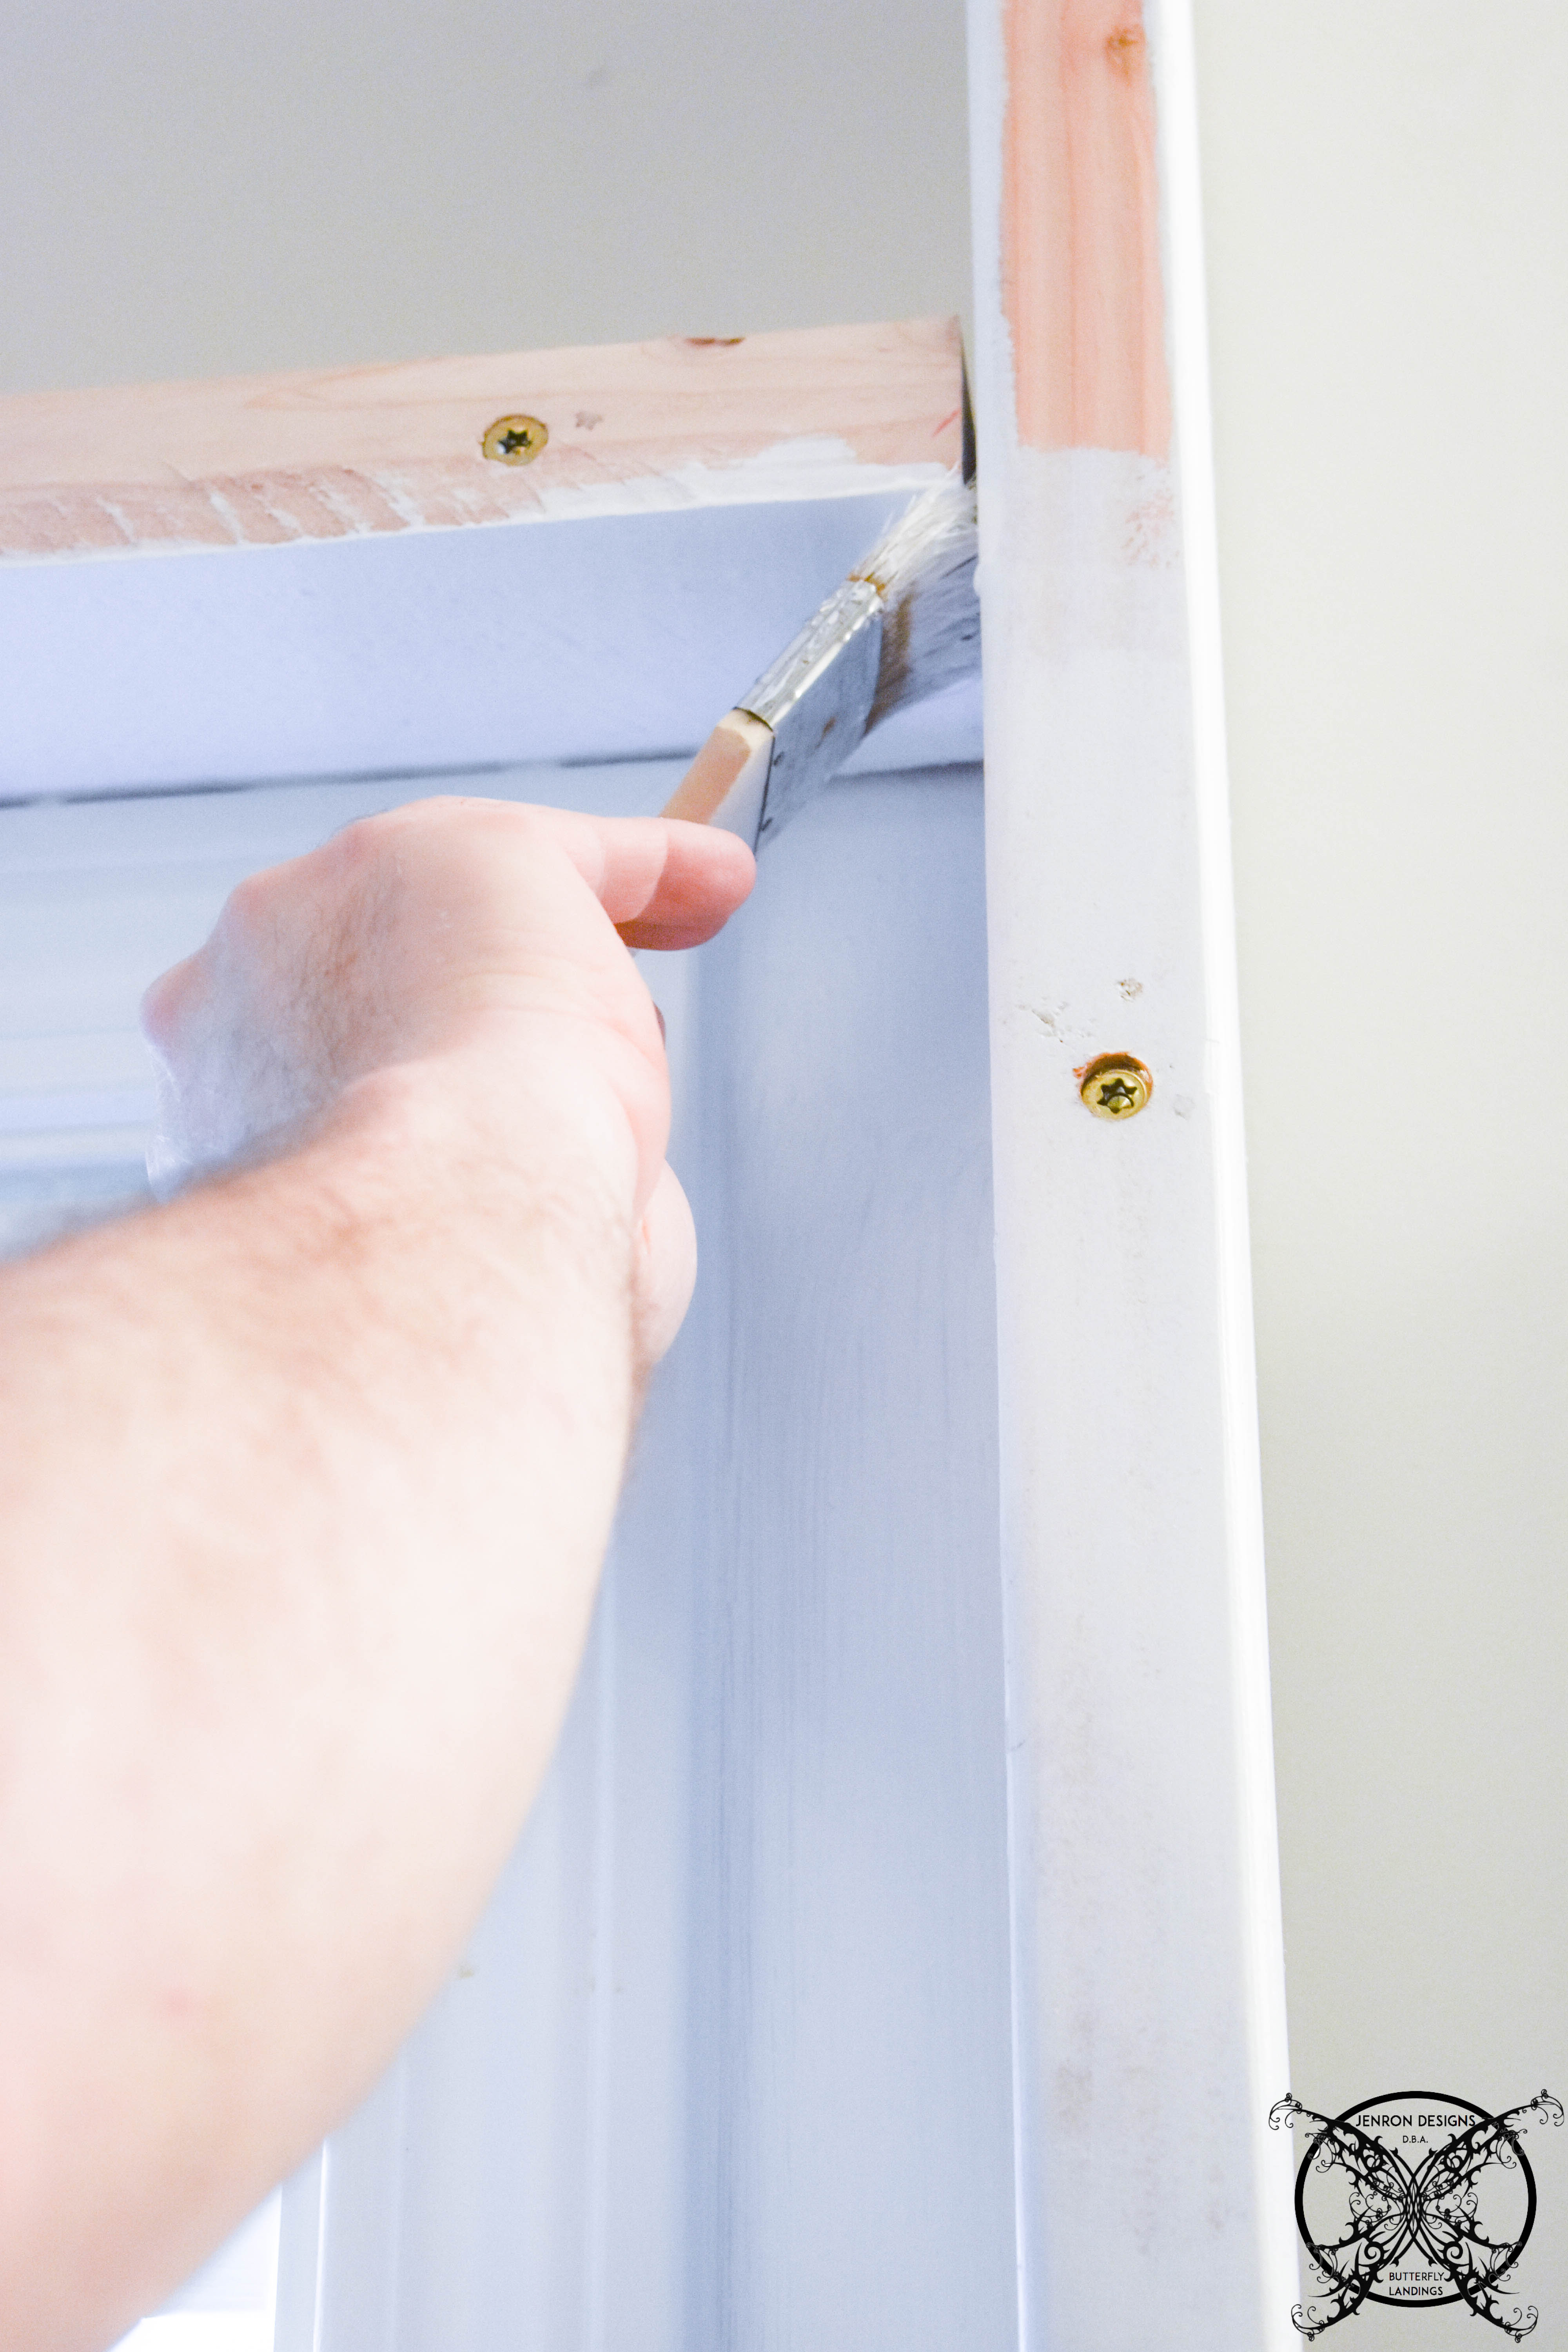 Take advantage of being your own contractor and make the DIY project work for you. Yes if you were hiring a carpenter and a painter separately, this would never be able to occur which is part of what I like to call the “inconvenience charge” because the job will be harder for them, simply because of the way you have chosen to schedule the project to be done, not to mention this is also where things end up becoming messier with less precision.

Tip #3: Think Out Your Color Layers:
Another tip is to think out the layers of painting. My example here is an accent panel of a Sherwin Williams Dorian Gray, that we have painted on the ceiling first, then we installed the primed white trim to cover the imperfect edges underneath.  Now we will paint the outer ceiling and the rest of the walls. No taping required, and all clean edges. Sometimes you just need to think through your projects and have a little prior proper planning, to prevent piss poor performance! The “Seven P’s” is a motto I adopted from my friend Karen many moons ago, and it still serves me well to this very day!
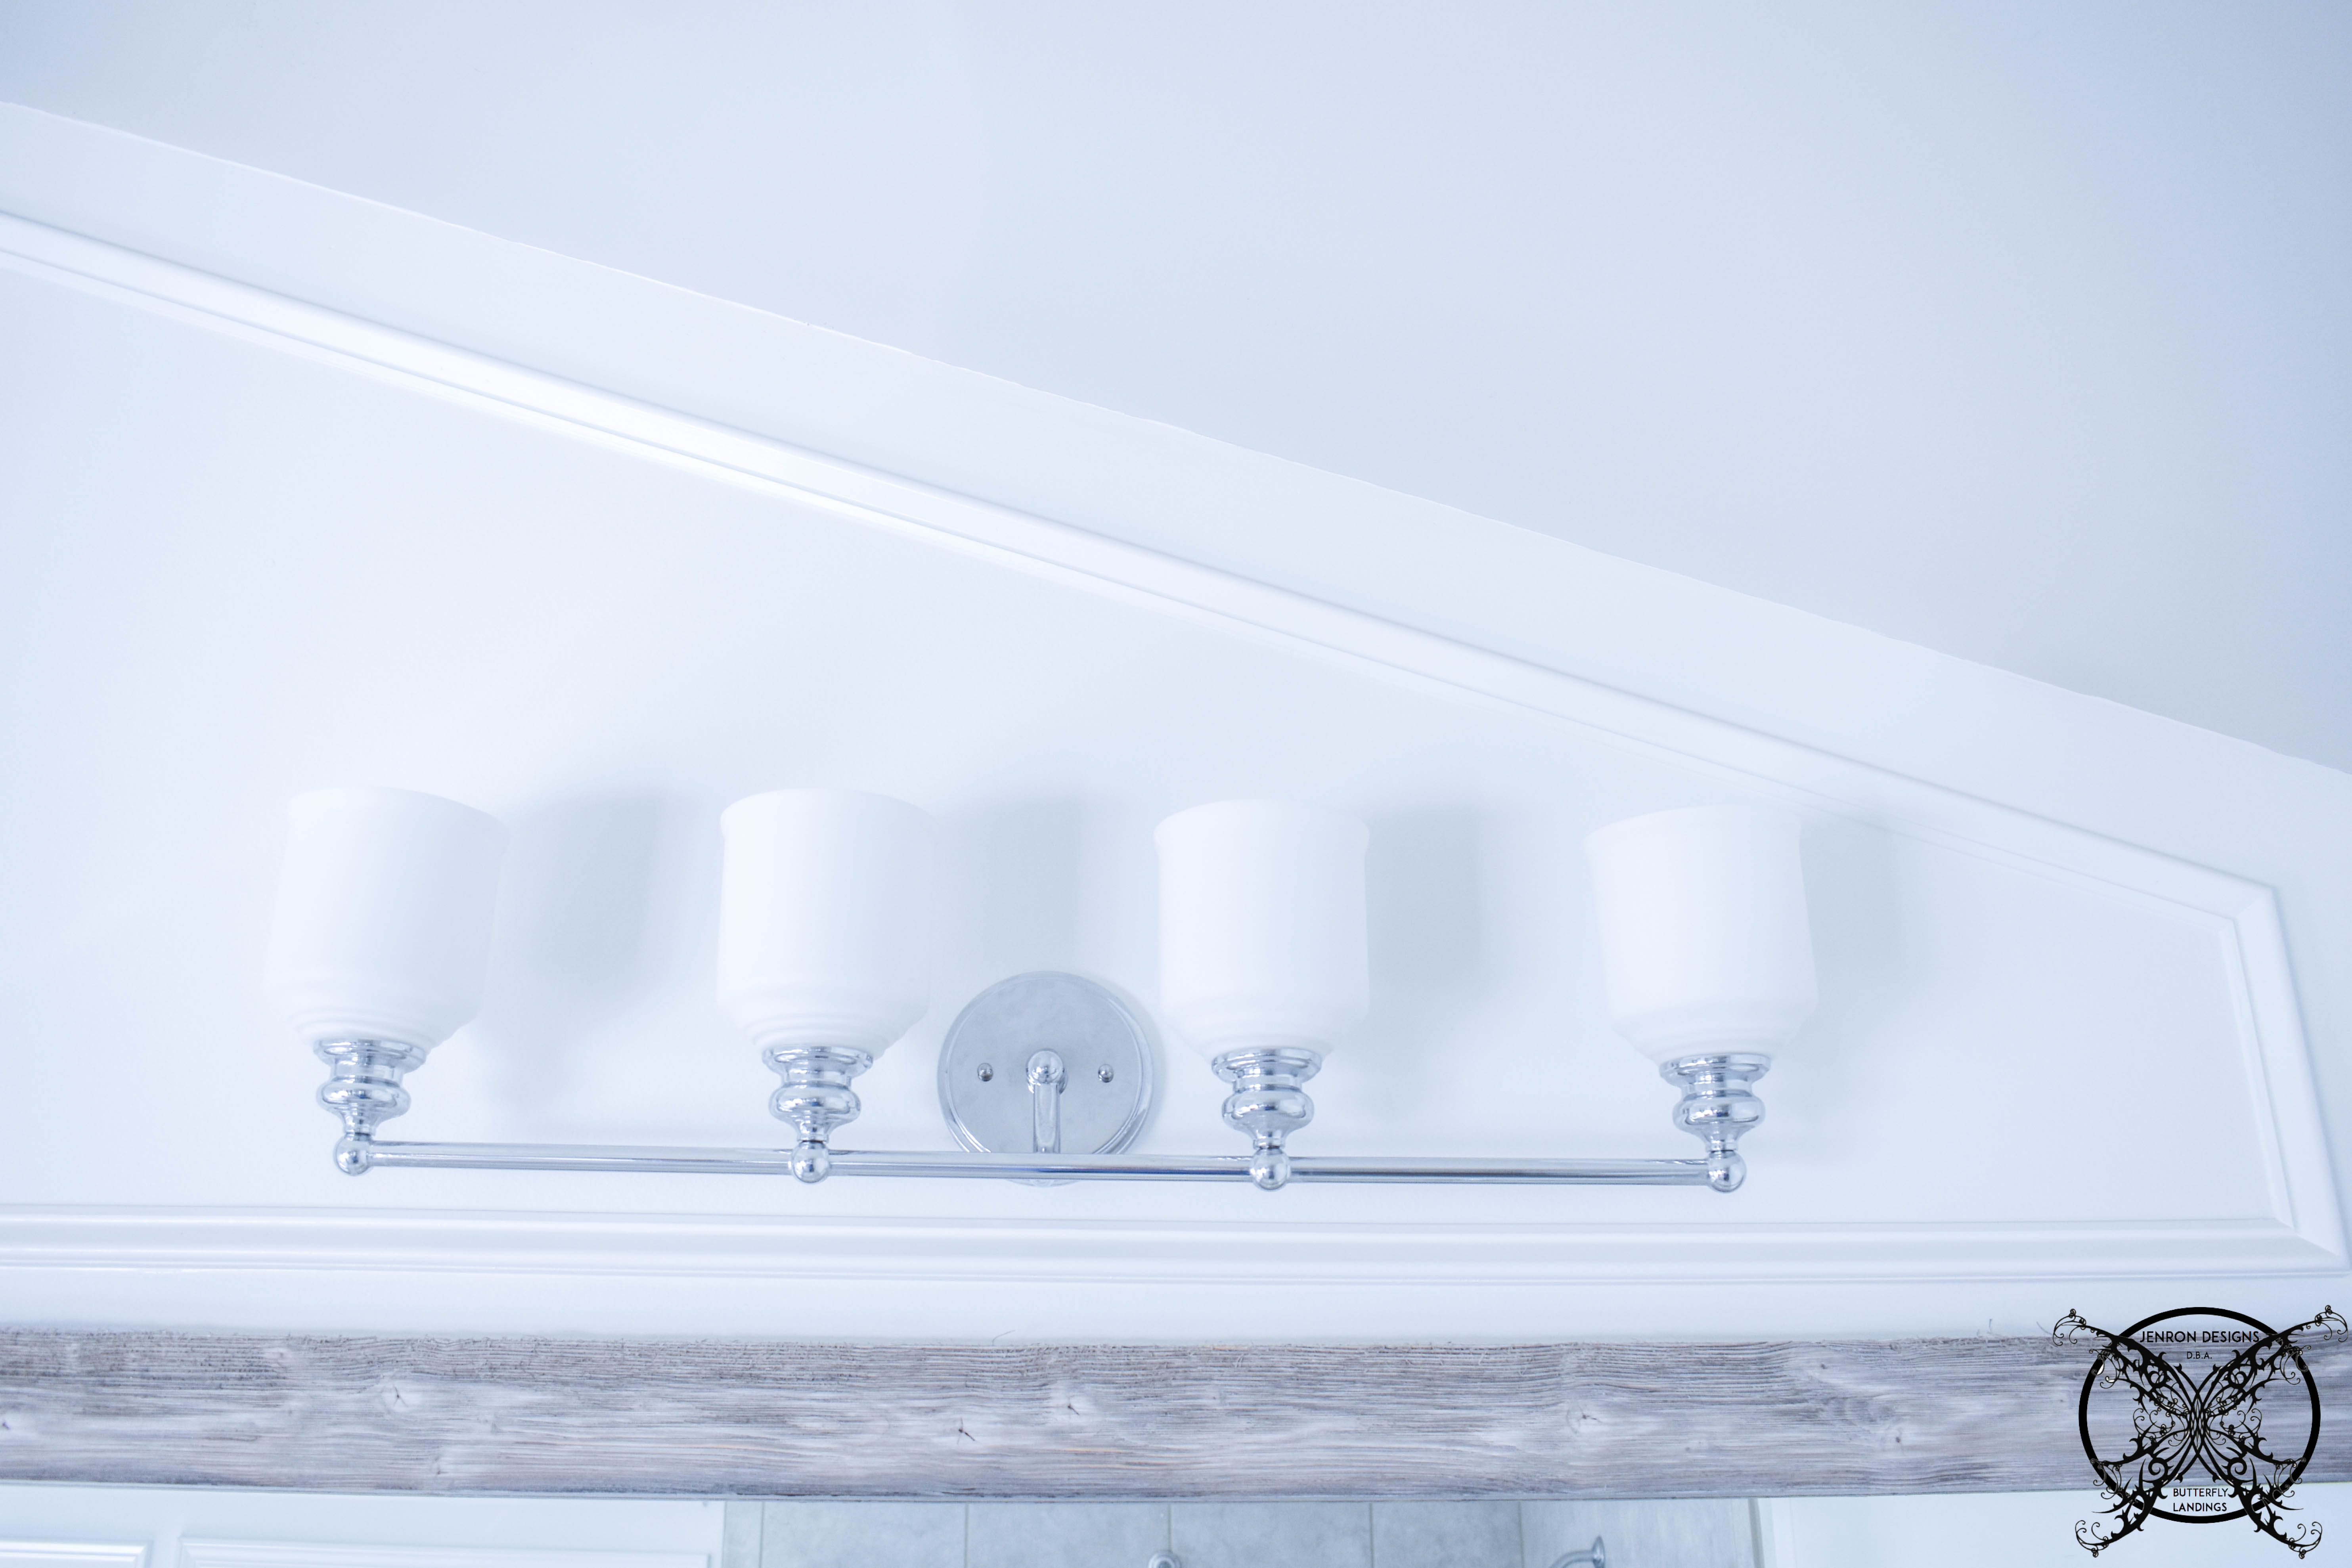
Tip #4: Remove Fixtures and Hardware to Save Time :
A pro tip is always remove all your light fixtures, electrical covers, and in this case towels rings. This will make painting so much quicker and will save your fixtures too. Plus we were able to flip the fixtures as planned for this project.
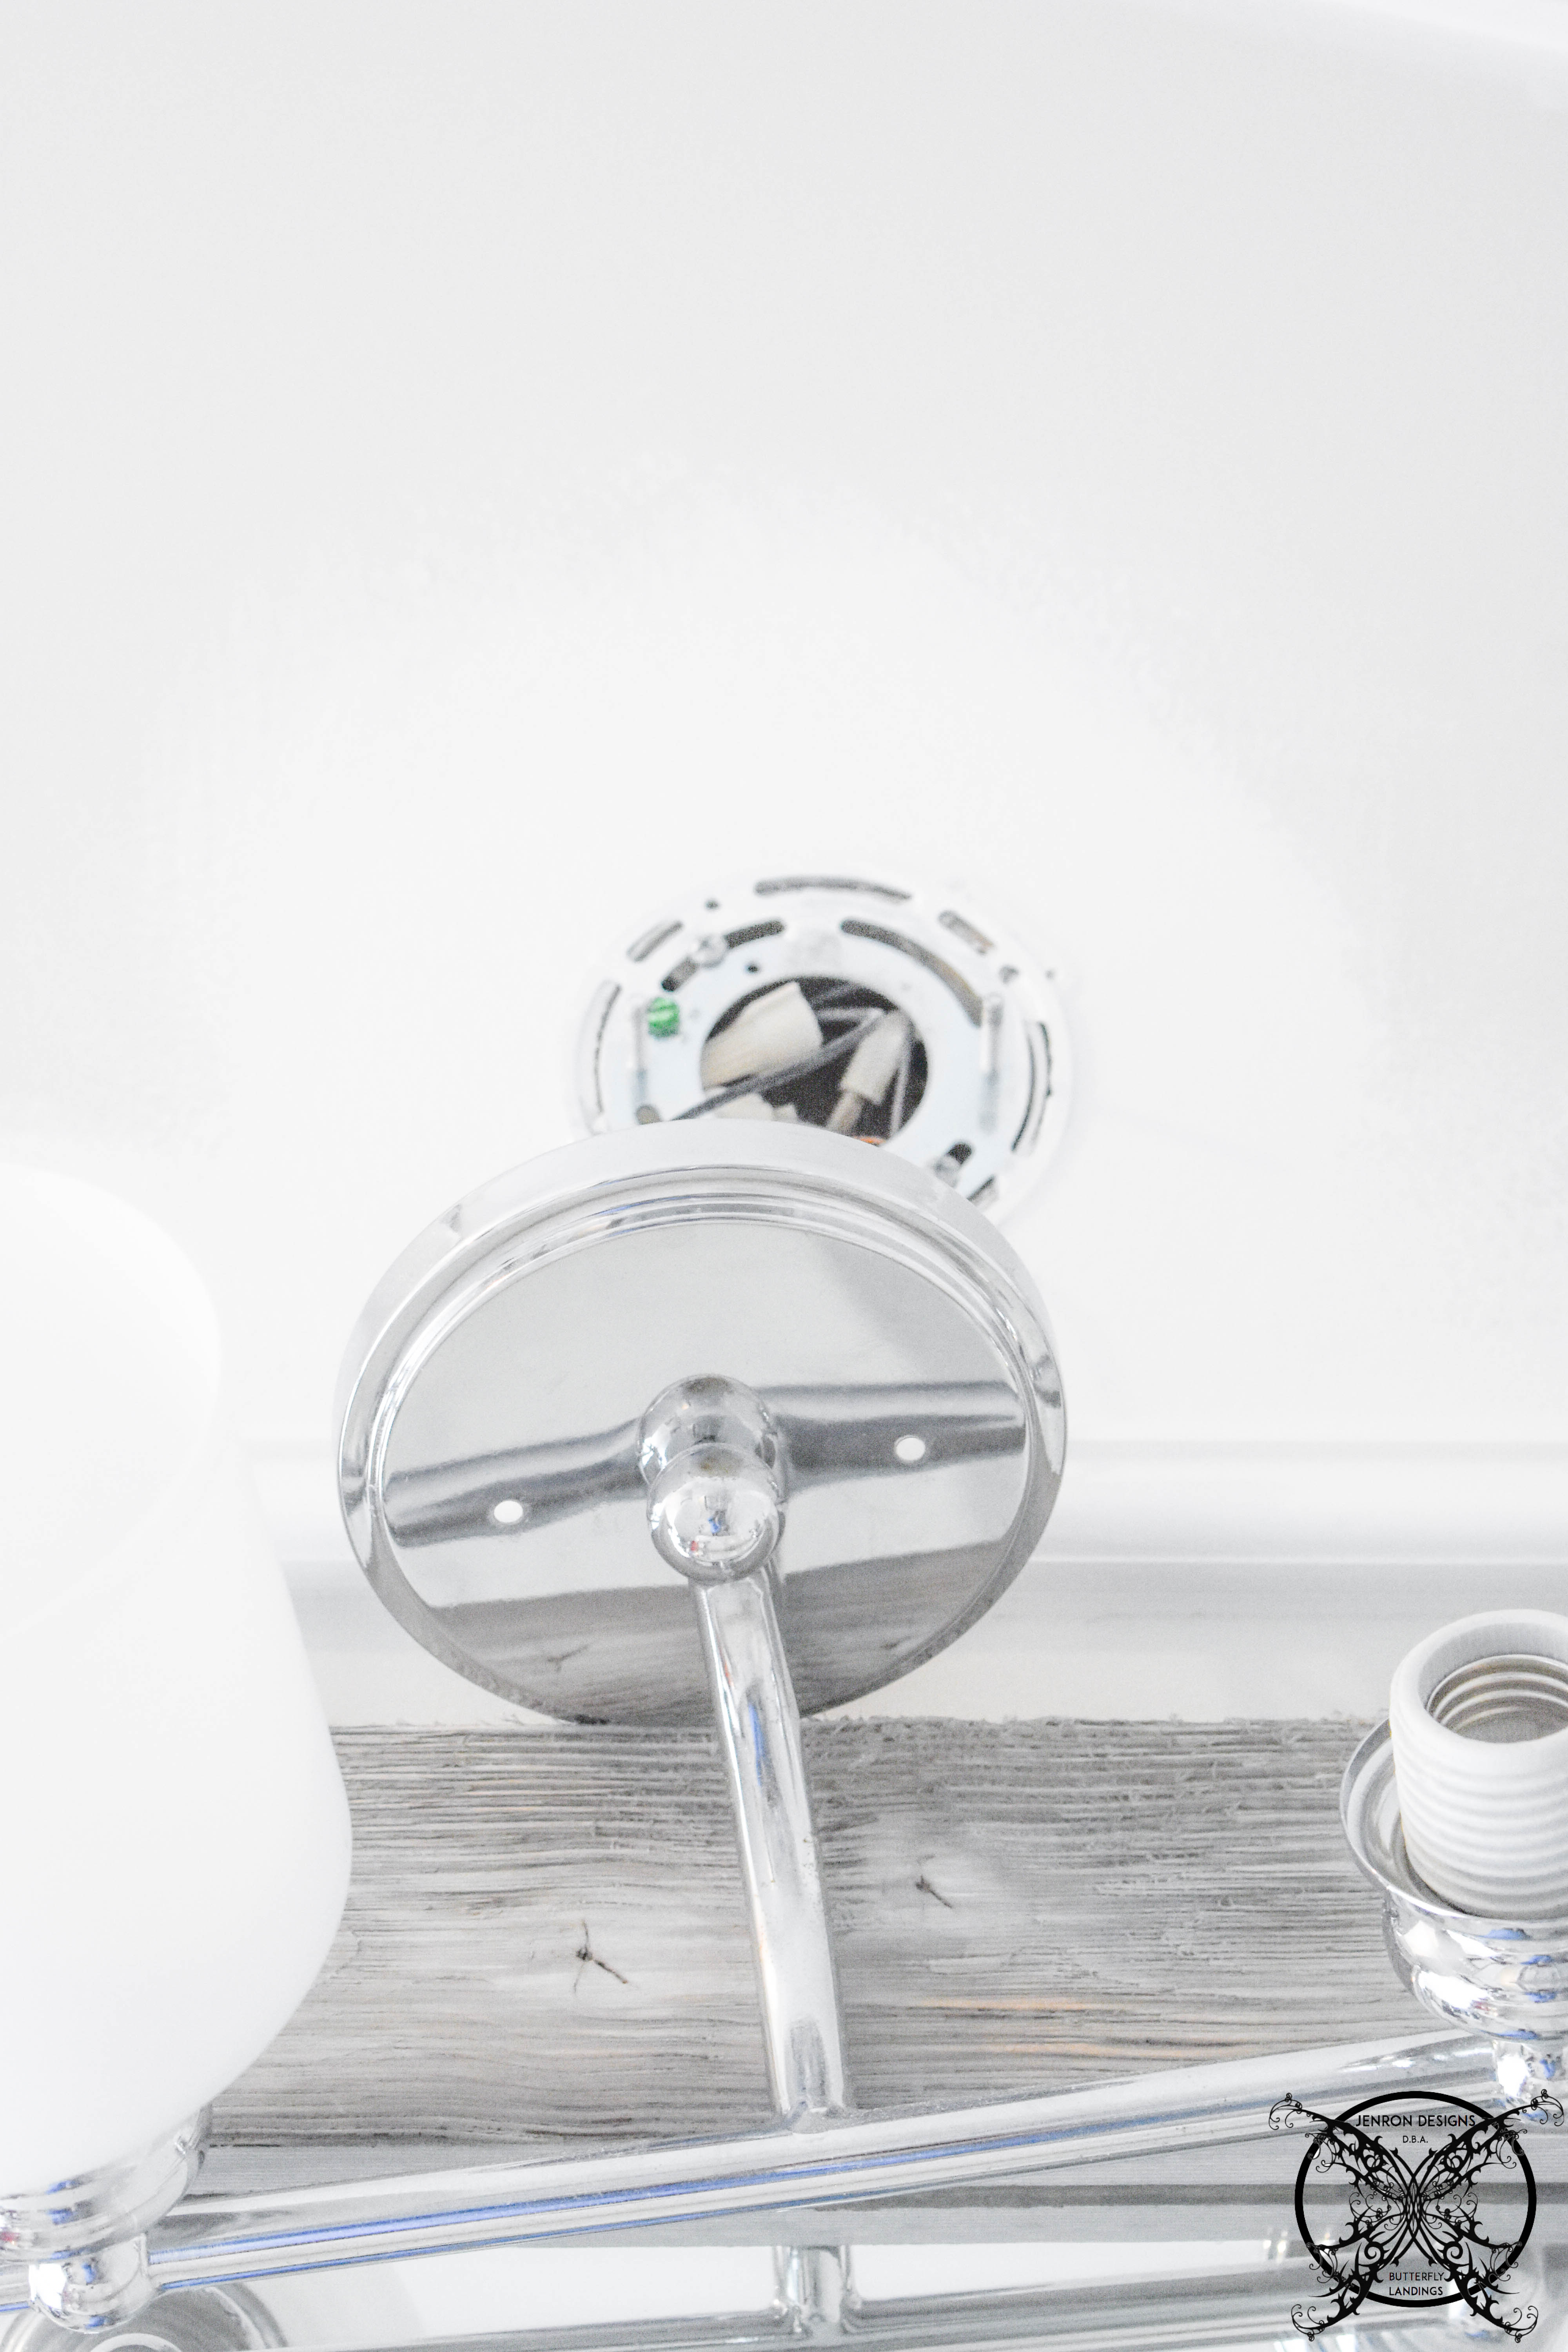
*Also a another designer tip is to use frosted glass for fixtures verses clear, this will cut down on having to constantly dust and clean that glass. While I love the “modern” look of glass unless you plan on on cleaning them weekly, yes I said weekly, they will look like crap. Ultimately reflecting on your housekeeping skills or lack of, frosted glass is just more forgiving for parents on the go or people with lives that don’t have weekly maid service included, just sayin’.
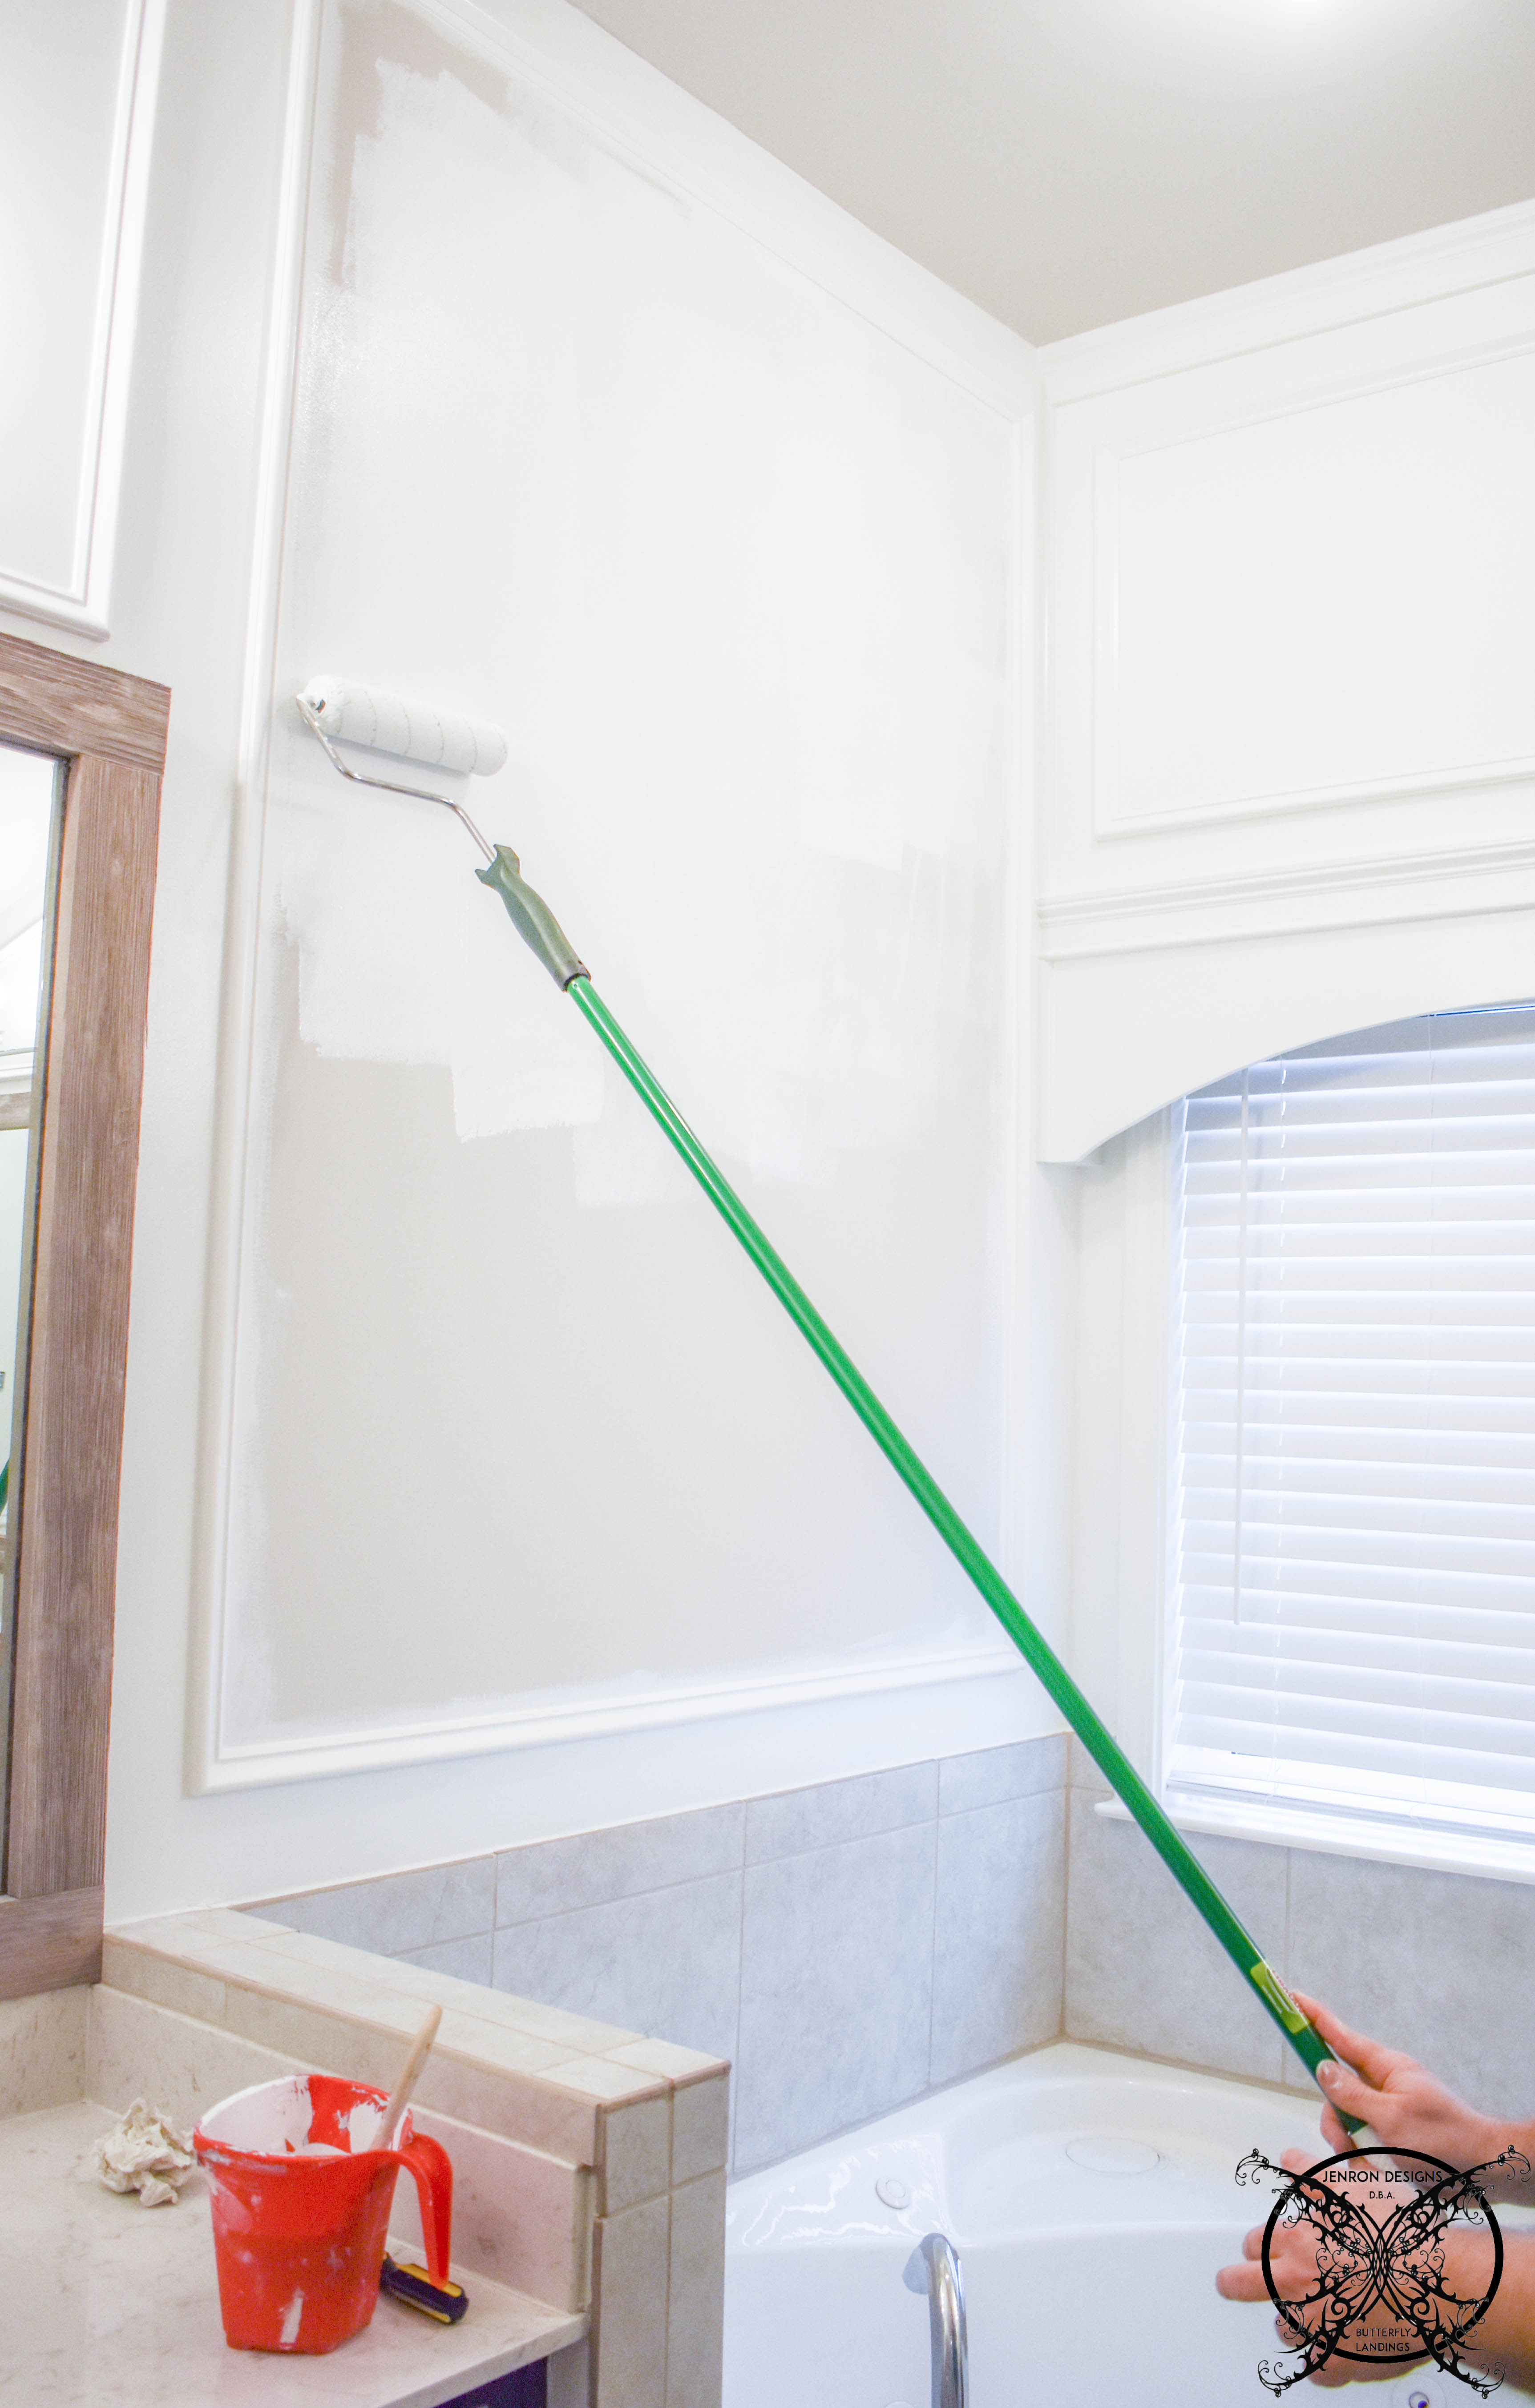
Tip #5: Extender Poles Are Not Just for Ceilings:
Also, extender poles are great for high ceilings but they are also great for areas that you may not want to place a ladder. We used ours to roll the wall above the tub, mainly because I did not really want to put the ladder inside the tub for fear of scraping the fiberglass. Now yes I could have layered towels under the feet and been really careful but why if they make a tool for the job?
Tip #6: Check for Touch Ups During Daylight Hours:
If you are like us your projects can run late. Always make sure to recheck the coverage during the light of day with natural light before calling a painting project done. You maybe surprised at the places that looked done in artificial light but show up in natural daylight. If you are worried about double clean up, use a plastic store bag to wrap up your rollers and brushes over night so you do not have to waste another one with the touch ups.
What is left to do?
THE PROPOSED SCHEDULE:
WEEK 1: Introduction, Inspiration Board, Ordering and Procurement of Supplies
WEEK 2: TILE- Tile Work in Toilet Room
WEEK 3: TRIM- DIY Wainscot Panels & Built In Window Cornice
WEEK 4: PAINT – Paint Room, Paint Closet Unit, Work on Linen Closet (Chalk Paint Card Catalogue)
WEEK 5: ELECTRICAL- Flip Light Fixtures, Chandelier Installation, Ceiling Decor Trim Out, Finishing Touches (DIY-A Tub Tray?)
WEEK 6: REVEAL
I’m loving that new linen closet organization! Gorgeous and so perfect for all those little bathroom things.
Lauren |
Wow can you say organization masterpiece? Love it
Love the idea of adding the card cabinet to the closet! What a great method for storing all the odds & ends that end up everywhere!
-Madi xo |
You are so talented! Love the card catalog painted with chalk paint.
Looks great Jen! Love all the painting tips! I never thought to cover the front of the wire shelf – what a perfect idea!
I also need a linen closet, but we still need to finish redecorating part of the house and garage. So exciting with the whole process of this room challenge!
Your bathroom is looking so pretty! And I love that card catalog! Such a smart use in a linen closet!
Your new linen closet makes all other linen closets pea green with envy. Love the painting tips, too!
WOWZERS! I’m totally inspired! It’s looking so great Jen.
These are great painting tips…Handy does make the best products! I love how you hid the wire shelves; I am pinning this for later because I have those same ones in my linen closet. Your makeover is looking fab so far!
Oh my! LOVE this! The shelf facings and card catalog are such great ideas!
I could have used these painting tips this week! 😉 I love the unique use of the card catalogue cabinet.
I love the card catalog drawers!!
What a wonderful DIY upgrade. A great mix of beautiful decor with functionality for more space.
This is truly my dream bathroom! and I love what you did with the linen closet. My parents just moved into a new place and I am gonna show them some of your tips:)
I like it when folks come together and share thoughts. Great site, stick with it!
Thank you for the great inspiration with this linen closet, I have to say that you have amazing ideas that I love to copy 😉 hope you don’t mind.
This is such a great idea to stay organized! I love the look of the chalk paint too!
OMG I love it! This is the perfect organization for a linen closet. Thinking of getting a wooden file cabinet for toiletries.
Your viewpoint contributes a useful lens to the conversation in design.
You are a creative soul, and insanely awesome. It’s packed with wild visuals, bold vibes, and just the right amount of designer madness. I imagine your cat in a hoodie dreamed of this site after binging inspirations. That’s the vibe this beast gives.