ORC: Adding Stone Tile to a Fireplace
Welcome to the third week of the ORC: Adding Stone Tile to a Fireplace!
Welcome to week 3, for the 2020 fall season of the ORC: Adding Stone Tile to a Fireplace. This season we are designing our library space and this week we are currently adding stone and slate tile around our new electric wall mounted fireplace.
WEEKS AT A GLANCE:
WEEK 1 WEEK 2 WEEK 3 WEEK 4 WEEK 5 REVEAL

Just in case you maybe wondering exactly what The One Room Challenge is, here is the link, and the scoop. This event was originally started by Linda Weinstein @ Calling It Home. It is currently hosted twice a year, in April and October for the past 16 seasons. The ORC has hosted over 500 interior designers & home decor bloggers, that have joined together in this challenge to makeover one room in their own homes. The participants have a total of six weeks, from start to finish, to complete a full room transformation. Over 4,400 rooms have been transformed through the One Room Challenge to date, and many spaces have been recognized and featured by several prestigious sites, like Better Homes and Gardens the hosting media site this season.
THE LIBRARY BEFORE PICTURES:

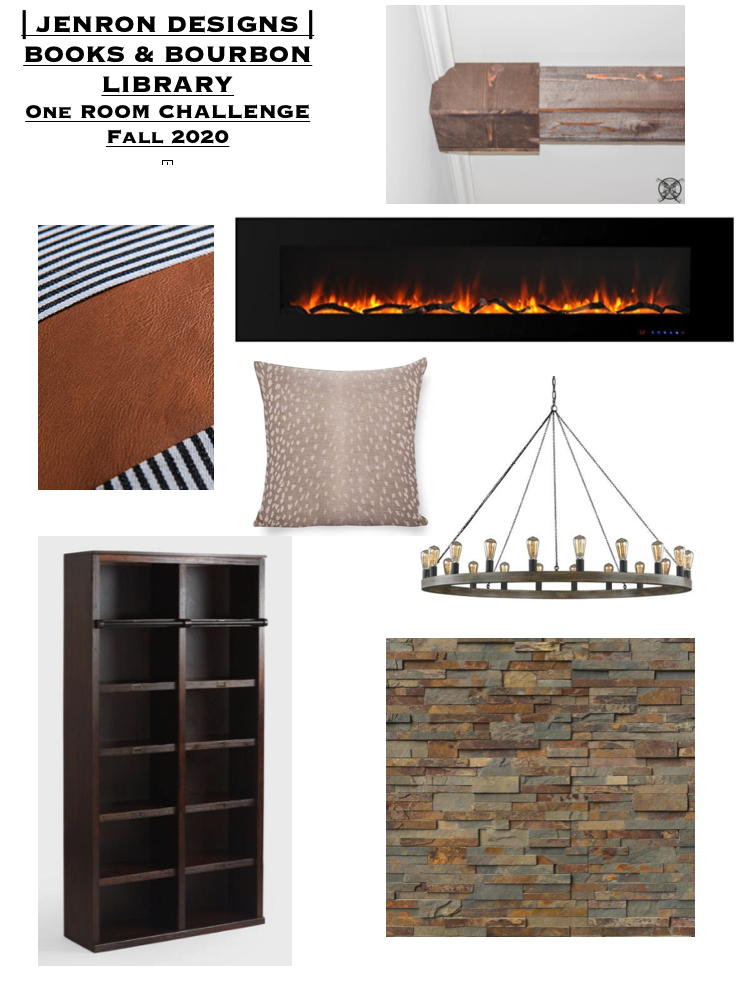
Inspiration Board: The Book & Bourbon Library
 Last week we focused on building the mantle for our fireplace and installing the backer board for the stone tile. We also did a quick pre-run with a marble tile on another fireplace in the basement over the weekend, to make sure I was fully ready to do this project. Since our basement floor is unfinished, I figure that was the best place to try my hand at doing the stone tiling first prior to going at the library on hardwood floors. You can see the full DIY on adding a Recessed Custom Wall Fireplace.
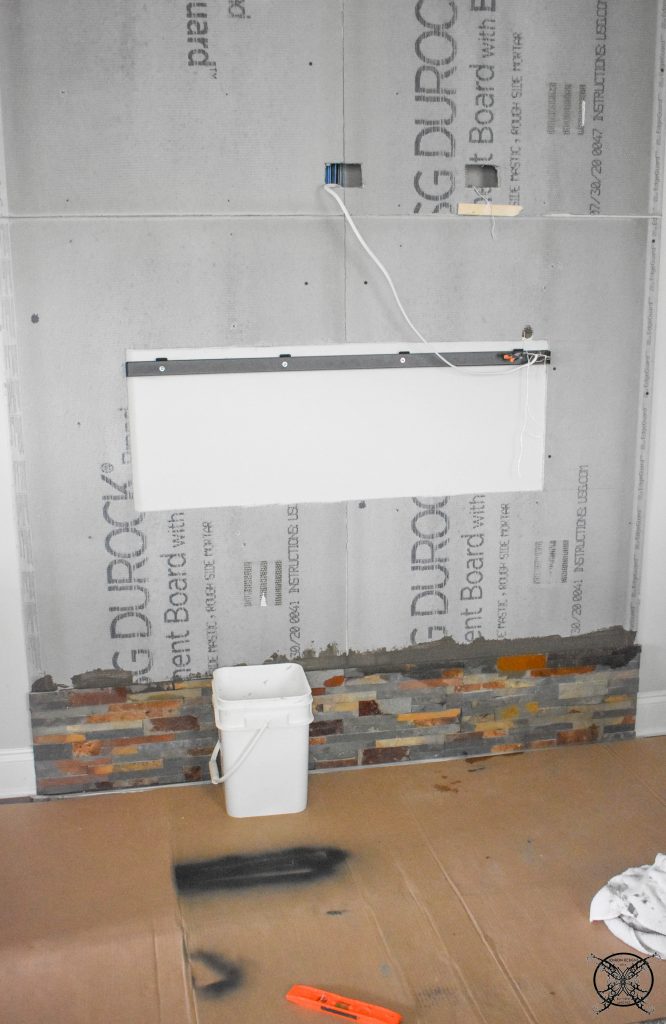 For this DIY we decided to have the tile sit directly on to the flooring with only a small gap since our flooring is already installed. For this reason we only used a heavy plastic sheeting to protect the floor which could easily be slid out after the thin-set dries.
 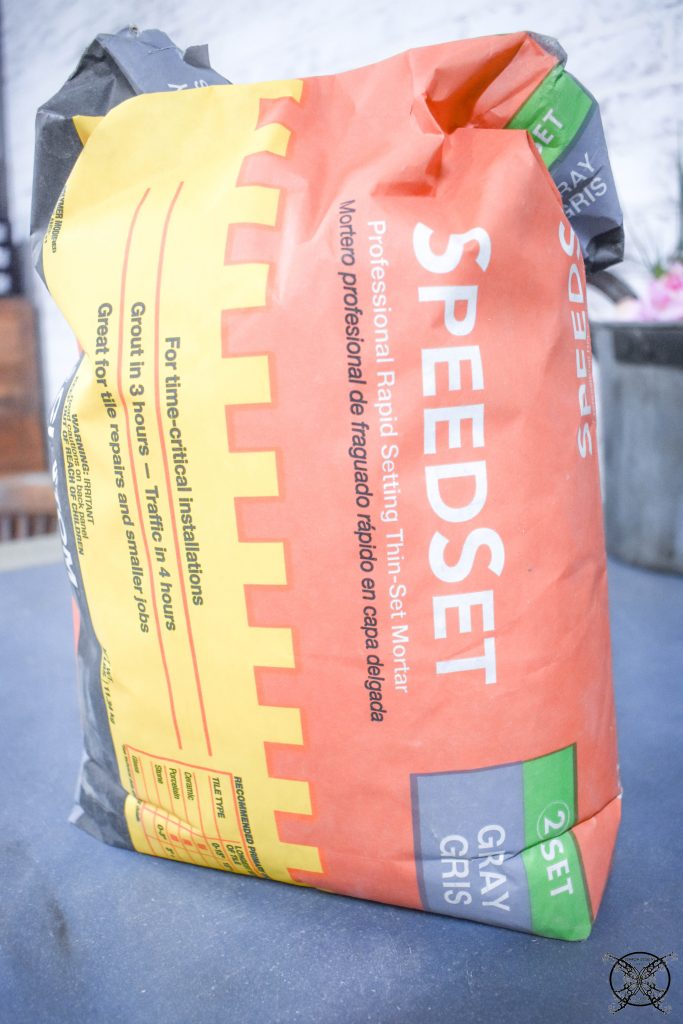 I used the same thin-set as in our previous project in gray and used the same manufacture mixing directions, a 2 to 1 ratio for mixing.
  I used the very same buttering method which actually worked a lot better on the slate and stone tile, verses our previous project with the marble tiles. My thoughts are that those tiles had a bit more marble dust which made them trickier to work with, so in essence I did the harder project first. So this was really a breeze and much more forgiving by comparison.
 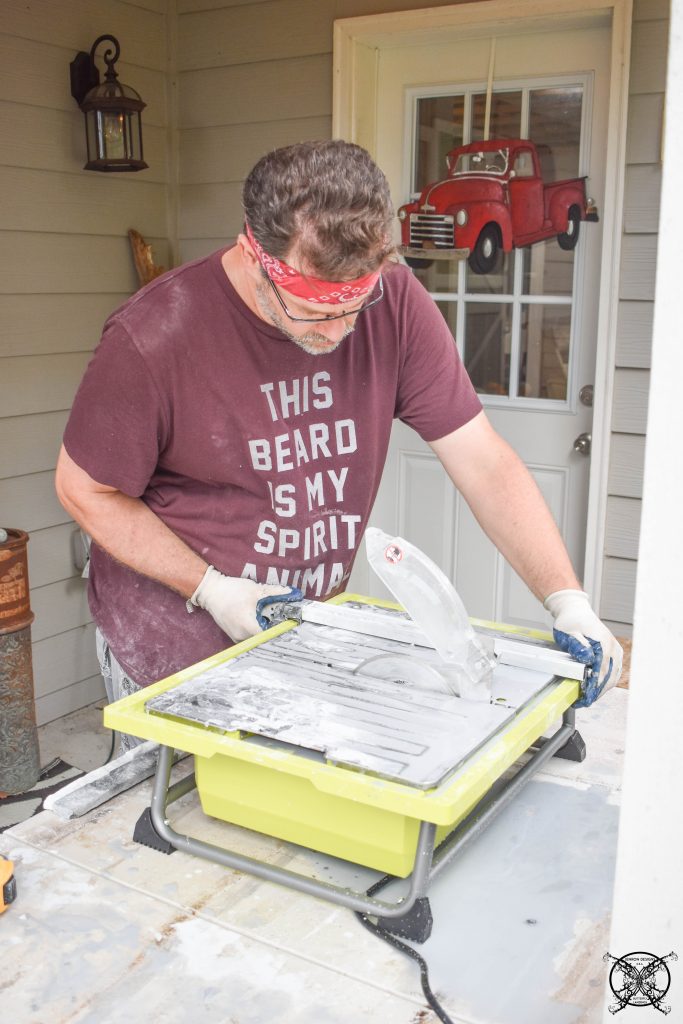 Ron did a very similar cutting process, which was cutting the tails, or end of the tiles, off to create a perfect rectangle for squared ends for our edges. This pre done step made my job go very fast, since I pre laid out the tiles we would be using and he pre cut all of them at one time. Then I could install them in the required 3 foot high sections at my leisure.
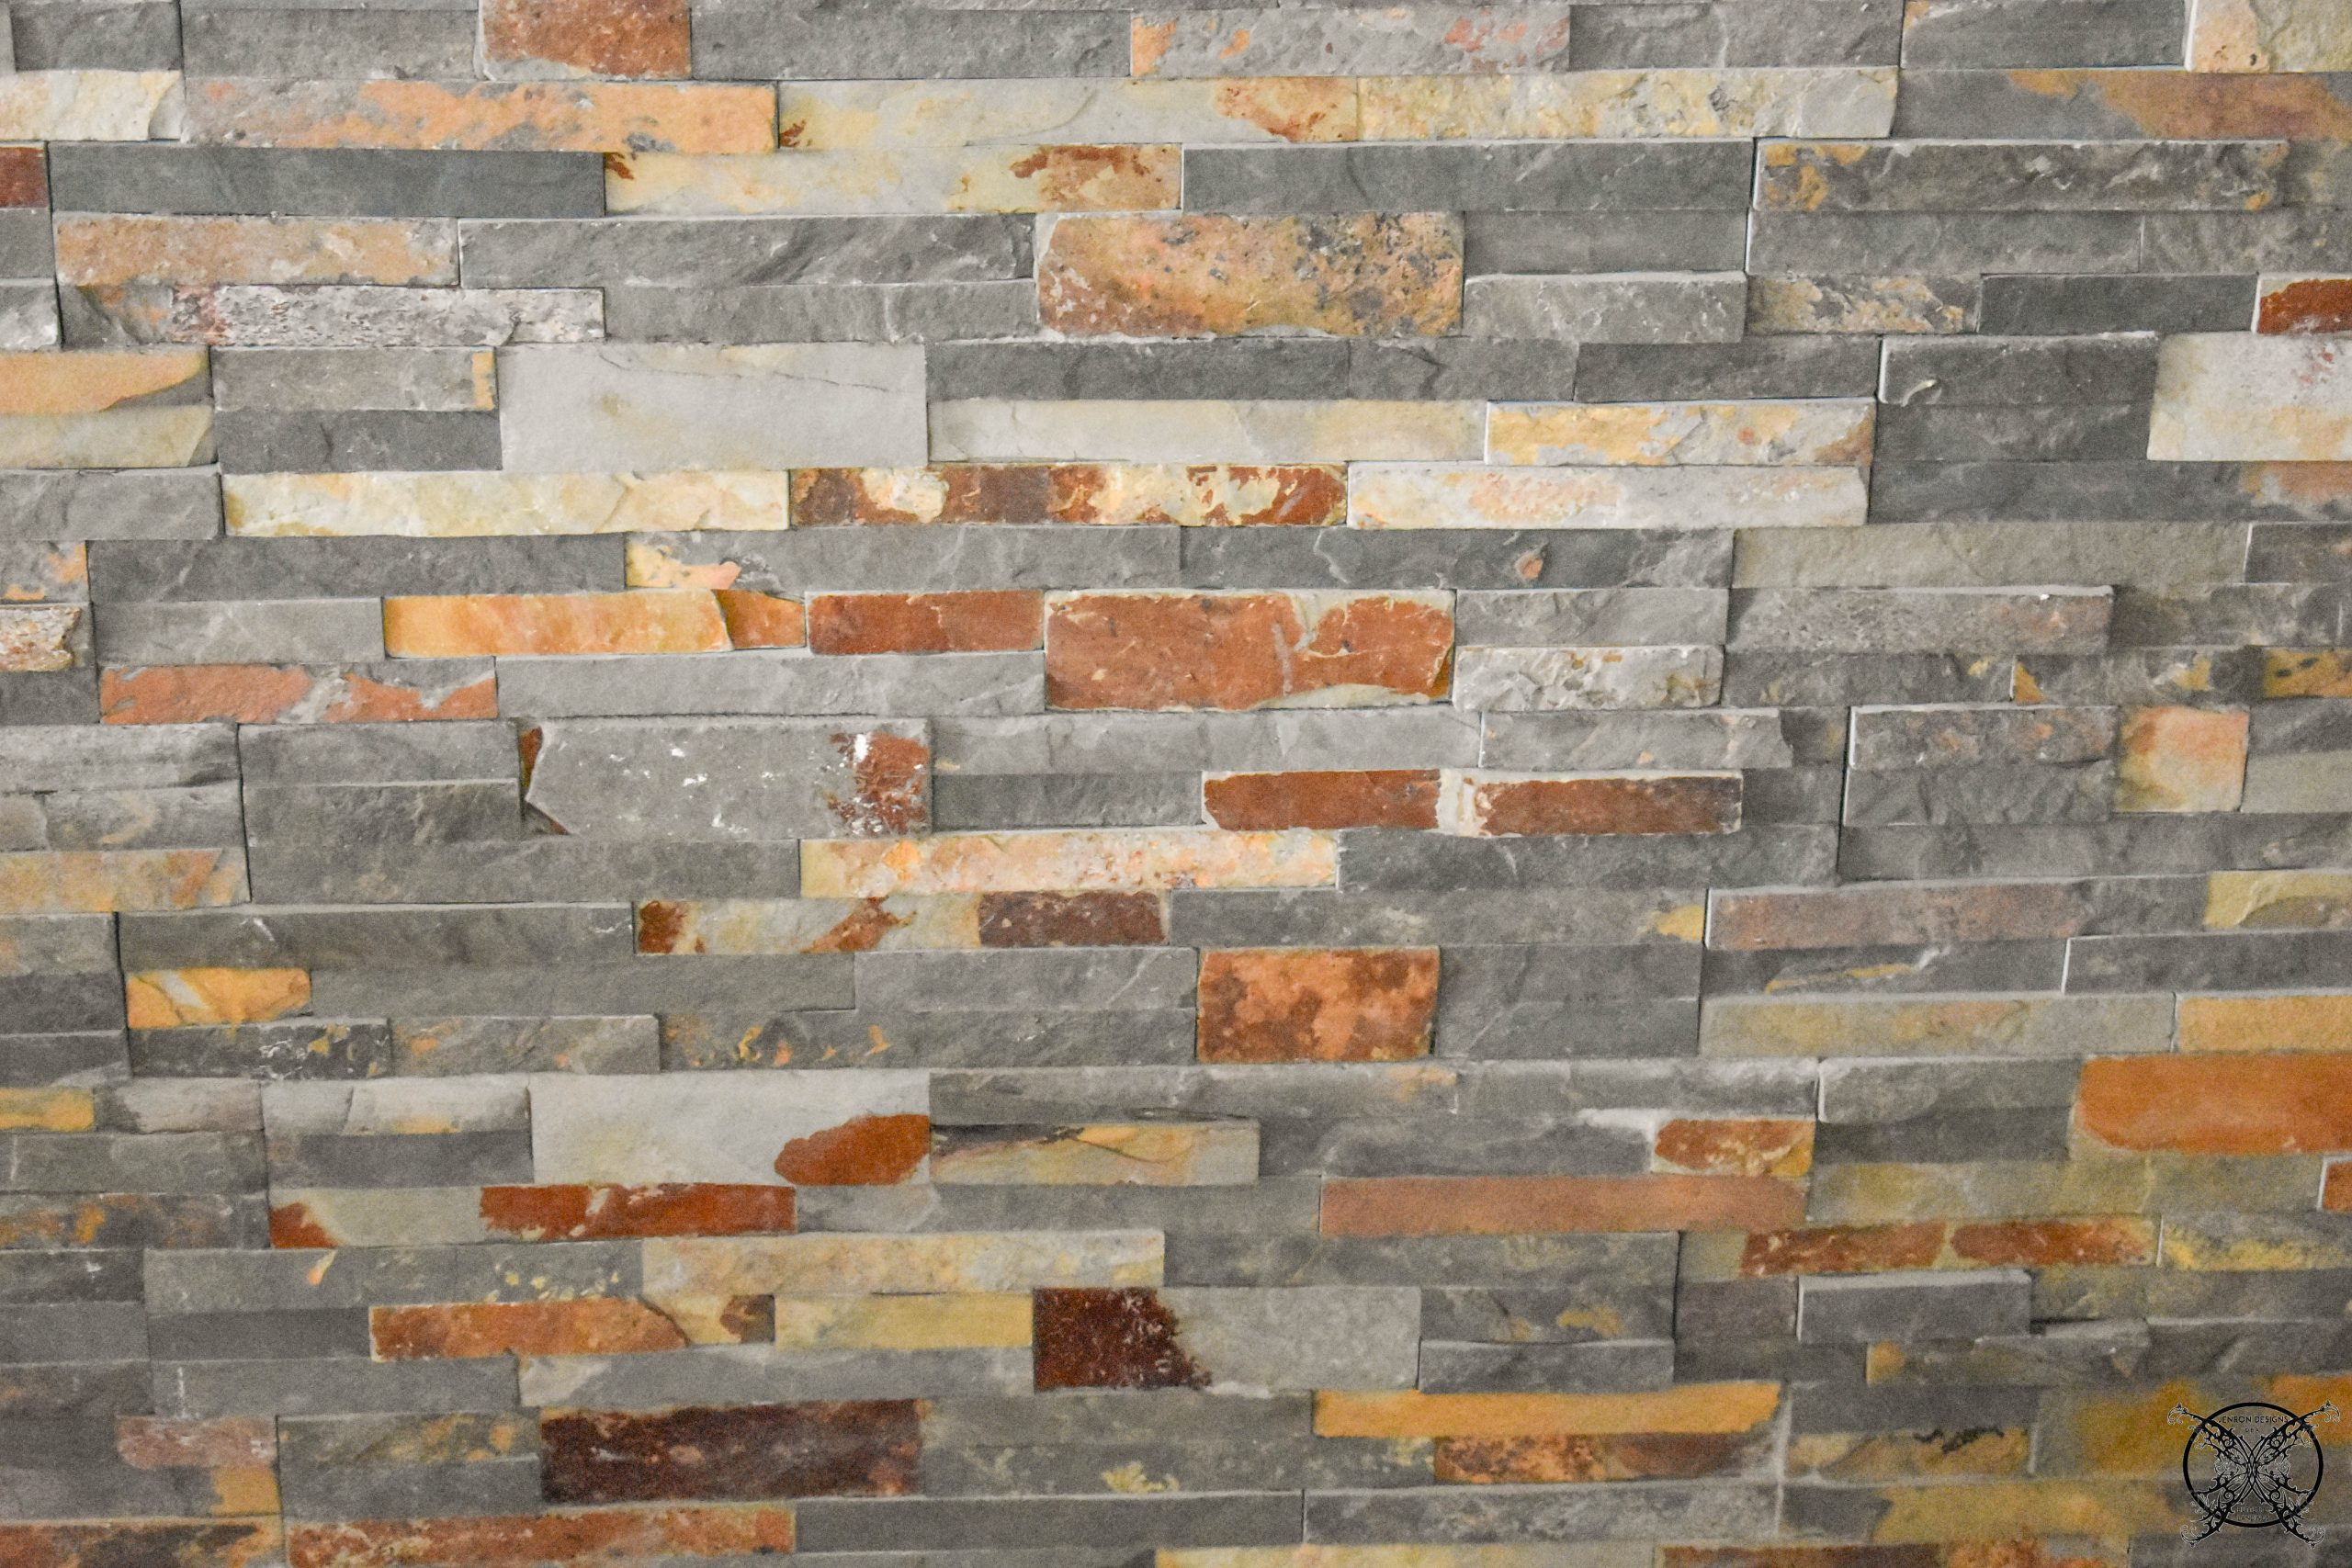
 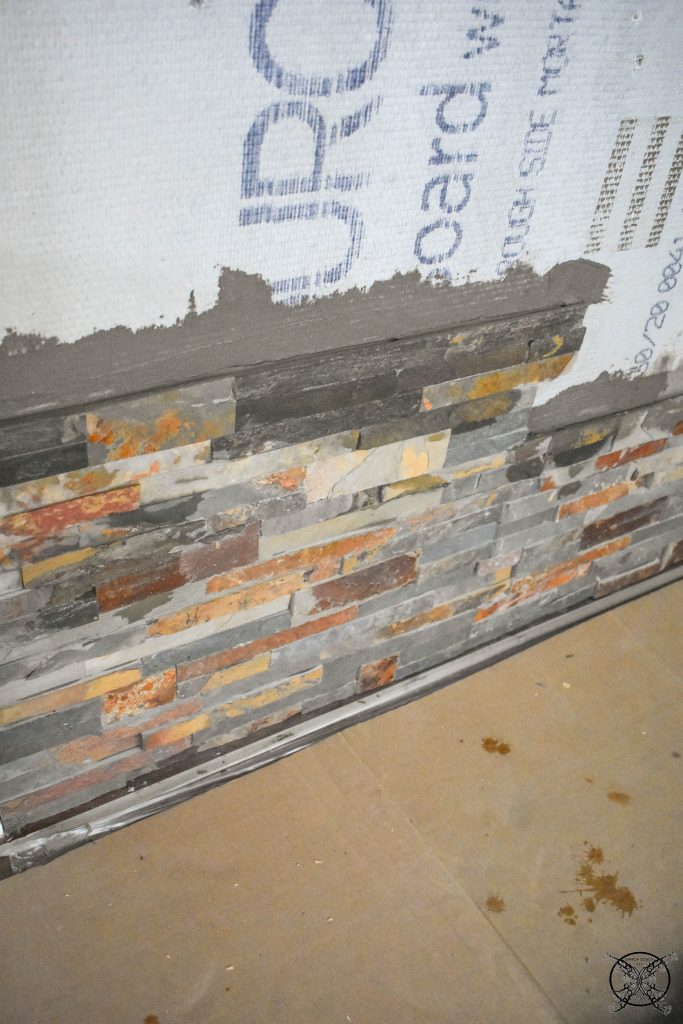 I also noticed that the stone and slate tile had less gaping along the edge than our marble tile project. While it is completely normal to have these types of inconsistencies in the tiles, the marble had huge 2-3″ gaps where the stone is quite minimal as you can see below. Which in turn means a small trim piece will be needed to cover this space, we can probably use stained quarter round, which will be great.
 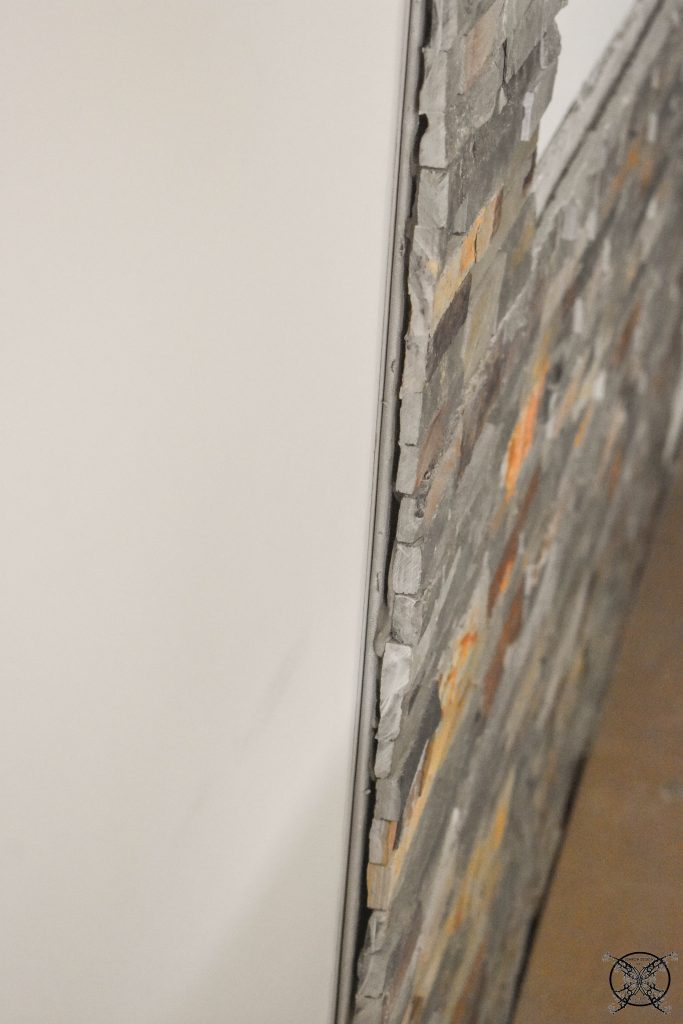 Once I reached the 3 foot height requirement I had to stop for the day, which I will say is the only downer about this project, it does take planning and time. There is no instant gratification here, you have to wait and build, wait and build some more for the proper stability for this product.
 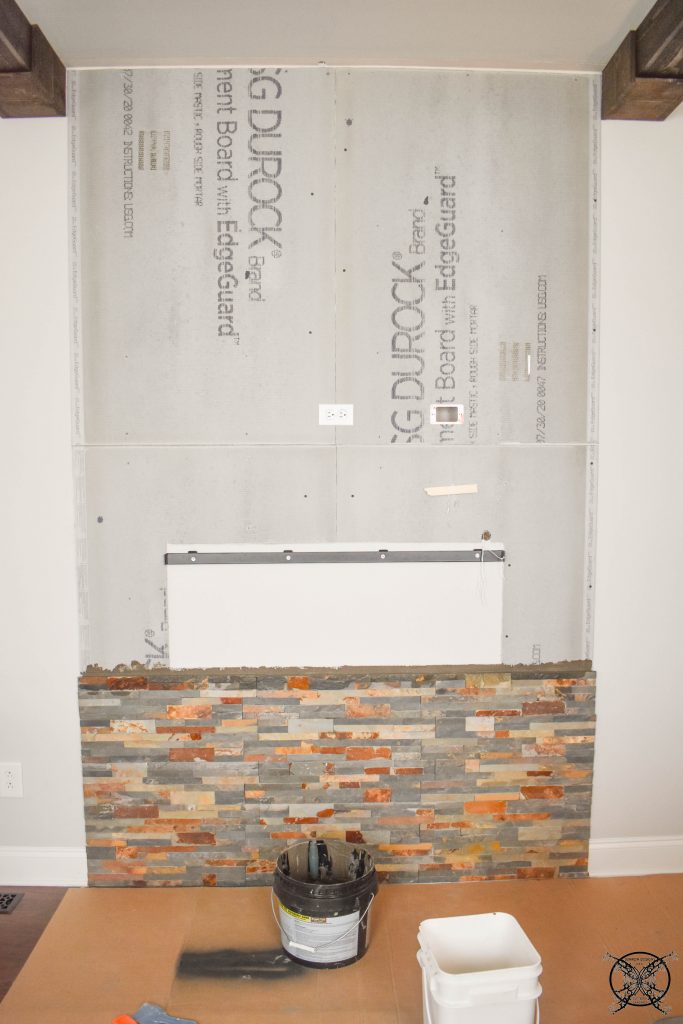 On day two I started up the sides, which were all special cuts to accommodate the fireplace that will be inserted into this space after the stone and slate is in place. You can see we already have the flush mount bracket in place for the easy mount.
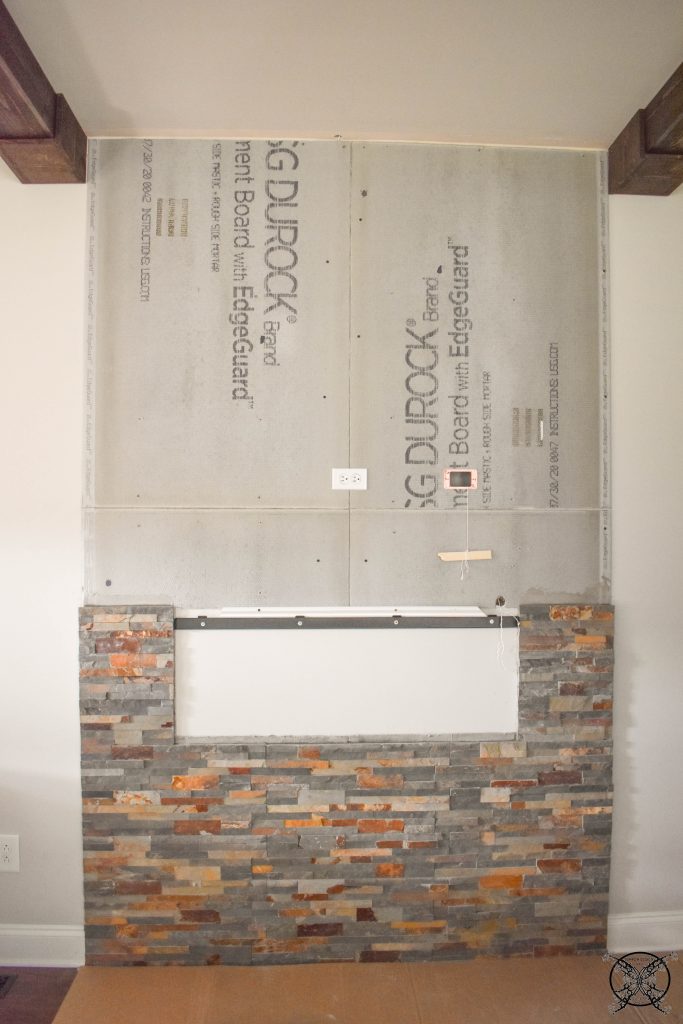 We installed the broken 2×6 pieces for our custom removable mantle, which will have all the electric run inside for the fireplace, and optional television and holiday lighting. This method will still allow a stable base to hold the mantle in place but allows for plugs and plug chases to be hidden inside of the hollow mantle we built last week.
 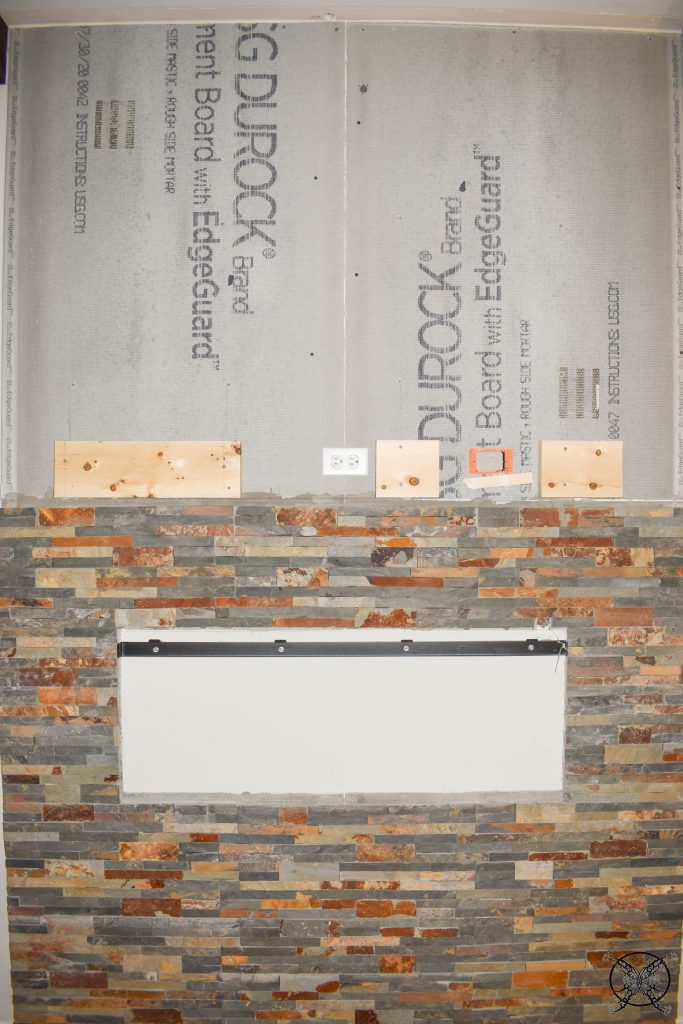 Also, I wanted to show you a close up of the notched stone we did to have access for the plug on the fireplace, to slip into the pull chase. Notice we still have a easy access pull cord in place for our installation. This would be a tip I highly recommended if you decided to use this method of hiding plugs and cords. Pull cords like this save you are lot of time. In fact we will keep this cord attached to the plug even after we pull it though, as to not lose this ability further down the road.
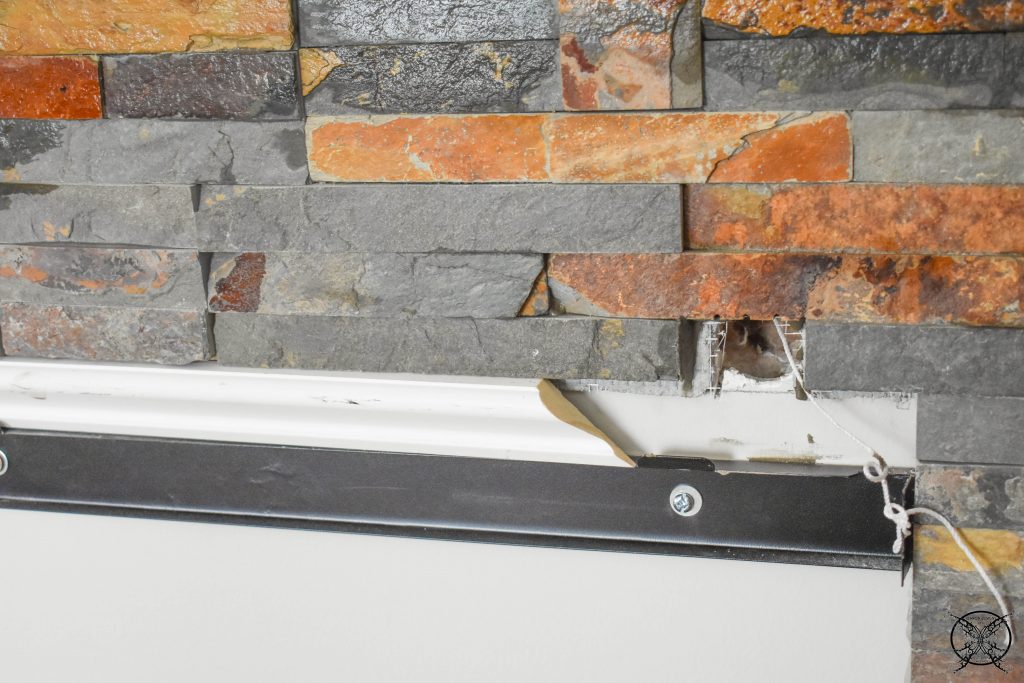
THE PROPOSED SCHEDULE:
WEEK 1: Introduction & Inspirations, Beams
WEEK 2: Fireplace Install & Mantle
WEEK 3: Stone Tile Install
WEEK 4: Bookcases
WEEK 5: Adding a Chandelier
WEEK 6: REVEAL
I love your stone choice. I might have to try that around my fireplace. It needs a refresh.
The end result really looks great and I’m sure it felt nice to accomplish this project by yourselves.
I always love seeing you re-vamp your home! It give me so much inspiration for whats next to come in our home process.
This is looking amazing 😍. I was looking into doing an accent wall in my bathroom and this is the push I needed to just DO IT! Thank you for the motivation. I can’t wait to see the finished product 😌
This looks so amazing!:)
Very exciting … Can’t wait to see the Chandelier
We got it in last week and it is gorgeous! It really adds so much to the space. A very regal feel and sp worth running all the electric in order to have an overhead box, for sure!
Wow, this is turning out so awesome! I’m really excited to see the finished product!
I LOVE this look! Well done 🙂