Building A Stone Fireplace Hearth
Welcome to part 2 of this DIY, where we are Building A Stone Fireplace Hearth for our new Owners Bedroom Fireplace.
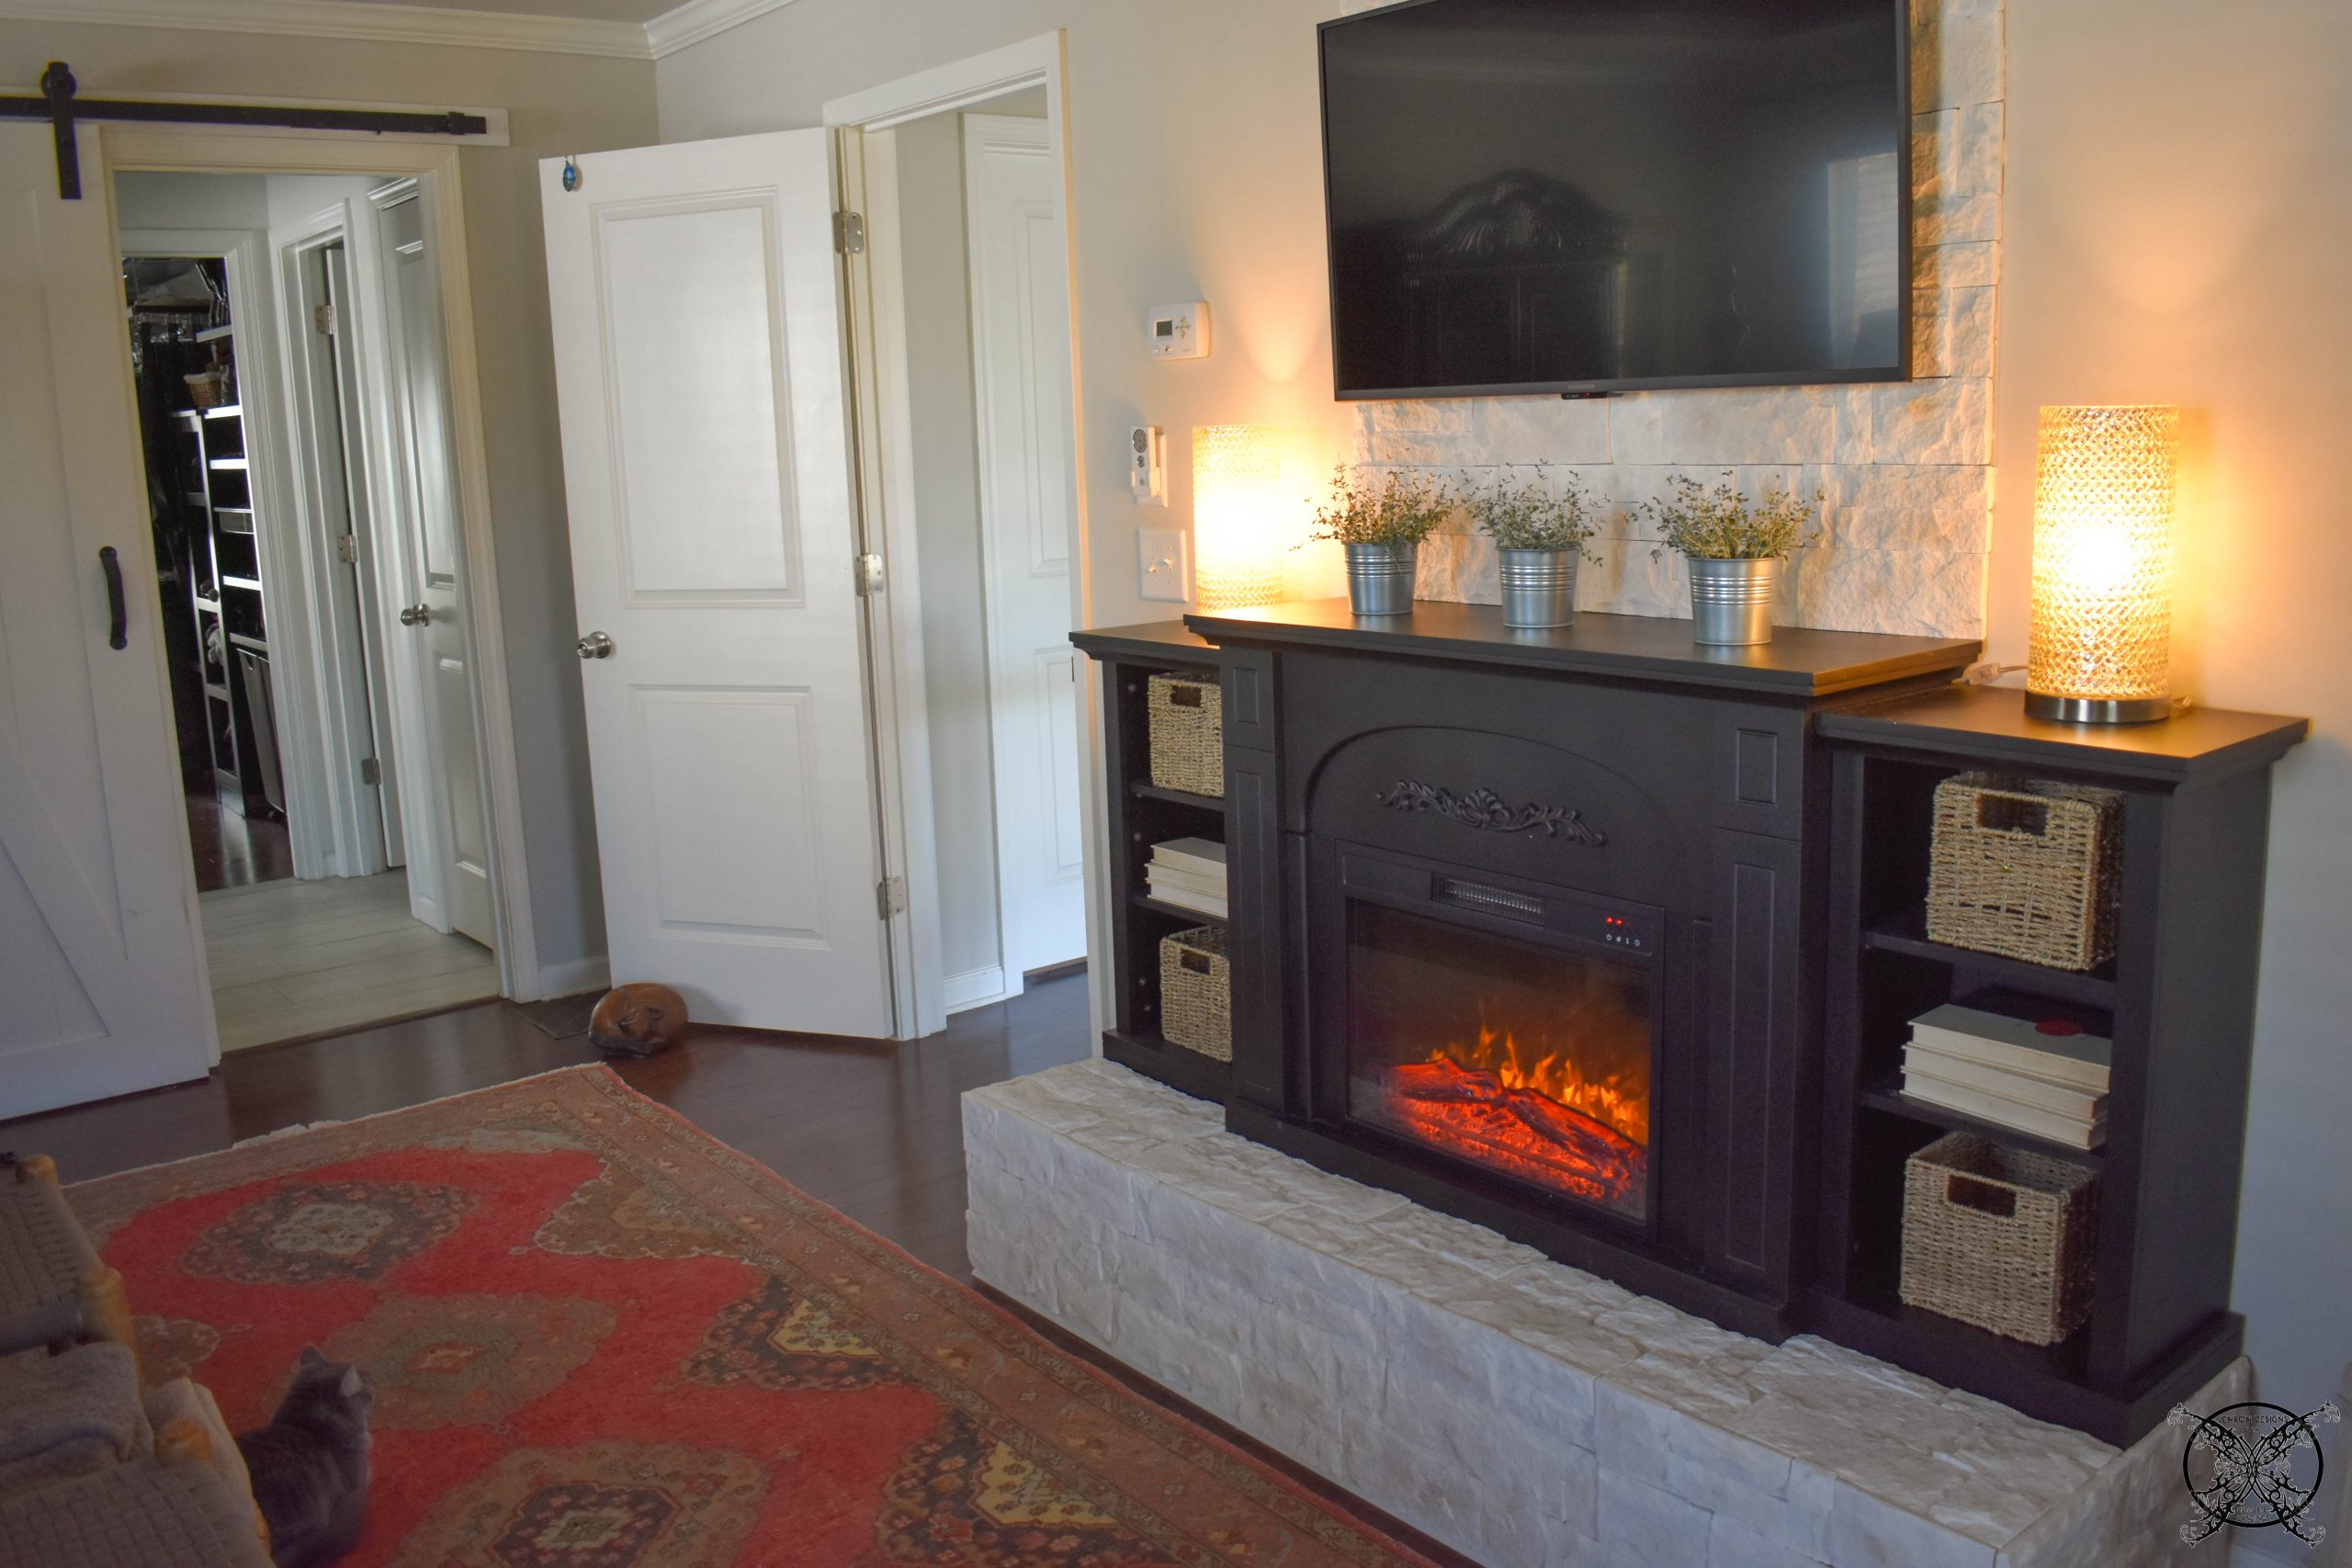
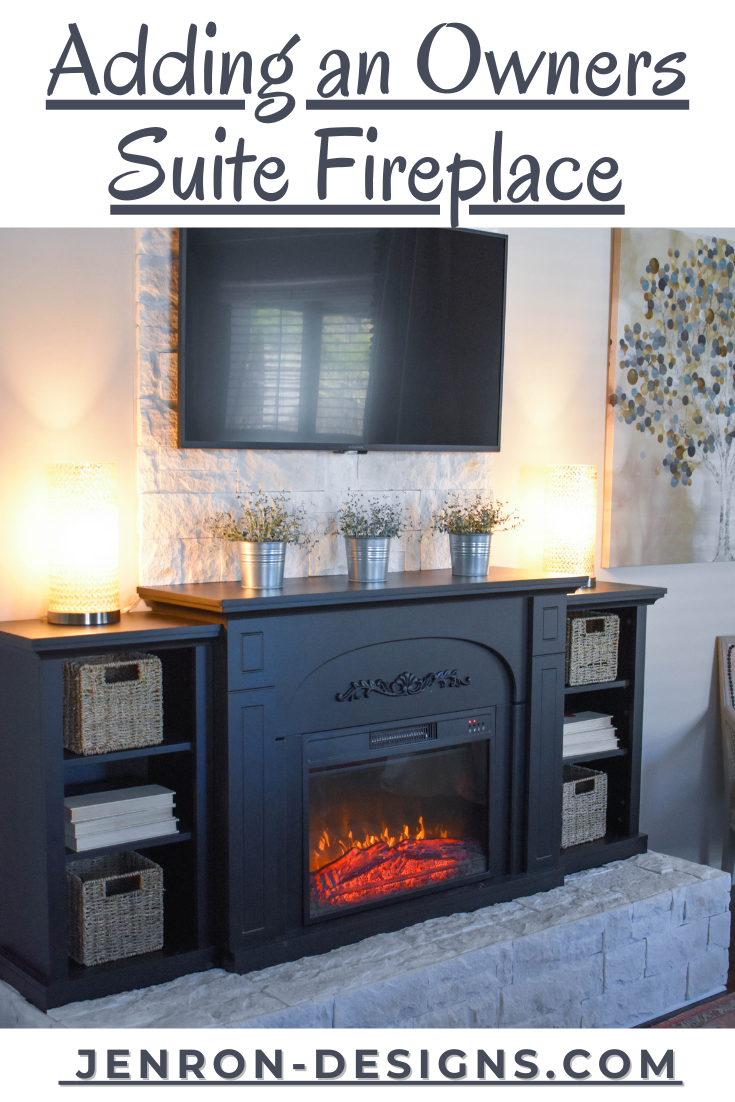
Today I am going to show you how we custom built in this beautiful, prefabricated fireplace we installed last week by building a stone fireplace hearth. Below you can see the finished picture of the beautiful fireplace we added last week, see the post here, from Good and Gracious Fireplaces via Wayfair, Ahviana 72.5” W Electric Fireplace.
*Please note that I was compensated for this post. This post contains affiliate links for your convenience. These involve no extra cost to you. You can view my full advertising disclosure here.
 While this is a beautiful fireplace all on its own, I wanted to elevate it just a bit to give a more custom-built feel for our owners Bedroom Suite. I honestly felt that the best way of doing this would be to build a custom hearth to elevate the height of the unit and add a stone base, and chimney.
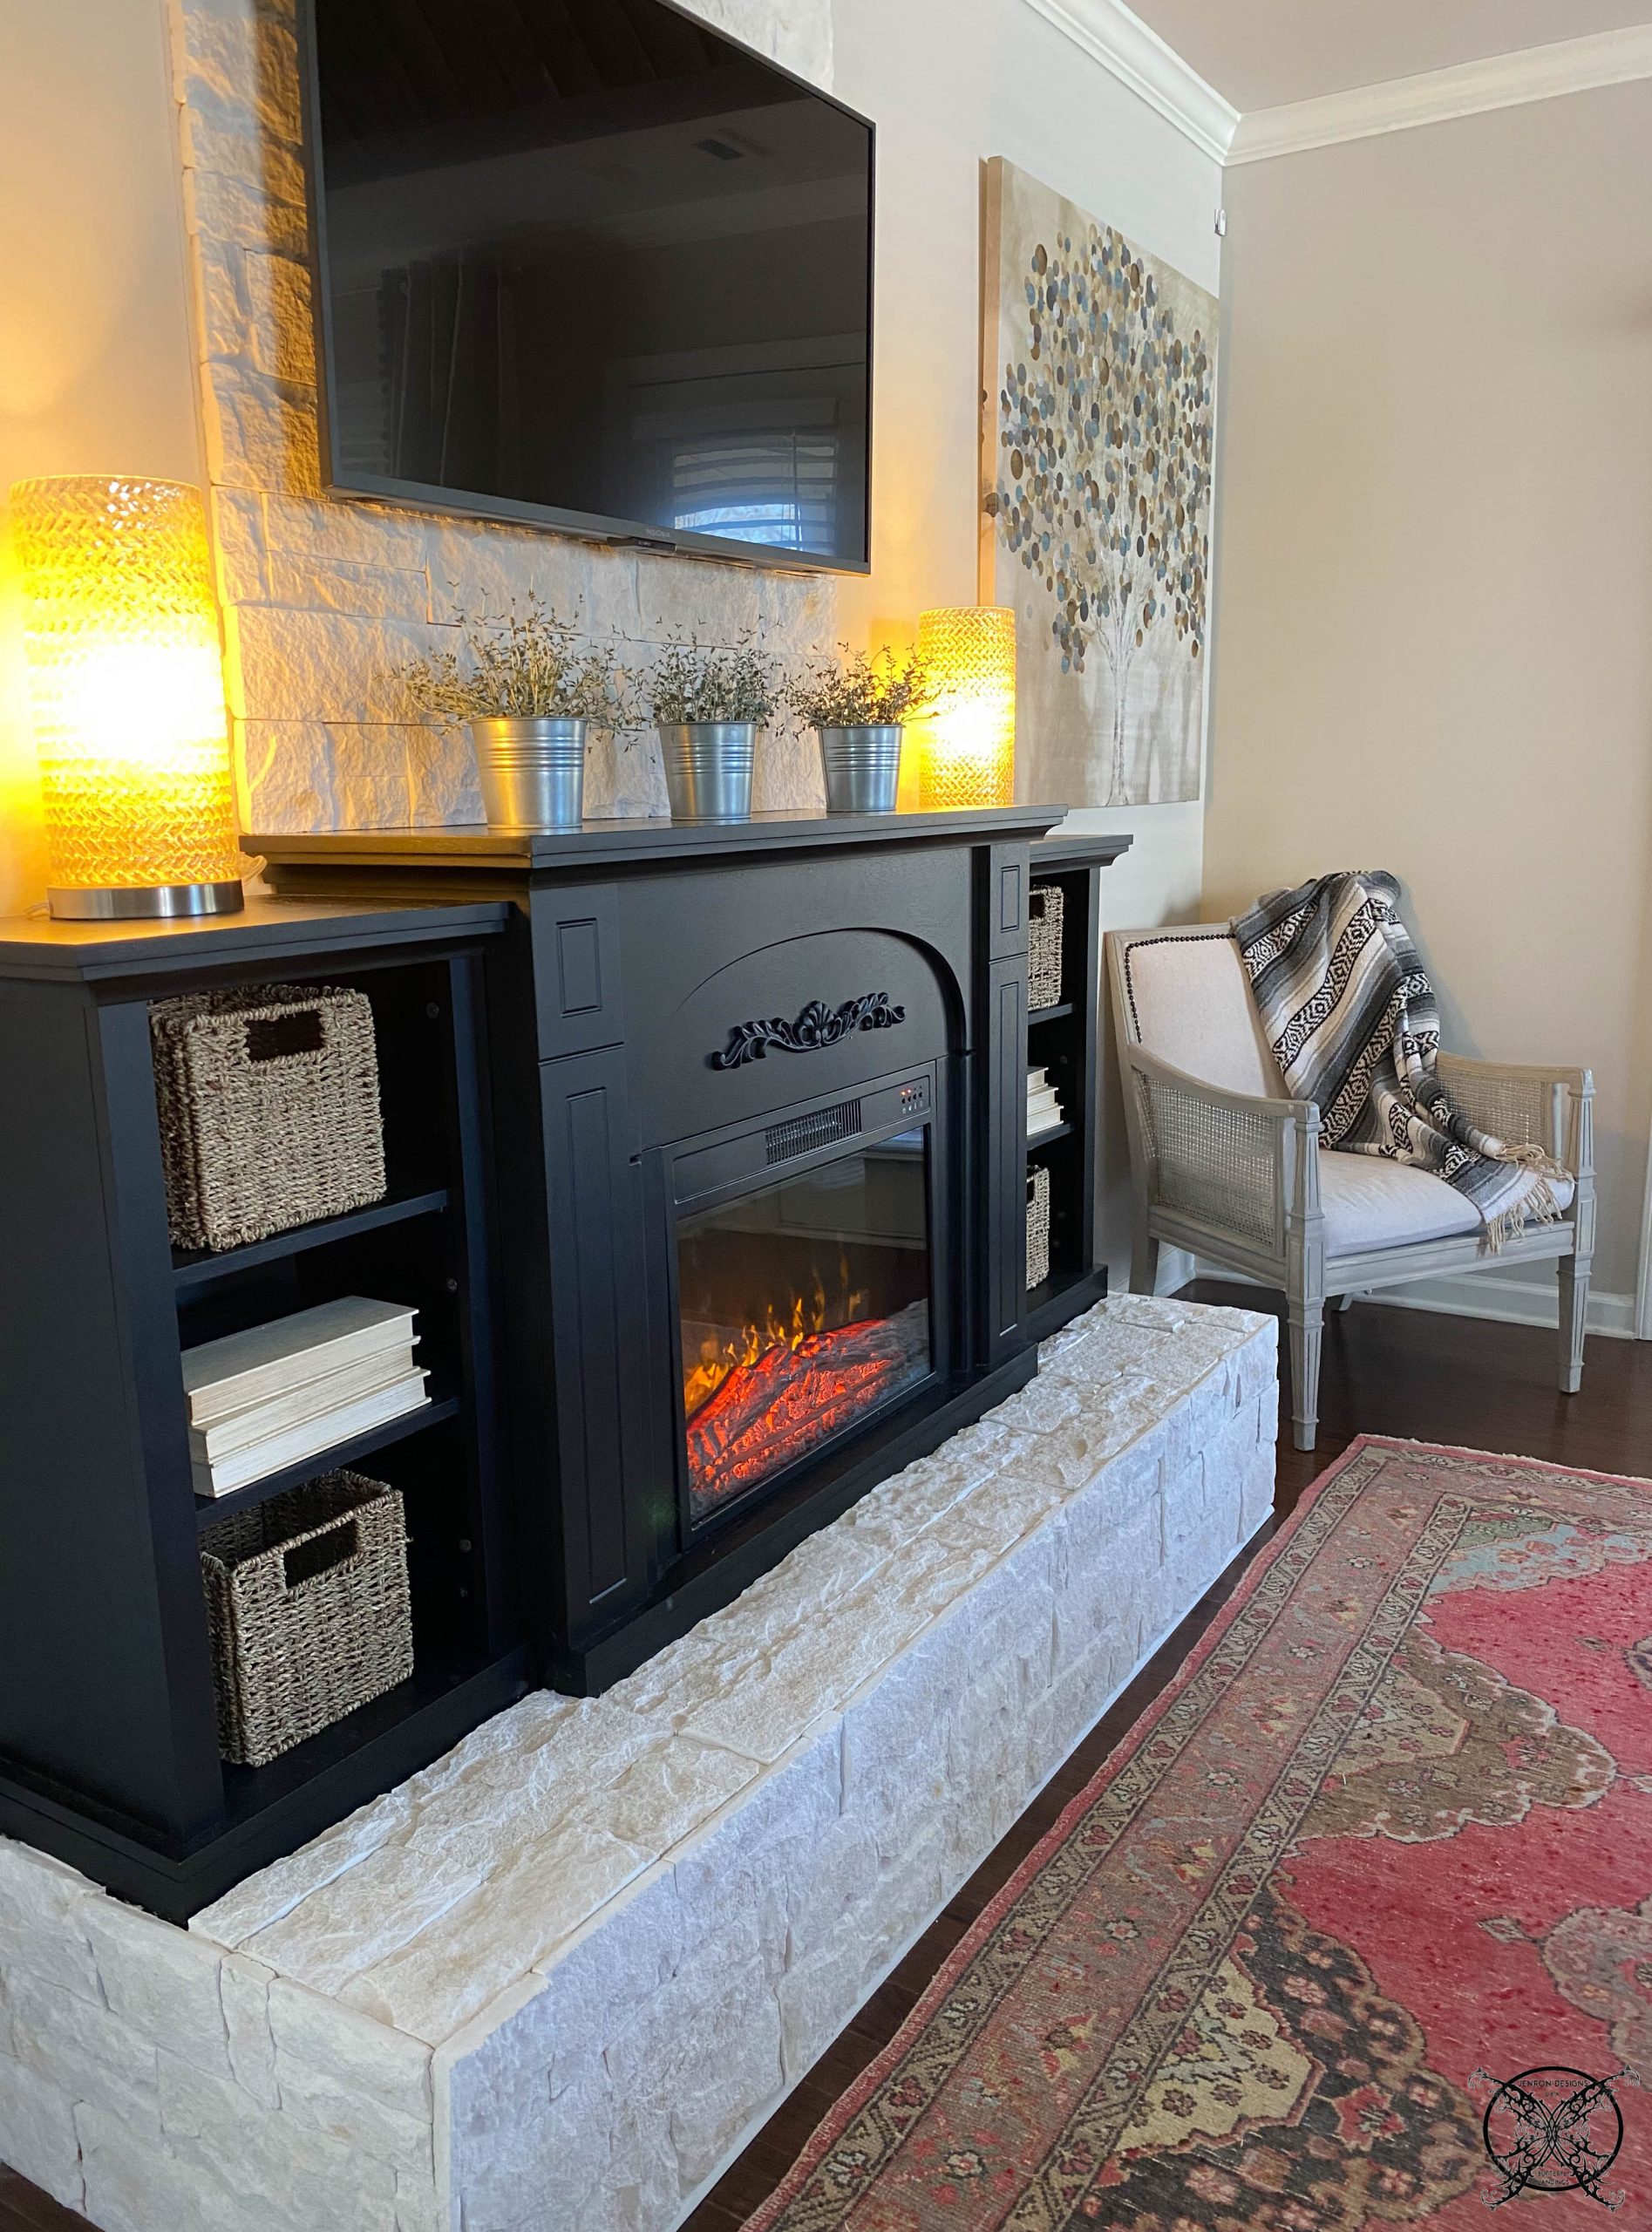 As you can see the finished product above looks great. Even though I also have a real wood burning fireplace in my great room, I feel that adding faux fireplaces in every room will only add to the resale value of our home.
Designer Tip: This is what most of the current home builders install with faux gas log fireplaces, which are now being built in most neighborhoods, including ours; in lieu of real wood burning fireplaces as a cost saving measure. They have become an industry standard from some of the biggest home builders, and most new homes only have this type of fireplace.
 To build the base hearth we used our existing wood burning fireplace in the living room as a guide for the measurements and constructed a MDF board base to a similar size in relation to the fireplace we have added to the Owners Suite. We used 2 x 4 legs to stabilize the base and create a stage like box for the entire piece to sit atop.
 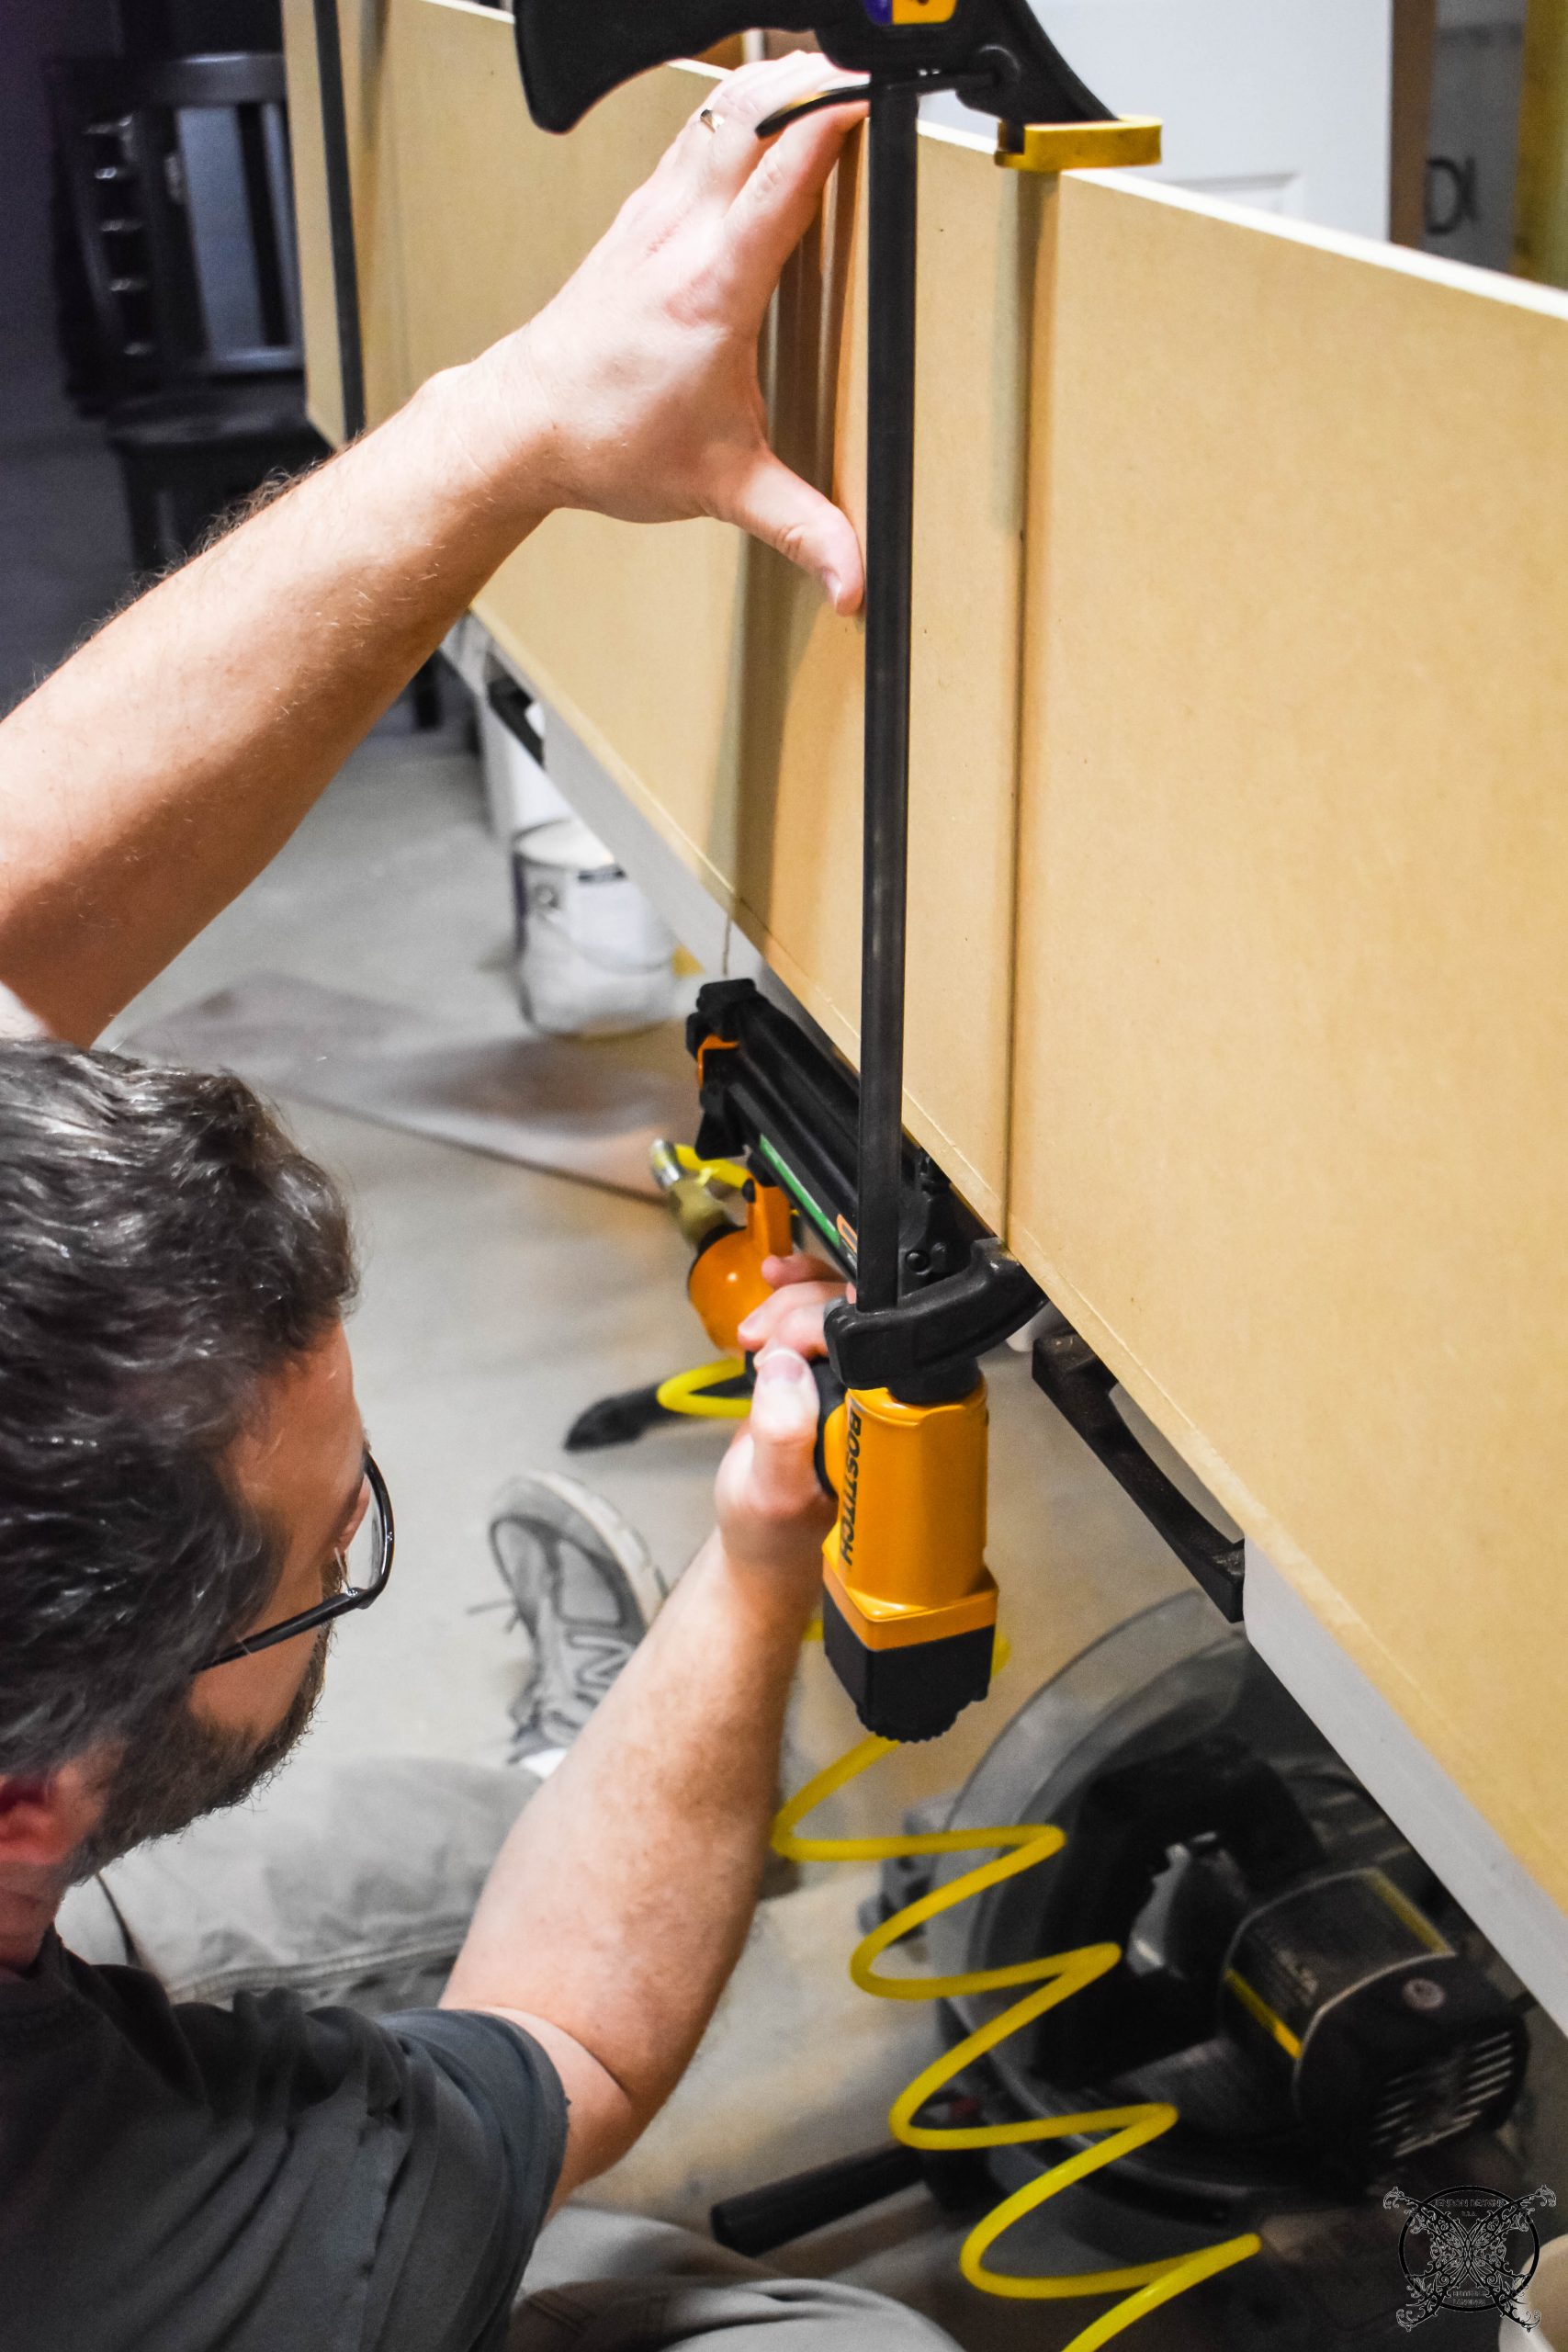 I decided after completing both the Marble Stone Tiles fireplace in the basement and Slate Stone Tiles to Books and Bourbon fireplace, that I would try a different style stone for this fireplace all together. This time I opted for Lite Stone, which can be glued directly to sheetrock, a much easier and quicker application than laying actual stone tile. You can literally put this stuff up with liquid nails if you wanted to, but I would not recommend that, personally.
 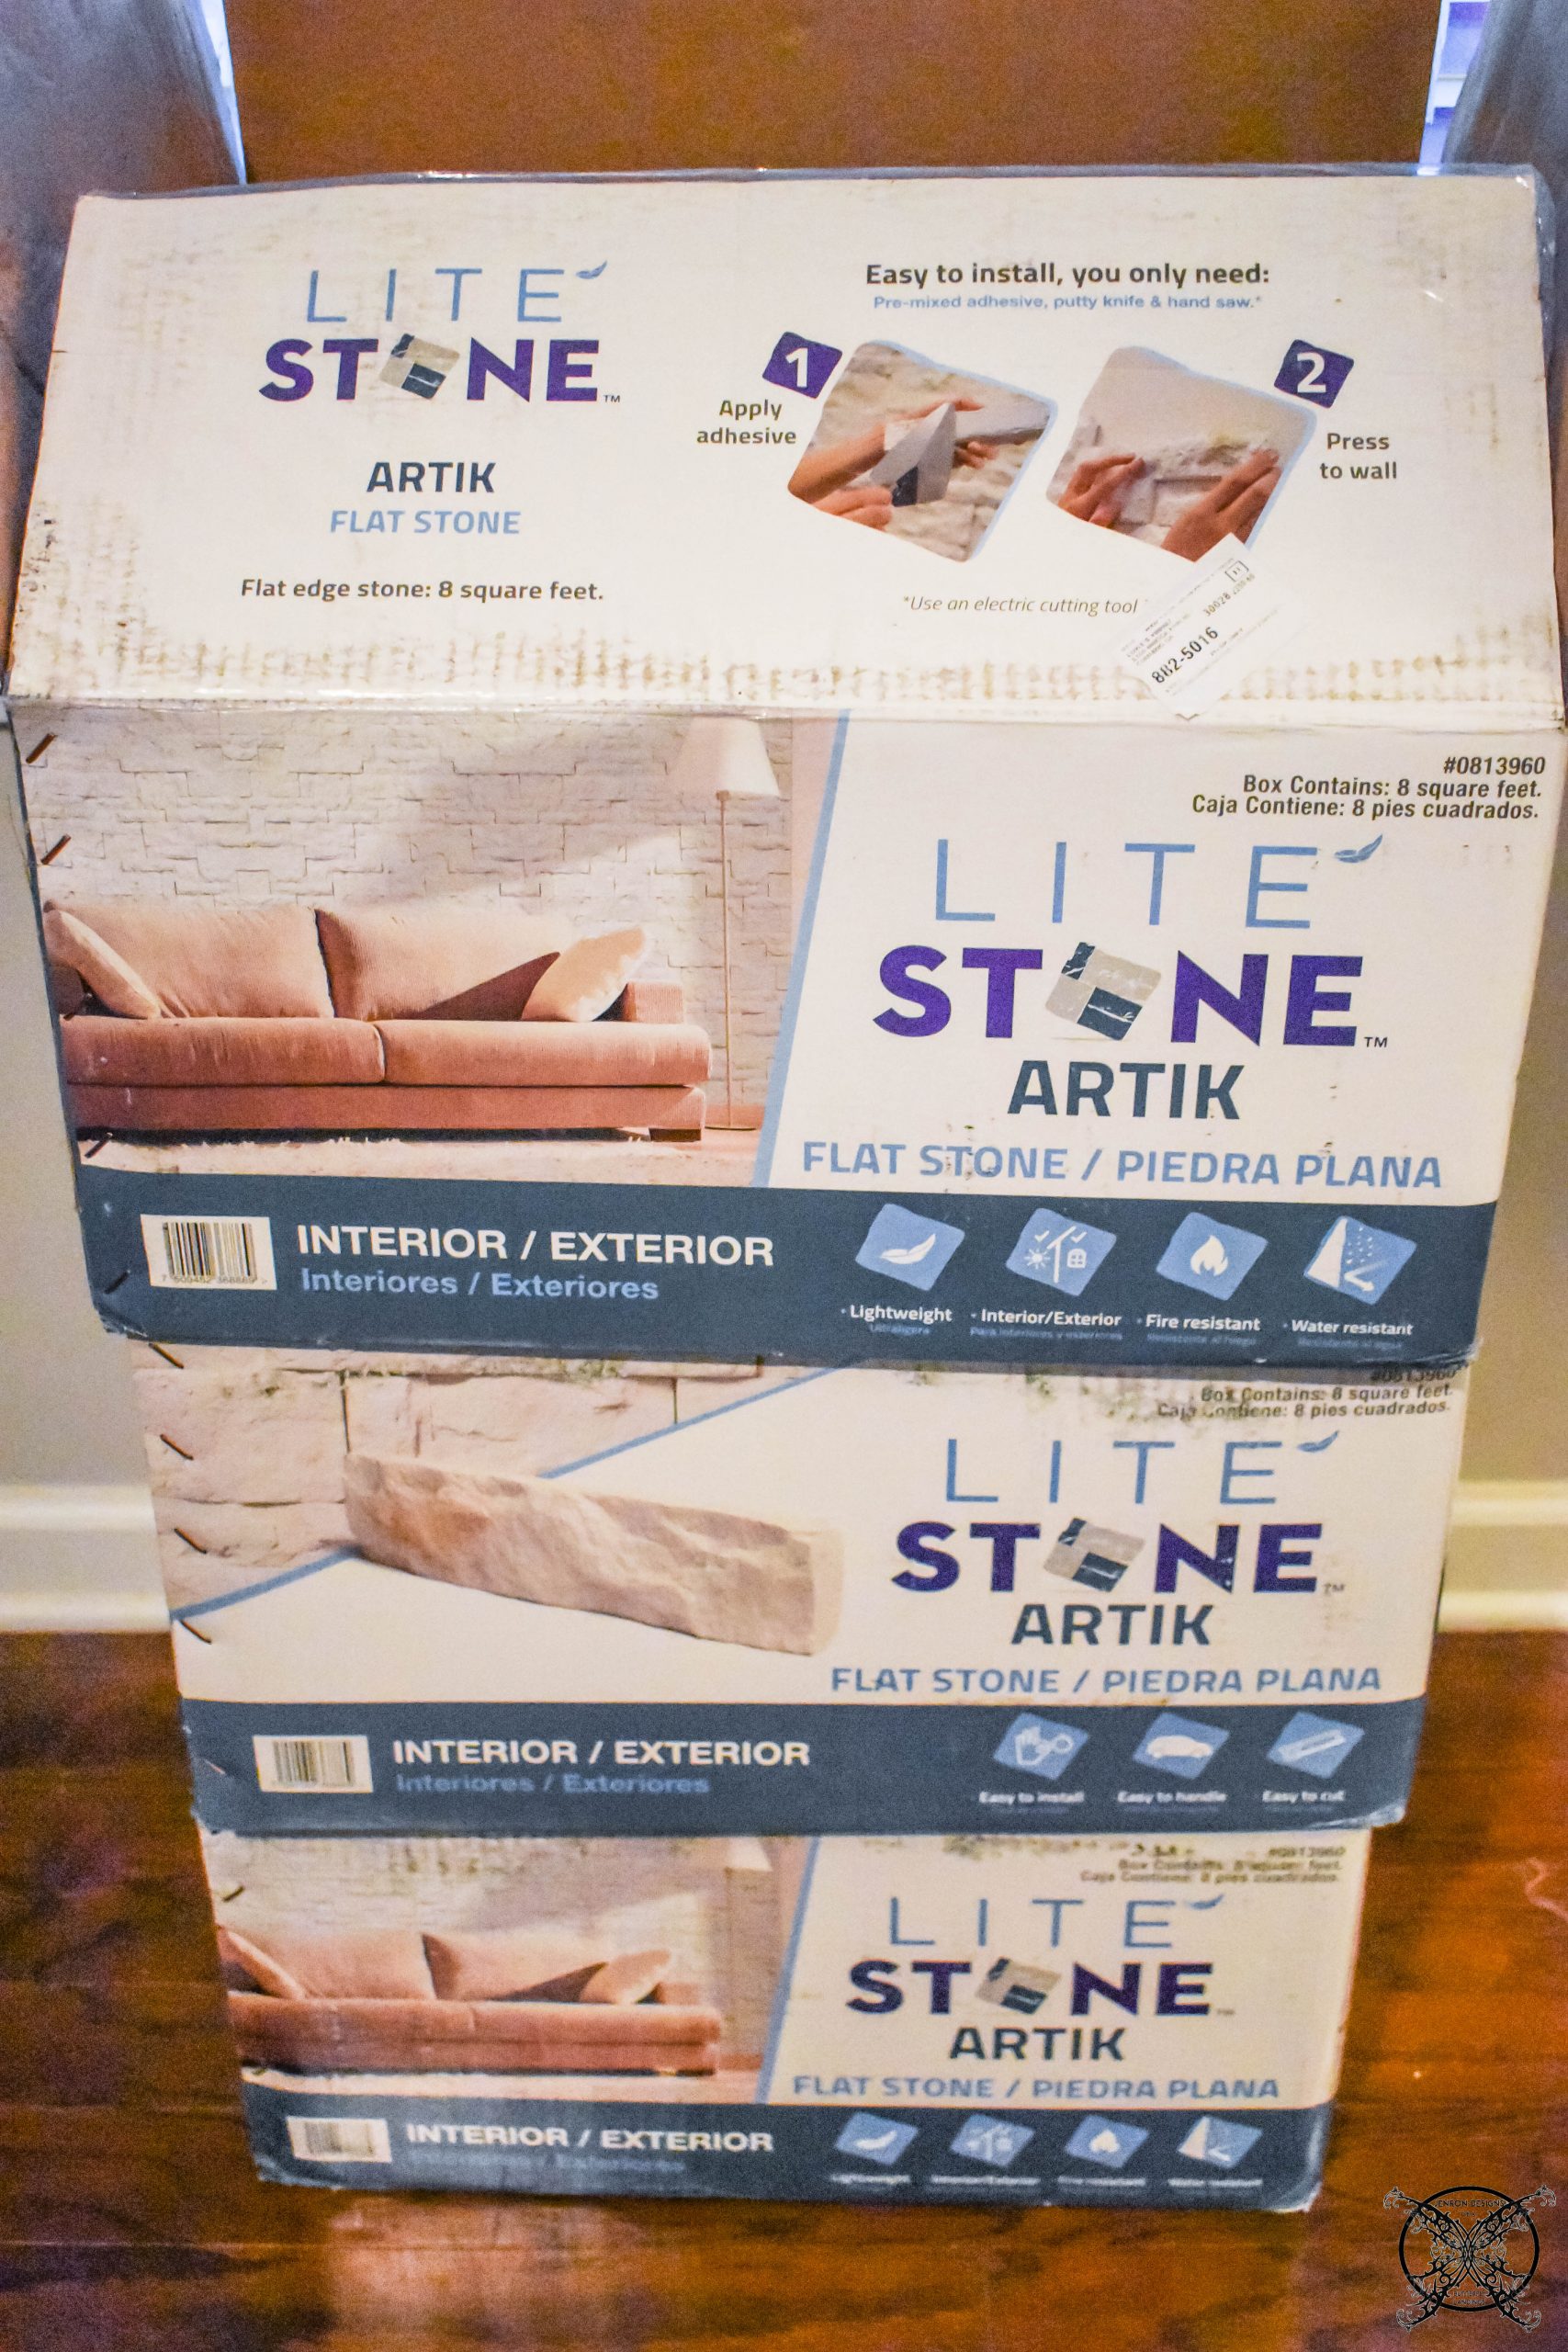 The process started out with laying out the tiles so I could see a pattern to place on to the wall and hearth surface. Since these are all individual tiles not a sheet, it does require a little more of an artistic eye, so keep that in mind, if it is not your strong suit.
 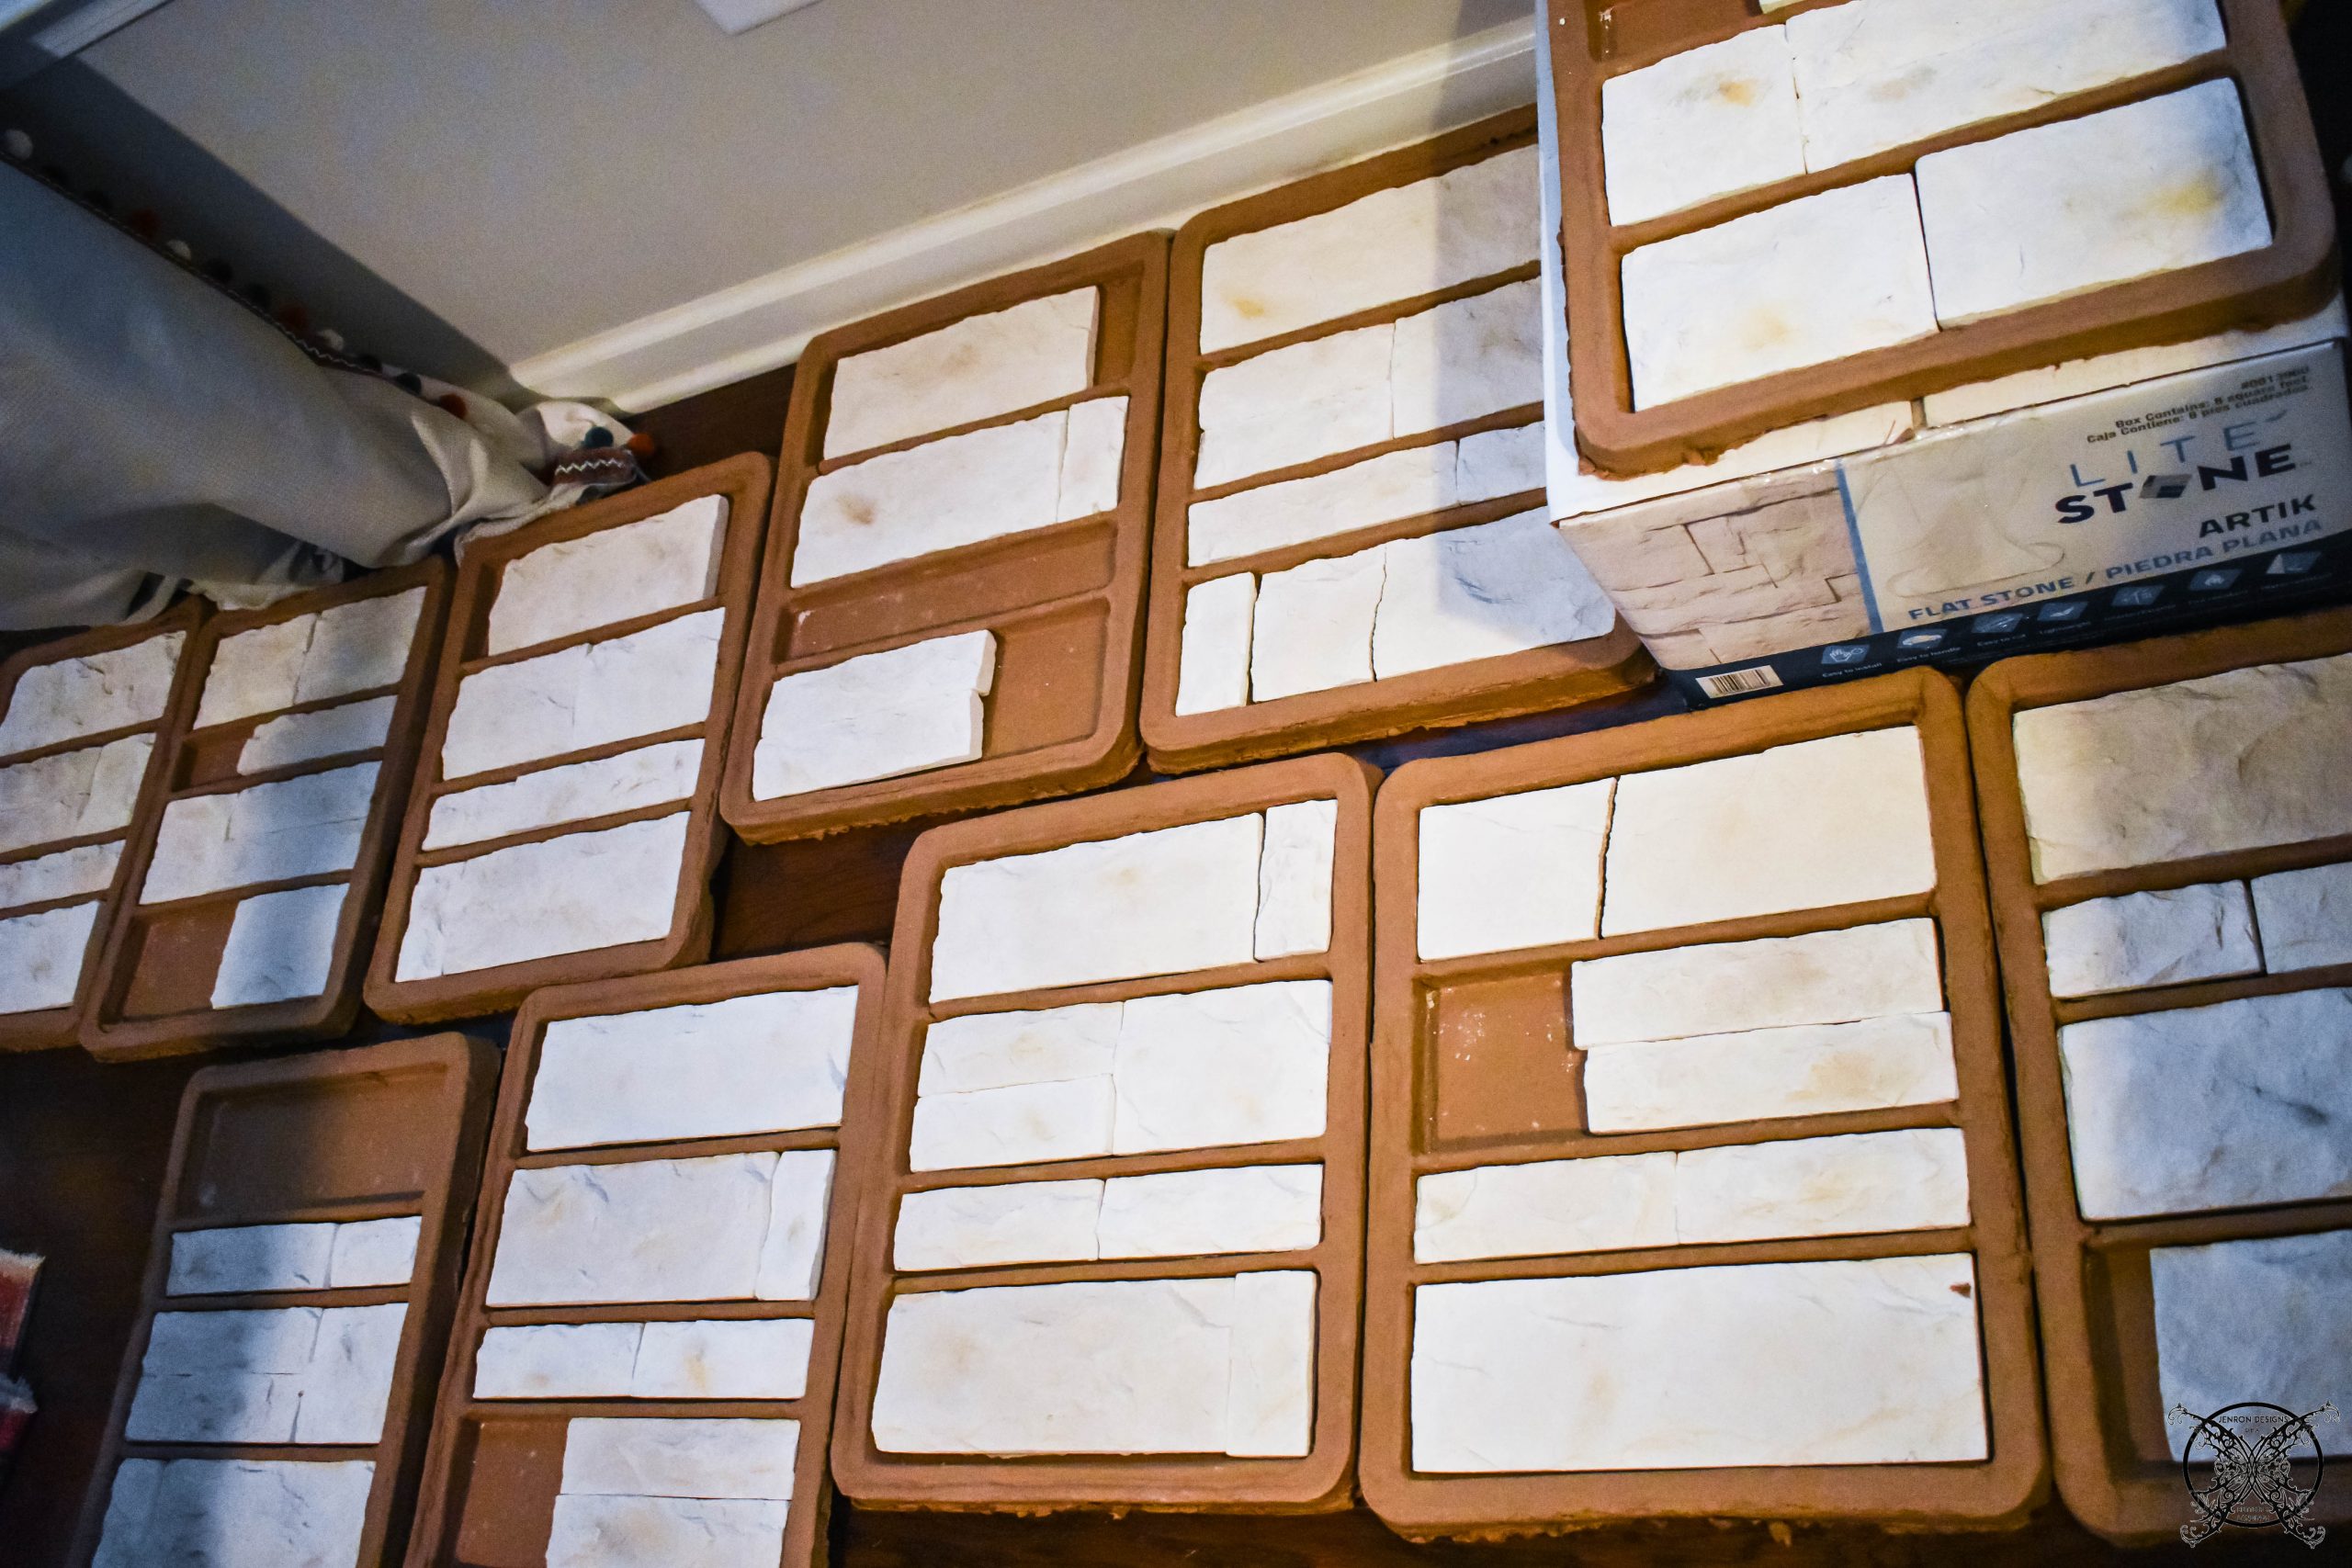 As my husband noted he had no idea how I could make the patterns work out perfectly without cutting any tiles, LOL! Let’s just say I am really good at puzzles and have a photographic memory, so for me it is super easy.
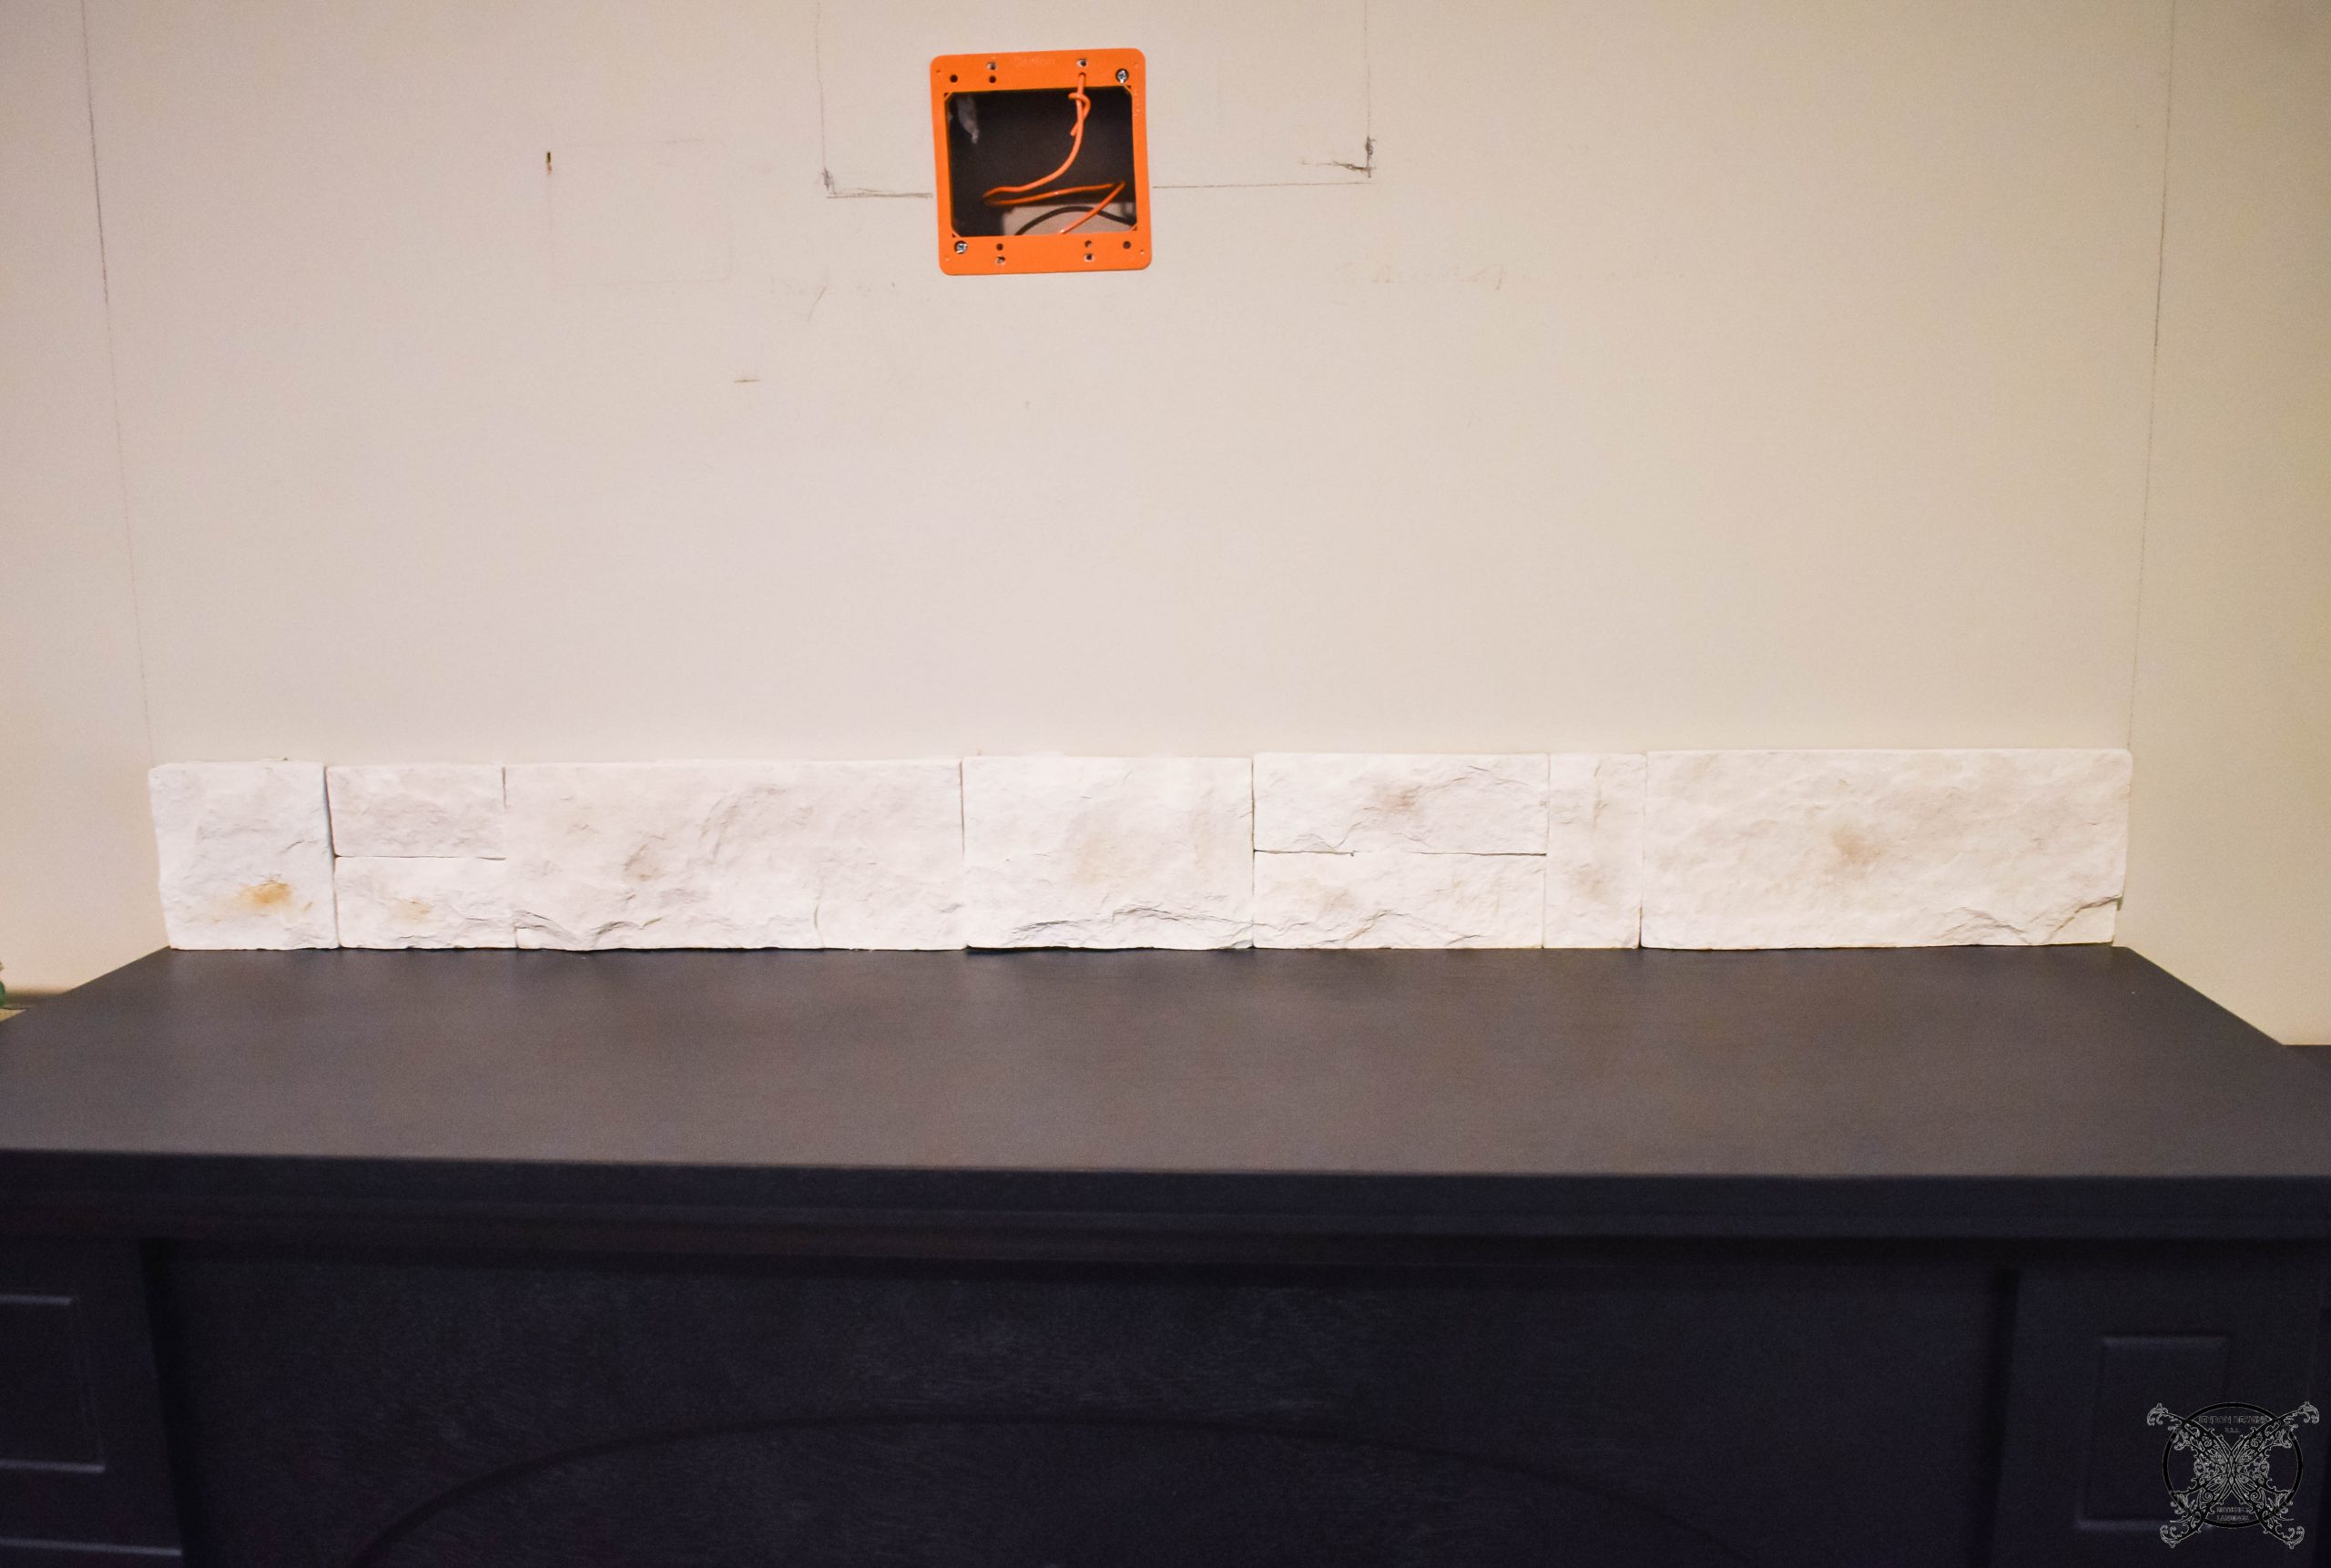 As you can see above in my pretest layout, this was an exact fit without any cuts being made to the Lite Stone pieces. It is suggested that you pre layout your tiles prior to adding the adhesive to make sure you will like the pattern, which is a great tip.
 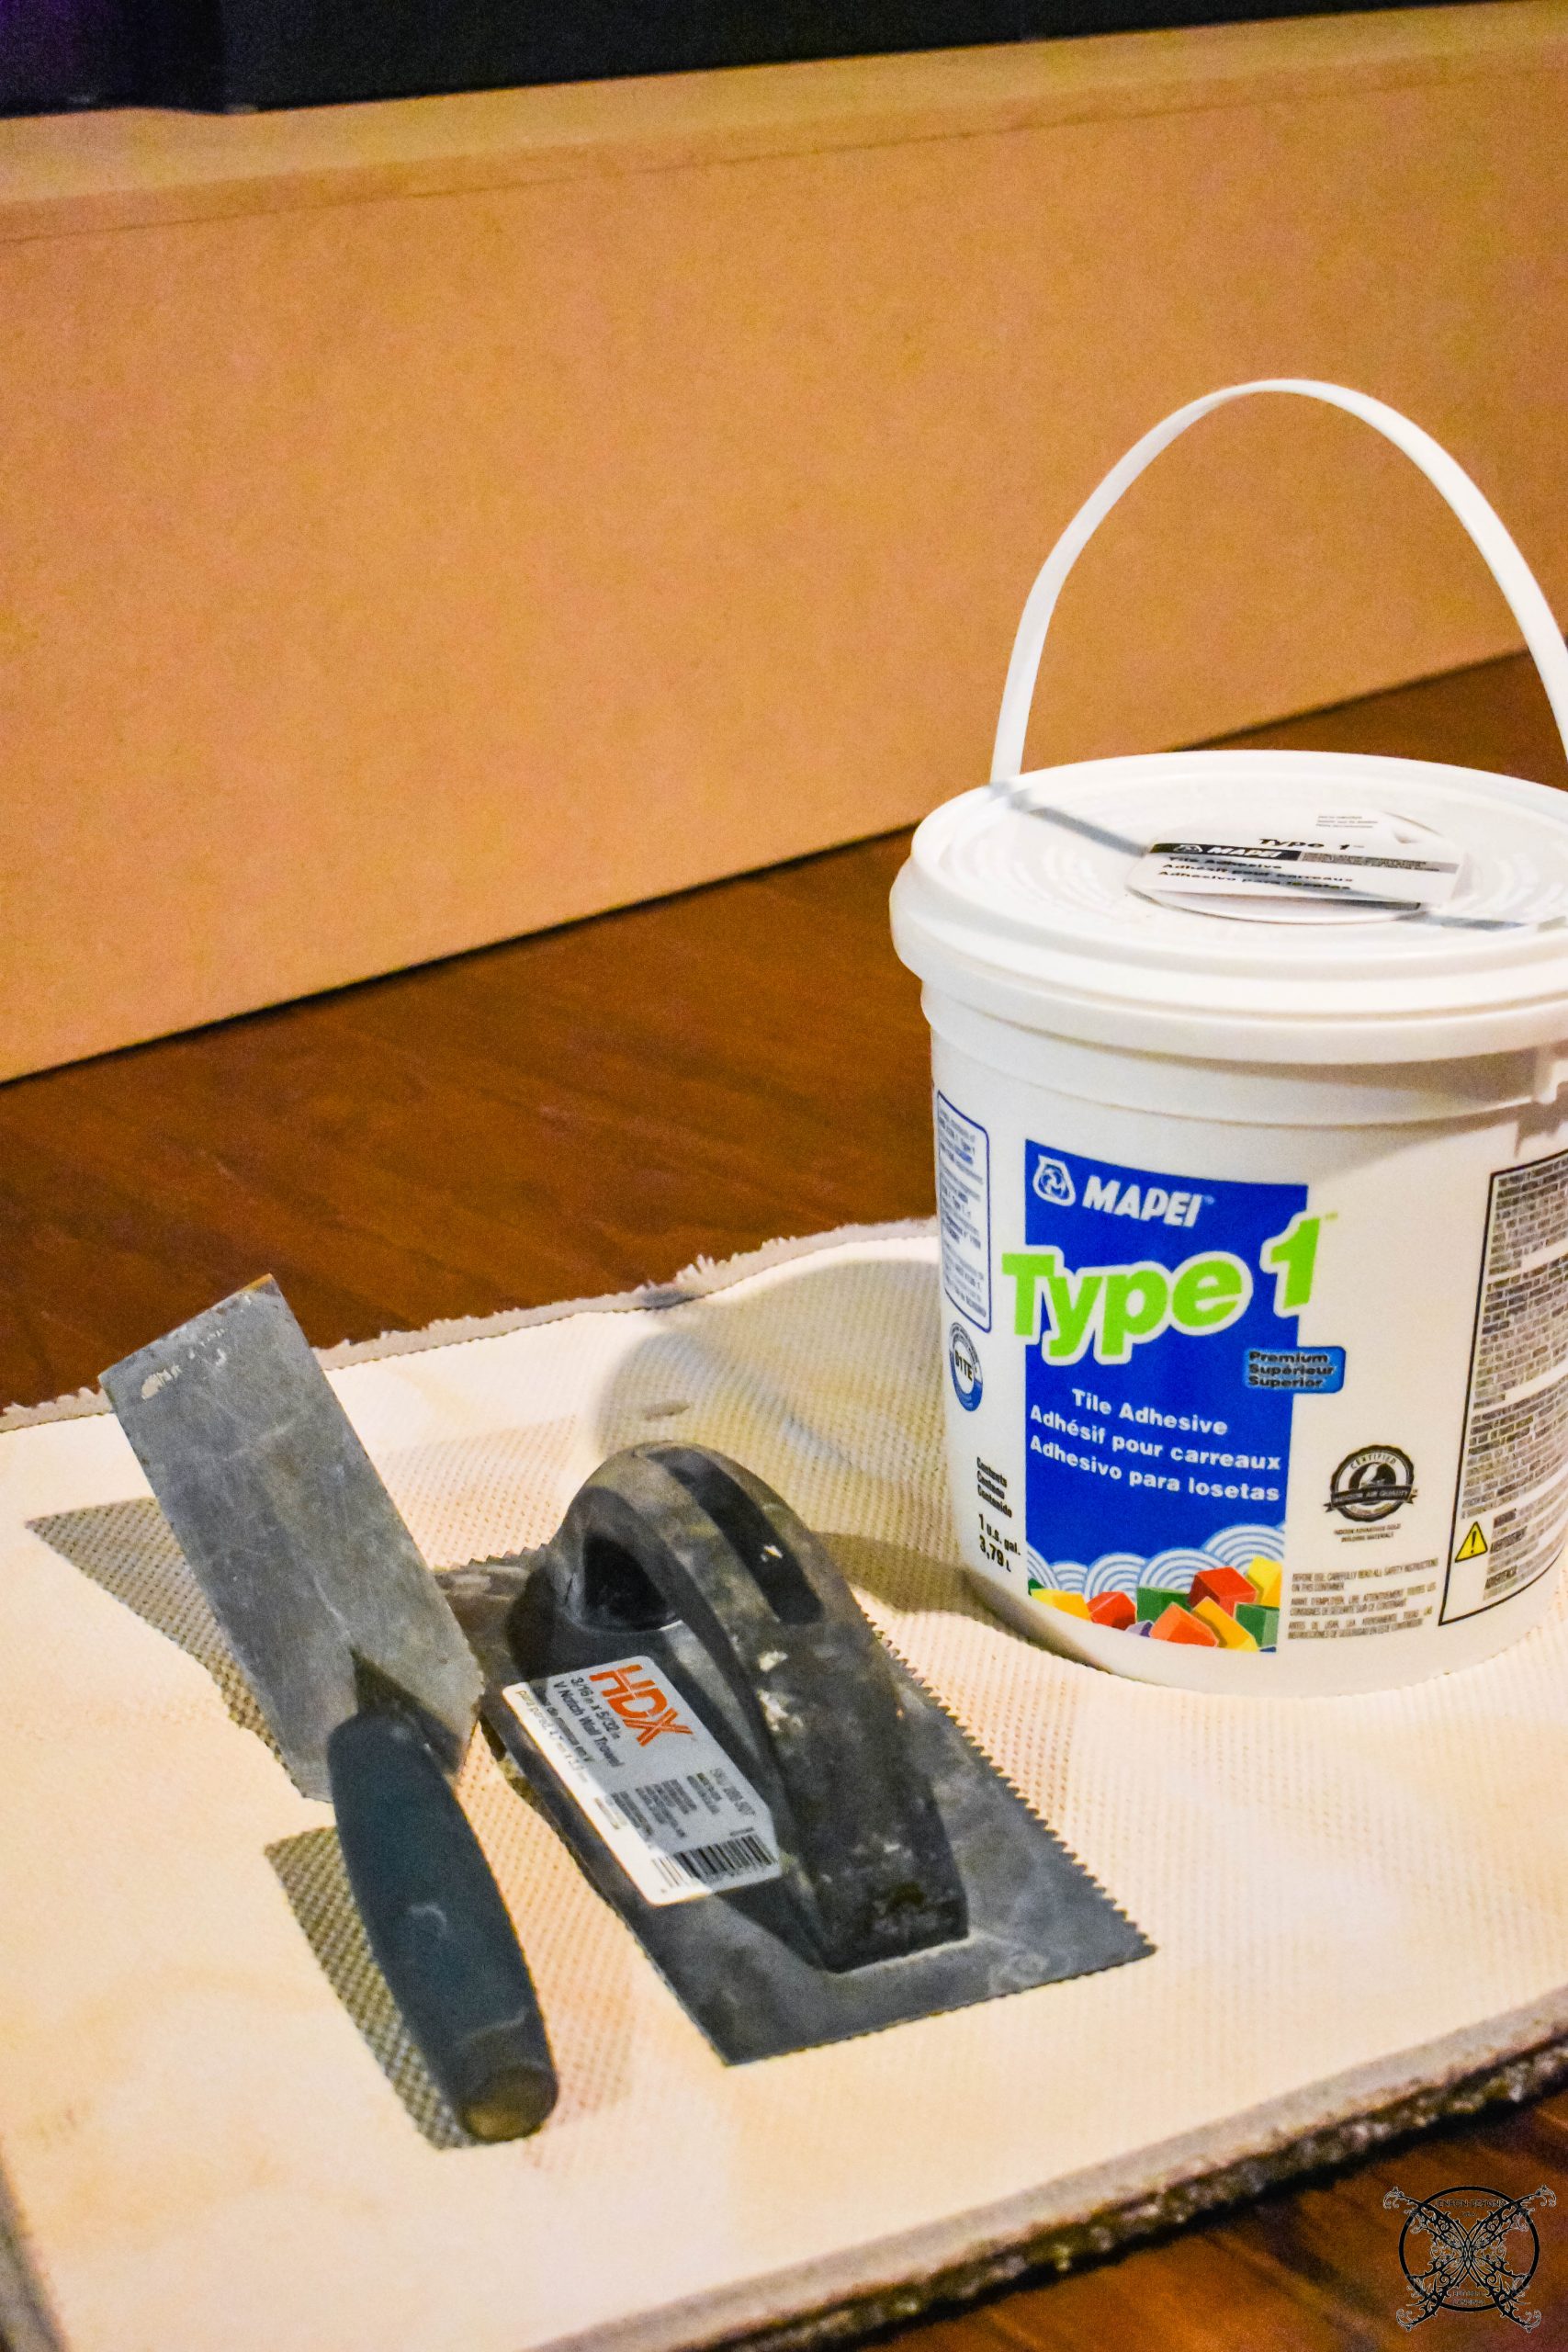 These were my adhesive tools, however I found the small trowel to be my choice in the buttering process. I did not place the adhesive on to the wall first, only on the backs of the tiles. I will also say that this is my preferred method in the tiling process as well, it was not messy at all and went very quickly, I was done in just a few hours.
 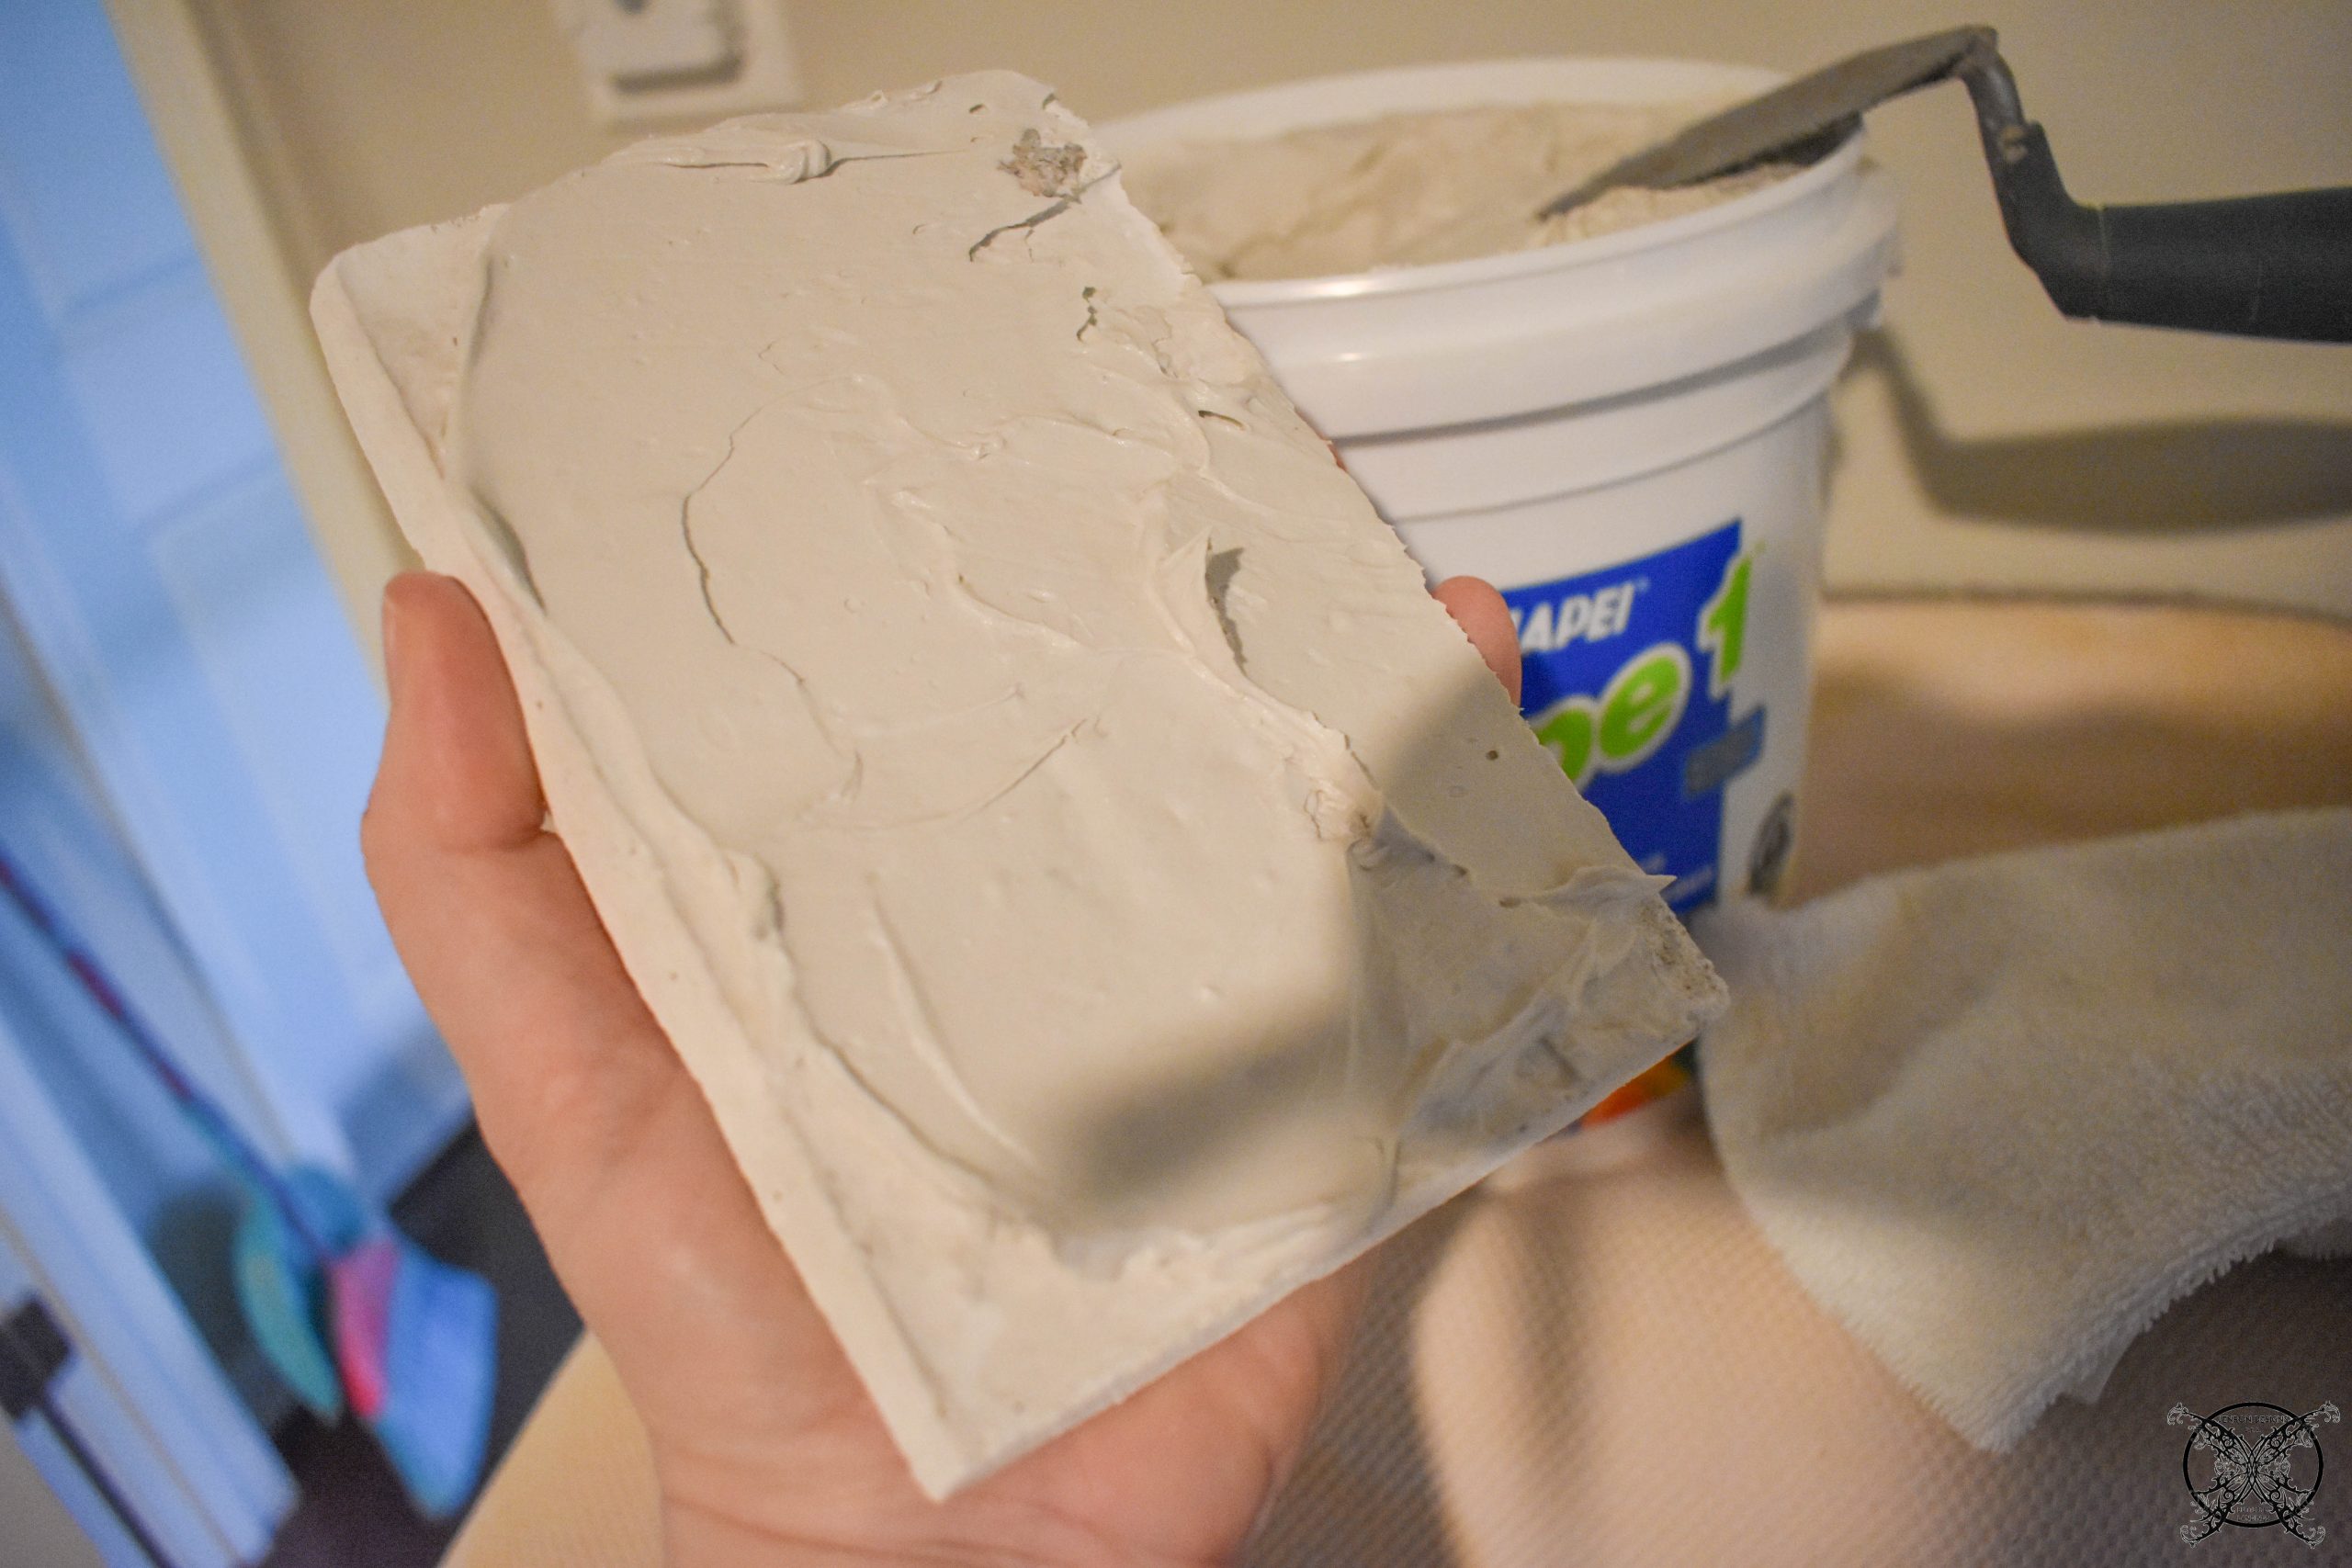 You might need a few spacers, for me I just used a few pieces of cardboard from the packing material. Waste not want not. This is a tried-and-true method I had seen used by all the great tilers, in most of the model homes and residential homes in the local area. So, while you can go “buy” those little neon spacers, this is really what most of the contractors are doing and using.
 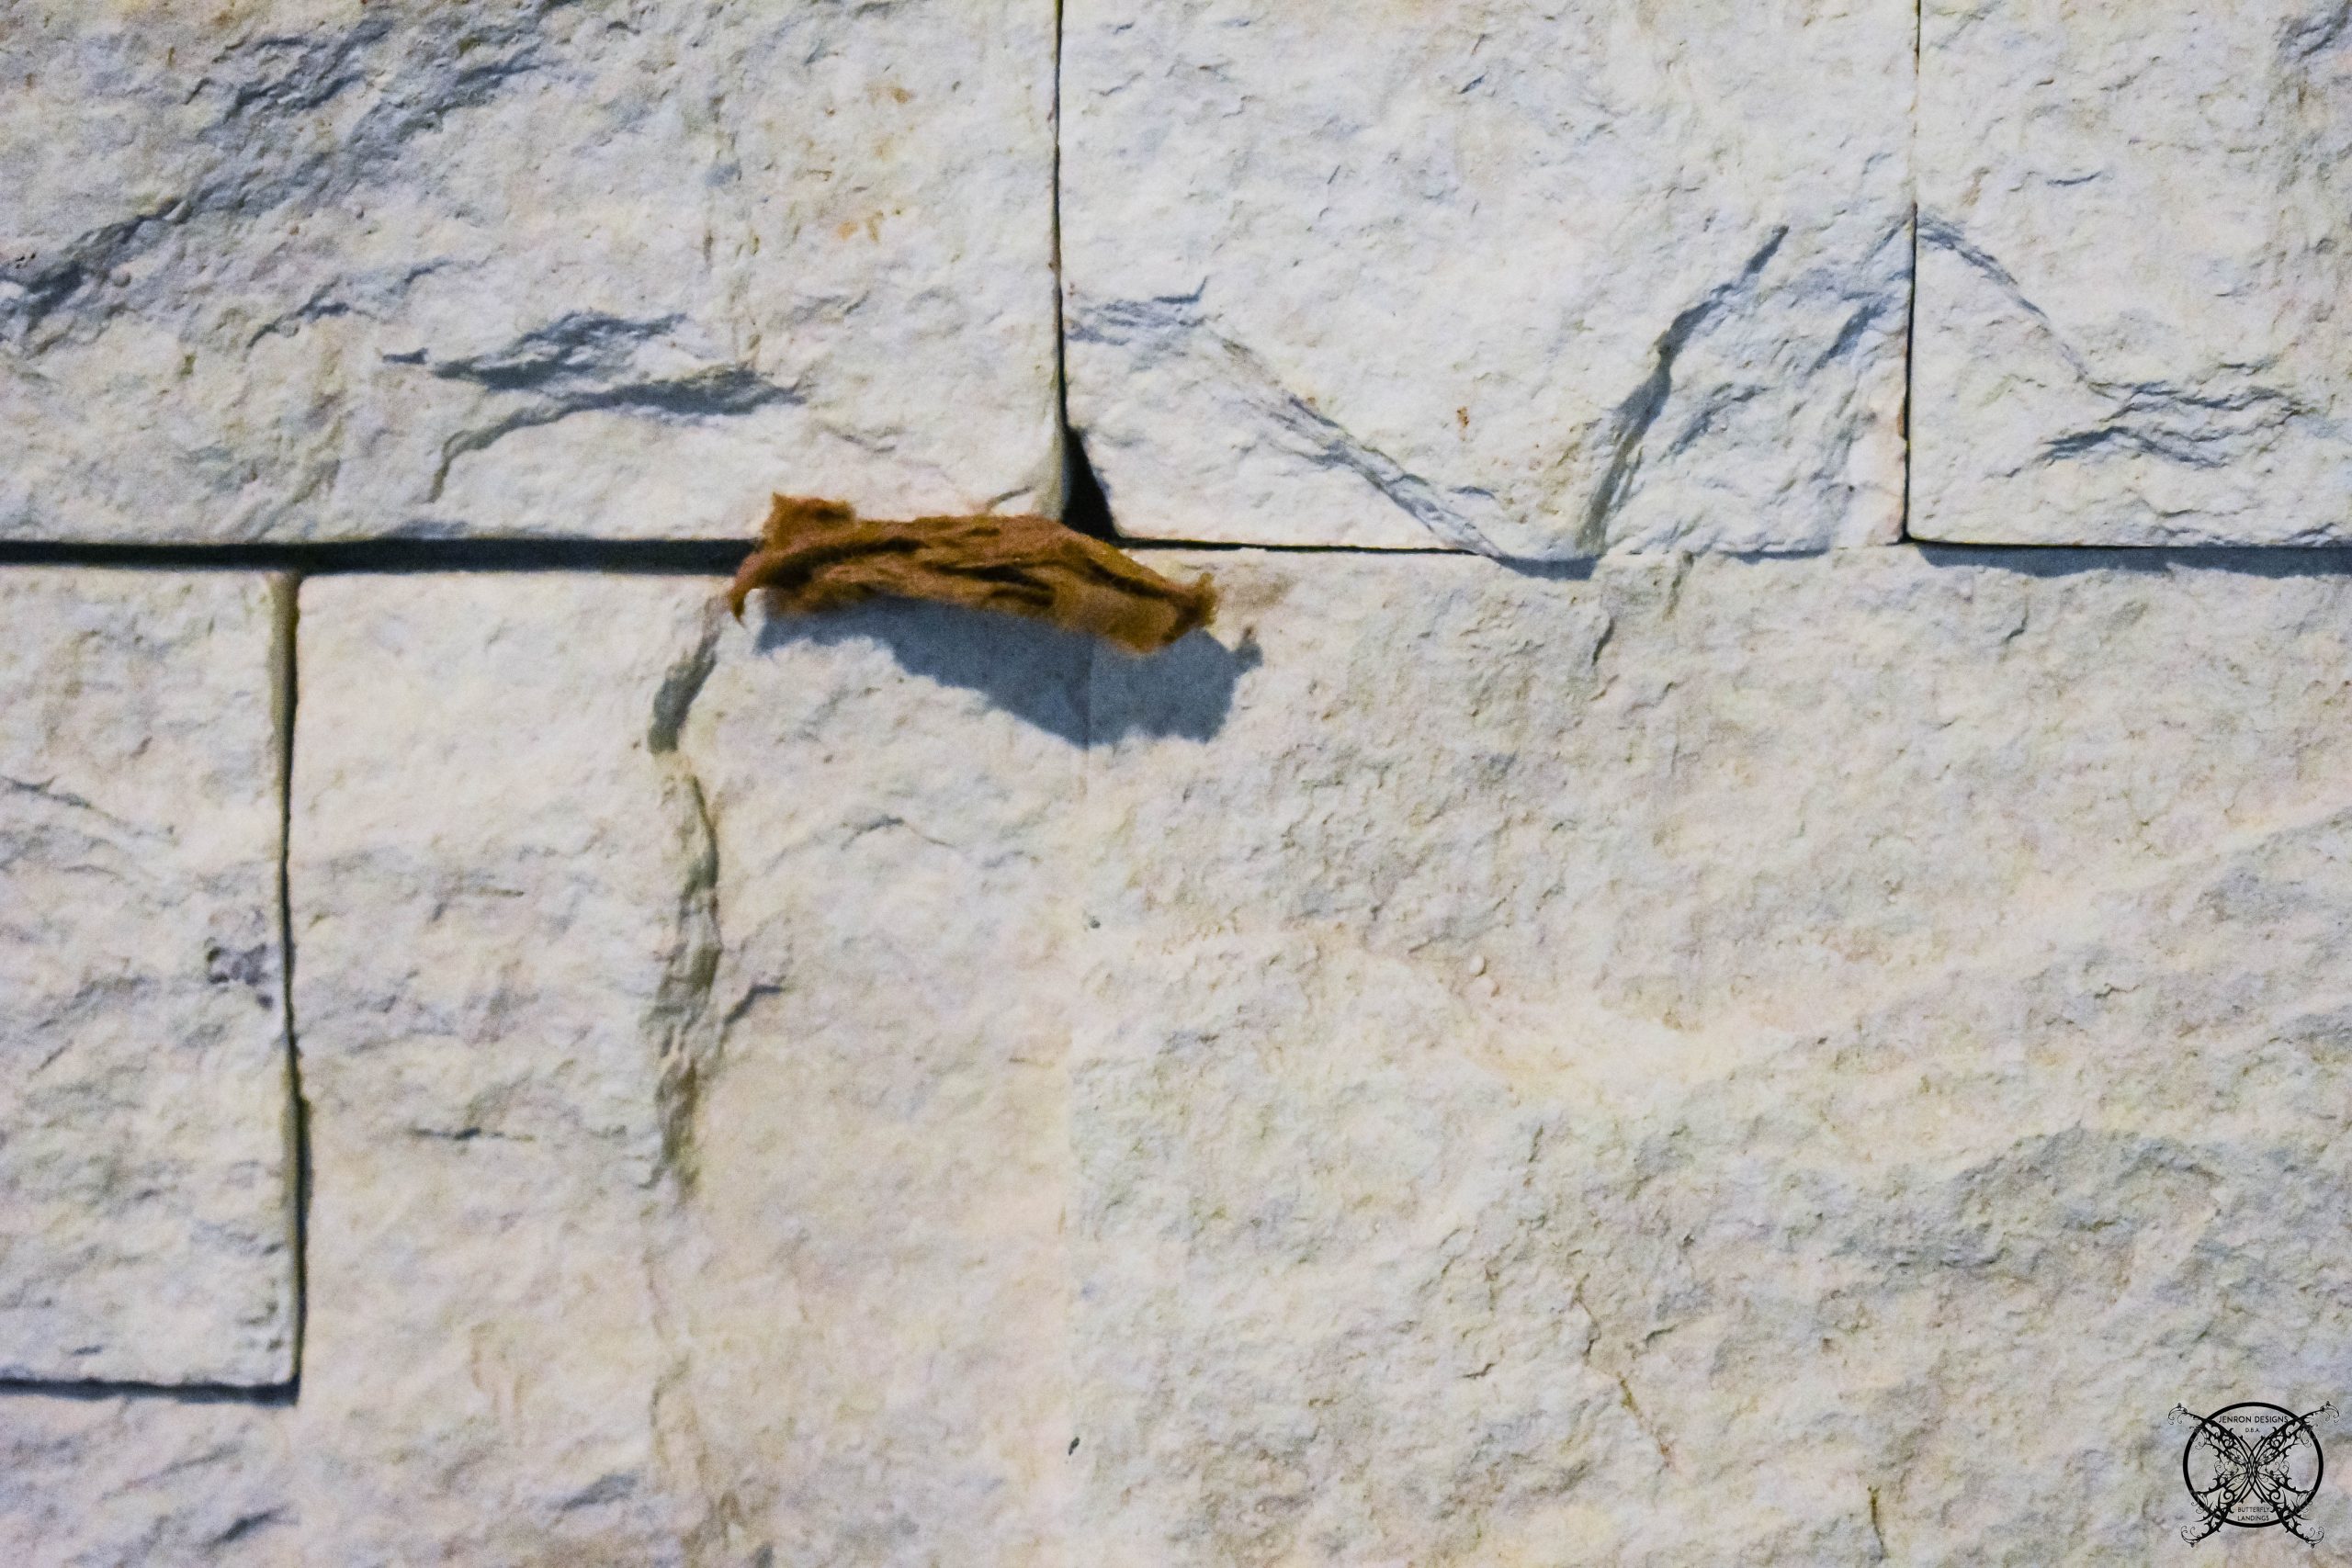 Once I finished the wall, I moved on to hearth base. I started with the corners since I would be creating the corner myself by overlapping the tiles to create a corner. This was a little more tedious but still pretty doable in the scope of a DIY.
 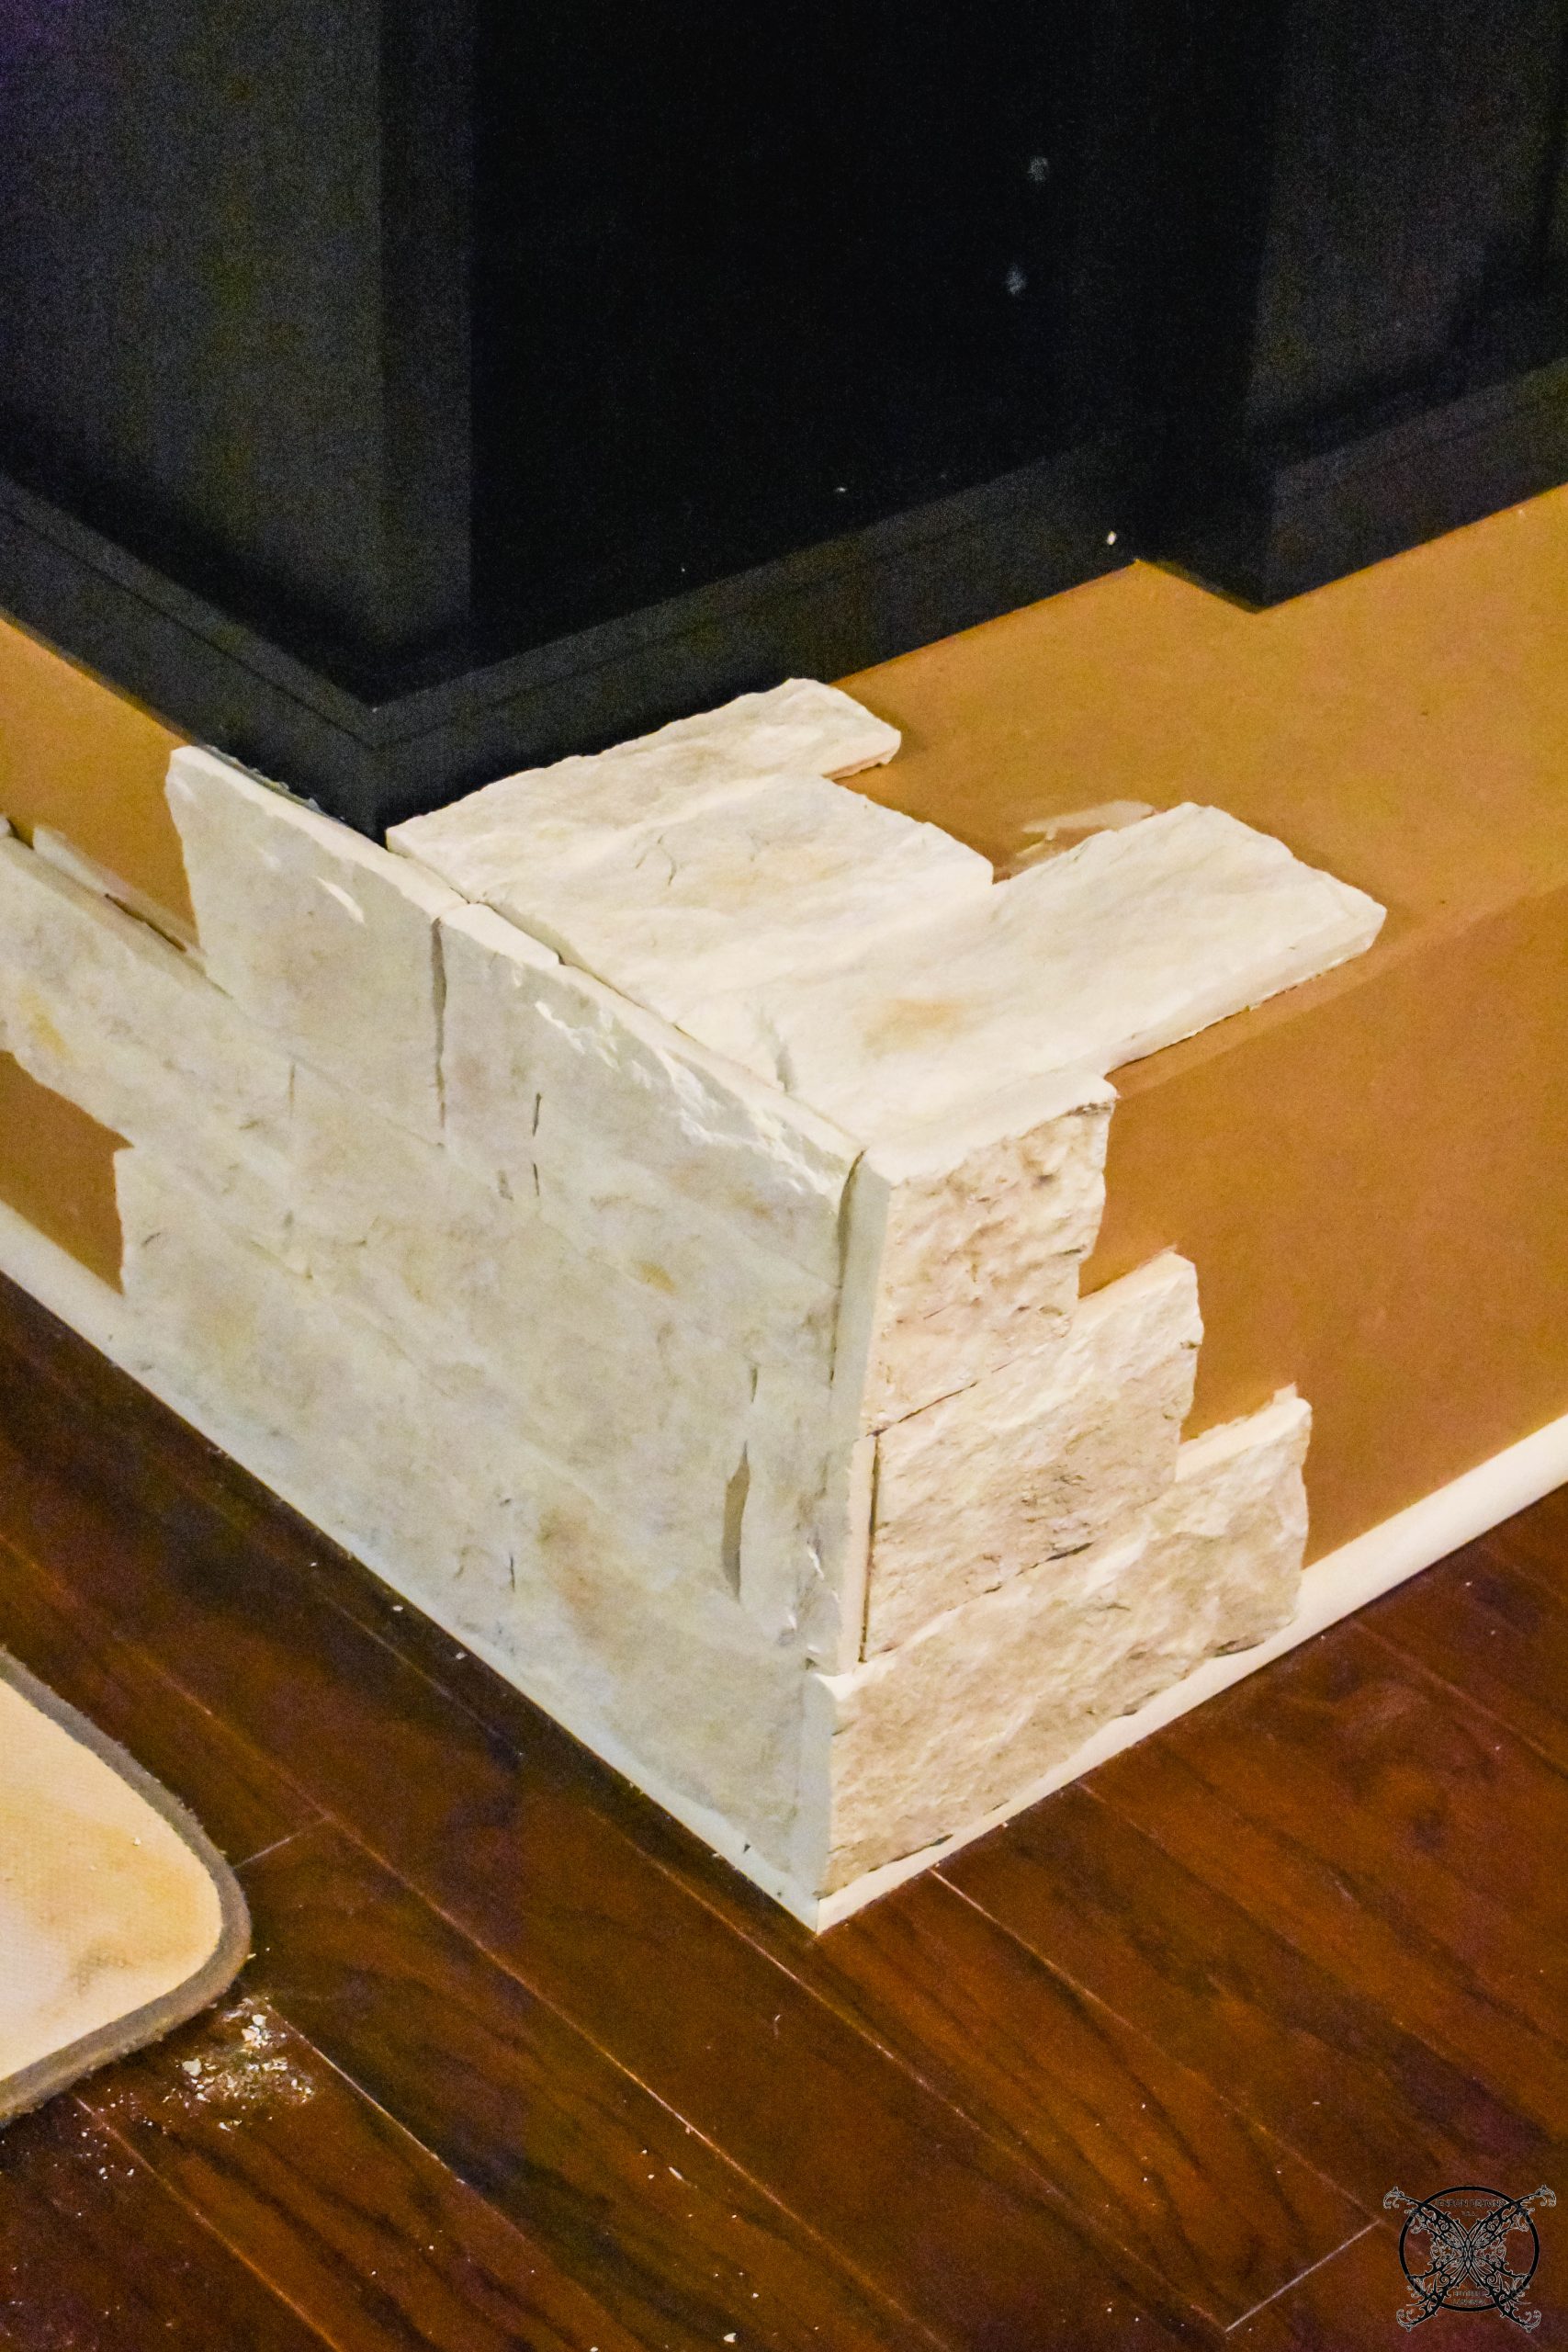 The trick is you want to alternate the tiles so give a random stacked appearance that is not too contrived, and fill with the tile adhesive if needed. You can see the finished corner below and how it ended up looking.
 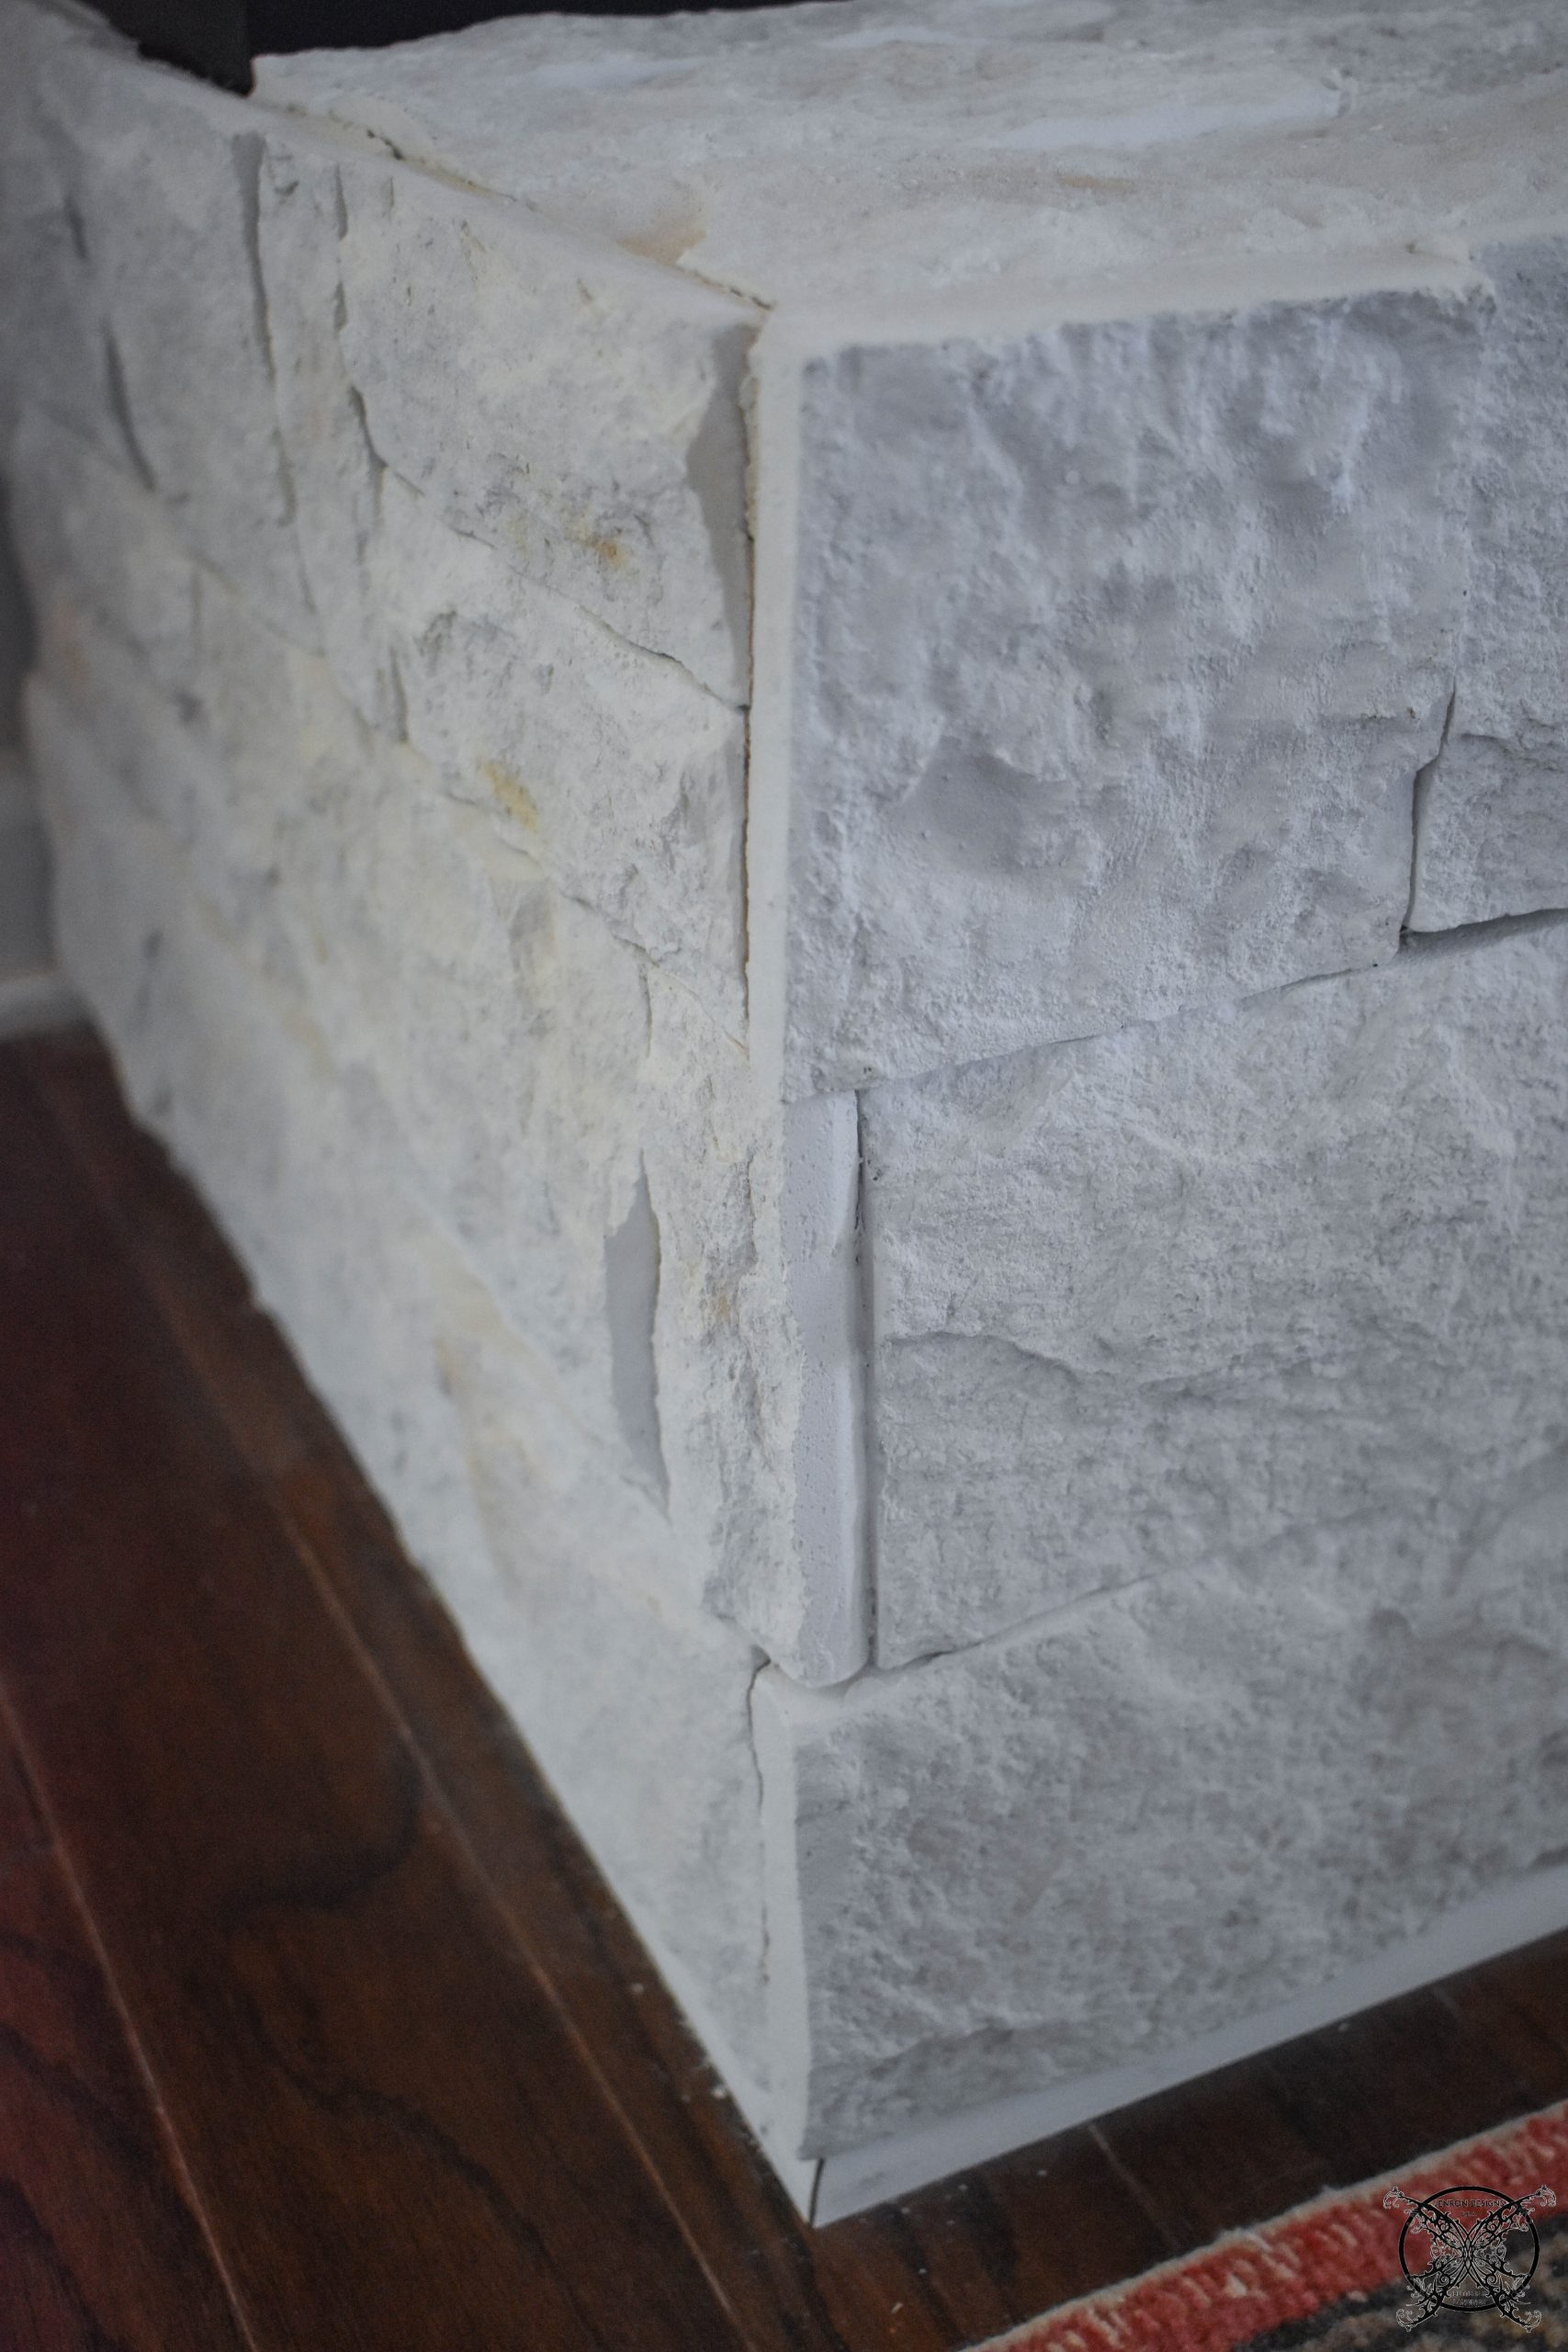 From that point it was just filling in the Lite Stone tiles across the top and front of the hearth to the opposite side and creating another corner. I was again surprised at how easy it was and how quickly the Lite Stone went up.
  It requires 36 hours for the Lite Stone to fully set, however it was pretty firm and in place where we could reinstall our television that same evening. We did not have any fear that any of the tiles would slip or fall off, they were very well attached after just a few hours.
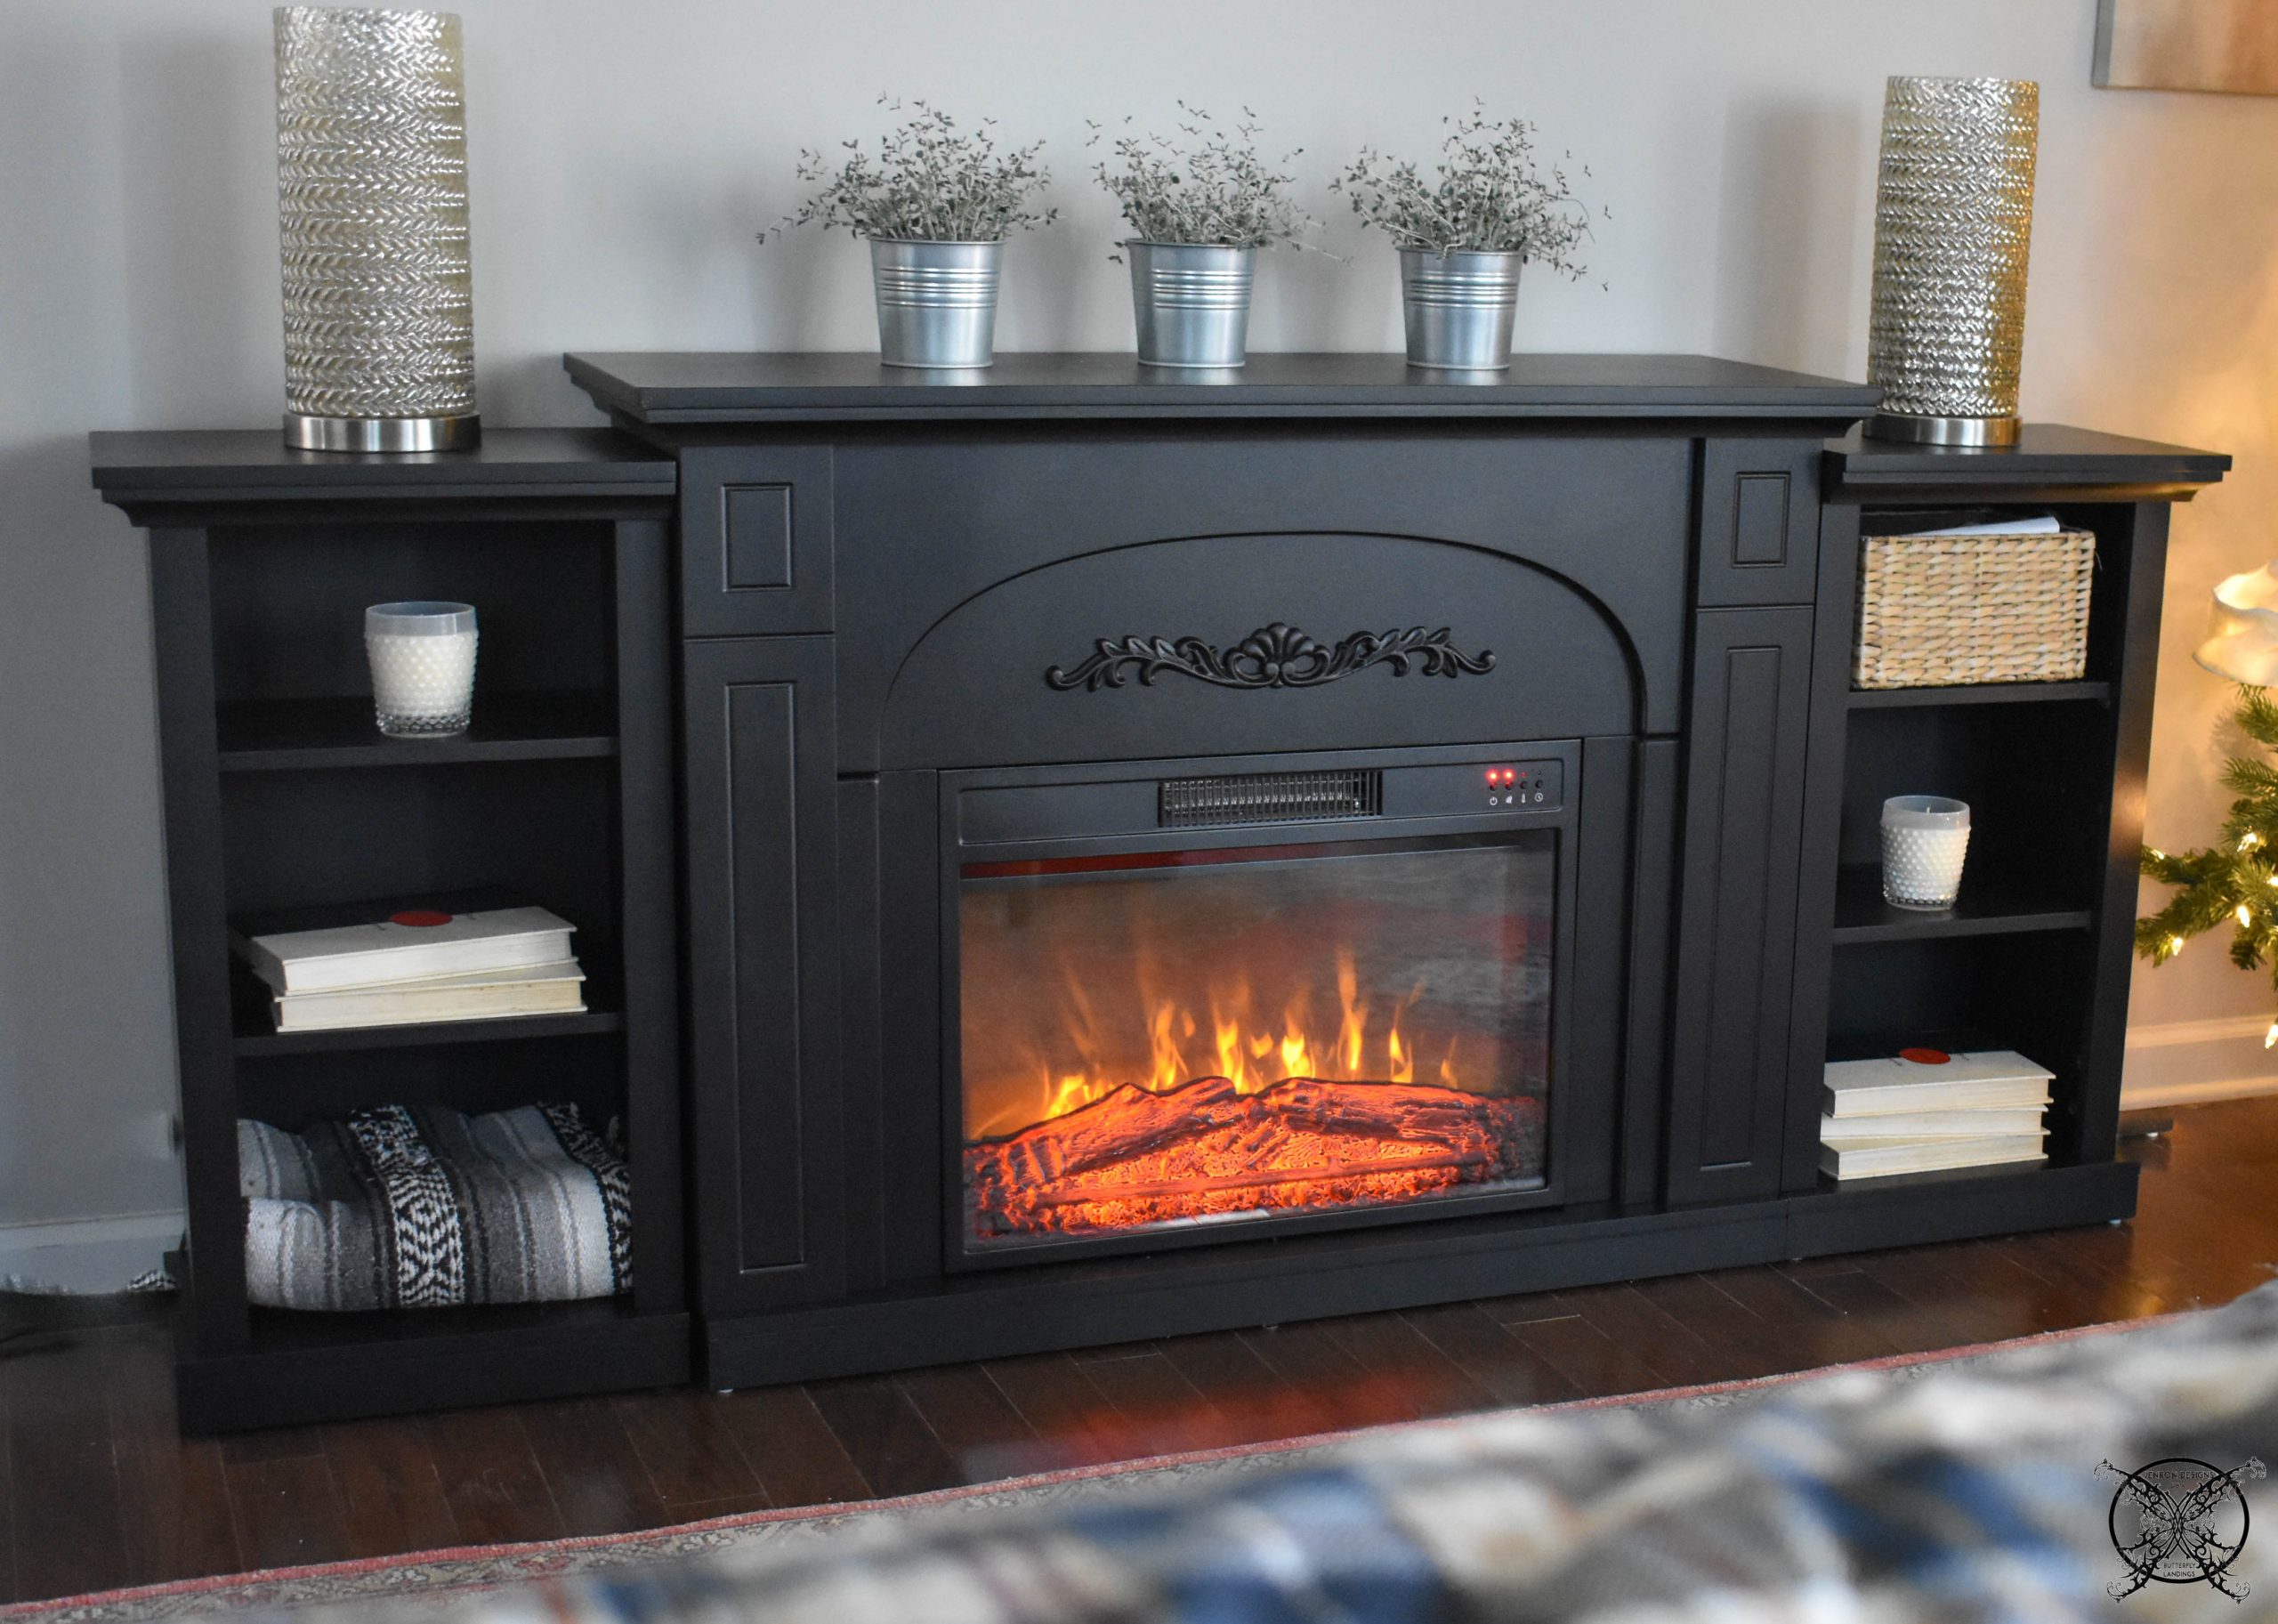
  The overall look is really amazing, and we are so happy with our new master suite fireplace that will keep us all warm and cozy this winter. It really is perfect for a long winter’s nap, which has been the theme of this season’s self-care and winter refresh. I really cannot wait for those cozy winter mornings by the fire with a cup of coffee or late nights curled up with a good book.
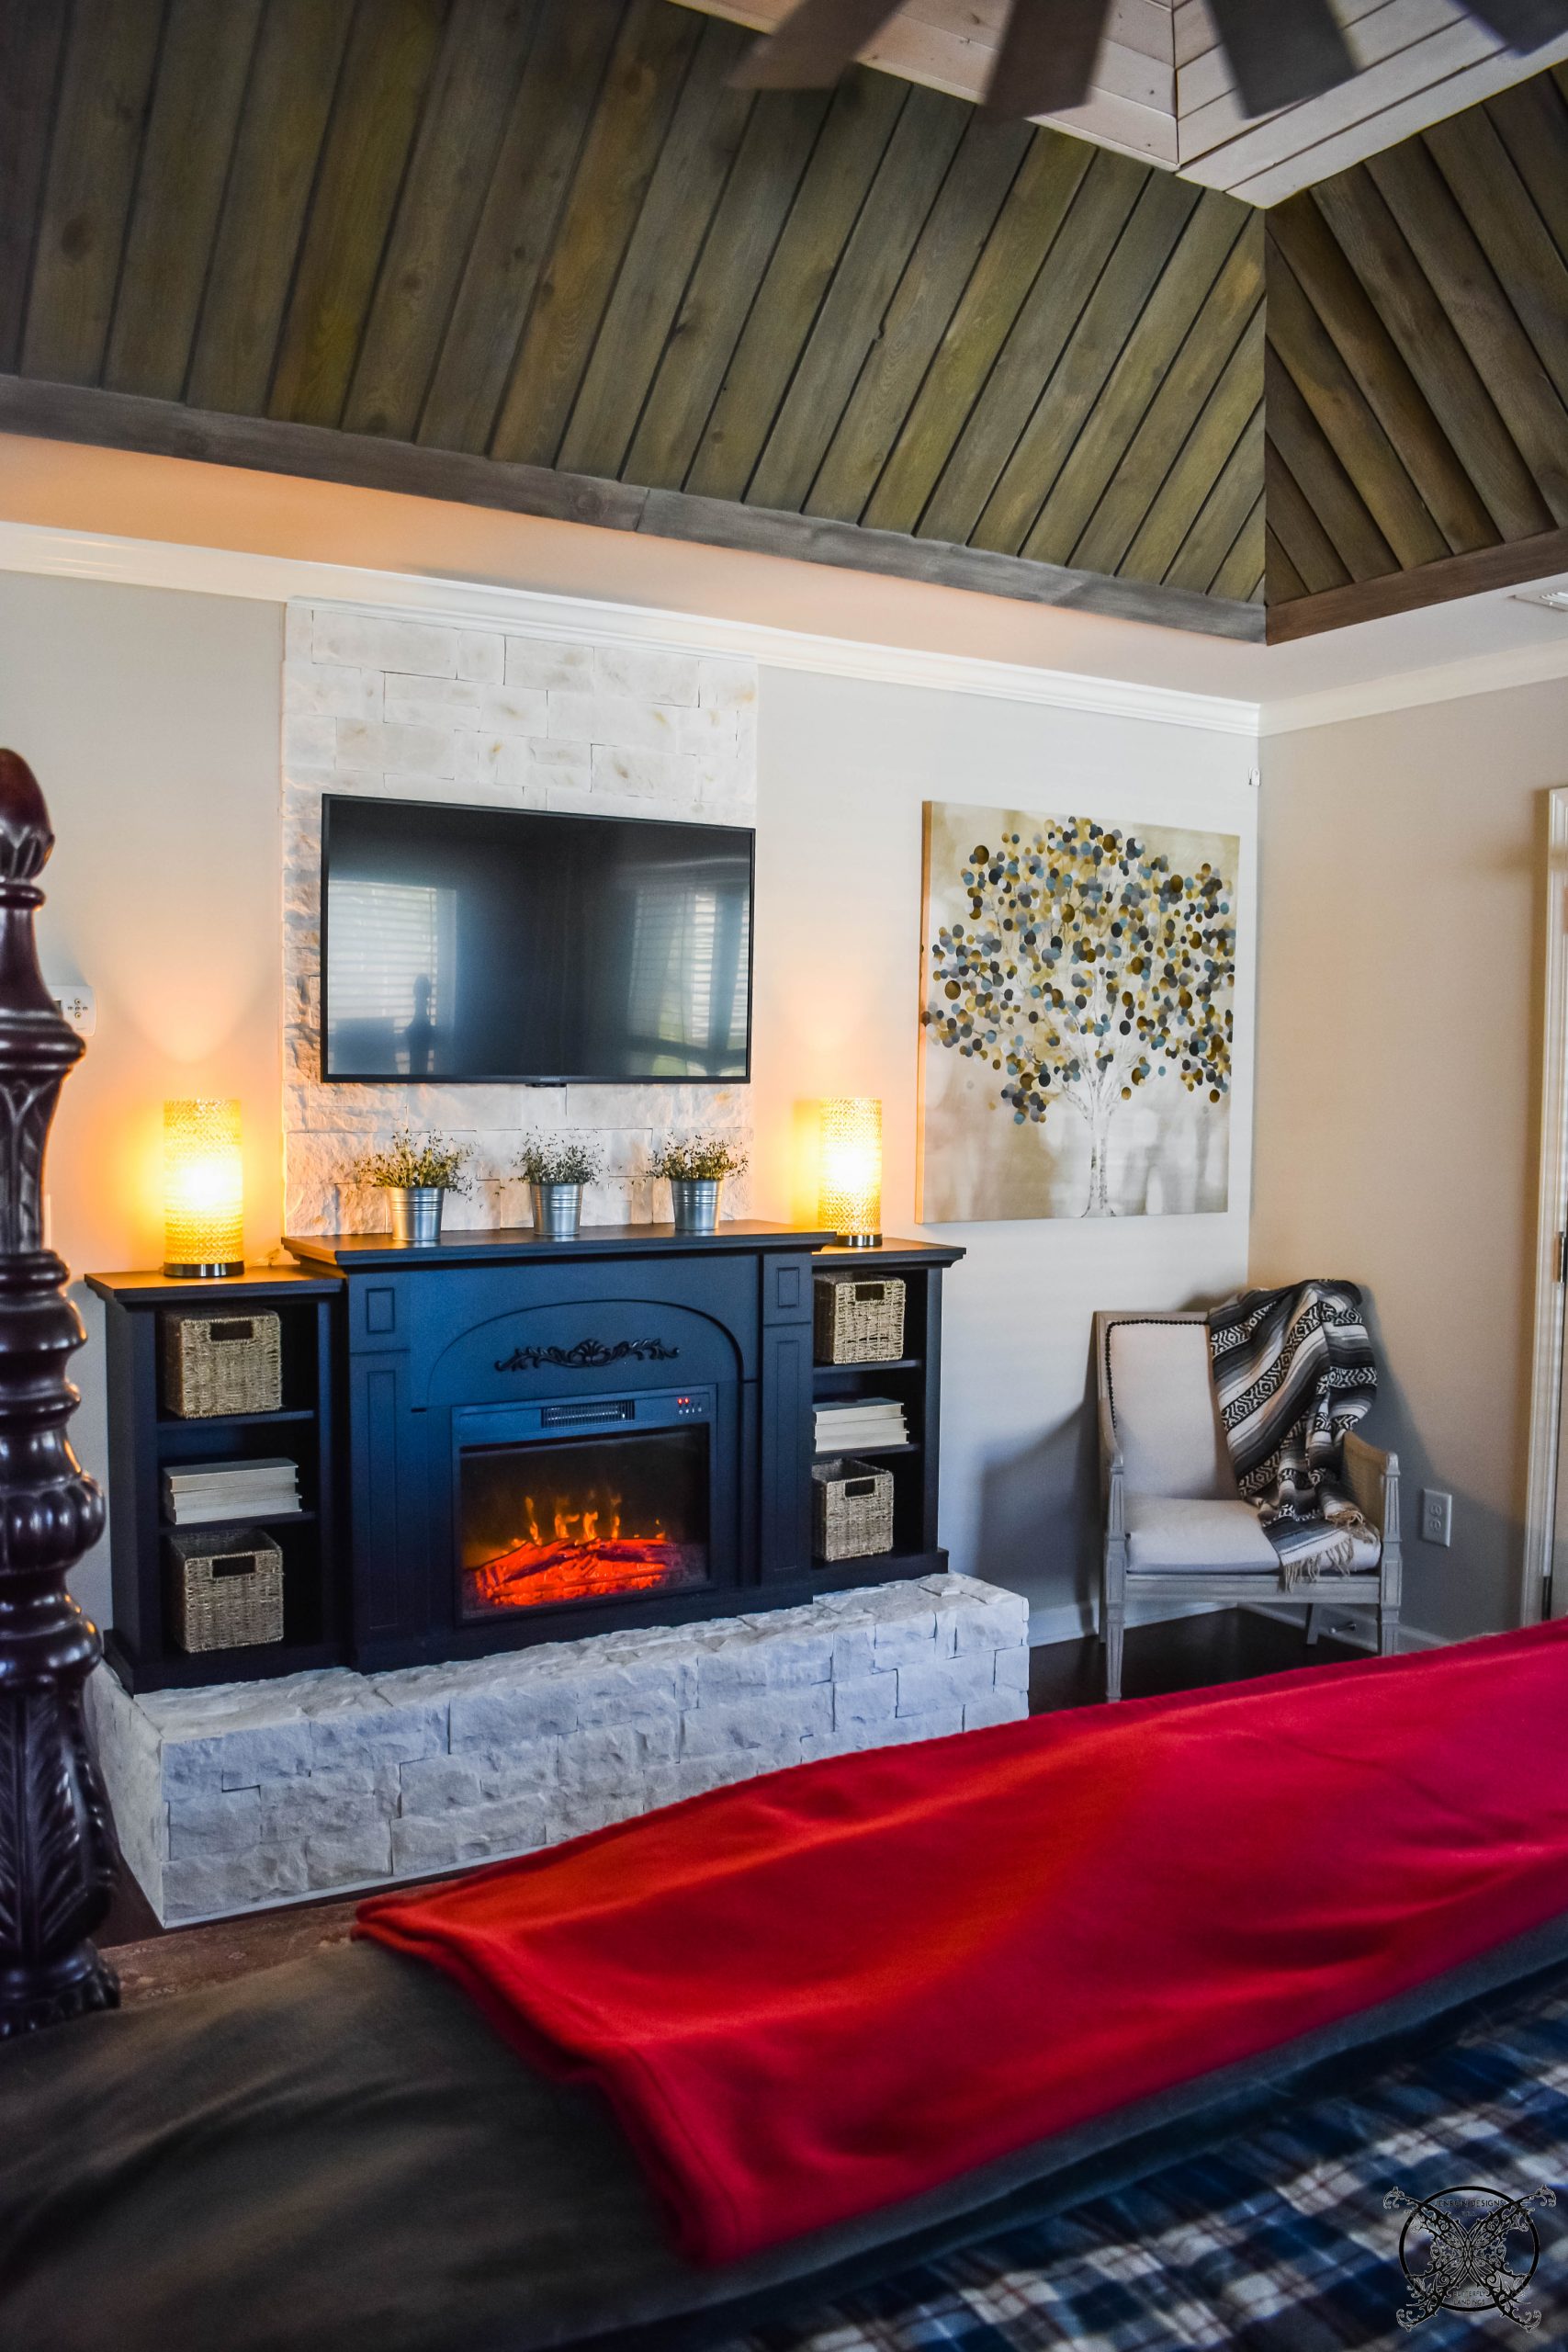
We are looking to move, and if my room doesn’t have a fireplace I will definitely do this with my husband! I can’t wait to share this with him! Its absolutely beautiful!
I would love to have this in my bedroom. A fire is so comfy and cosy — we grew up always having fires in fireplace in our living room and it is a cherished childhood memory.
Having a fireplace is actually a dream of mine maybe one day, I love how you did it.
This is incredible. The outcome is absolutely beautiful!
That turned out so pretty! Actually have a wood burning stove that heats my house and I really wanna re tile the back of it!! thanks fro sharing this
Love how this turned out Jennifer!! What a great way to add ambiance and unique character to your room!! Not to mention cozy and warm!
Wow. Beautiful work. I wish I was this talented. Looks great!
This is so cute! I love adding these little backsplash things. I think I need to hire you to decorate my house.
Wow, this is so cool! I love how much it adds to the room – great job!
Oh wow, how gorgeous. I love how this came out.
I love the look of this! I legit dream of the day I’ll have a fireplace
Mimi here in our county they have made the building codes so you can not put in wood burning fireplaces anymore without a lot of hassel, so all the new builds only have these flipswitch gas fireplaces or electric.
Thank you so much, I wanted to make it look as realistic as possible for an electric fireplace.
Thank you Amanda when we built we wanted to add a fireplace to our owners suite but the floorplan did not really allow it unless we gave up our screened porch for a sitting area, and we loved the outdoor space too much for that.
I absolutely love this! I want to put something like this in my house!
This looks so beautiful and elegant!😍 I would love to have a fireplace in my home, the electric one would do as well!