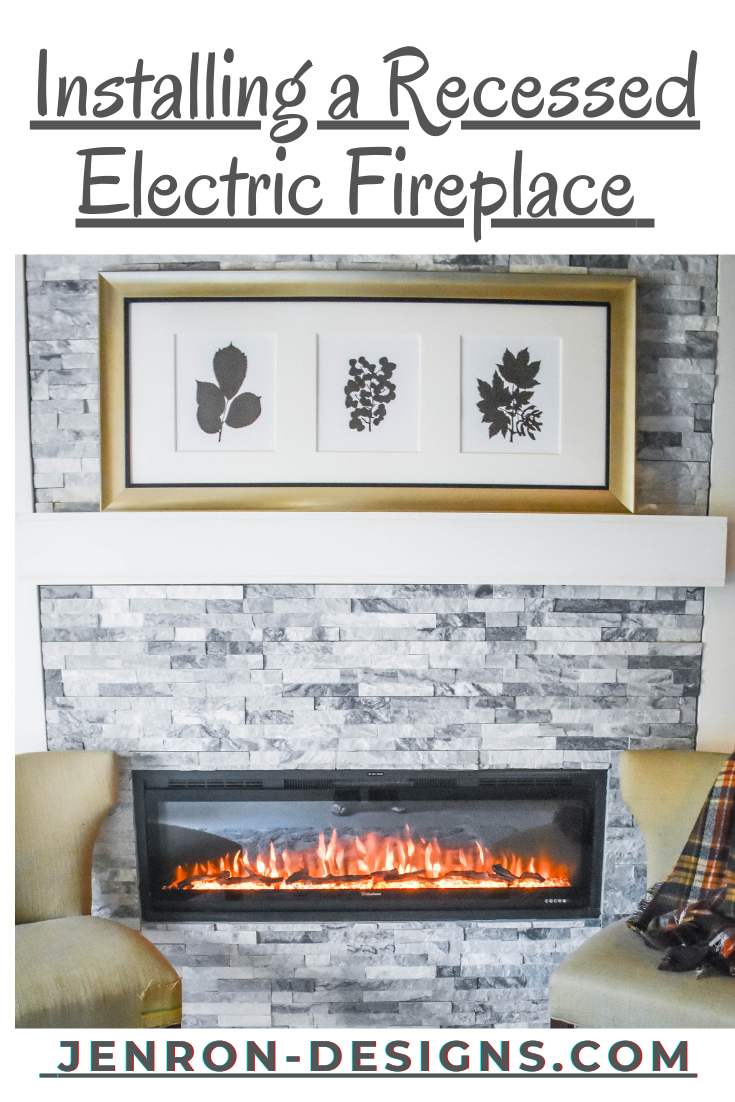
Installing A Recessed Custom Build Fireplace
Today we are sharing a fun DIY tutorial on Installing A Recessed Custom Build Fireplace.
As many of you know, we have been busily working on the One Room Challenge over the past few weeks and this week we are sharing a fun DIY tutorial on Installing A Recessed Custom Build Fireplace. I know I have said it before, but I love fireplaces and would have one in every room if I could, so I am slowly working my way toward that goal, as you can see. This project has been quite the undertaking since we have built a wall from scratch to house the fireplace and are also going to tile and build a mantle for it as well. Here is a quick before look at where this wall started.
*Please note that I was graciously compensated for this post. This post may contain affiliate links for your convenience. These links involve no extra cost to you. You can view my full advertising disclosure statement here.
We stick built a wall using standard 2×4 boards as studs, to the specifications of our new 50″ Valuxhome Electric Fireplace, to insure that our new fireplace would be the perfect fit. We decided to floor build the wall and then stand it up into to place since it would not actually be load bearing in this application, the wall behind it is already doing that work for us.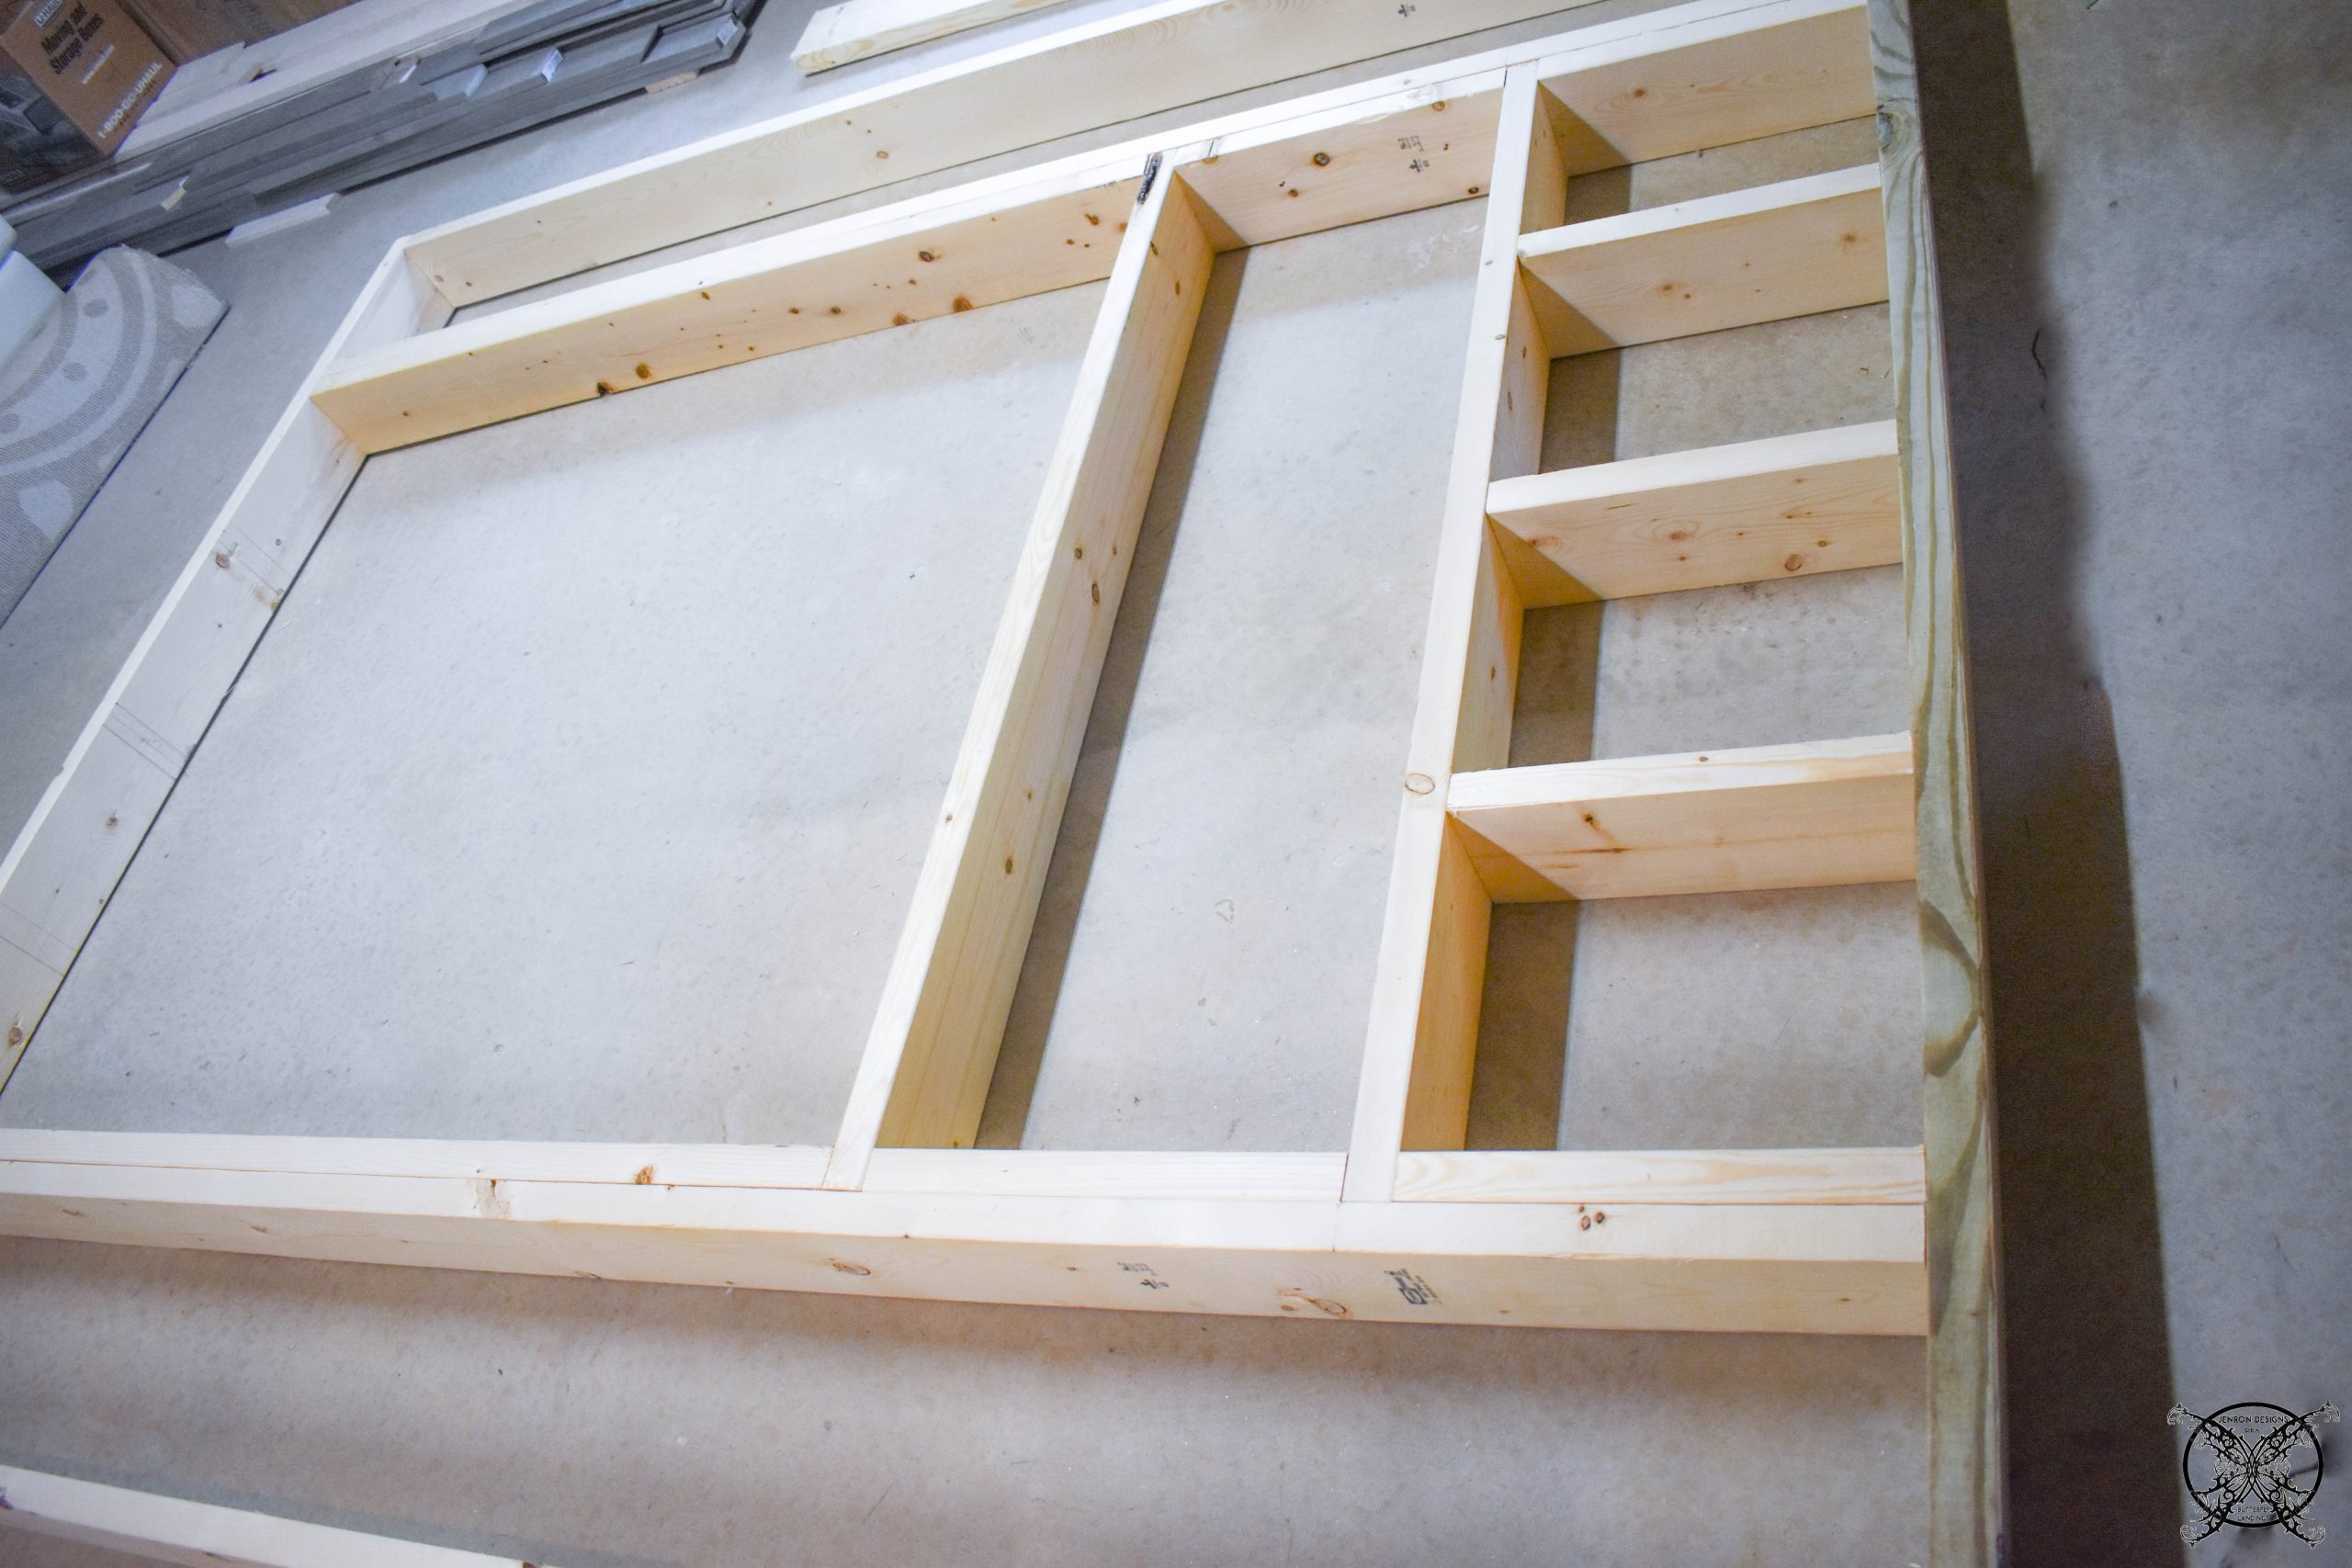 This method allows you to simply stand up the wall and secure it into place with your nail gun. Which is a quicker, and simpler method of building walls if you do not need that wall to hold weight. Keep in mind that not all walls should be built by this application, there are scenarios where stick building in place is preferable.
 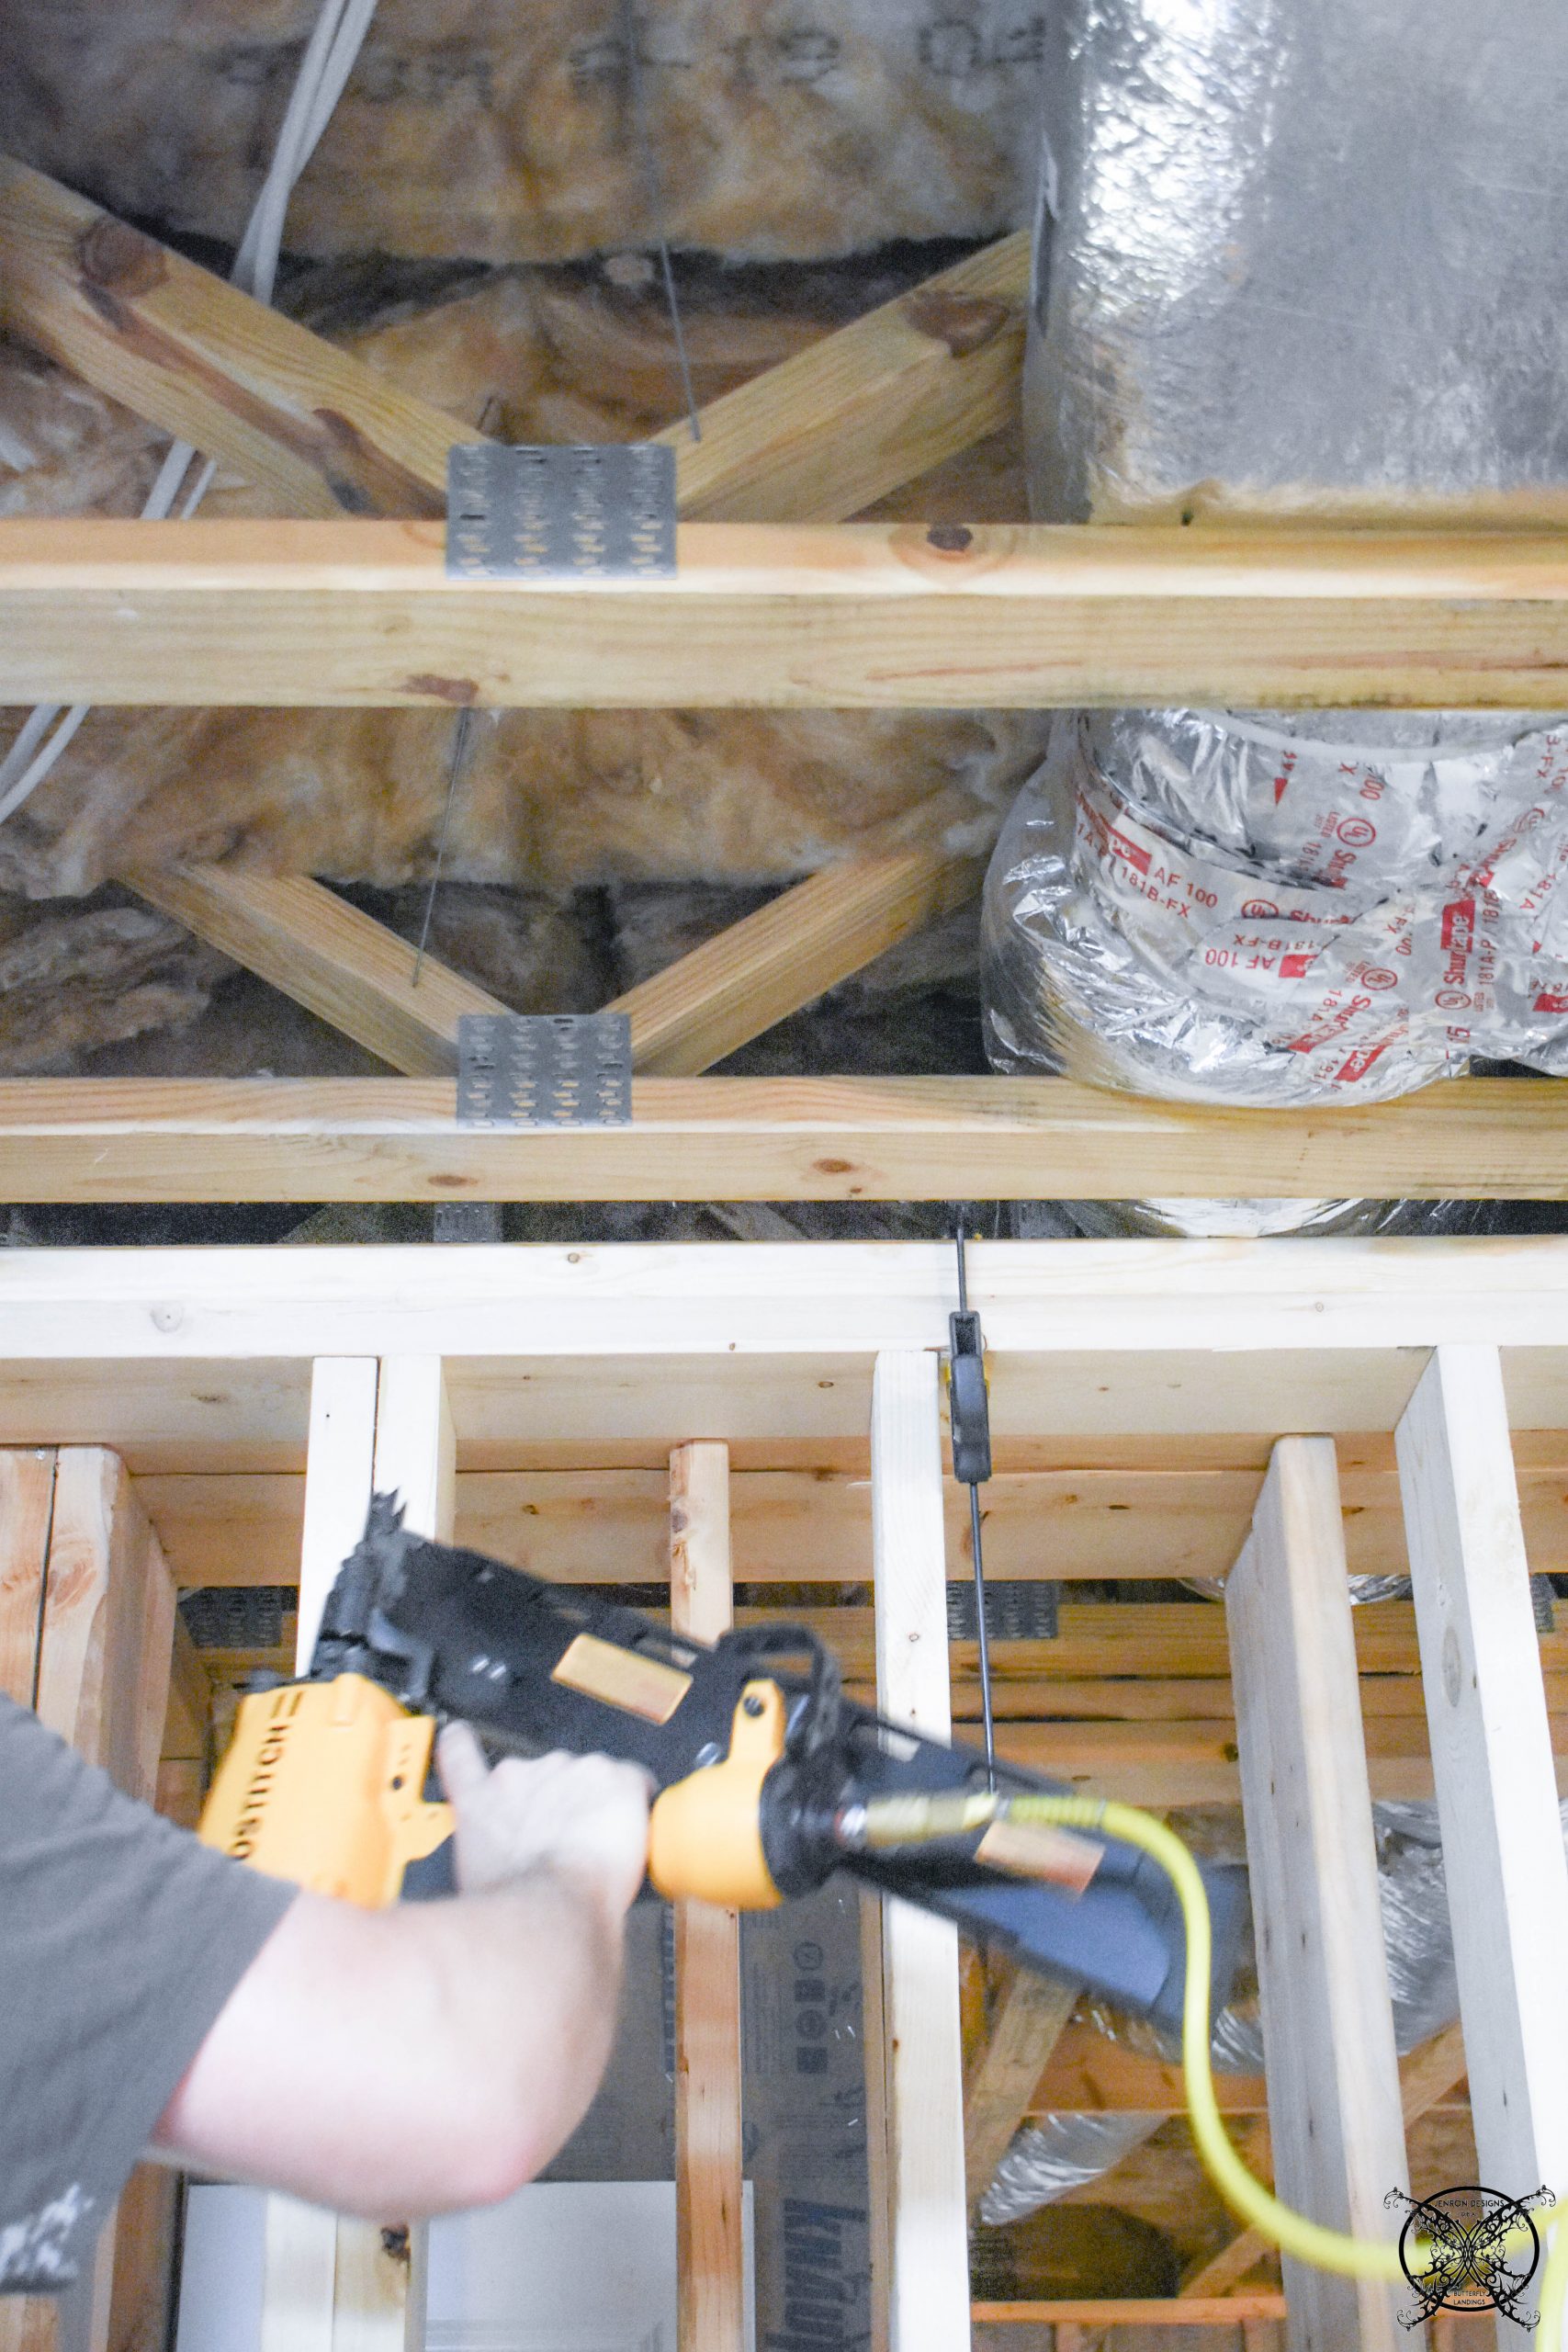 We also made sure that we would have a hidden power supply that is accessible through a coat closet that backs up to the fireplace wall unit from the sides. As a side note, if you can utilize all your spaces when designing them in the construction, it is really worth while, so think about these things before you just start building.
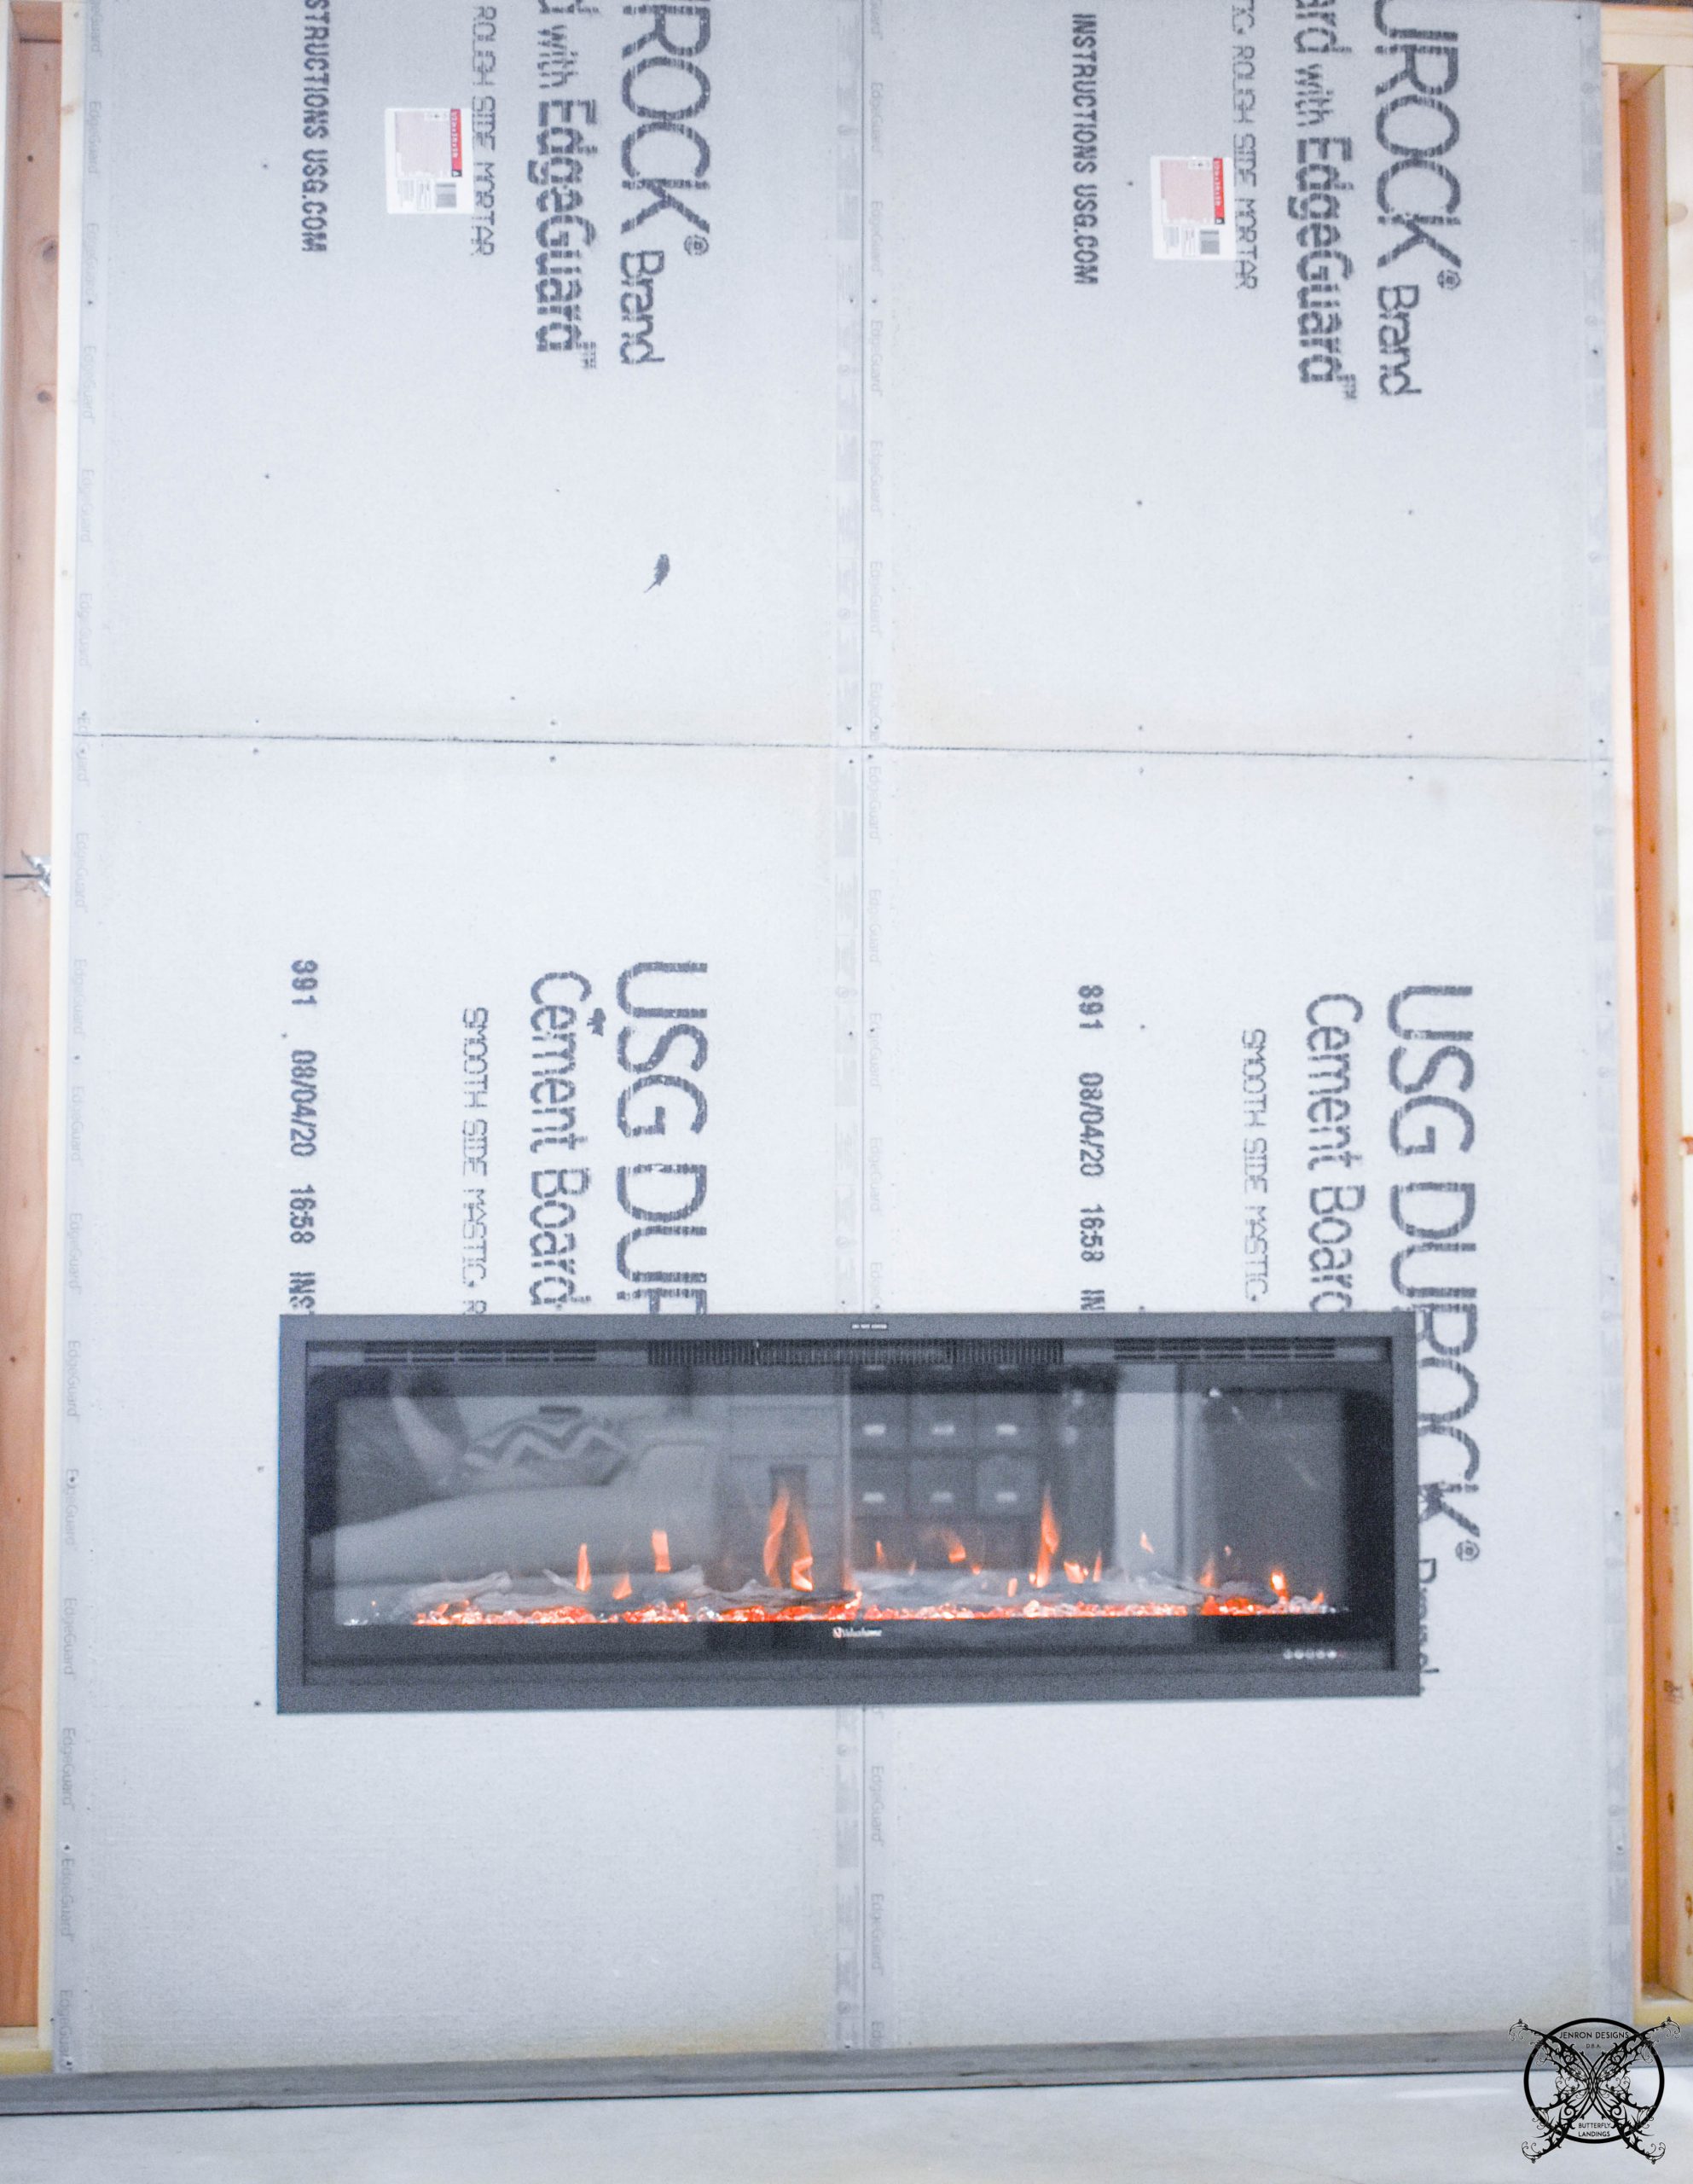
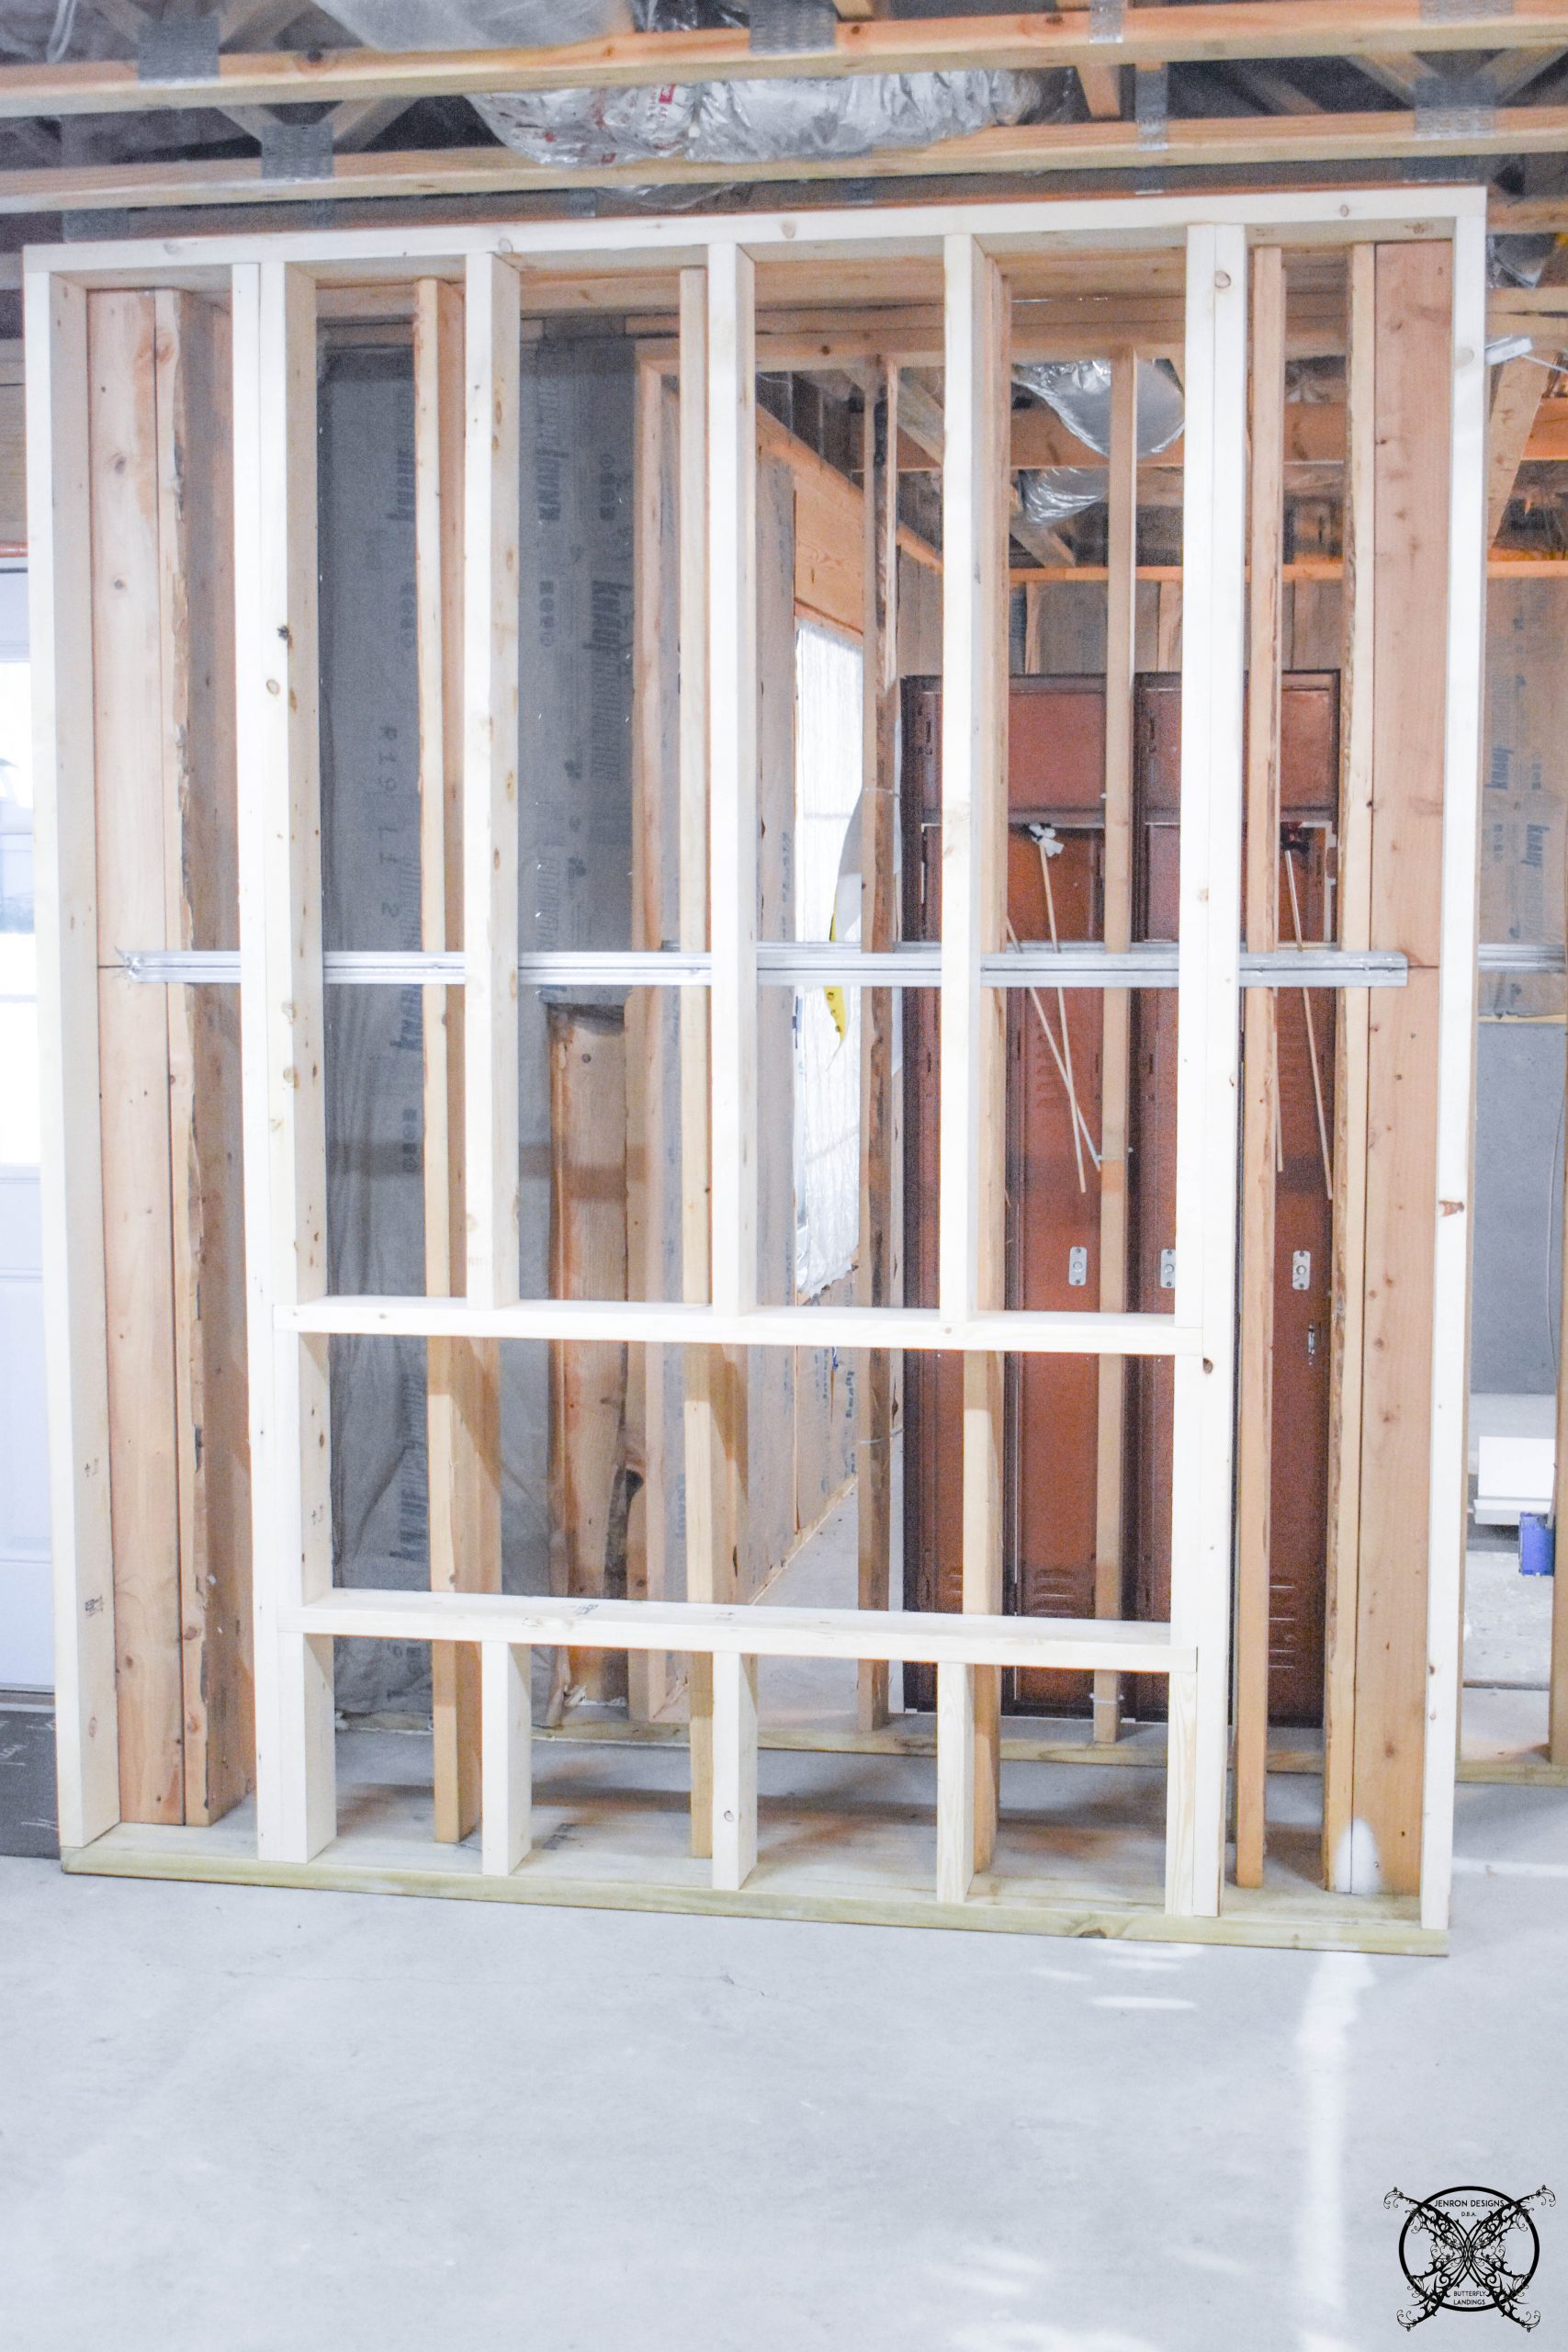 Once we got the wall into place we added the Durock Wonderboard concrete backer board for marble tile installation that will finish off the the fireplace surround. This is what is required for proper tile installations so that the mortar, or thinset will properly adhere to your wall.
 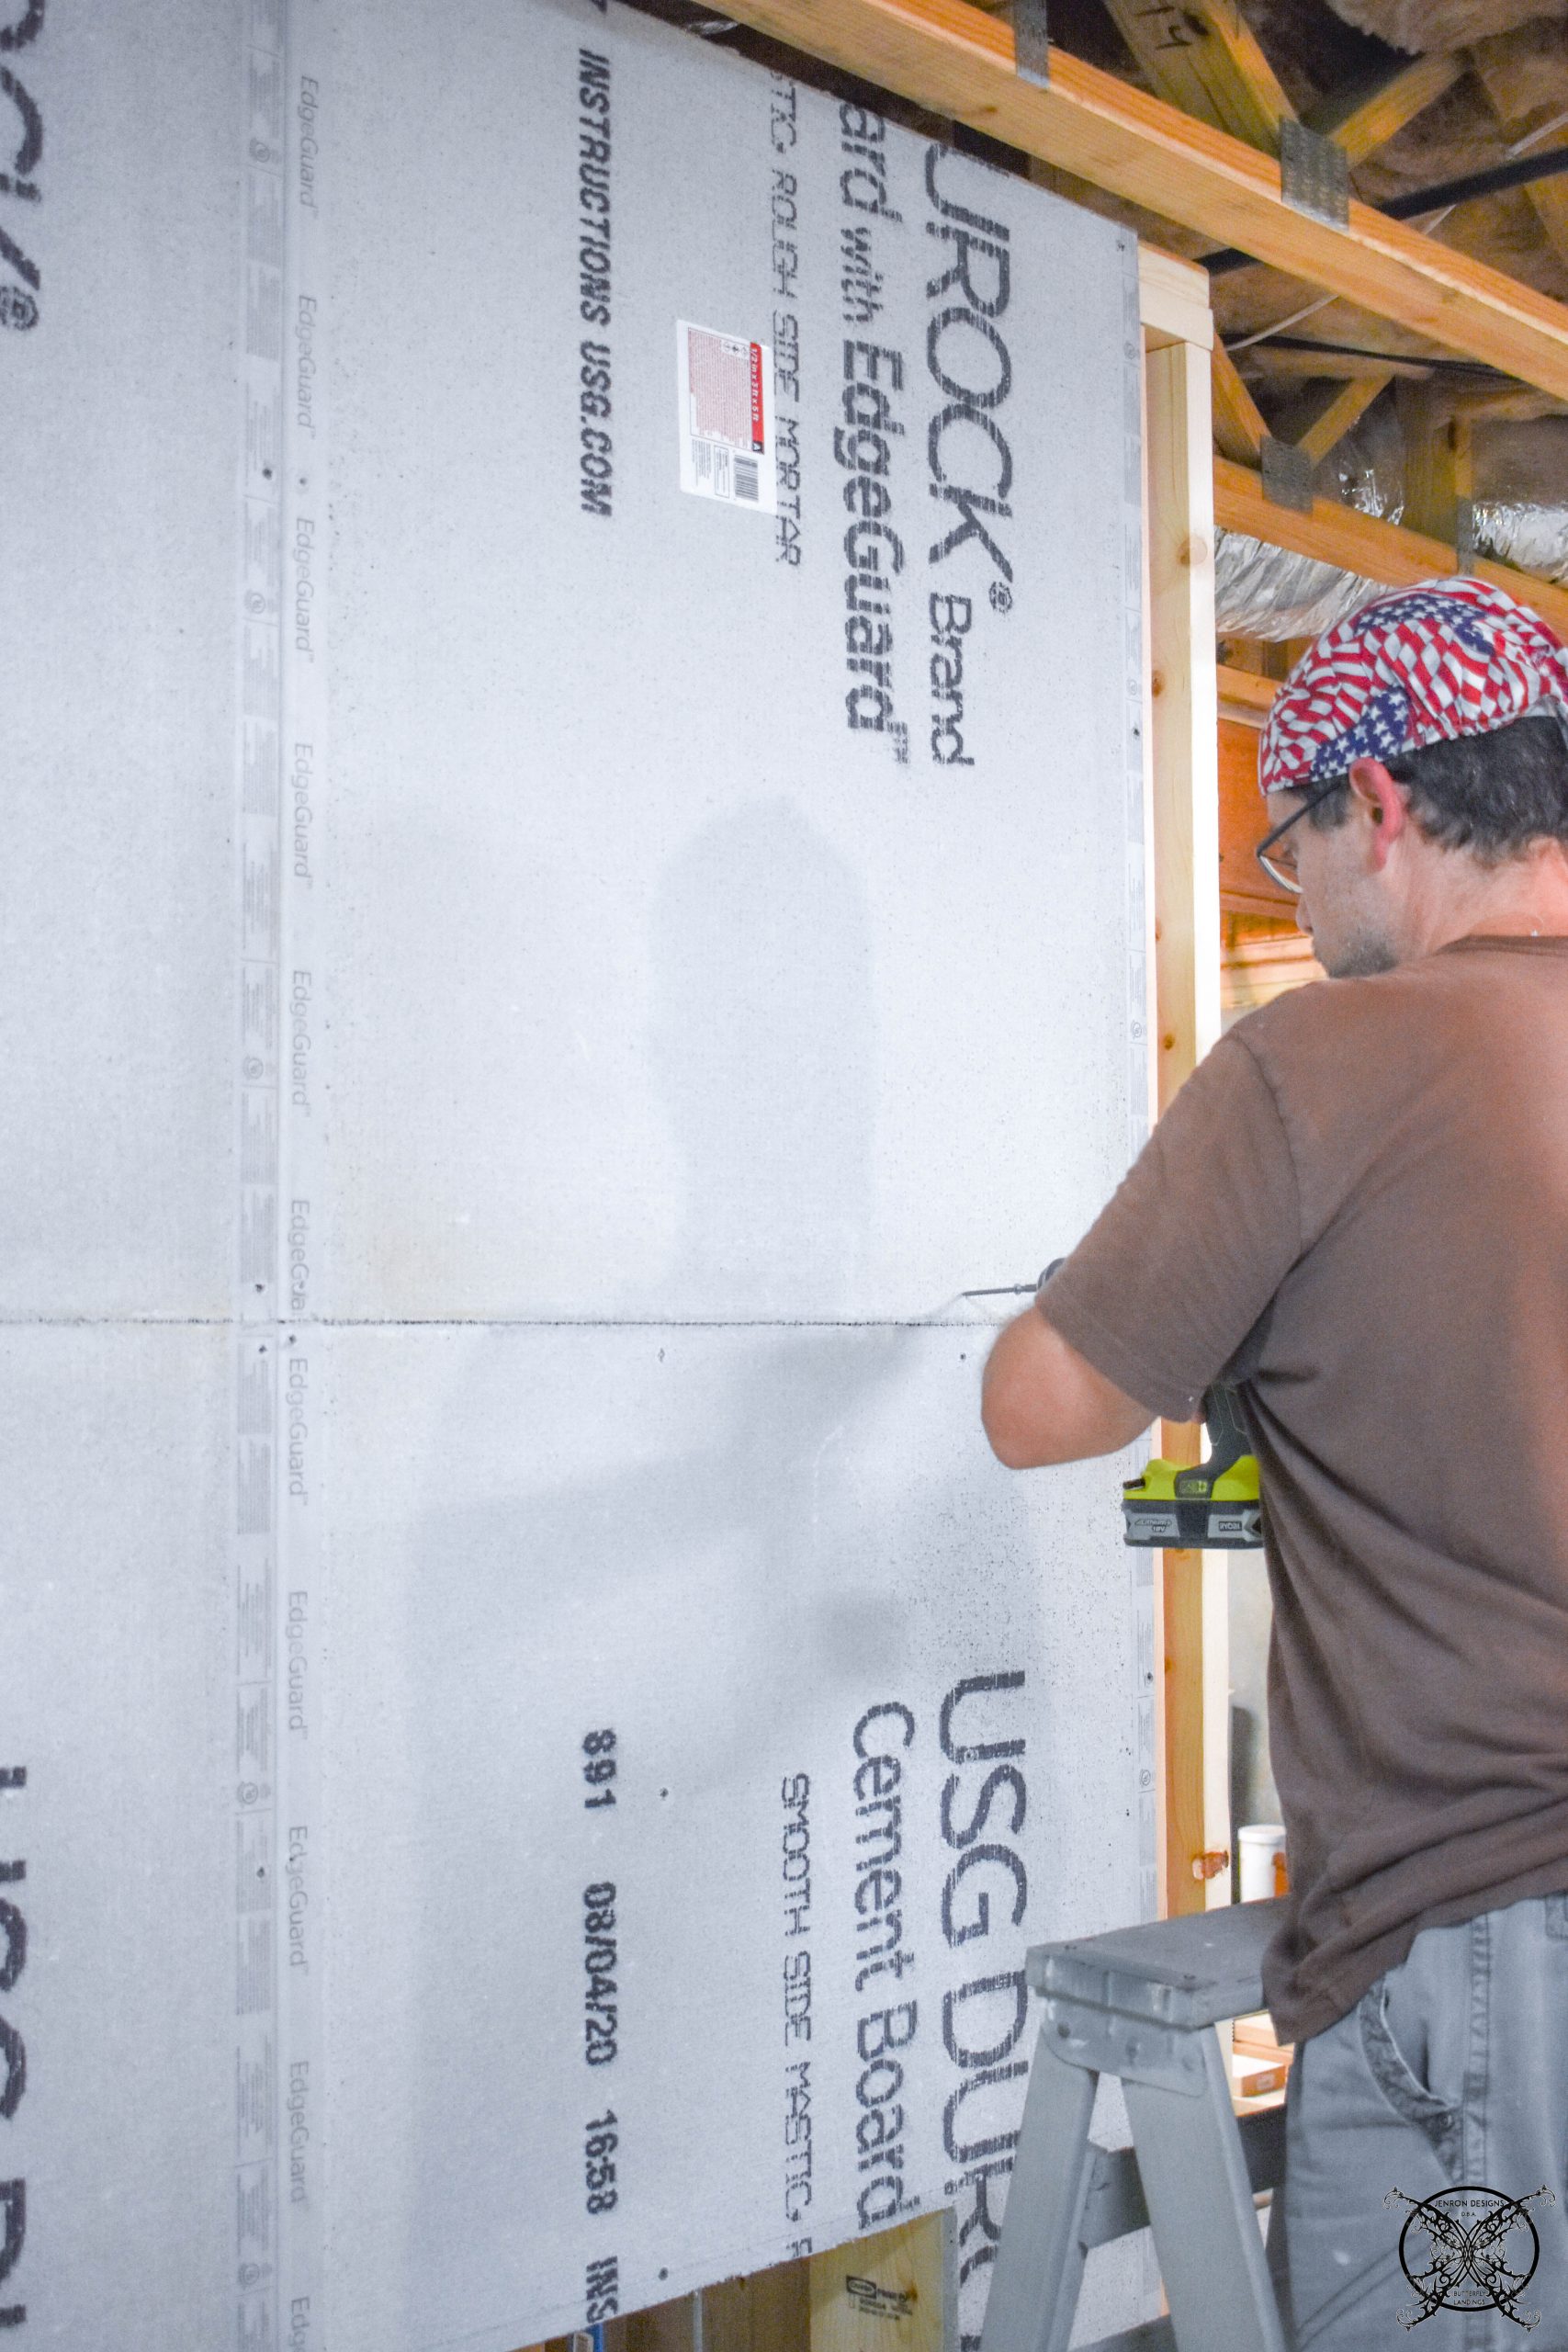 It is recommend to use the proper Durock Wonderboard cement board screw for installation, seen below. These will help to keep you from splitting your boards and getting the proper countersinking for your tiling which prevents bumps and lumps in finer applications. This pack even came with the proper bit for our drill included.
 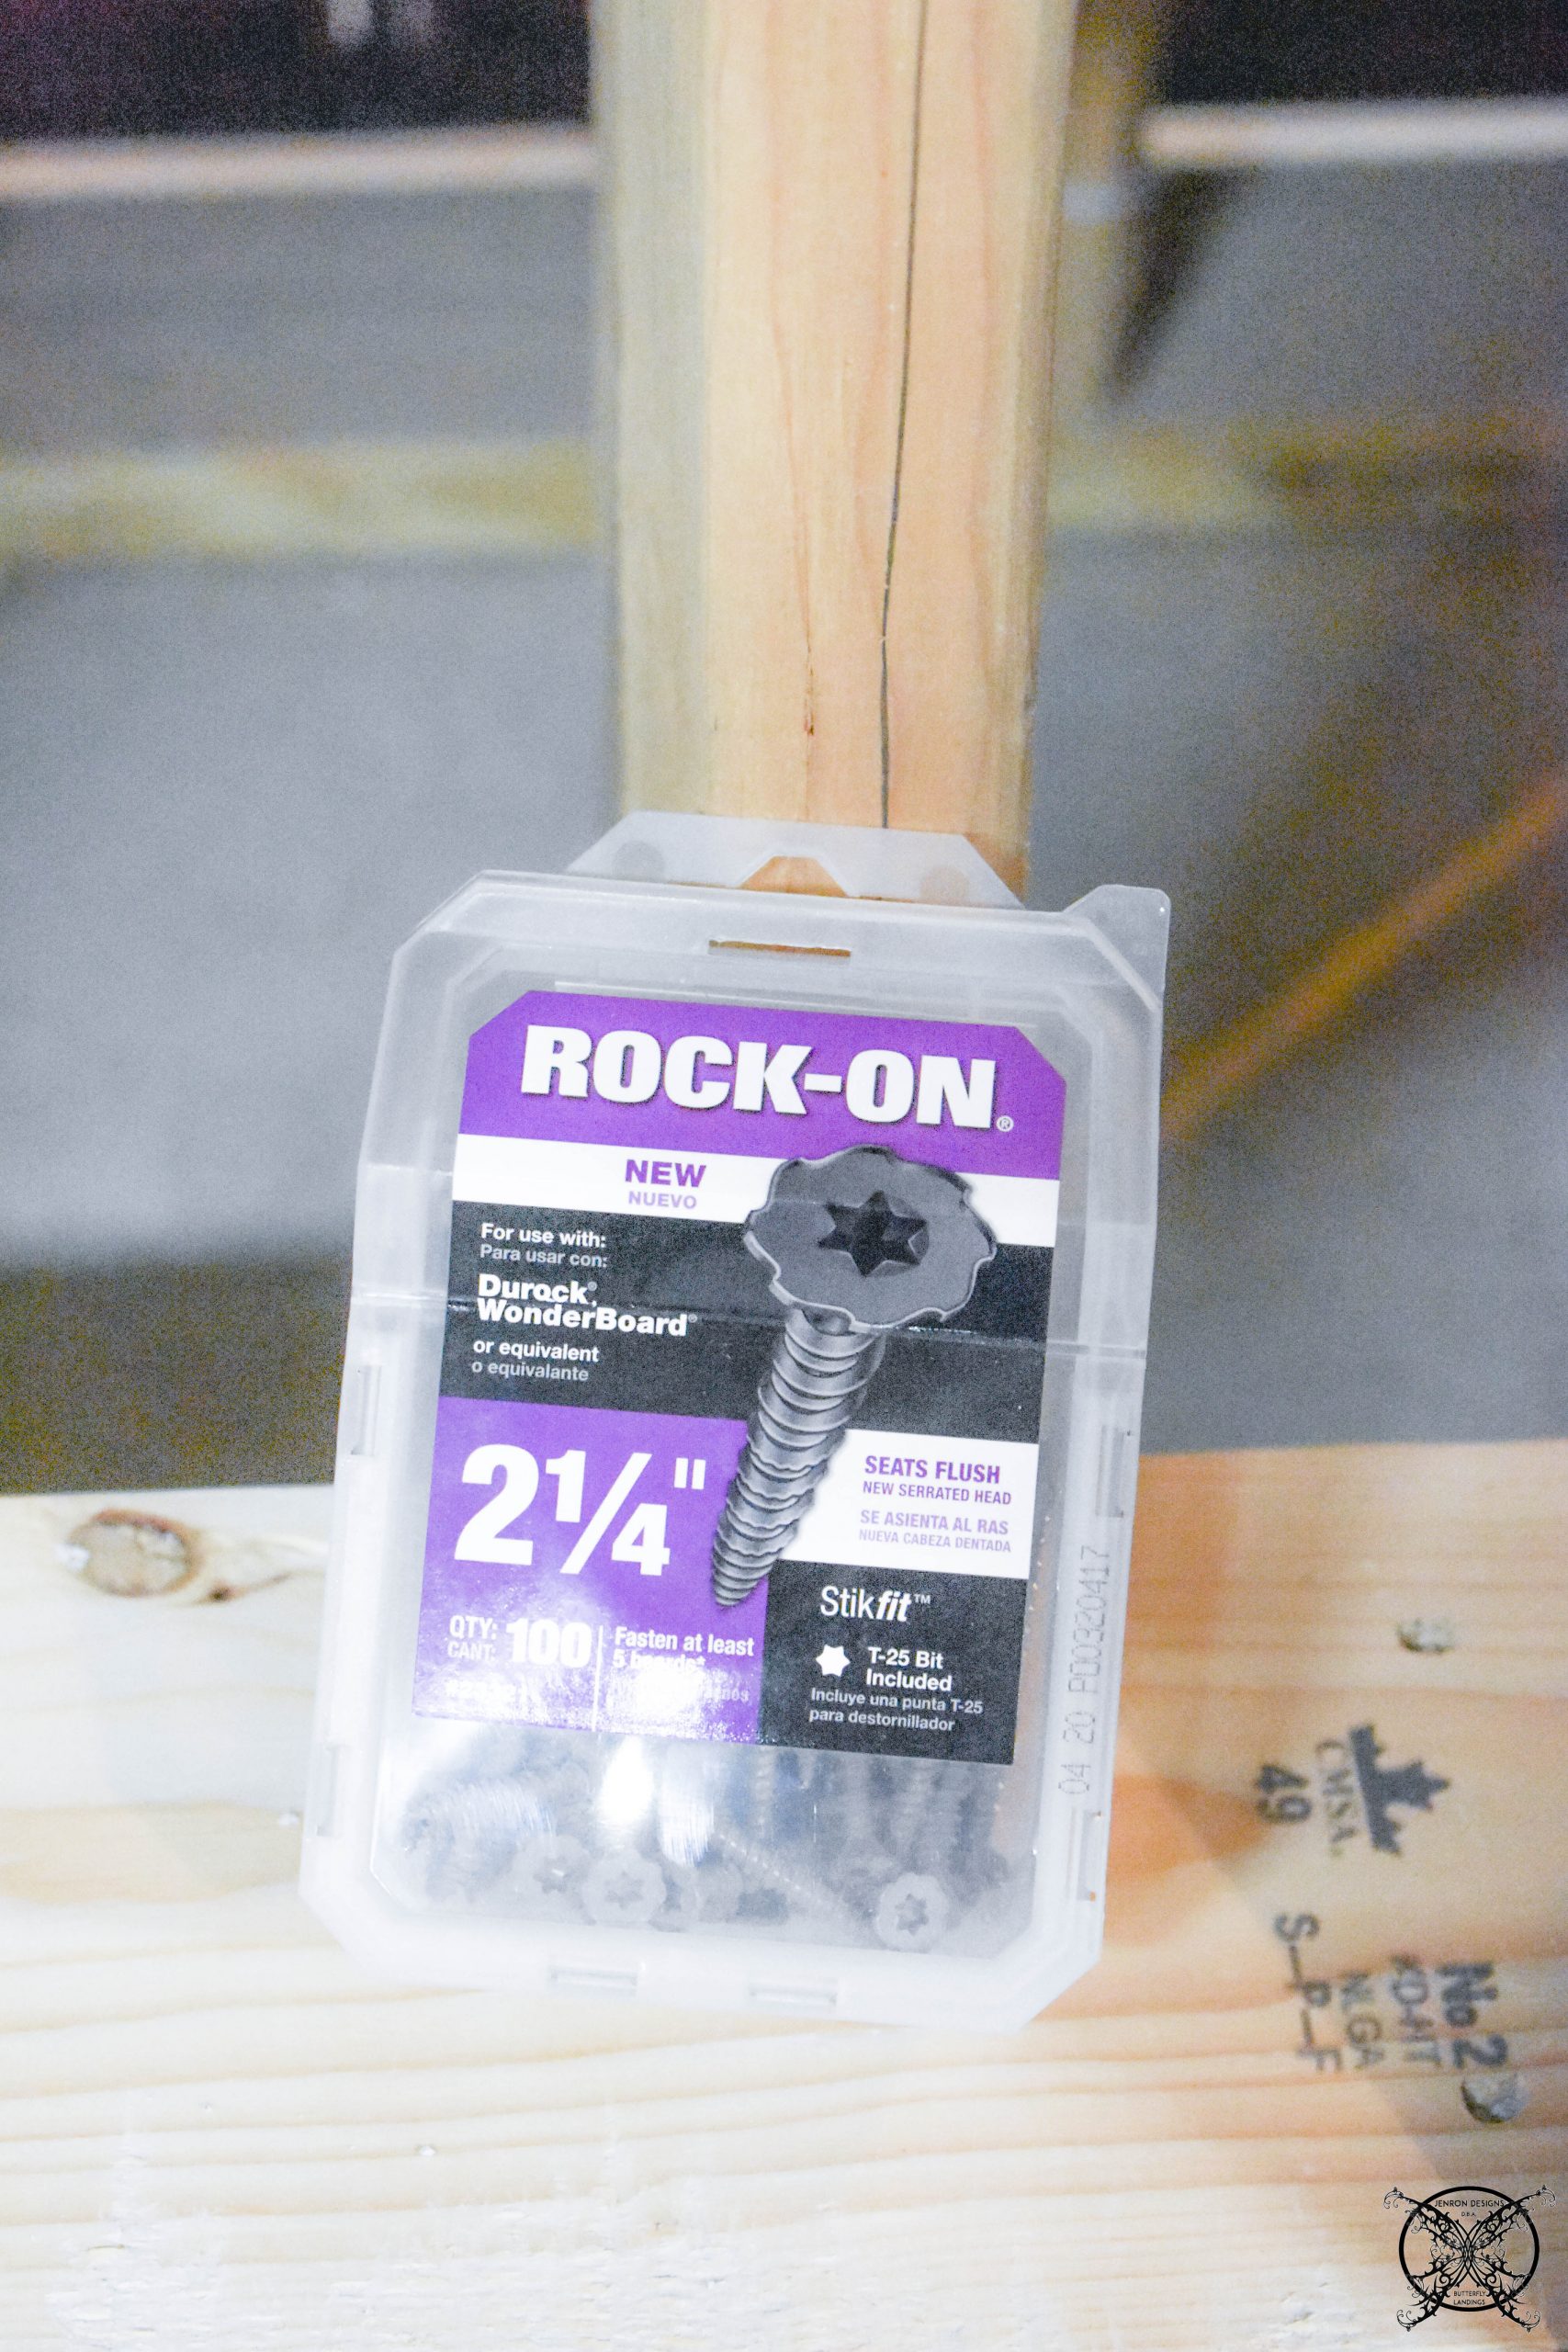 Once you have the Durock Wonderboard installed you need cut in the opening dimensions to match your fireplace. We used a basic drywall saw for this step. A good tip would be to cut it from behind, if you can, and use the wood frame as a guide.
 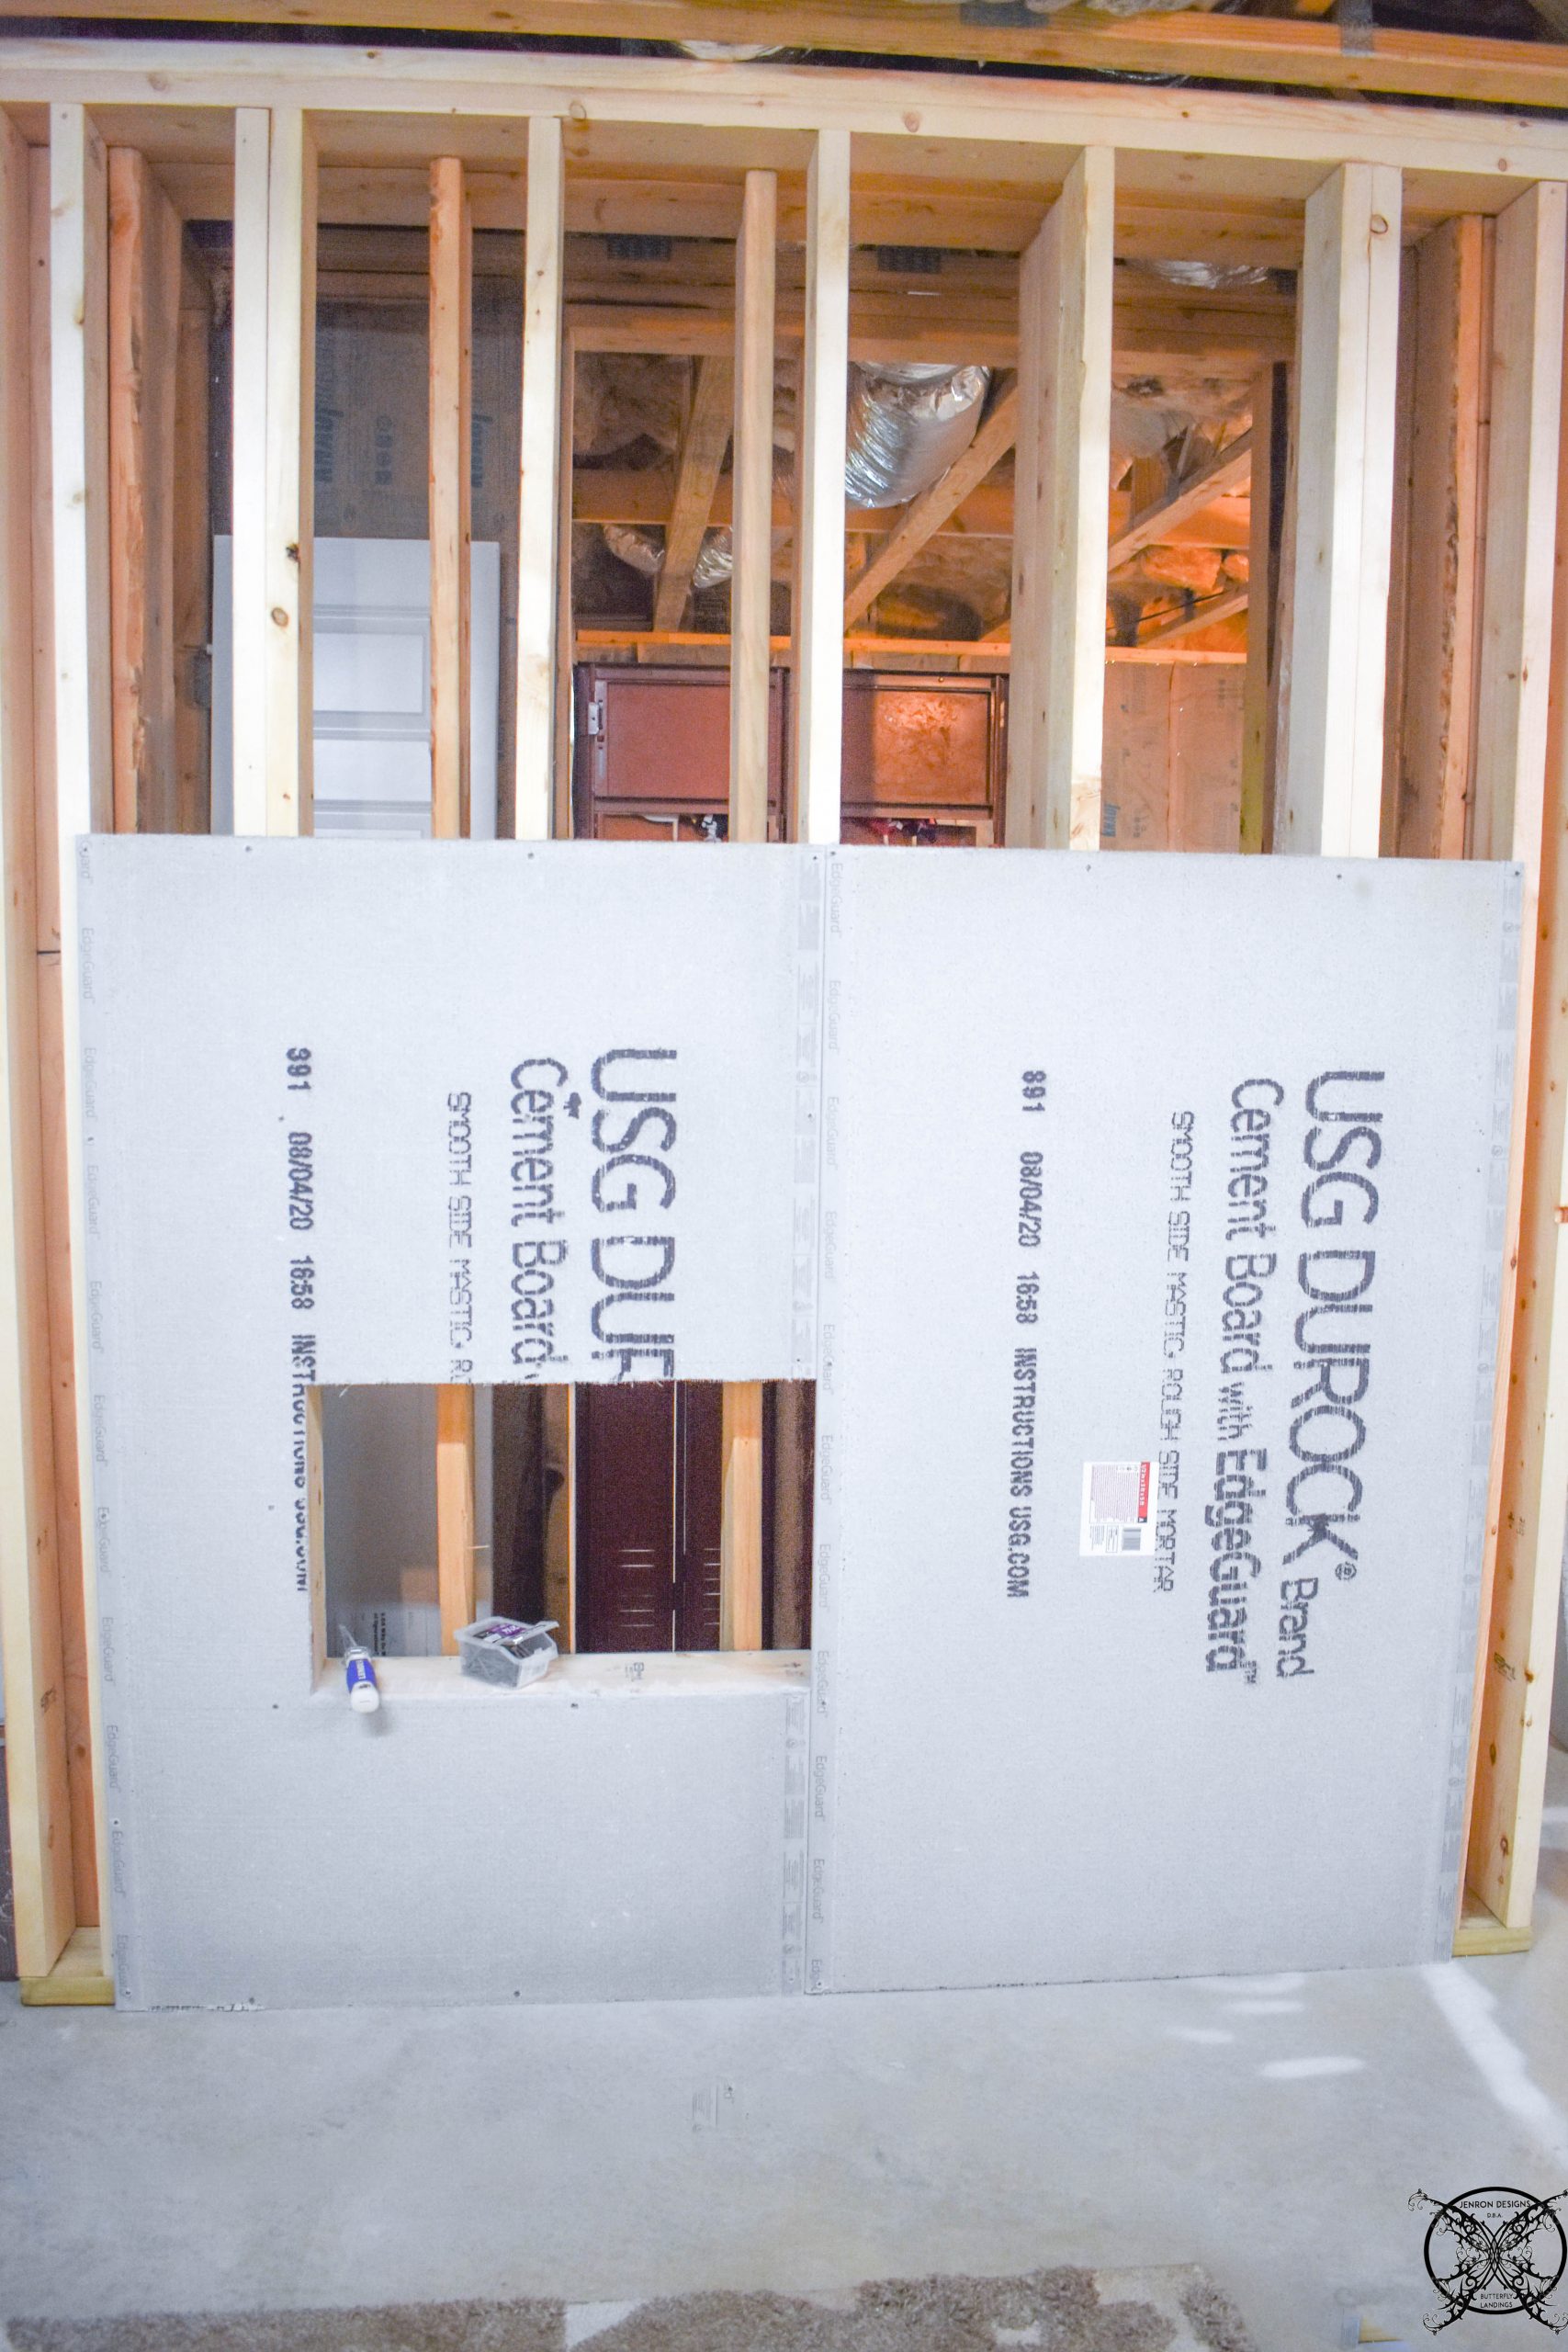 This is also where we finalized the electrical hook up. Since the actual plug will be hidden out of site inside of an adjacent closet, we wanted to make sure the proper wiring was run and in place prior to closing up the wall.
 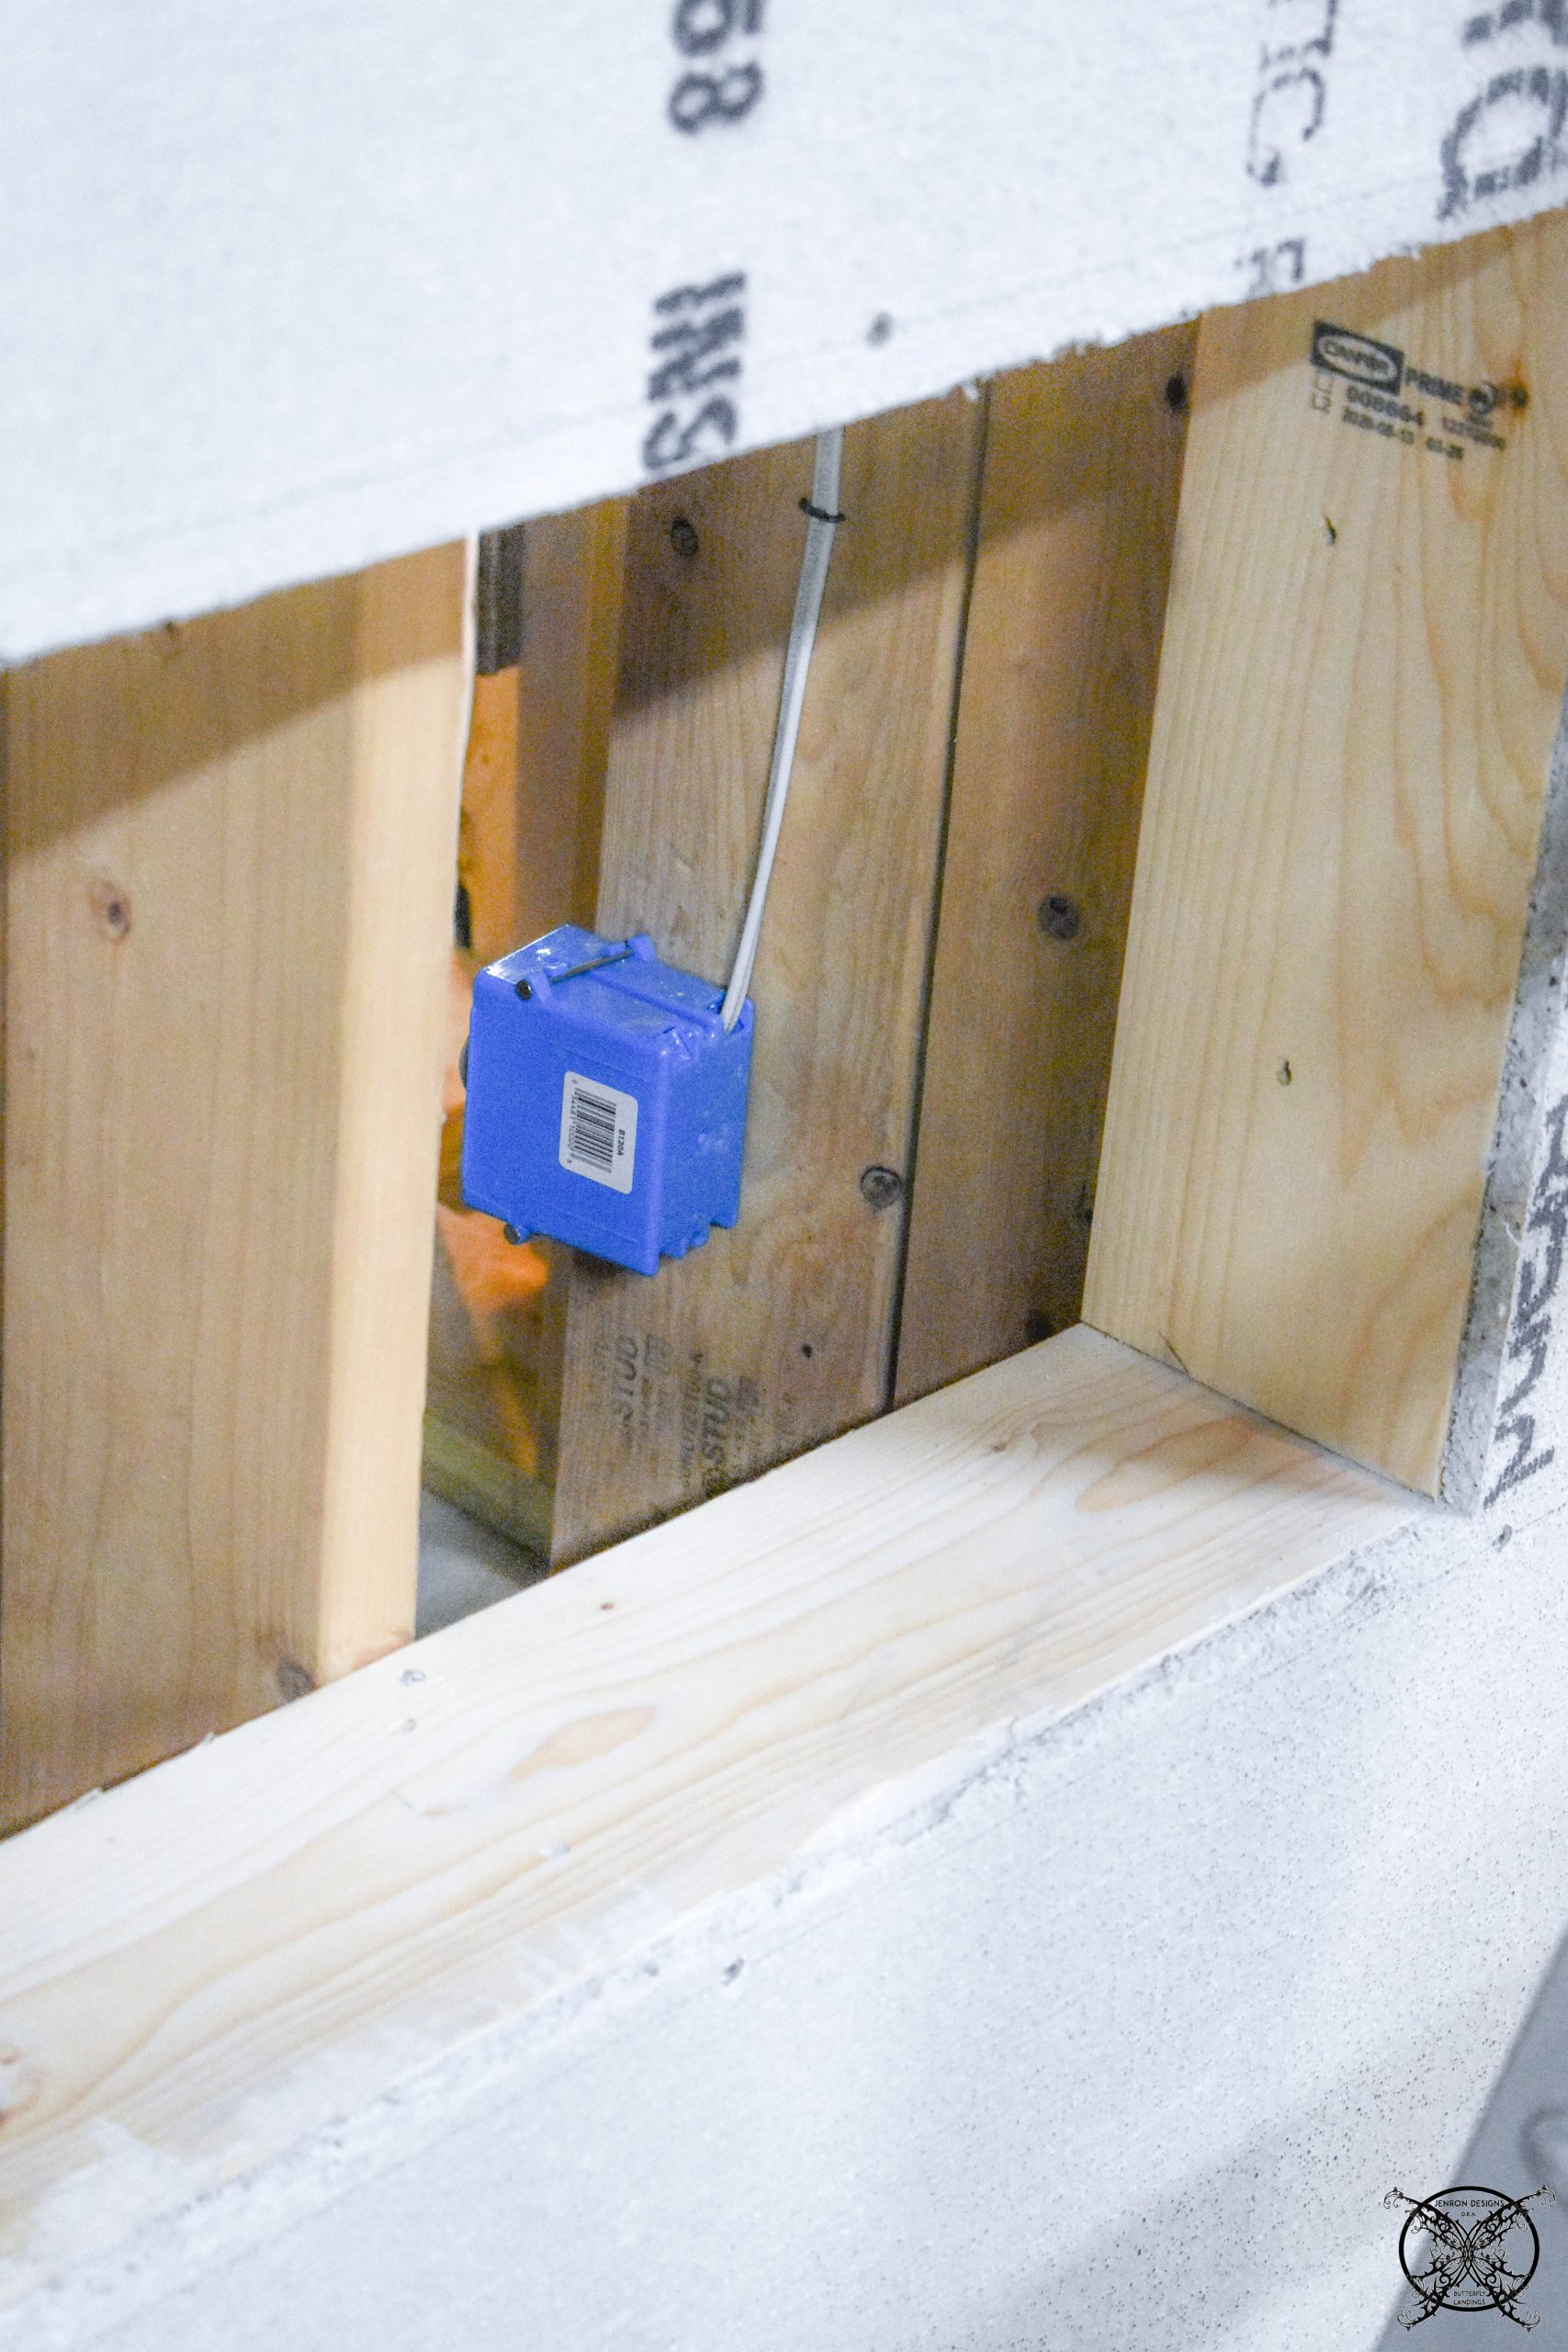 Next we installed our 50″ Valuxhome Electric Fireplace, which can be seen in the full installation video below. It was super easy to install and really looks great in the space.
 We picked a model with two heating modes and a timer with auto-shut off, which can be set for 1 to 9 hours. It also offers higher heating temperatures, from 71°F to 99°F that can be adjusted to low/750W or high/1500W according to your room temperature easily with the remote, plus the flames can operated with or without the heater in use.
 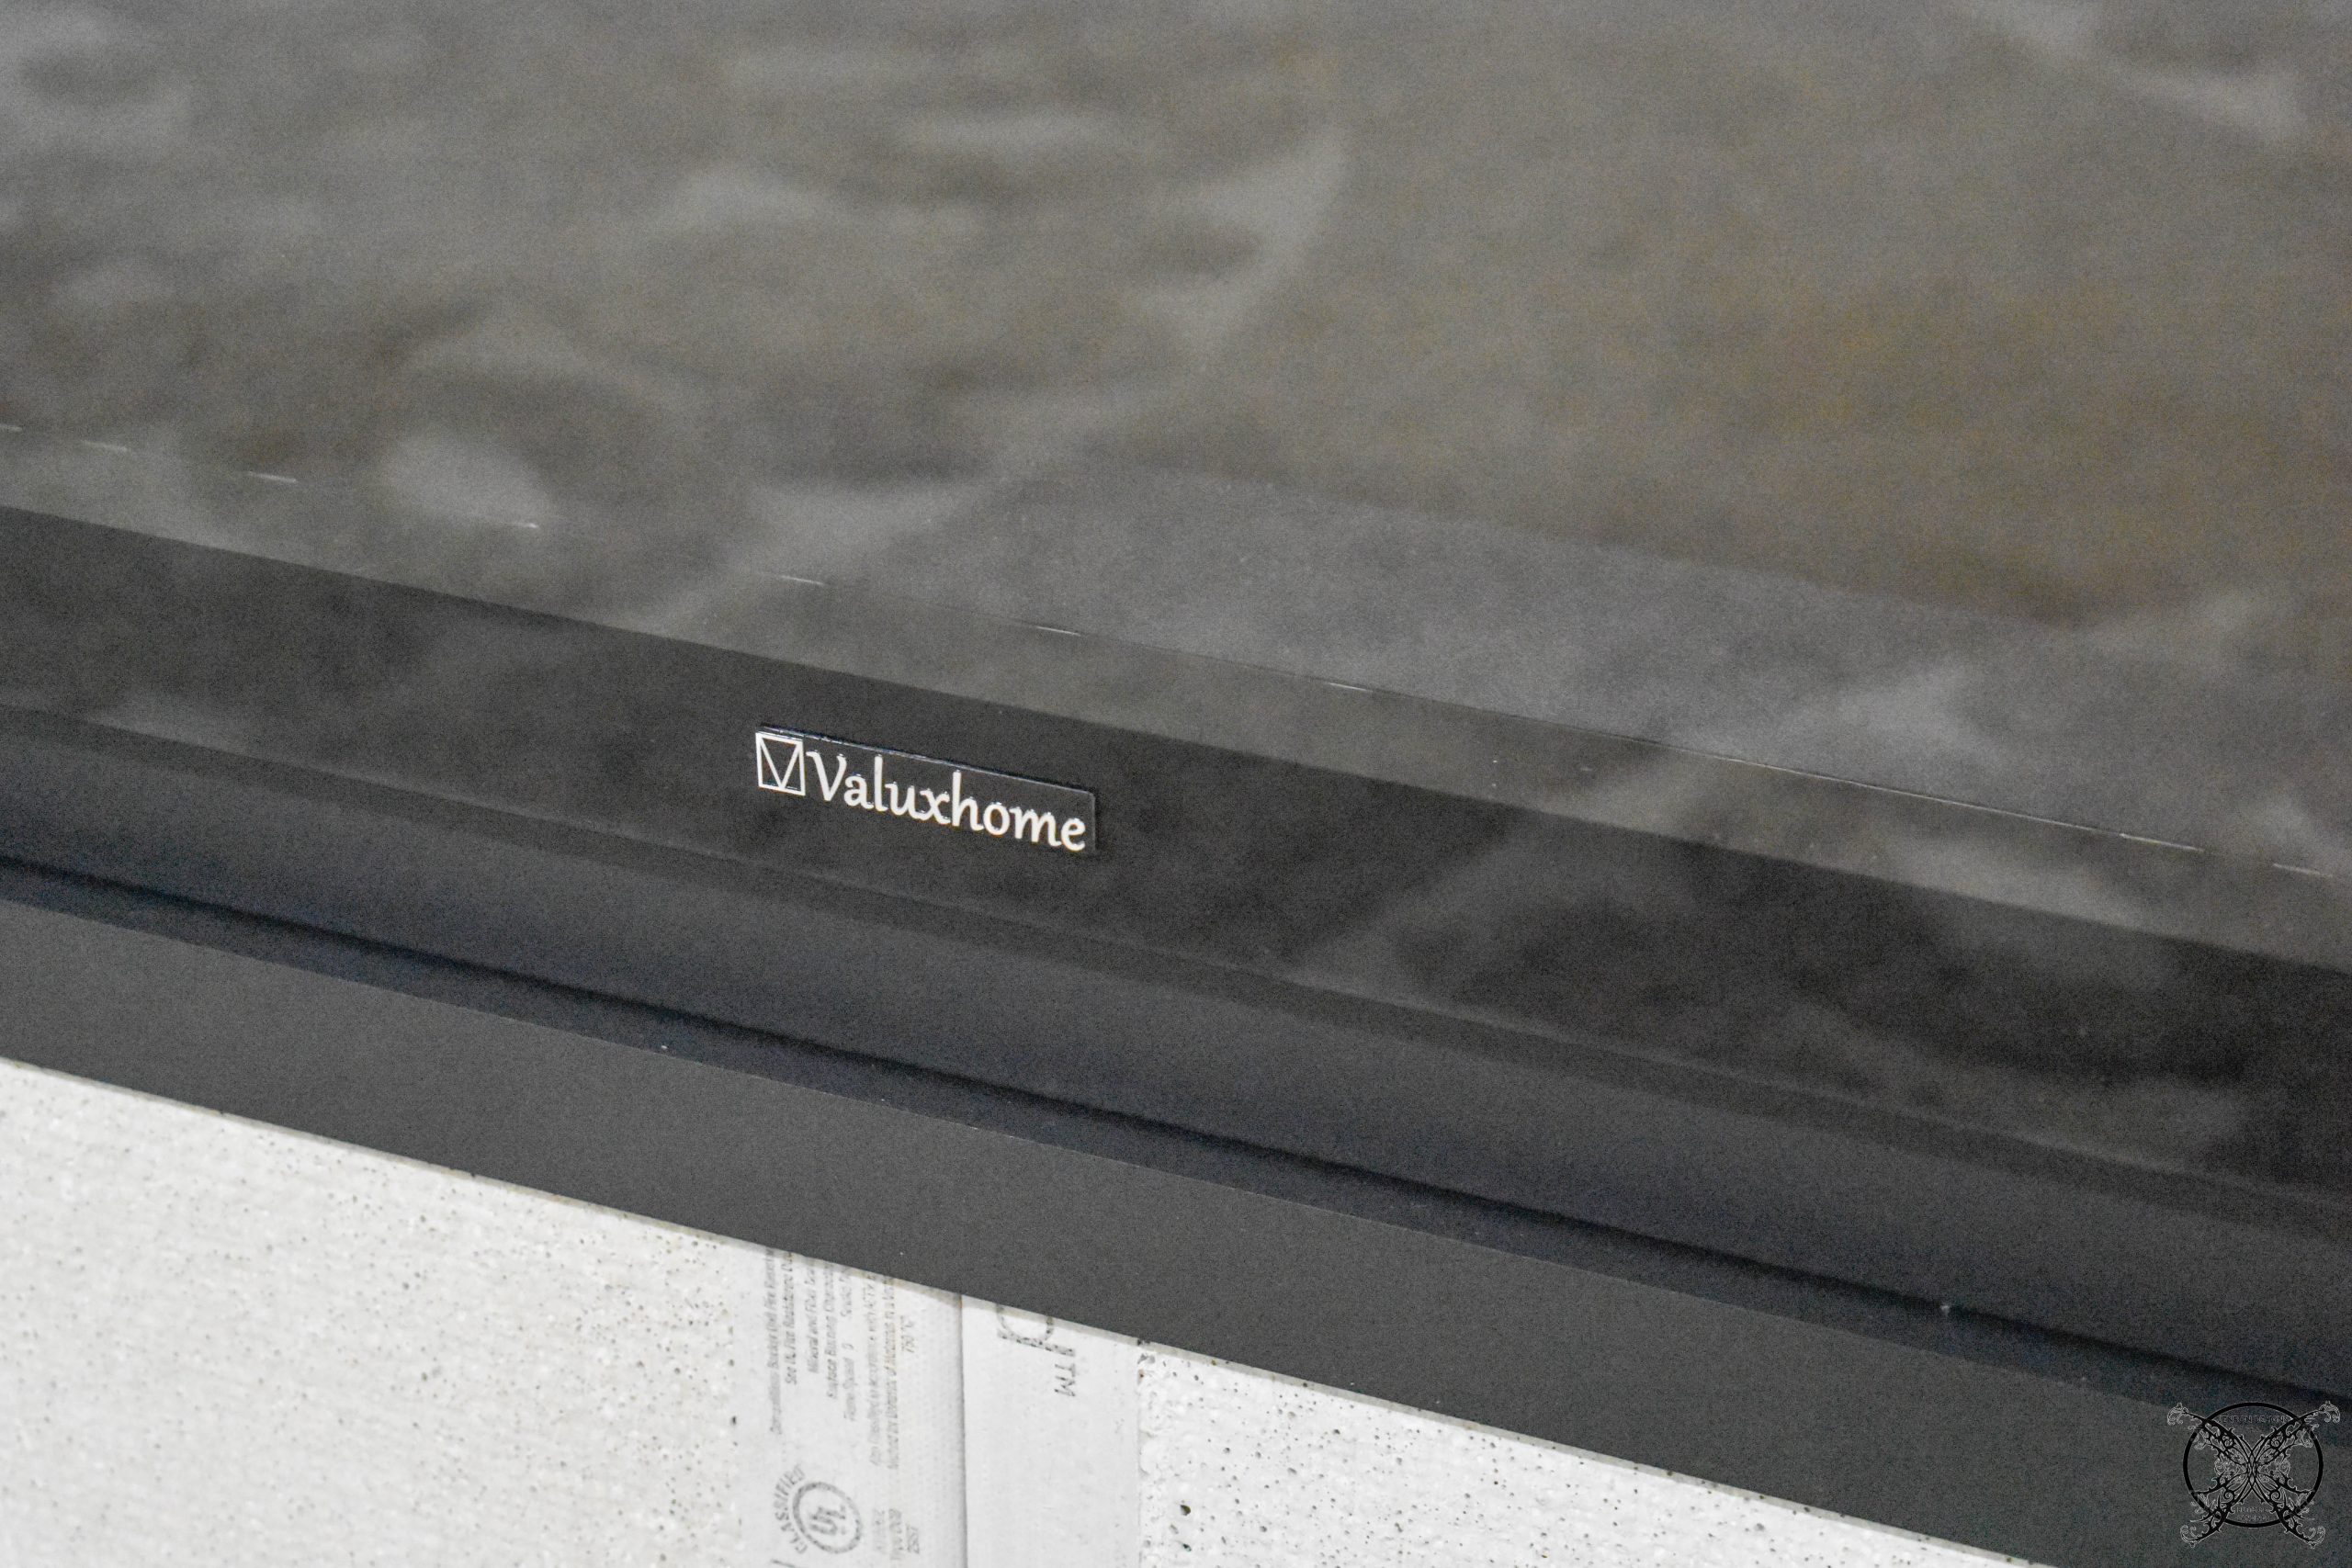 Now that the fireplace is installed it is time to start the tiling process. We have purchased a marble mixture that has Carrara marble along with several other types of marble cut on the biases, which exposes the inside of the raw marble. It is recommended that you layout your tiles to make sure you like the pattern prior to going to the wall with them, and to only work in 3 foot high sections.
 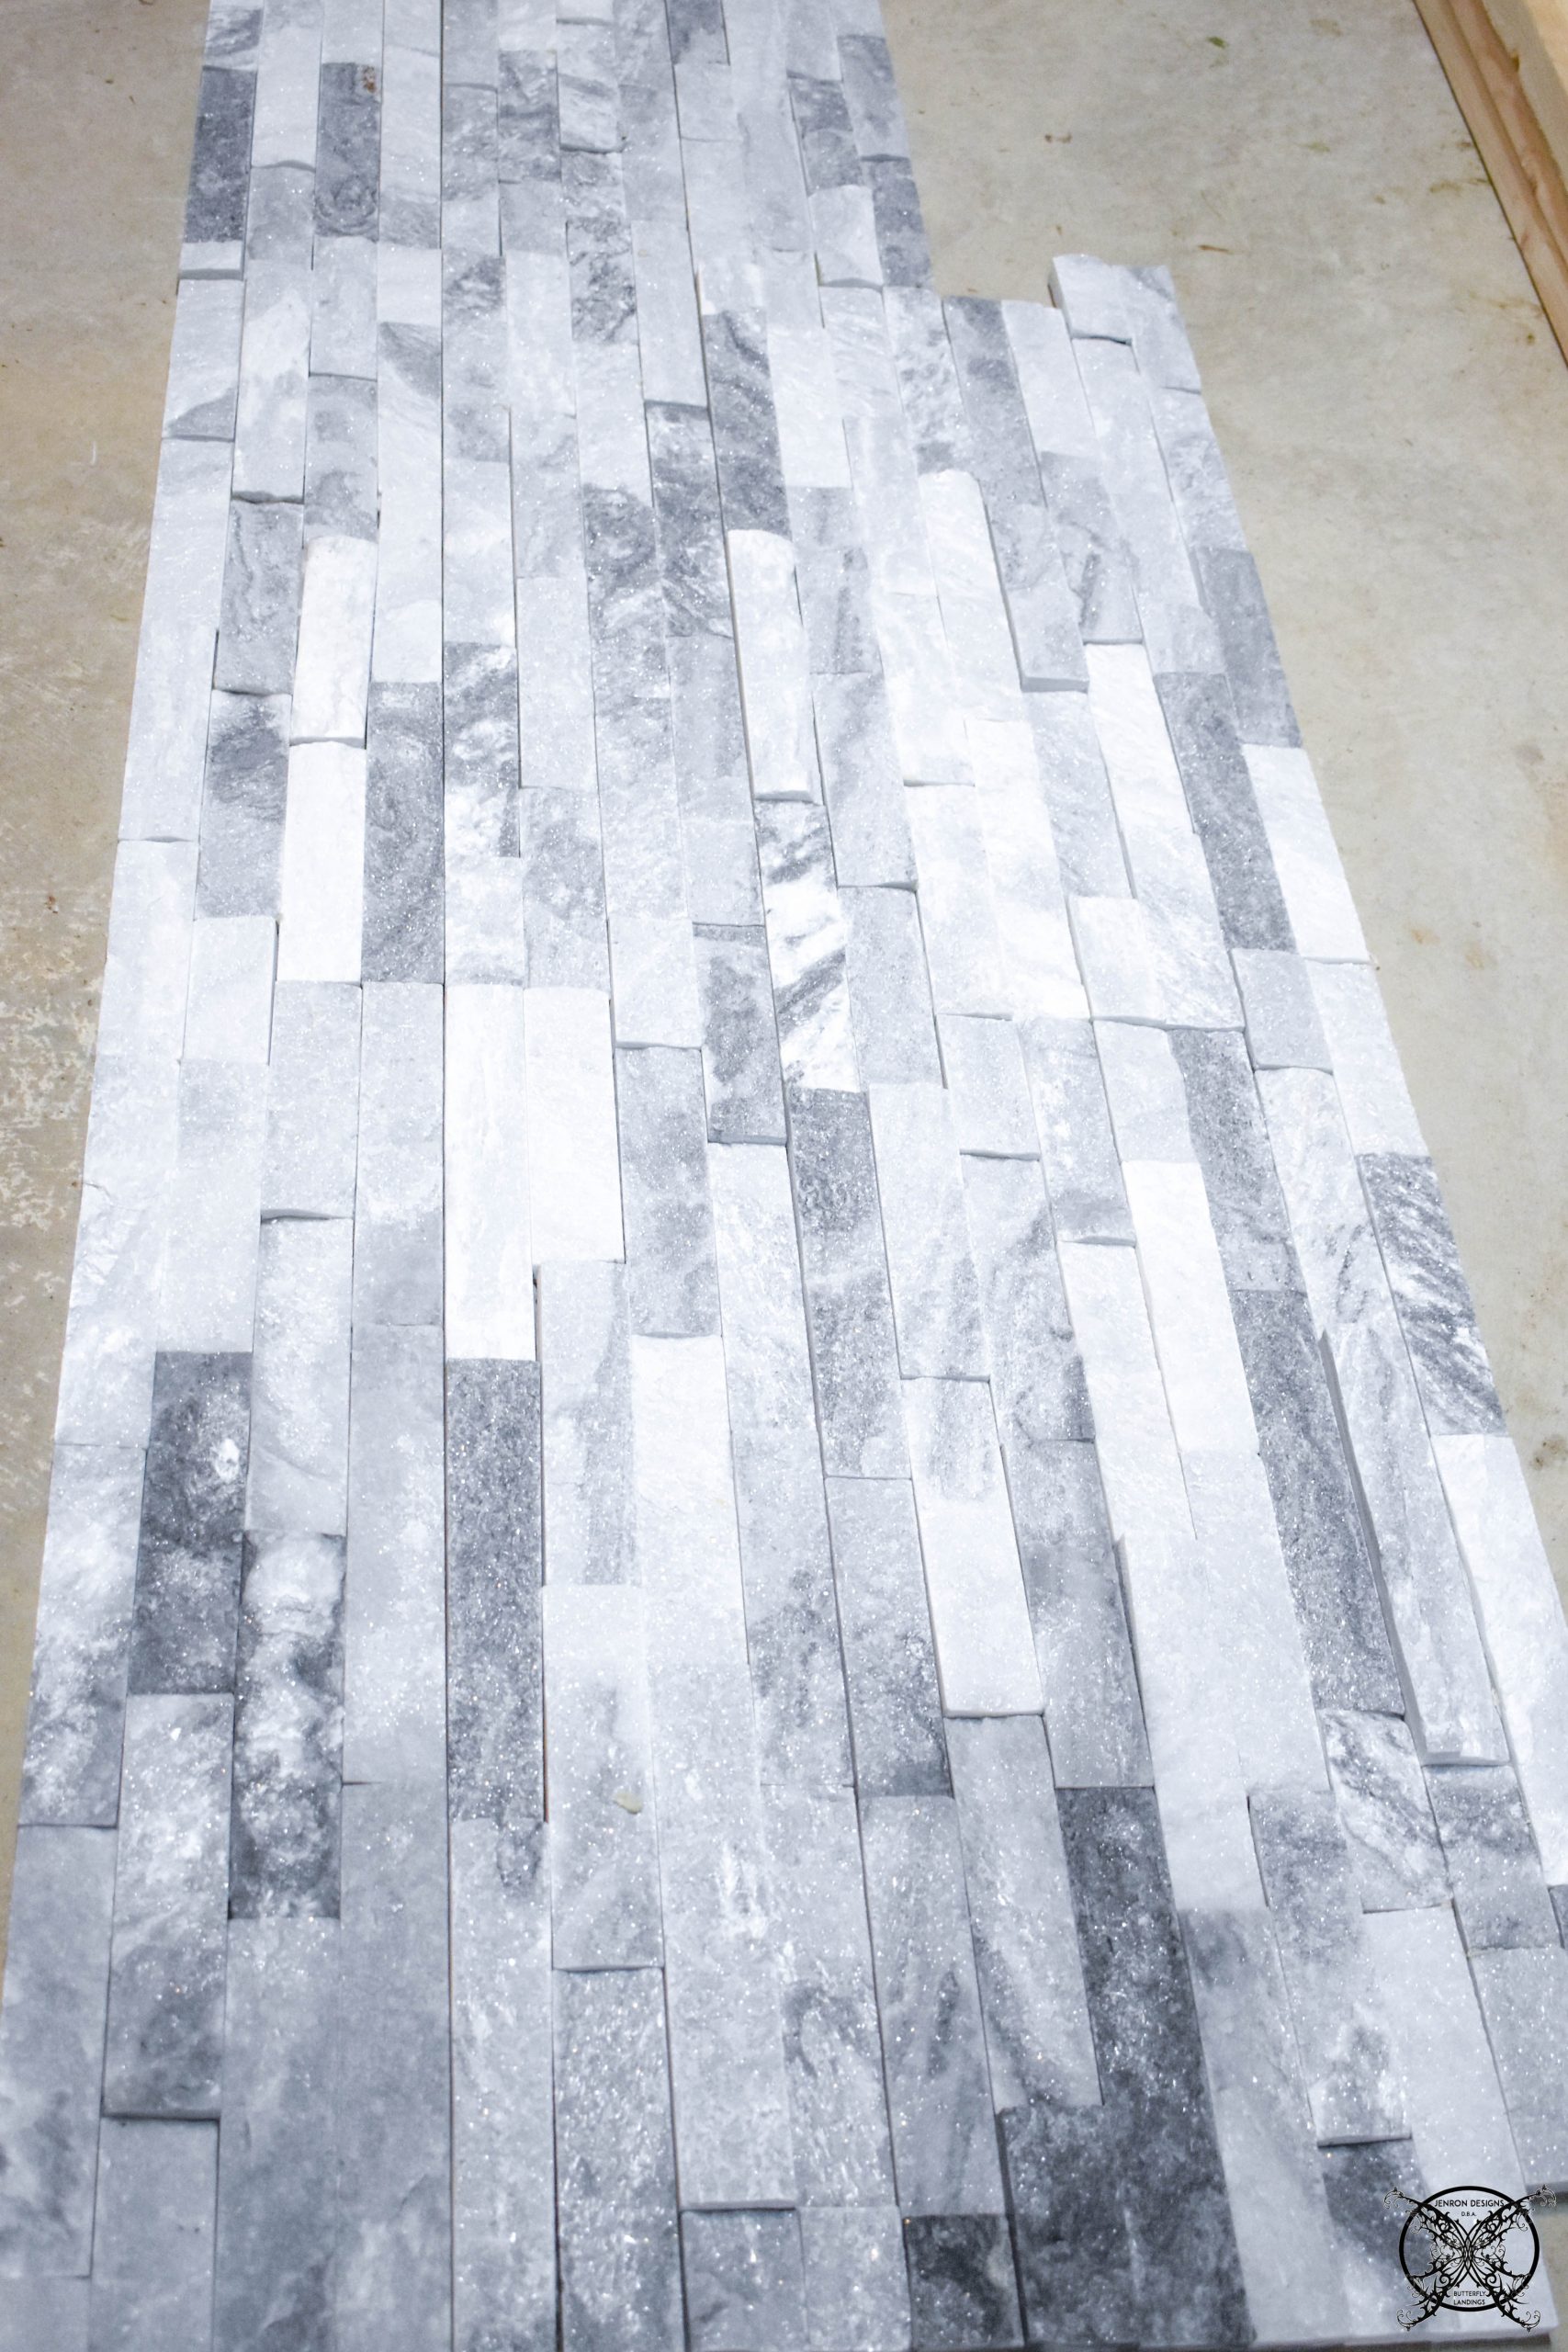 After selecting my first 3 foot section we made our cuts with our newly acquired tile saw. I have a feeling that this baby is going to see a lot of action going forward. I will say that we thought long and hard about the purchase since last time we just rented a saw, but it seem like it that I have gotten a feel for tiling so it made sense to invest in our own.
 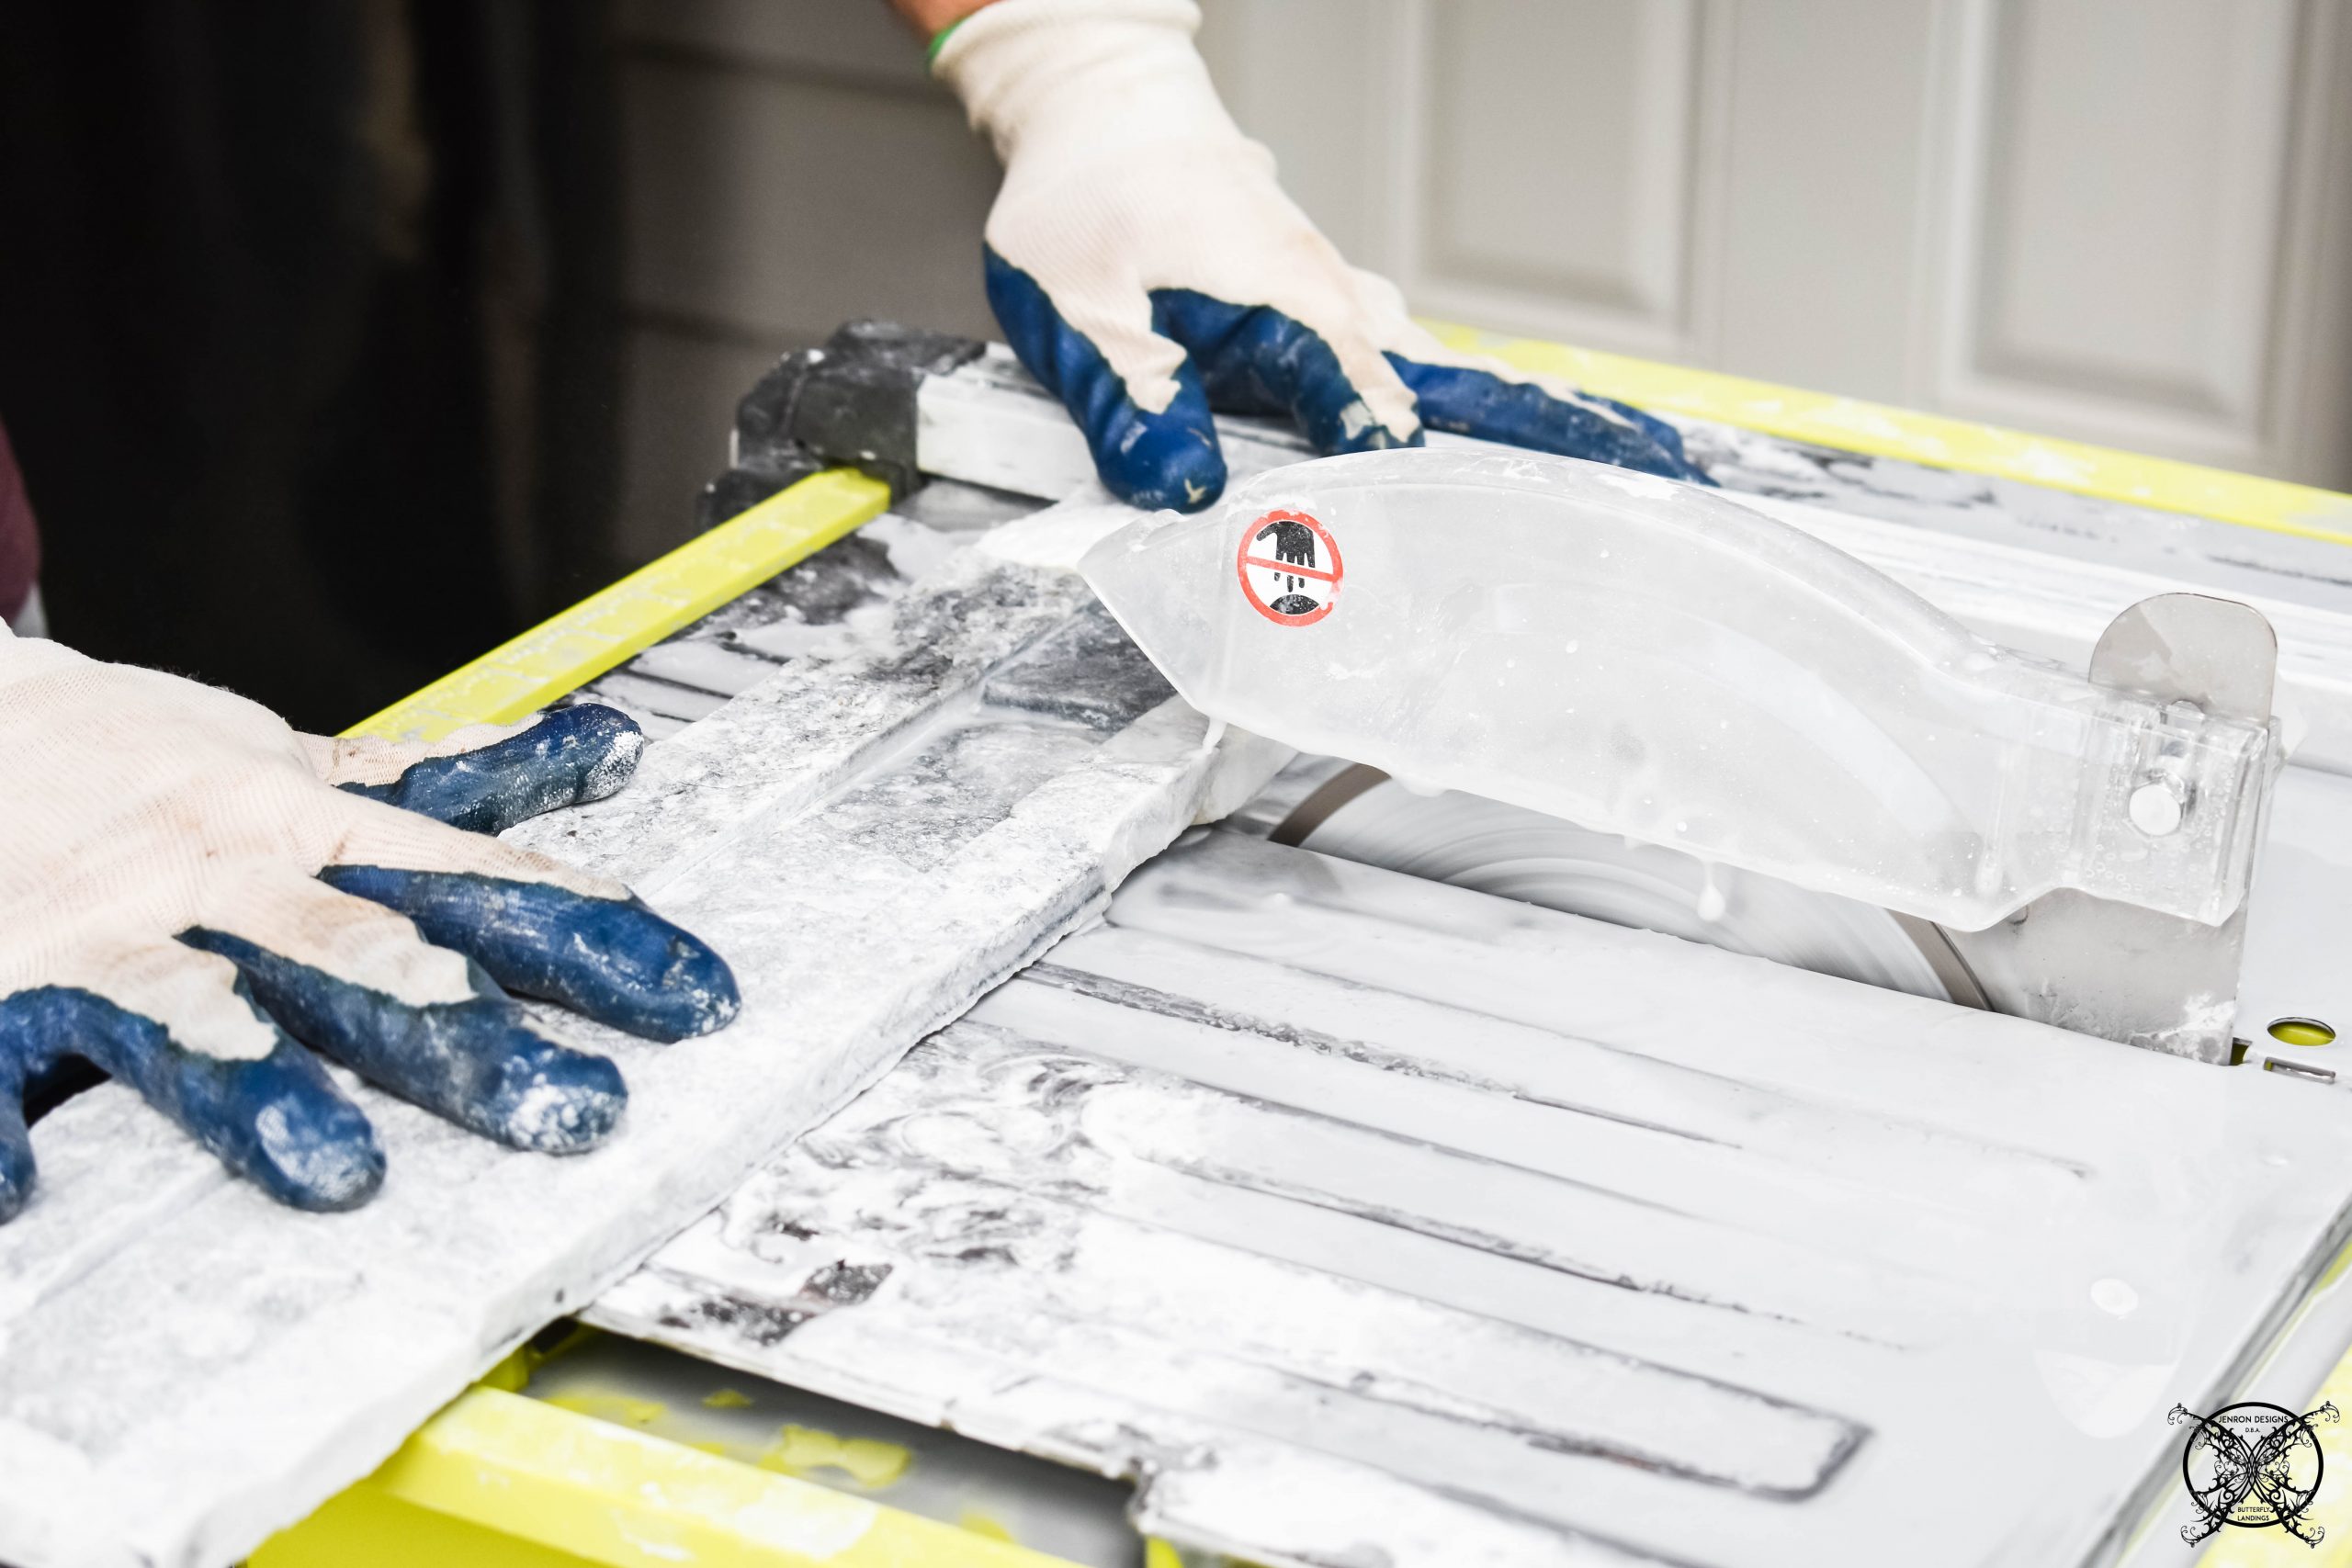 We also opted to use a rapid setting thin set grout in a light gray color. This is recommended for more precious stones and higher end tiles that required a smoother finish. It does run a little more than the basic $5 -7 bags, but it is worth it and easier to work with and for adhesion of powdery or dusty tiles like marble.
 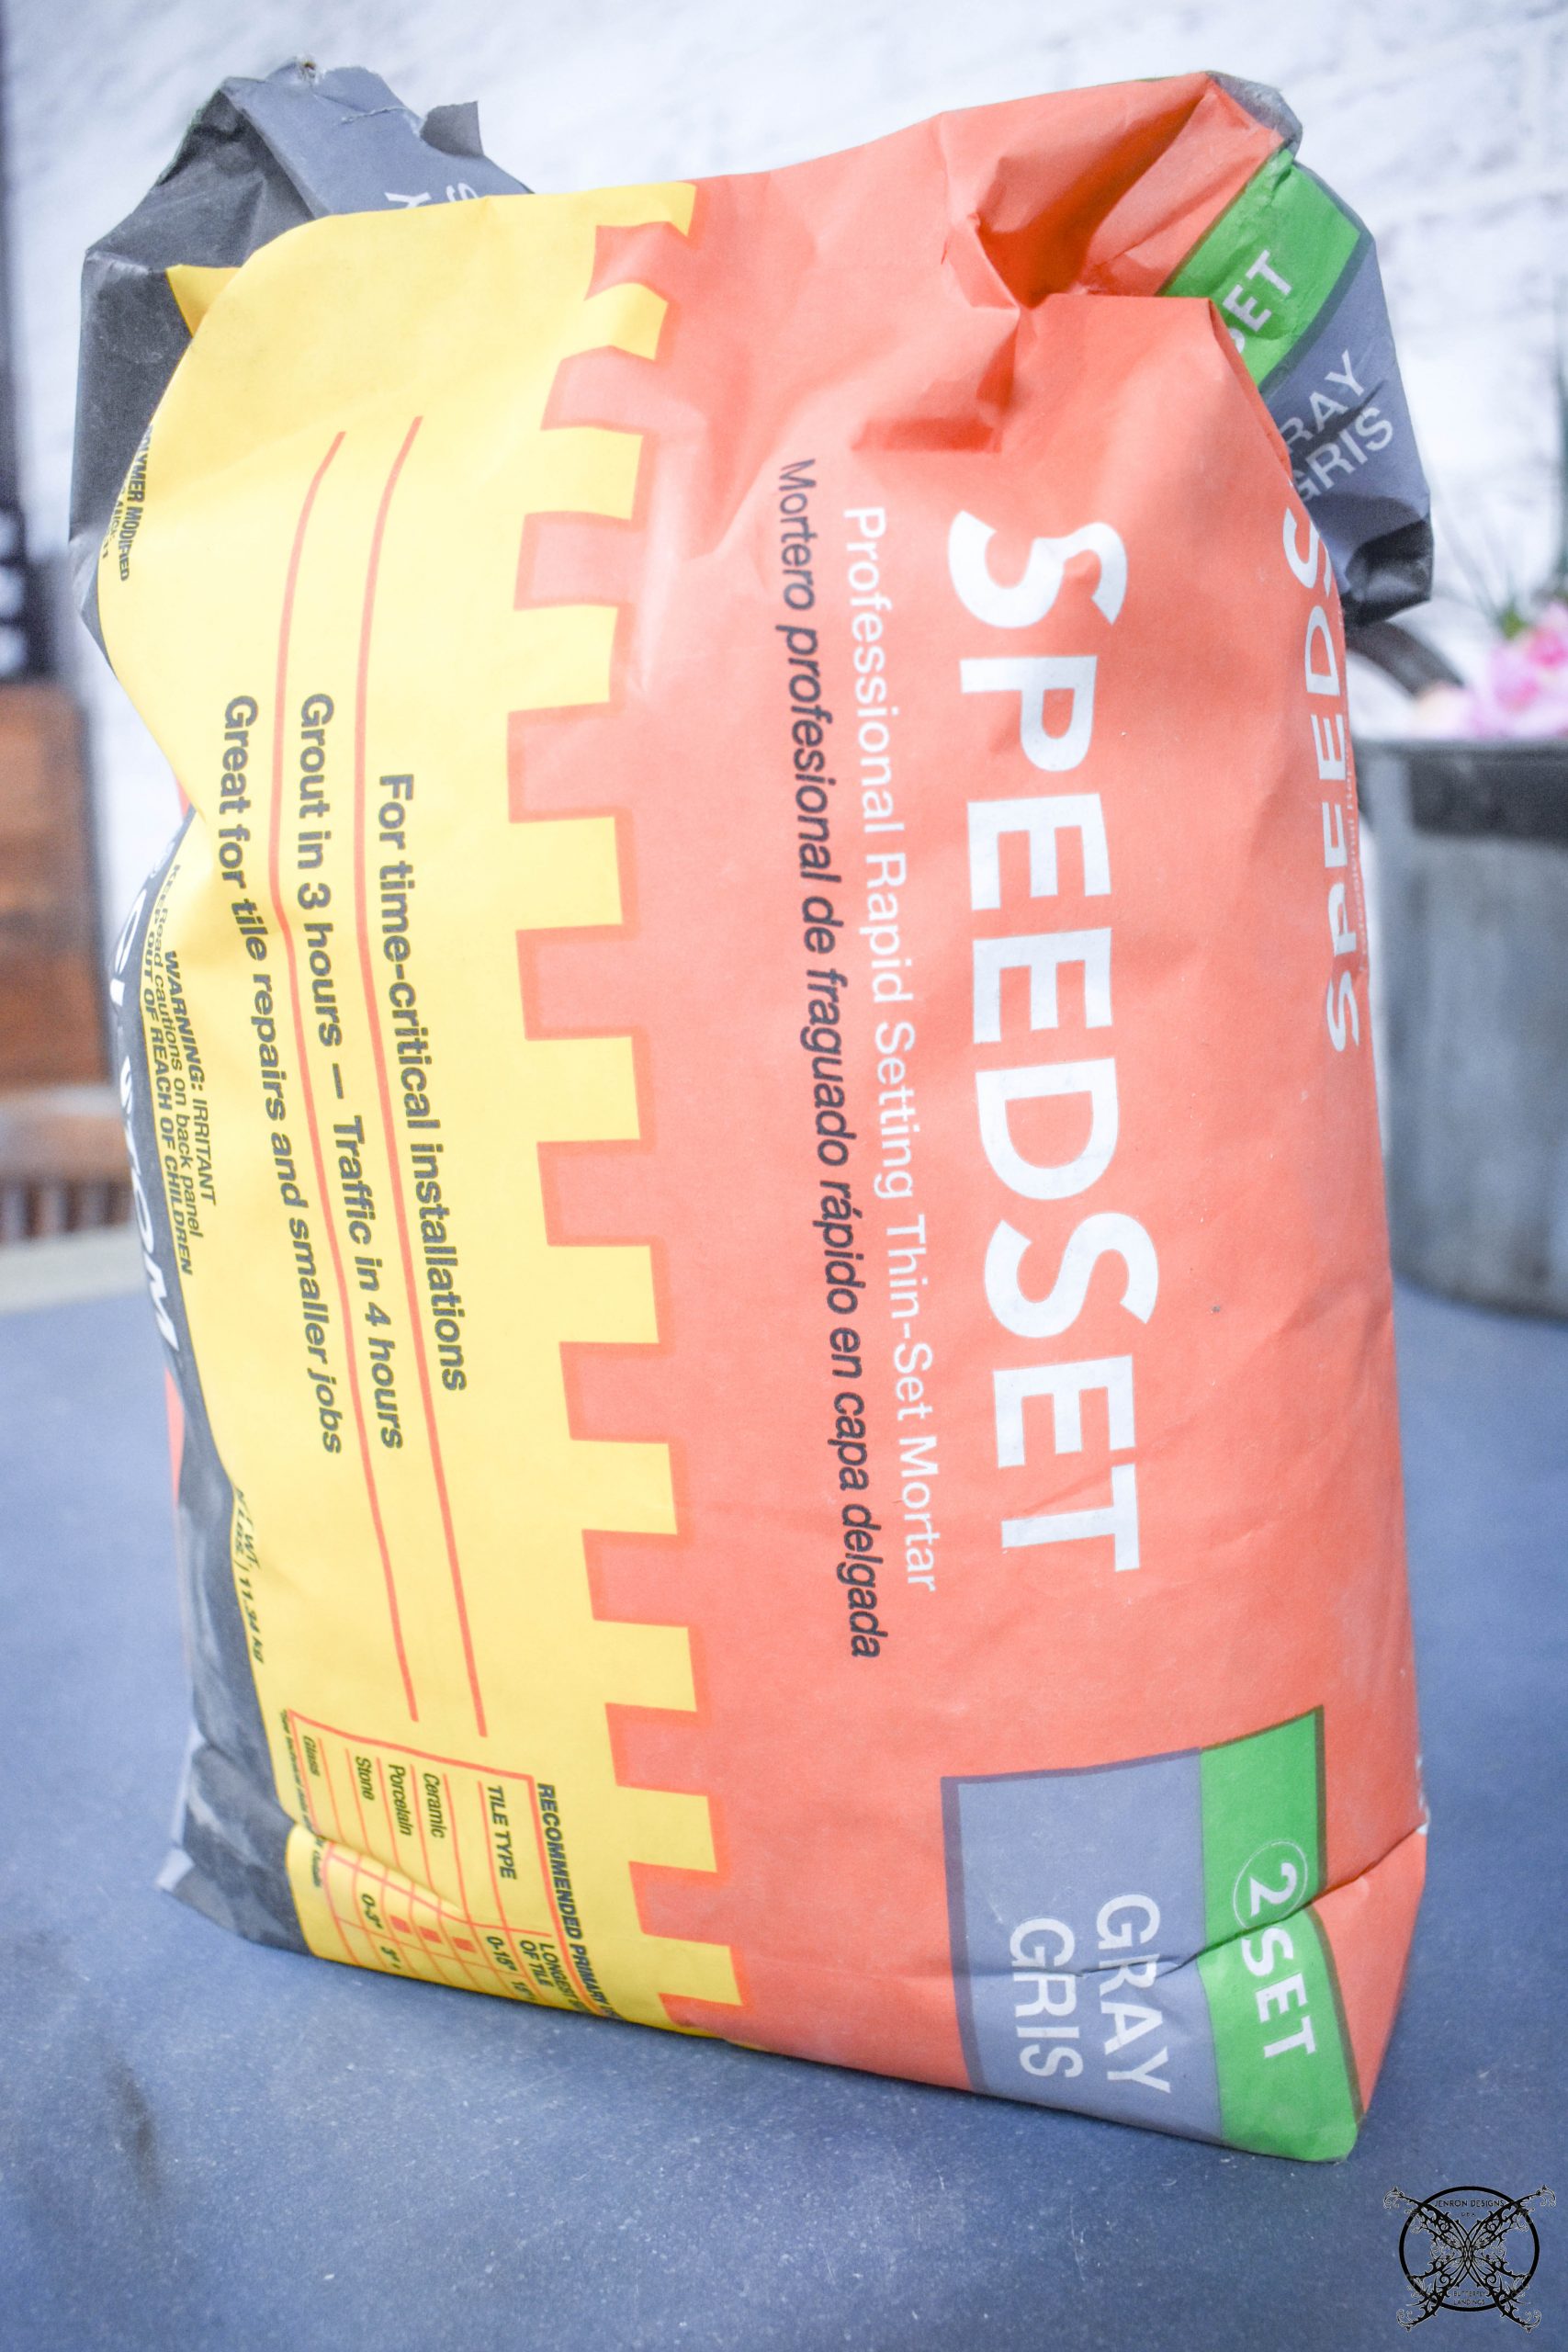 I used a buttering method to attach my tiles by applying a large amount of the thin set directly to the back of my tile and pressing it into the wallboard. Again after watching several manufacture installation videos this was the recommended method, and worked brilliantly. In most tiling methods you apply the thin set to wall first, and butter the backs but for these tiles it was only recommended to butter the back and press into the walls.
 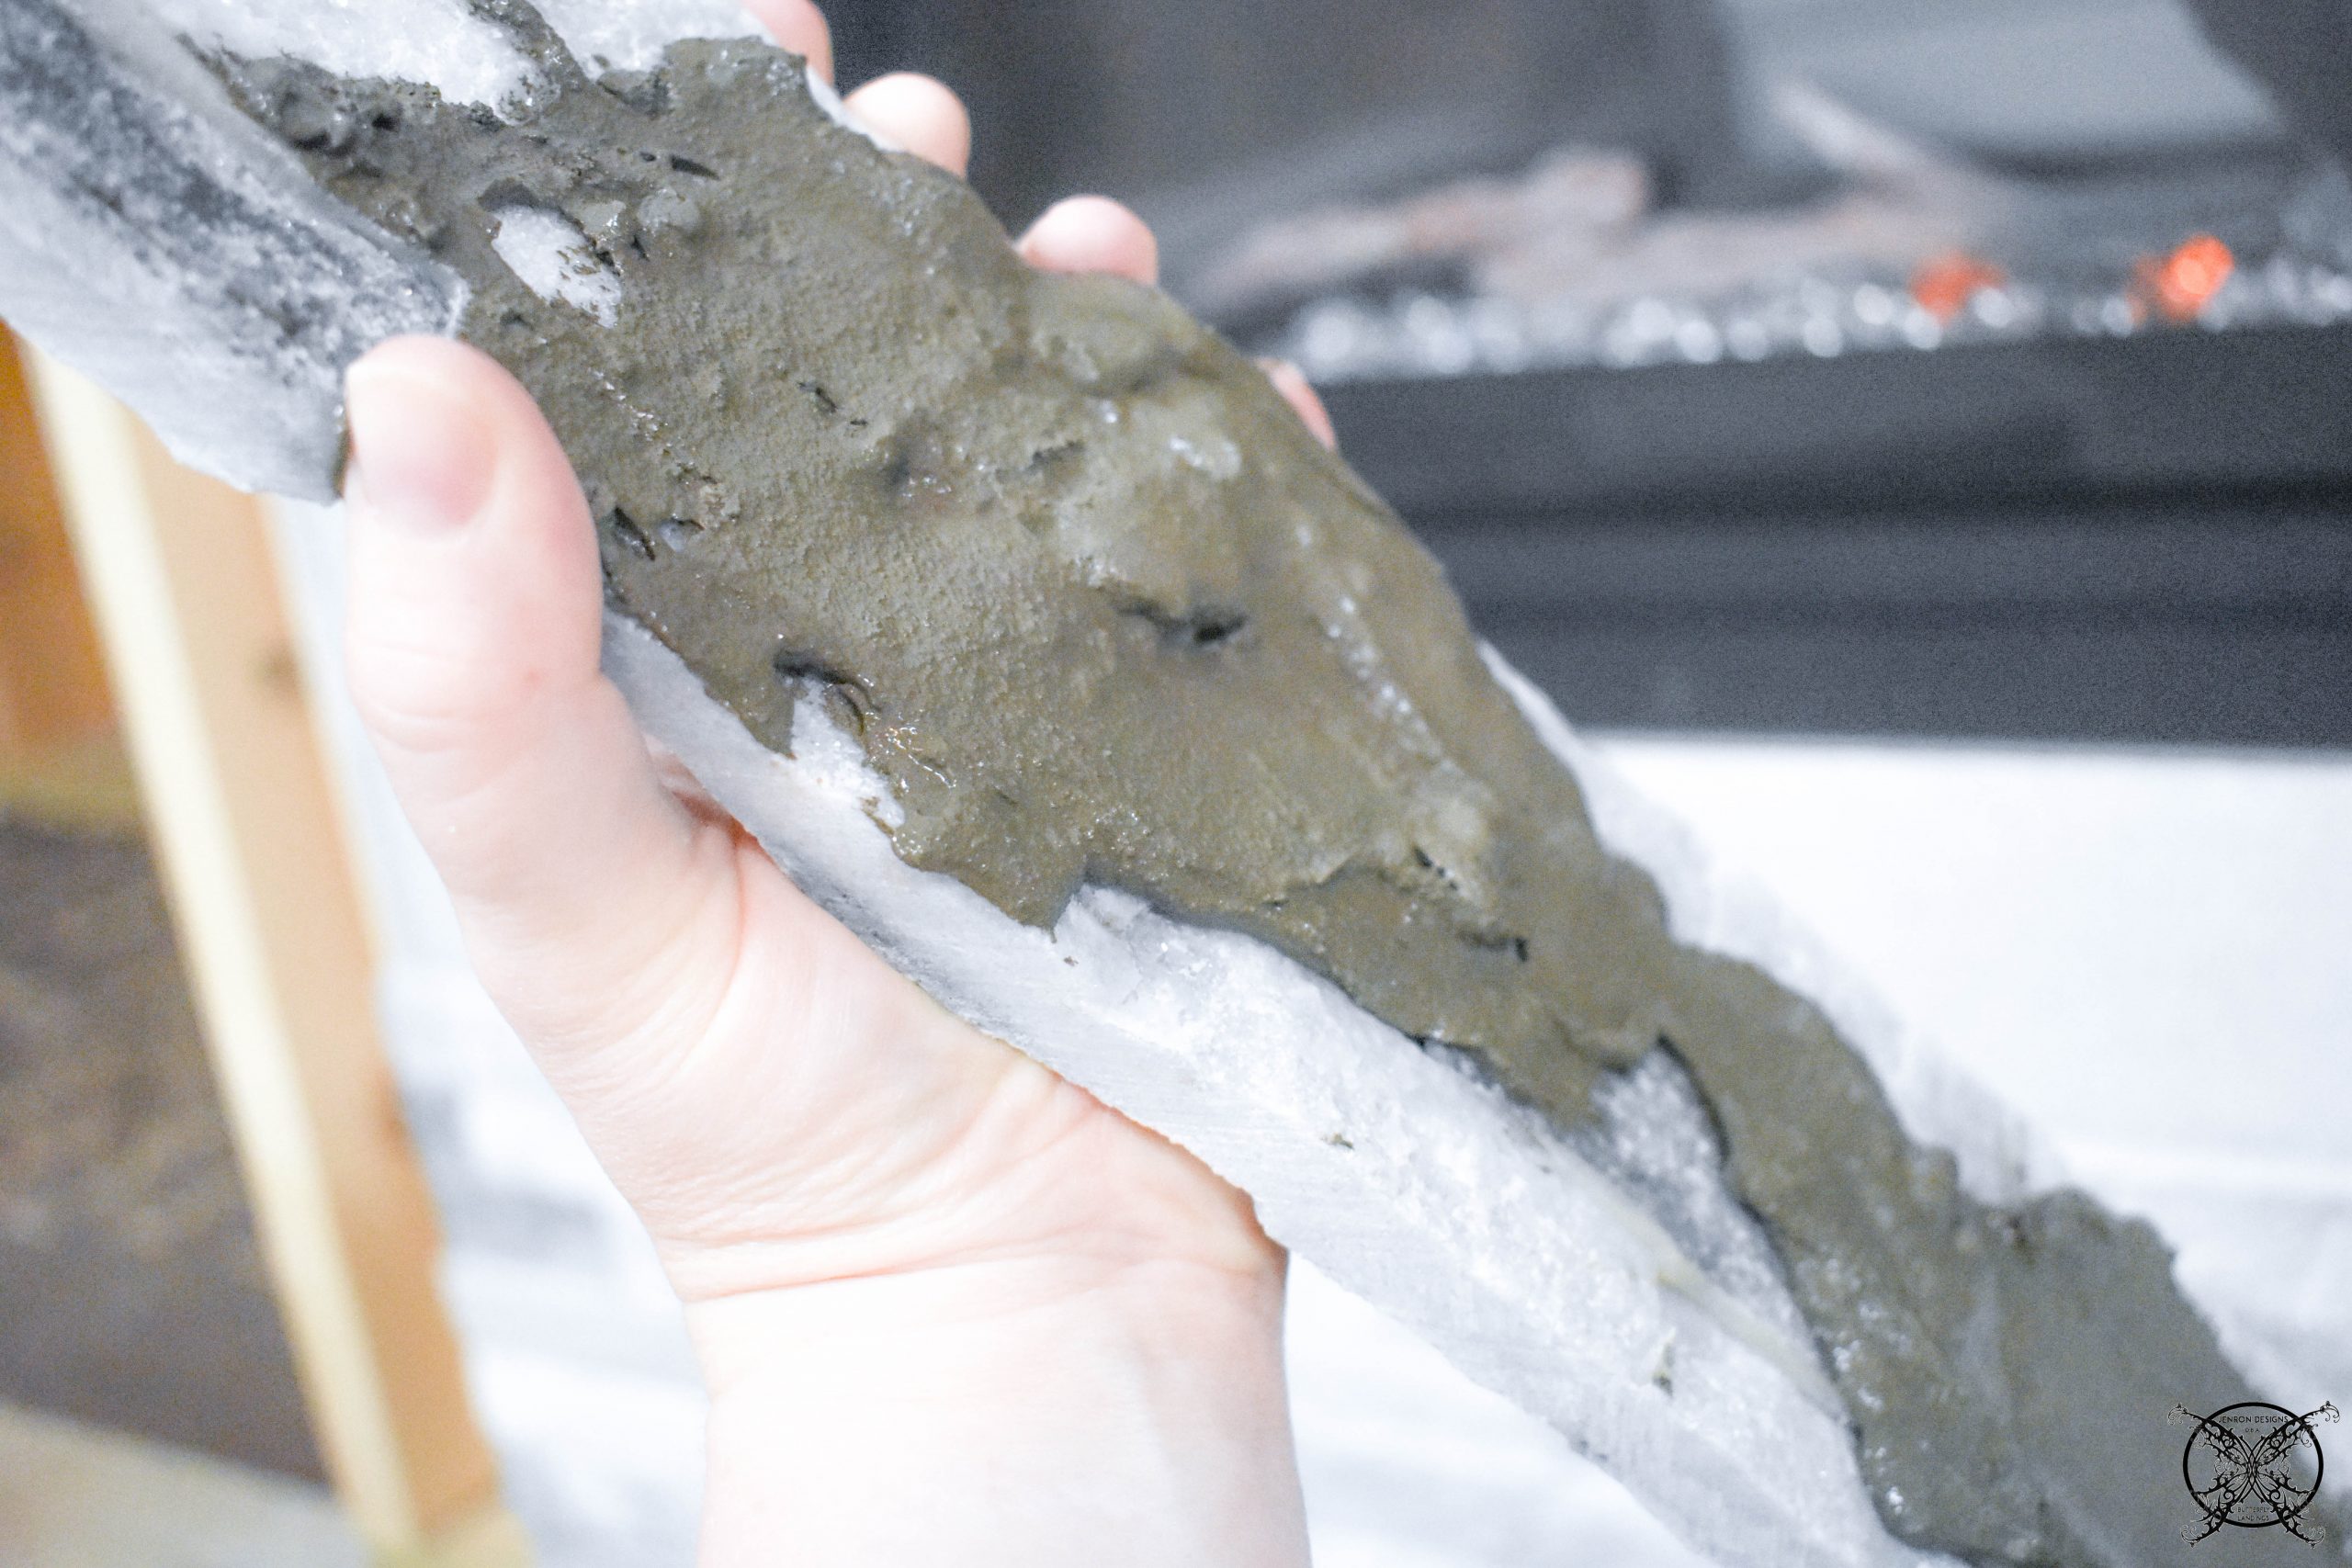 As I worked my way up from the floor, I used a leftover piece of ship lap board as a floor spacer. This will allow us to add flooring directly under the fireplace when we get to that stage of the project. By doing the fireplace first this keeps our flooring from becoming damaged later on.
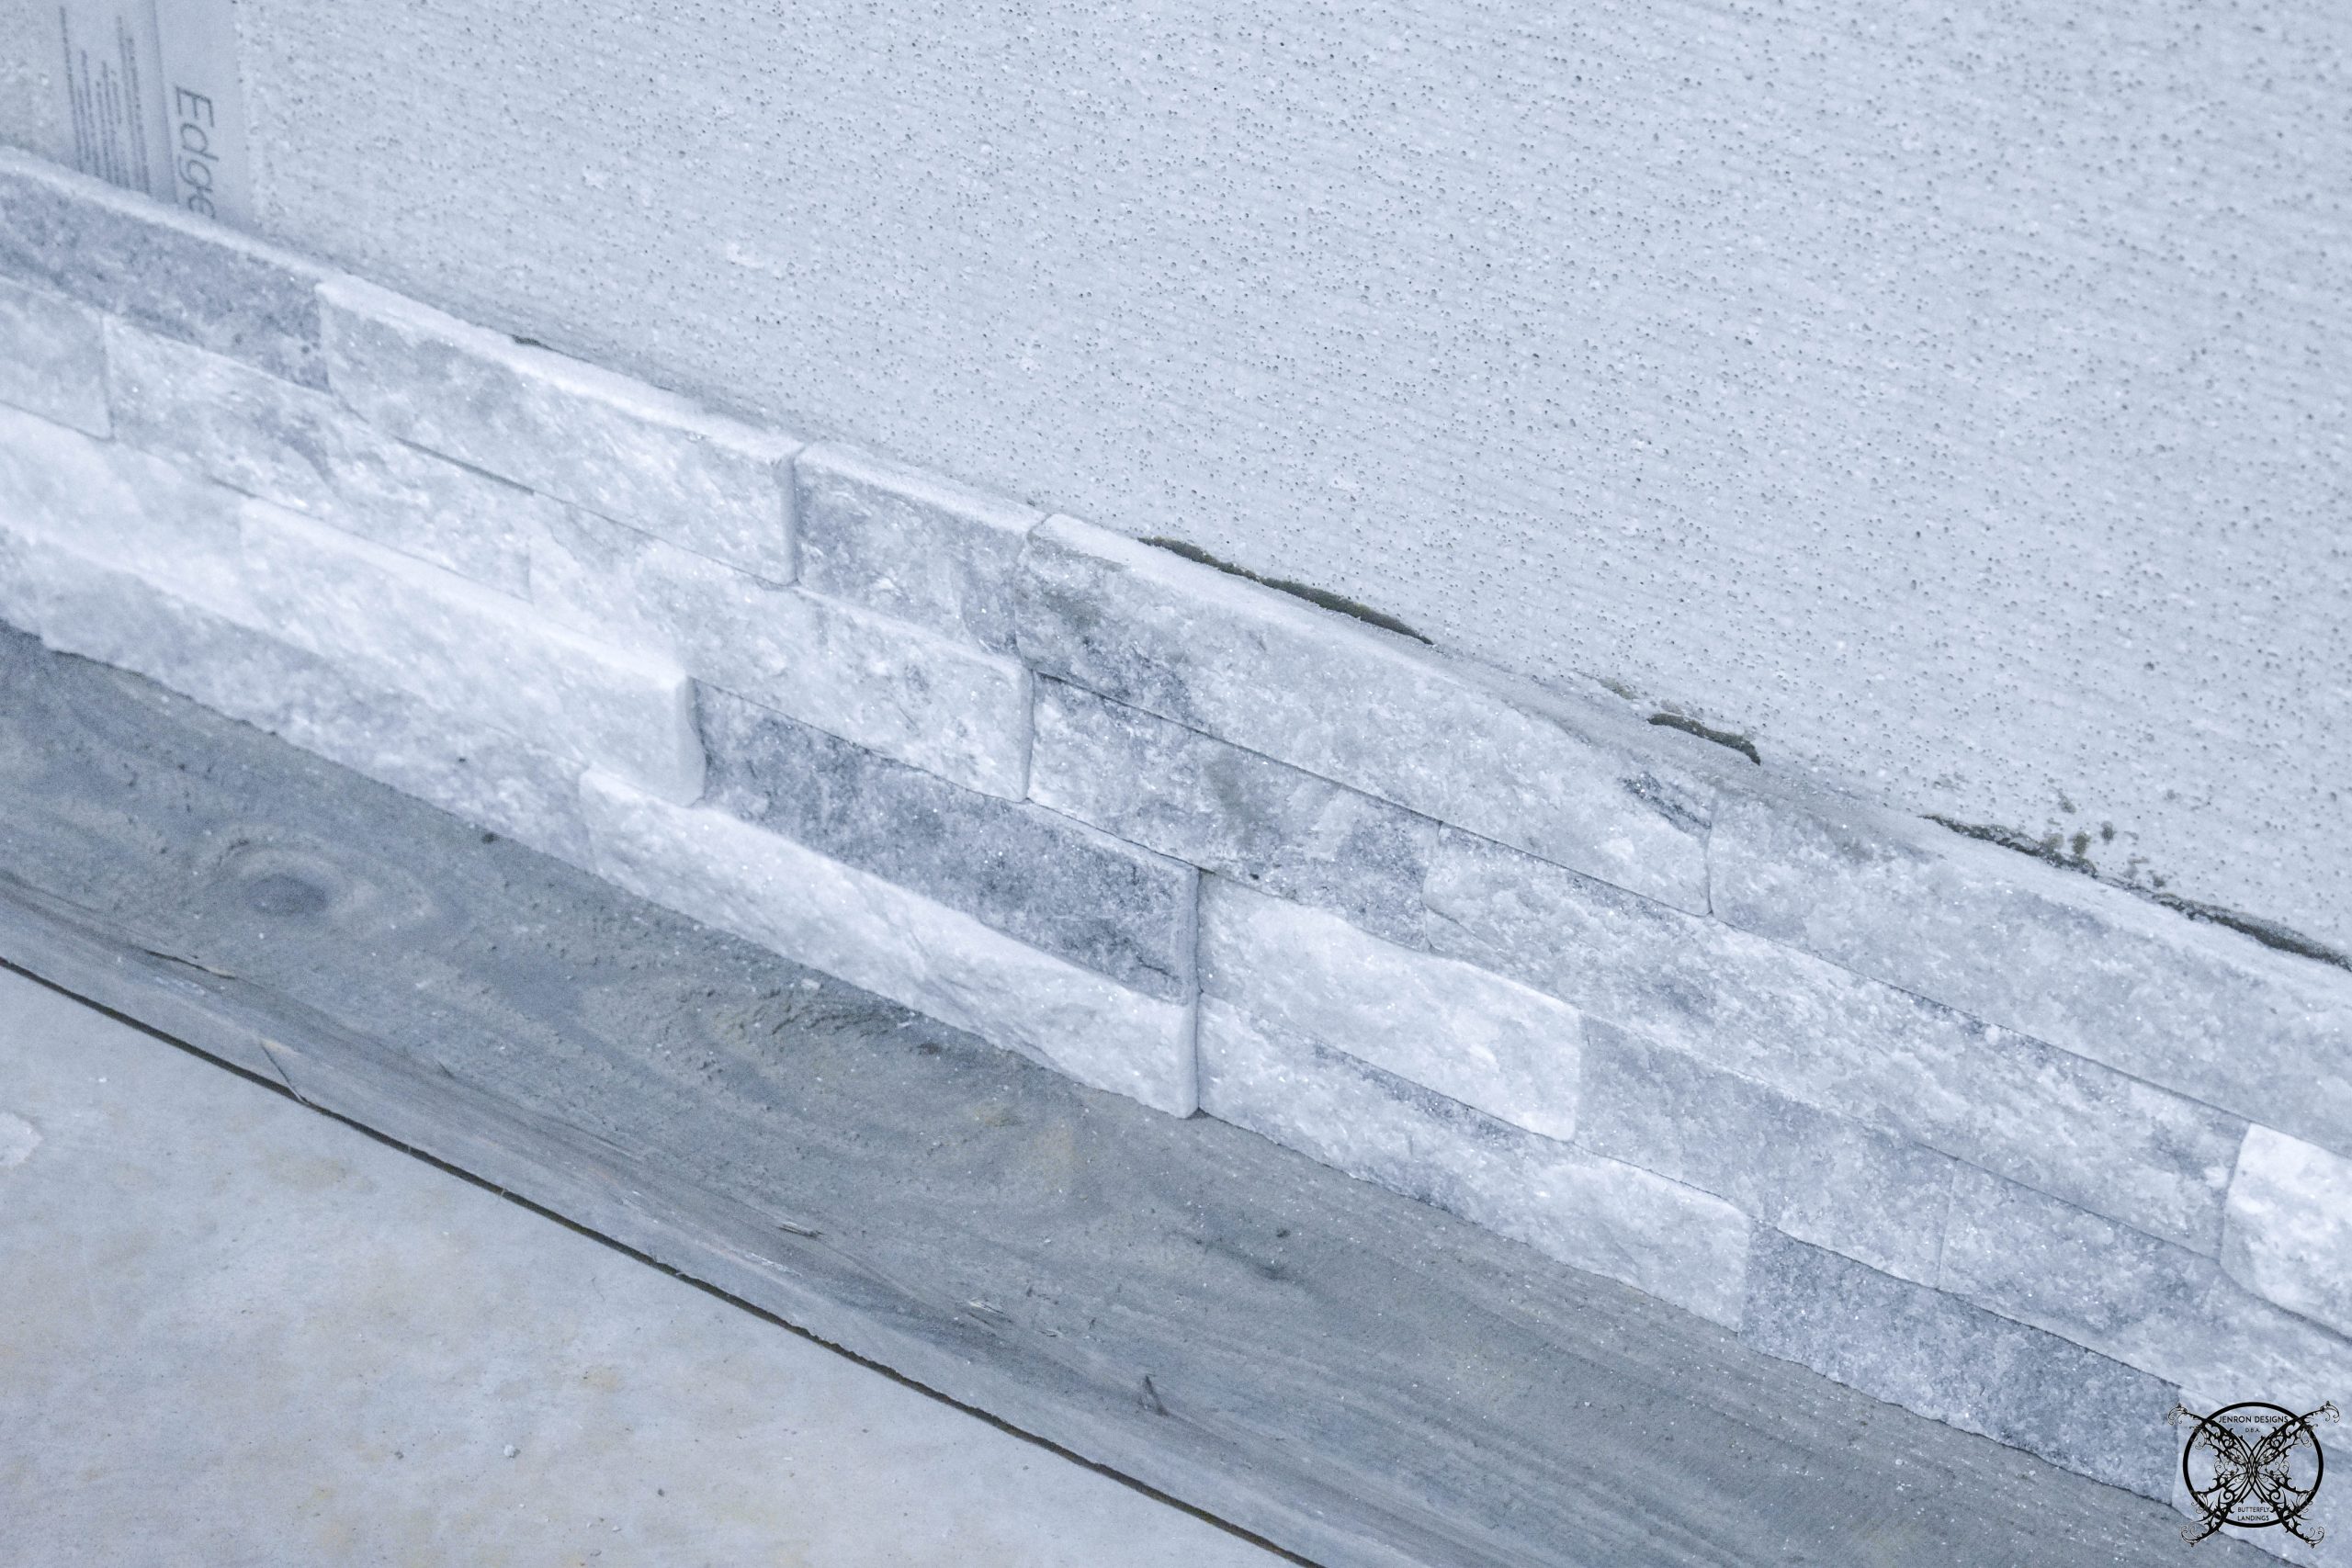 As I mentioned before, per manufacture instruction it is recommended to work in 3 foot high sections and allow 24 hours of drying time in between those sections. So the full tile project took around 3 days with allowing for each 3 foot section a 24 hour drying period in between. We also during that time built a custom mantle for the space, along with a few other projects.
 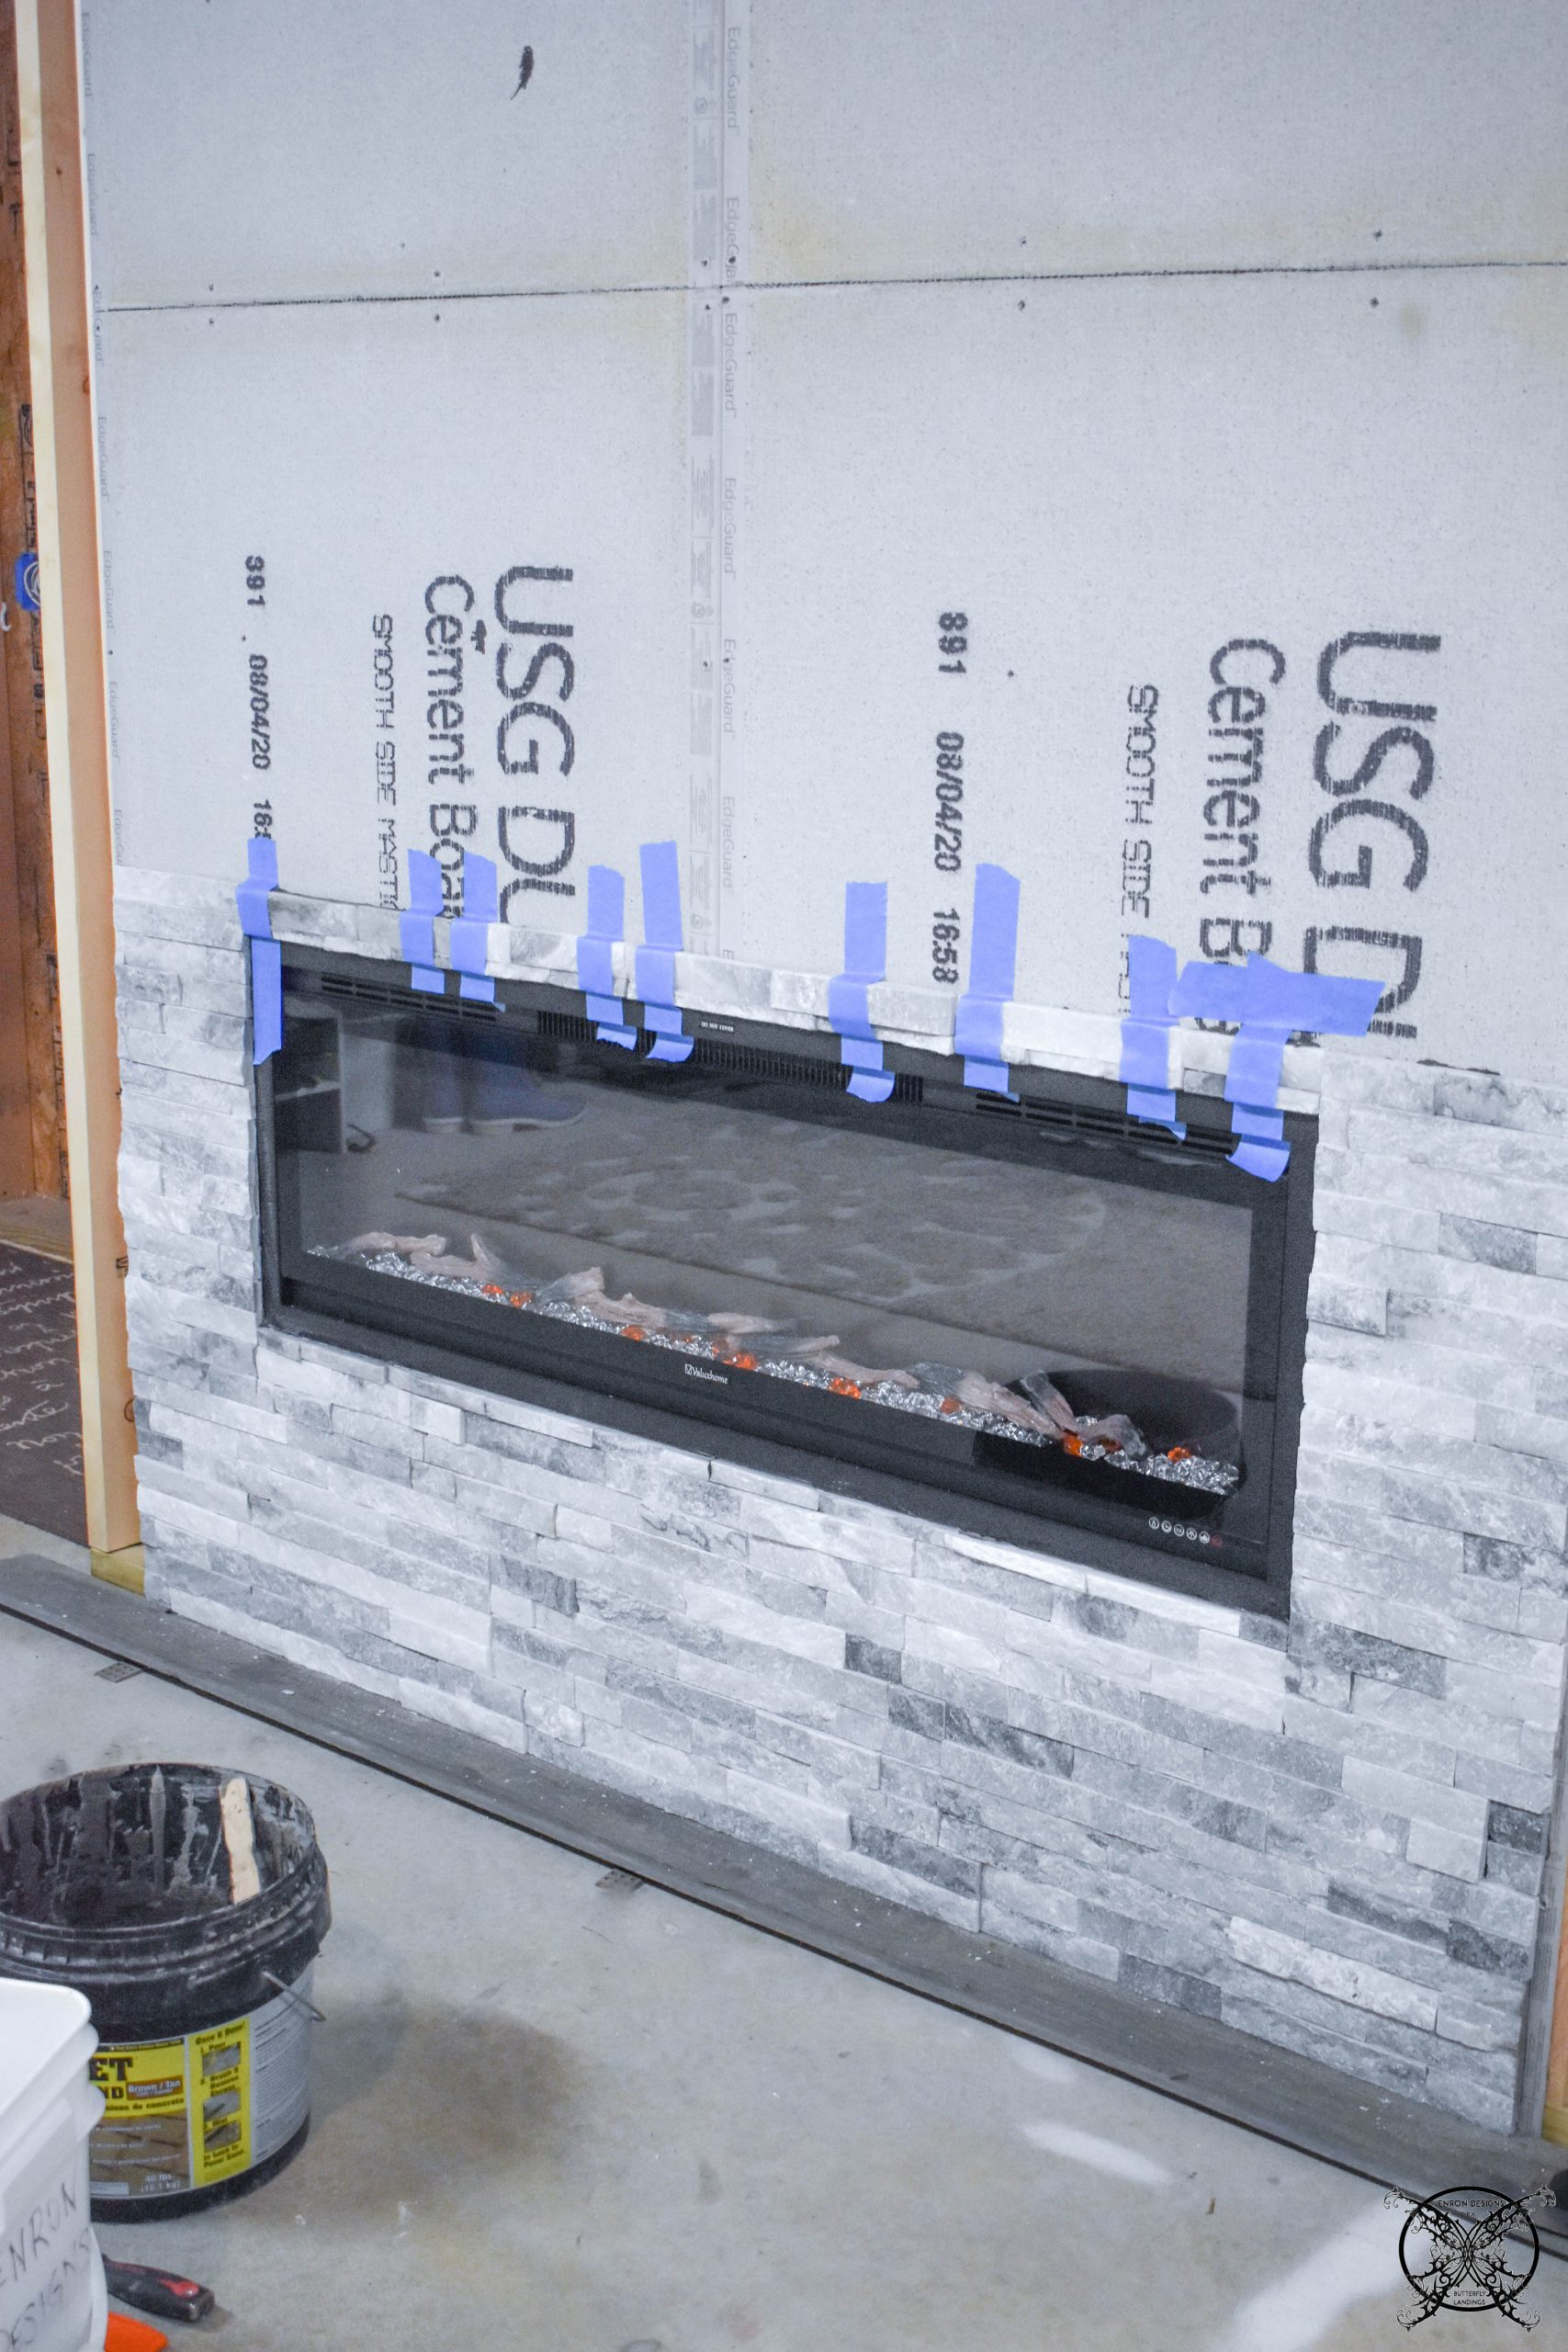 Now fast forward a few weeks and you can see the full reveal for the recess fireplace wall below, with all the tile, trim and our very own custom built mantle in place. This project has really come together and looks amazing for a start to finish DIY.
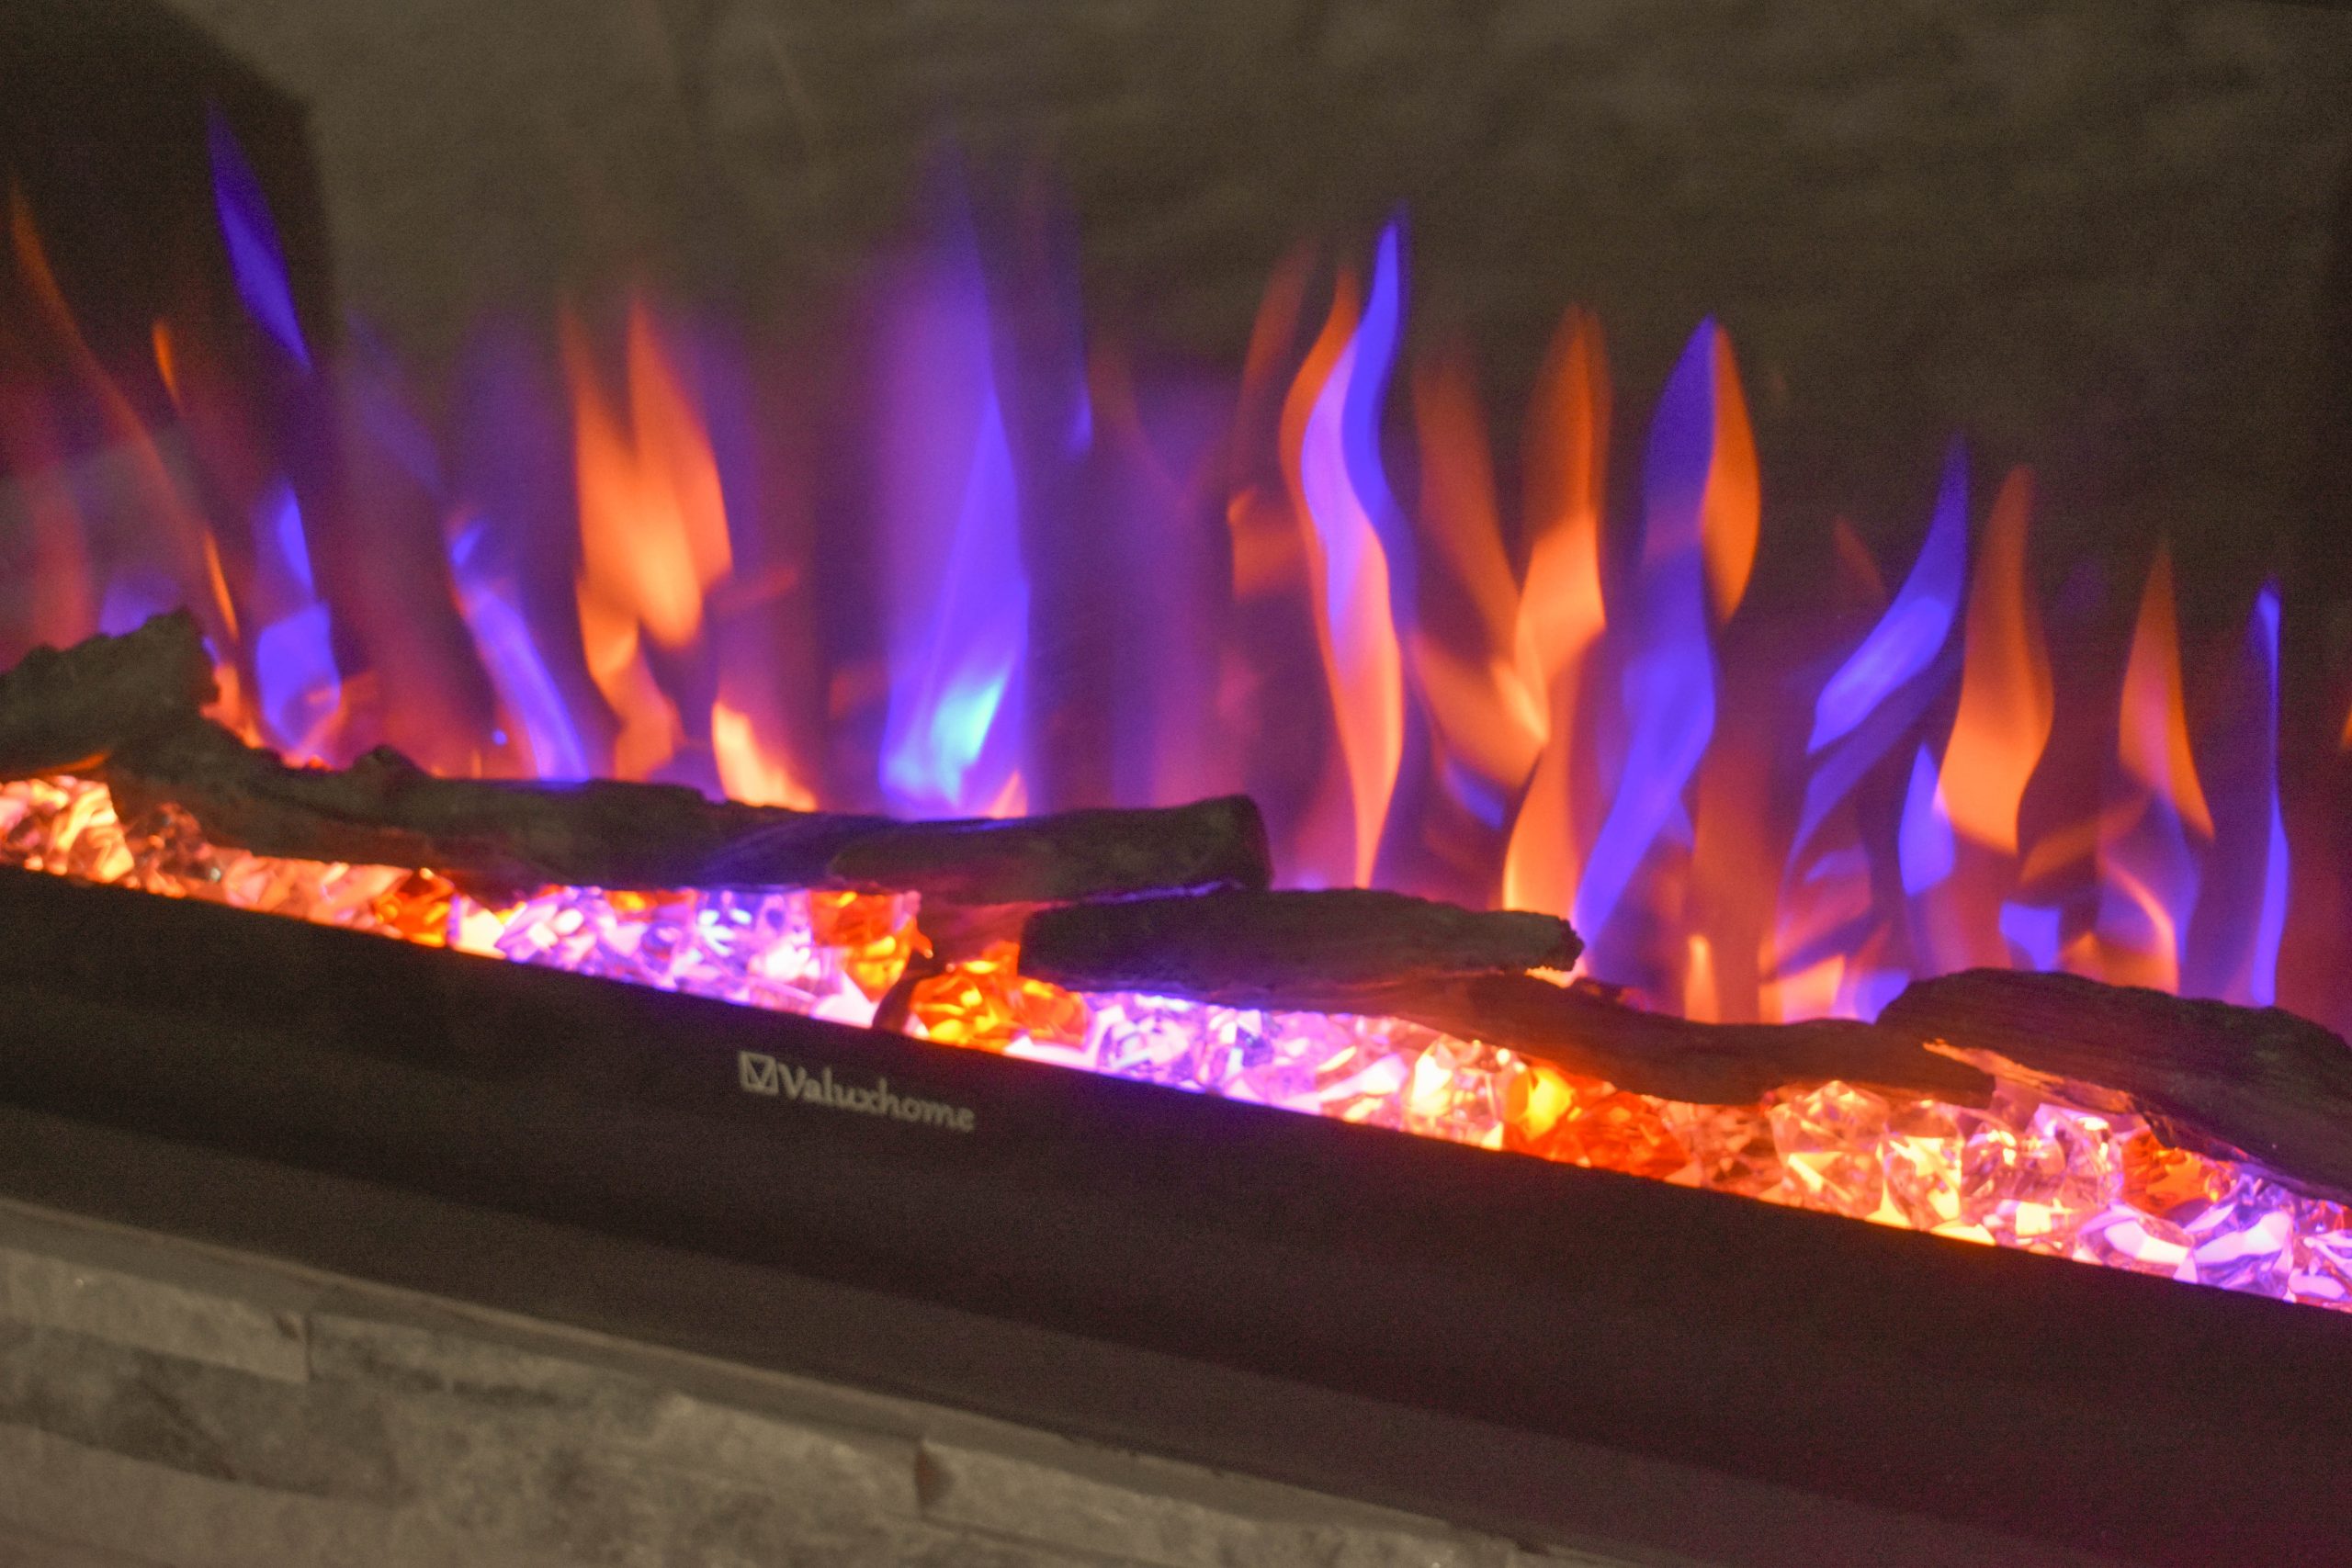
  I think it turned out great and the real feature of this space is our new beautiful 50″ Valuxhome Electric Fireplace, with multi color flames and are all adjustable from a handy remote control.
 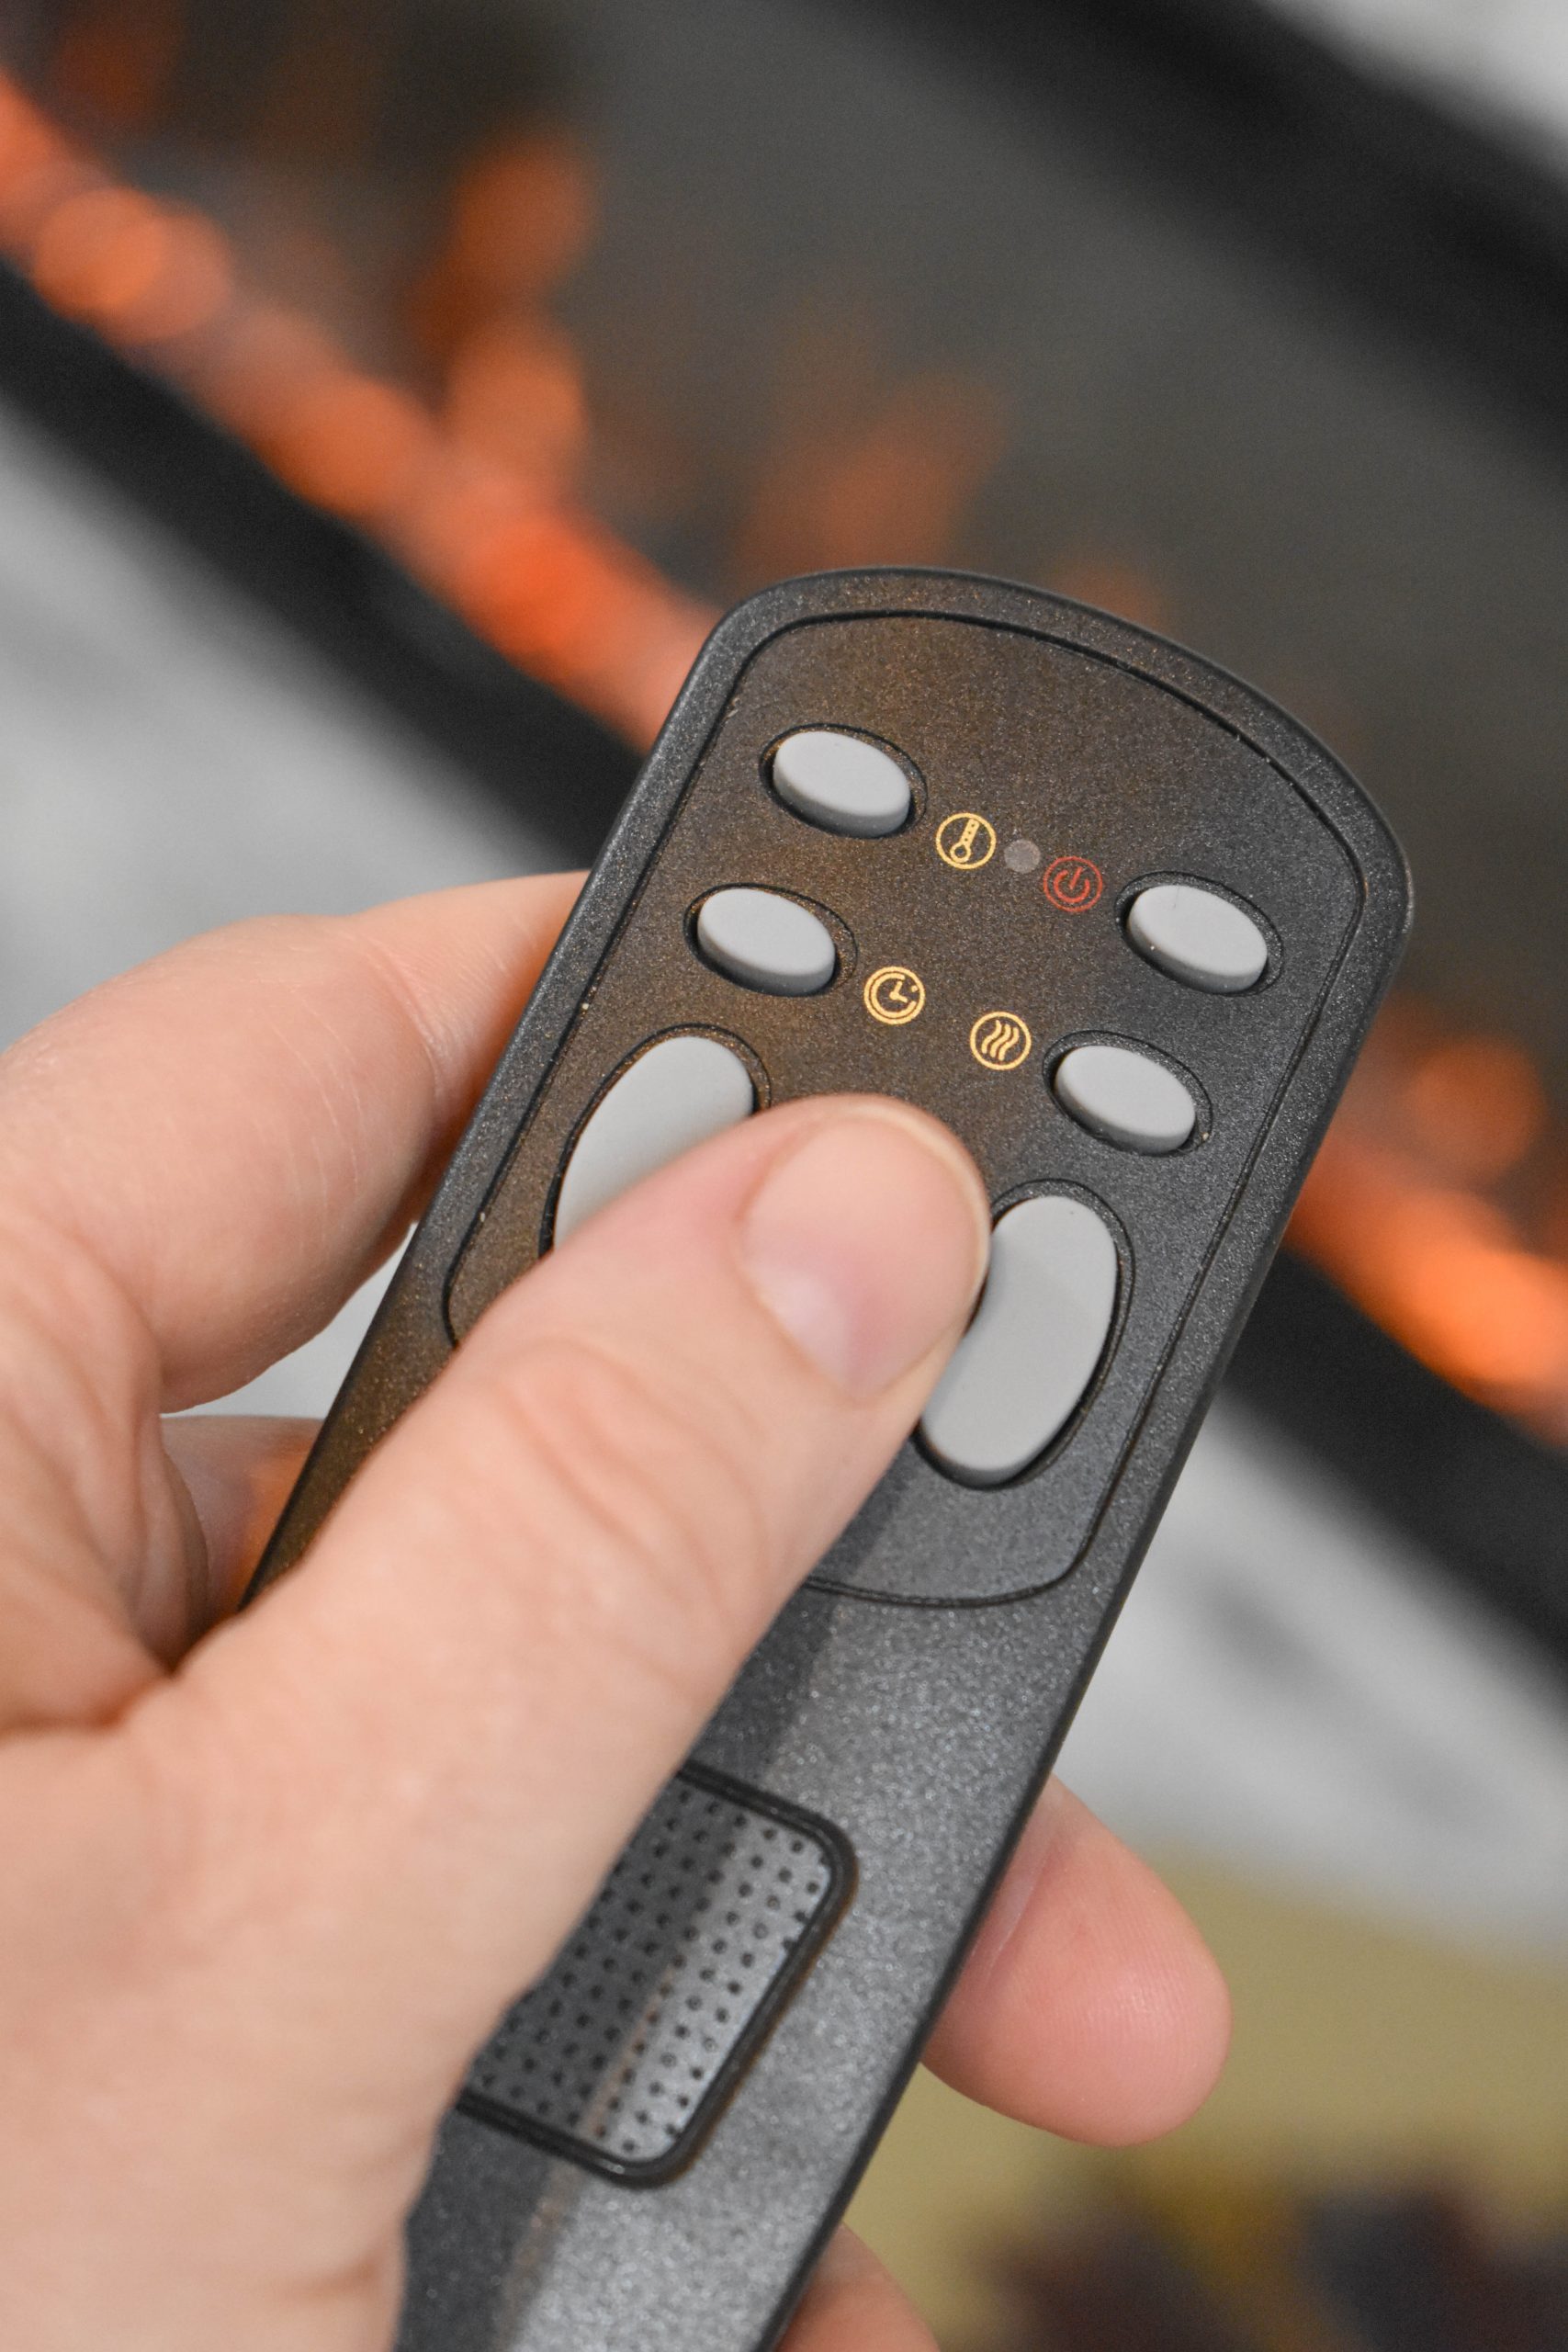 Just a press of a button and I can have these super cool blue flames, which are really pretty after dark and will be perfect for Halloween right around the corner!
 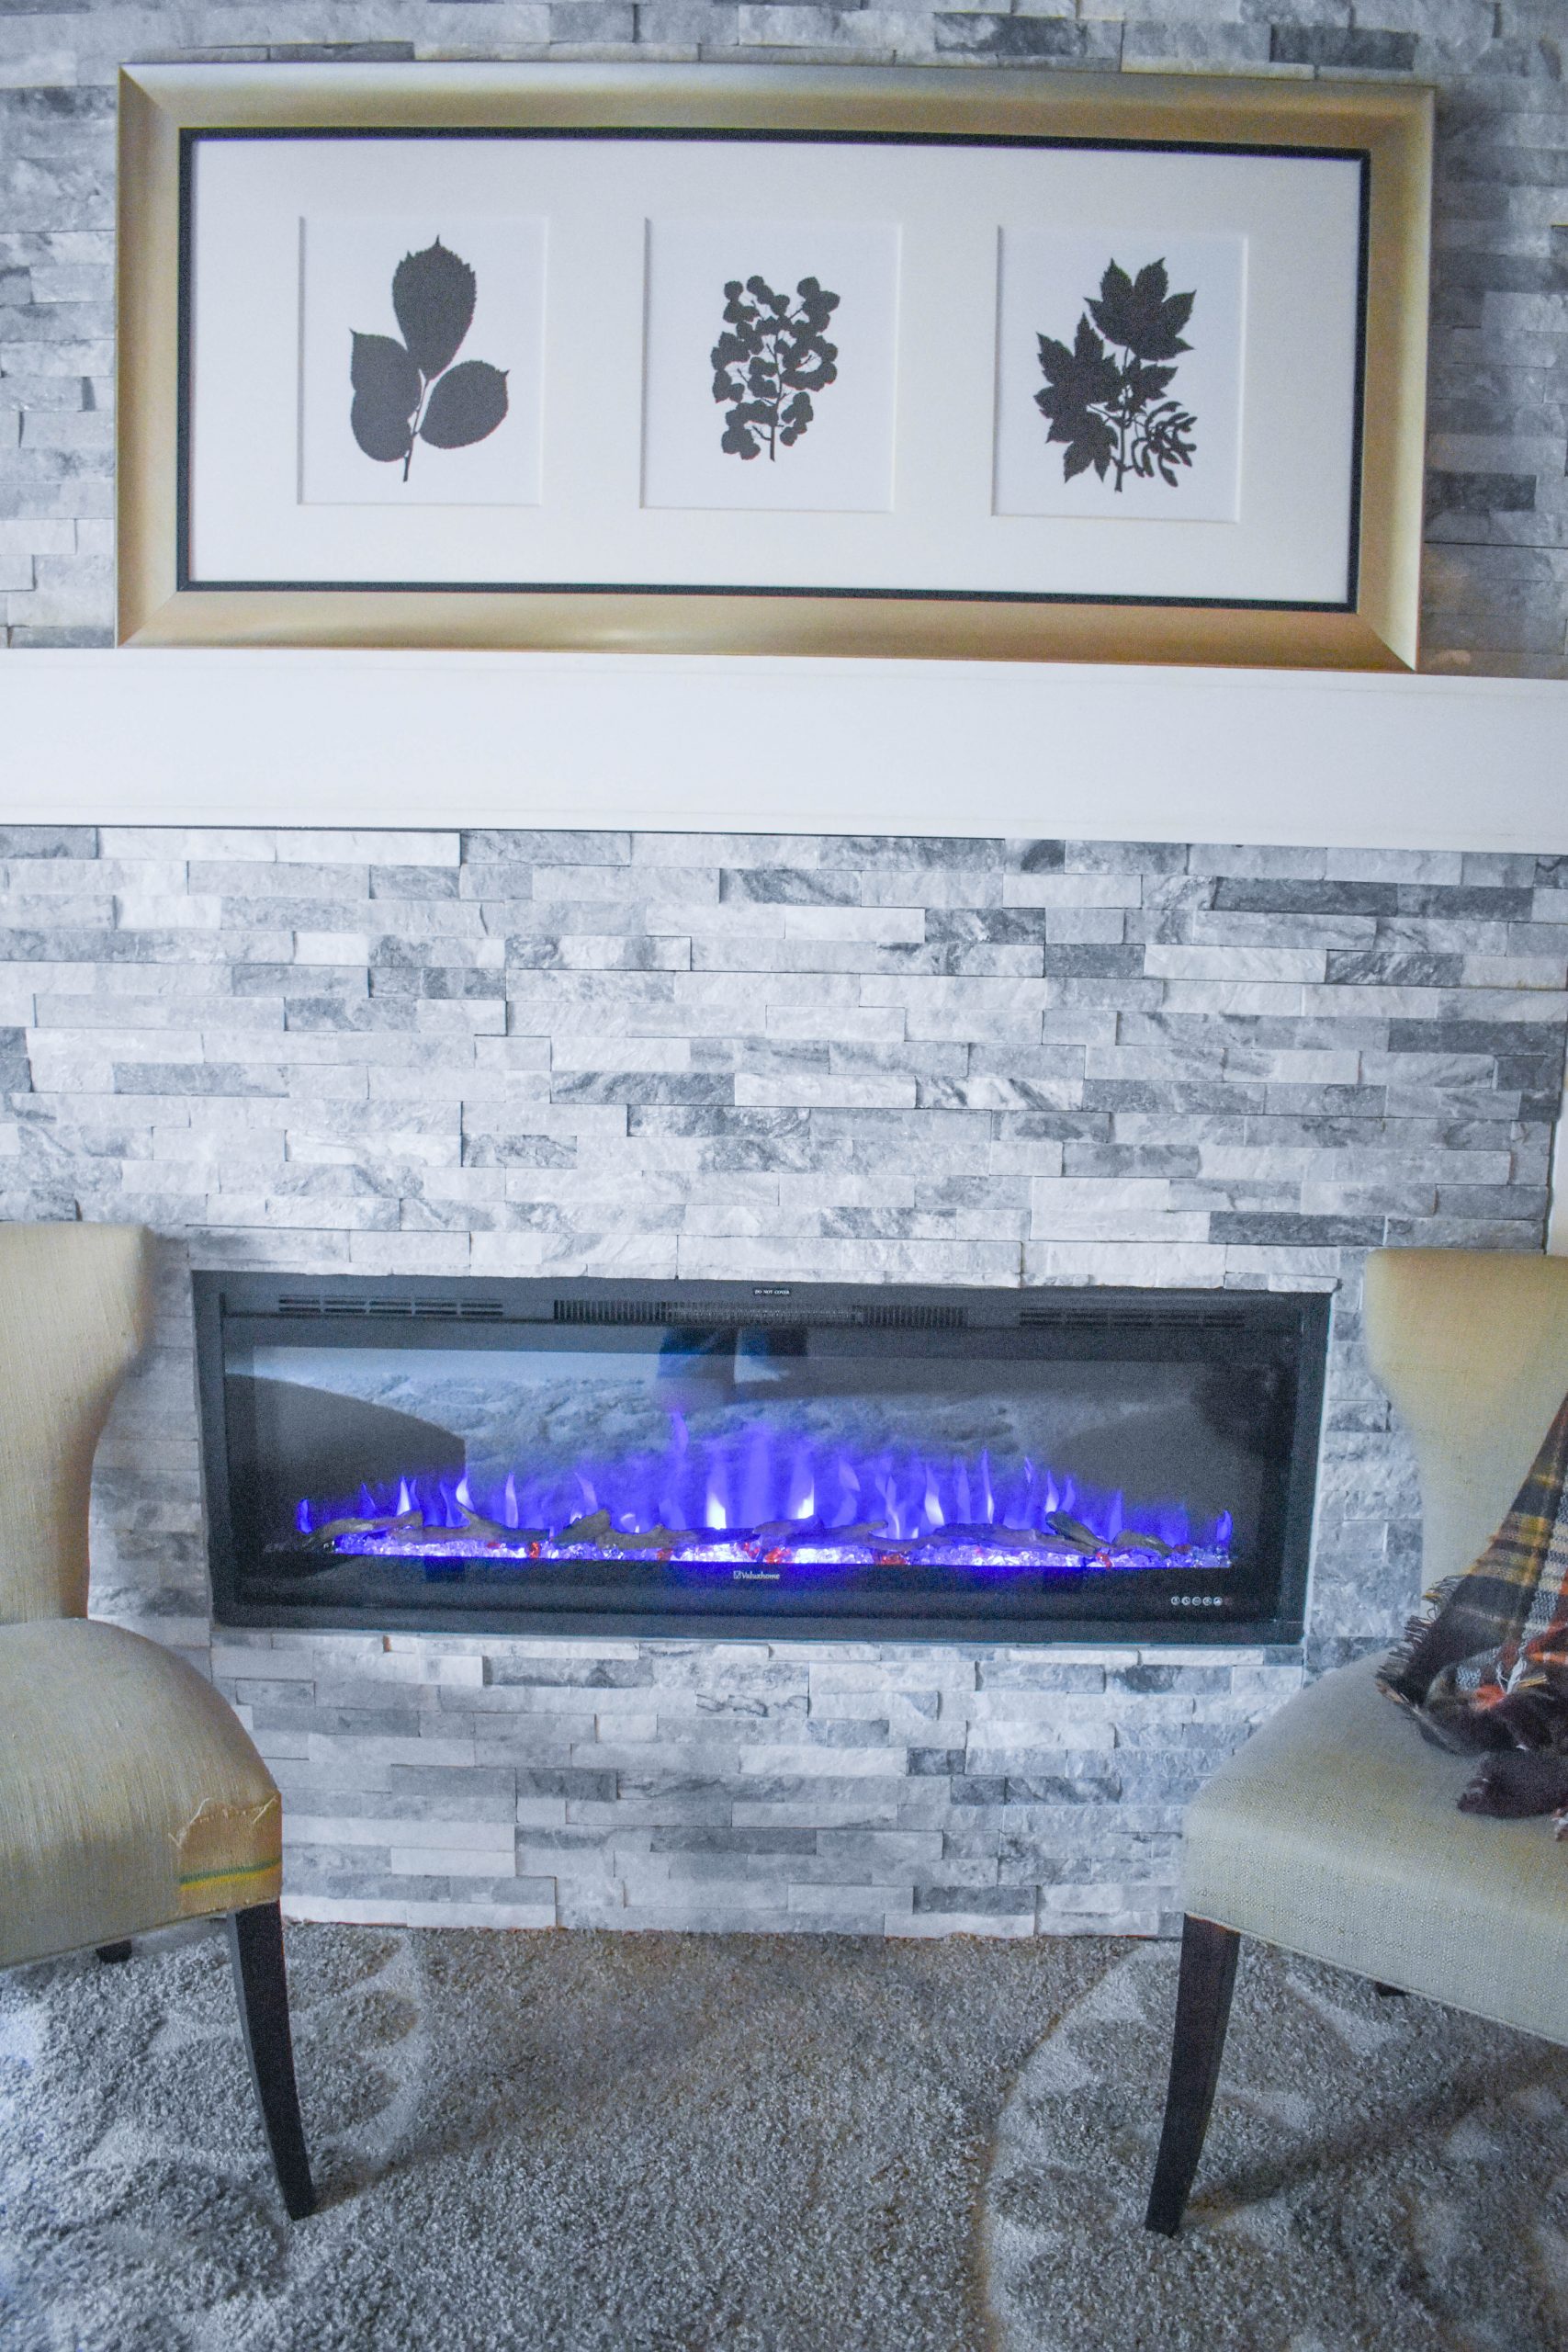 I hope you have enjoyed the DIY for our new recessed fireplace wall and be sure to check out of our DIY projects this season on the One Room Challenge!
PIN ME for later and be sure to follow us on Pinterest at Jen @ JENRON DESIGNS
WHAT this is so cool! I LOVE the color of the tile!!
This is so clever and I love the end result! Great job!
This is a gorgeous fireplace! I live in a tropical island where it’s warm enough already. But this DIY guide would help my sis.
This is so nice. The attention to details is amazing. Turned out beautiful. Great job.
Wow, this looks very homely warm. I know I’ll benefit with this.
Thanks for walking us through the steps. The end result is gorgeous!
This came out amazing! Not sure if my DIY skills are up to the level of doing this myself though!
So nice and great job. I’m sure that it gives more pleasure when you plan and do it all yourself.
This looks so good, I don’t think I’d be able to make it but I love the final result
That looks amazing and you captured the step-by-step images perfectly.
Thank you!
Oh wow, that is simply stunning! Now I want to redo my fireplace.
Wow you did such a good job, it looks gorgeous and so cosy
oh this turned out so good!!! are fire place is are main source of heat! its wood burning lol so old school but we live in a town with no natural gas! I cant wait to tile behind this area
What a stunning end result! I love the tile choice.
What a gorgeous focal point for this room. It’s so pretty with the surrounding.
Wow, gorgeous. The new fireplace looks amazing and you made it look so simple to install. Nicely done!