DIY Mirror Frames
One Room Challenge: Jack & Jill Guest Bath Week 2, how to DIY Mirror Frames.
So in case you are just now joining us. We are currently in week 2 for the Fall One Room Challenge. This week we are showing you how to DIY Mirror Frames. This is such an easy way to upgrade your build grade bathroom mirrors and add some personality to your space.
To recap this happens twice a year, April/ October, for the past 11 seasons, the ORC has hosted over 200 interior design bloggers, as they join together and choose one room in their homes to make over. The designers only have six weeks, from start to finish in order to complete a full room transformation. Each week the guest designer’s will link their progress to the ORC host page Calling It Home, and share their room’s progress. The best part you will be able to follow along with JENRON DESIGNS and all the participants progress just by clicking the ORC . The final completion date and big reveal of our Jack and Jill Guest Bathroom makeover will be on Thursday, Nov. 9th!!!
WEEKS AT A GLANCE:
WEEK 1 WEEK 2 WEEK 3 WEEK 4 WEEK 5 WEEK 6
INSPIRATION BOARD
 PIN ME for later and be sure to follow us on Pinterest at Jen @ JENRON DESIGNS
WEEKLY PROGRESS REPORT:
This week on our agenda I basically ordered a whole bunch of stuff !!! I sourced out where I could get some of my bigger ticket items, for the best prices and then put them on order.please know that some of the decor items will just have to be last minute run and get items, as we finish off the project and see what the space still needs. Alway remember less is more, sometimes too much stuff clutters a new space making it cramped, the entire purpose of this project was to make the room feel bigger. 
This week I ordered the new light fixtures as seen on our inspiration from Bellacore, which is an official sponsor for the ORC. I decided to get the 251 River Station Stain Nickel Two Light Bath Sconce for over the sinks. They are the exact light fixtures on my inspiration board above, only they are the 2 light version, after measuring the 3 light fixtures were too big for the space and would awkwardly bump into each other upon installation. 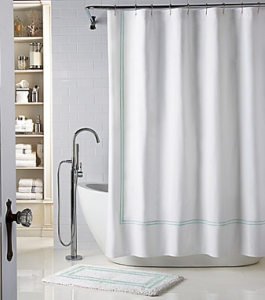
I ordered my shower curtain from Bed Bath and Beyond, since I will need a longer length then they actually carry in stock at the stores. Most store only carry 72 x 72 in stock which is an average size curtain I needed a 72x 84 for this space. I decided on the Wamsutta Barratta Stitch Curtain in Seaglass. This is a part of the HOTEL chic contemporary collection and very similar to my inspiration board pick. I am wanted a chic spa like feel, with just a touch of rustic beach house. I also order the shower curtain rod from Moen which came with a matching set of hooks, bonus!!
Designer Tip: order a long length shower curtain and mount them closer to the ceiling to create the illusion of height in a small room (also a good tip for curtains).
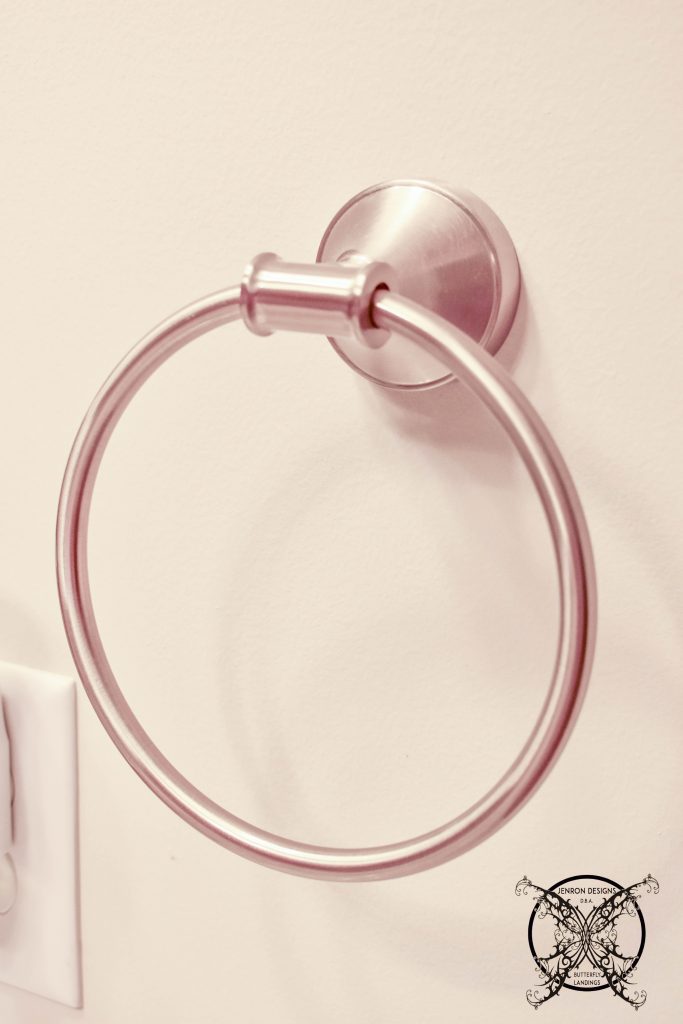
We also picked out some cute satin nickel towel rings, Phoebe by Delta available at Home Depot. This picture just makes me realize how horrible these lights are, even after putting it though light box the pictures are still very yellow. Well they are on order! Soon my friends, soon….. I can not wait.
We also decided to tackle the frame out surround for the existing the mirror. I have decided to attached the DIY portion on to this post below since the project was so simple and really made a huge impact to the room. It was also very budget friendly at —- for the whole project.
MIRROR FRAME OUT:
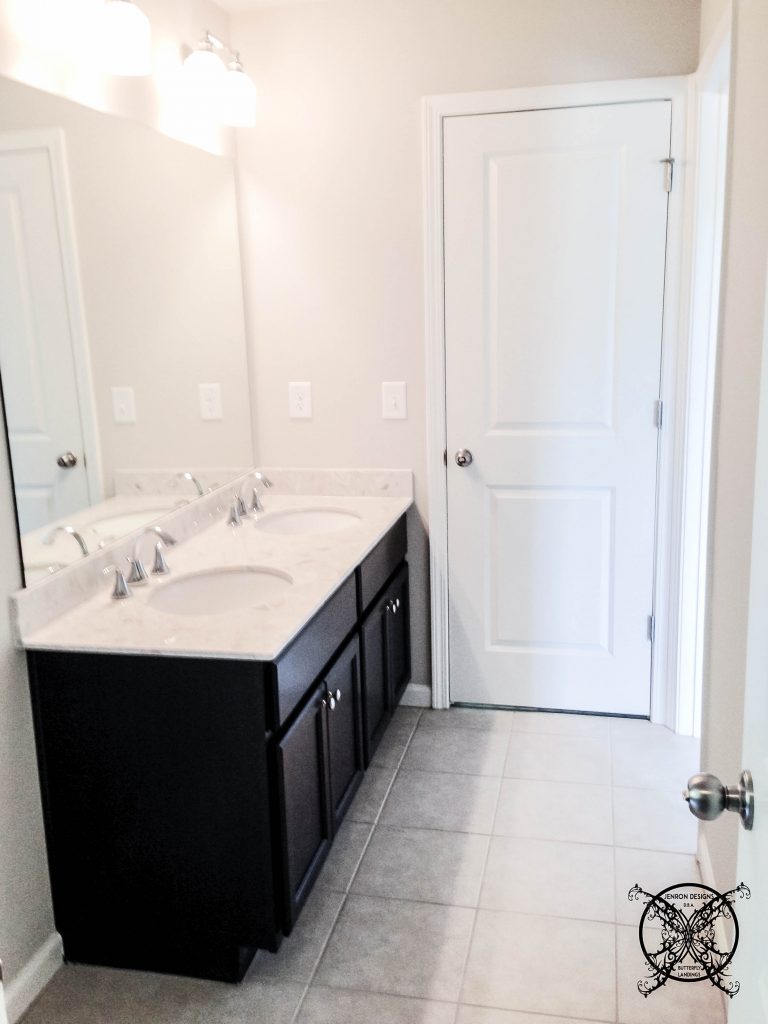
This is a before picture of the large builder grade mirror in this room. I though about ripping it down and replacing it, but honestly the space really needs large mirror to reflect the light and make it seem larger. I think if I pick out two small mirrors it would just make the area feel even smaller. So we decided to frame it out instead, to give it a some character.
I picked a pretty carved piece of molding that I just loved from my favorite store: Home Depot. I pre stained it with Minwax stain color: Jacobean.
(Just as a friendly PSA this color is pronounced as [Jake- Ko- Be- In] as in: The Jacobean era, refers to the period in English and Scottish history that coincides with the reign of James VI of Scotland (1567–1625), who also inherited the crown of England in 1603 as James I.)
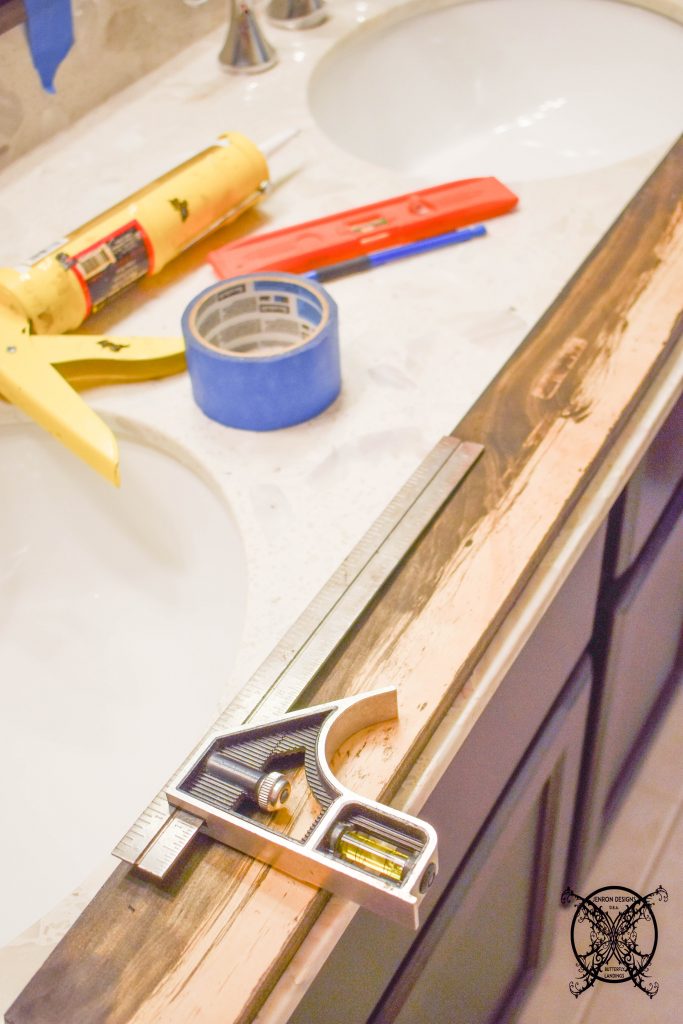
To create the frame around the mirror first measure the size of your mirror. Then measure the width of the frame material you’ve chosen. Double that width and then add it to the length and width of the size frame box you are making. Those numbers will be the length and width of your frame material.
{Example- For example, let’s say you want to frame an 8×10 photo with wood that is 1/2” wide. That means the length of two sides of your frame must be cut to 11” and the other sides must be cut to 9” in length.}
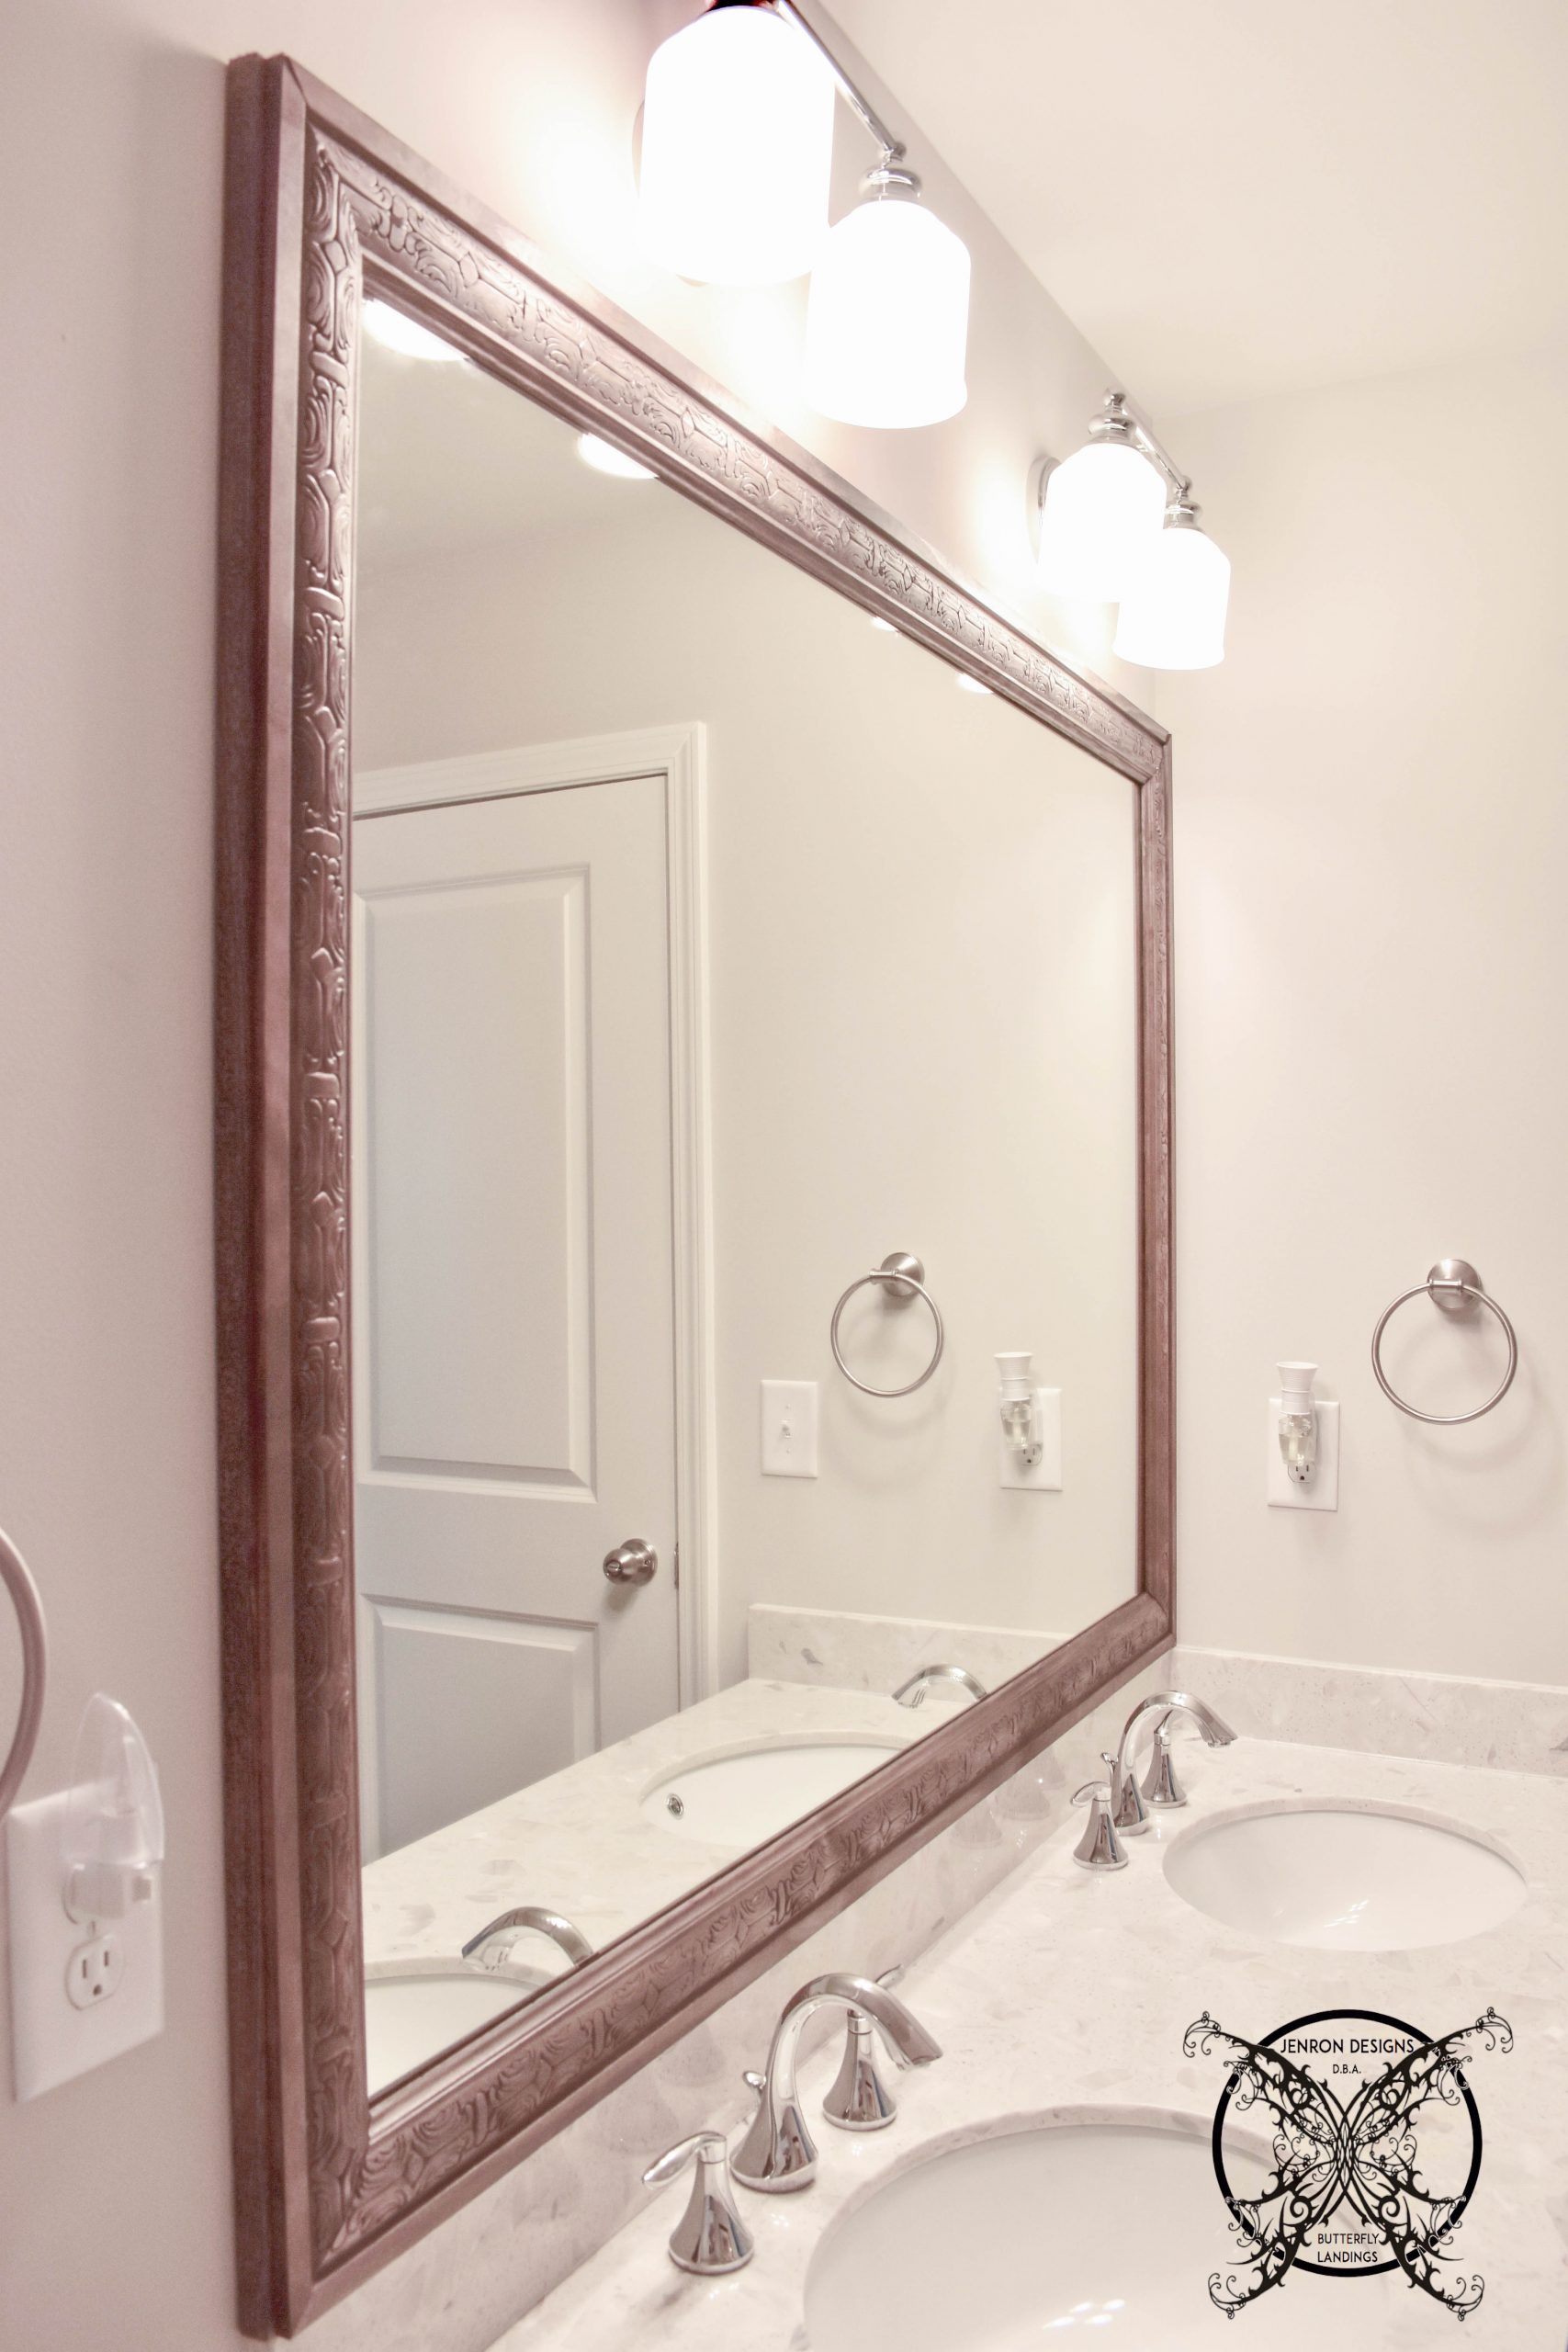
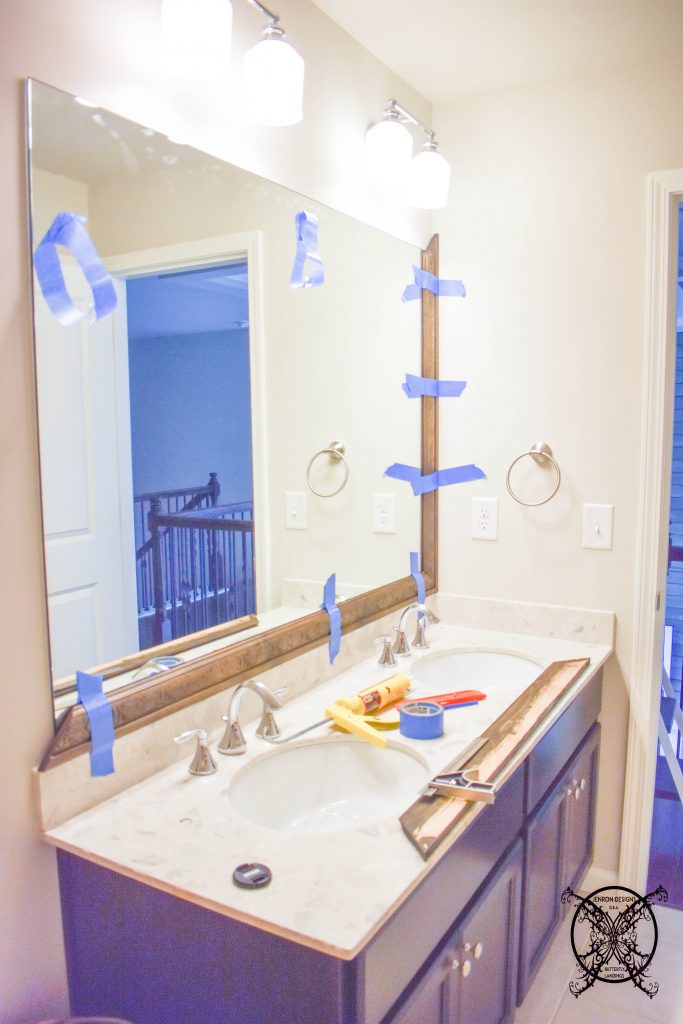
We used Liquid Nails Fuze It- multi surface, which will adhere wood to glass. It takes about 10 minutes to permanently set. We used 3M Scotch Blue Painters tape to hold the frames in place over night just to be safe. As you can see the finished project gives a whole lot charter and interest for very little time, effort or energy.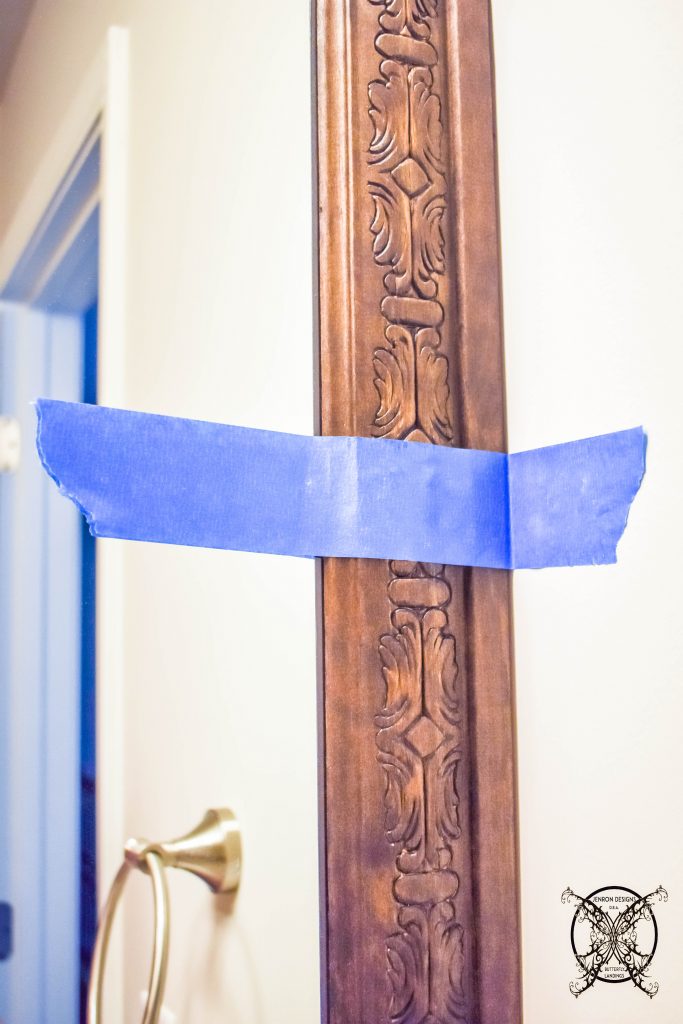 As you can see the mitered cuts came together perfectly in the corners. Since the molding I chose did not have a wrap around lip, which would conceal the gap between the wall and mirror. We also decided to add a small piece of cover trim.
 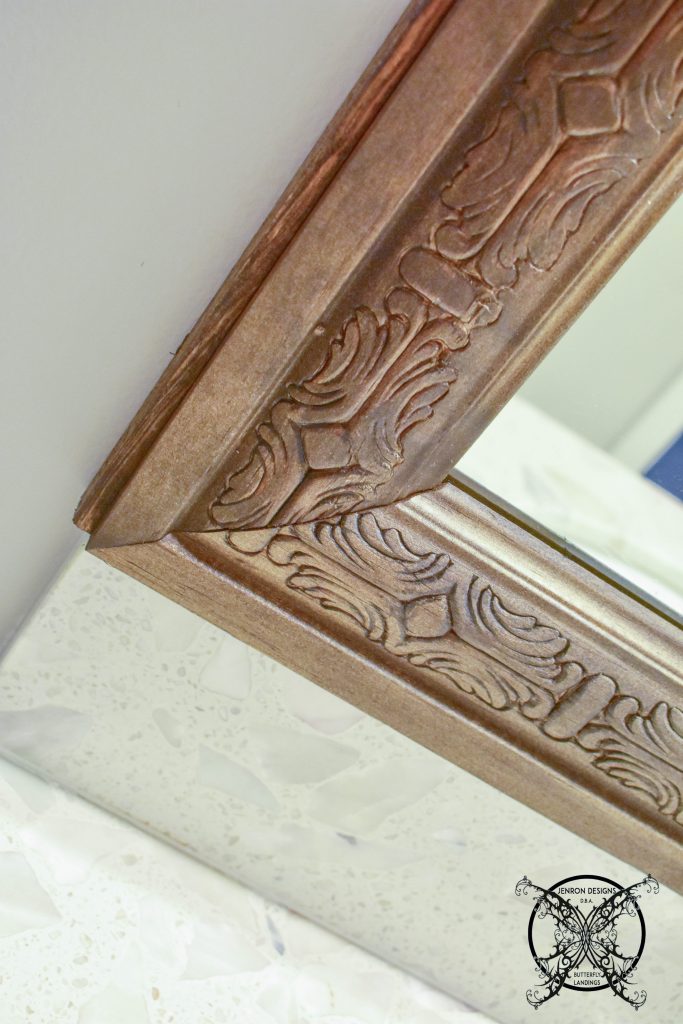 Again, super easy, it was one cut to the pre stained trim and we glued it directly to the edge of the frame. After the glue dried Ron popped it a few times with small brads from the nail gun just to make sure it adheres tightly. (NOTE: This must be done very carefully to not hit the mirror!!! You must make sure you are aiming into the wall of you will shatter your mirror.)
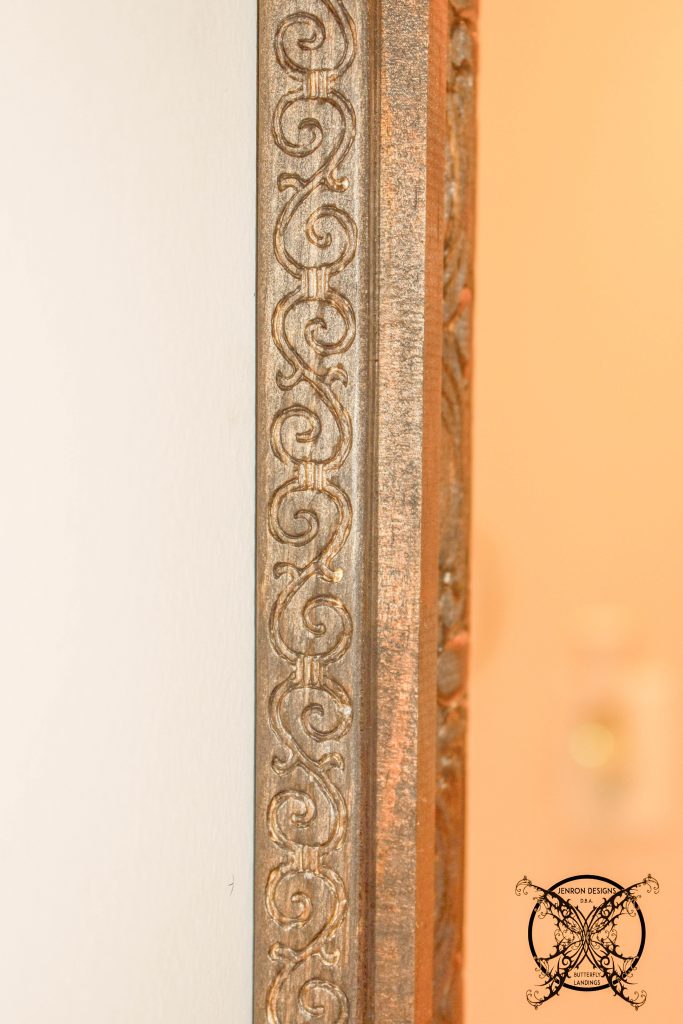 Ironically we did this very project back in February of this year using a faux barn wood shiplap and last month it was featured at Top Reveal as one of the Best 17 DIY’s for 2017. You can check out the link here if you are interested in the final revel. DIY Mirror Frames in Barnwood
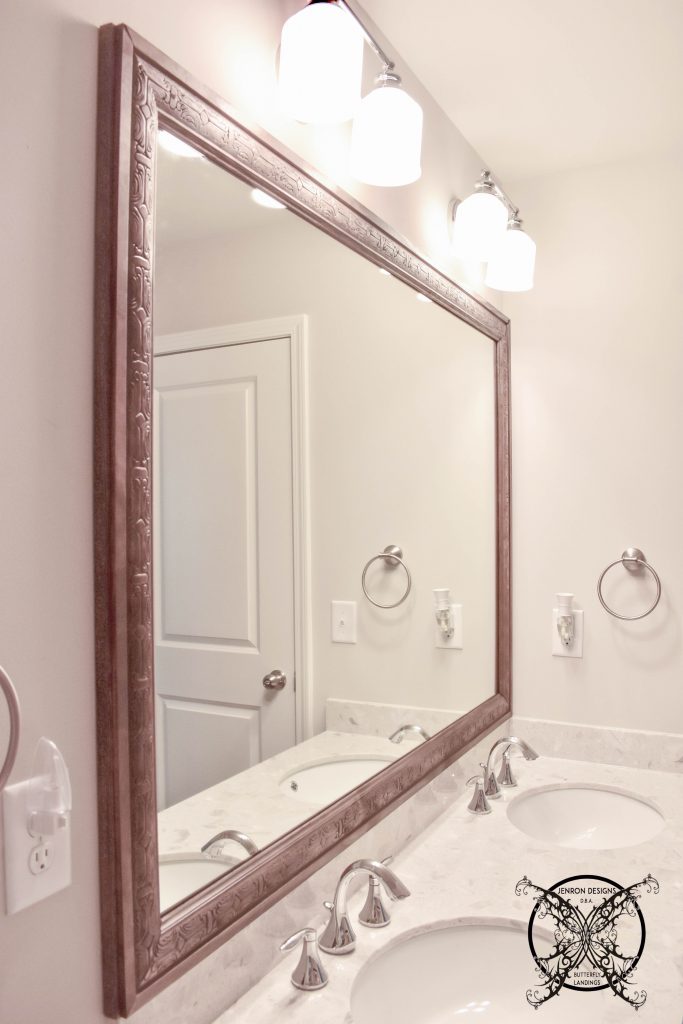 I really like the over look of this homemade frame, it has a very farmhouse/craftsman’s feel to me, which is exactly what I was going for with this project. You may also notice that we have already installed the towel rings this week too, which I am super happy with as well. Still can not wait to get those light fixtures replaced!!! They are on order so soon they will be gone. So check out what we have left on our to do list below.
THE TIMELINE:
Week 1- Introduction, Inspiration Board, & Plan of Action
Week 2- Order All Items, Buy All Supplies, & DIY Mirror Frames
Week 3- Start/Finish Batten Board Mill Work
Week 4- Paint Batten Board & The Surprise Art Project
Week 5- Install New Lights, Towel Bars, Shower Curtains & All Final Touches
Week 6- BIG REVEAL
The millwork will be the big undertaking and take some time too perfect before painting can start. Oh, and I have added a secret “art project” to the list, that I will be starting work on soon. You know how I like to add in a recycled or up cycled art project. Be sure to check back in next week to see how the millwork installations going, Ron was super happy to get the clearance from his doctors to be able to start do some light DIY project again, and I really tried to make sure sure he would not be putting any stress on that freshly repaired shoulder of his, wink wink.
PIN ME for later and be sure to follow us on Pinterest at Jen @ JENRON DESIGNS

I love the mirror trim, what a difference!
Your makeover is coming along great. I am looking forward to see what you do next.
The frame on the mirror changes the whole feel!!! It looks incredible!! Fab job!
What a great idea to frame the mirror. Definitely inspired.
The mirror trim is beautiful, what a great idea! I will keep that in mind for one of our bathrooms!
I love the framed mirror – it looks fantastic and so easy to upgrade the space!
Best,
Kelly
Love how this is turning out! Can’t wait to see how the millwork looks, I’ll be checking back next week!
Builder-basic mirror be-gone! Love the carved detail on your DIY mirror frame, it’s lovely. I decorated a friend’s condo and did the same thing with her bathroom mirror – it’s such an easy way to get massive impact in a space. Love how this is coming along!
Love what you did to the mirror – it makes such a difference! Can’t wait to see what next week brings!
Your mirror is a work of art now! Well done my friend 🙂 I can’t wait to see what you do next!!!
Jennifer,
Nice Progress! Love that you found extra long shower curtains. I’ll be scoping them out later. Mirror trim is beautiful!
The frame makes the bathroom look instantly more custom.
So I am new to your blog, and while I have meandering around you site I clicked on this post. I feel like I am missing something. I gather there is a design challenge that you are taking part in. I think I will click Week 1 and go from there.
Hey Sharon Thanks for stopping by. It is a Decorating Challenge and if you click WEEK 1 it will give you are better explanation of this ORC segment. If you would like to see last seasons ORC Room Check out this link it has all 5 weeks linked on this page so you can read them in order if you so choose. http://jenron-designs.com/southern-style-sleeping-porch-orc-2017-spring-reveal/
Wanted to tell you that I am following and cheering for you during this challenge. I expect great things from you, just like last time. You always have such great ideas and designs, good luck!
That frame is awesome – great job!
It’s amazing what a few pieces of wood can do to a bathroom! It’s coming along!!
Thank you a bunch for sharing this with all your folks you really recognize what you’re speaking about! I Bookmarked, rss feed. Kindly also visit my web site =) We can have a hyperlink change contract among us
Interesting I must learn more about this ORC contest.
I am really enjoying your site and I plan on bookmarking so I can follow on this ORC quest.
Your progress is really looking good. I can not wait to see the reveal in 2 weeks!
Trying to catch up on all the ORC weeks, the mirror from turned out so good!
Oh I really like that frame choice you made for the mirror. I think all have horse ugly mirrors and this is such a great way to upgrade them. Thanks for sharing.
What a sweet project, the mirror turn out great. I must pin this idea and try it myself, I have a few of those big ugly mirror in my home too.
I decided to just read on through the ORC segment tonight, as I could not sleep. This mirror frame out is great.
This project is perfect, for a mirror. I like the wood you picked and the installation looks very easy.
As I am reading on I see this mirror idea again from you with a different type of trim. It is really growing on me, I am seriously thinking about doing it this weekend for my bathroom. Add a little something before our family gets here for the holidays!
That mirror turned out so good, I can see why you wanted to add the trim. To buy a framed mirror that large would cost a fortune. Now you have one for pennies on the dollar.
I am enjoy the idea of this mirror frame out, I think it is something I tackle over the weekend.
Yes I like the trim option you picked for this bathroom, it feels very craftsman, mission style.
I linked over for the barn wood mirror and found you had done several varieties of of mirrors, now I am intrigued by the ORC room.
How easy was that? I don’t think that mirror knows what hit it, it like Cinderella going to the ball.
Mirror Mirror on the wall who the most creative of them all? Well you of course! Great job!
Week 2 you are doing great! The mirror turned out really nice and I like all the items your ordered.
The mirror turned out great thanks for sharing your DIY on this project.
Great idea for a mirror upgrade, looks easy to do and the results are great.
Such a groovy idea to upgrade those 1970’s mirrors, hat dto believe builder still use them hahaha. Well you showed them!
This is such a great idea for those big ugly sheet mirrors. Your site is unbelievable and just blows me away!
Holy cow it does not even look like the same mirror, I am going o have to link over and see the other mirror you did too!
Bathroom mirror turned out great can’t wait to get to reveal day!
Linked over form the Barn Wood Bathroom mirror, intrigued at what the ORC is, reading on
Well that certainly looked easy, and turned out really nice too.
This project is turning out so well. I really like how you upgraded the mirror so easily.
I love this idea! The frame work makes a huge difference in this room.
I like how this turned out but I still like the barn wood mirror better! Just my taste, but this one is still pretty just a little more craftsman.
We do a lot of reno work and this is such a great idea on upgrading a mirror, again you are very green and plant conscience.
Great post I really like the ORC I get to see so many fun decor posts!
Turned out nice, thanks for the share.
I did not know this was how this look was achieved. Thanks for info.
I love the frame you added to the mirror is really is amazing how much it changes that mirror. Plus large mirror like that are so expensive.
This is such a great idea to show how to frame out a mirror. ITs so simple yet yields a big decor value.
Framing that plain old boring mirror is such a good idea and not break a mirror either trying to get it down.
I would not think adding wood on to a mirror would make a difference like that but it did.
I like the millwork you used, with the craving in it. It looks very expensive, so I have ask was it expensive?
The endless possibilities with all the trim choices that are available. Great idea!
The frame looks so nice, you both did such a good job with the installation. Headed off to next weeks post.
I had no idea that framing out a mirror was so simple. I really like the final product. Thanks for sharing the DIY part too.
What a nice idea to dress up a mirror. I really like how your turned out.
Framing that mirror make a world of difference in that bathroom. I must remember this technique and try it in my own home soon.
You are doing such a great job in the ORC, I have been fascinated by your mood board and ideas.
You and your husband have so much talent, I would not have ever thought to do this. It turned out great too!
I just added you to my bookmarks so I do not miss any of these posts. The mirror post is so smart, I mean what an easy way to make those flat plate mirrors pretty.
Framing that mirror has made all the different in that room, cannot wait to see what you do next week.
Great idea to frame out a mirror you are very creative and have a eye for design.
I have seen alot of post about framing out a mirror but most of them lead to mirror mates, which is limited in there offerings and very expensive. I love that this was a diy.
Great DIY and it looks so easy too. I really love how that mirror turned out.
Nice idea to frame out an existing mirror, we really like the trim choice and stain color, it looks like it should have always been there, which is a sign of good design.
I would have never thought to frame out an existing mirror like this. What a great idea.
This is just plain old trim that you can buy and Home Depot and it turned out so good. I am shocked, I figured it was the mirror mates stuff.
Nice job I love a easy transition project like this!
Really love this idea to frame out the mirror. Nice post.
Good idea to just frame it, they are hard to remove and letdown with out breaking.
Nice job on creating a better answer for the ugly builder mirrors.
Wow this looks great, and the mirror now looks expensive and new!
That frame really dresses up that plain Jane mirror. I really like this project a whole bunch, might try over holiday break.
O.M.GEEEEEEE!!!!!!!!!!!!! What? Are your serious? You just glued trim to your mirror, now I just feel dumb. It looks great by the way and the hubby now has holiday projects, hehehehe
I love this idea to frame out a mirror, so simple and easy!
Framing a mirror like this is such a good idea to upgrade a space. WE all have those ugly flat mirrors and it nice to see a easy, and cheap way to fix them.
I really love how this mirror turned out. What a great idea. It looks very easy to do as well which is a bonus.
This frame turned out great, such easy way to dress up those ugly mirrors.
Great framing technique and the mirror looks so fancy now.
Great idea, I can totally see myself doing this project.
I think I linked over in the middle of a series? Checking the ORC tab at right to see what I missed.
Nice upgrade with such a basic mirror, this is the kind of project I like to see, easy and obtainable for people like myself.
We just love this application to a plain Jane mirror. It dresses it up, like that.
Ok that has to be the easiest thing I have ever seen, and why are more people not doing this, I don’t get it.
Ok you are doing all the work yourself and I must say it is looking great. Nice job, keep up the good work. We love it.
I am truly enjoying this challenge, The project on the mirror really changes up that basic mirror. I am really liking the results so I may have to try it myself.
Well that is a brilliant idea to fix up a existing mirror. Looks great!
Framing out that mirror made such difference in your room, sometime it is just the littles things that make all the difference. That is truly what makes good design.
I would have never thought to frame out a mirror like this, what a great idea. I want o tell you I really love you site, you give us so much inspiration and have a true authentic vibe that I love.
Welcome to my site thanks so much for a ll the kind words and support!!!
The frame looks so good on your mirror, and it really making it look expensive and custom made. You have a great eye for design.
This mirror turned out to be the perfect addition to this room. It adds a nice rustic or craftsman feeling to the other wise simple bathroom. Nice job.
Great upgrade on your mirror, it looks pretty easy to do too! So I plan to turn my hand at these over the holidays.
This is a fantastic idea, I can not believe i have not seen it before. It simple and make a big difference on that mirror. Great job.
The idea you had for the mirror upgrade just blows my mind. It was so simple and looks really good. Reading on…
These article are great they are short and to the point and offer so much inspiration.
Still taken it all in, I am speechless about this project. Why on earth has no one featured this idea before!!!!!!! it’s so easy and simply and makes a world of difference to that mirror. I am adding it do the to-do list today. Love your blog!
This is such a great idea you know how I love a cheap DIY, since we are the cheap jordan’s lol.
This mirror project has mad my day now I now exactly what to do with my ugly ones at home.
Got to tell you this is really genius! You literally glued trim on to a mirror and it looks 3x times more expensive. Great job, and great post.
Thank you for the Diy on the mirror idea this is a fantastic and we will be doing soon!
Thank you a lot for giving everyone an extremely marvellous possiblity to upgrade many a room with these tips from here. It is very brilliant and also stuffed with a lot of cool pointers.
Oh Wow I agree this is a great idea. Super easy too!
I just could not stop reading, I had to see all about this frame for the bathroom mirror. I am totally doing this project, it made such a big difference, I absolutely love it!
Okay I am really liking your site more and more, so glad I stumble here are stayed while. Just got to say I love this idea as a simple way to upgrade a bathroom mirror. Thank you!
Ok now this is a cool project. I will probably be doing this one soon.
I love this idea to frame out the existing mirror. Stellar idea!
Wow this is a really good idea. I can not believe I have not seen this before today.
Such a wonderful idea, and it really she make that plain mirror looks so nice. A very easy dress up.
This mirror idea really rocks, thank you for sharing it .
Best idea ever for that mirror.
Great idea to frame out the mirror. I love that barn wood it is so pretty.
This is a great idea for those big, flat, plate glass mirrors. It looks very custom and expensive once your added the frame.
This is such a great idea I am surprised more people do not do this in there homes. It really dresses up a bathroom space.
I love the way you upgrade this mirror. This really answered my problem, thanks!
I hav recently found your blog, I am enjoy ing reading the ORC challenge bit. Framing out a mirror is such a great idea, can’t believe I have not seen it sooner.
I am very surprised at how easy this was, I really think I could do this in my bathroom, which is shocking since we are not very handy.
That is the very best blog I have seen in a while I love this challenge and your great ideas for this room. Nice stuff, simply nice!
I just linked thought the other mirror post and found this entire chapter on a One Room Challenge. Girl, I am going to have to bookmark this and come back when I have more time. It is too good to miss.
I am so enjoying this project. You have a ton of great ideas. I am simply mesmerizing with your site.
Love this idea and it really dresses up the mirror a bunch.
You made some first rate improvements there. I have been searching the internet with great difficulty to find a answer for this exact problem and then I found your website. Hallelujah
This is a really good way to dress that mirror I really like how it looks.
This is a very nice post, I certainly do love your website, please continue to carry on and continue to do this challenge. When is the next one?
What a great idea, I will have to do this one soon.
This has got to be a top rated project I mean look at all of these comments between here and the link for your original!
This was an ingenuous idea! I will have to try it in our bathroom too!
Great idea to upgrade your mirror it really looks high end and adds a element of class to that bathroom.
This was a very smart design on your part. I bet a lot of people are already doing this to there own mirrors and showing there friends like it was there idea….ha ha
I am so loving this idea. Easy and simple to do just what I like!
Spring ORC was just announce for April 4-5th, I am really looking forward to it too! I am reworking my office, which is desperate need of a revamp.
This is such a easy way to make a plan bathroom mirror look built in and fancy. Thanks!
Love this idea, and I am totally doing this to our bathroom too! Thanks!
I just found out about the One Room Challenge so I am doing back to review prior season’s to see what the expectations are for this contest. I love you ideas and the DIY mirror frame out. Great post.
What a easy way to dress up those basic mirror great idea.
Great idea to mimic the same frame work as in the other bathroom. I must same it is interest how different they both look just based upon you trim choices.
Pretty great idea to add molding onto this mirror, it is easy to do and really makes a statement to a ordinary piece.
I am surprised to see that you do all your own work. A lot of the ORC designers hire contractors, so this is a great on your post.
Cool idea to upgrade this mirror, I saw it in the post about board and batten so I wanted to see if this was a project you did or already a part of the home.
Cool idea with the mirror, I need to pin this idea to my board, maybe you get more visitors like me 🙂