$100 Room Challenge: Garden Shed
Welcome to the $100 Room Challenge: Garden Shed edition.
Hi everyone, welcome to the launch of the 2021 spring $100 Room Challenge: Garden Shed edition. If this is your first time viewing the $100 Room Challenge let me take the time to give you some background. This is a bi-annual challenge sponsored by my friend Erin, over at Lemons, Lavender, & Laundry. What is the $100 Room Challenge all about? The challenge takes place twice a year, January and September, and Erin invites us to redo a room in our home using a budget of only $100. As you can see the premise of this challenge is real simple: one month, one space, and $100. If you want to know more about the $100 Room Challenge, check out Erin’s post to see how the concept was inspired, and it’s colossal growth since she decided to start it!
Weeks at a Glance:
WEEK 1 WEEK 2 WEEK 3 REVEAL

*Please note that I was graciously compensated for this post. This post may contain affiliate links for your convenience. These links involve no extra cost to you. You can view my full advertising disclosure statement here.
THE GARDEN SHED BEFORE:
This season we were so excited to be creating and organizing our newest space, the garden shed. This little area was set aside when we were planning our basement to allow for storage of all of our garden tools and equipment. You may remember last year when we were doing the One Room Challenge that I created a small storage shed area behind my floral shop space.
Since then we have added in a set of double doors, for a couple of reasons. One is that we are not getting any younger so the possibility of the future storage of a riding lawn mower is eminent, so we might as well be prepared for that, or even a lawn service will utilize own our equipment. 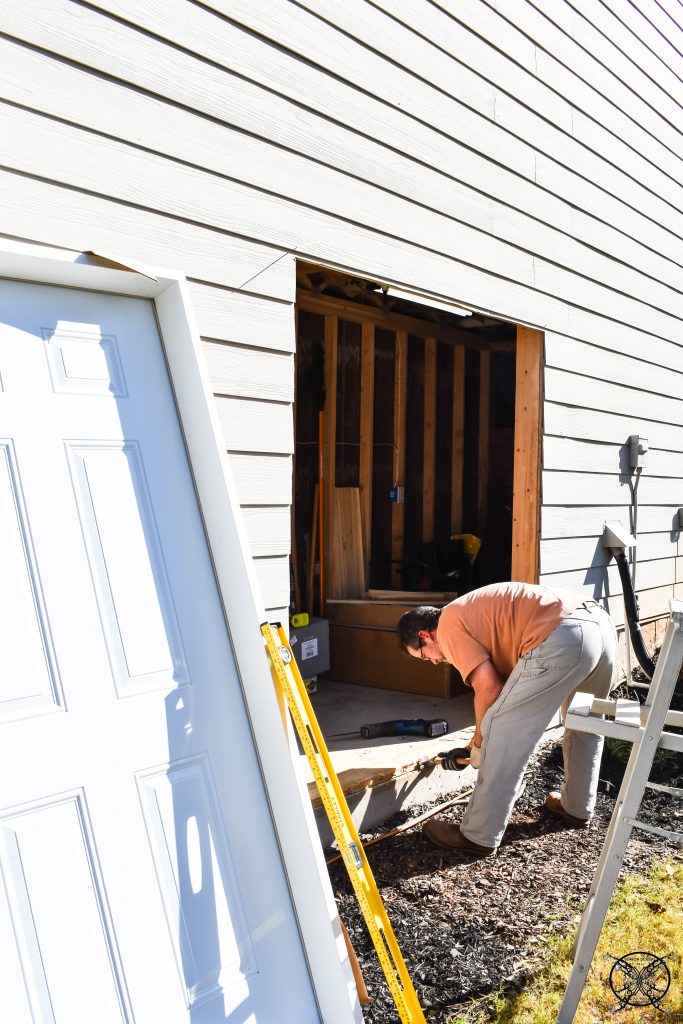 Which is why we set up the ability to have a new side entry with separate locks and a separate locking door to the main basement area, just like an outdoor shed would have, seen below during the construction portion. You can see our full highlight reel here at our Instagram Highlight Stories Link: https://www.instagram.com/stories/highlights/17898429169726517/
 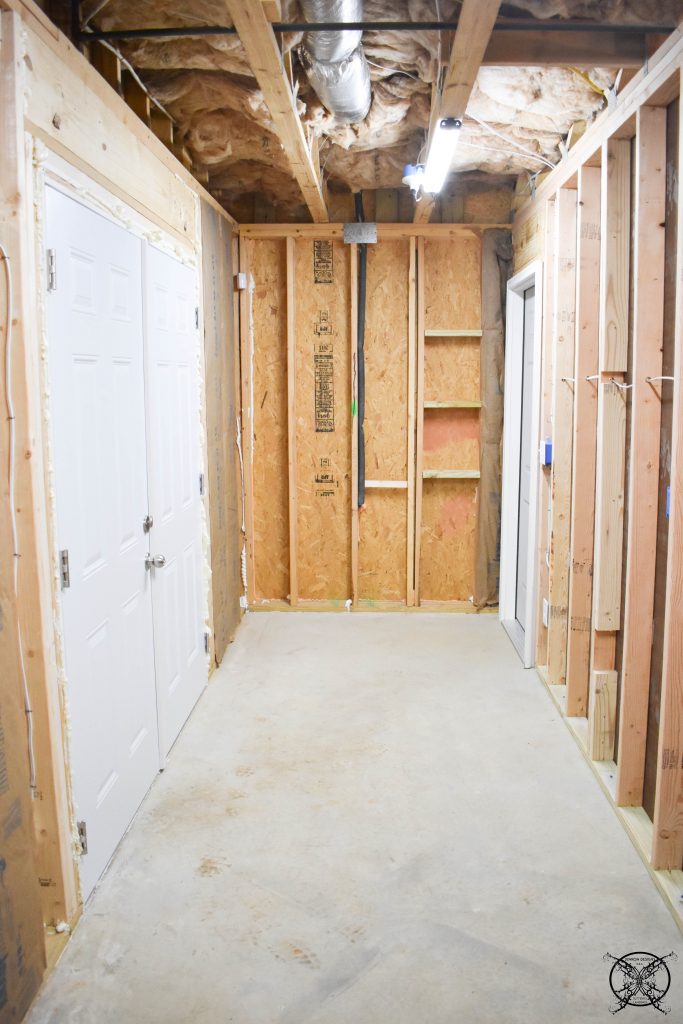 So why not just get a shed? Well, our neighborhood has a no shed policy in the HOA covenants, plus our backyard is not really conducive to adding a shed being on a hillside. Keeping all of these ideas in mind and not wanting to “crap up” our garage, after just getting it organized from the last $100 Room Challenge Garage Reveal I decided to add this space into the design. Plus it will also be a mechanical space as well, housing our new HVAC unit for the basement when finished out. So, all over it is a win win for us, and a good use of space as a whole.
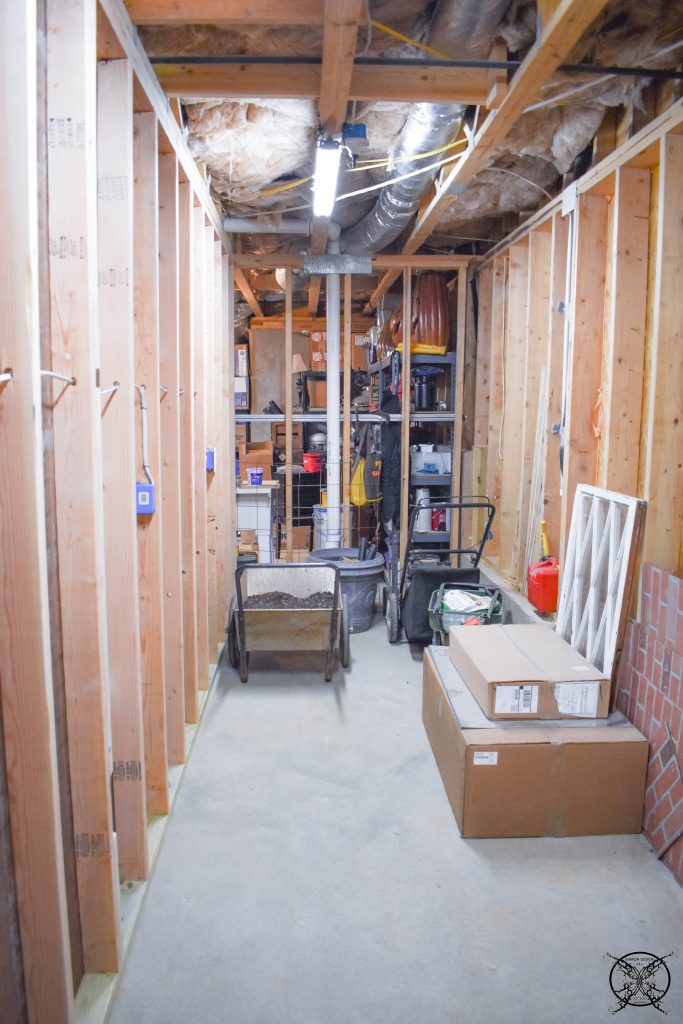 This week, since we only have four weeks this month, we started by adding in a back wall to seal up the space between Ron’s workshop area and the garden shed space seen at the end of this room. For this part of the project we are using leftover brick panel boards previously used in my German Schmear DIY project in my flower shop.
 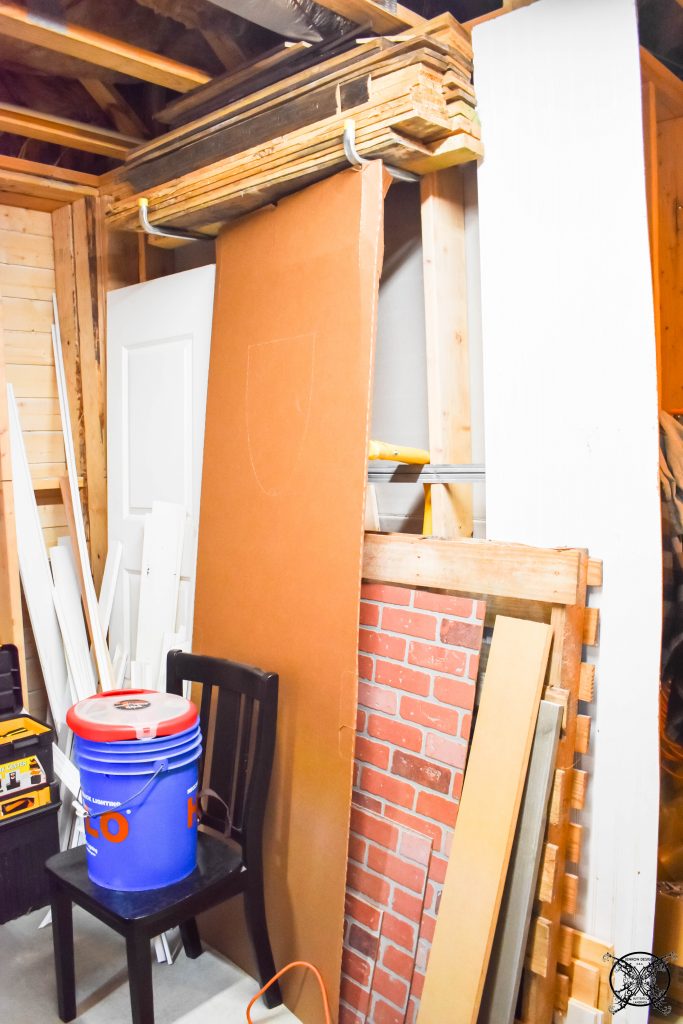 As a design tip, you may want to hold on to extra building supplies as you do projects, as you can see above we have a bunch of stuff hanging out in the workshop that we have pulled for this project, which will save us a ton of money. While these are considered scrape supplies, they are still very useful and are perfect for spaces like a this Garden shed.
 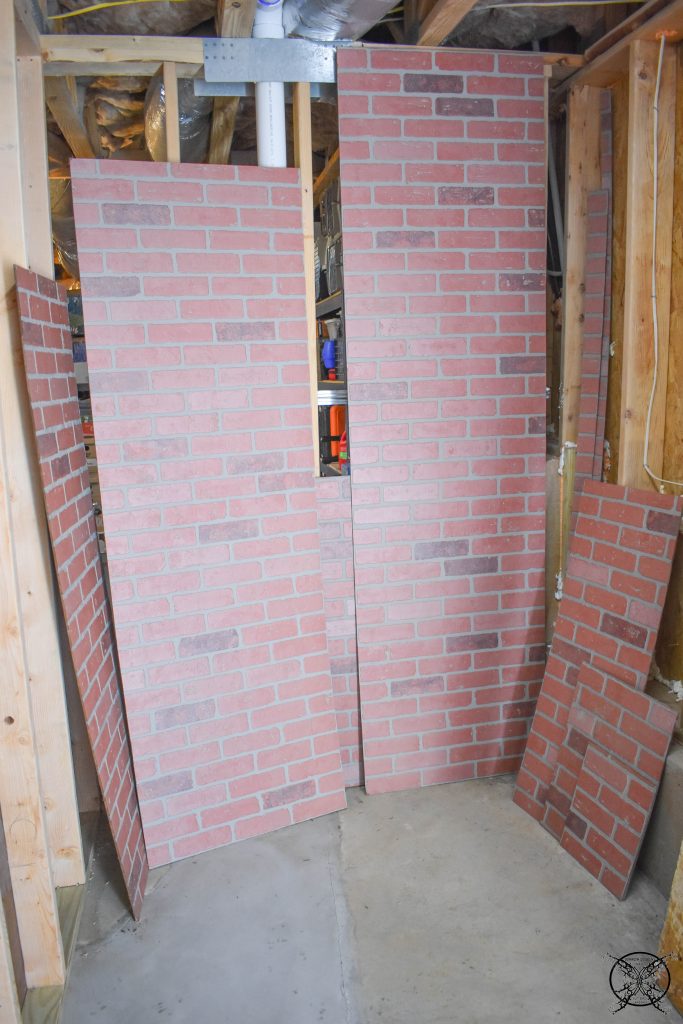 Lets be honest, we do not need to have the best of the best to finish the inside of this area. Plus the southern rustic design style is still a very high trending design choice at the moment, so we can still trade on that look.
 The brick panels filled the gap space perfectly with only a few pieces having to be seamed together. For those spaces I used two extra pieces of barnwood shiplap that were leftover over from the DIY shiplap ceiling project in our master bedroom. Then filled the one piece seam with a little joint compound, which I will paint when I I am painting the floors.
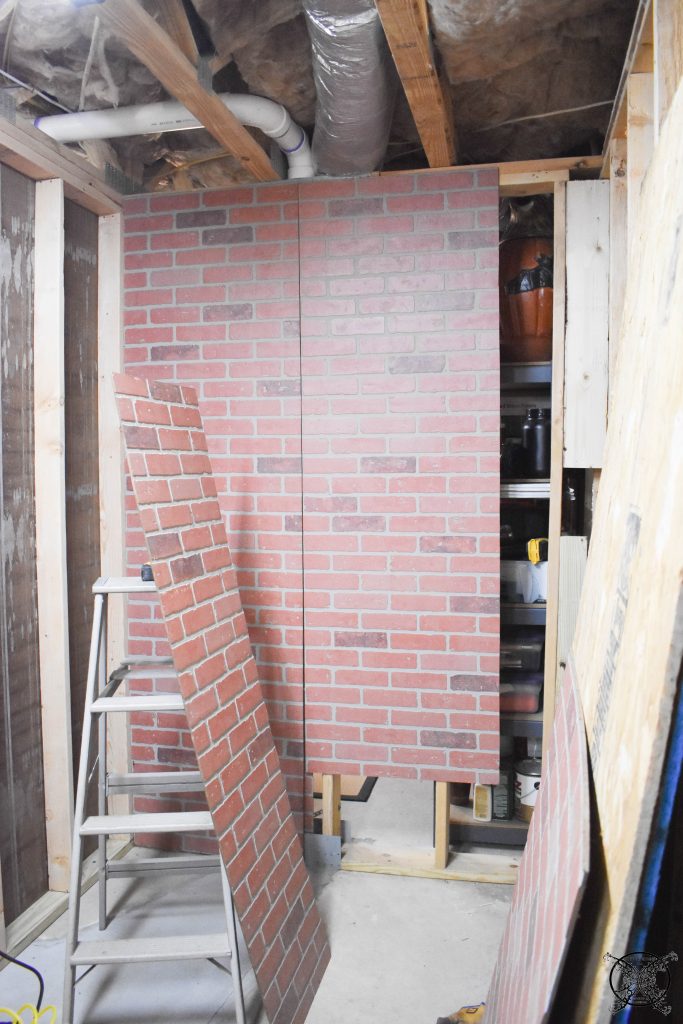
 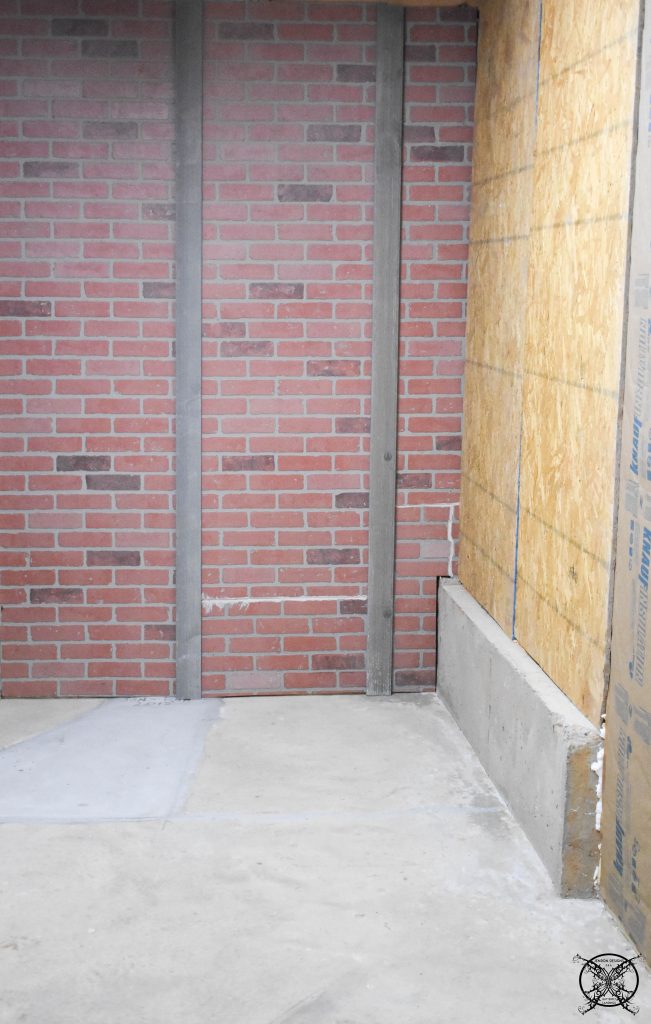 We also added the leftover plywood boards from where we cut out the doors to the adjacent walls, which were a perfect fit to seal them up. Since this wall will eventually house our basement HVAC unit, we are not to worried about the actual finish since it will not really be seen. We may add some shelves up high, which will fit above the unit for additional storage.
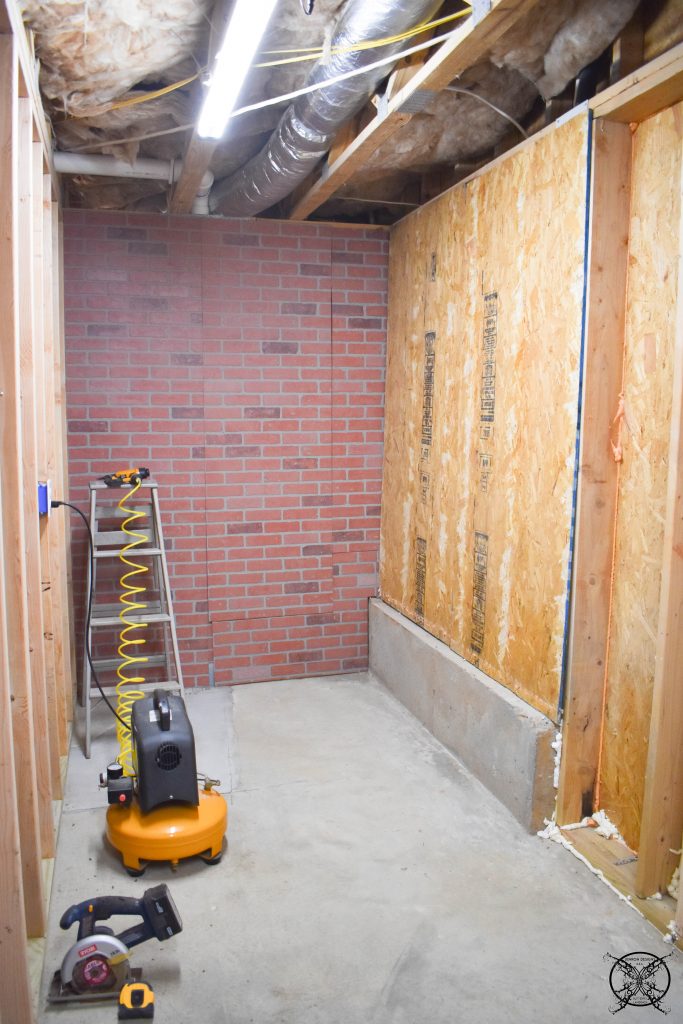 The floors also needed to be sealed since they will not be getting any type of future floor covering. I have to say I have been very happy with the concrete paint in my flower shop, which is right next door to this space and I had several gallons of leftover concrete paint colors from that previously seen Painted Concrete Stencil Project. This floor will be the accent stencil color of the darker gray to compliment my flower shop.
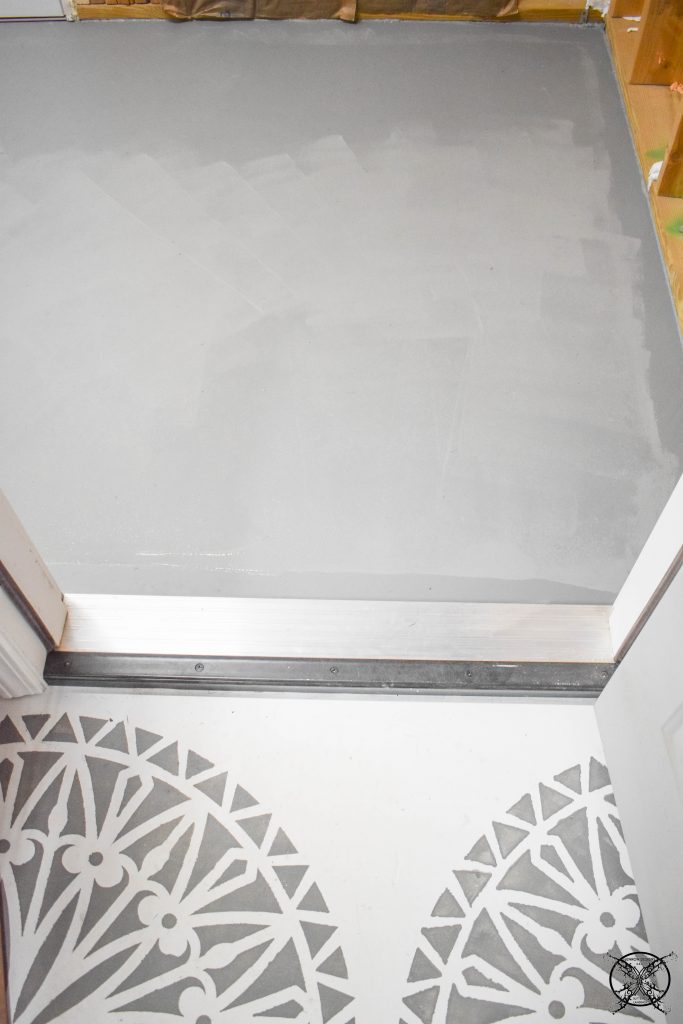 I used my stockpile of HANDy paint products, which were graciously supplied to us for all our DIY endeavors. I just love all of their amazing product lines. Not only are they HANDy, but they always have the perfect product for every job, no matter how big or small.
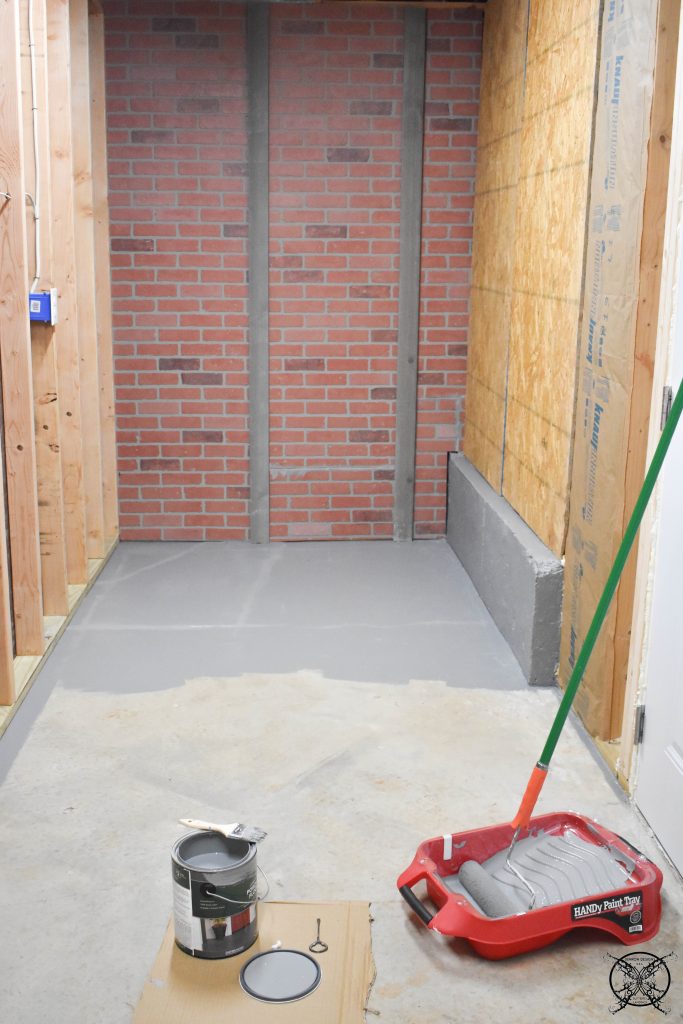 So this is the final look at where we landed at the end of week 1 for the $100 Room Challenge. I have to say for 1 weeks worth of work and zero dollars spent I am ecstatic about the total outcome thus far. This really drives home my point of repurposing and recycling those building supplies you might think are not really worth anything at the end of a project.
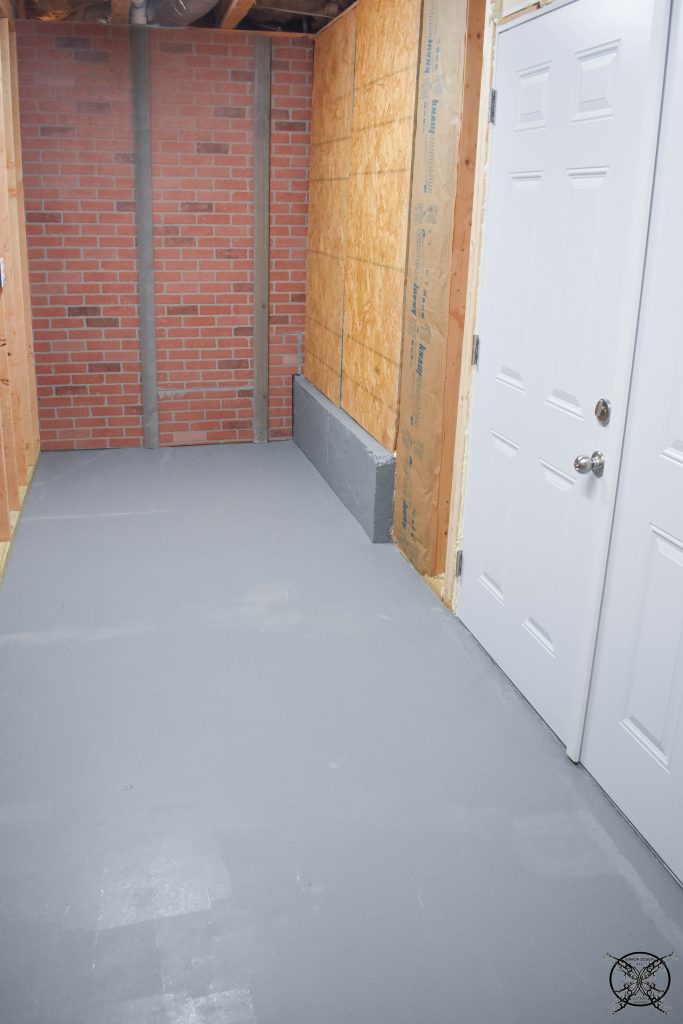
The Proposed Schedule:
Week 1: The Plan, Paint Concrete Floor, Repurpose Building Supplies Brick Panel Wall & Plywood from Doors
Week 2: Add PegBoard & Add Pallet Walls
Week 3: Create Wall Cabinets, Paint Walls, & Add Wire Repurposed Shelves
Week 4: REVEAL
Budget:
Week 1: Repurposed- Brick Panels, Leftover Concrete Paint, Repurposed Paint Supplies, Screws/Brads Leftover from previous projects & Plywood Board from Doors- All Free
BUDGET: $0 (so far so good)
Wow Jen, you did an amazing job repurposing old materials. I love this! It’s going to be a great space.
That was such a clever idea!! I’m excited to see it all done!
Another exciting project! I look forward to seeing the end result.
You’ve already done a lot! It’s going to be such a cute space.
I always enjoy your makeovers and I know that this one is going to be good!
Oh my goodness!!! You made so much progress already! I have achieved picking up some paint swatches at the store 🙂 I couldn’t agree with you more on saving “leftovers” from projects. You never know when they may come in handy. This space is already looking amazing. Excited to have you joining another round of this challenge!
Looks like it will be another winner, Jen! Love the repurposed brick panels.
See, this is why I can never get rid of old DIY supplies! It’s already looking better and I can’t wait to see what you do in here to make it work for you and look great in the process!
I can’t believe what you’ve been able to accomplish already! I love that you’re using materials from other projects and you’re currently at $0 in costs so far. Can’t wait to see how it turns out!
Doesn’t it always feel so good to work on these spaces that may not seem like much but they make your life so much easier?! I can’t wait to see the finished space – it’s looking so good already 🙂
Jen,
This is going to be such a fun makeover!
This is going to turn out so good!! I cannot wait to see what you do- so much progress already!!!
Jen- you and your hubby are my heroes! You take on these projects and make them look too easy. I can’t wait to see this come together.
I am amazed at what you were able to do with just $100! It’s a relief to see that such change can be made on a budget.
What an amazing job! I can’t wait to see what it looks like when completed.
I wish I had the patience to devote to a project like this. What an amazing idea.
Wow! Great progress and I love that you’re repurposing old materials. It’s gonna look amazing (as it always does)!
Your article helped me a lot, is there any more related content? Love the idea of a room for $100, that is cool, Thanks!