$100 Room Challenge: Installing Pallet & Pegboard Walls
Welcome week 2 of the $100 Room Challenge: Installing Pallet & Pegboard Walls.
Hi everyone, welcome to week 2 of the $100 Room Challenge: Installing Pallet & Pegboard Walls. If this is your first time viewing the $100 Room Challenge let me take the time to give you some background. This is a bi-annual challenge sponsored by my friend Erin, over at Lemons, Lavender, & Laundry. What is the $100 Room Challenge all about? The challenge takes place twice a year, January and September, and Erin invites us to redo a room in our home using a budget of only $100. As you can see the premise of this challenge is real simple: one month, one space, and $100. If you want to know more about the $100 Room Challenge, check out Erin’s post to see how the concept was inspired, and it’s colossal growth since she decided to start it!
Weeks at a Glance:
WEEK 1 WEEK 2 WEEK 3 REVEAL

*Please note that I was graciously compensated for this post. This post may contain affiliate links for your convenience. These links involve no extra cost to you. You can view my full advertising disclosure statement here.
Installing Pallet & Pegboard Walls:
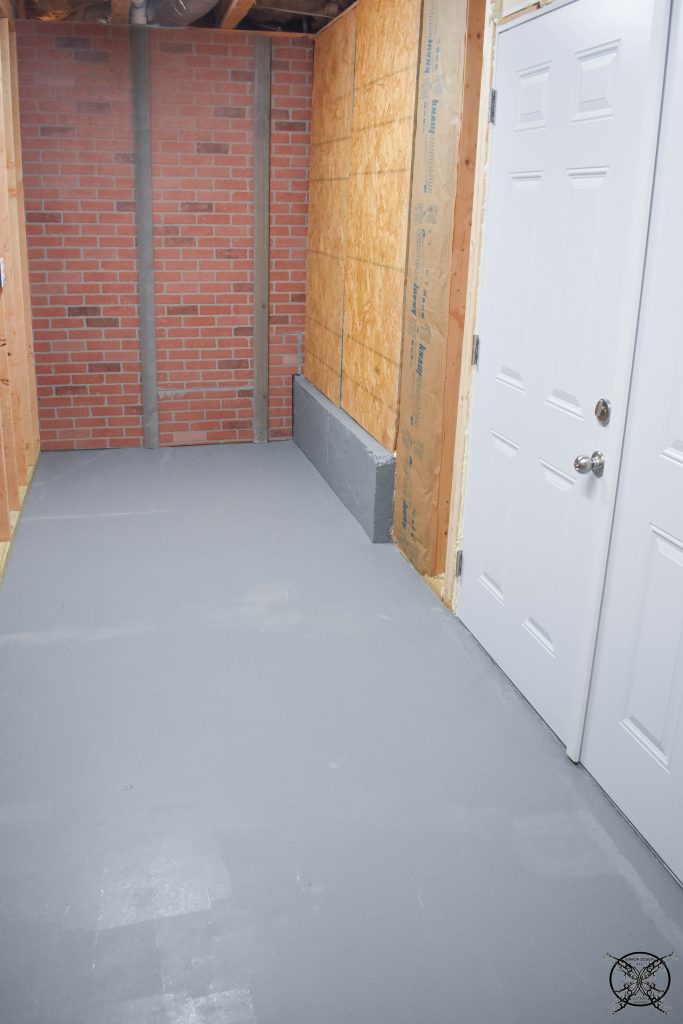
This season we were so excited to be creating and organizing our newest space in the basement, our gardening shed. This little area was set aside when we were planning our basement to allow for storage of all of our garden tools and equipment. You may remember this is where we left off last week, we completed one end of the garden shed space with brick paneling, and plywood walls. We also painted the entire floor with a dark gray concrete paint to match an adjacent space.
 This week we worked on the the main wall that will be housing the majority of our garden tools. We decide that pegboard was probably going to be the best way to organize this area going forward, so that was going to be the covering for the upper half of the wall.
 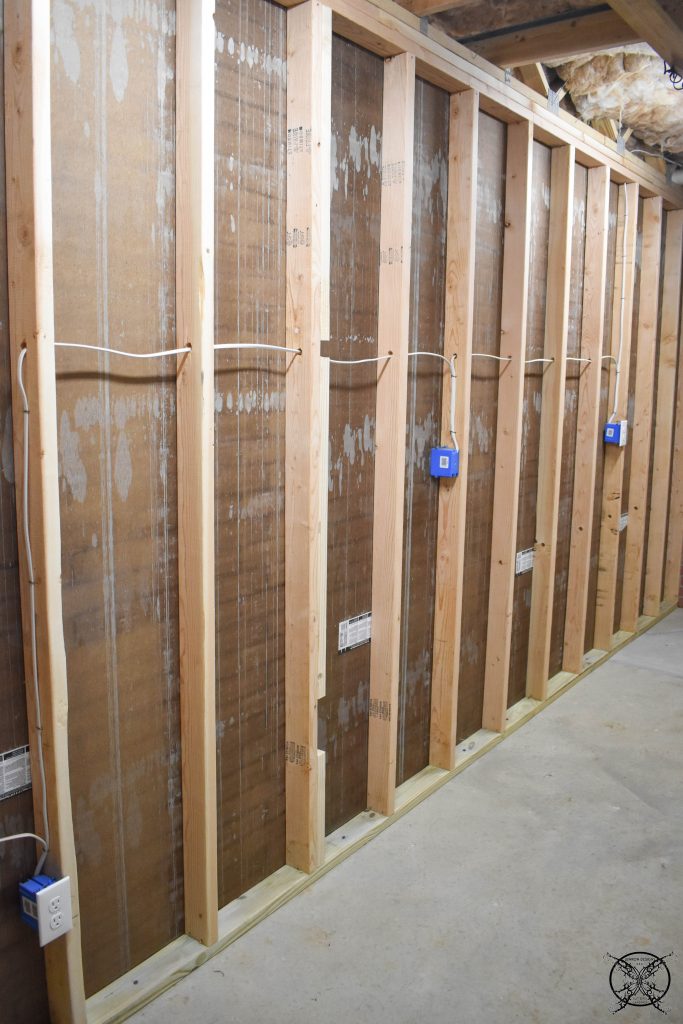 We used 4′ x 8′ sheets turned horizontally which gave us the required 16′ foot length needed to fill the upper portion of this wall. By only doing half the wall this would save us money on the supplies. Also we decided that we would not really need to hang tools below the 4 foot mark, so that space really did not need to be pegboard.
 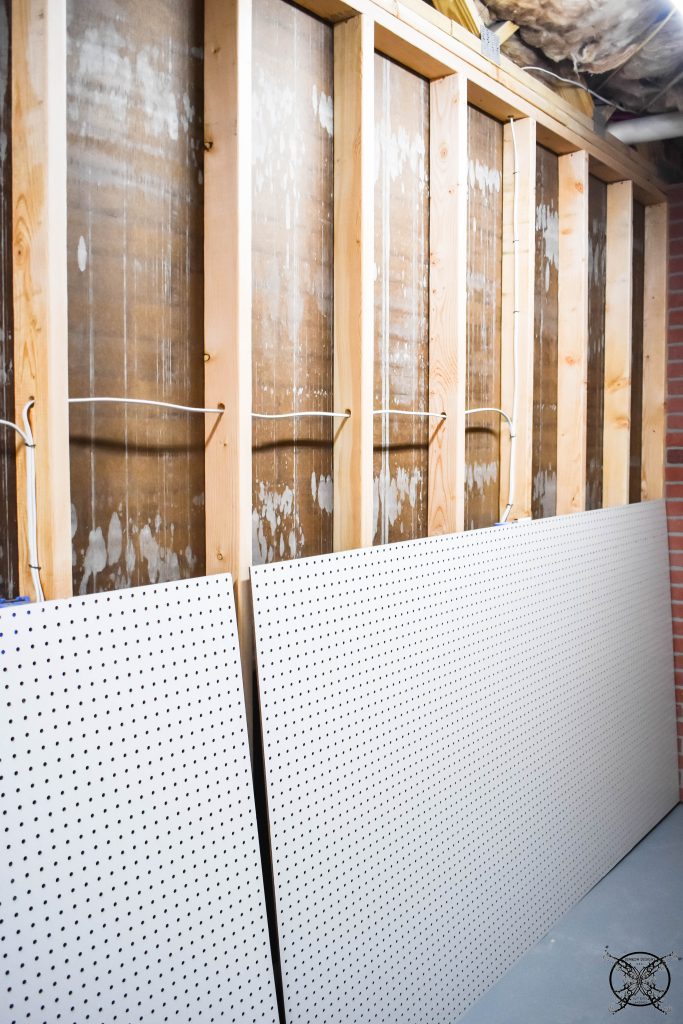 Mounting the pegboard was super easy, we simply screwed the boarded directly into the studs via the provided holes. This made sure the boards where secured so they could take ample weight of all the tools that will be hung up on the board.
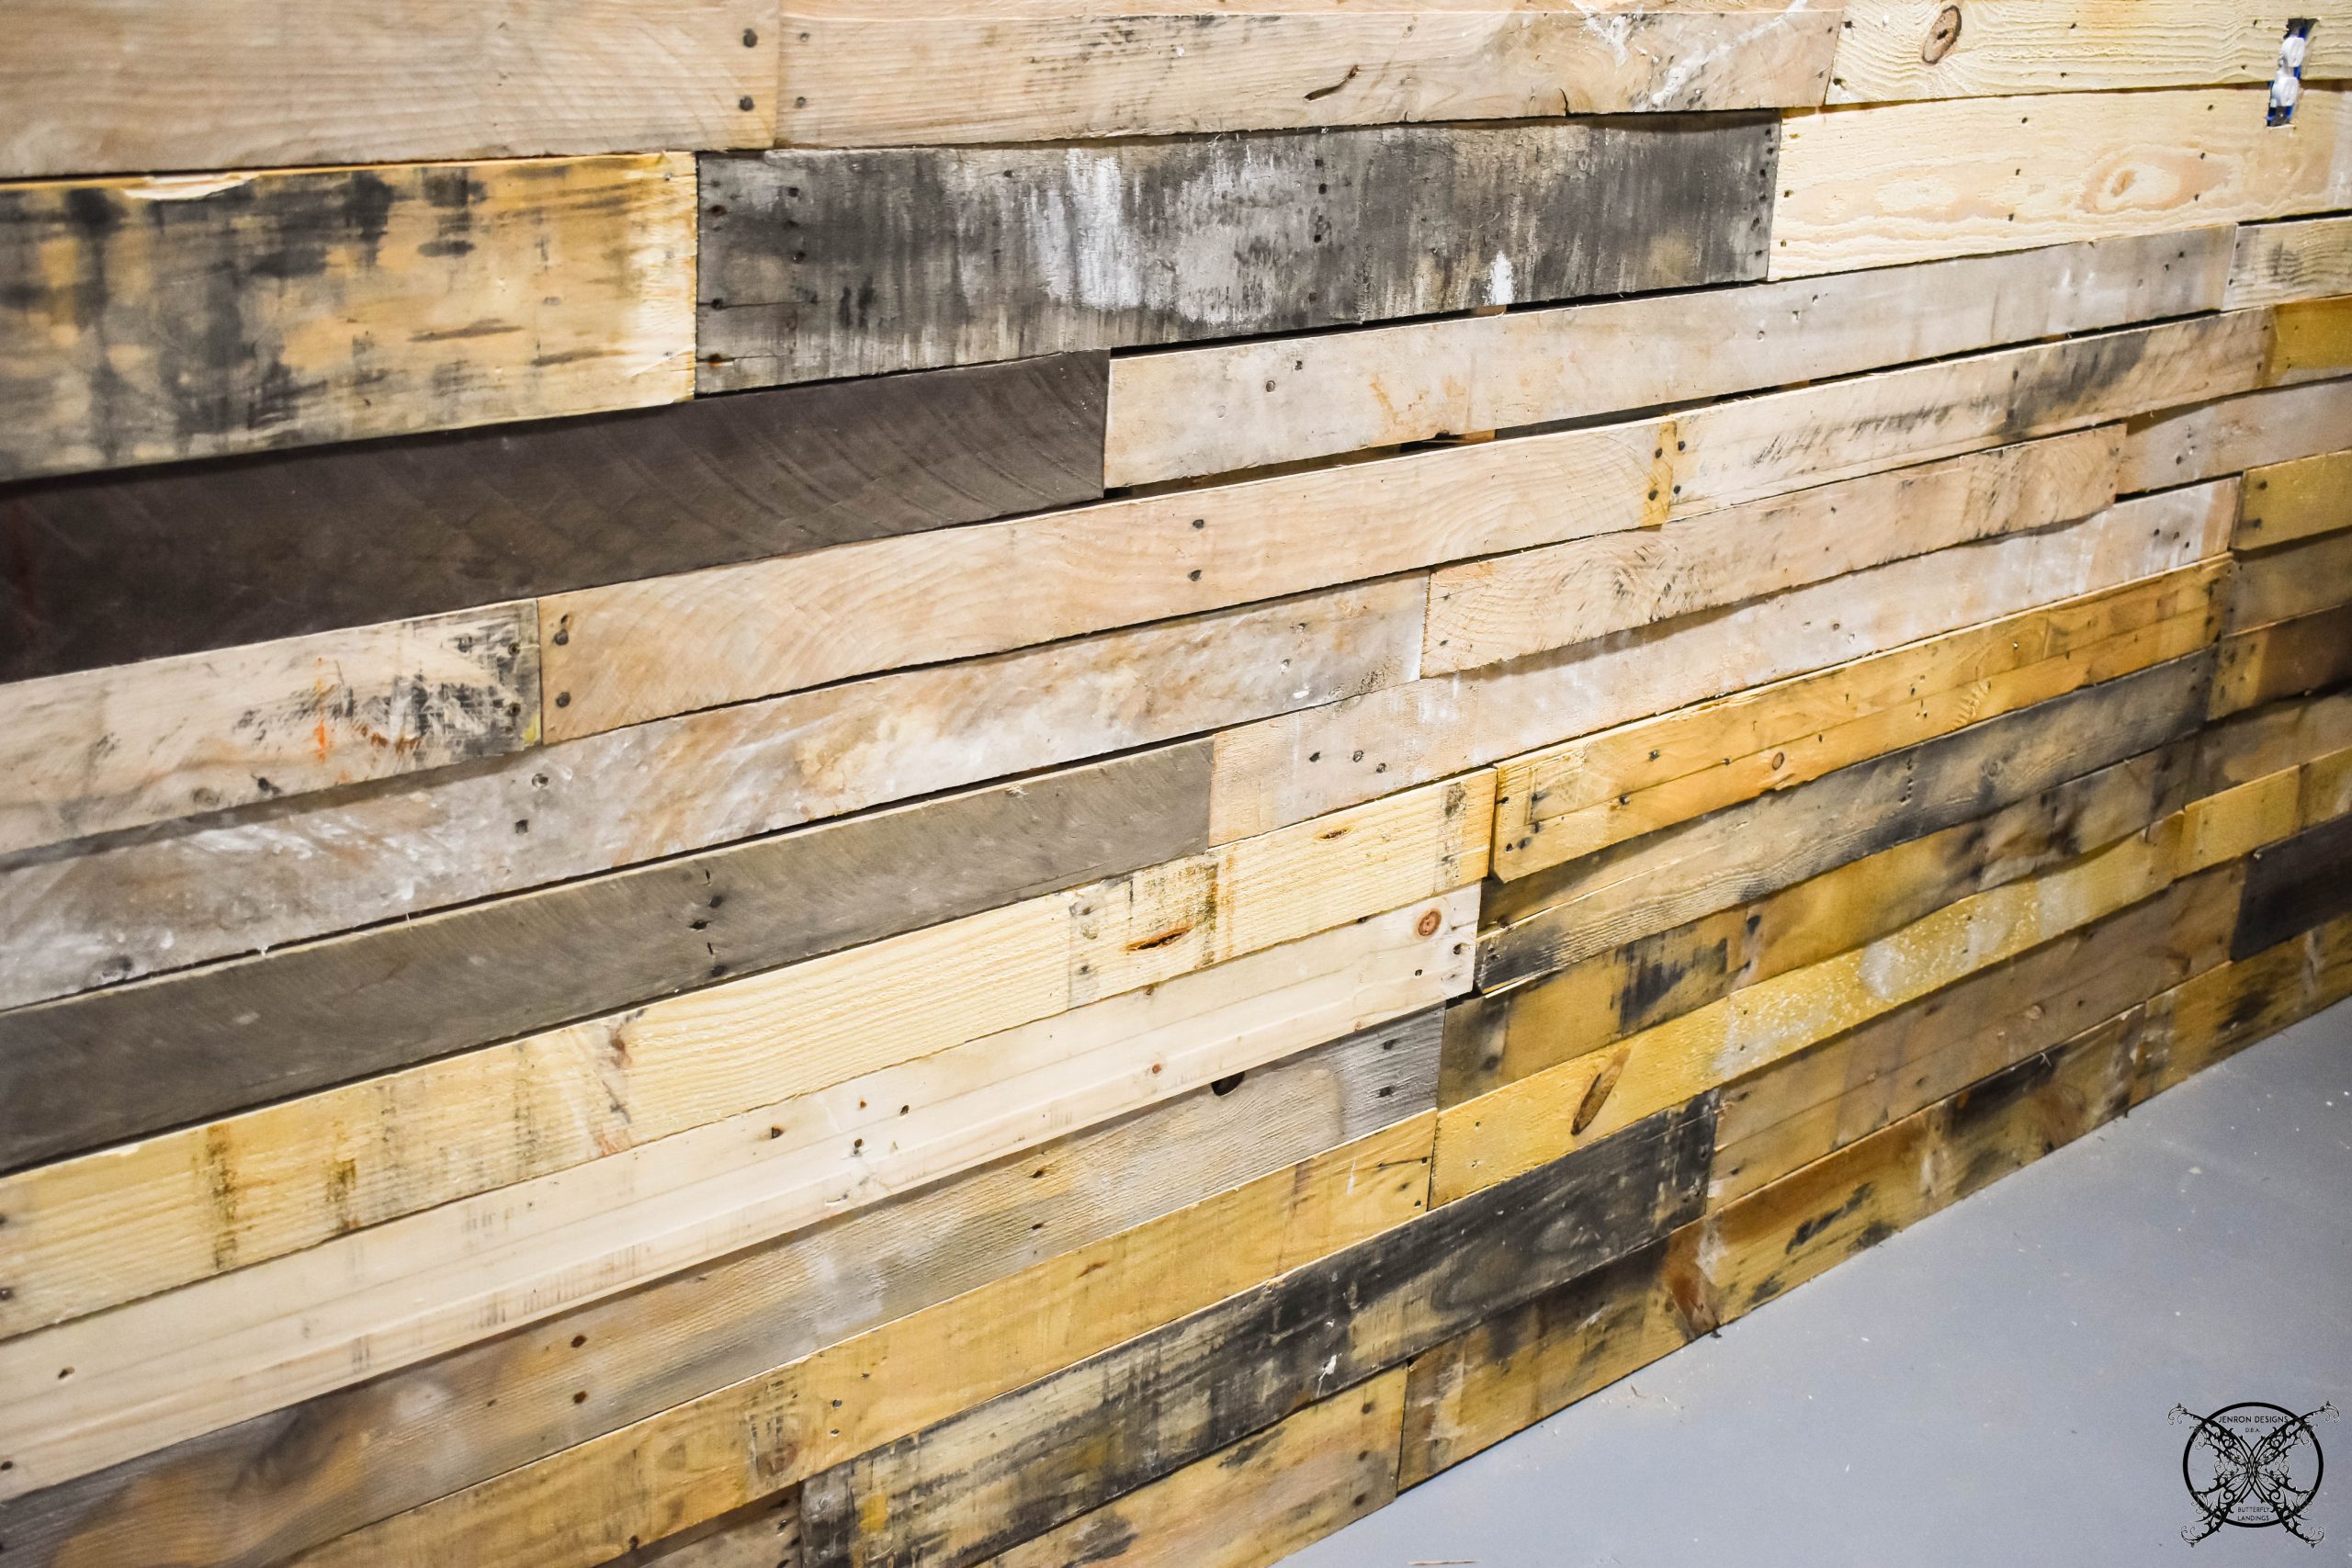
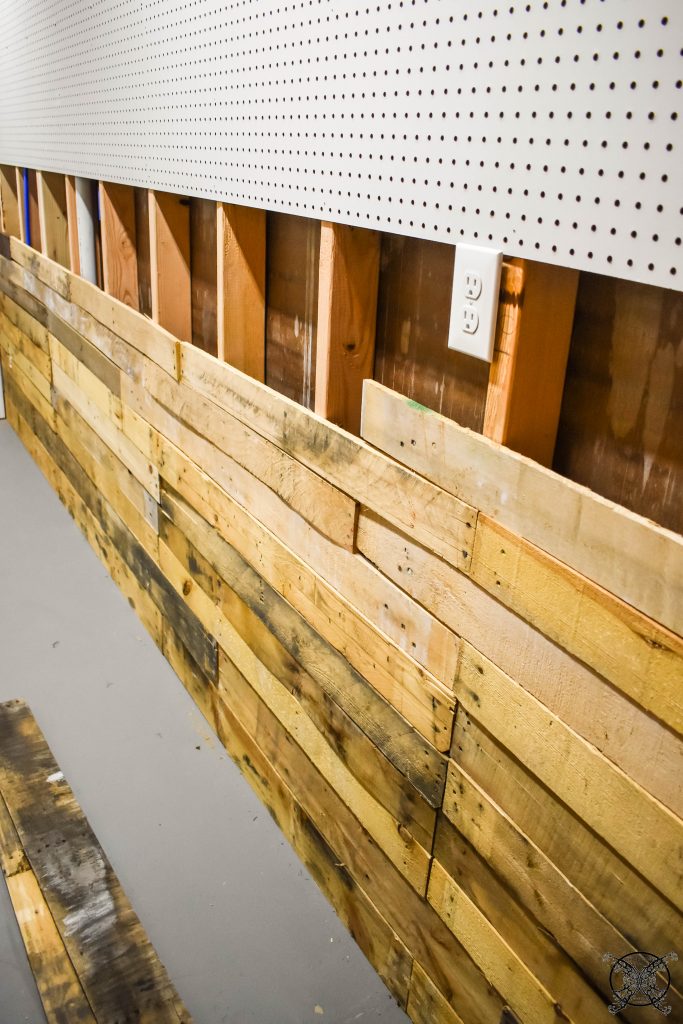
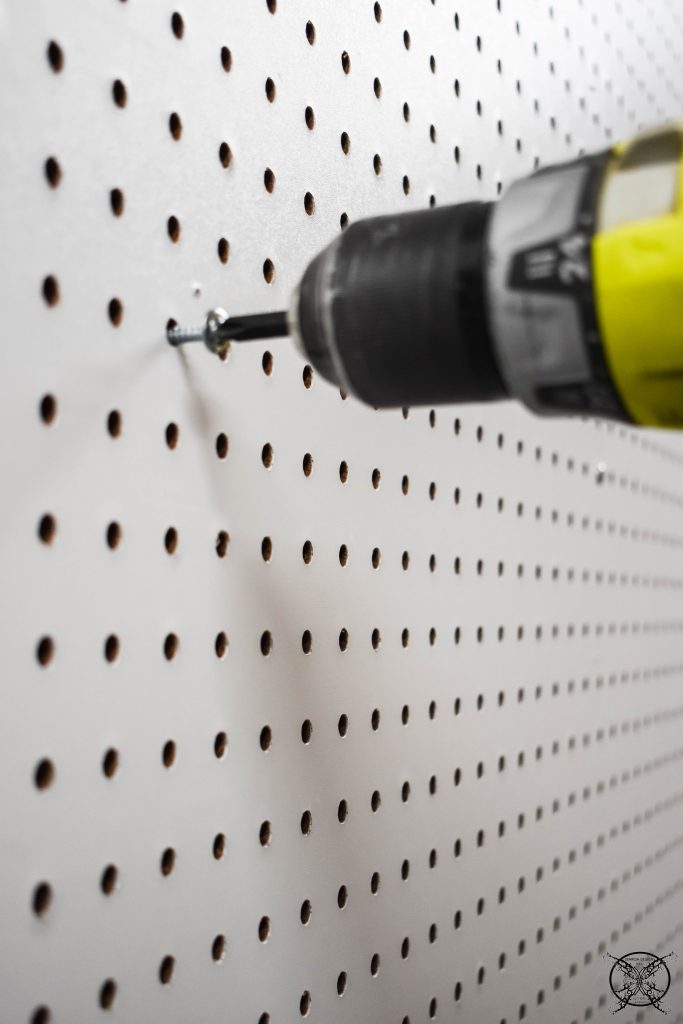 For the lower portion of the wall, we opted for a a very rustic look, which saved us a ton of money, by using supplies we already hand on hand. Pallet wood has been a go to craft lumber for us on many outdoor projects including our Sleeping Porch Bed, Vertical Herb Garden and Outdoor Dining Table/Potting Bench.
 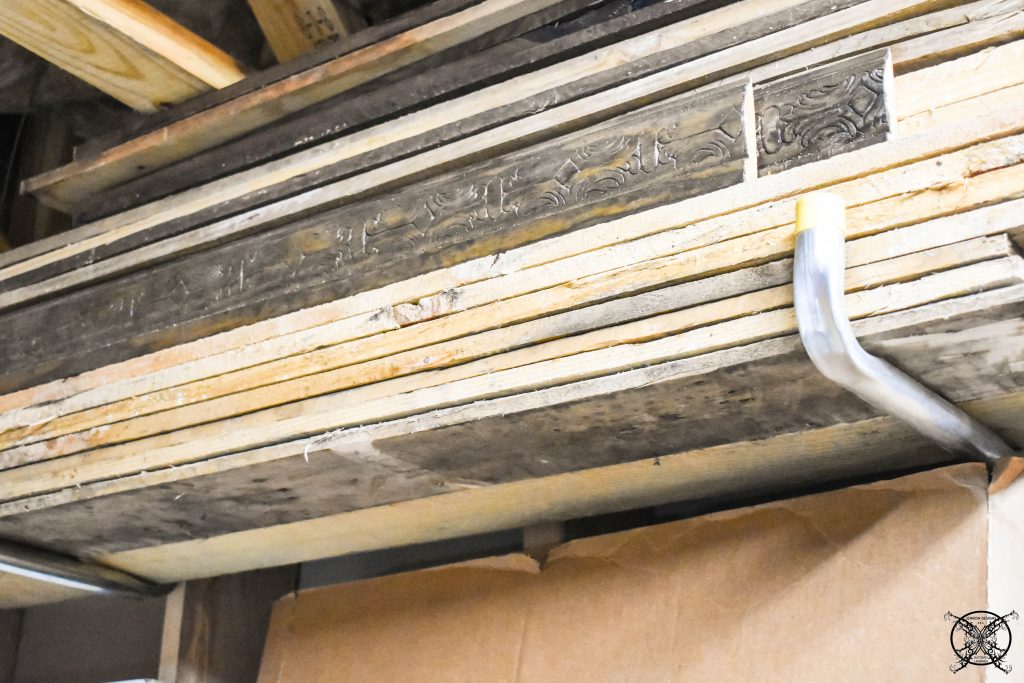 The first steps were to layout out the bottom boards and get a nice even baseboard. Then using our brad nailer we just tacked the boards directly into the studs. This created the baseboard, which is the line we laid the rest of the boards on top of as we worked our way up the wall.
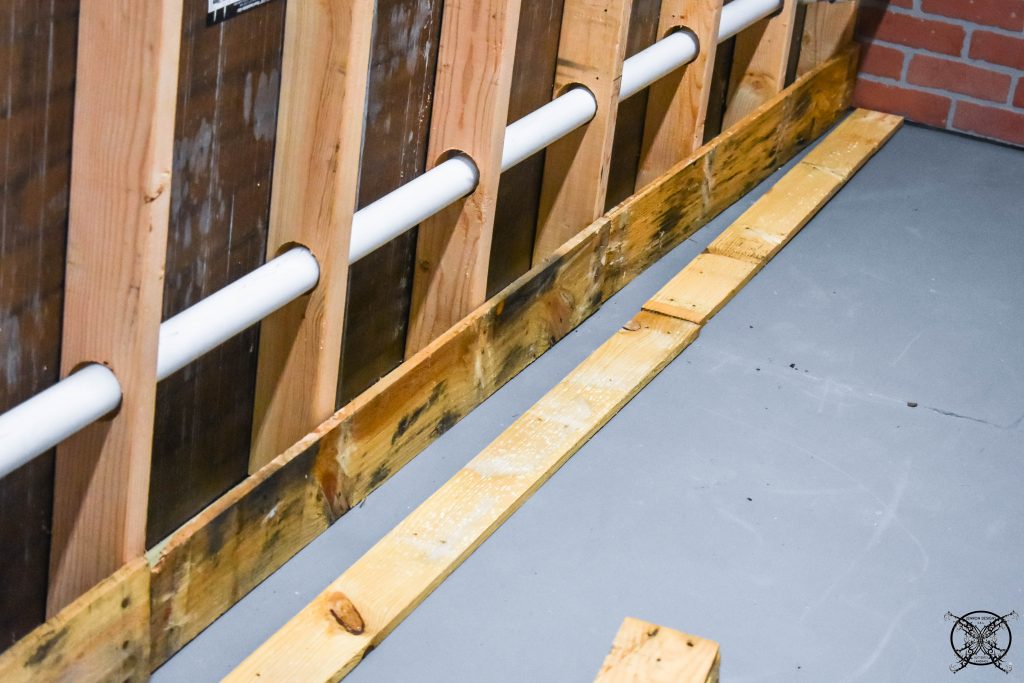 As you can see, some the boards were a little short of the studs, but they were still held securely in place by the other existing wall studs. A little wood glue on the end prior to placing the next piece in place also helped to secure the the seams. We needed to be careful around the plumbing pipes in this location as well, since this goes into my shop sink area on the opposite side of the wall, this is the main drain line.
  We continued to stack boards up the wall, and attach them to the studs, in a random pattern. This created that rustic barnwood look, which I really like for a Garden shed. The rougher the pieces of wood the better in my opinion.
 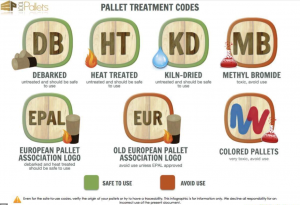 We did make sure the pallet wood was safe, meaning all the pallets were heat treated and not used for any hard chemicals. If you have concerns about that, check out my complete article about Safe Pallet Deconstruction & Usage here, with this easy code chart from 1001 pallets seen above.
 This was the final product of the pegboard and pallet wood wall project after the installation. I can not wait to get all the organizational hardware in so I can really get this wall laid out and organized. I can already feel my OCD starting to go haywire.
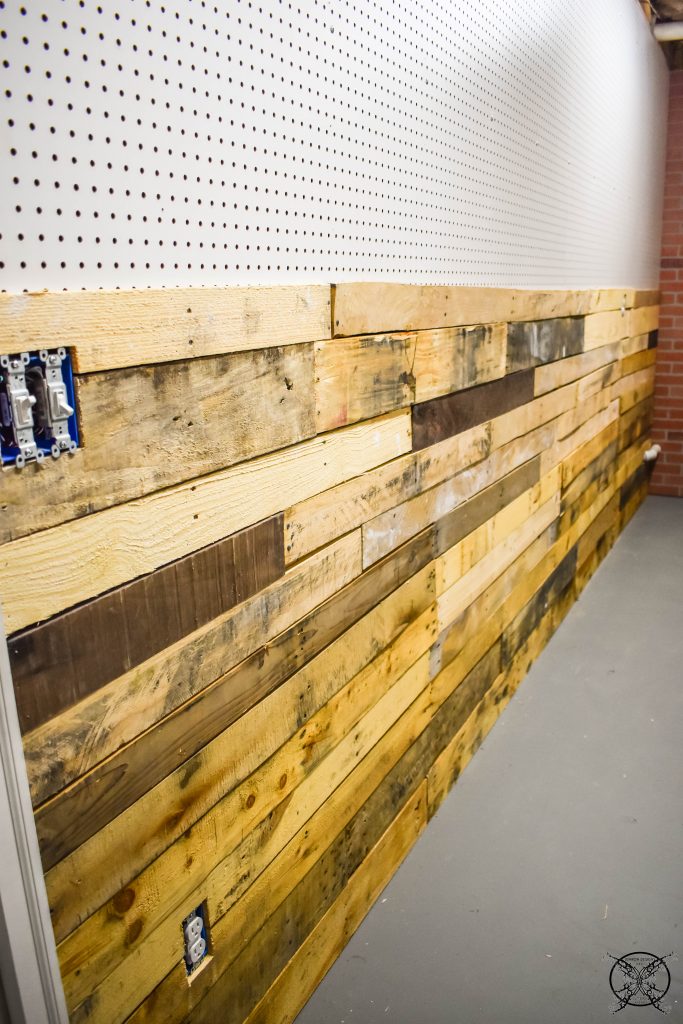
The Proposed Schedule:
Week 1: The Plan, Paint Concrete Floor, Repurpose Building Supplies Brick Panel Wall & Plywood from Doors
Week 2: Add Pegboard & Add Pallet Walls
Week 3: Create Wall Cabinets, Paint Walls, & Add Wire Repurposed Shelves
Week 4: REVEAL
Budget:
Week 1: Repurposed- Brick Panels, Leftover Concrete Paint, Repurposed Paint Supplies, Screws/Brads Leftover from previous projects & Plywood Board from Doors- All Free
Week 2: Pallet Wood- Free, Brads/Screws leftover in tool box from previous projects, Pegboard Panels- $19.86 x 2 = $39.72
TOTAL: $39.72
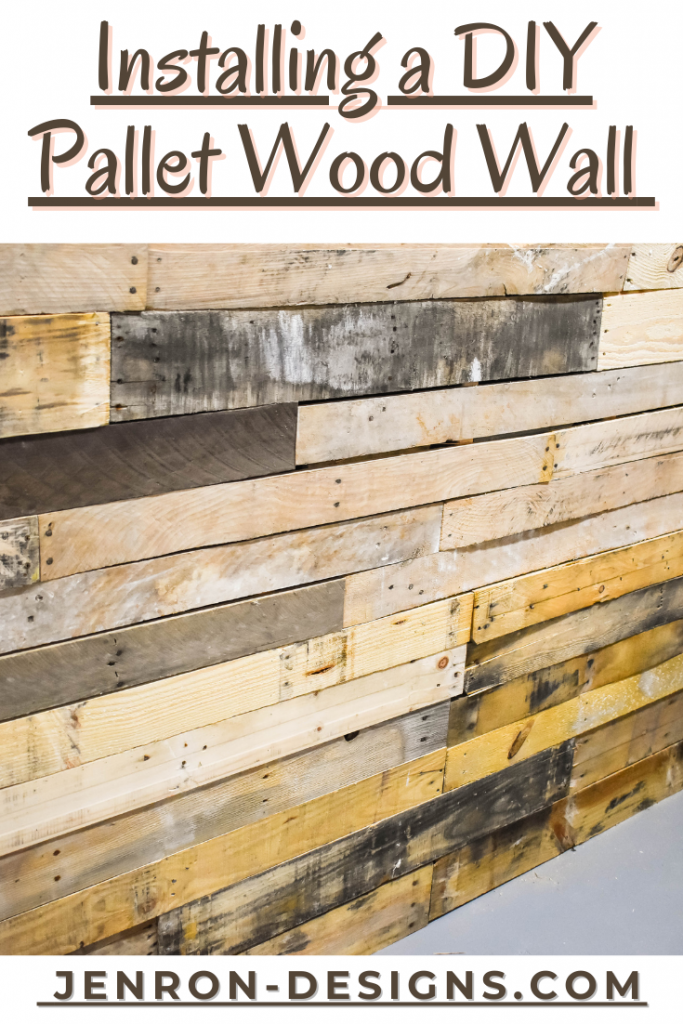
PIN This Project for Later and be sure to follow us on Pinterest at Jen @ JENRON DESIGNS
This is going to be such a cool room! I can’t wait to see it with the shelves!
A wall of this type besides being very cheap is really design, it makes a beautiful effect! I love so much!
What a fun wall treatment! The pallet boards look so cool, and the pegboard will be so useful for organizing!
This is so cool and creative!! I love the look of this!!
Jen,
I love the different materials you used! This is such a fun makeover.
So smart only using the pegboard on top with the pallet wood on bottom. And it looks perfect for a garden shed!
I love these room challenges. I enjoy watching your genius in action.
Wow such a fun and creative project! I am not too handy but I feel inspired to create something!
I love pallets! This is such great work. I love how it turned out.
I know nothing abour construction but I’m still suprised of how cost effective this is. The wall is coming along so nicely. Can’t wait to see how it turns out
This wall looks so amazing! Love the use of the pallet wood under the pegboard. It really elevates the design.
It looks amazing Jen! The pallets are perfect for the space and look so rustic… I love it!! I can’t wait to see the rest.
Your wood stash looks a lot like ours! So nice to be able to use things you already have on hand vs. buying new. The pegboard and pallet wall look awesome!
This wall is amazing! I can’t wait to see your finished room.
I have never worked with pallet wood. That is good to know! It looks awesome!
Excellent post. I was checking continuously in at this blog and I am always so impressed! Very helpful info especially the last part of this DIY 🙂 I was seeking this type information for a very long time. Thank you and good luck.