Stenciling A Concrete Floor
This week we swapped the schedule and we are doing the ORC Stenciling A Concrete Floor for week 6!
So, this is the week we decided to swap the schedule to do the ORC Stenciling A Concrete Floor before the trim out, and doors it just made more sense. Honestly parts of this really happened at the same time but since it made more sense to show the baseboard trim out after the floor painting and stenciling we opted to change the schedule just a little bit.
WEEKS AT A GLANCE:
WEEK 1 WEEK 2 WEEK 3 WEEK 4 WEEK 5/6 WEEK 7 REVEAL
Just in case you maybe wondering exactly what The One Room Challenge is, here is the link, and the scoop. This event was started by Linda Weinstein @ Calling It Home and is hosted twice a year, in April and October for the past 15 seasons. The ORC has hosted over 500 interior designers & home decor bloggers, that have joined together in this challenge to makeover one room in their own homes. The participants normally have a total of six weeks, from start to finish, this season will be eight weeks to complete a full room transformation. Over 3,800 rooms have been transformed through the One Room Challenge to date, and many spaces have been recognized and featured by several prestigious sites, such as Better Homes and Gardens.
*Please note that this post may contain affiliate links for your convenience. These links involve no extra cost to you. You can view my full advertising disclosure statement here.
THE BASEMENT FAUX BRICK PICTURES & BEFORE FLOORING:
You all remember that last week we finished the German Schmear on the walls, if not you can click back to week 5 to see the full tutorial on How to do a German Schmear technique. After creating this beautiful finish on the walls I really wanted the floors to have a little personality as well. Since they are concrete, our original idea was to lay hardwoods in the entire basement, and we still may do that going forward. However, for now, since this is my craft room and floral shop, I wanted a durable water proof floor that could take a beating. 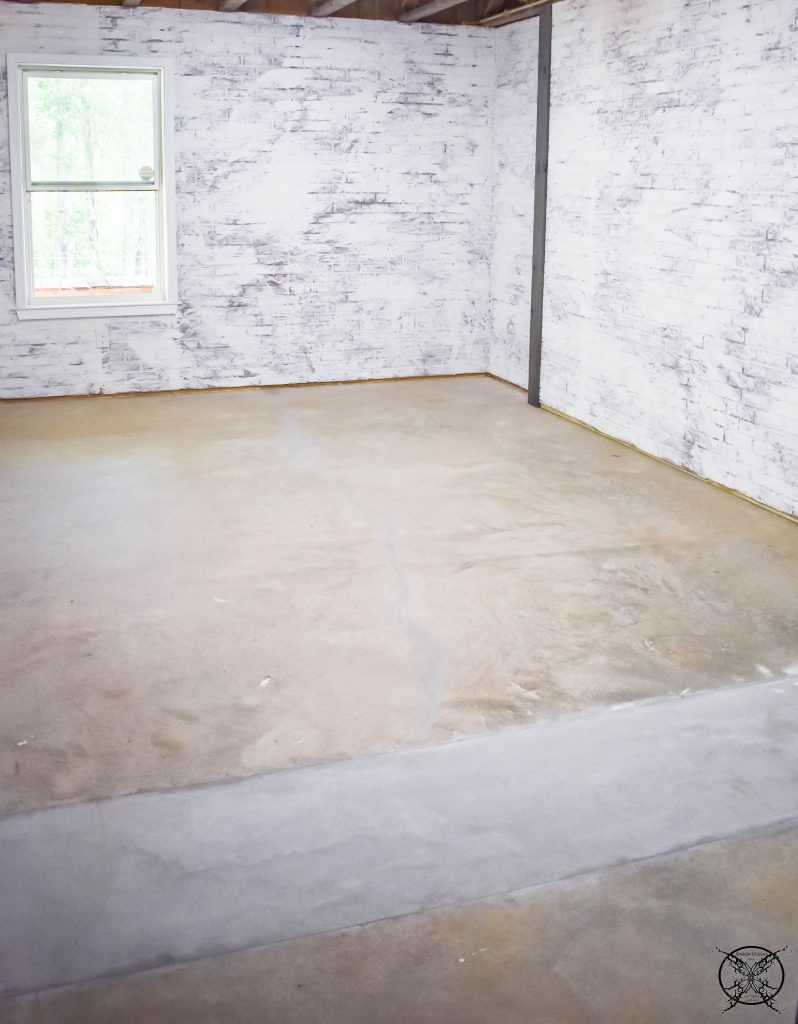 I had originally wanted to do an acid washed concrete floor, which was hampered prior to ever closing by a drainage pipe that was not installed properly which called for our concrete floors to be saw cut and re-poured in a section. This would make a clean looking acid wash impossible, but solid concrete paint was not going to be out of the question and with all these cute farmhouse style stencils, I hatched a creative idea.
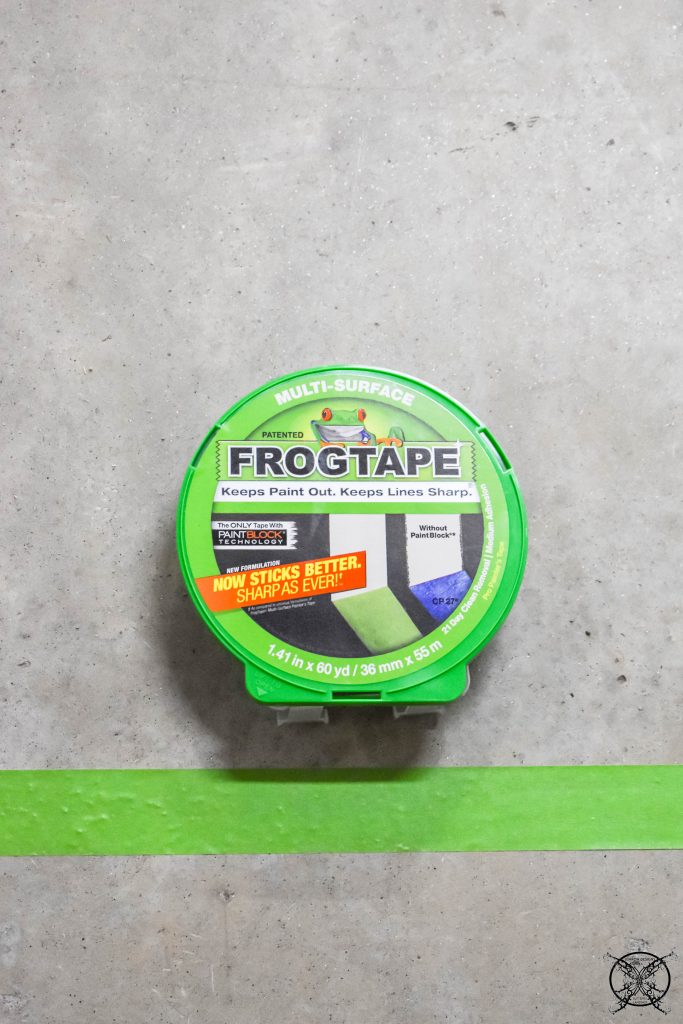 So the first thing I did was tape off room lines in the doorways with frog tape. First let me say, this stuff is the bomb diggity for taping lines and painting. It always leaves a nice clean line and never has any bleed through or under when I am painting.
 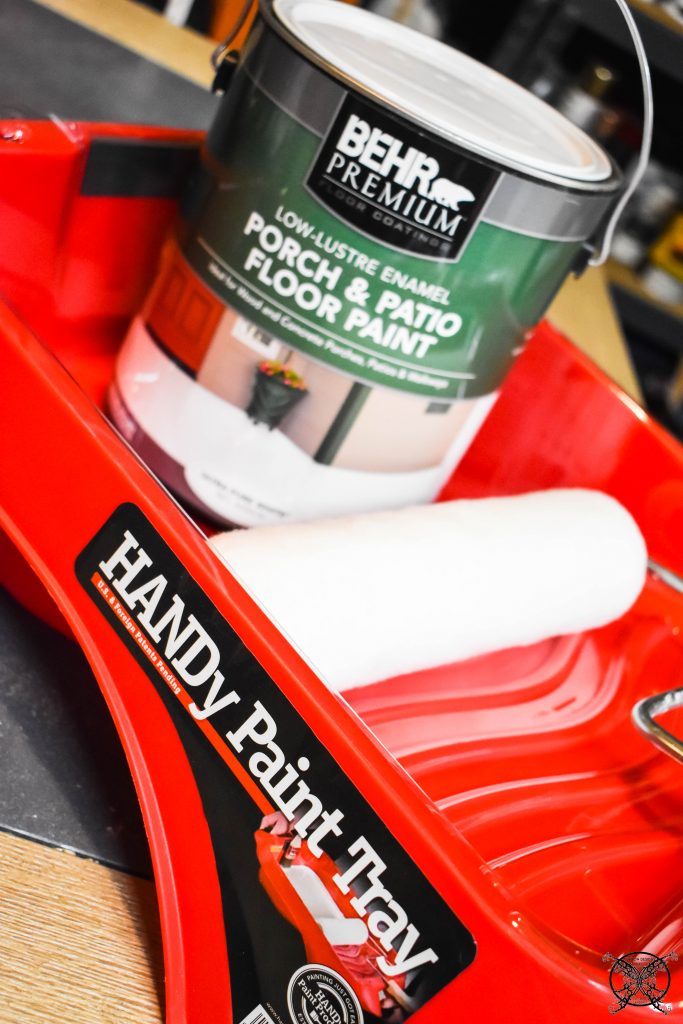 Next, I used Behr Porch and Patio floor paint, which is perfect for concrete floors. It seals them and is scratch resistance as well. I chose to roll the paint on as a time saver with my HANDy Paint tray, which was graciously provided in the new product relaunch. I have to say that the HANDy Paint Products are by far our favorite to use, and we do a ton of painting so I can totally speak to usefulness and durability of their complete lineup of products.
 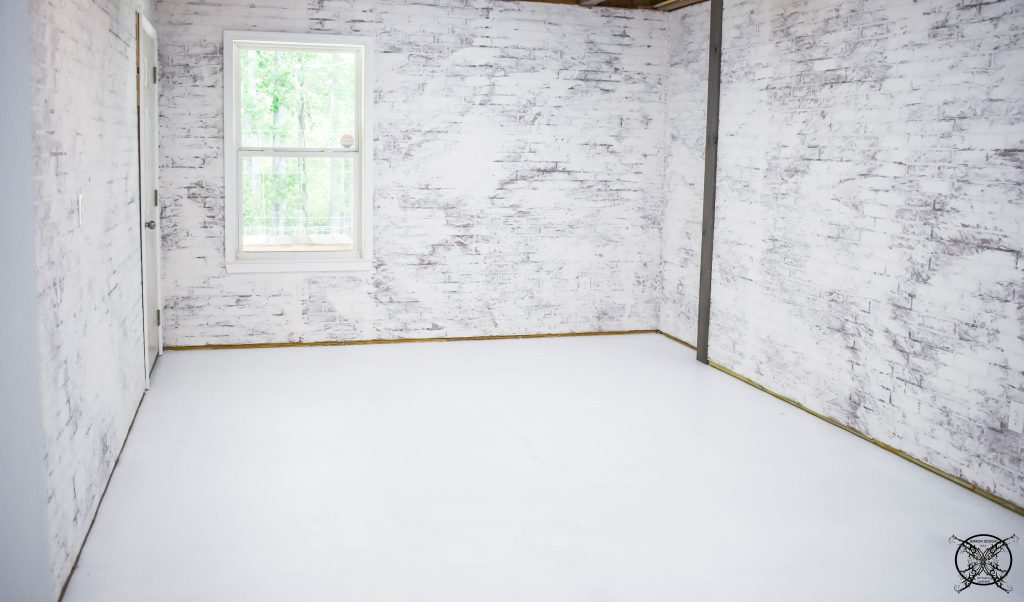 After 3 coats, which was around 1 1/2 gallons of the Behr Pure White Porch and Patio paint for this space, we had a completely opaque white floor. Which is very pretty, but I wanted just a tad bit of personality in my space.
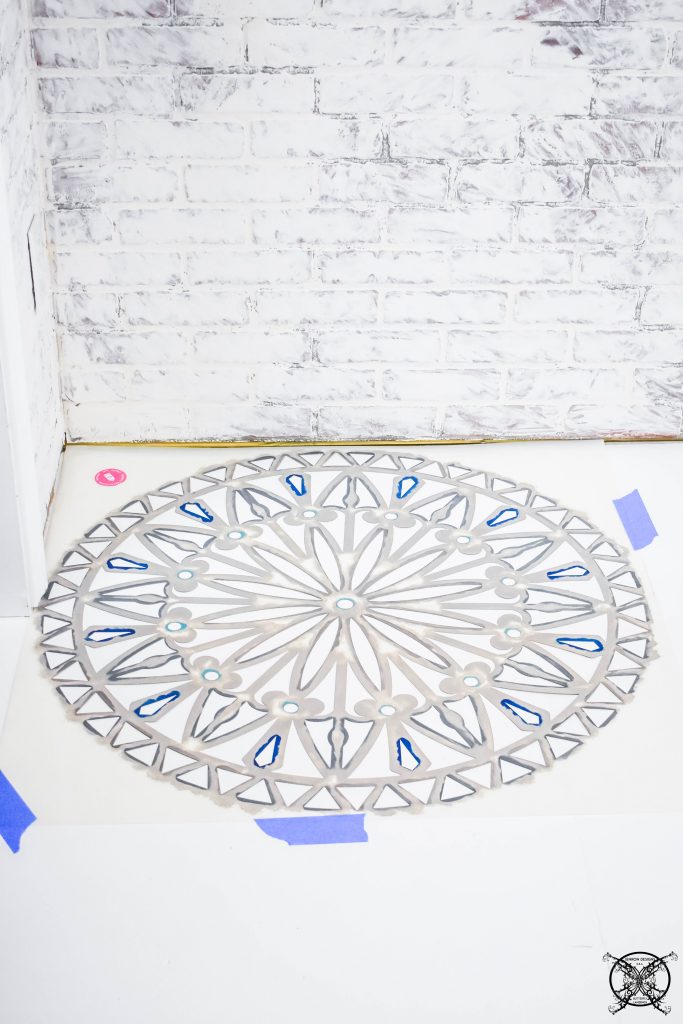 You may recognize my large Mandala Stencil, as I used it last season to create a one of kind piece of art for the One Room Challenge, and I also refinished a tabletop with it as well. Now I plan on using it for a large tile stencil on the floor. I love that it loosely resembles a flower, and ironically it sort of looks like my company watermark logo as well.
 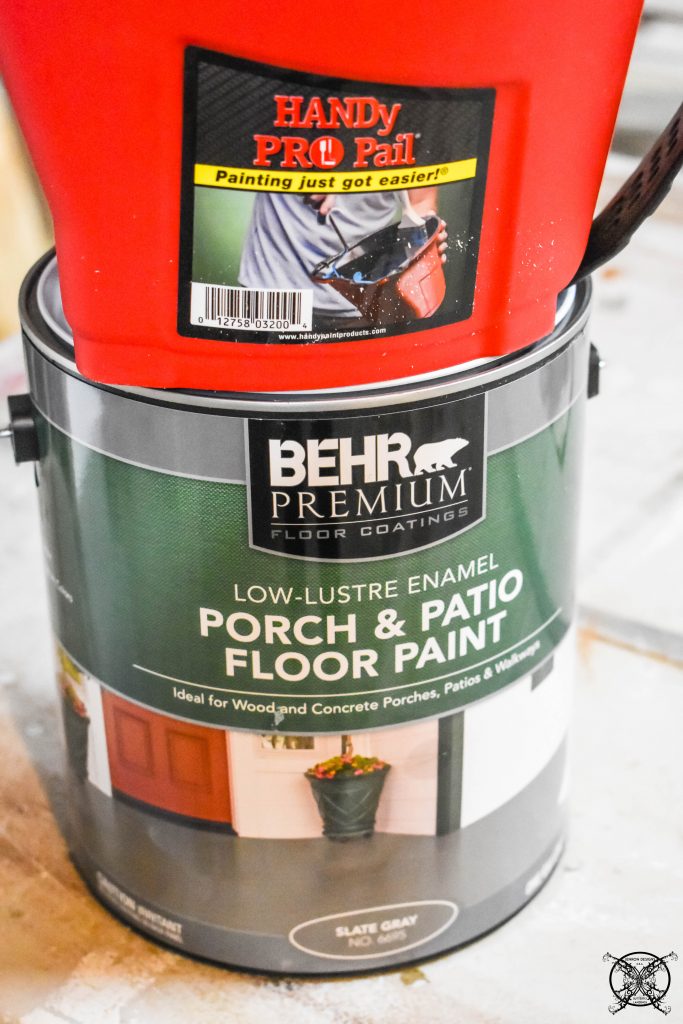 For this part of the project I will be using the Behr Slate Gray Porch and Patio Paint, along with a smaller HANDy roller cup. When doing large stencils I recommend rolling on the paint for an even look and distribution of paint. It also helps to prevent bleeding under the stencil as well. When we got to the final wall at the far end of the room I only used half the Mandala stencil, but we pre-measured to insure that it would be 4 Mandalas across and around 6 1/2 deep, since there would be a split I preferred the split be at the far end of the room.
 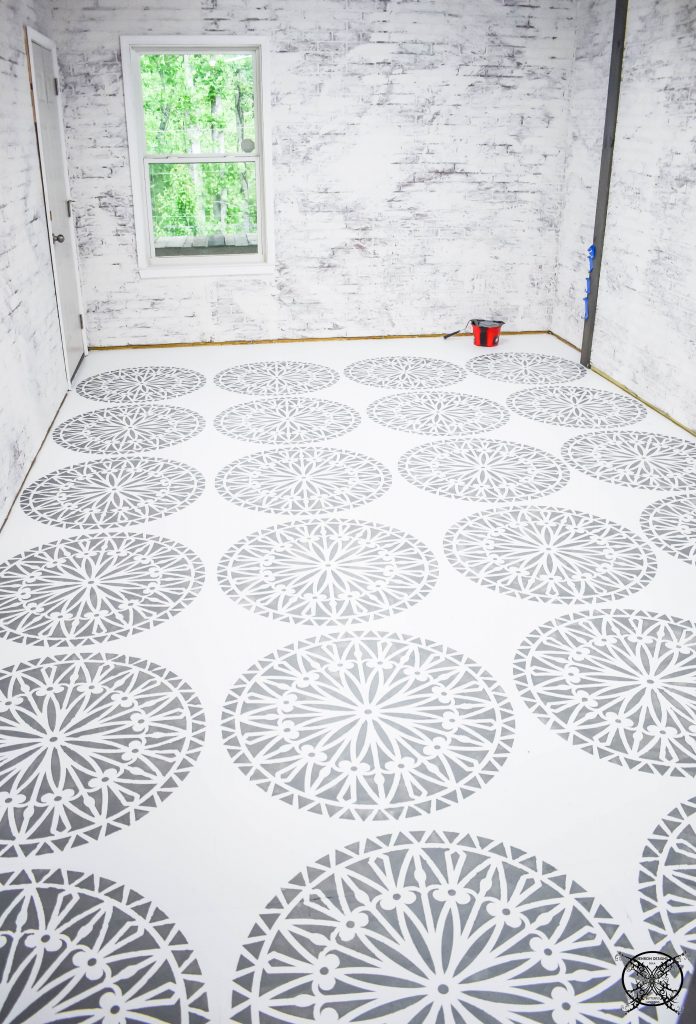 Overall this project was very inexpensive, at a total of $60 for paint and 1 weekend of time. So if you are looking for a quick and easy way to dress up a concrete floor without breaking the bank I recommend trying this option. You can always go back and lay flooring over the top later on but for a cheap and cheerful finished look in a workshop this is totally a winner, winner, chicken dinner!
THE PROPOSED SCHEDULE:
WEEK 1: Introduction & Inspirations
WEEK 2: BLUEPRINTS: Figuring up the amount of supplies needed for all DIY builds
WEEK 3: Building Walls Pulling Wire & Running Electrical
WEEK 4: Insulating & Adding Brick Panels
WEEK 5: Cancelled by ORC
WEEK 6: The German Schmear
WEEK 7:Painting the Floor
WEEK 8: Casing Trim Out, Barn Door & REVEAL
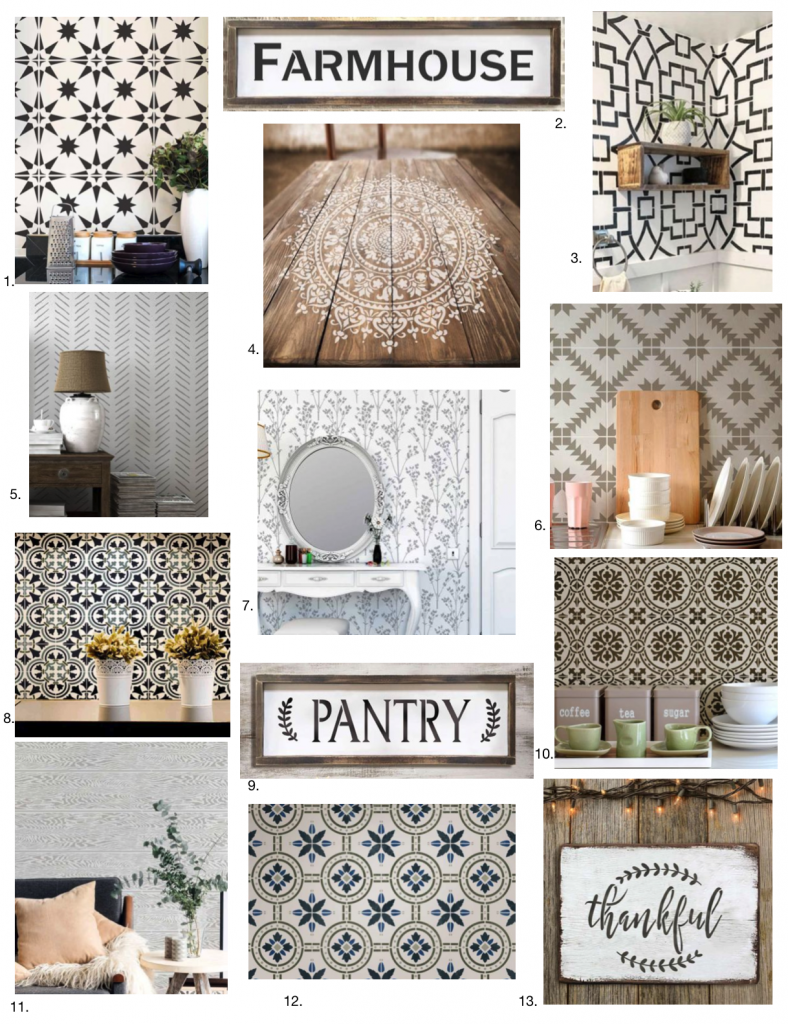
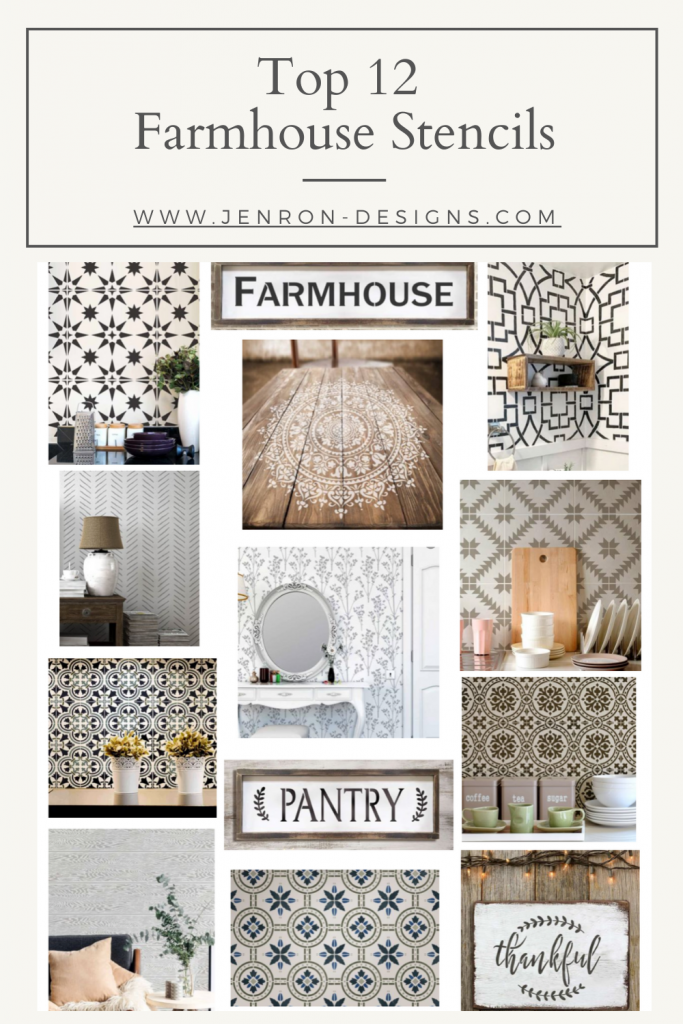
Check out my other favorite Farmhouse Stencils below perfect for tile floors or walls like I have created in this post. Also be sure check for the latest saving events always listed on my Shop My Style page, linked here.
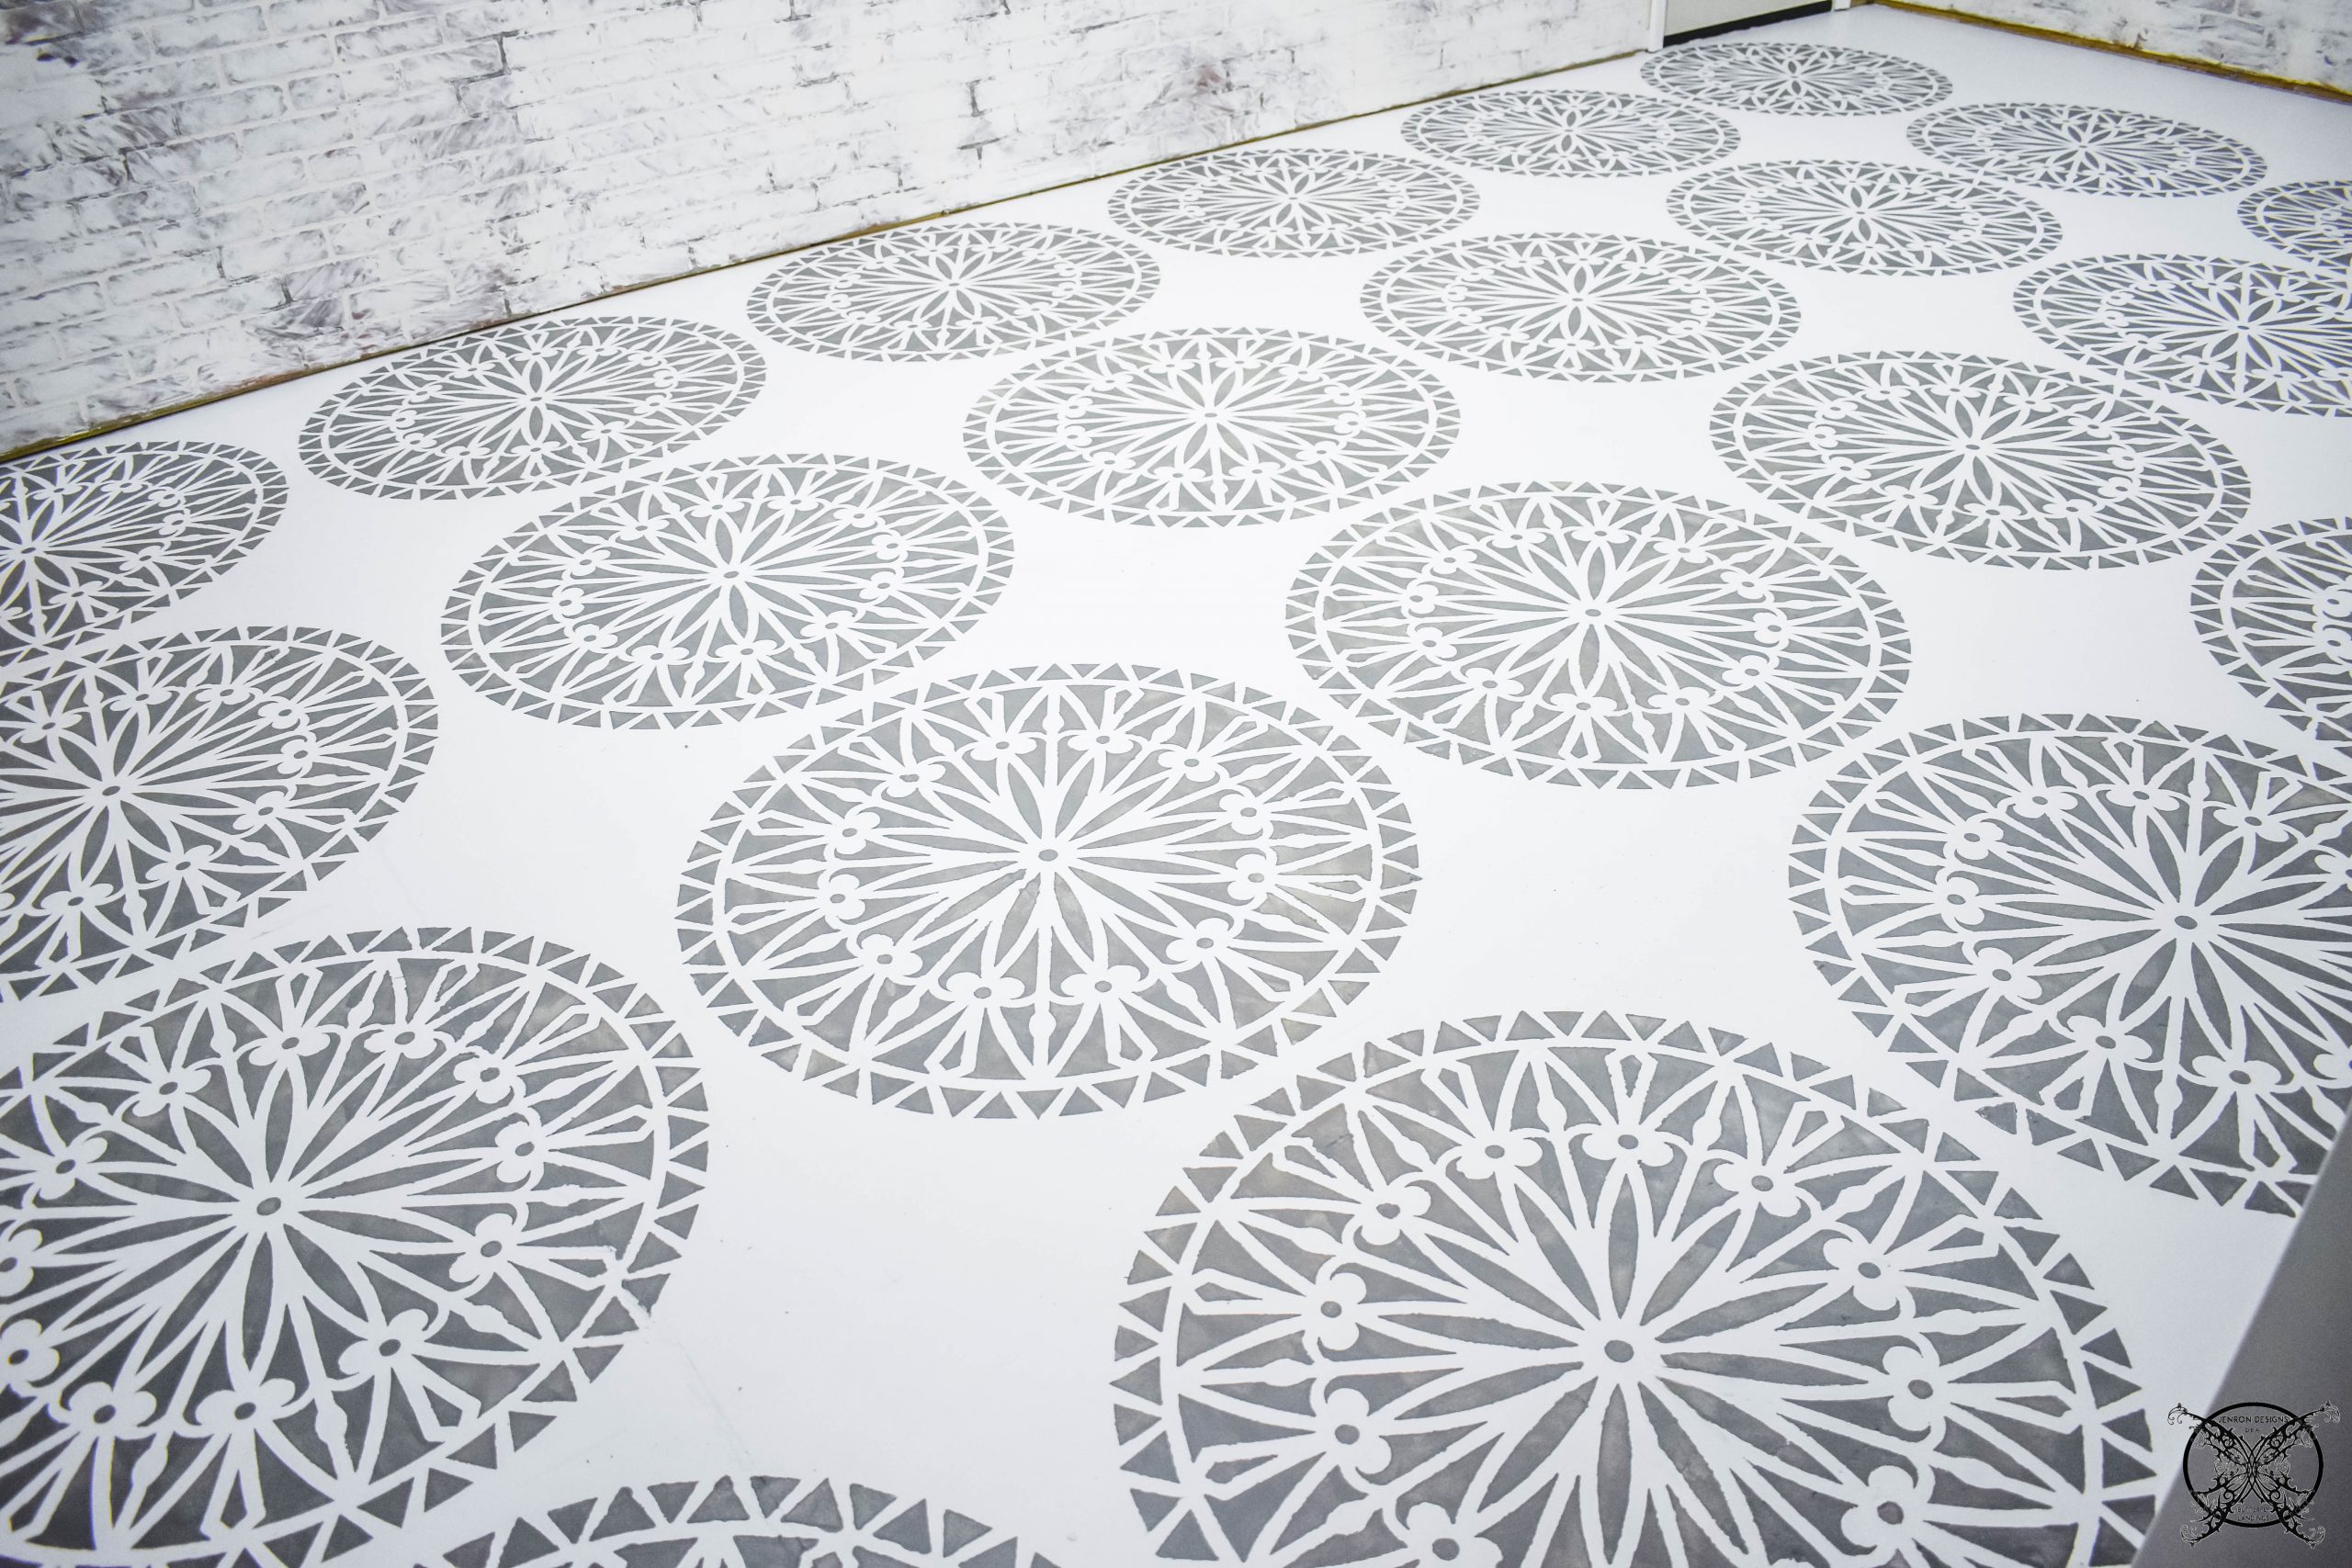

I think this is my favorite ORC to date!
Oh my gosh thank you so much Nori! It has been such a fun room to work on since it is just my little hobby and work space. I have been soooo ready to get to work on this basement for a while now, and this is just the beginning.
Wow! This looks amazing!!!!
I had no idea about the work needed behind stenciling. I would love to get this done at my home.
An idea as original as it is undoubtedly an elegant result. You made me want to try it at home …
I love how it came alive afterwards, it’s truly a beauty.
Beautiful! I’m going to have to try my hand at this!
Wow, you have done such a great job. The end result looks fabulous and I wish I had a room decorated like that for my yoga practice.
What a beautiful, yet durable design for your workspace!! I think it’s so important to work in an environment that inspires you and this will certainly fit the bill!
I’ll be moving next week, I might use this idea! Thank you for this, I’ll update you! 🙂
This is so amazing! Such a talent! Looks fab
Wow! That looks amazing! Doesn’t even look like the same room! I love the style!
OMG this room just keeps getting better! I love the floor stencil and I think it will look so great as a flower workshop. Giving me so many ideas when we finally get a house of our own!
Looks great, a lot of hard work and efforts I am sure from your end. Enjoy the new look!
Looks great….so light and airy! I know firsthand how much work goes into painting a floor….beautiful job!
What a difference the floor makes! I hate using a rug in the basement (due to occasional dampness at our house), so a painted floor is a great idea.
Oh it looks so awesome! I don’t know how I missed the German Smear last week but it looks amazing! I will be pinning that one to save for later as I hope to do this to my fireplace! Great looking floor. I love the large stencil!
Wow! That is stunning!! Can’t wait for the reveal!!
Oh wow! It turned out amazing Jen!!
I in no way have any idea on how stenciling works or is done, but I would love to do this to my floor soon! It looks so wonderful, I am in awe! The interior looks like from another dimension! Out of this world, really! I am so excited about the reveal!
HI. THIS IS VERY HELPFUL AND VERY INFORMATIVE I HAVE ENJOYED THIS POST SO MUCH!
I love how your space turned out and this entire design challenge was so much fun to follow.
Wow this floor is really amazing and you did a great job!
WOW! just wow! I would love to do home DIY one day once I have my own place. The floor looks amazing