$100 Room Challenge: Built In Bench
We are headed into week 4, of the $100 Room Challenge: Built In Bench for shoe organization this week.
Hi everyone, welcome to week 4 of my $100 Room Challenge: Built In Bench. If this is your first time viewing the $100 Room Challenge let me take the time to give you some background. This is a bi-annual challenge sponsored by my friend Erin, over at Lemons, Lavender, & Laundry. What is the $100 Room Challenge is all about? The challenge takes place twice a year, January and September, and Erin invites us to redo a room in our home using a budget of only $100. As you can see the premise of this challenge is real simple: one month, one space, and $100. If you want to know more about the $100 Room Challenge, check out Erin’s post to see how the concept was inspired, and it’s colossal growth since she decided to start it!
Weeks at a Glance:
WEEK 1 WEEK 2 WEEK 3 WEEK 4 REVEAL

*Please note that I was graciously compensated for this post. This post may contain affiliate links for your convenience. These links involve no extra cost to you. You can view my full advertising disclosure statement here.
THE GARAGE BEFORE:
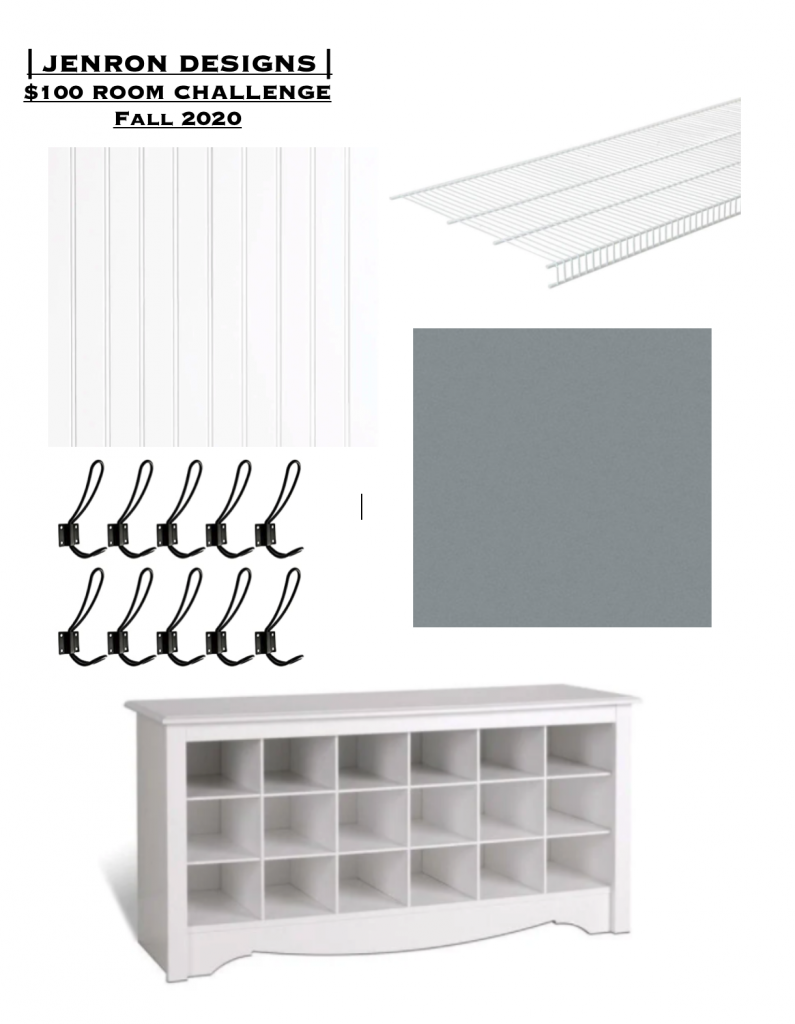
This season we are excited to be cleaning up and organizing that overlooked, hard working area of our garage. I think the entire pandemic is what really spurred this upgrade and transformation to become a priority for us since we have been leaving a pile of shoes next to the door along with a few non essential groceries, etc. Plus for sometime I have really wanted to cover up these unsightly oil stains and tire marks from our older vehicles and give this floor a fresh new look.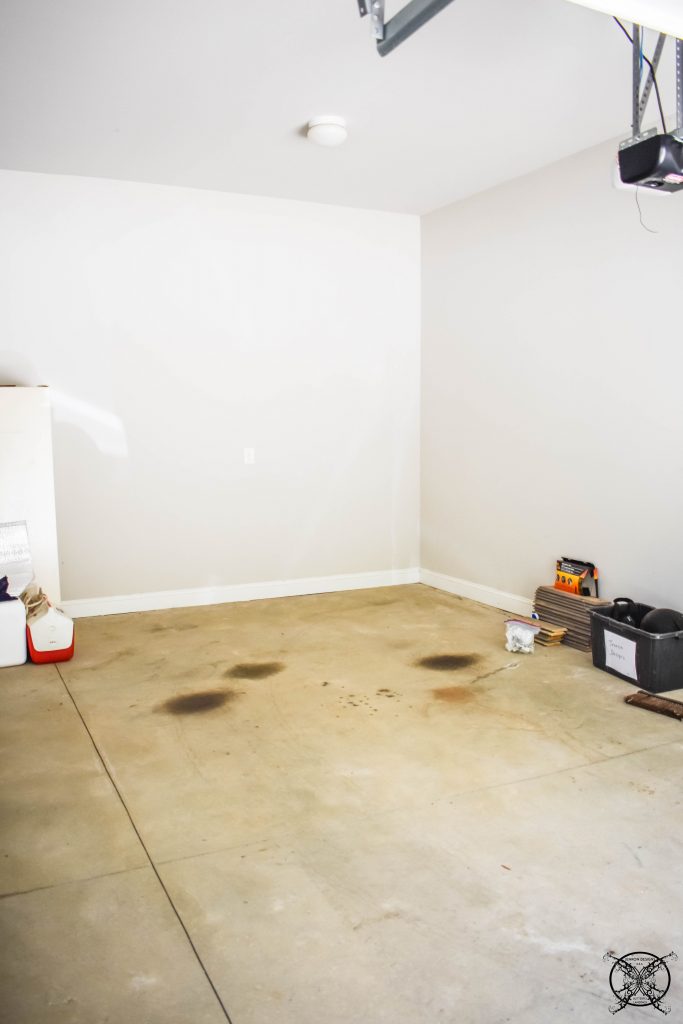 As you can see on our proposed vision board, I have called out a pretty gray concrete paint which may look slightly familiar to my regular readers. This is the very same porch and patio paint that I used last season for my Basement Flower Shop Concrete Floor Stencil. You may remember the floor was white and the stencil was gray, for that reason I have almost entire full gallon of the gray paint leftover, since it took only a tiny bit to do the the actual stencil portion, so guess what we are using?
 Last week we painted the concrete floors to cover up all the oil stains, cracks and ugly concrete., as you can see bel0w. These are the finished floors which now look great, so we were so excited to start on building the bench and installing that beadboard for the entry way drop zone!
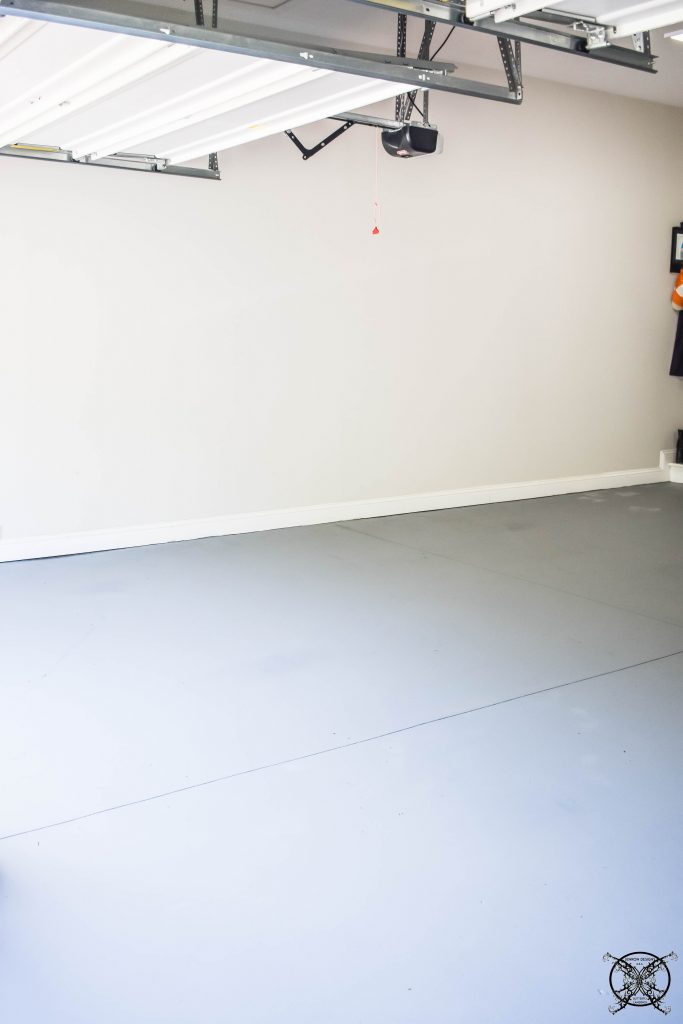
THE DROP ZONE & BENCH DIY:
So here is a quick look back at the before picture of the entryway to our home which will essentially become the drop zone area. You can see it was all haphazardly tossed together as a you would expect in a garage.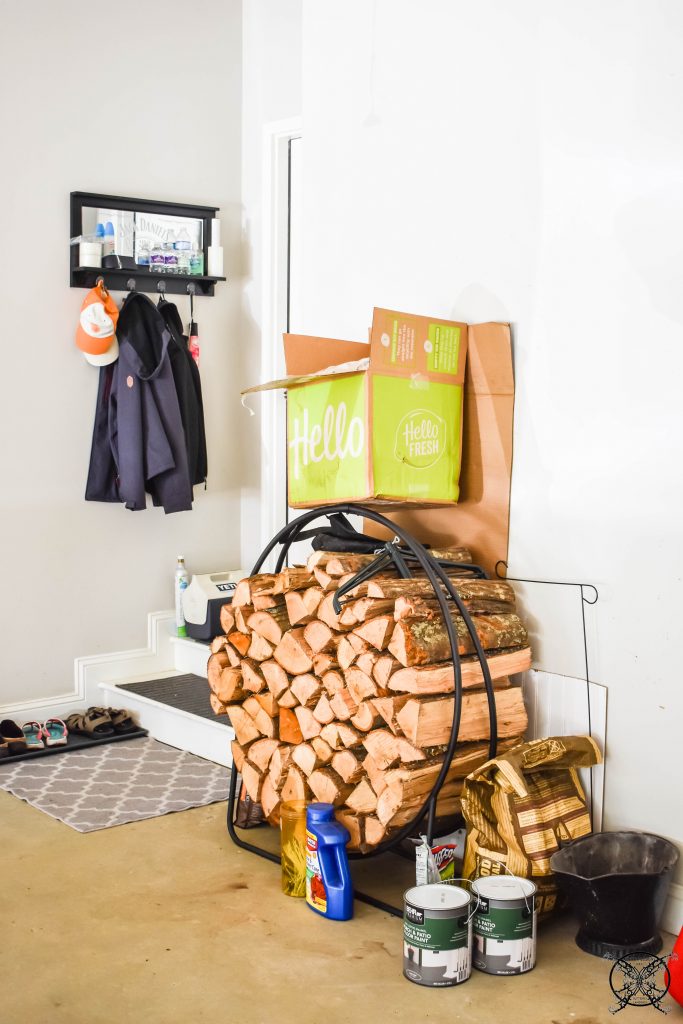 A stack of shoes, hanging hooks for coats and umbrellas. The stack of returnable recycle items to go back to the stores for deposits. It is just a hot mess!
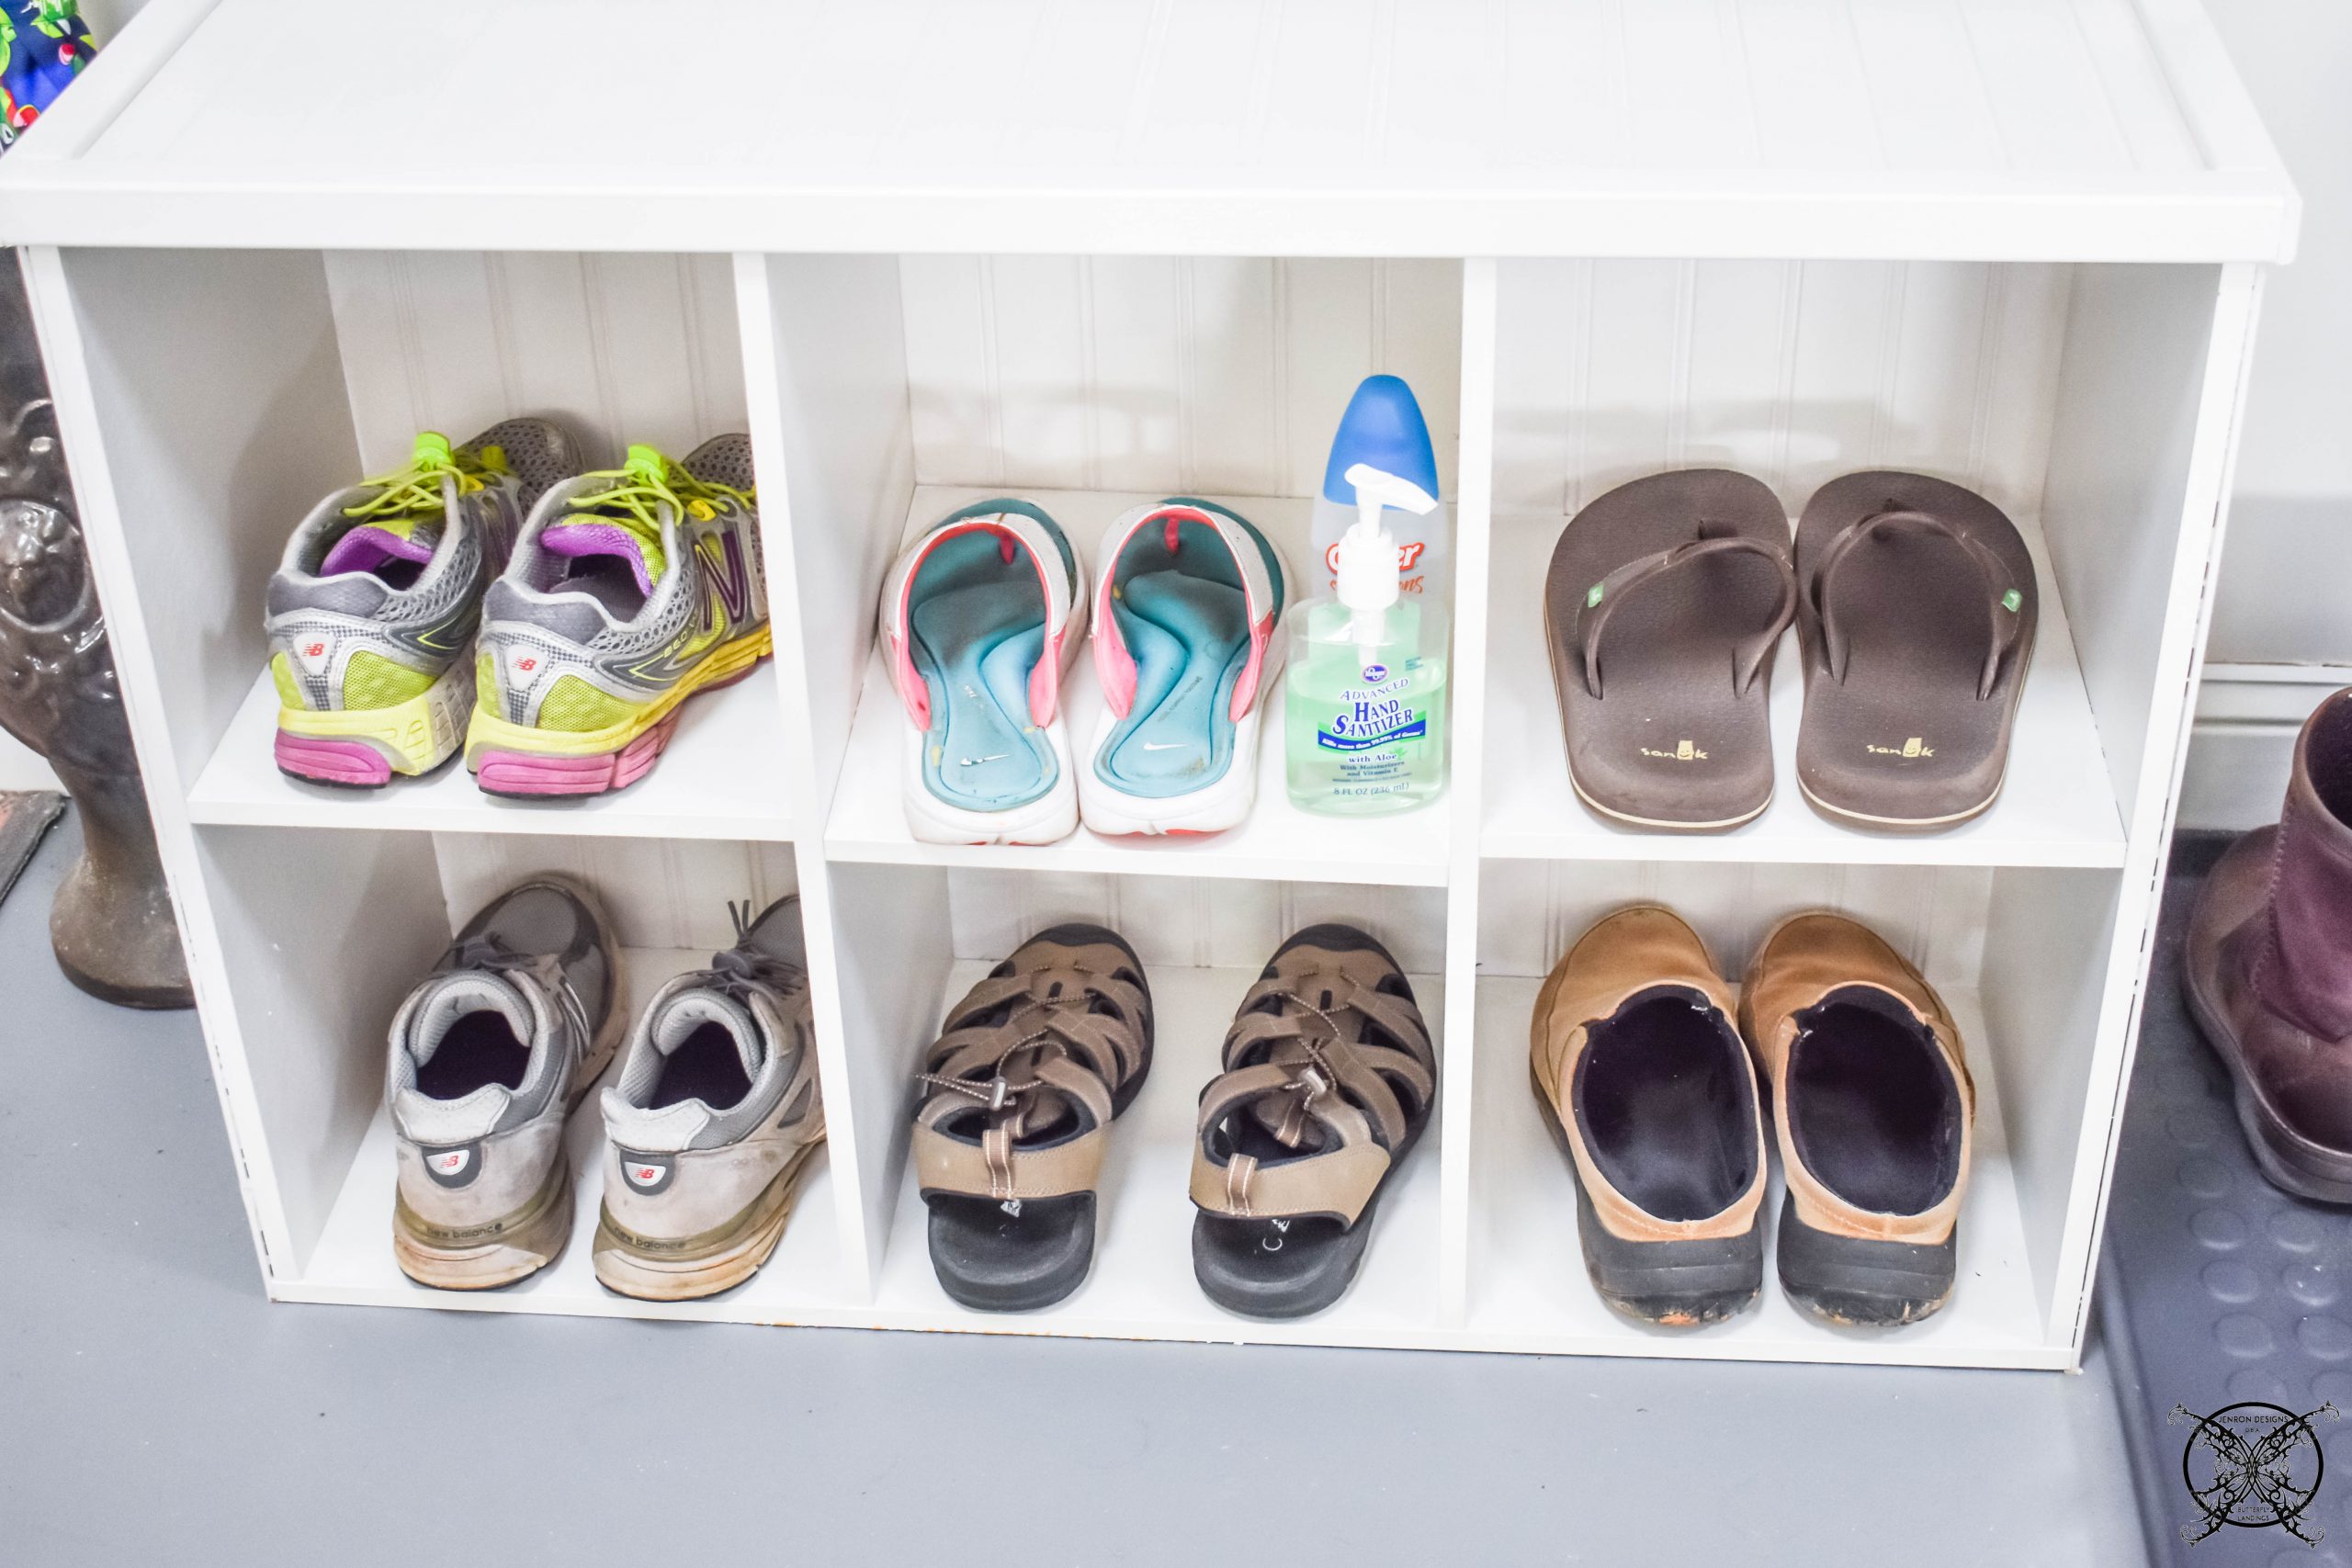
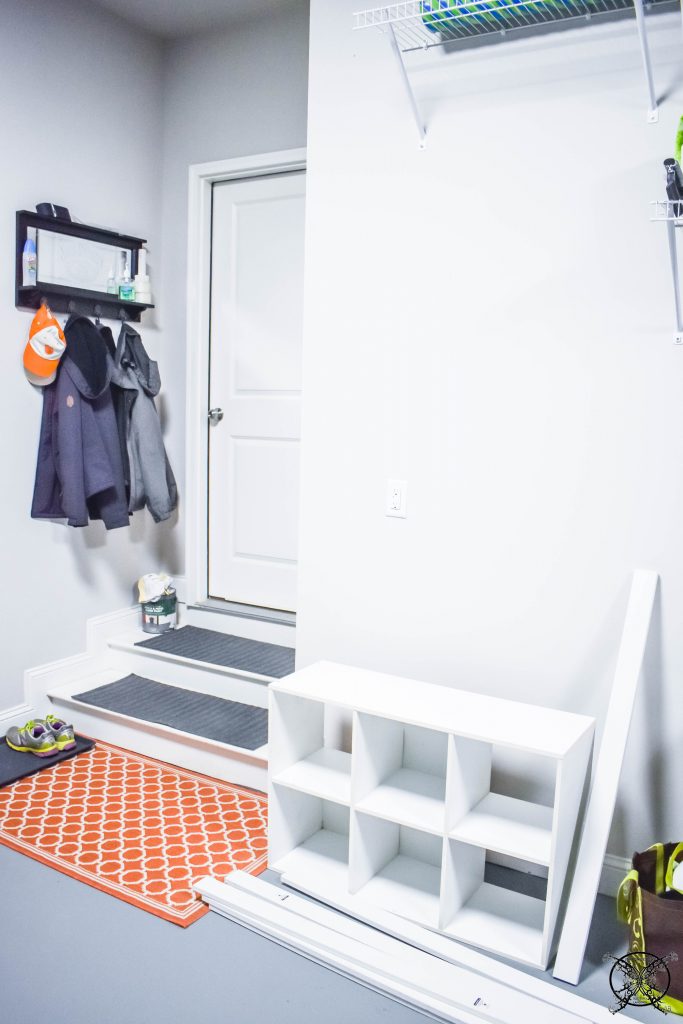
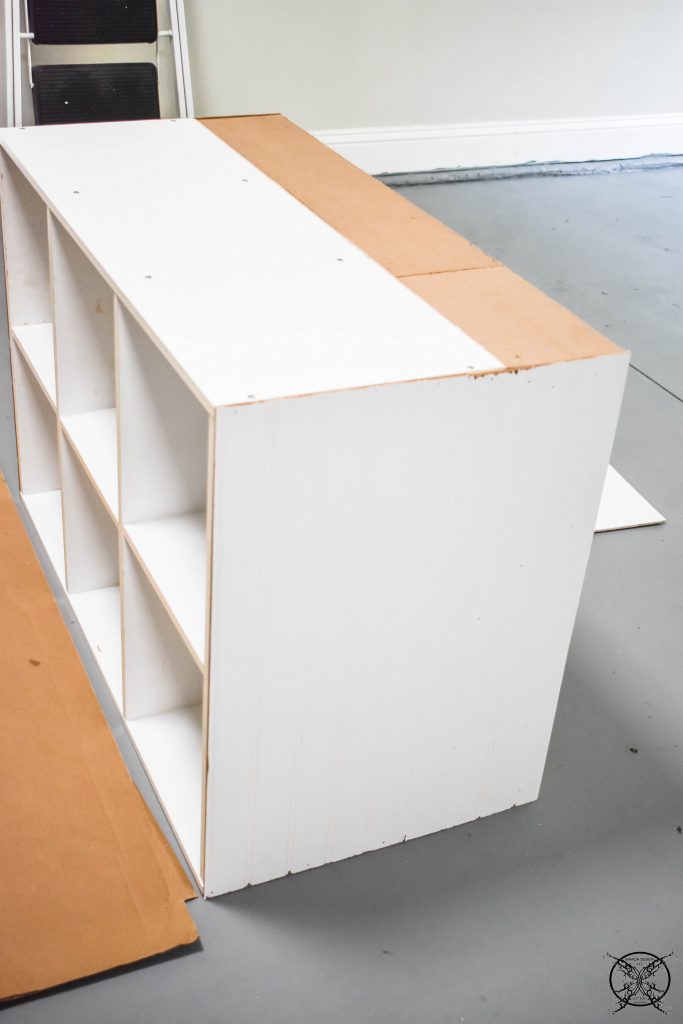
 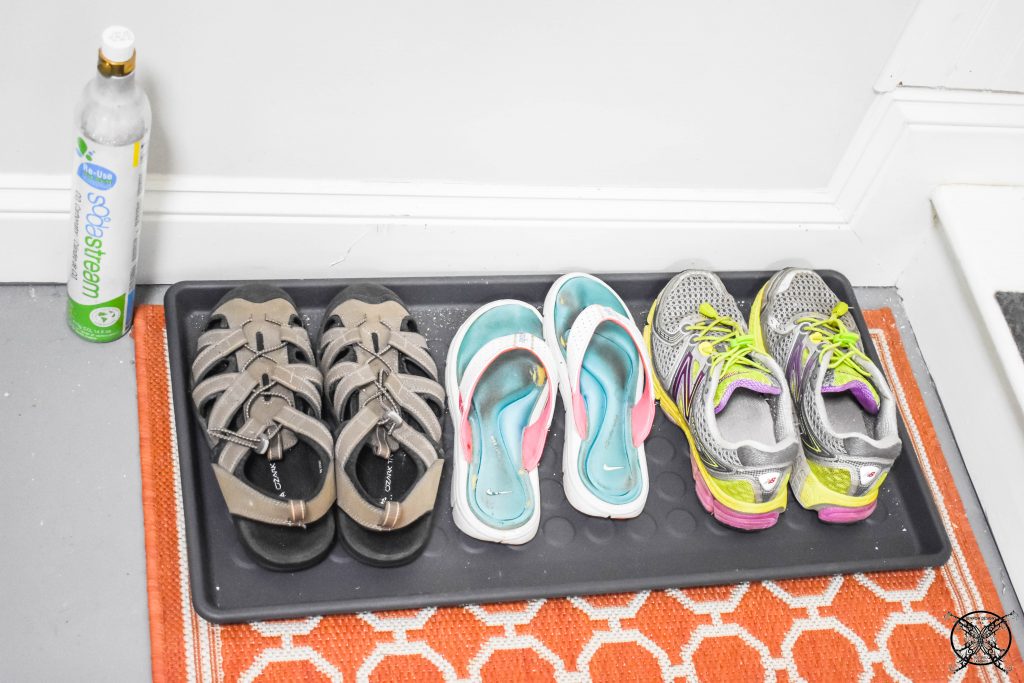 So the plan here is to build a bench to house our shoes and add hanging space on bead board walls above the bench. To save on our budget we are repurposing this very old IKEA closet organization piece that was in our basement as a shoe holder. By turning it on it’s side horizontally, it will be a perfect base for a bench with some stabilization.
 First we will added a 2×6 back piece to create extra seating depth, this was created with some scrape lumber from the wood shop from various projects, like basement walls etc. DIY Building note never toss out reasonable lengths of wood you will probably find a use, like this for them. After that we attached a scrap piece of masonite board we had leftover from the Lucky Penny table runner project.
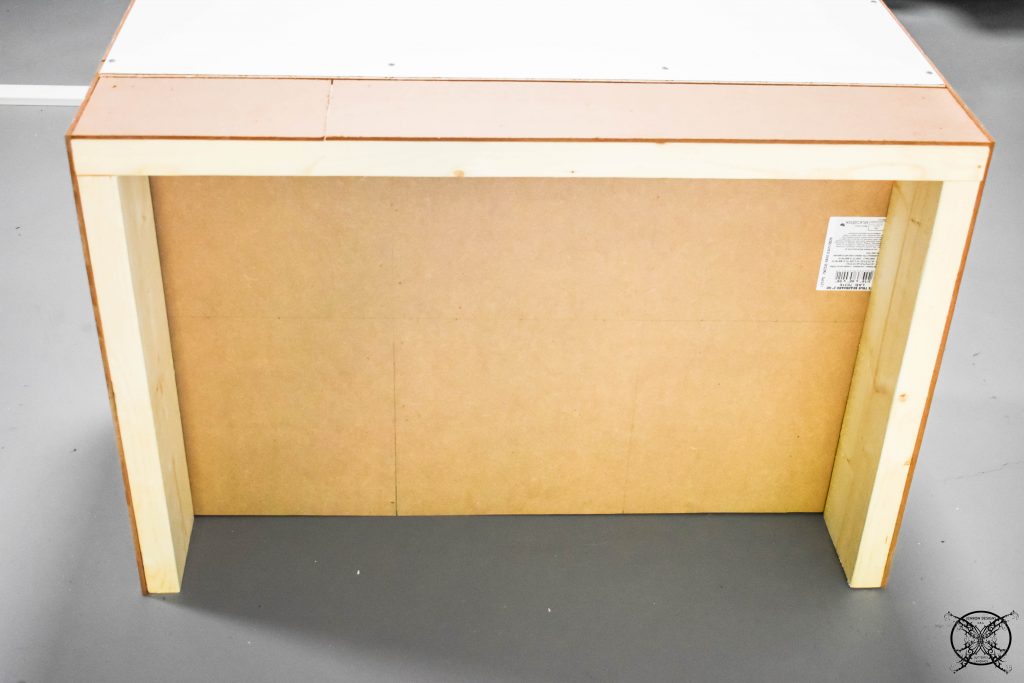 We also added three more bead board pieces to the sides and top to make a complete shroud over this basic white cabinet to match the walls. These are pieces we saved from the beadboard walls we are installing, so always make sure to measure your cuts carefully. This is why I have chosen to show this project first to exemplify how important this part really is to the entire process, and how thinking ahead will save you money.
 Now we are going to head over to show the walls and how they went up, while I did have to purchase a few sheets of beadboard we only need 3 total for this entire project at $19.57 a sheet for a total of $58.71. The rest of the wood pieces we already had left over from my Bathroom Board and Batten project, again always keep your leftover wood it comes in handy.
 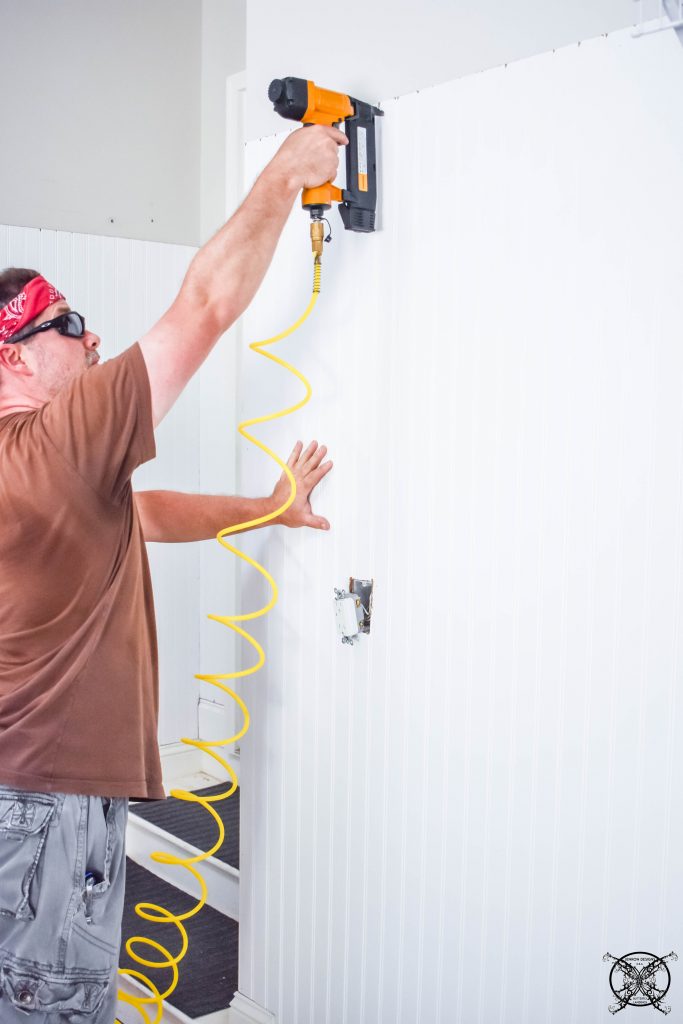 We measured up 5 ft for the bead board, and made the appropriate cuts for each space. Keep in mind that you will need a hand held circular saw and a jig saw if you need to cut out openings for plugs. Those were probably the only tricky cuts since you have to measure exactly where they will be once the board is mounted.
 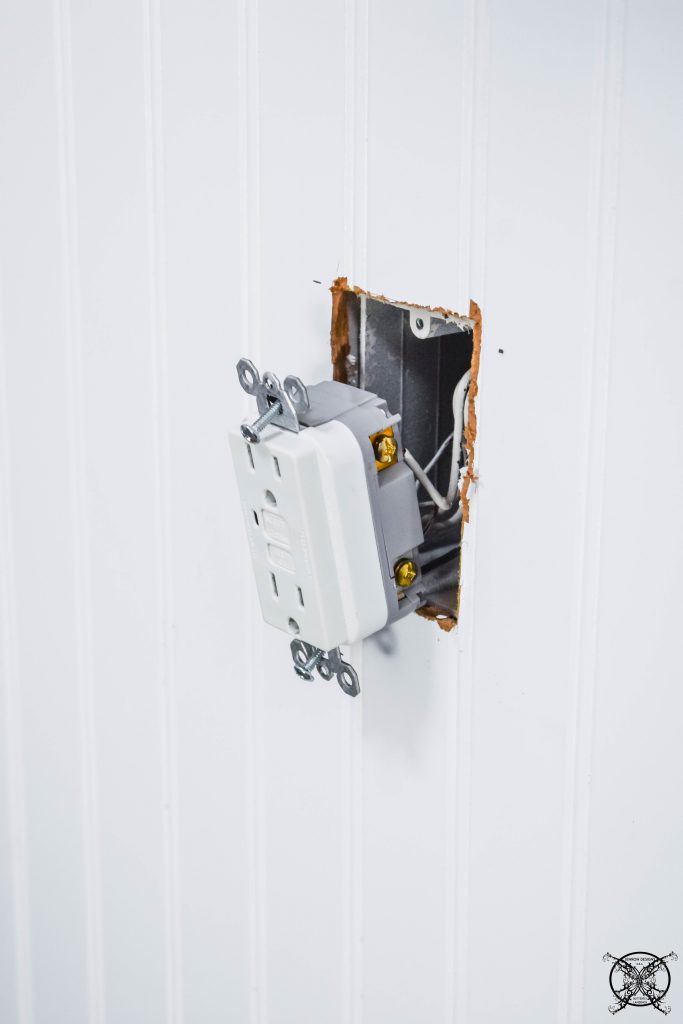 Once the boards where in place we tacked them up with our brad nailer attachment for the nail gun to leave the tiniest of holes to fill. Then we added the top trim boards which only had two mitered cuts in the corners. Which we used the miter saw for, but this can be hand done as well with a jig saw.
 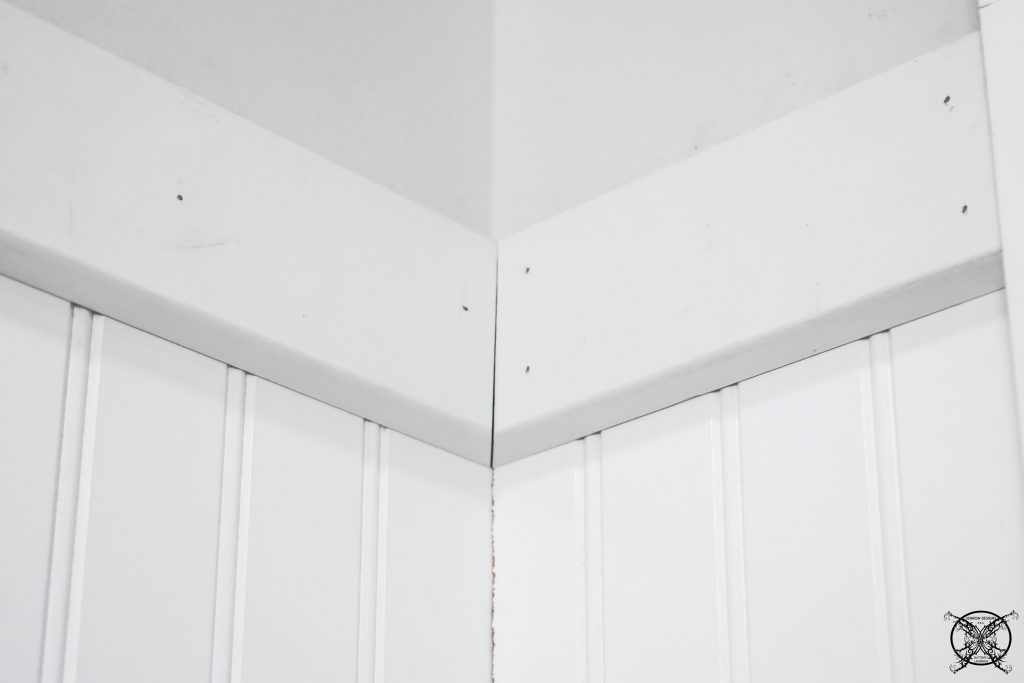 Then we layered the top trim pieces on as a cap to finish the look.
 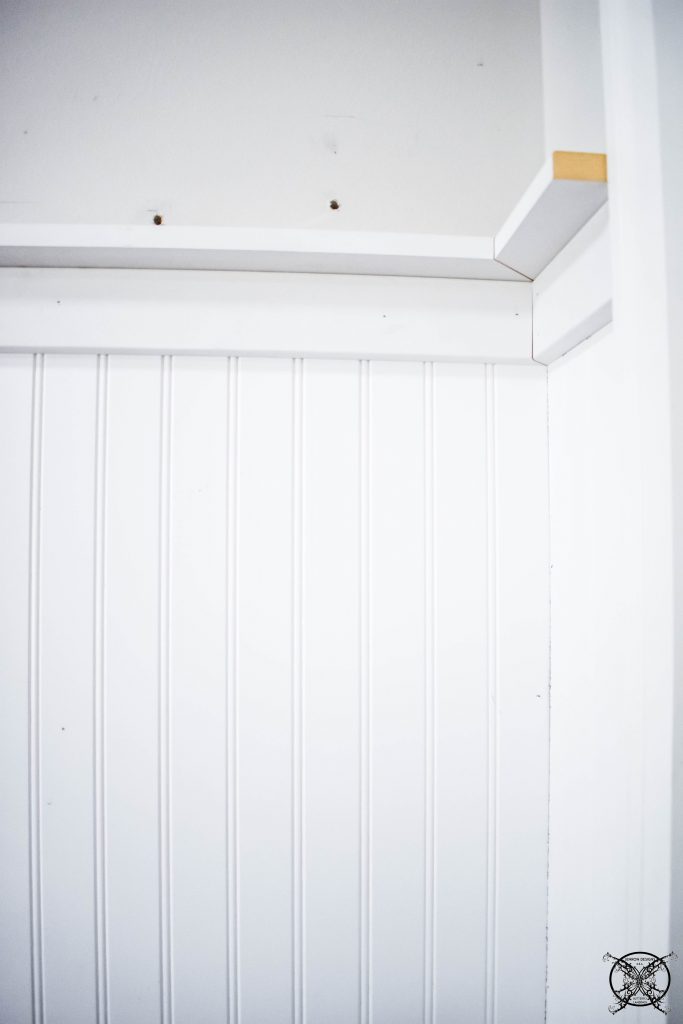 The only other speciality pieces we needed to purchase were a corner cap and two end caps which ran a total of $6.67 for the 3 pieces. This just made a nice clean edge, while I am sure we could have just caulked the edge I really wanted a clean edge. Plus we used the leftover pieces on the bench edges as well, because “waste not want not”.
 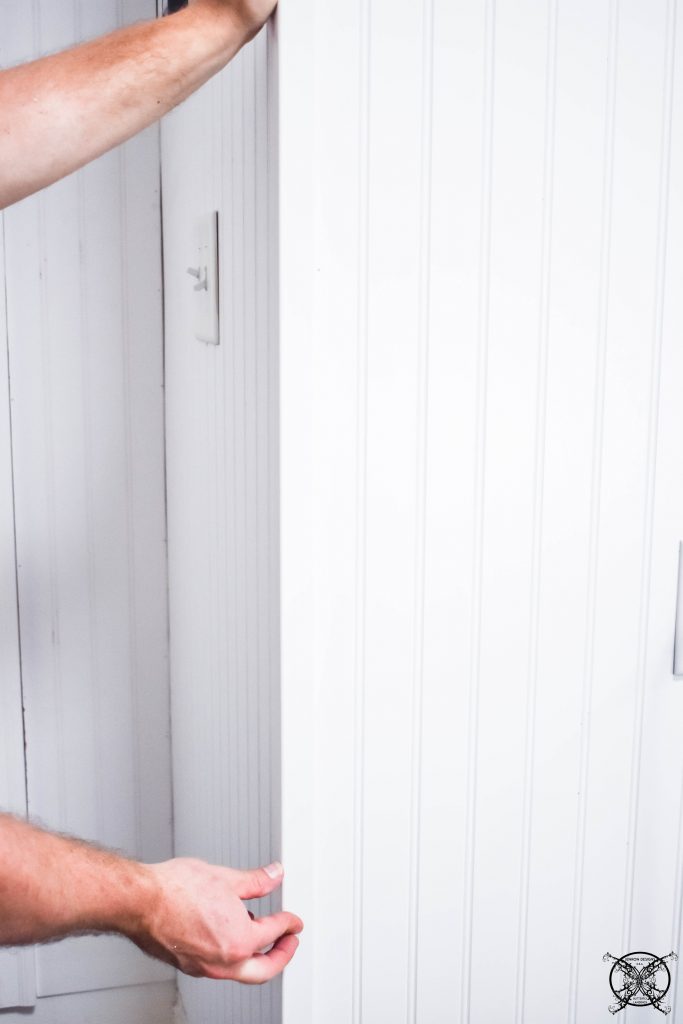 The final step was to fill all the holes with caulk, and paint the entire space with some of our existing leftover trim paint. Of course we will be using our same stash of HANDy Paint Trays and stash of easy throw away liners always makes any painting job so quick and easy.
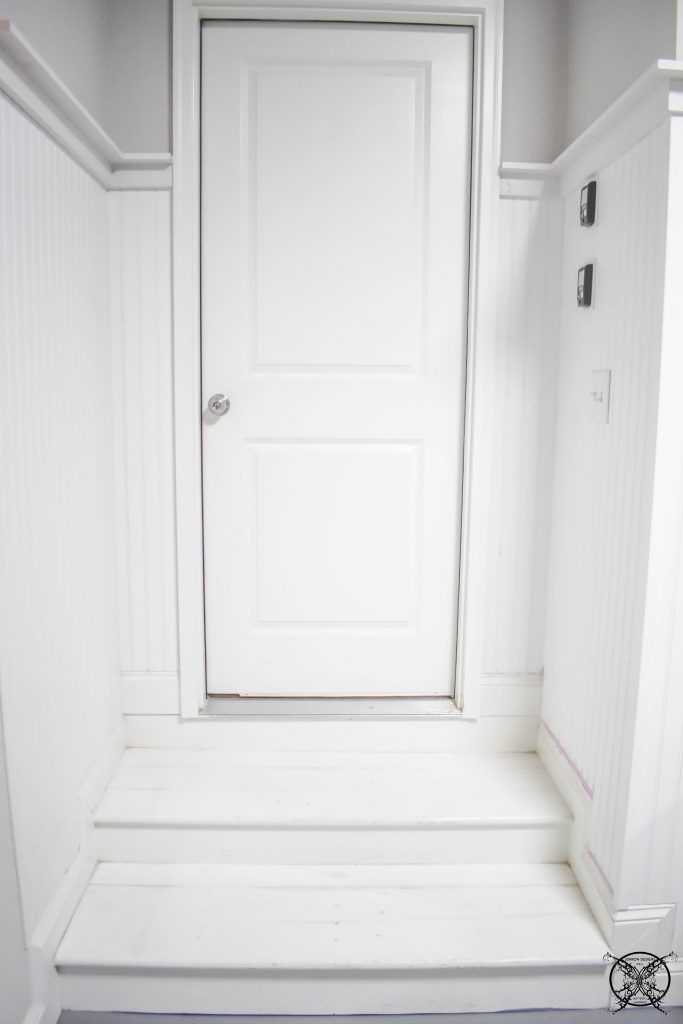
 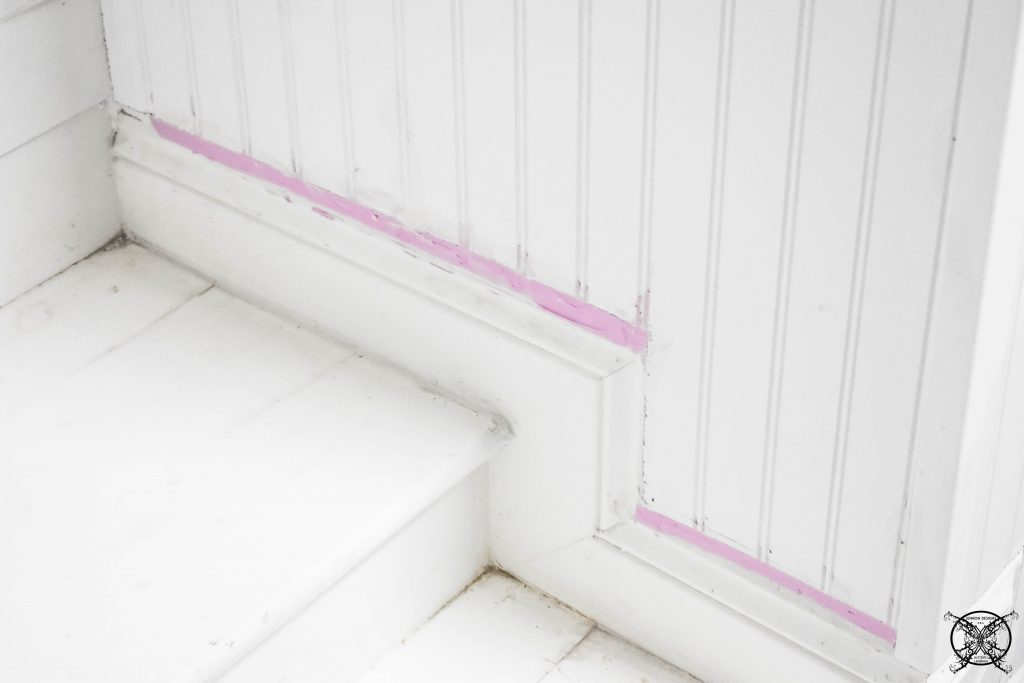 While this space may look white it is actually City Loft by Sherwin Williams. You may be able to spot the ever so slight color difference in this photo from the white store bought beadboard and the existing color of the door and trim. You can also see that the steps will also need a nice fresh coat of paint as well. This is where I am leaving this week’s DIY and you can see the full reveal with fresh paint, bench placement, and few other final touches next week.
Budget:
Week 2: Shelves: FREE -purchased additional screws & anchors: $4.78
Week 3: Behr Porch & Patio Slate Gray Paint left over from ORC: FREE
Week 4: Bead Board- $19.57 a sheet x 3= $58.71, Trim pieces- $6.67, Caulk $3.78
The Proposed Schedule:
Week 1: The Plan
Week 2: Clean, Get Old Freezer Removed, Repurpose Wire Closet Shelves, Organize Junk Stuff
Week 3: Paint Concrete Floor
Week 4: Build Shoe Bench, Add Beadboard Drop Zone, Paint
Week 5: REVEAL
I hope you have enjoyed this weeks upgrade for the $100 Room Challenge: Built In Bench, and check out my friends below:
Wow Jen your garage is looking great. I love the shoe holder idea. It would be a great piece to have.
I really like the versatility of this shoe rack. I can easily imagine using something like that in my home.
I love the shoe rack!! Those cubbies are so useful!
Wow! The beadboard made such a difference!
Wow this is such a great project in such a reasonable budget! The shoe rack adds such organization to the area
This is looking great! Can’t wait to see the whole space next week!
That’s Really a very detailed post about an awesome hack! Well done! I like the design of the wood too.
So fun. Thanks for the budget friendly inspiration. This is a room that we are currently tackling too. We just did a board and batten board with hooks and I love how it turned out. Now we just need a bench! Thanks for the ideas! P.S. I love the $100 room challenge. What a great idea!!
You are making great progress! I love the bench and the beadboard!
Great design for the garage ! Everything so tidy. Can’t wait to see next week
I’m excited to see the final reveal! All the pieces look great so far. I love the idea of a built in bench with shoe storage. We are thinking of doing something similar in our mud room, so it’s great to see that it looks like an affordable DIY.
My goodness Jen! I love this garage- it is so fancy with the beadboard! Great job to you and hubby for using up what you had and only buying what you need. It looks so good
This looks so good!!! I am with you on never throwing anything away (at least not when it comes to wood and DIY materials). I am so excited to see this space on Wednesday!
it’s coming together really well! Looks so good!