$100 Room Challenge: Painted Concrete
We are headed into week 3, of the $100 Room Challenge: Painted Concrete is our theme this week.
Hi everyone, welcome to week 3 of my $100 Room Challenge: Painted Concrete. If this is your first time viewing the $100 Room Challenge let me take the time to give you some background. This is a bi-annual challenge sponsored by my friend Erin, over at Lemons, Lavender, & Laundry. What is the $100 Room Challenge is all about? The challenge takes place twice a year, January and September, and Erin invites us to redo a room in our home using a budget of only $100. As you can see the premise of this challenge is real simple: one month, one space, and $100. If you want to know more about the $100 Room Challenge, check out Erin’s post to see how the concept was inspired, and it’s colossal growth since she decided to start it!
Weeks at a Glance:
WEEK 1 WEEK 2 WEEK 3 WEEK 4 REVEAL
THE GARAGE BEFORE:
This season we are excited to be cleaning up and organizing that overlooked, hard working area of our garage. I think the entire pandemic is what really spurred this upgrade and transformation to become a priority for us since we have been leaving a pile of shoes next to the door along with a few non essential groceries, etc. Plus, for sometime I have really wanted to cover up these unsightly oil stains and tire marks from our older vehicles and give this floor a fresh new look.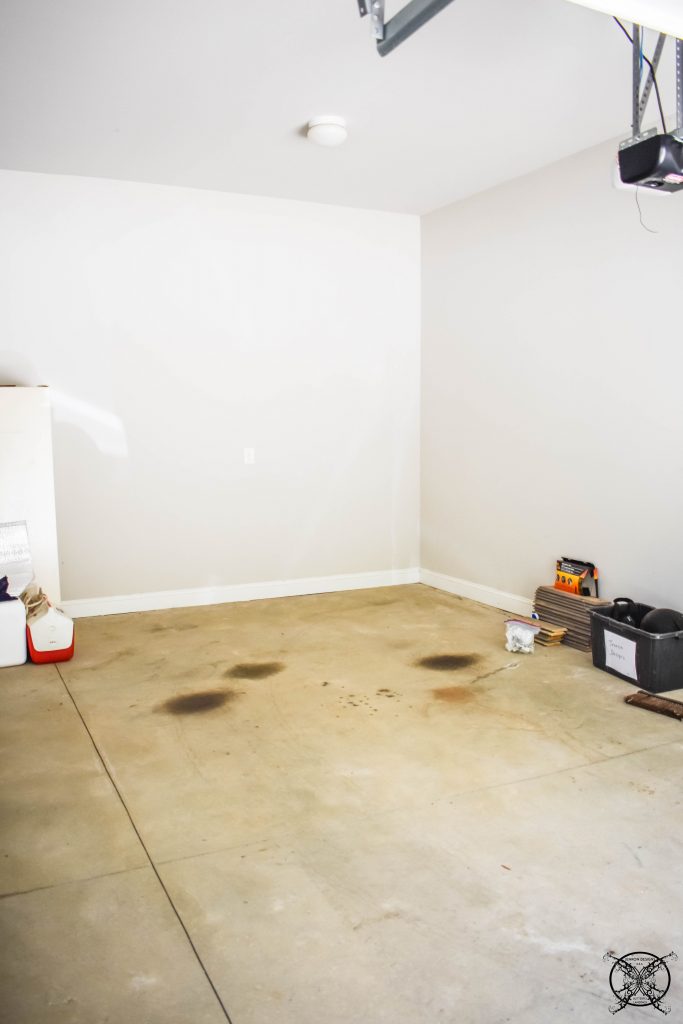 As you can see on our proposed vision board, I have called out a pretty gray concrete paint which may look slightly familiar to my regular readers. This is the very same porch and patio paint that I used last season for my Basement Flower Shop Concrete Floor Stencil (if you want to check out that project). You may remember the floor was white and the stencil was gray, for that reason I have almost entire full gallon of the gray concrete paint leftover, since it took only a tiny bit to do the the actual stencil portion, so guess what we are using?
 Last week we installed re-purposed shelves to get everything up off the floor, which will make this weeks project so much easier to complete. This week on the $100 Room Challenge: Painted Concrete we will concentrate on the floors.
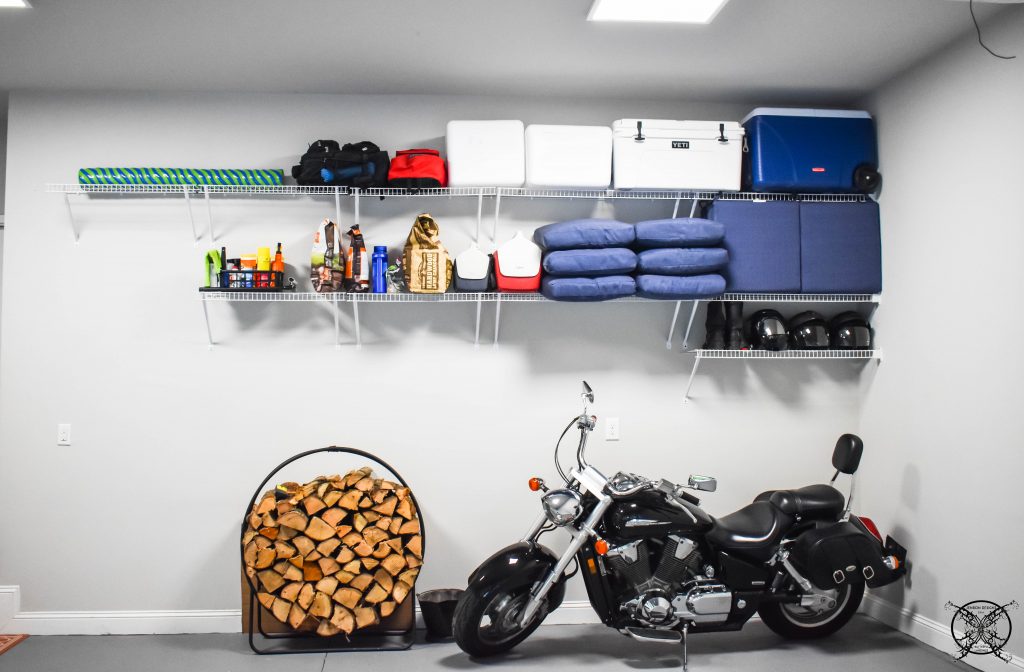
I mentioned above that I am really looking forward to seeing these unsightly stains being covered up. While I know our garage is not really dirty or messy by any means, I really just want it to feel like an extension of my home with nice clean floors. Even if it is in a utilitarian capacity, I still think it would just be nice. 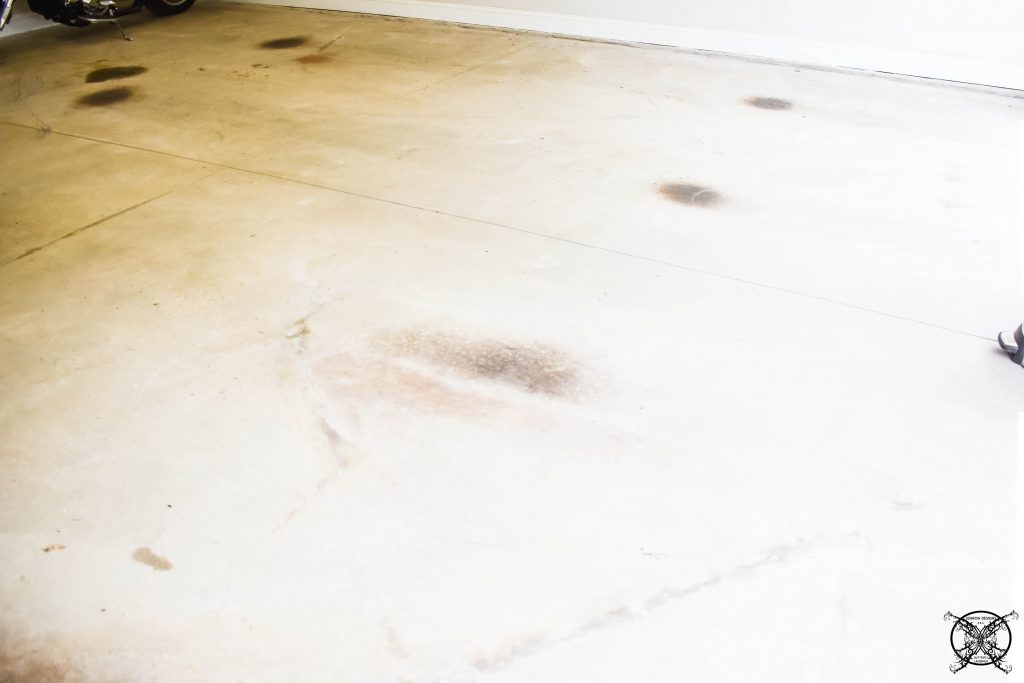 Why not epoxy? Actually we had seriously considered doing one of the fun epoxy coatings on the floor. However we had a friend a few years ago that did epoxy to their garage floor and absolutely hated it.
  The main reason being that it made the surface non-porous, so when they would park their car after being in the rain, the water would never run off, leaving wet spots and puddles. Long story short they actually slipped on a puddle and hurt their back badly, so lesson learned and advice taken.
*Please note that I was graciously compensated for this post. This post may contain affiliate links for your convenience. These links involve no extra cost to you. You can view my full advertising disclosure statement here.
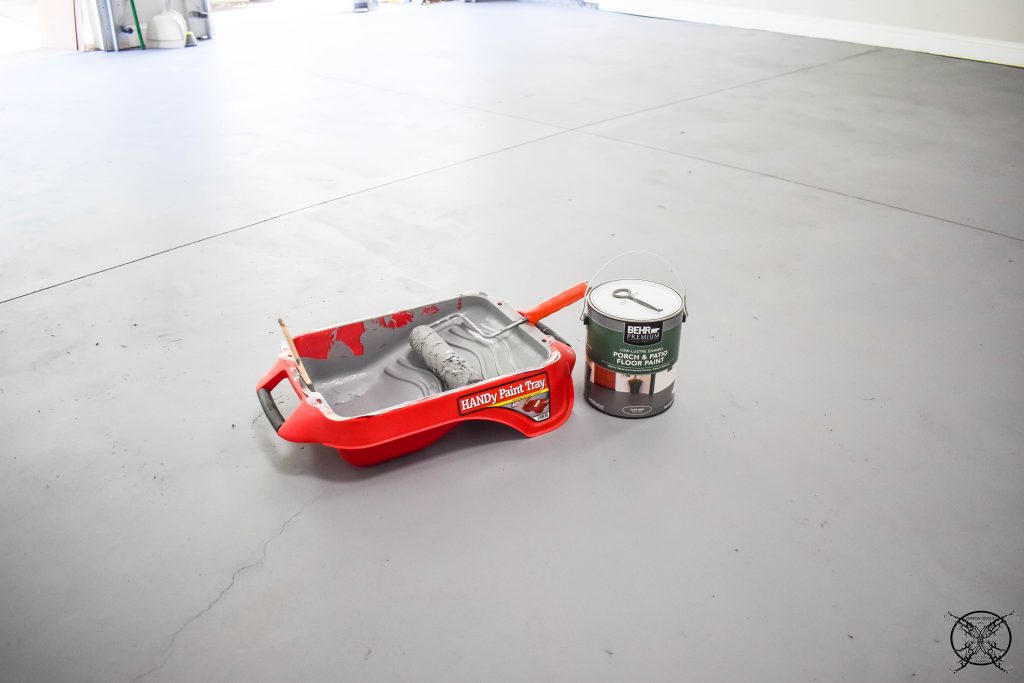
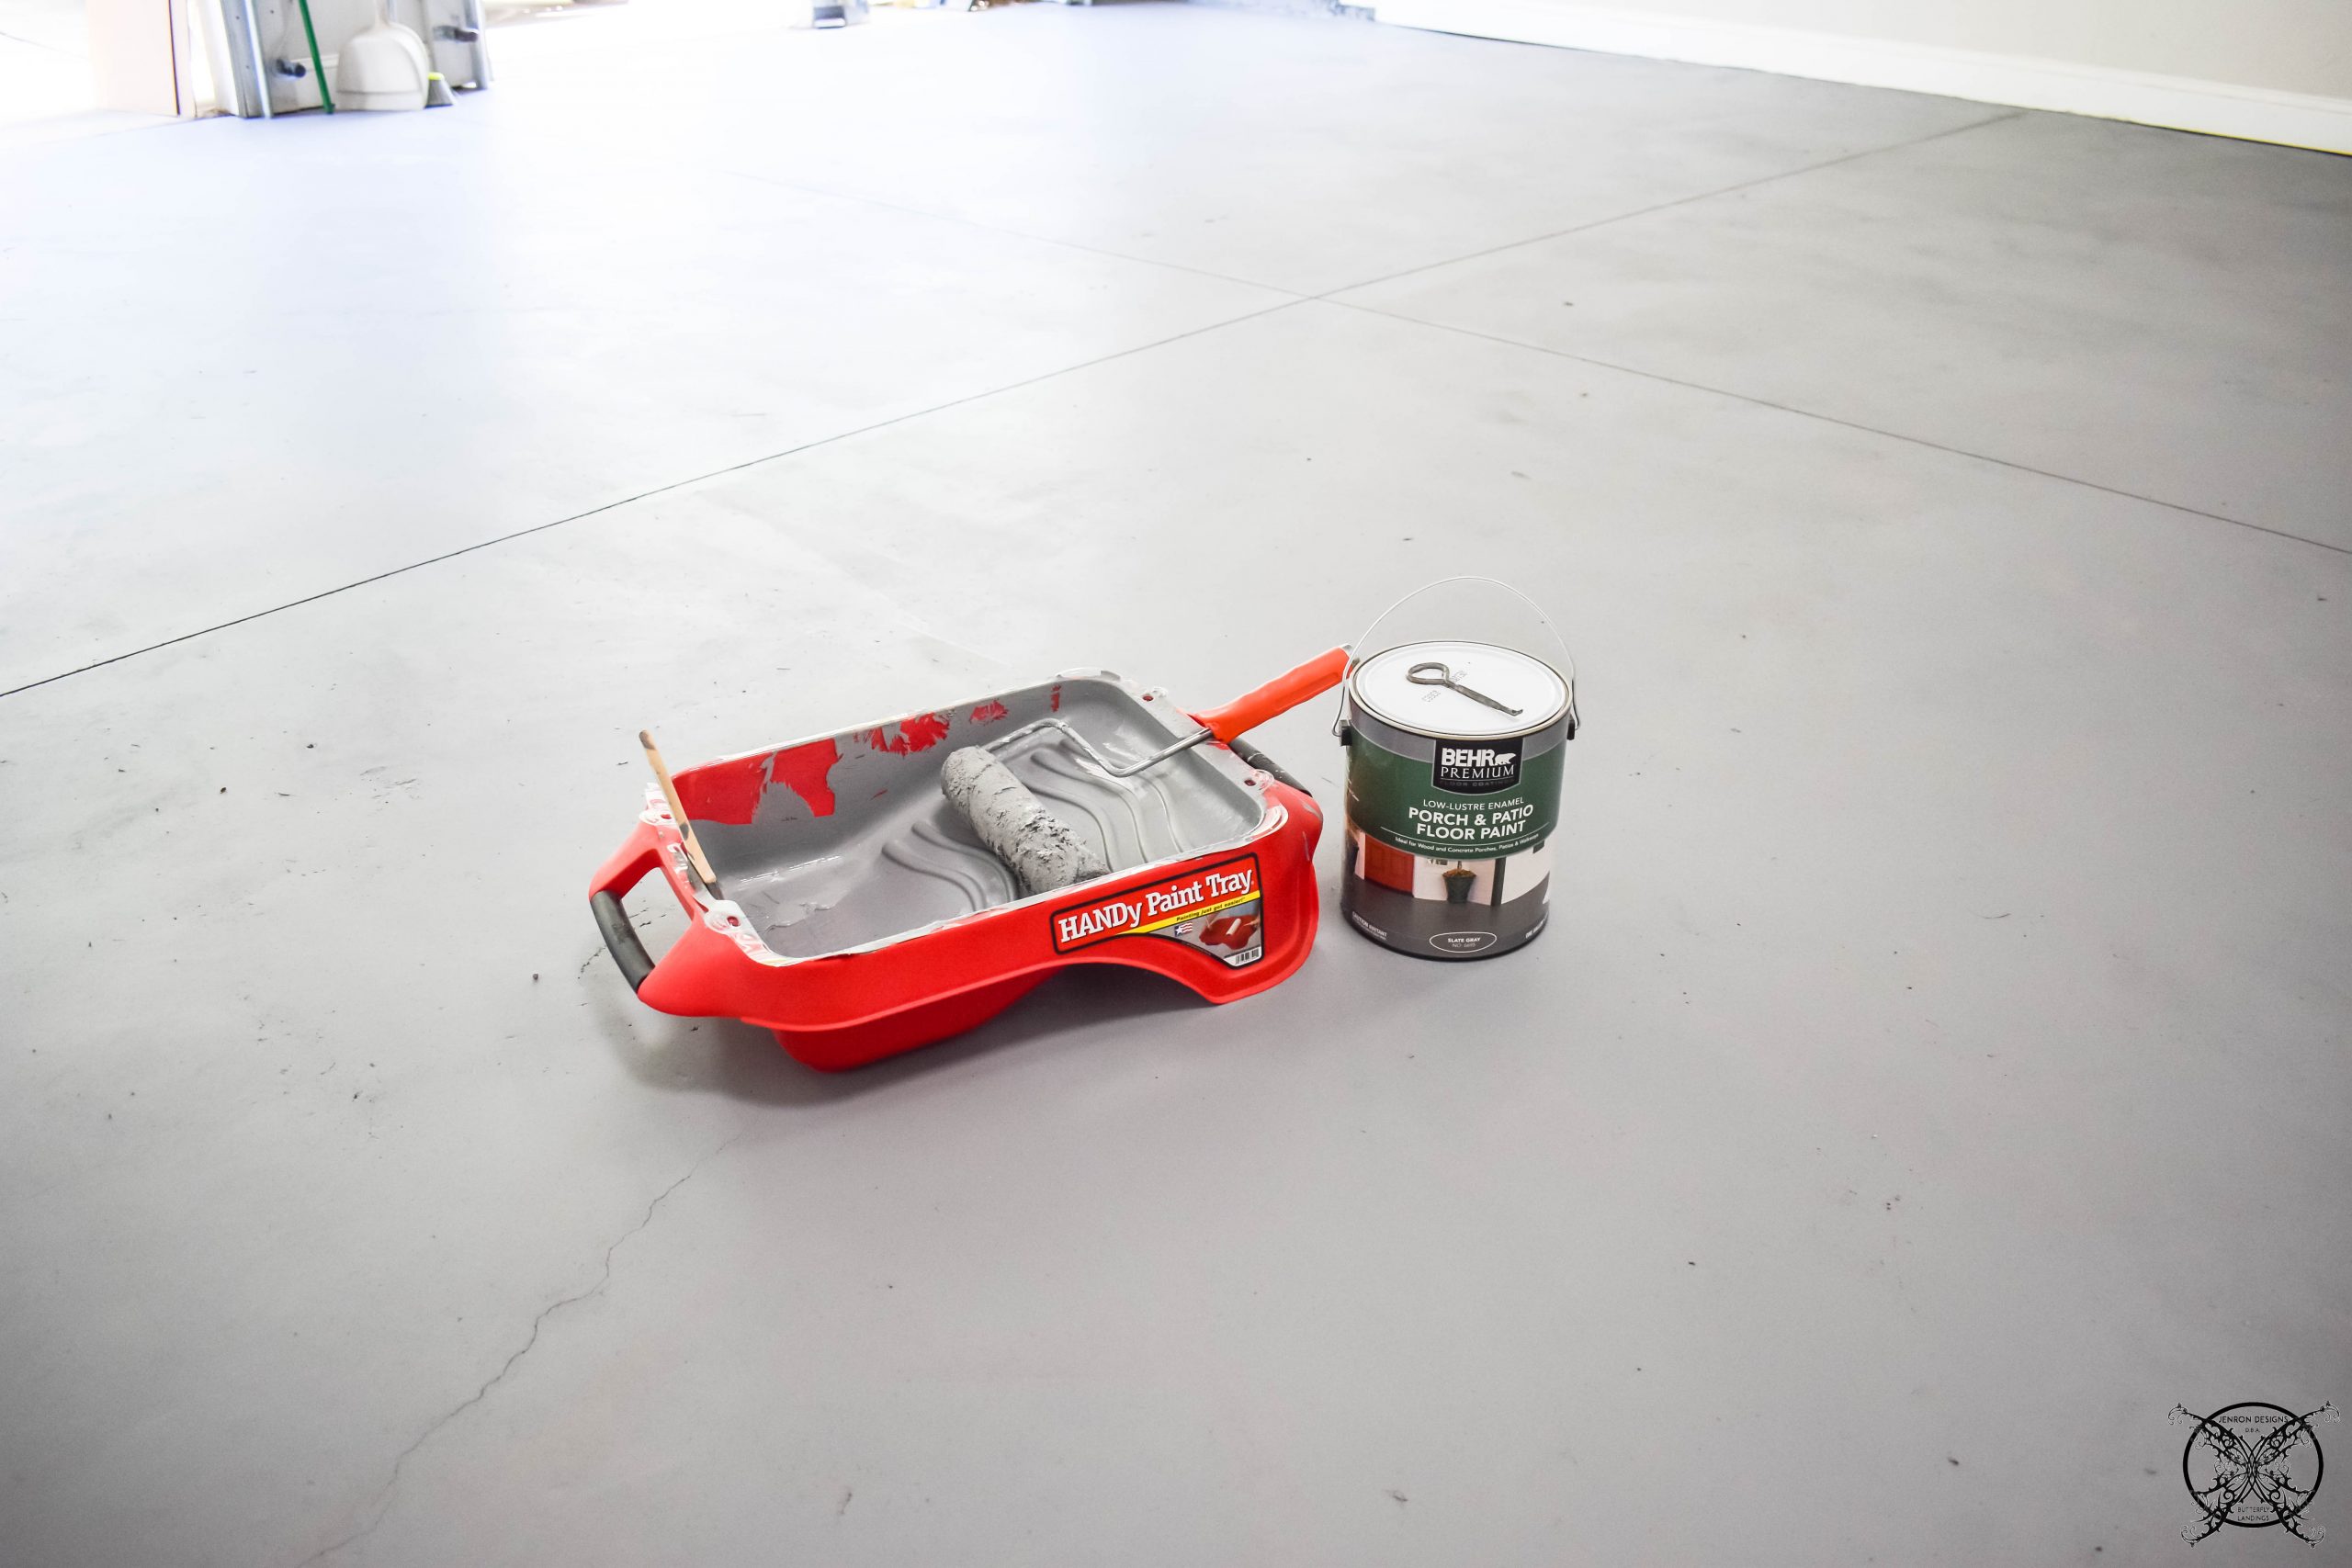
We ended up using the very same Behr Slate Gray, Satin finish Porch and Patio paint that we used on our concrete basement floors for my workshop a few months ago. The coverage on a one gallon is approximately 400 square feet, so I think we got this weeks project covered with the contents in this can. Plus my HANDy Paint Tray and stash of easy throw away liners always makes any painting job so quick and easy. HANDy Paint products are by far my favorite painting tools, so you will NEVER see me painting without them.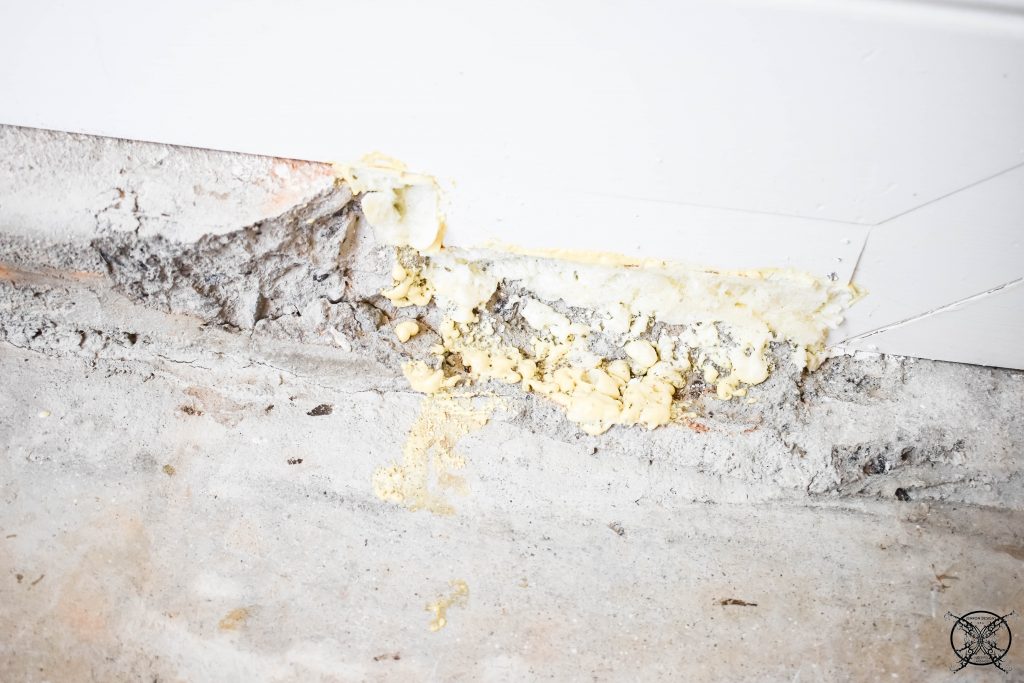 Here is another little fix we did, with a half can of great foam we had hanging out in the basement from a new door installation we recently did on last years $1o0 Room Patio upgrade. (Off topic but we added in a half glass french door to that space) Here we decided to seal up a rather large gap between the baseboard and concrete that the lizards and skinks keep getting through into a storage section of our basement, which the cats love but I hate.
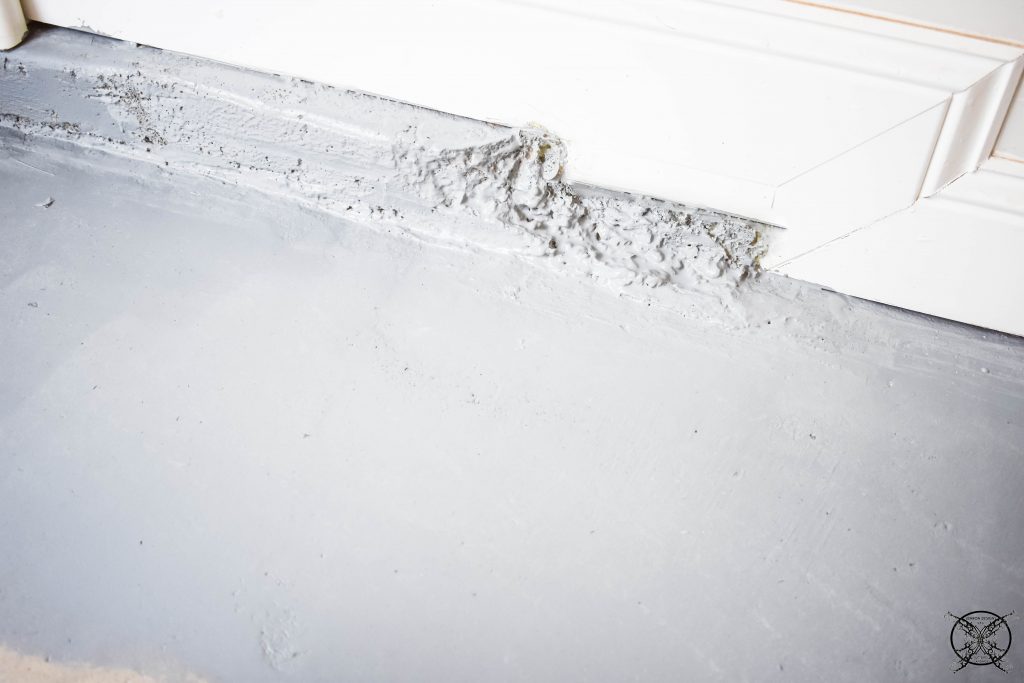 Once the great foam had set up it could be painted, just like the rest of the concrete. Since the concrete was already a rough break at this location, I was not to worried about how the great foam looked in these spots.
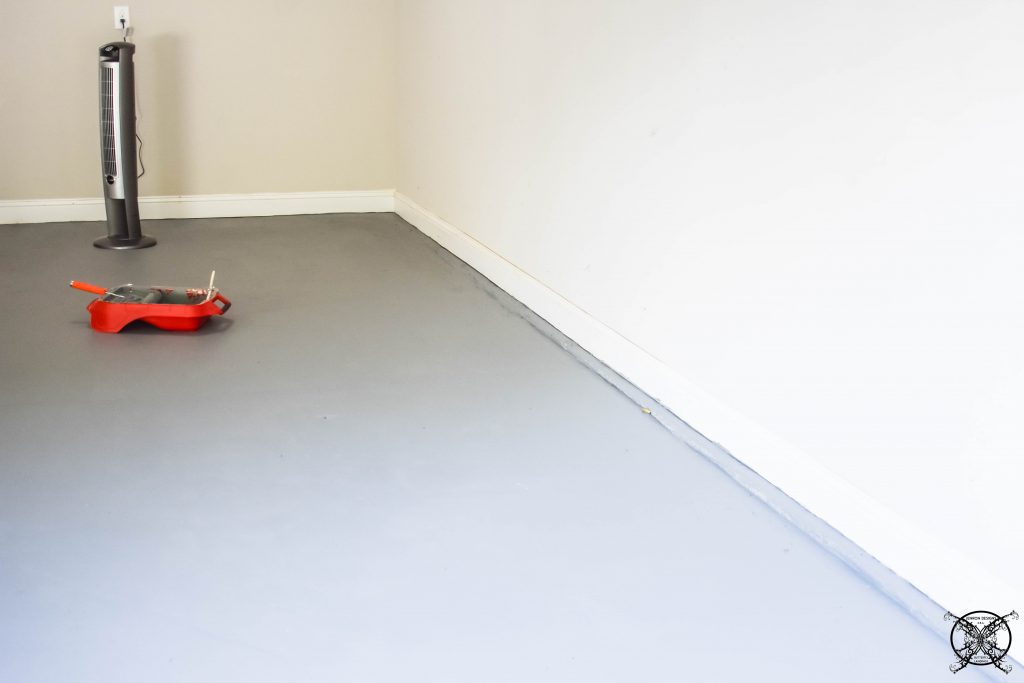 We decided to set up a fan just to help with the heat, because it has been really hot. Not to mention it also helps out with the drying process. Plus we really do not want to leave our vehicles outside overnight, they always come into the safety of the garage, especially the motorcycle.
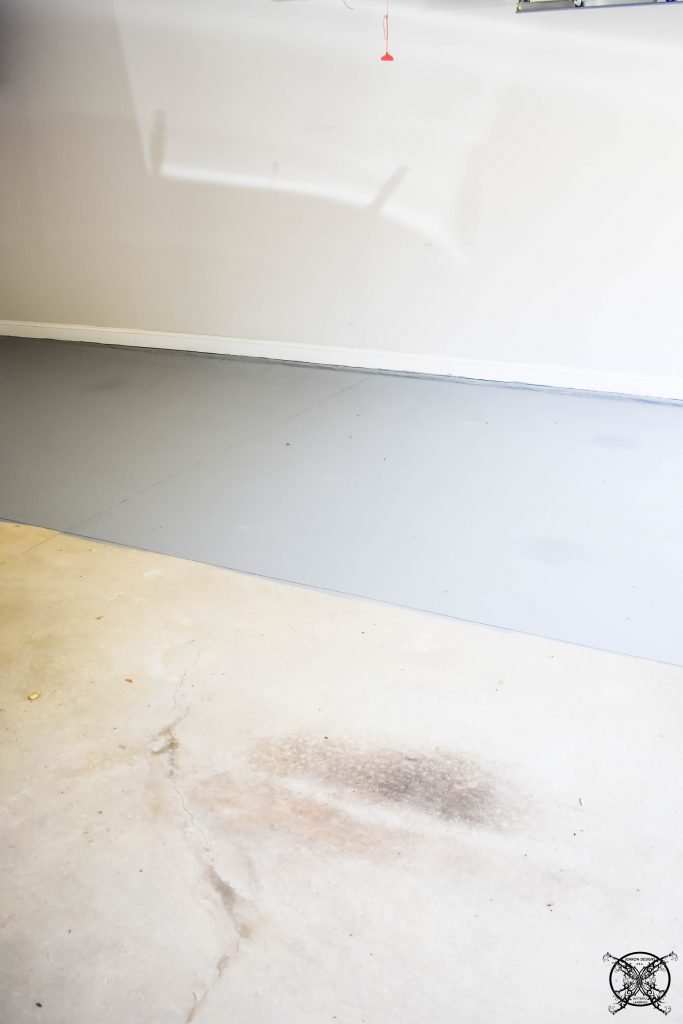
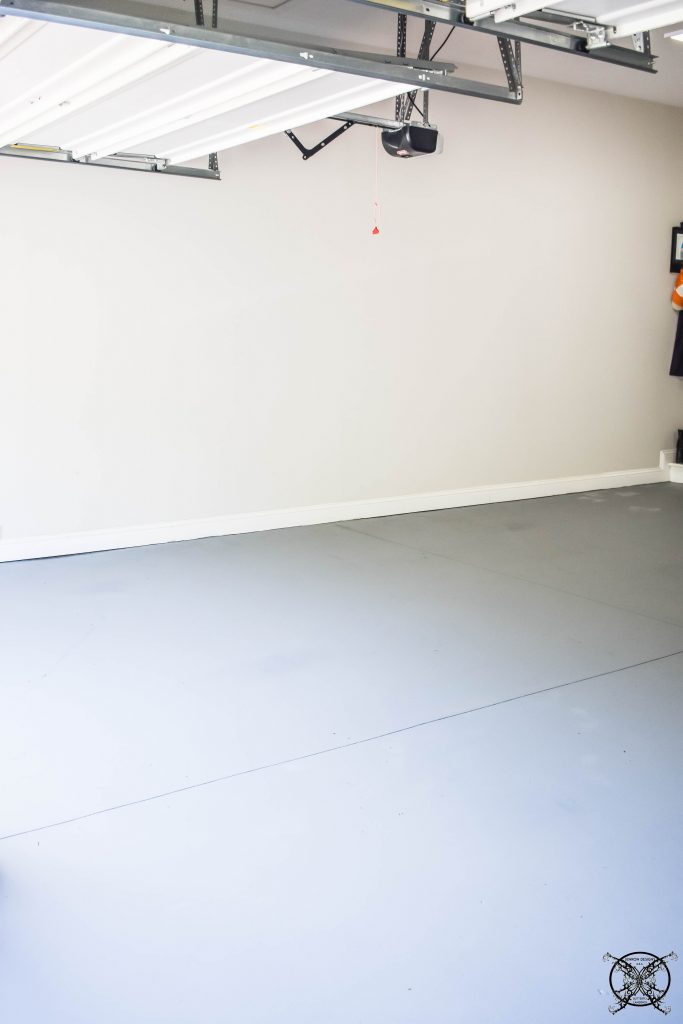 This is the finished look of the floors, join us next week as we dive into building the bench and installing that beadboard for the dropzone!
Budget:
Week 2: Shelves: FREE -purchased additional screws & anchors: $4.78
Week 3: Behr Porch & Patio Slate Gray Paint left over from ORC: FREE
The Proposed Schedule:
Week 1: The Plan
Week 2: Clean, Get Old Freezer Removed, Repurpose Wire Closet Shelves, Organize Junk Stuff
Week 3: Paint Concrete Floor
Week 4: Build Shoe Bench, Add Beadboard Drop Zone, Paint
Week 5: REVEAL
I hope you have enjoyed this weeks upgrade for the $100 Room Challenge: Painted Concrete, and check out my friends below:

Amazing what a difference the paint makes! Looks clean and fresh.
That paint has great coverage!
Looks so good! My parents did this in their house and it really enhanced the space!!
I was really surprised at how many stains we had after only five years. That floor was pretty dirty and gross, LOL!
It really did a nice job for a porch and patio paint.
Jen the floor looks amazing! I can’t wait to see what you share next week on the shoe rack and coat rack. Great job so far!
Jennifer it looks so good! We haven’t painted out garage floor in our new house yet, seeing yours makes me want to get started!
Love that gray color! A small detail with such big impact
oh i love such DIY projects, looks good
It looks great Jenn! Someone painted out garage floor with the wrong type of paint now it’s very slippery and is flaking. UGH! I wish it looked like this. It’s gorgeous.
Wow! This has totally motivated me to finish the concrete room in the basement. It’s amazing what can be done even on a budget.
It looks SO good and this challenge is such a cool idea.. My boyfriend is out of town for six weeks and I’m already looking around like, “hmm what could I update for $100?” haha
The floor looks so fresh and clean now! Great job.
Can’t wait to renovate my future home one day!
Wow! It’s amazing how much of a difference painting can make. It was interesting to hear why you decided against epoxy as well.
Amazing! This is great work, and I love the results! Amazing to see how painting made a big difference.
Wow the garage is looking great! I love painted concrete looks for clean
This looks amazing! I cant wait to see the reveal!
This look amazing! I had never thought to use the porch/patio paint on a garage floor because I wasn’t sure how it would hold up to cars rolling on it, but it looks awesome! (And I had never thought about the fact that epoxy could cause issues with rain… good to know!)
I don’t even know how I ended up here, but I thought this post was really good. I do not know who you are but certainly you’re going to a famous blogger if you aren’t already 😉 Cheers!