How to Make Your Artificial Flocked Tree Look Fuller
On ASK THE DESIGNER: How to Make Your Artificial Flocked Tree Look Fuller?
One of the main questions I always get asked this time of year is, How to Make Your Artificial Flocked Tree Look Fuller? My answer is the same whether your tree is flocked, or not. There are several “tricks of the trade” that the professional designers use to make those showhouse trees look super full and without a lot of heft, as seen here in our Winter Wonderland Tree.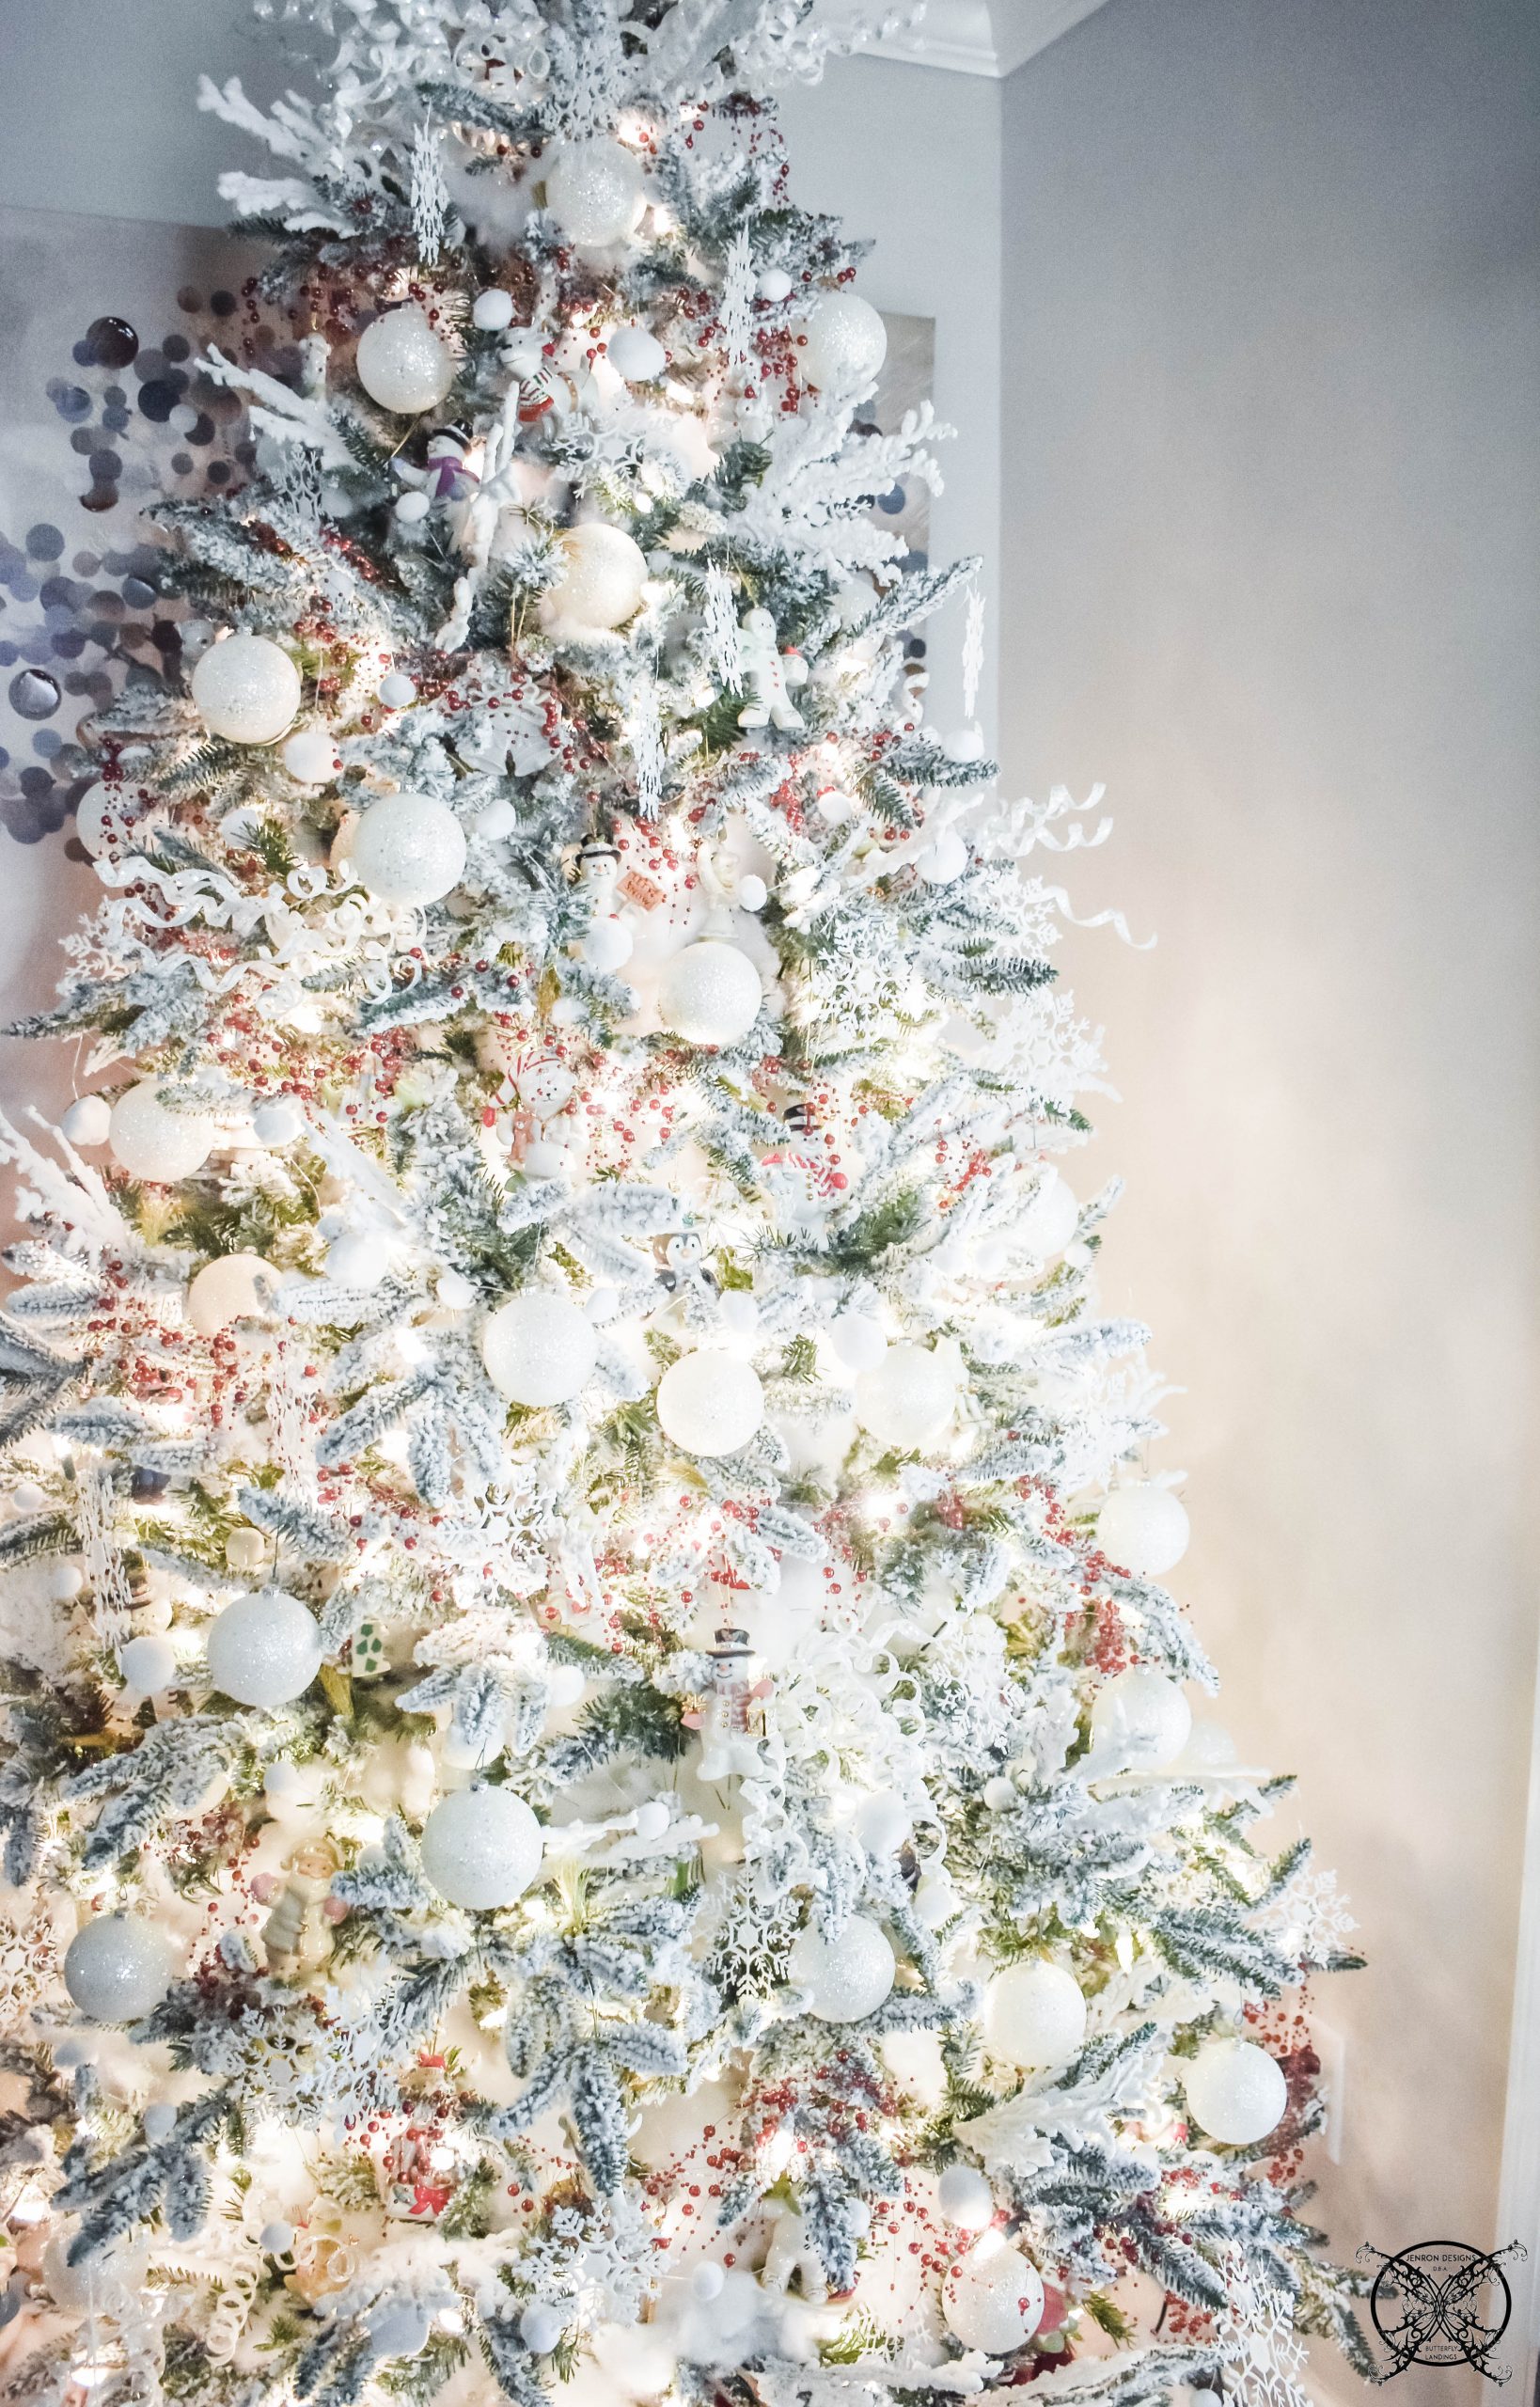 I can say have bought some of the most expensive trees, and some inexpensive trees and yielded the same results with these simple tricks.You can make them ALL look exactly the same, no matter what the price tag. In fact, if you buy a less expensive tree you can put more money into your ornaments and filler products; which saves money in the long run.
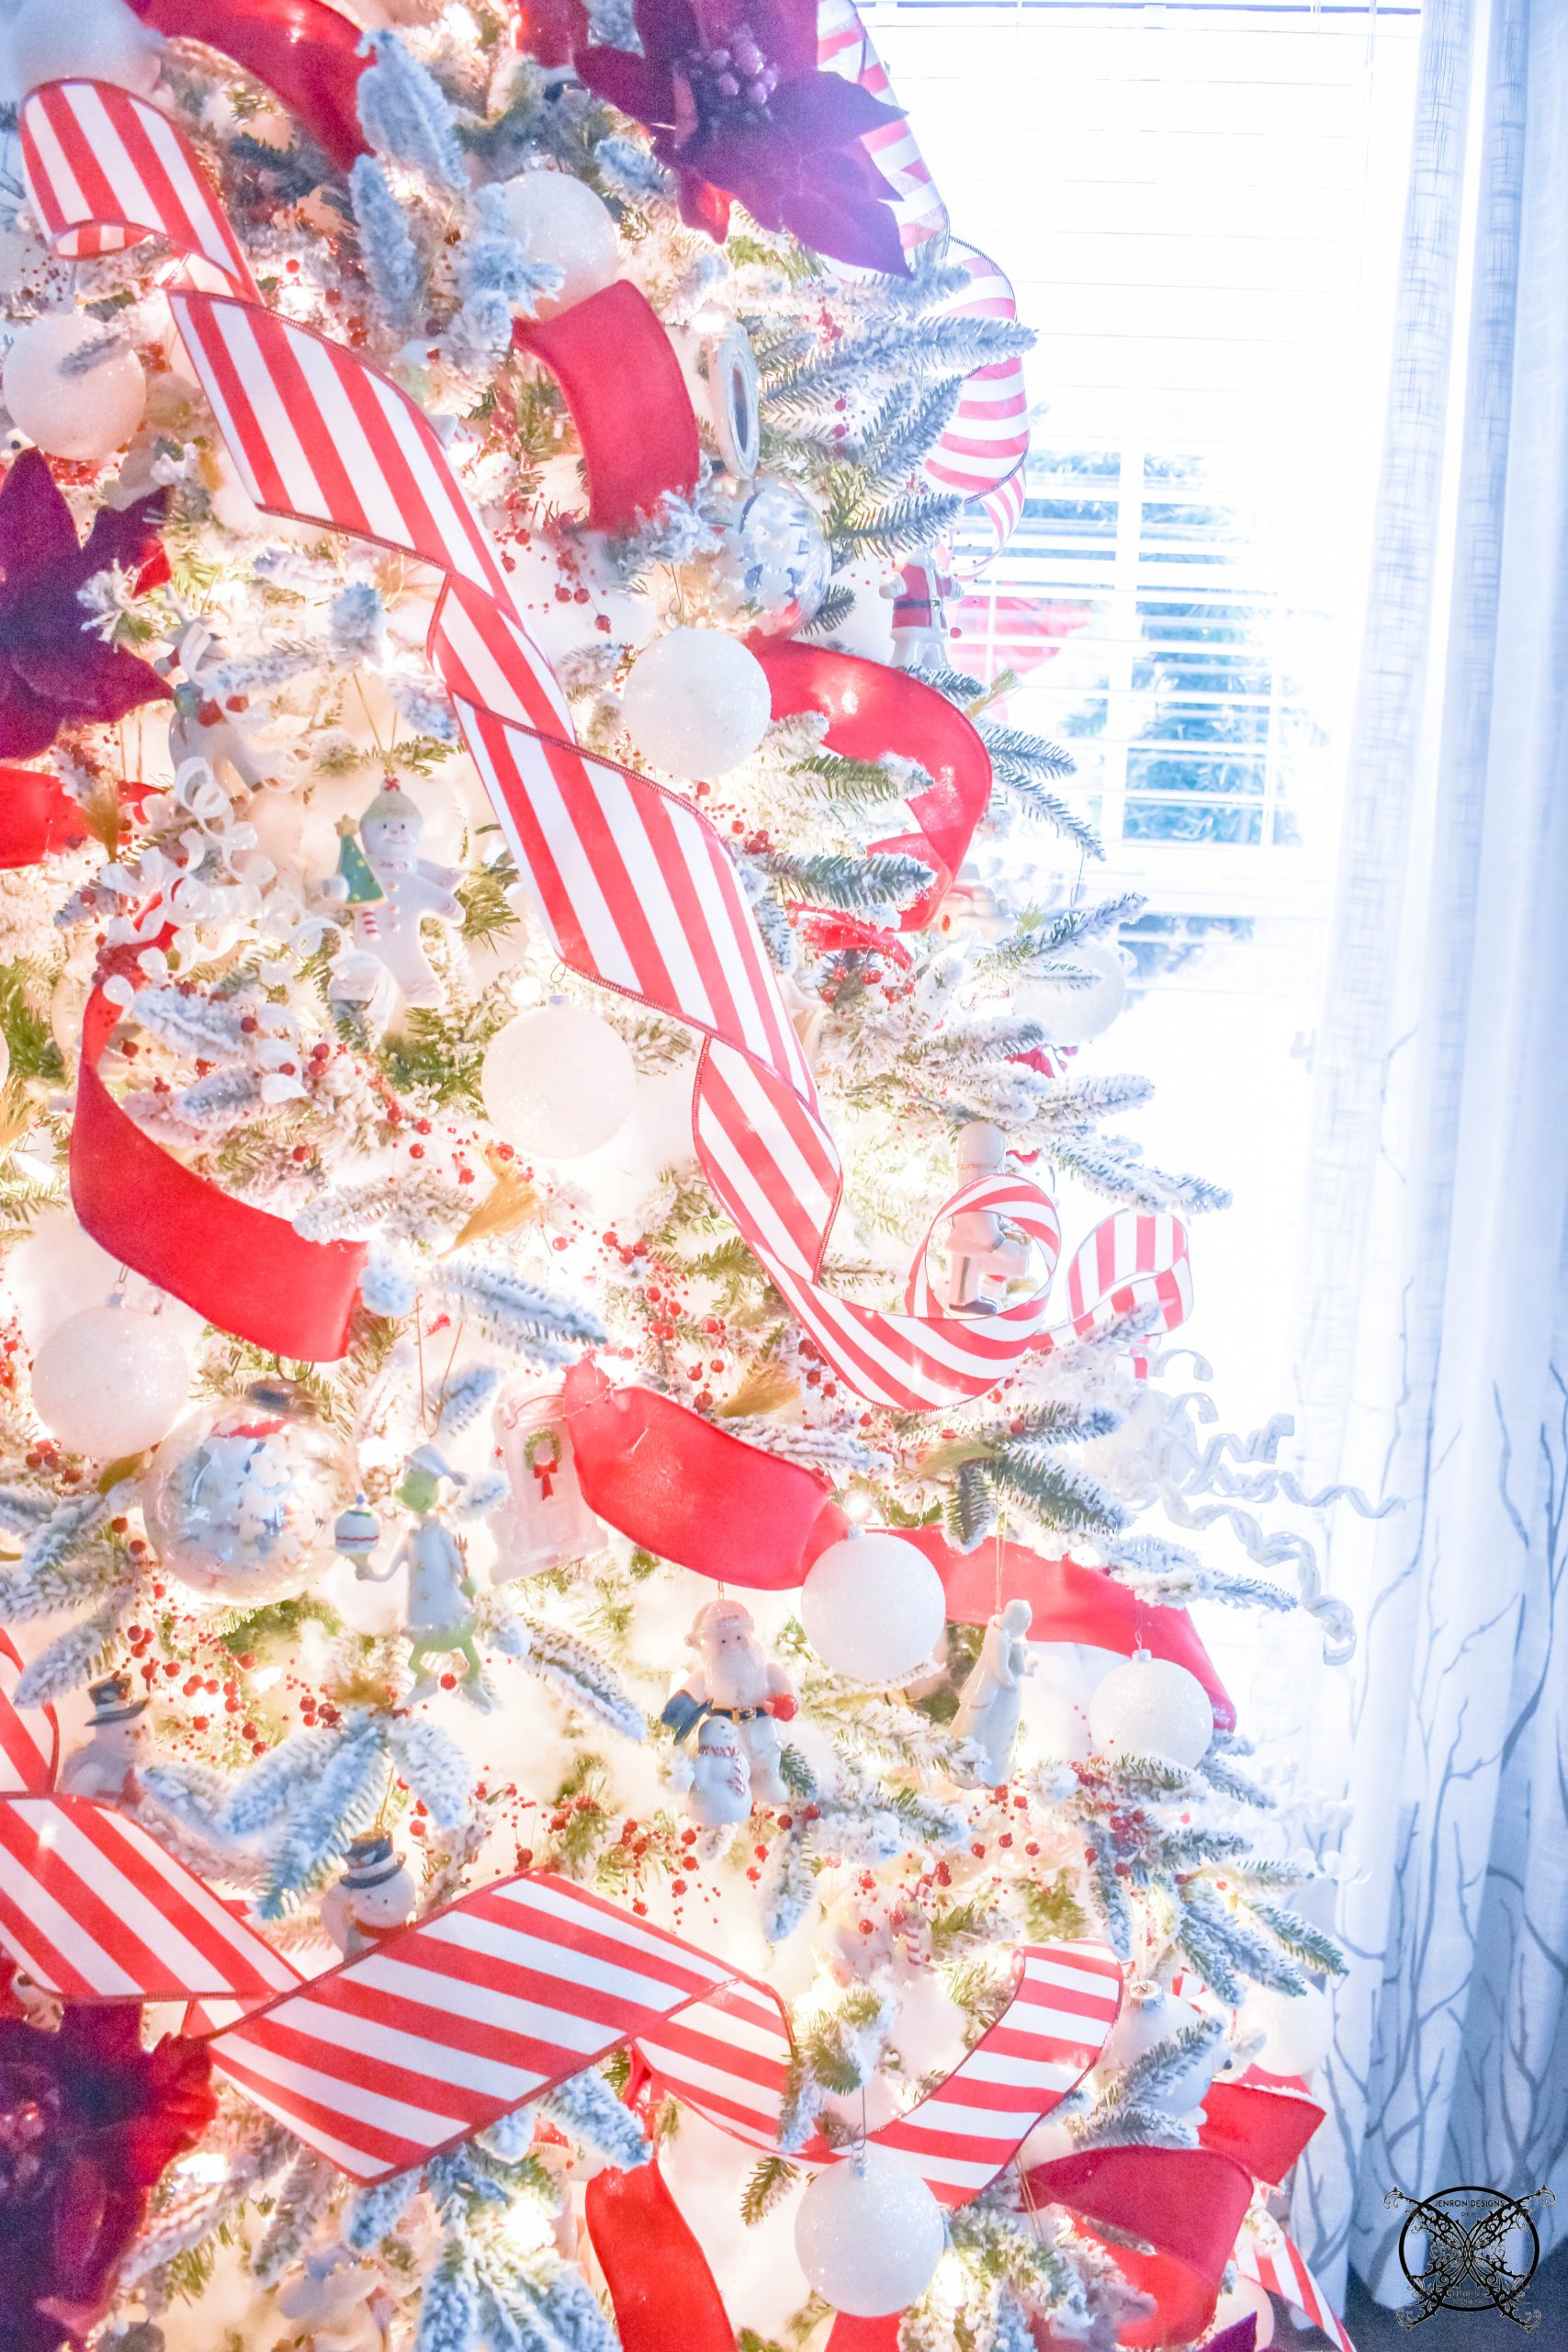 This is our Peppermint Twist tree from our Vintage Holiday Home Tour. I used the exact same technique as the DIY I published below from last Christmas on the exact same tree. This shows that the results are the same even with different ribbon techniques and decoration layers. The only real difference is I use different ribbon and colored ornaments. My ribbon technique was similar multiple bows at the top except instead of a tuck and weave method I did a vintage twist instead.
DIY Tutorial: How to Make Your Artificial Flocked Tree Look Fuller
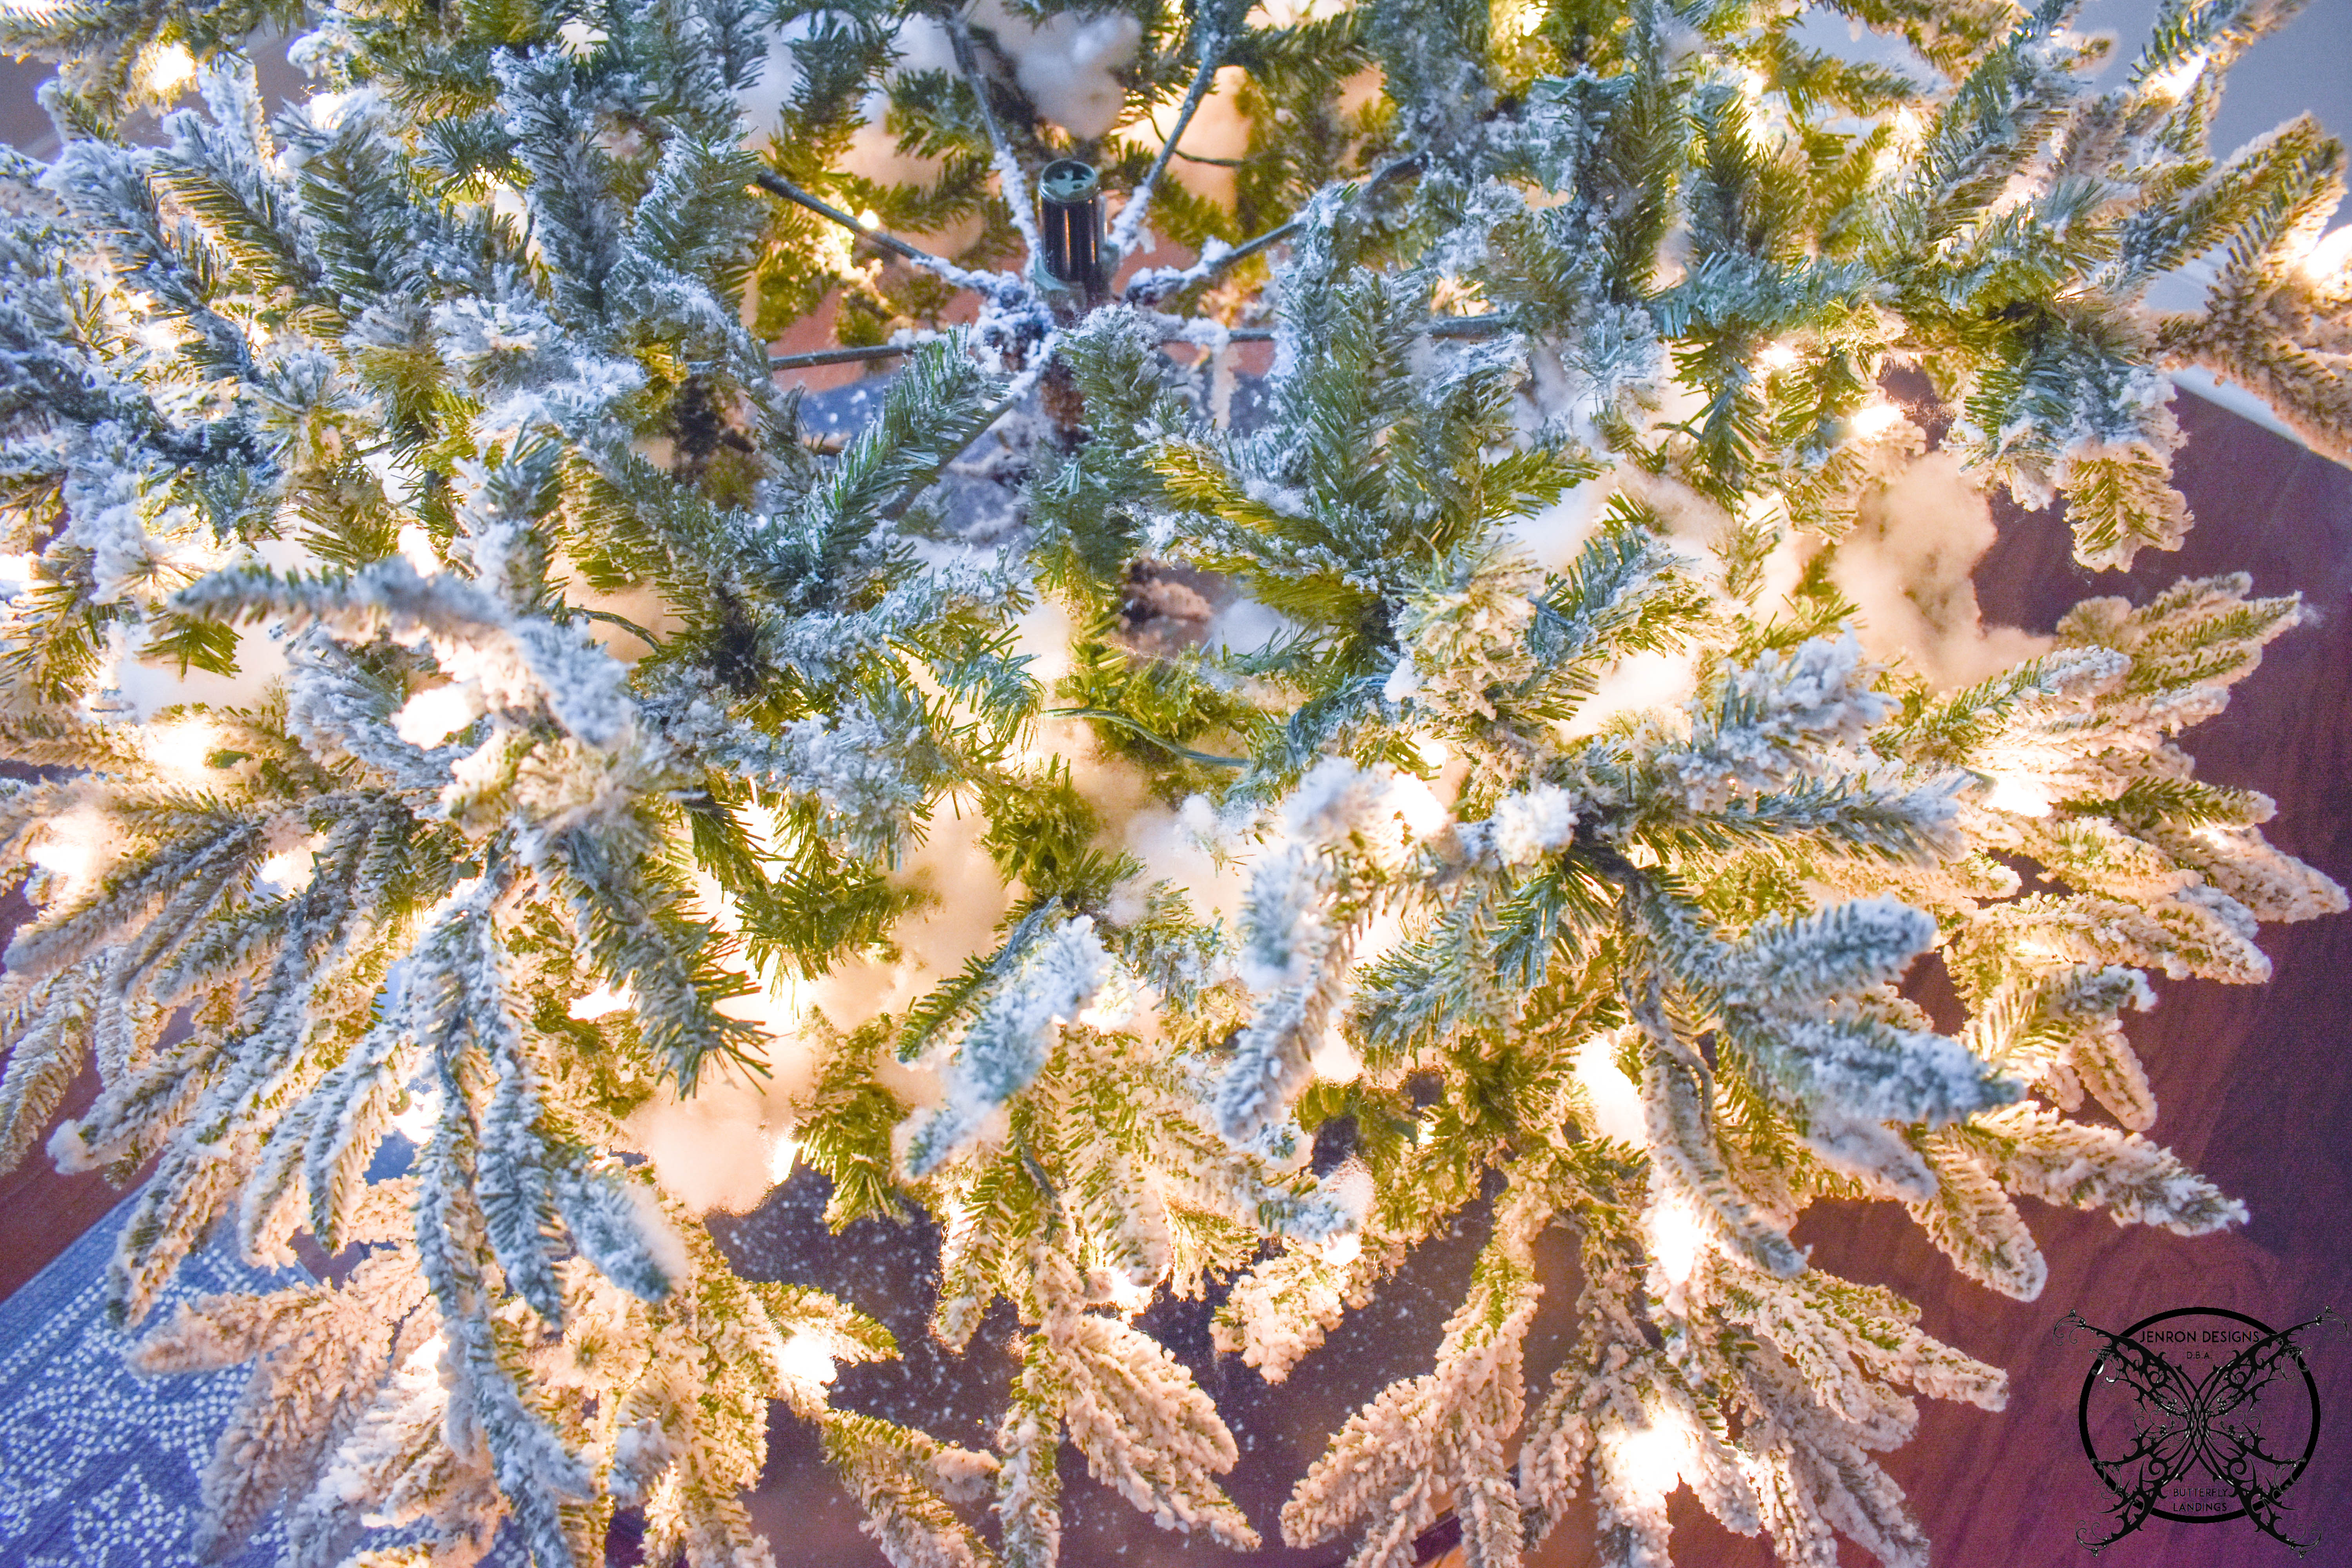
 First and most important thing is that you want your tree to be well lit. If you are buying a pre-lit tree or even a live tree, you want to make sure that the lights go deep into the tree and not just sit on the surface of the tree. I always add extra lights to all of my trees, even the pre-lit trees, whether it be a speciality set of lights or an alternate color. This will create a very custom look.
  Designer Tip: A great packing tip between years is to store your polyfill and even tree skirts with your trees in their boxes. This keeps all of your supplies together for next year and you do not have to go searching a bunch of different boxes, especially if you have multiple trees, like we do. Sure you can throw it away each year, but that is wasteful, experensive, and bad for the environment as well.
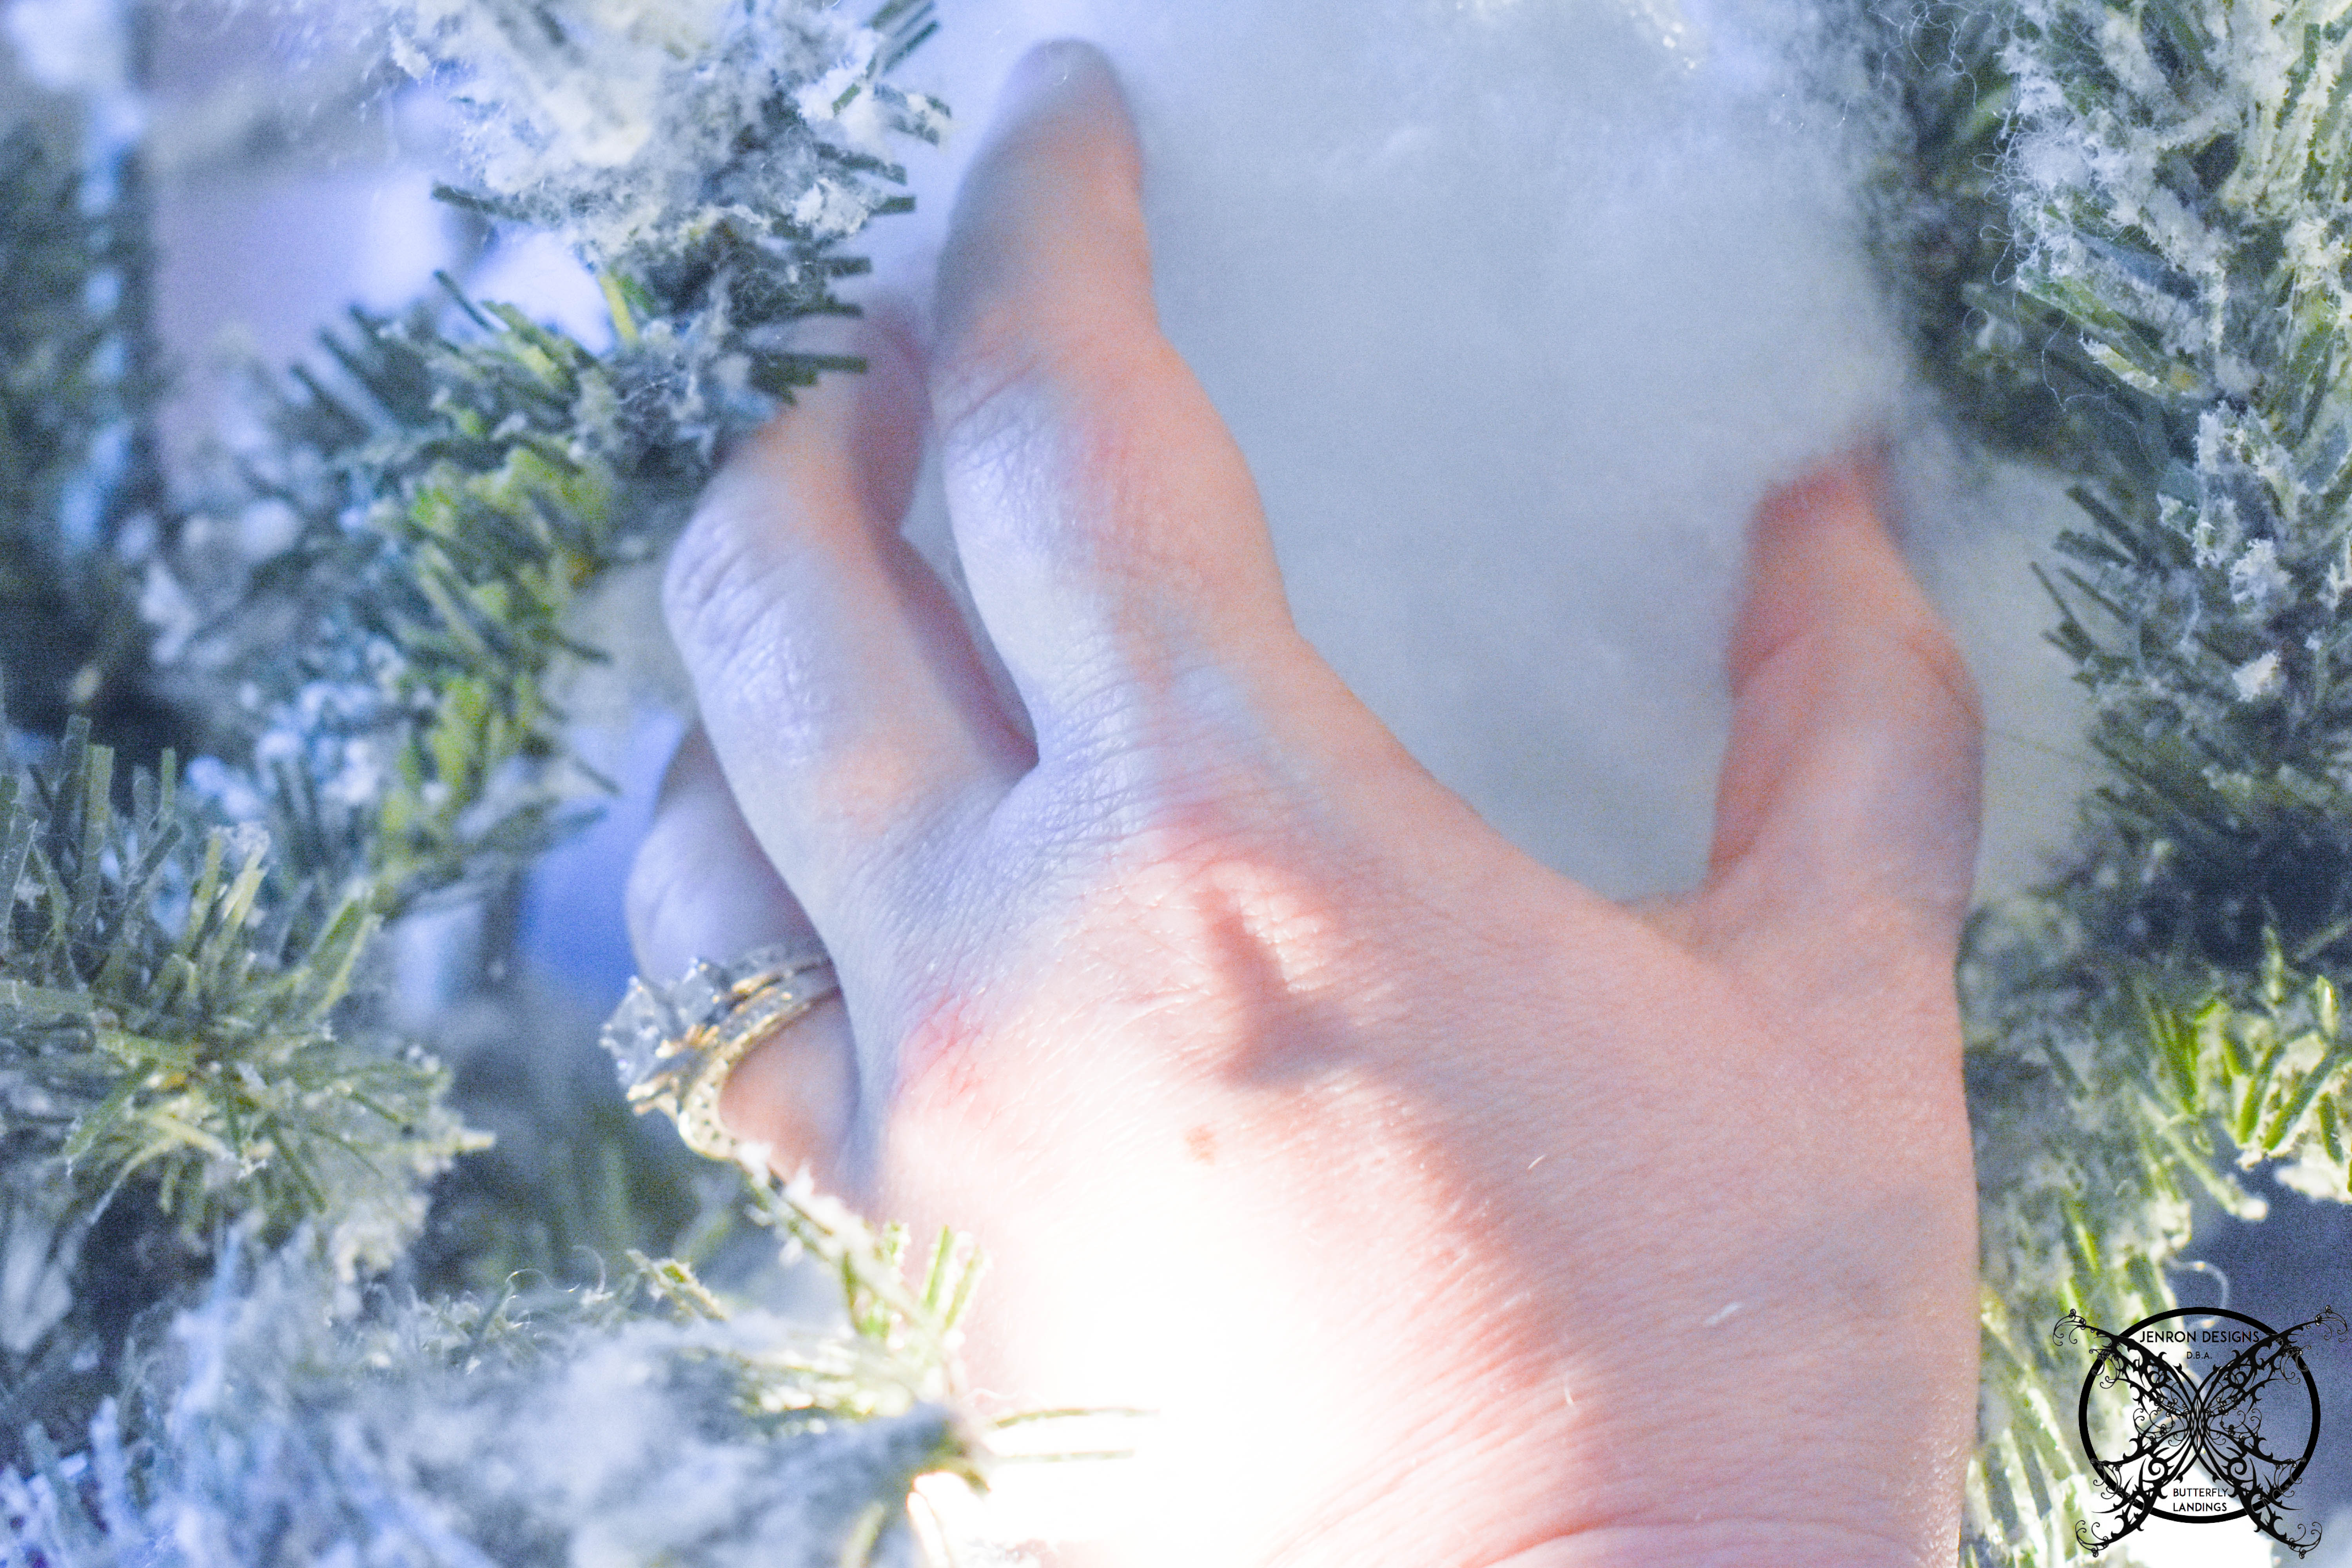
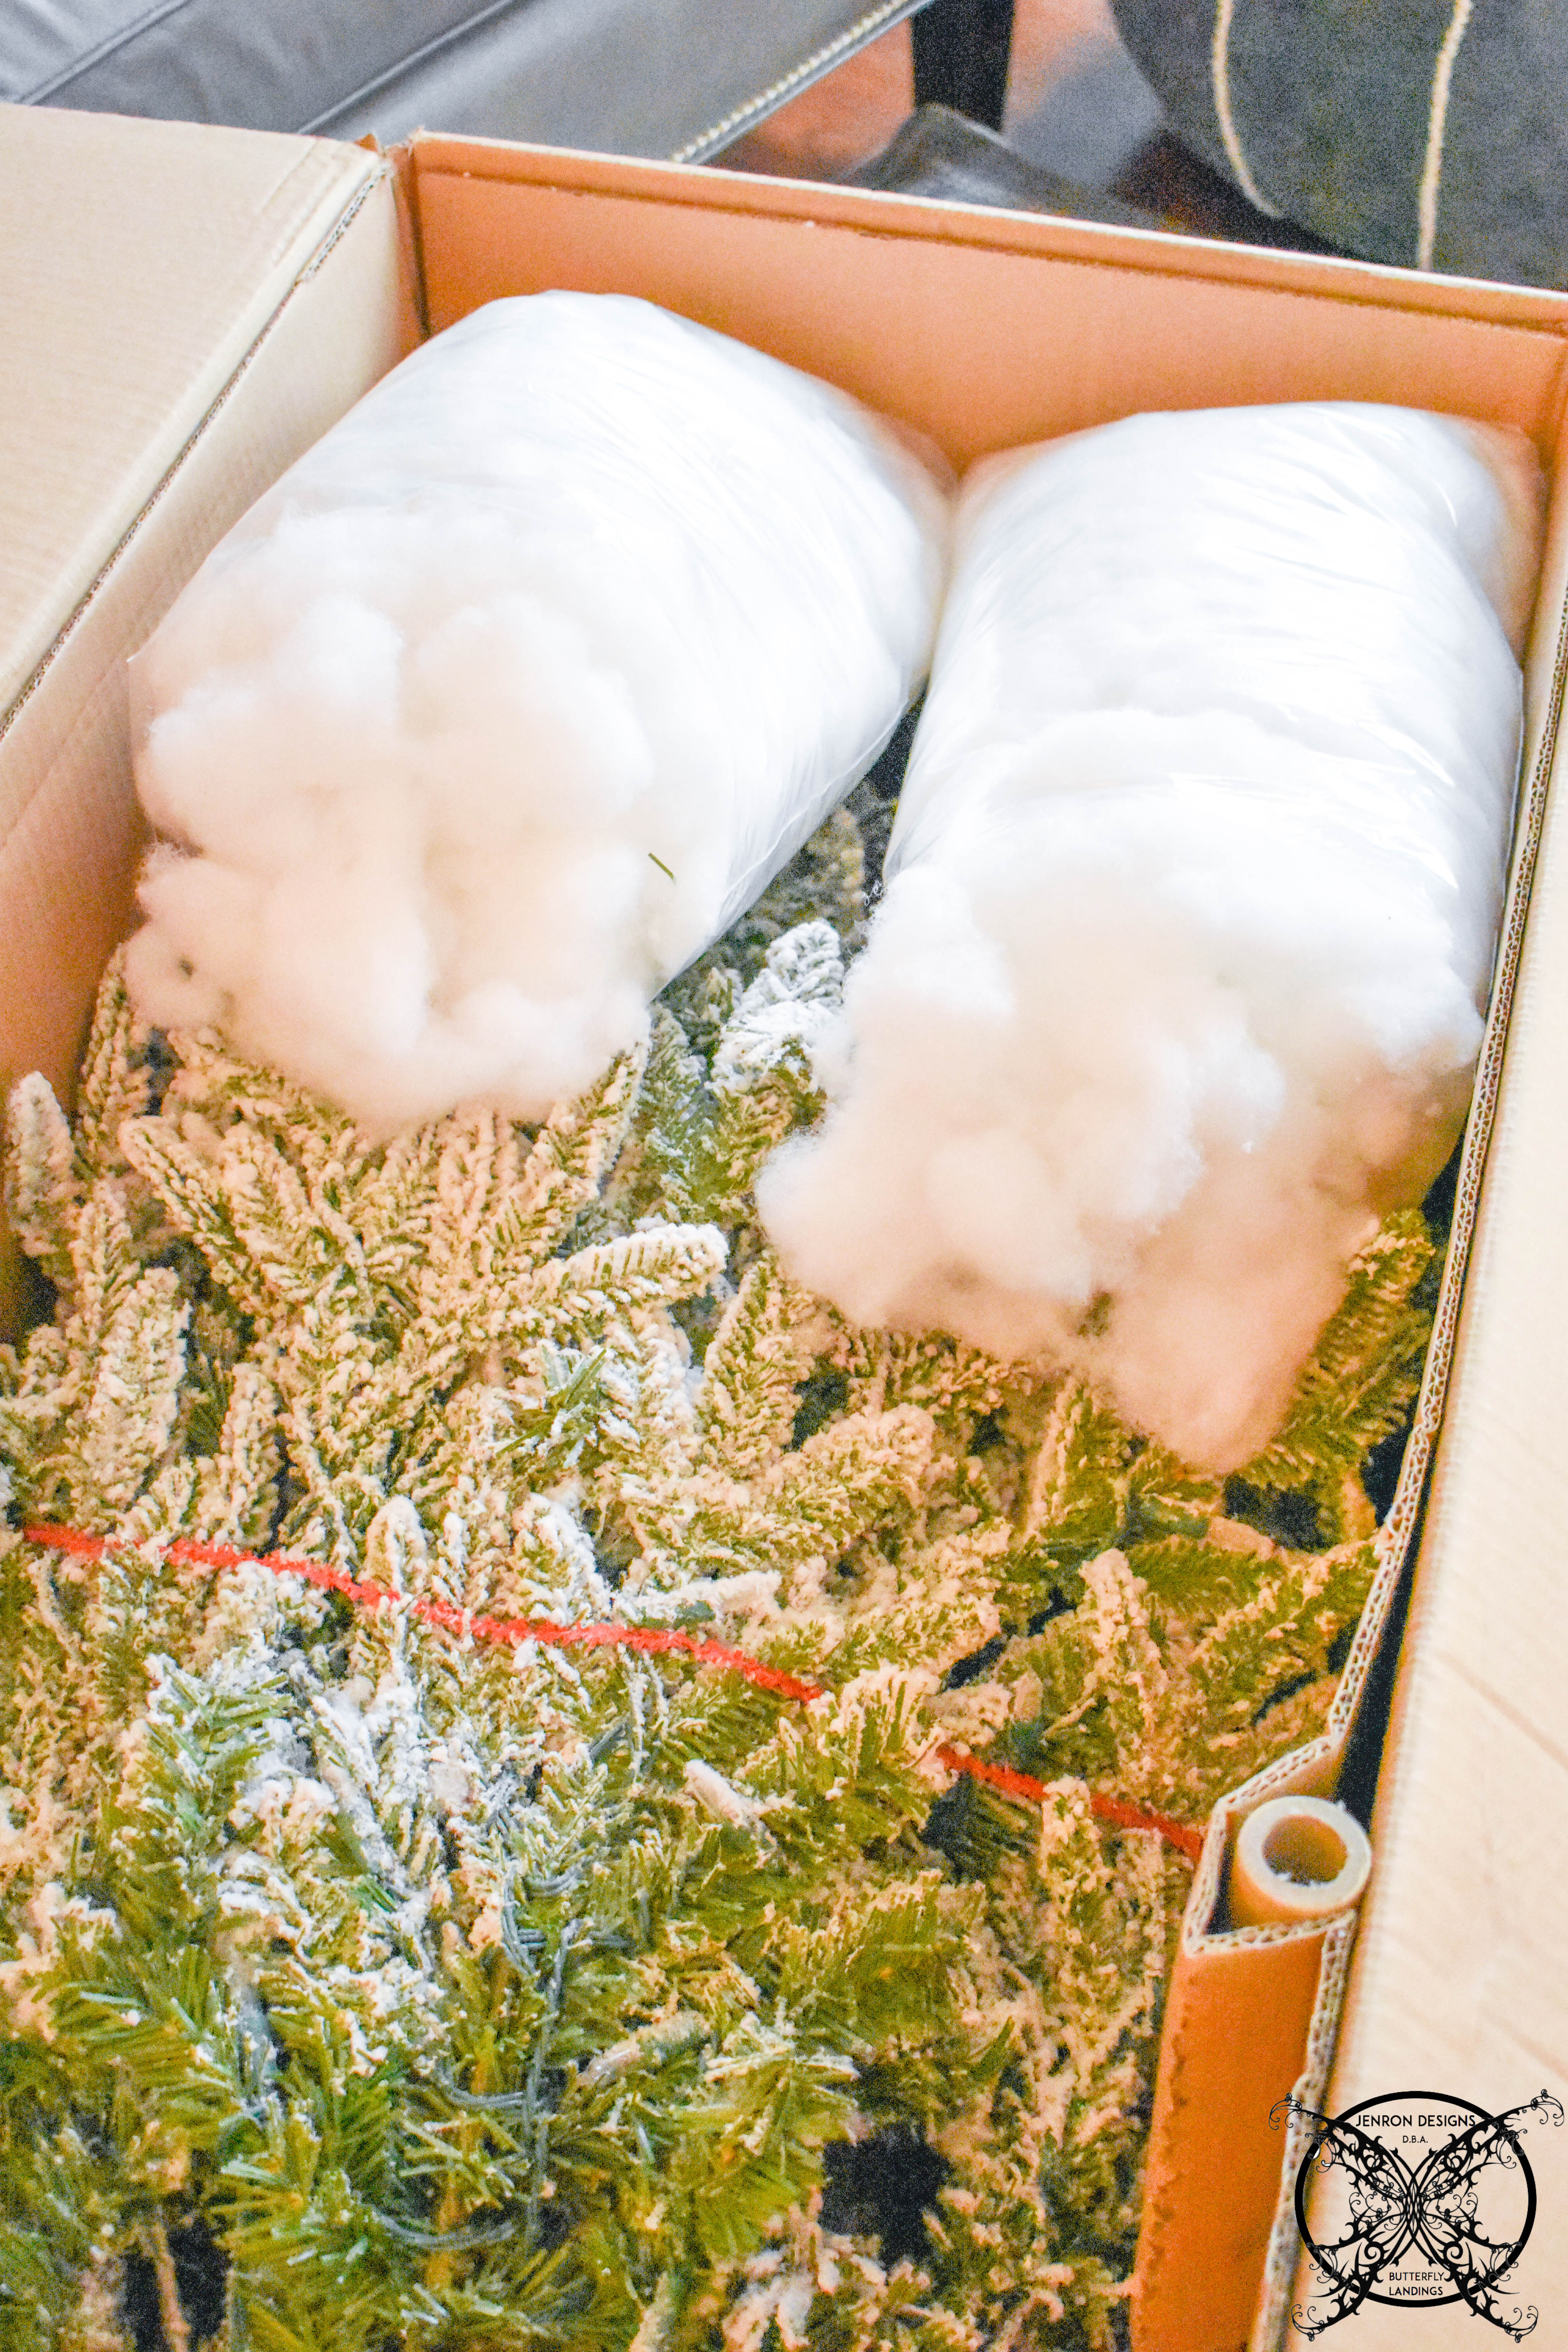 The next step is for artificial trees, you must fluff the branches, which is spreading them out and opening them up to create more surface area of green to be seen from all angles. This is when I add the fluff to the core of my flocked trees. During the assemble and fluffing process is the perfect time to add in the polyfill fluff; which will save your arms and hands from getting scratched up by reaching into the tree after the fact.
  You can use polyfill available at craft stores, or if you are like me and did not buy enough and want to try a green cost effective measure….. So funny story, I may have underestimated how much polyfill I would need, with just two bags. So, to compensate I decided that I would cut open my old outdoor cushions, since it is the end of the season, and use the fluff from inside….LOL.
 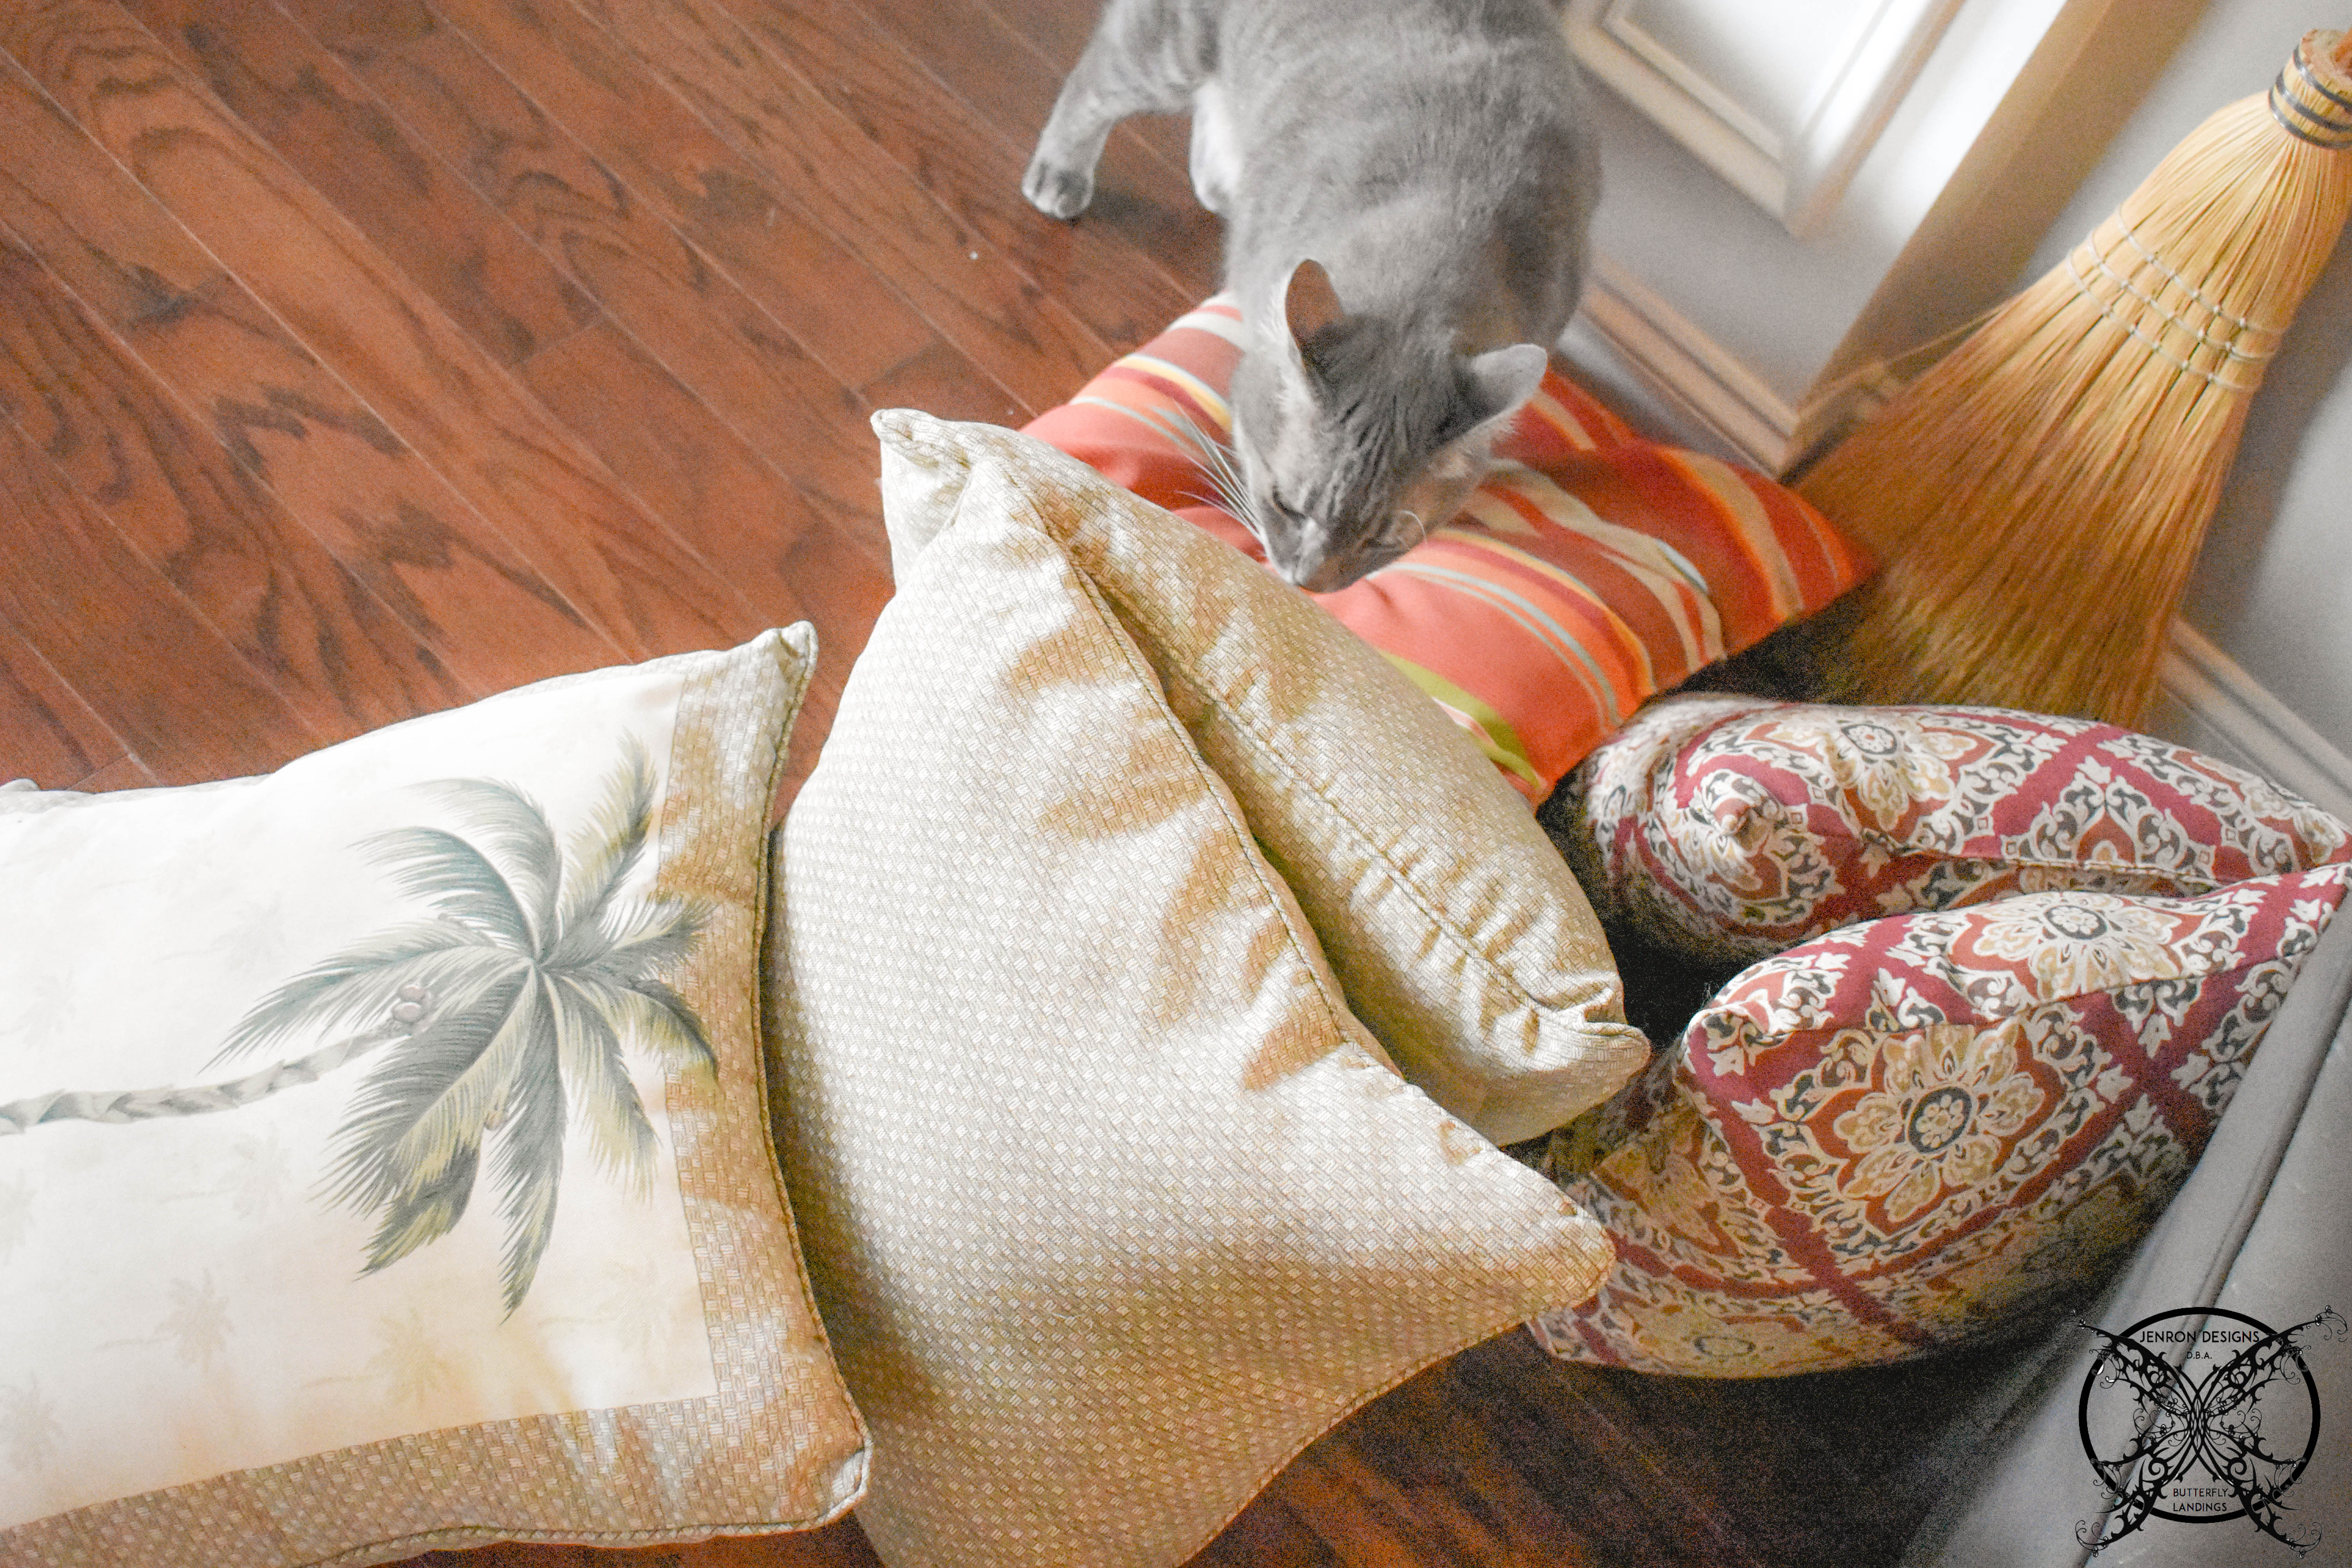 I know this may seem like an odd tip, but I learned these techniques working in many showrooms, HOA’s and event homes. You see, you have to decorate every year for the holidays, and they always give you the same boxes filled with of the same old decor and no new budget. However, they want it to look new and fresh every year which is always a challenge. So you learn to be very resourceful, you have to get crafty, and literally make something out of nothing. Think of it like “Chopped”, but the Decor Version and you have my entire job description during my twenties and early thirties, lol. I should really should pitch that idea to HGTV as a reality show!
 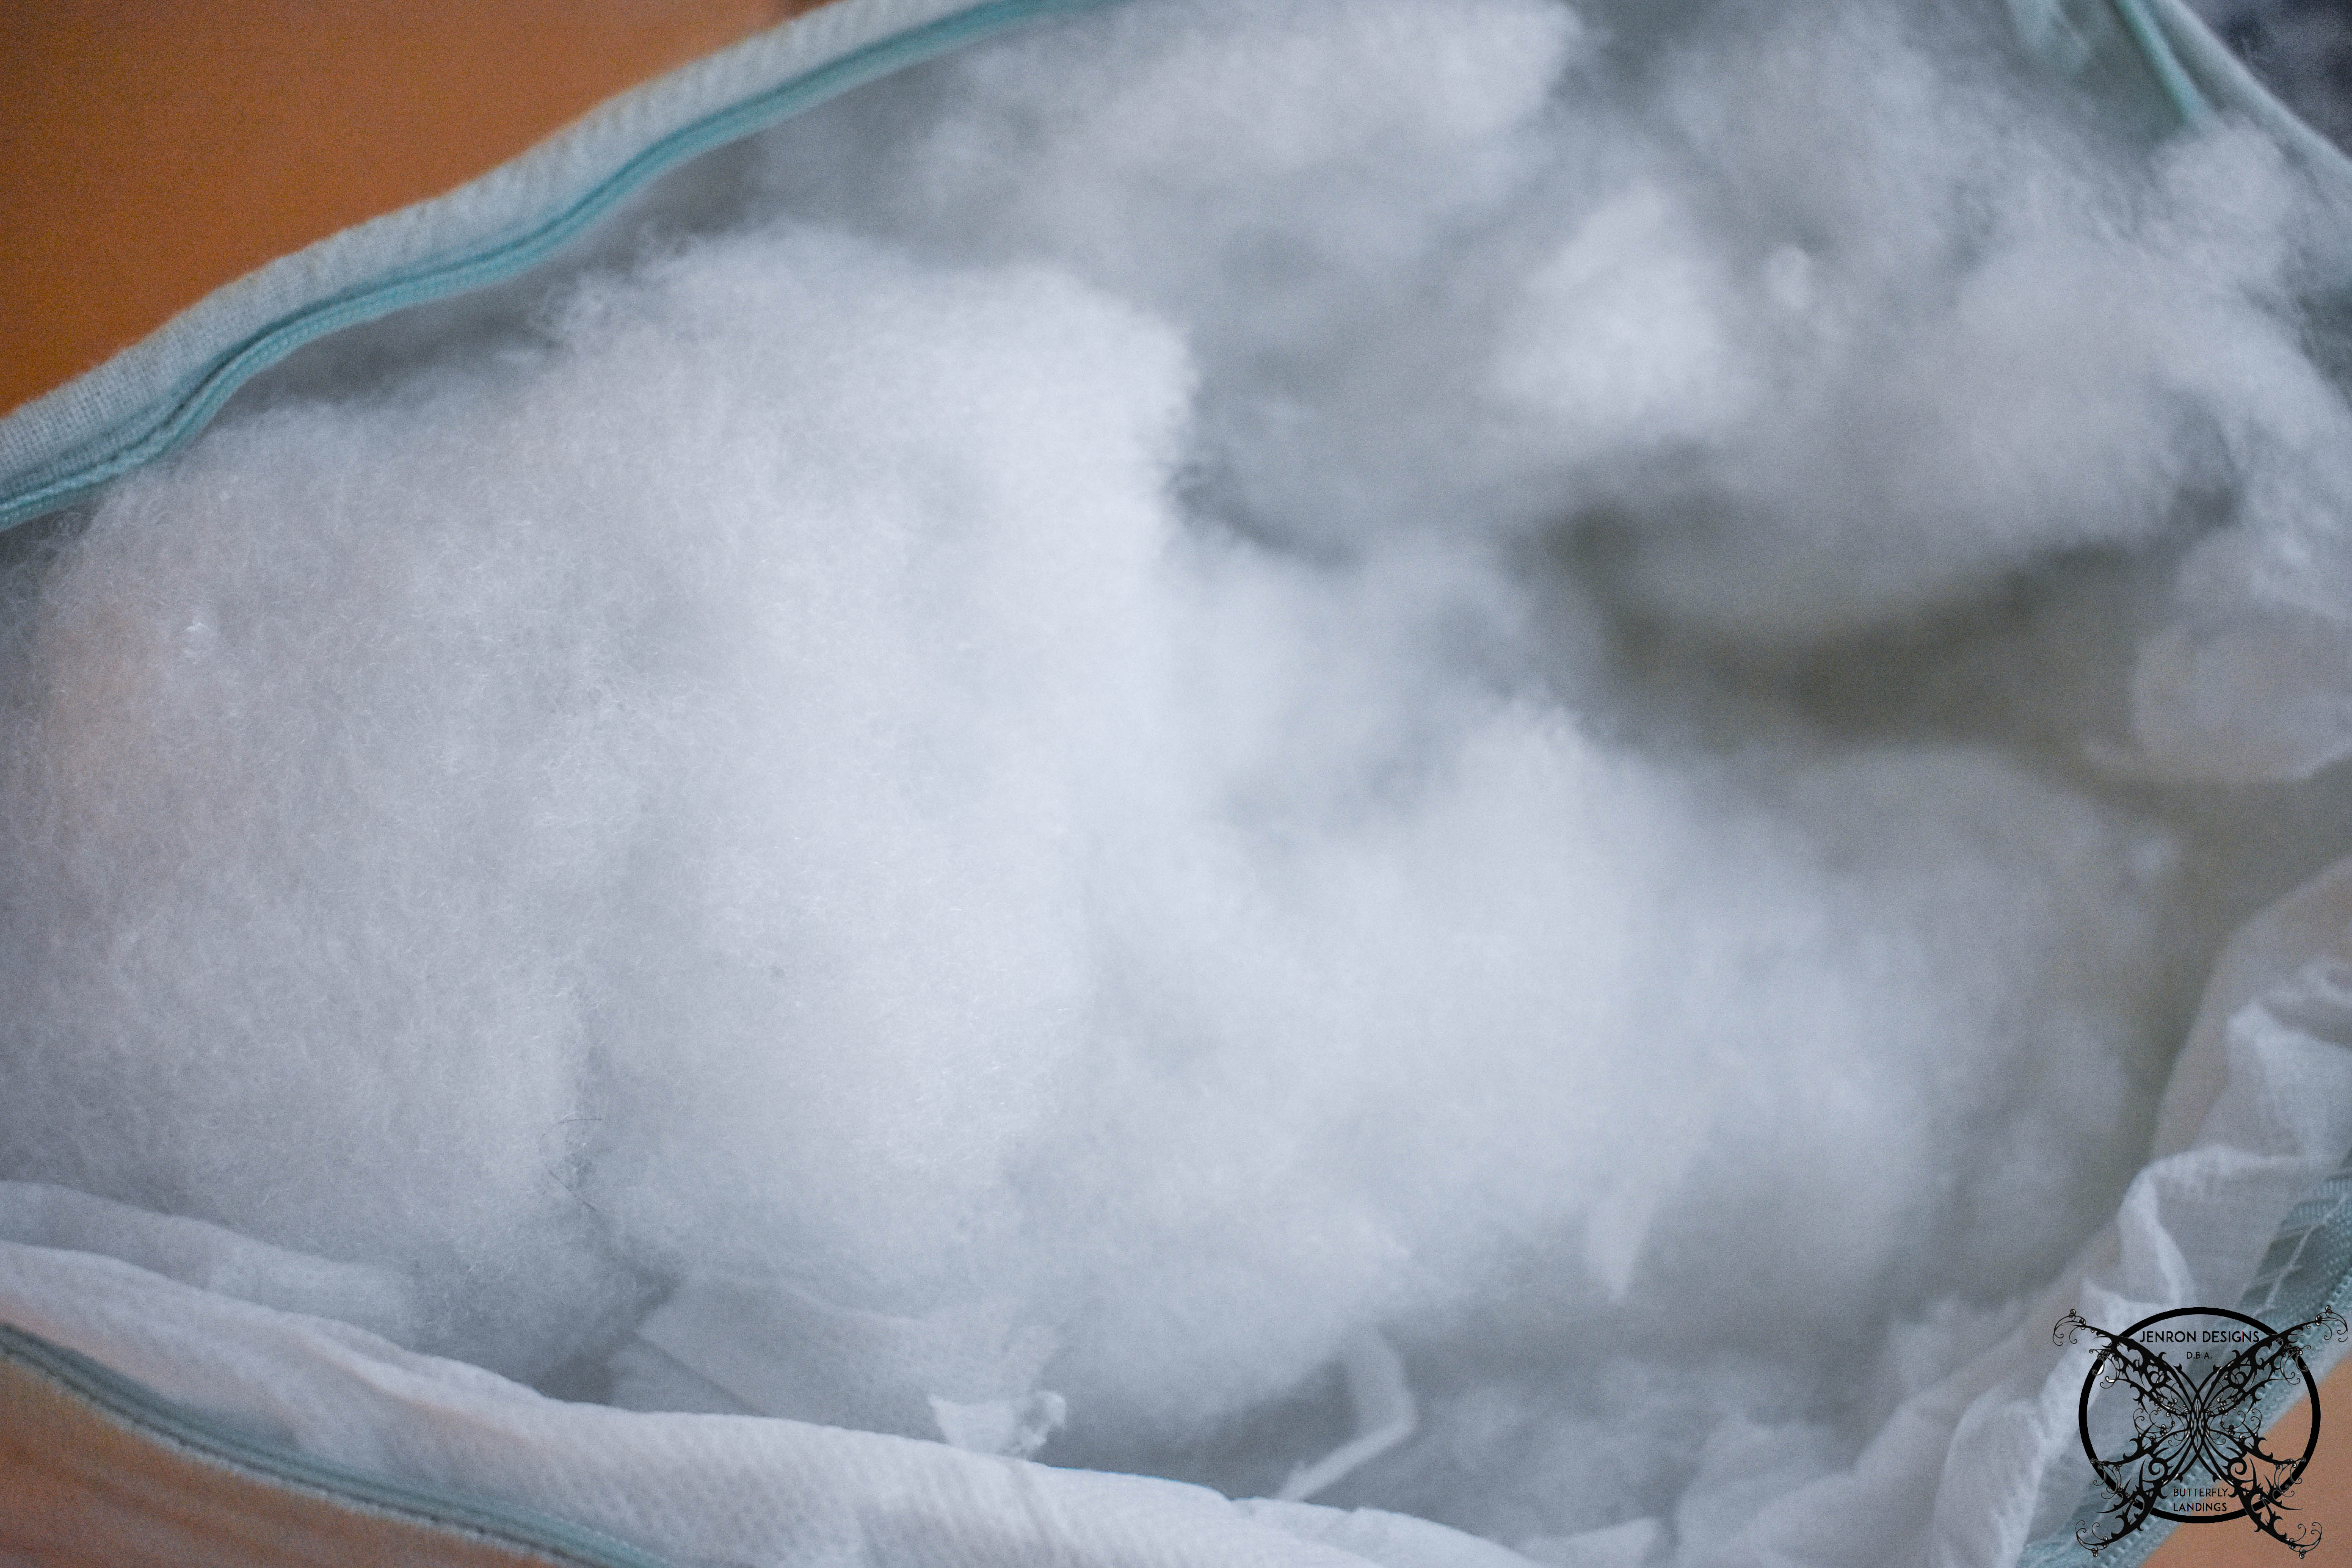 Since your old worn out cushions can not be (should not be) donated and you will probably be buying new ones next year, why not? It breaks down the filler of the cushion that would just be going to the landfill. Plus the cushions are waterproof, so the fluff is clean and you can always pitch it end of the season if you don’t want to reuse it next year. (Let me warn you, some cushions do not have white fluff inside, so you might want to check them first before committing to this route.)
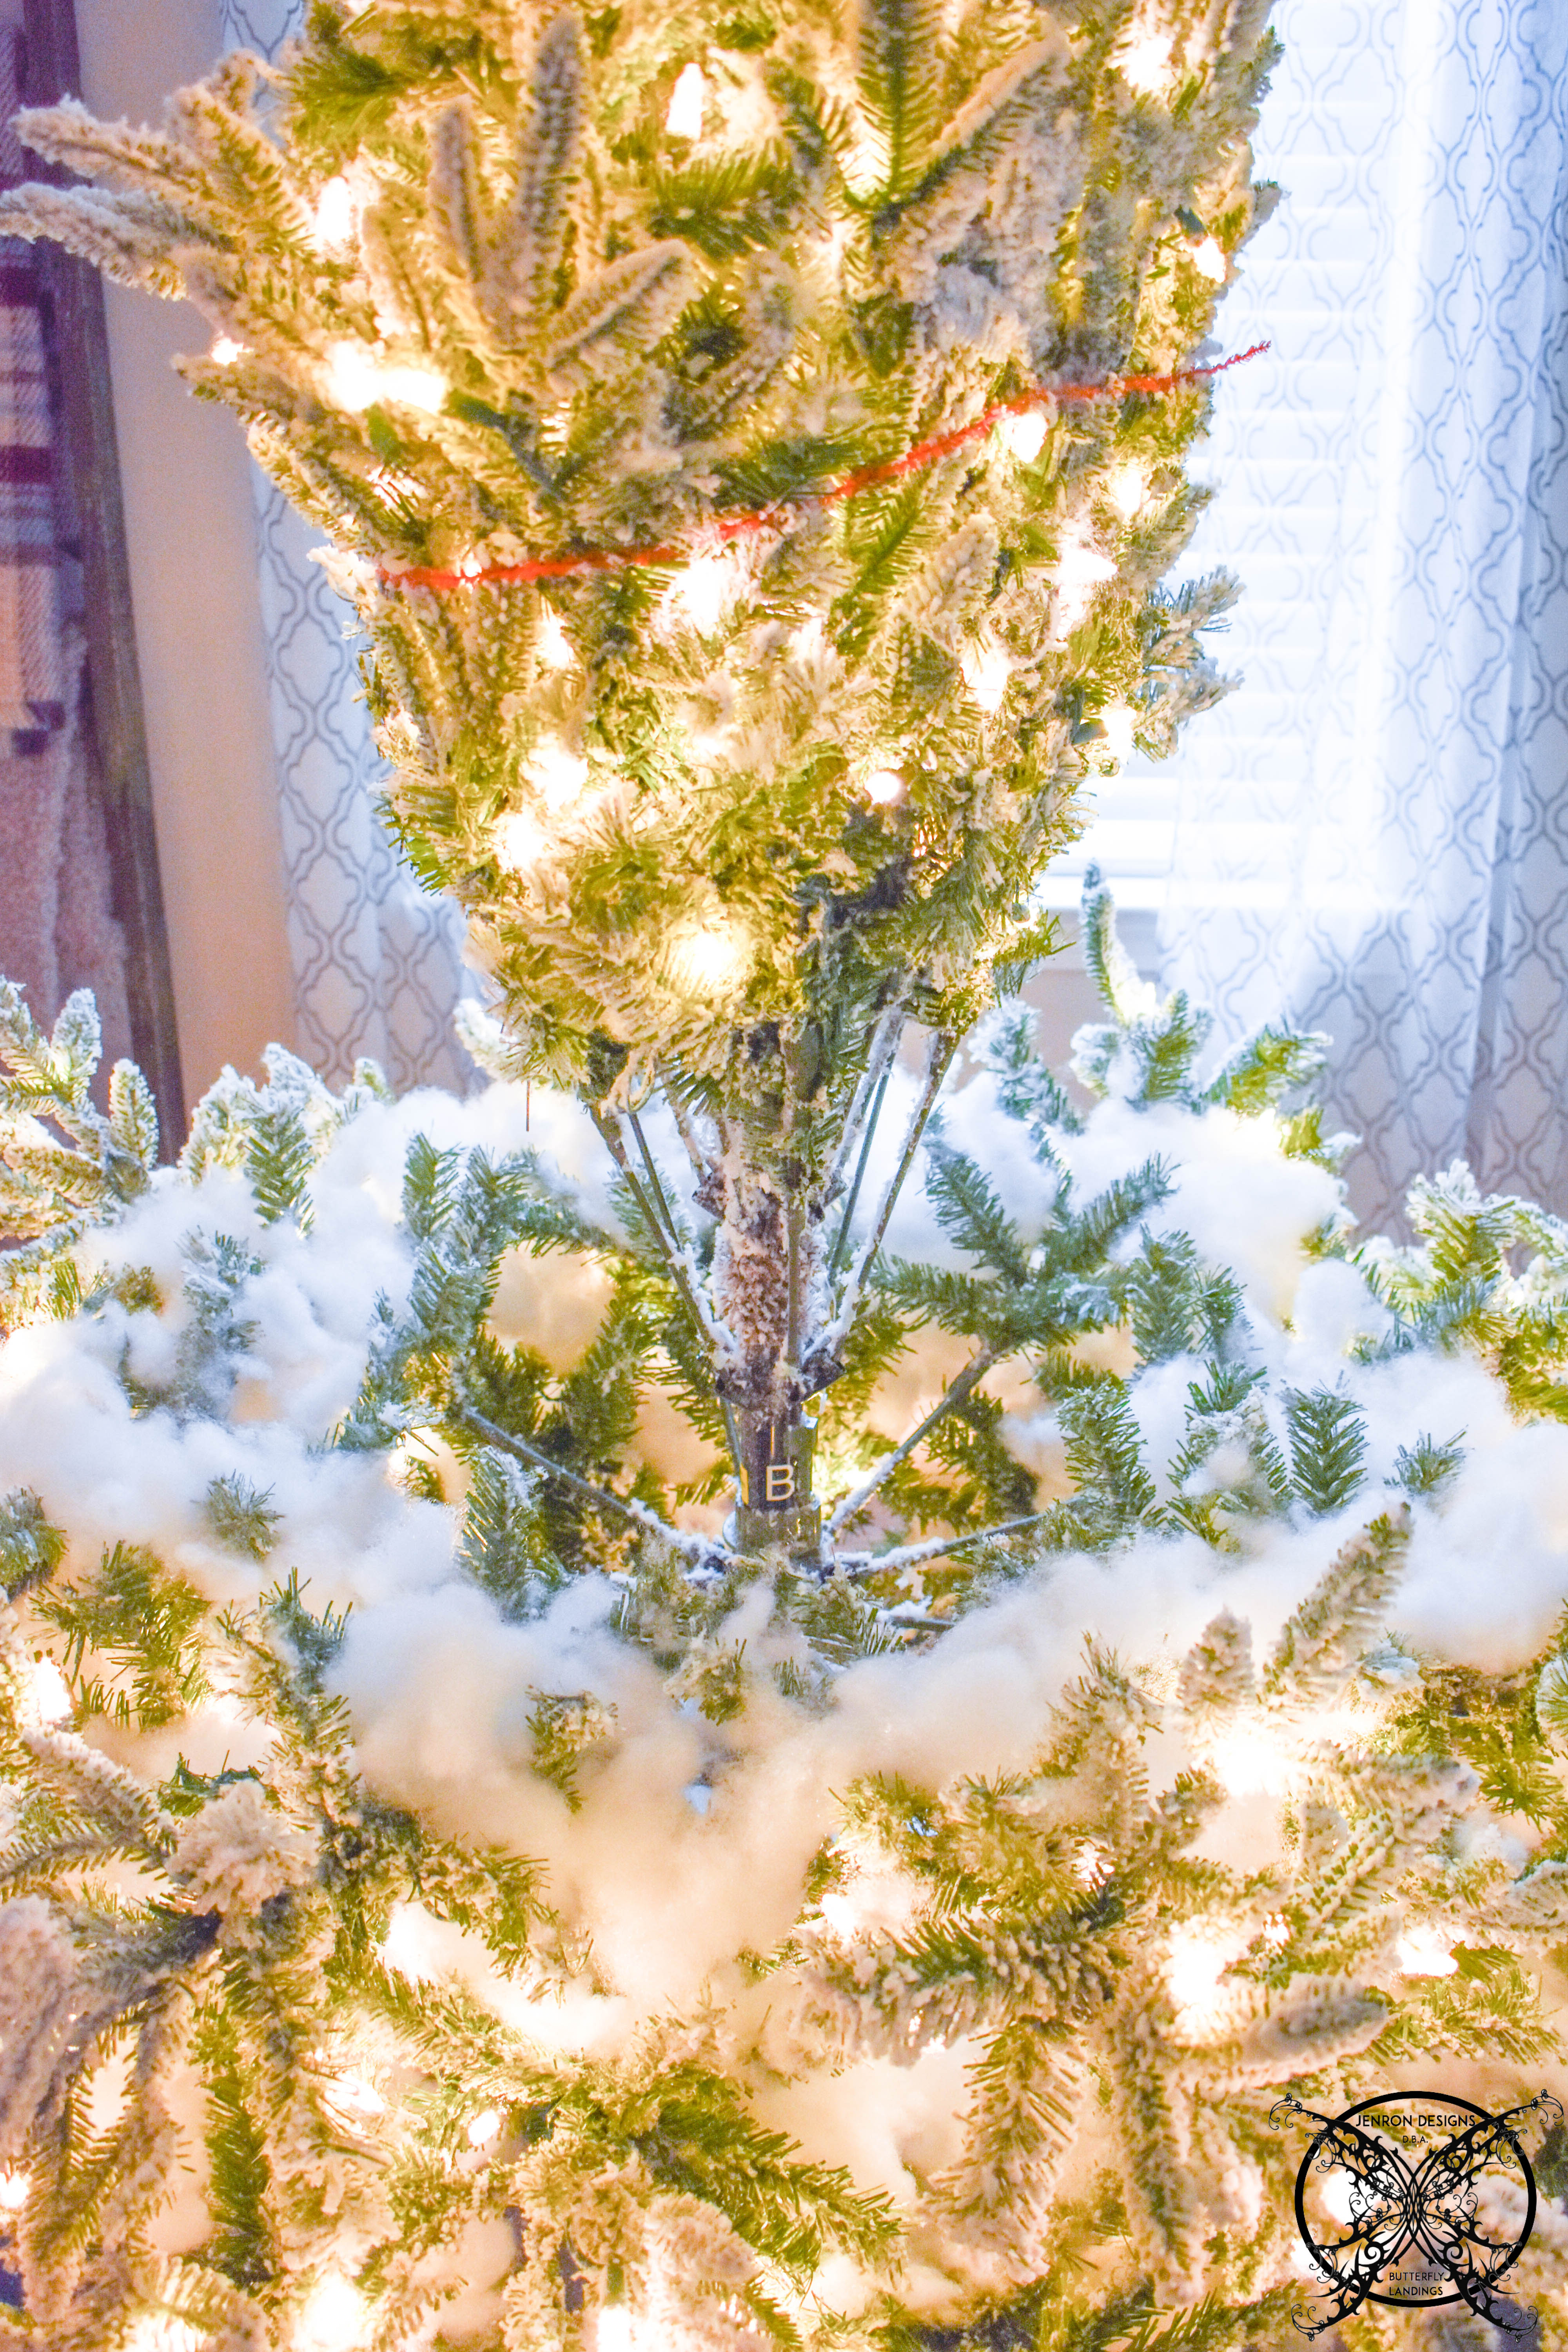
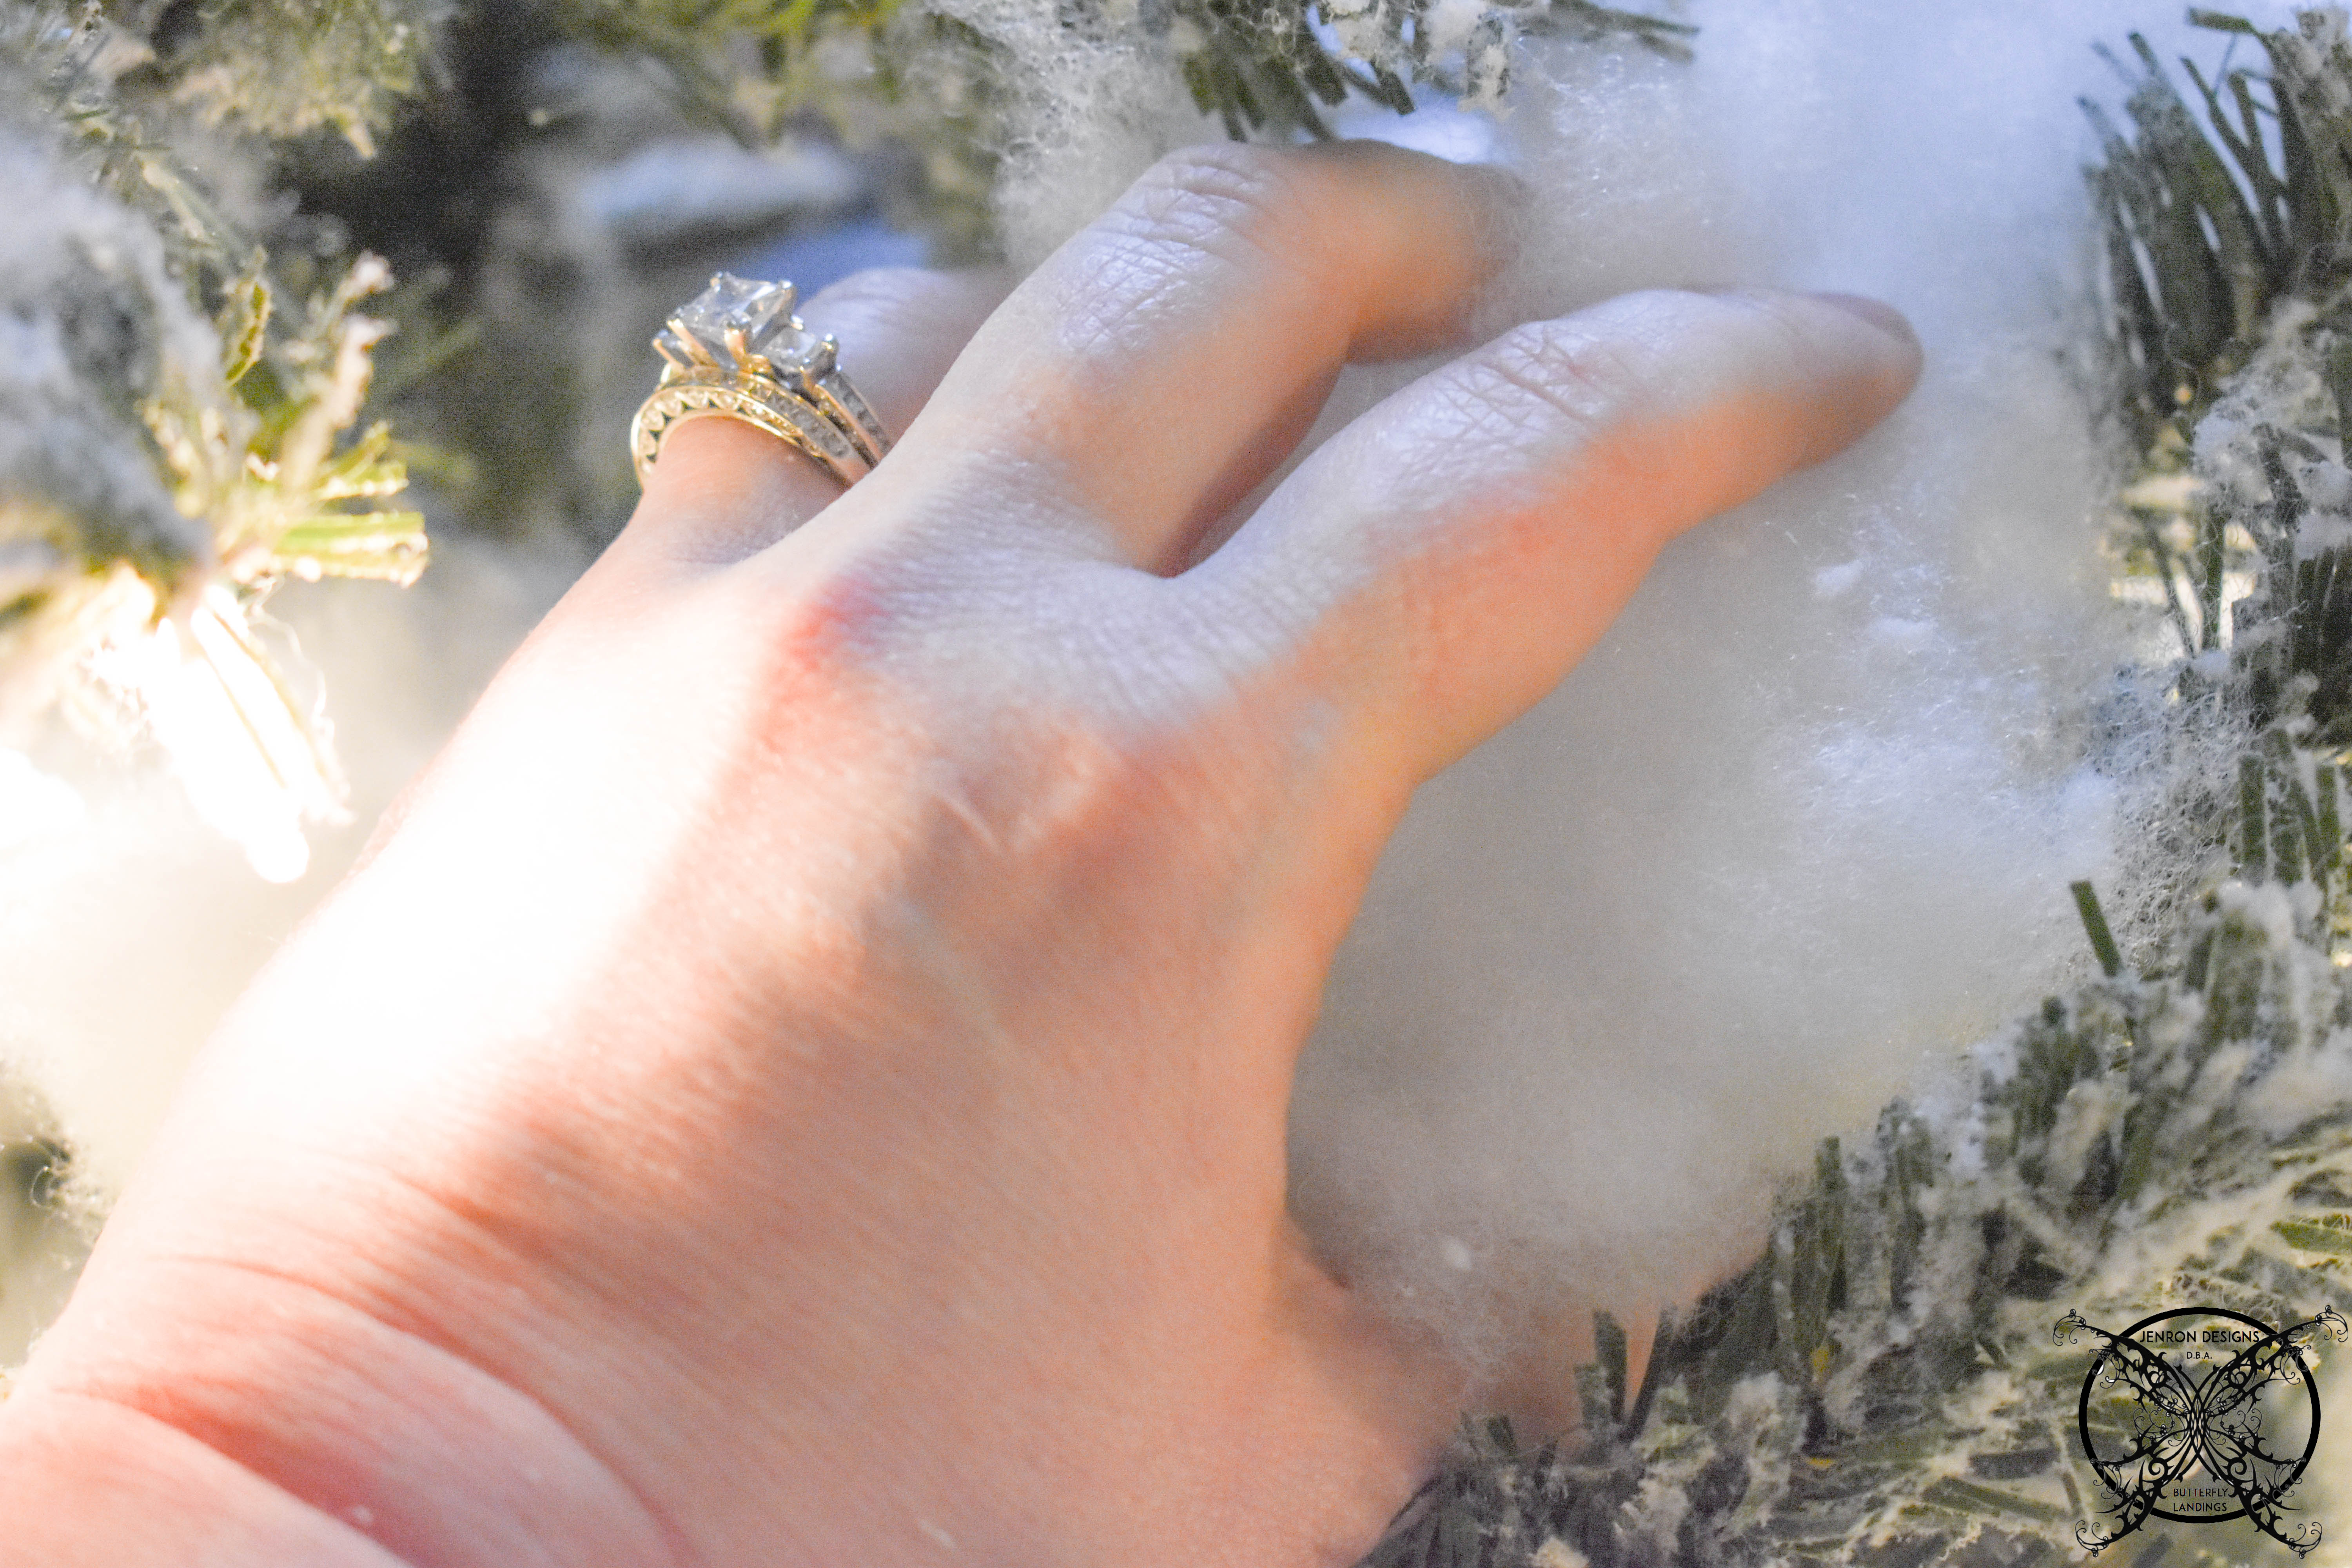 So here is how the process goes: as you are opening up the branching and fluffing each branch, you add the fluff to the middle sections. Then lower the next set of branches down and fluff. This process makes adding the polyfill super simple and saves your arms from getting all scratched up from the reaching up into the branches.
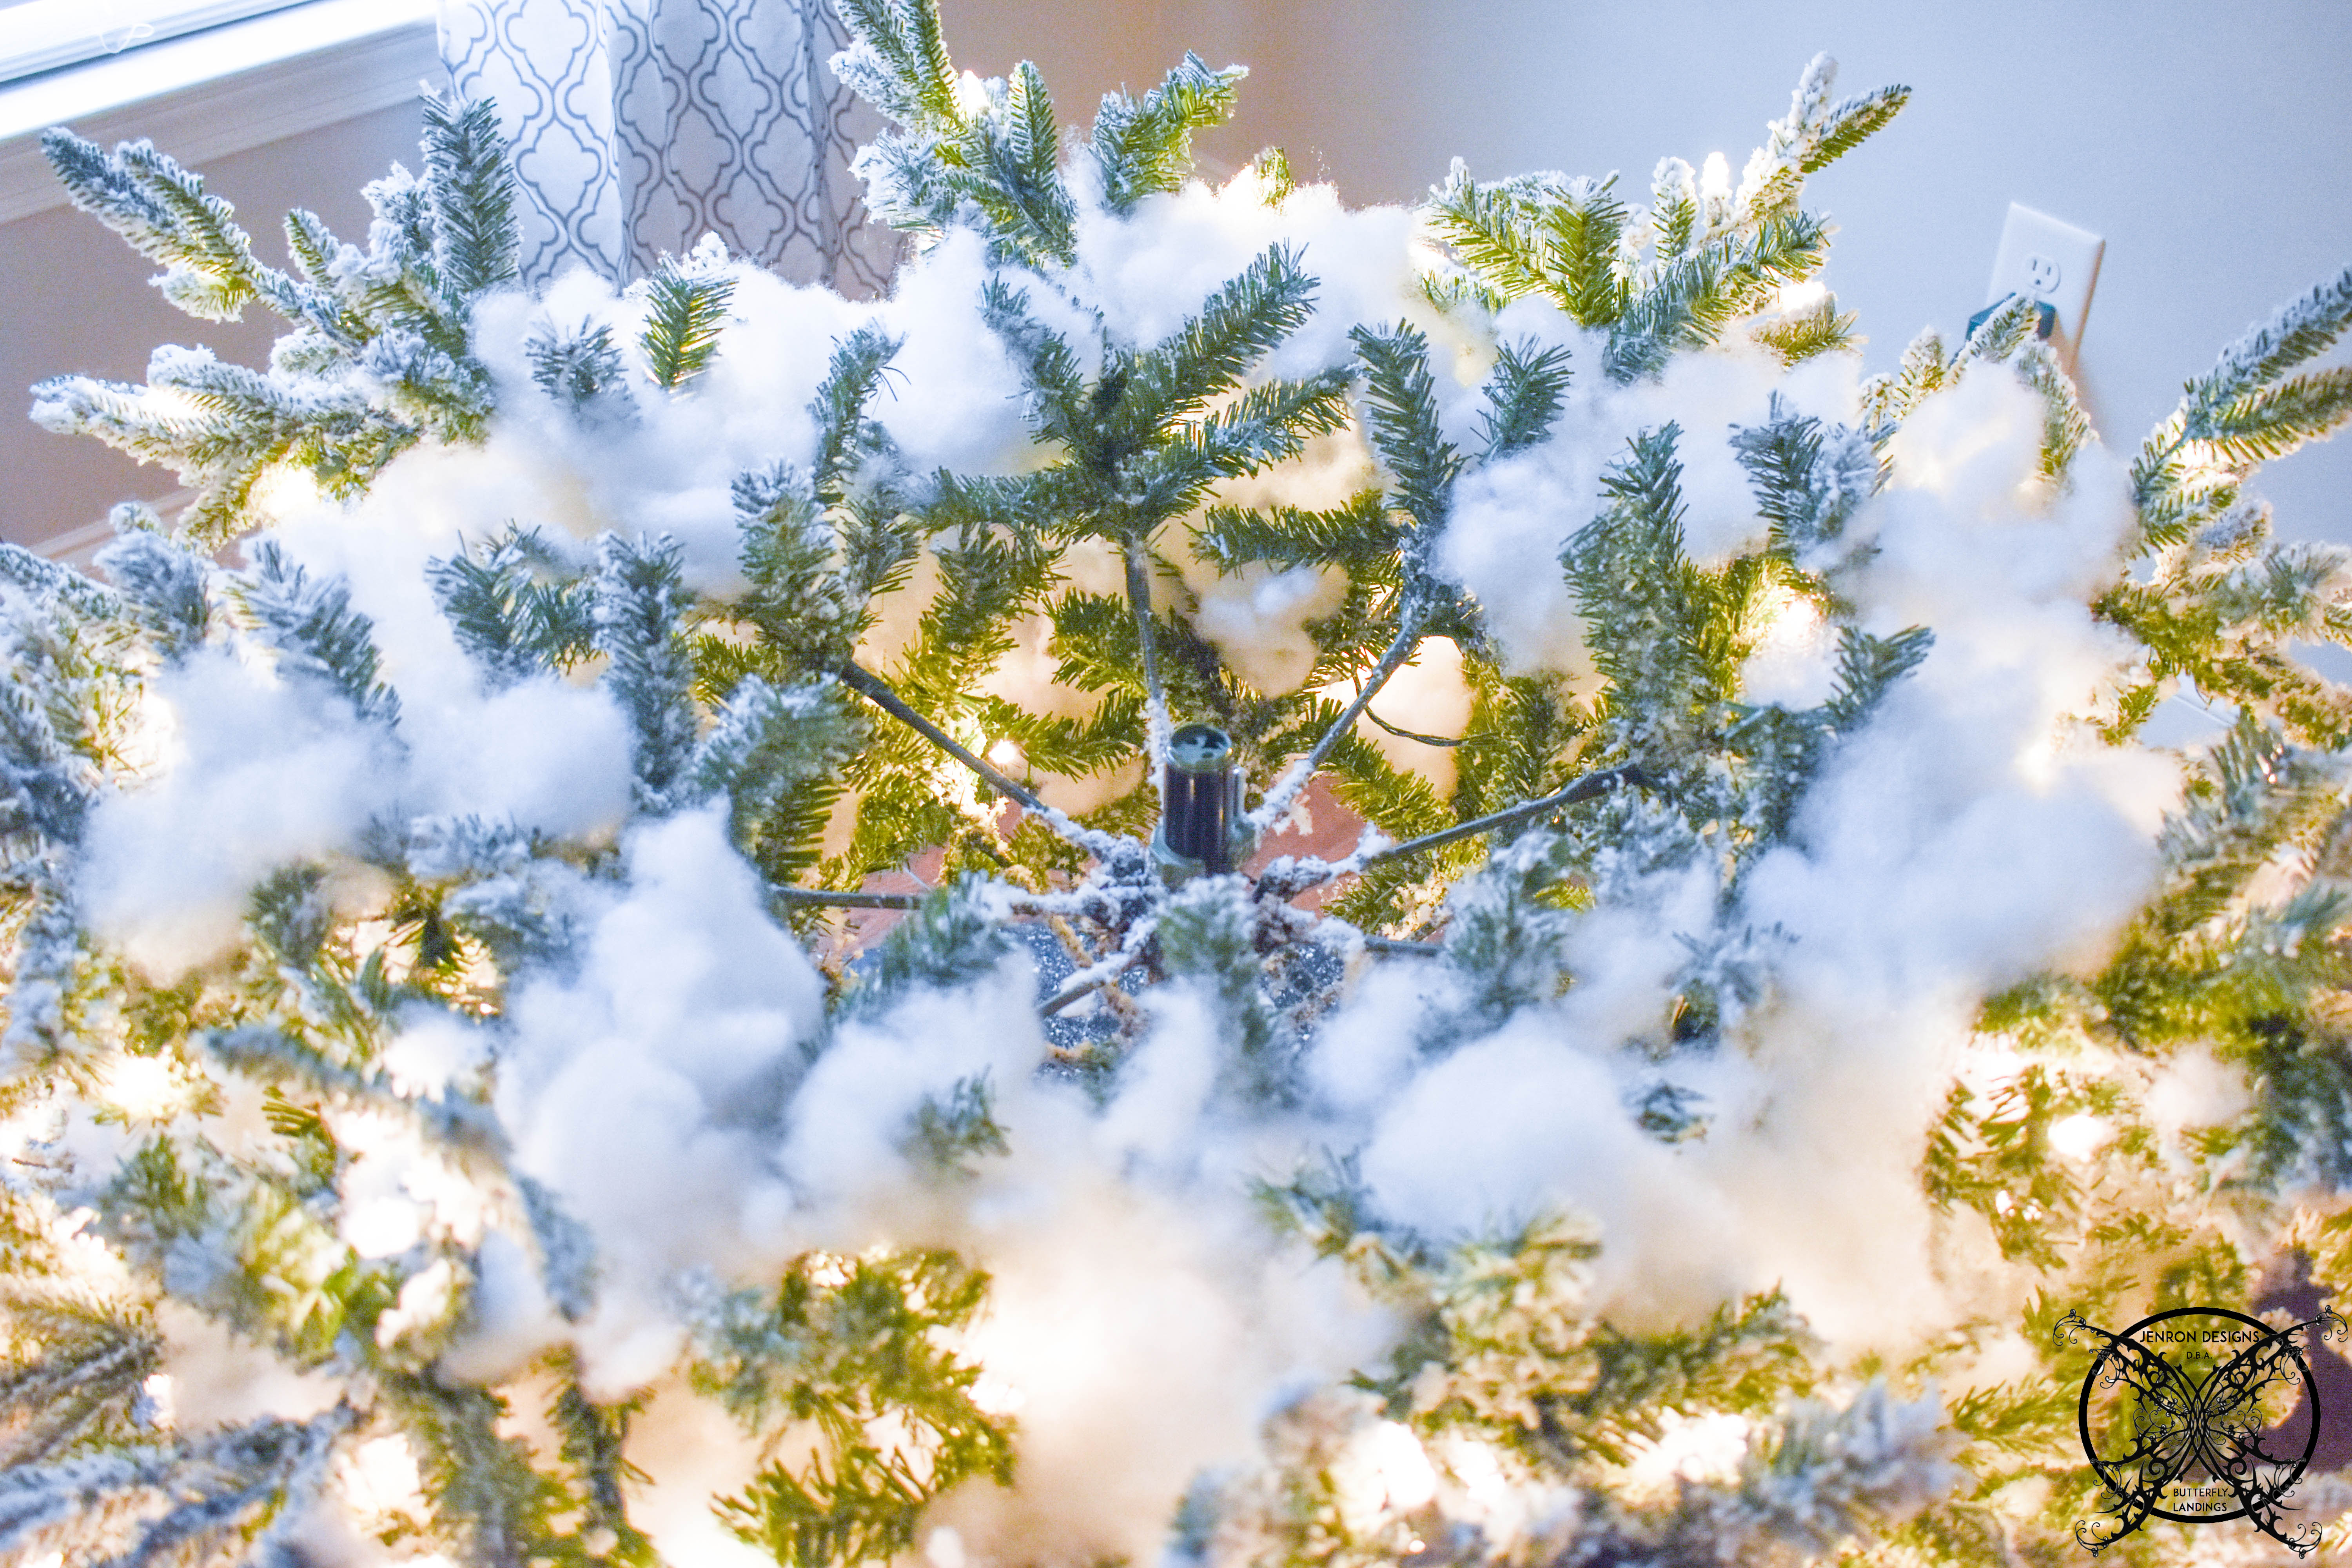 Safety Tip: Please keep in mind that this is a new LED lit tree, and for safety purposes I HIGHLY recommend only stuffing trees with LED lights. The polyfill can present a fire hazard when used with older traditional incandescent lights that create heat, this can also happen with ribbon as well. So always keep these things in mind for a safe holiday season.
  Once you have the tree fluffed and filled, you can add your ribbon or garland. You can use either, or both. I tend to mix it up depending on my overall tree theme which varies from year to year. On this tree we will be using two types of ribbon. I have purchased three, 30 foot bolts of each ribbon type.
 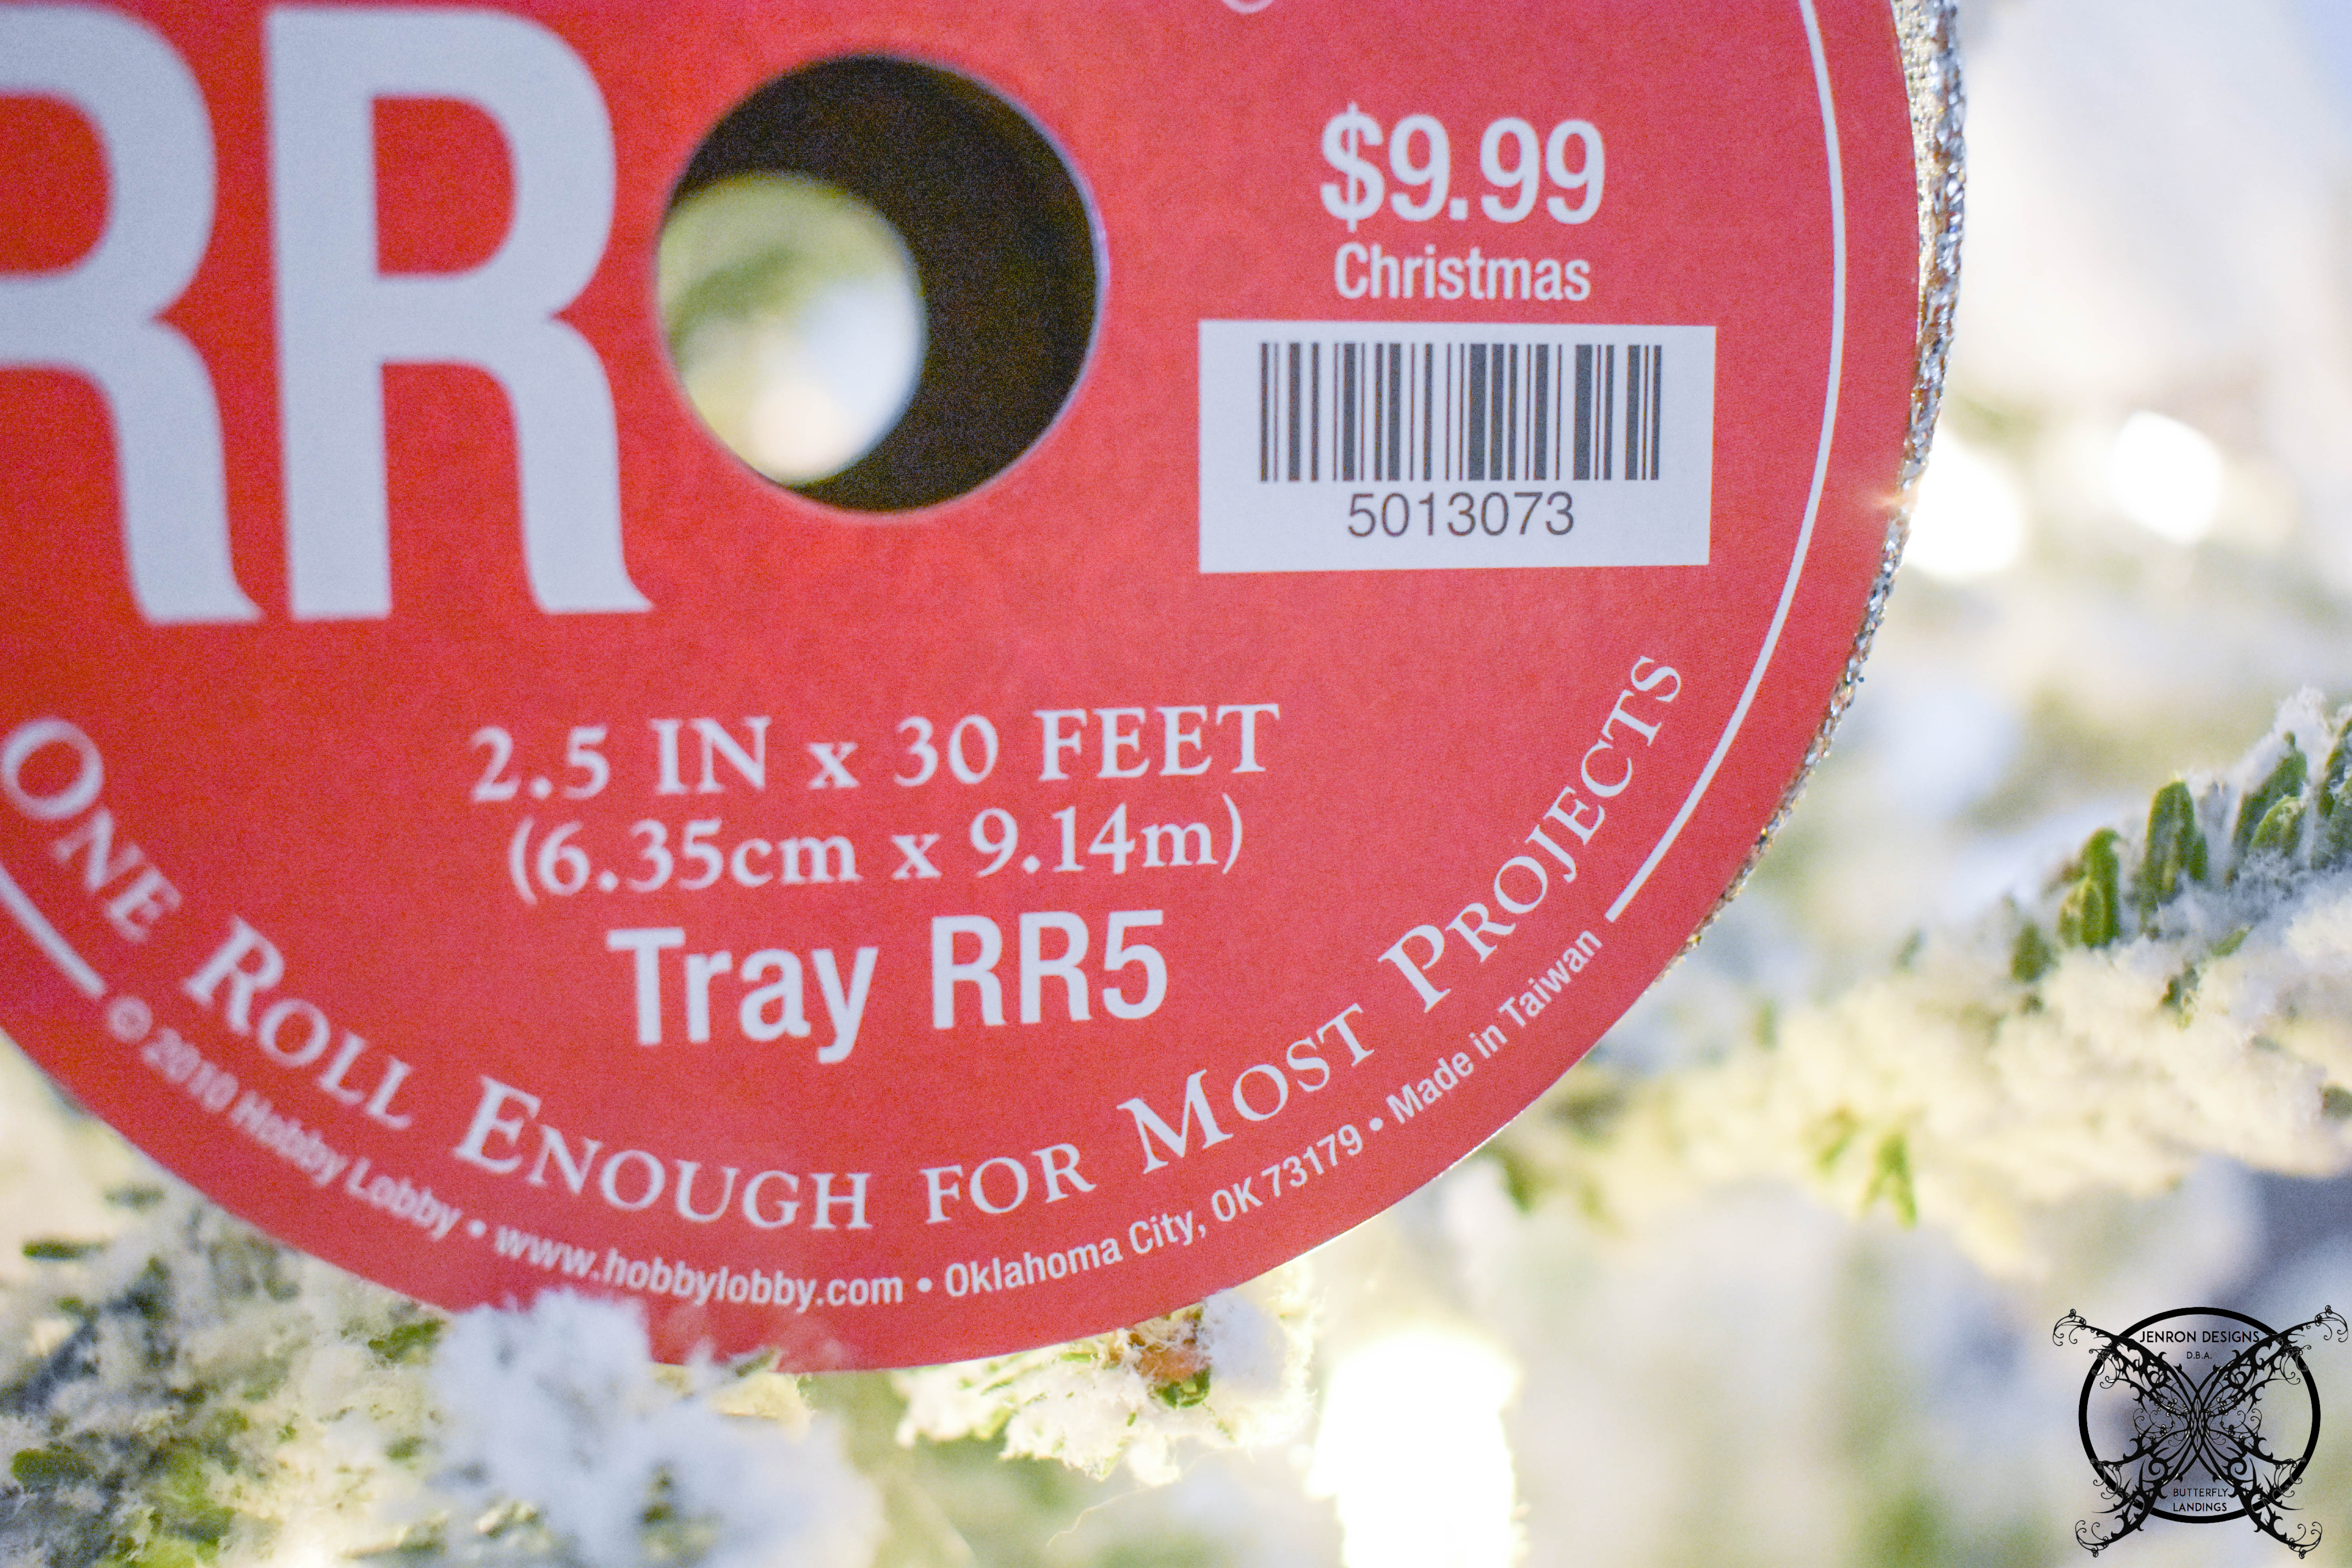 The is the most common thing I notice, is that people never get enough ribbon to create the proper fullness you see on the professional trees in magazines. Sometime I will use as many as three to four coordinating ribbons in the same amounts, if I want a lot of ribbon or a large bow at the top. My best advice is whatever you think you need double or triple it, because it always take more than your think.
 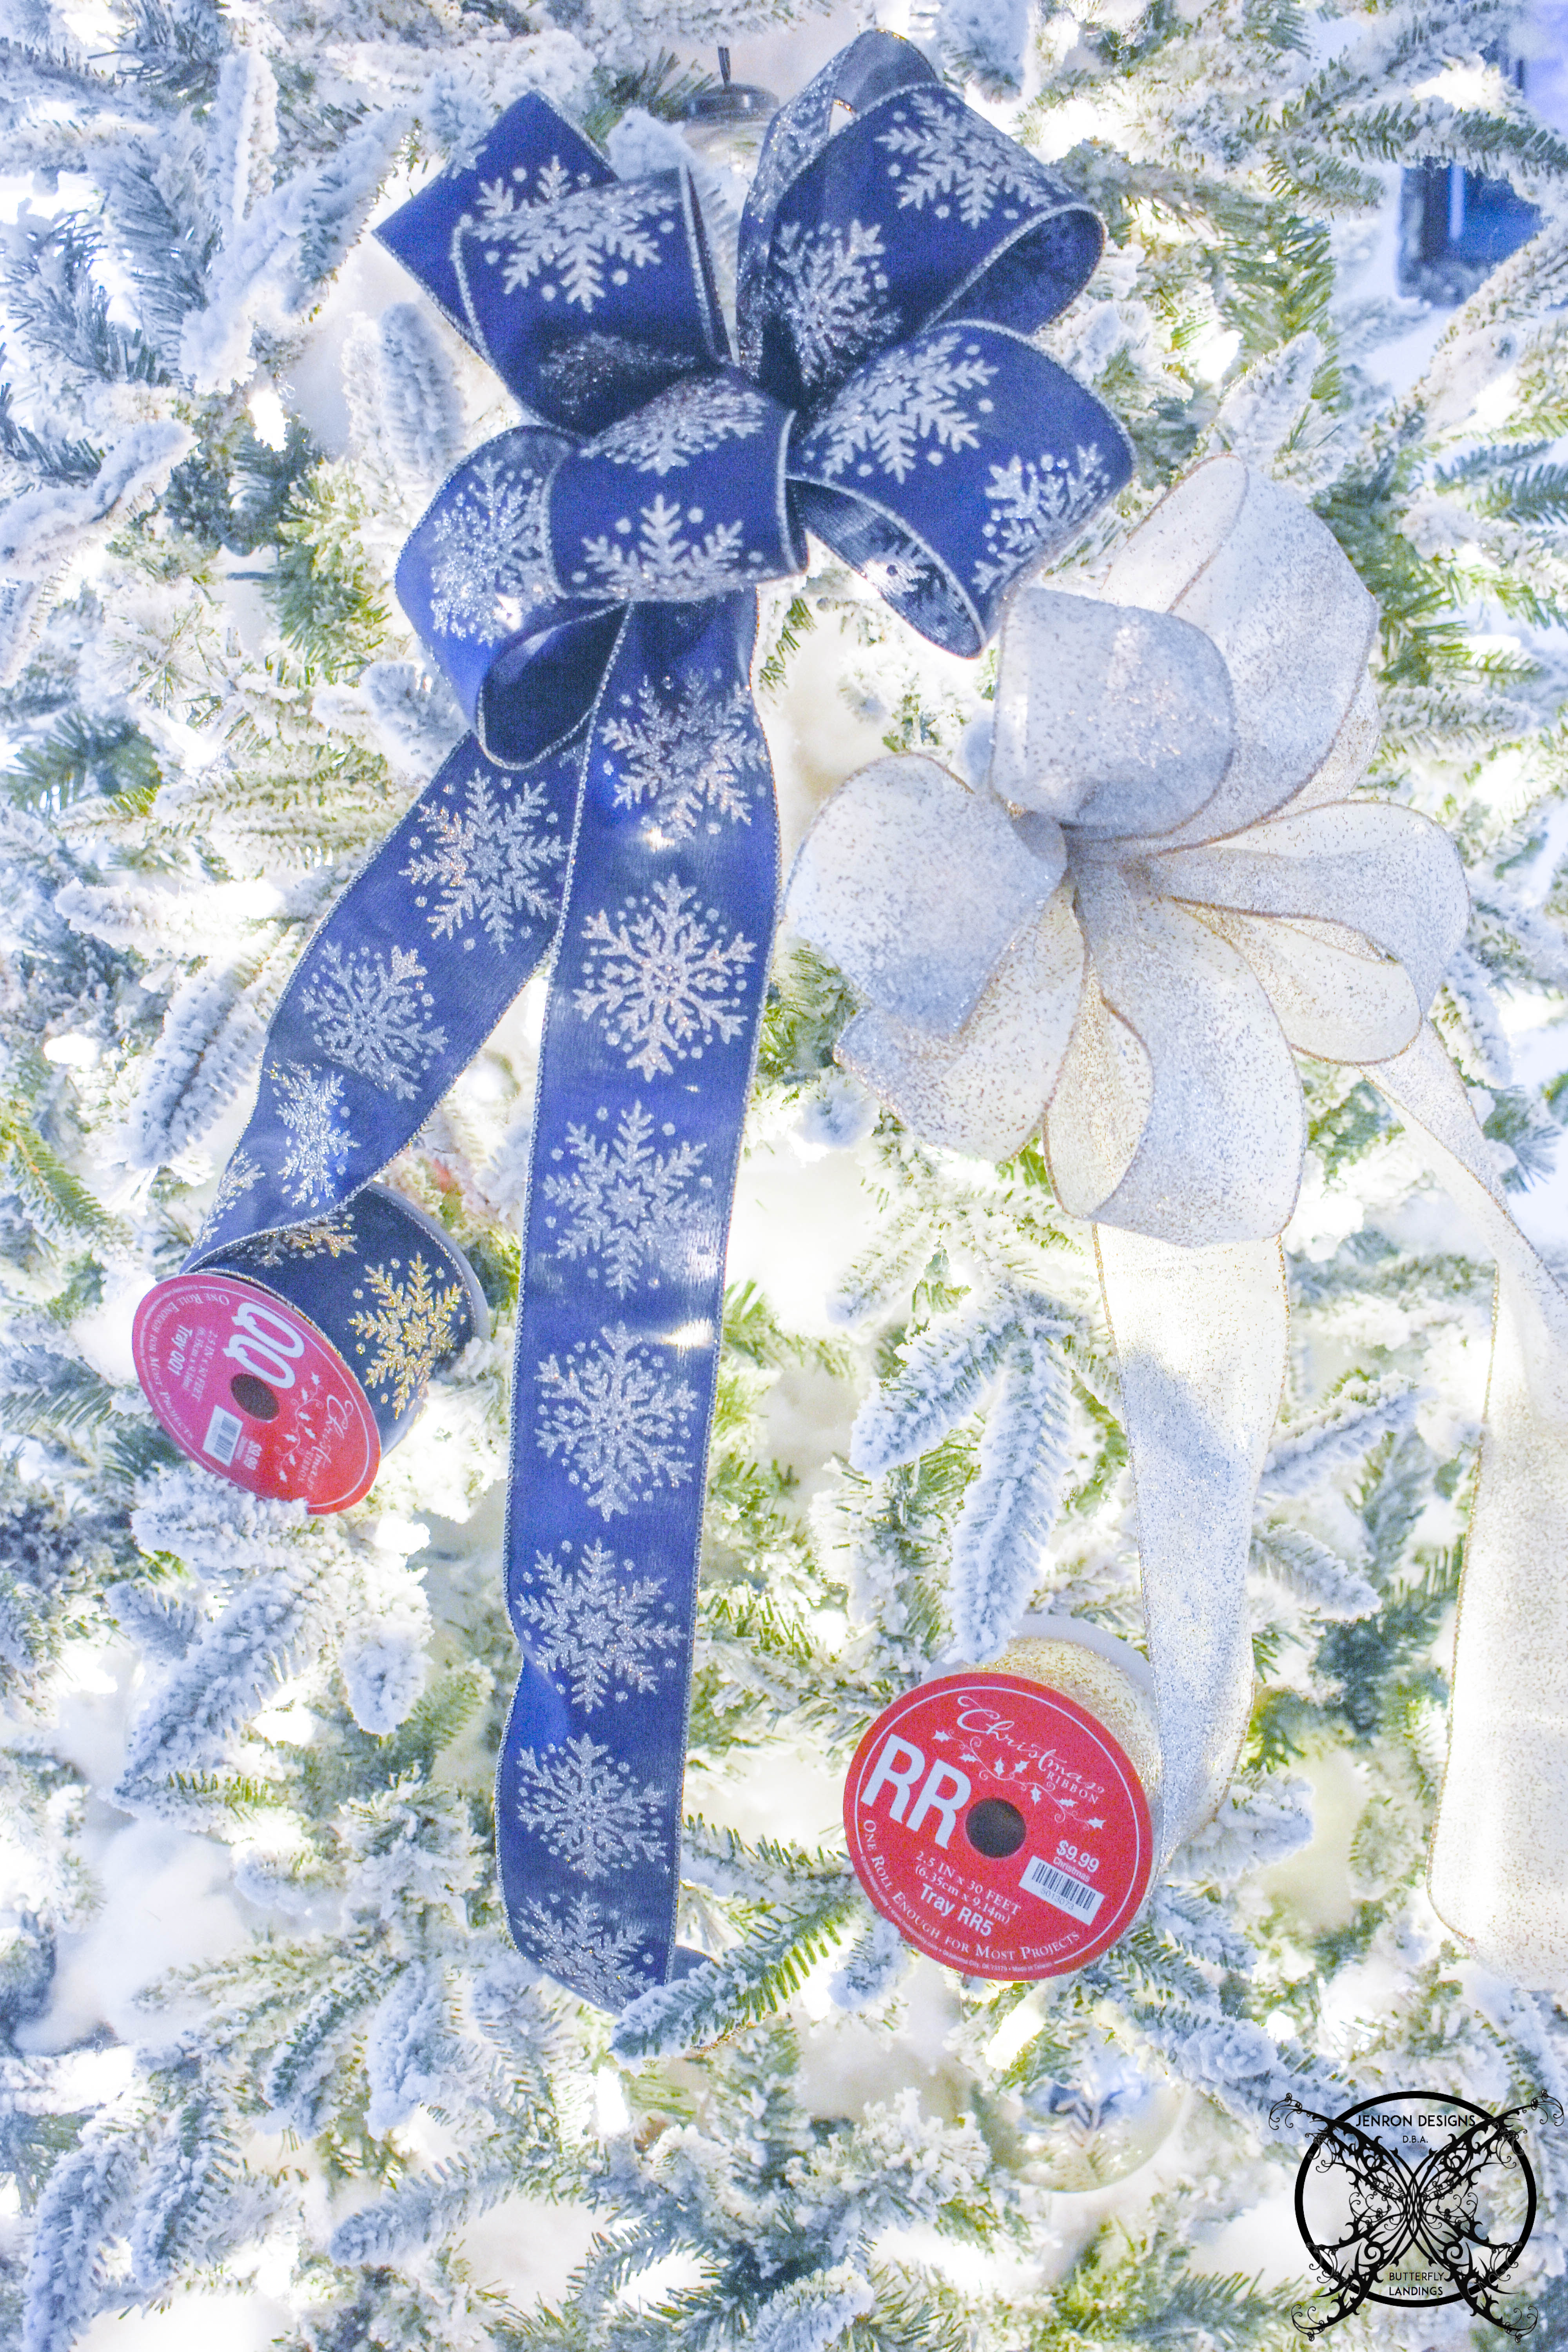 There are several ways to install the ribbon. You can go in a vertical garland like fashion, or more of a woven in and out fashion. When I first learned how to weave ribbon on a tree, the lady that taught me said “think of the tree like ice cream and the ribbon is like the hot fudge running down your sundae.” To me that painted a very vivid picture of how to “tuck and weave” the ribbon into the branches.
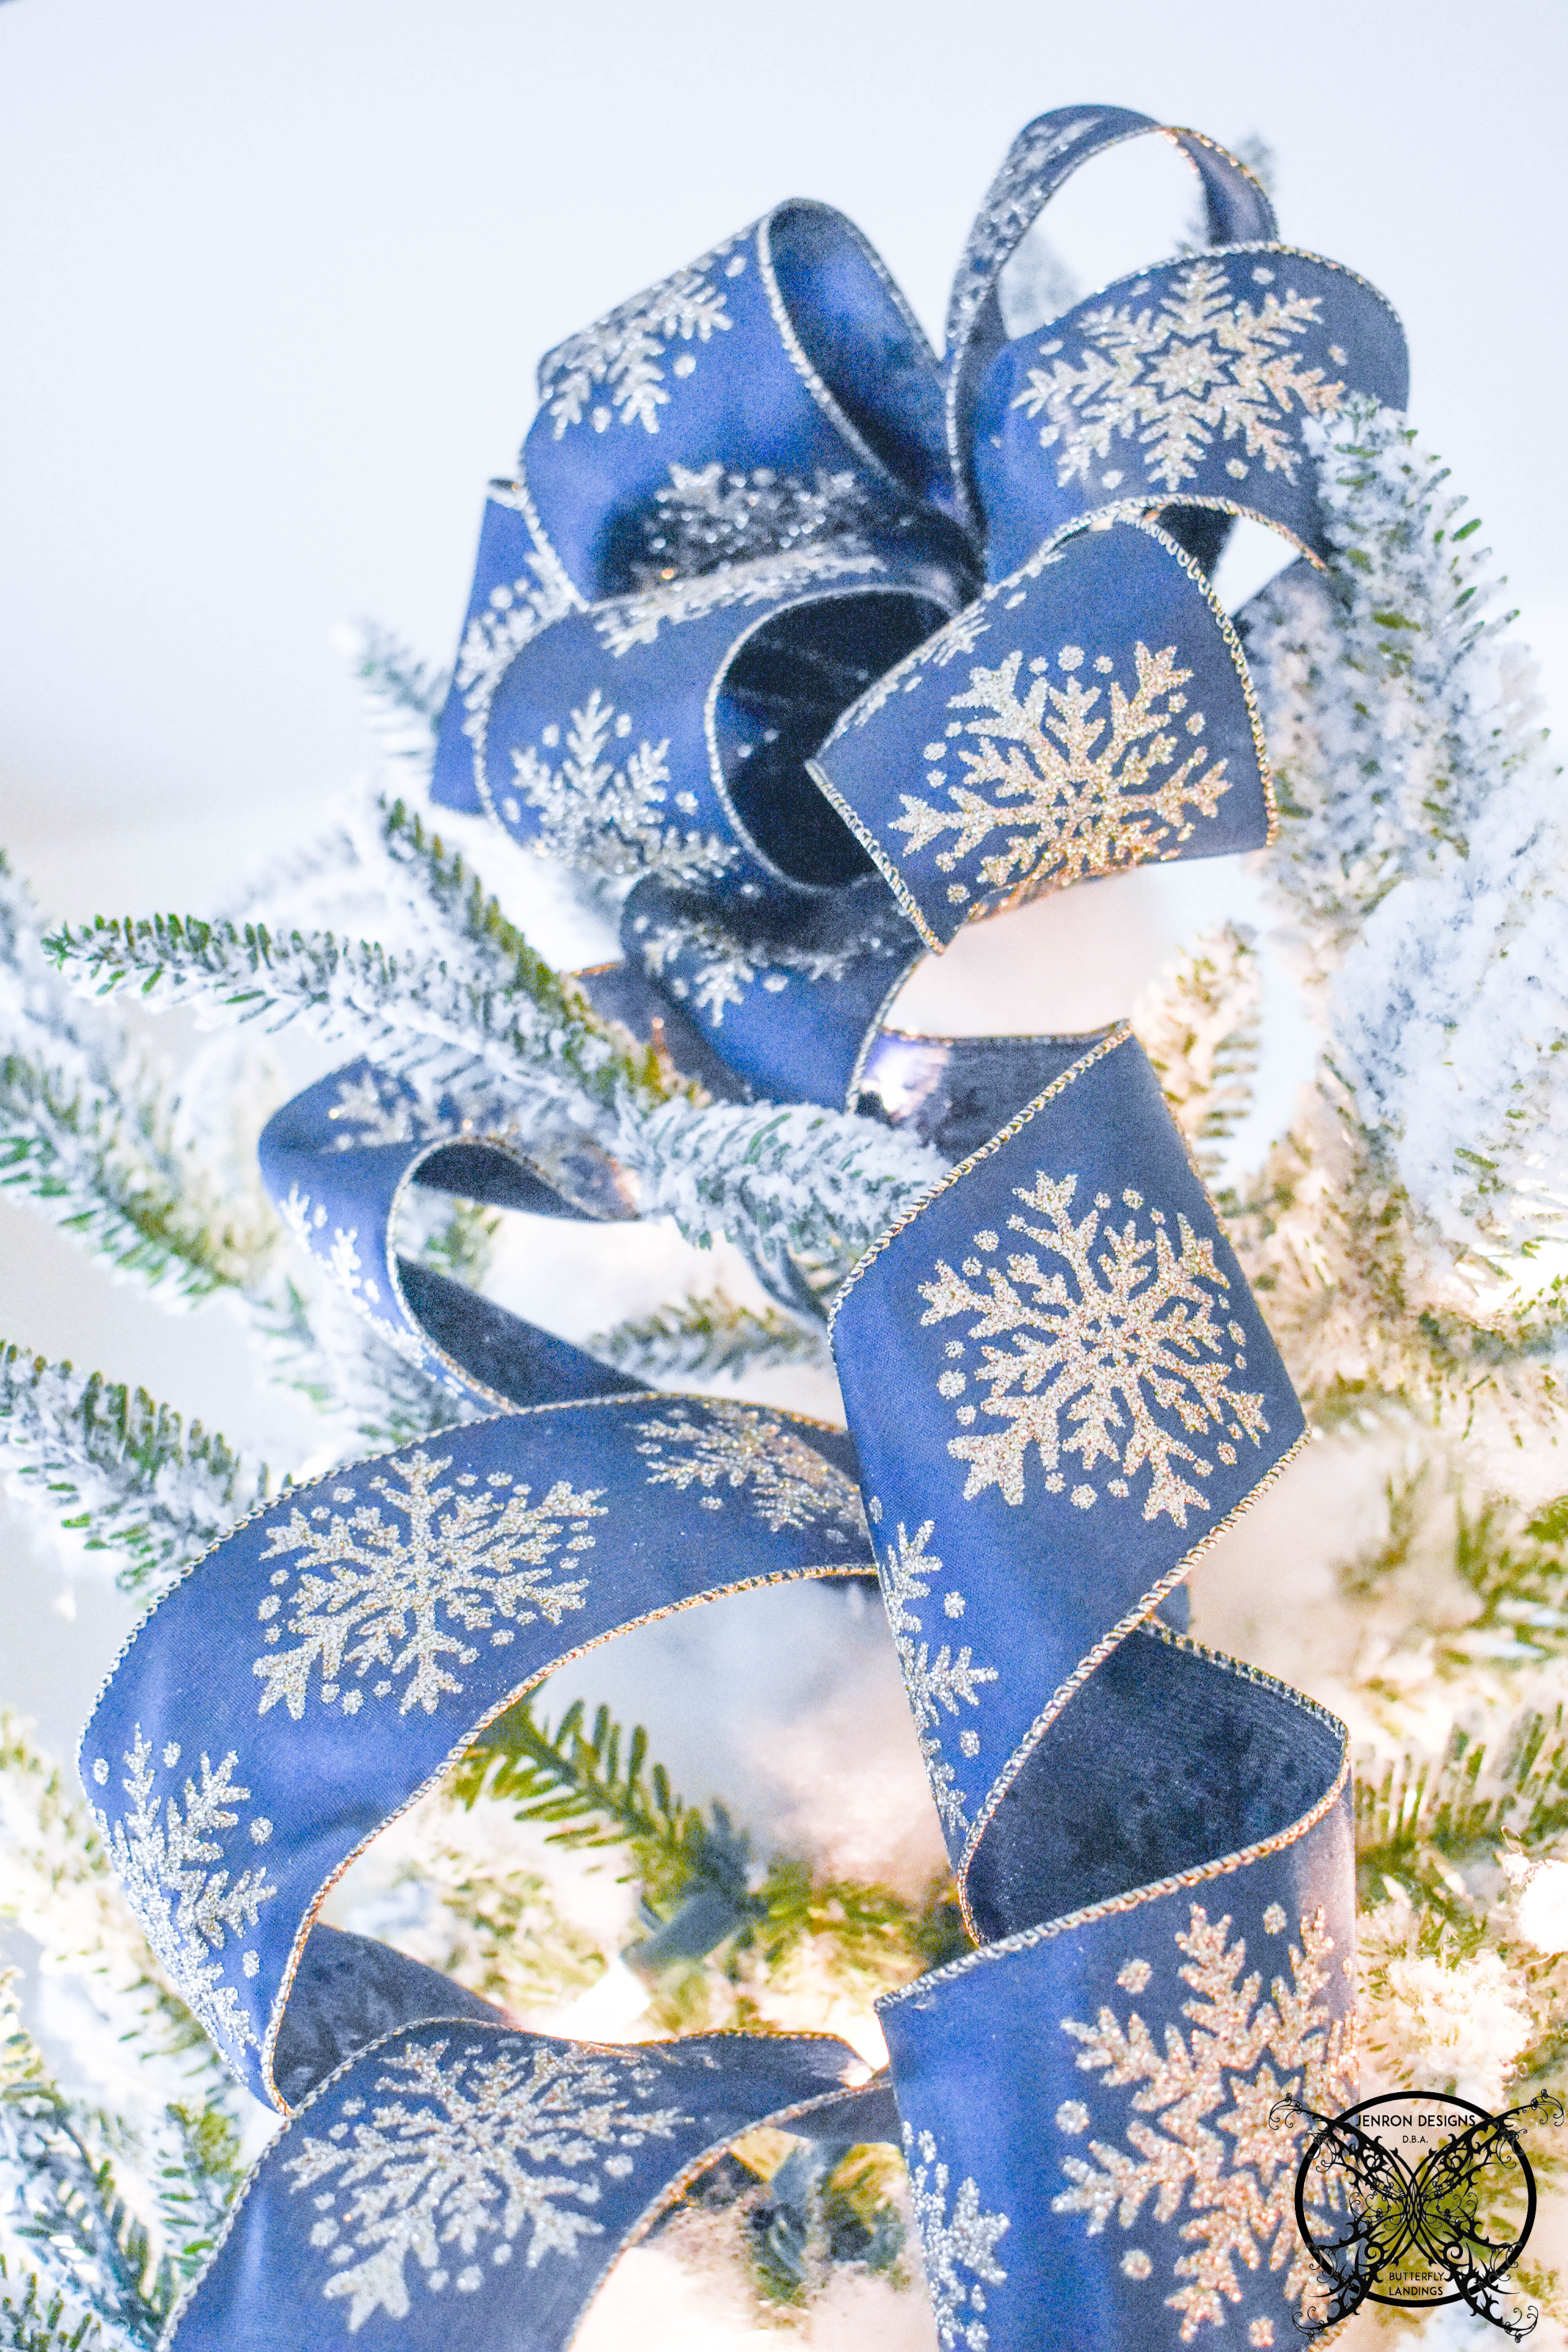 I know a lot people that prefer to cut ribbon and feed it into the tree, in smaller pieces. I personally work with the entire bolt in one long strand, directly off the bolt. This preserves my ribbon to be used again for other things, later on, instead of being stuck with a bunch of weird and odd sized mini strips of ribbon, but hey it is whatever works best for you. I think this comes from my background work with flowers and hair. I mean you can’t cut sections of your hair off when you are creating a french braid and then just tuck it back in somewhere else, to make it pretty, same with floral design too, that would be bad and leave you with a big old mess. So just train yourself to design and create in the parameters provided.
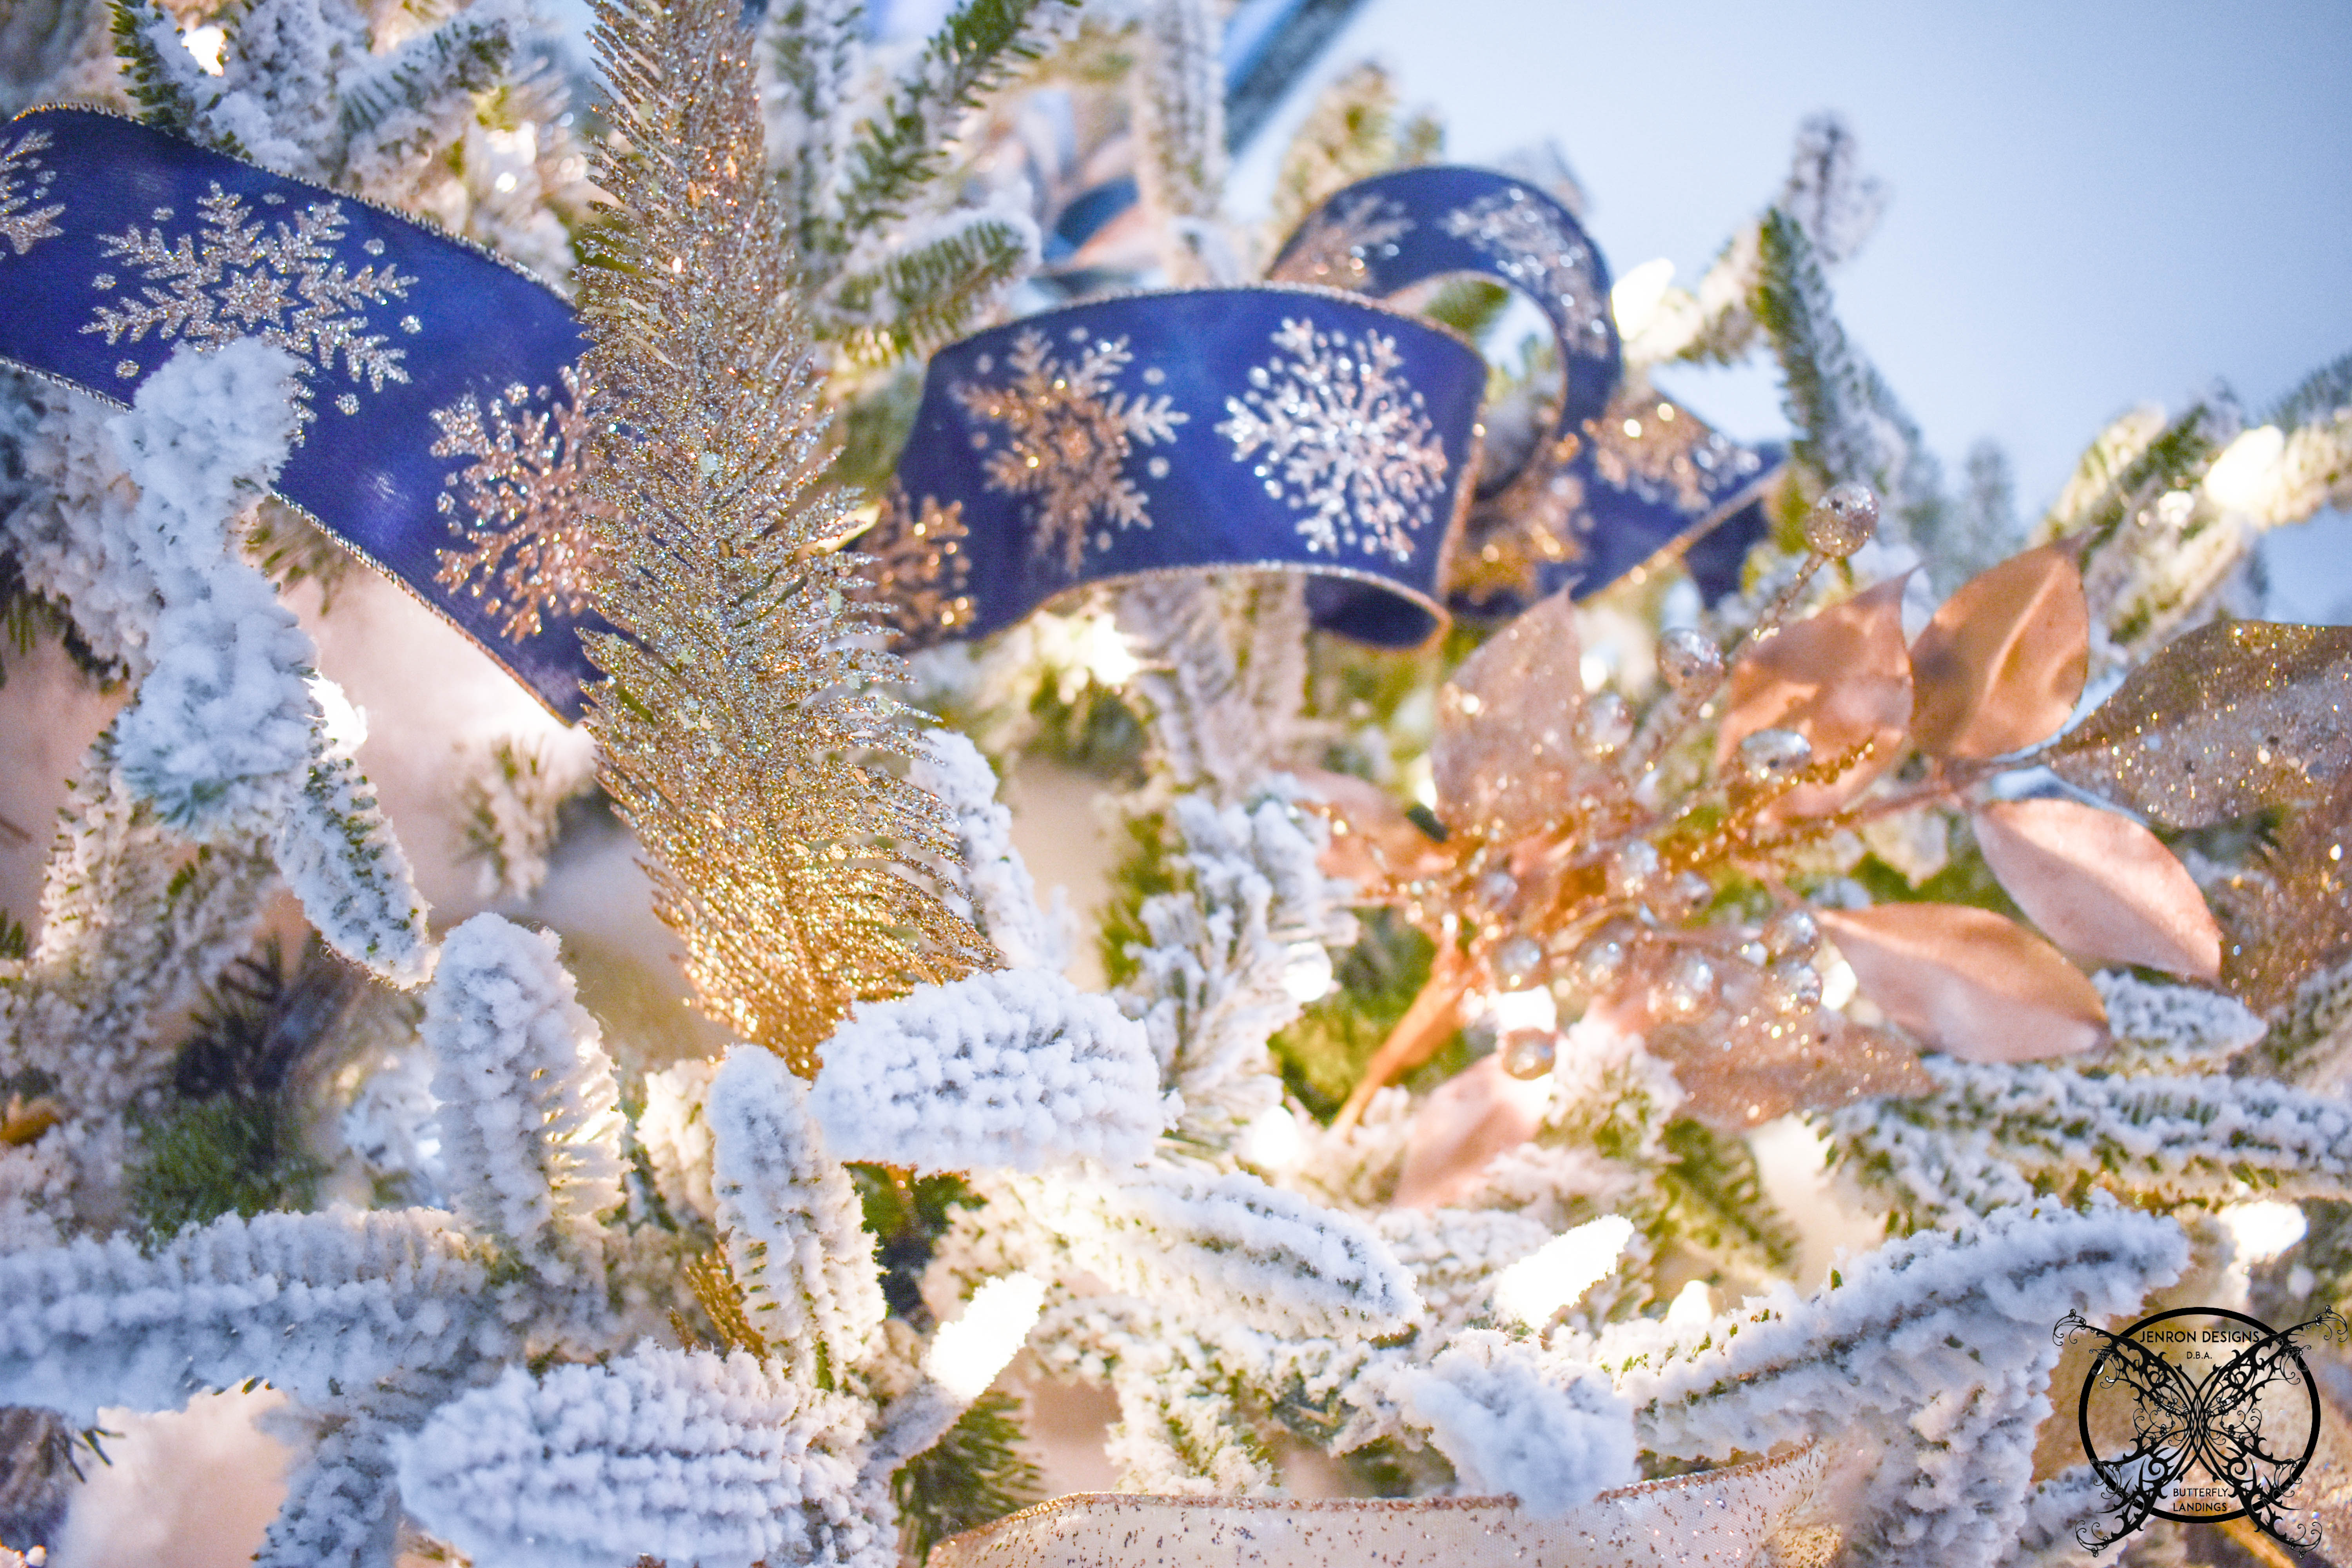 My method on this tree is to make a mini bow that mounts into the top of the tree; while the tail will weave around in a vertical fashion going deep into the tree and back out to create the illusion of depth. Once you add several mini bows at the top of the tree you will have created one large tree topper bow. This method also prevents a large bow from being limp or droopy…..wan wha… and no one likes a droopy bow. 😉
 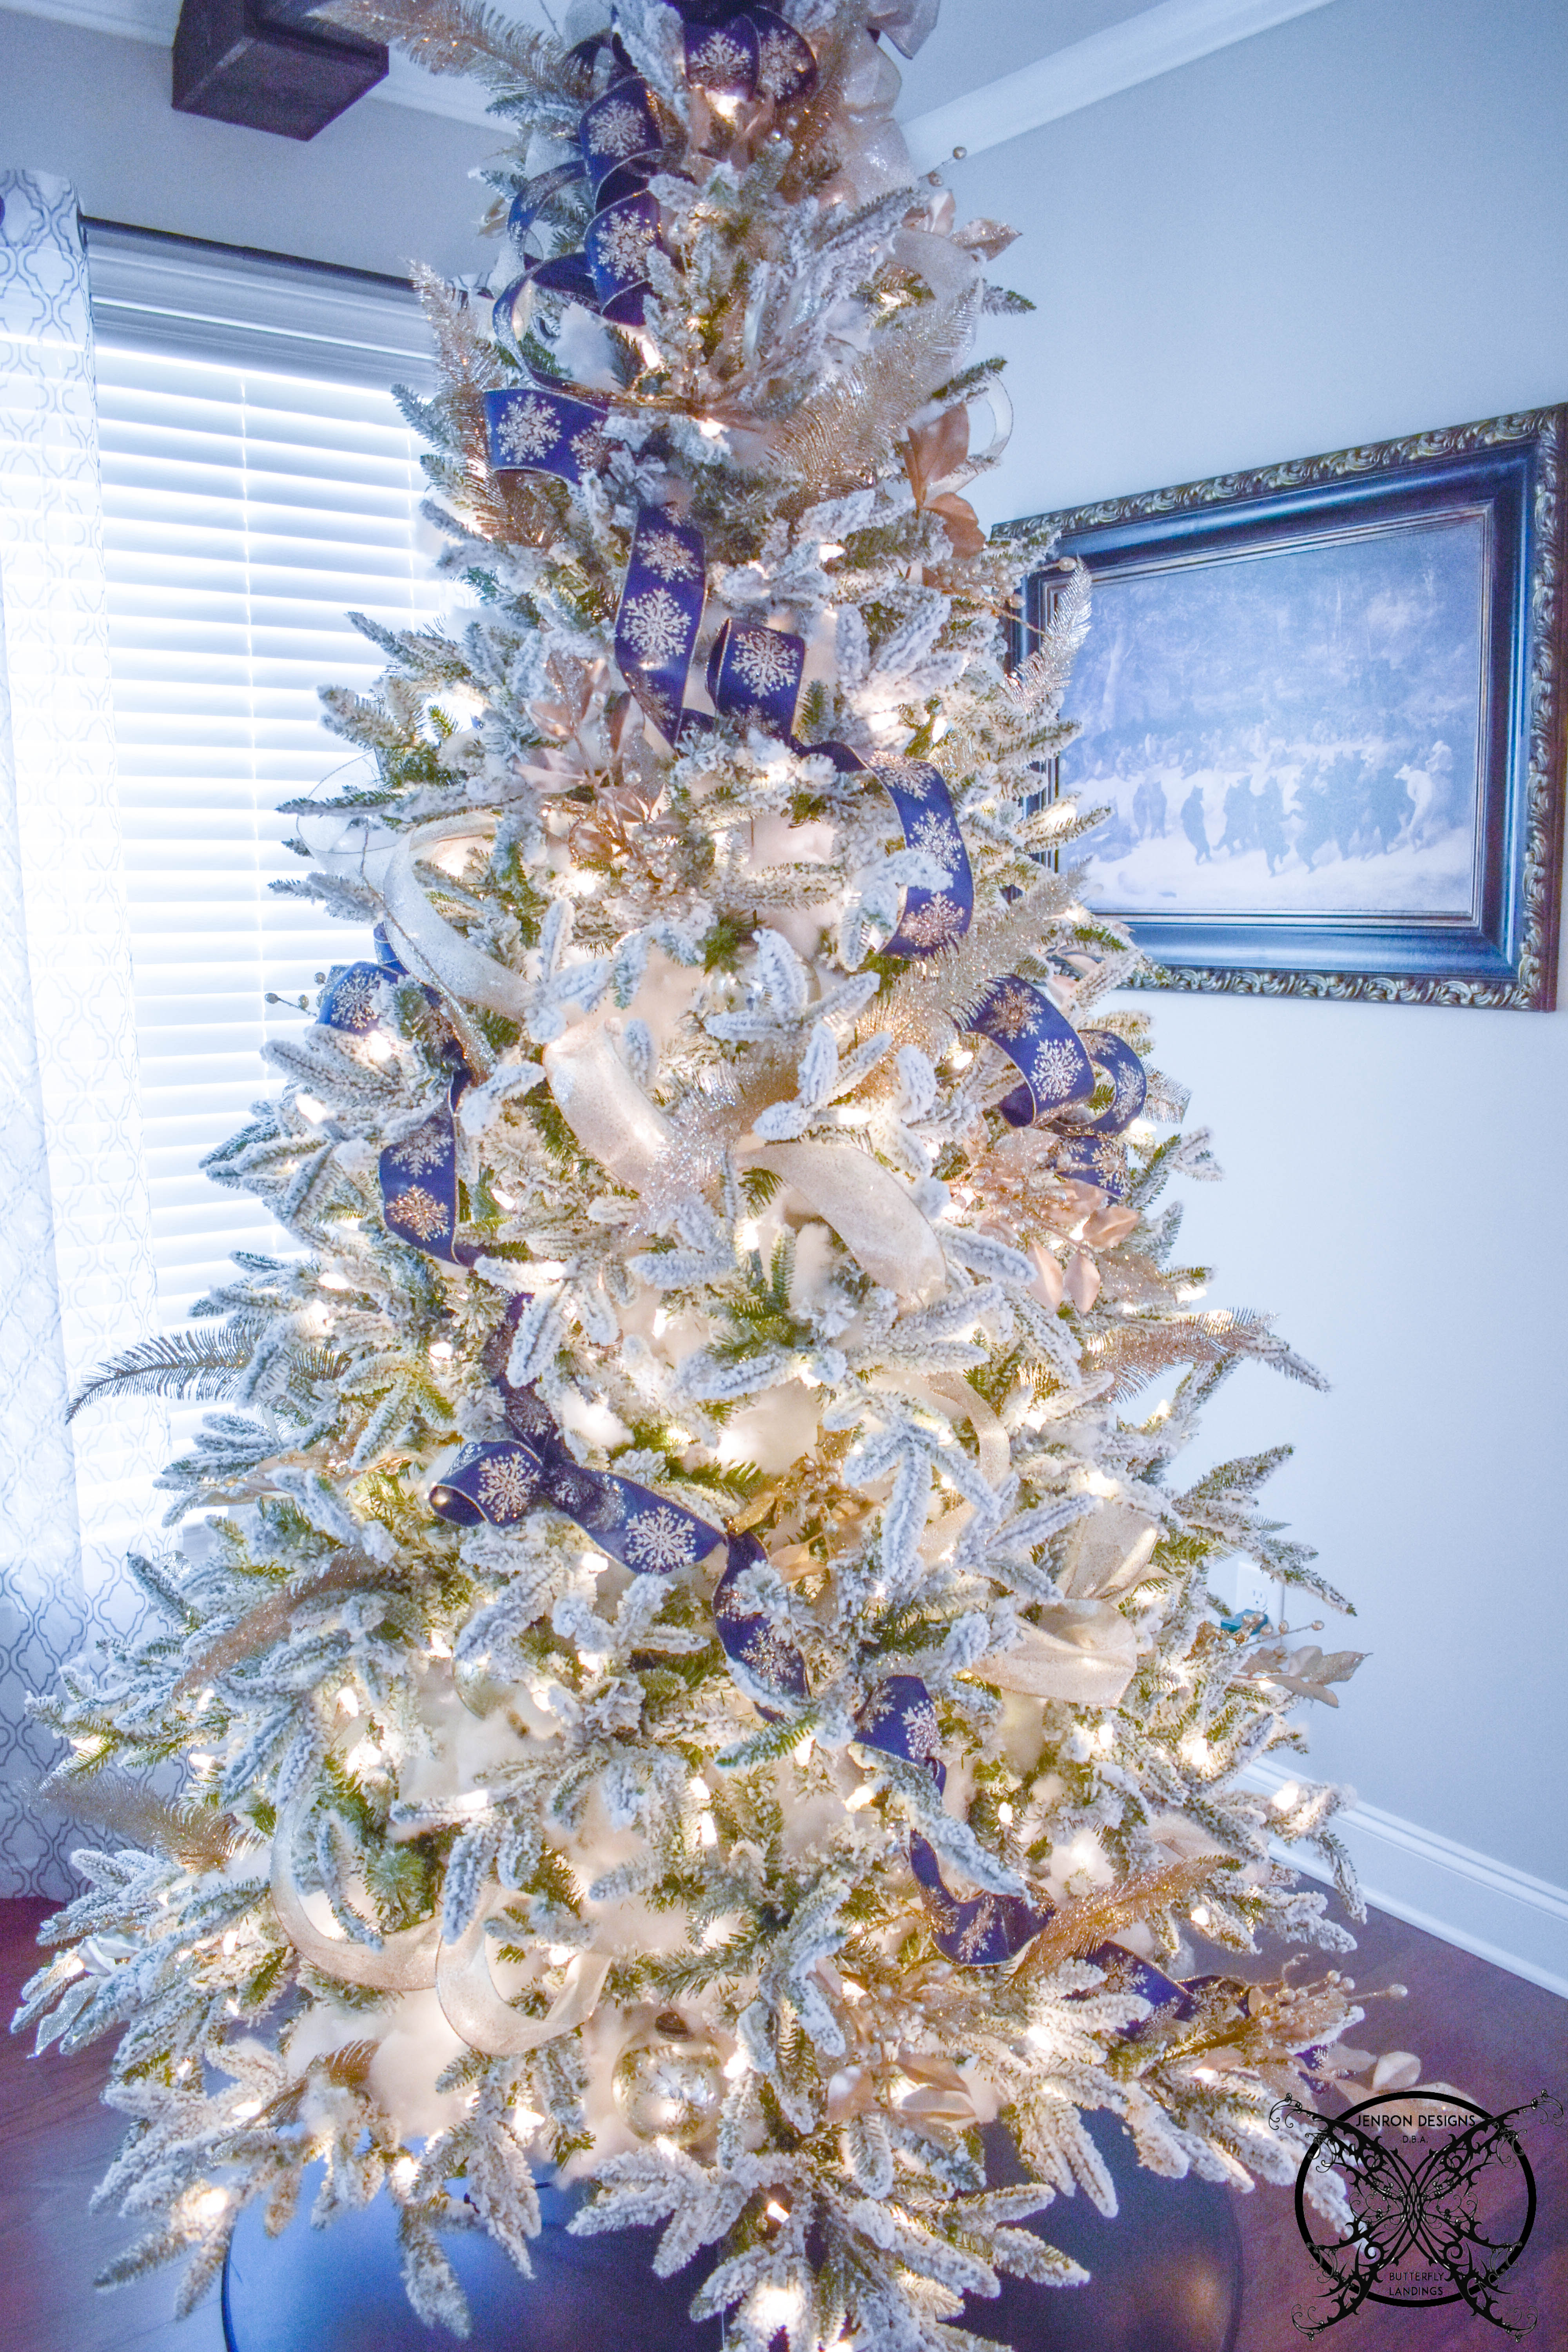 Once your ribbon is in placed this is when I add my base ornaments. These are usually large single color ornaments that you see on most designers trees every year. These will always be in a neutral color of silver, white or gold then an accent color can be added to create a new look each and every year, along with new ribbon and picks.
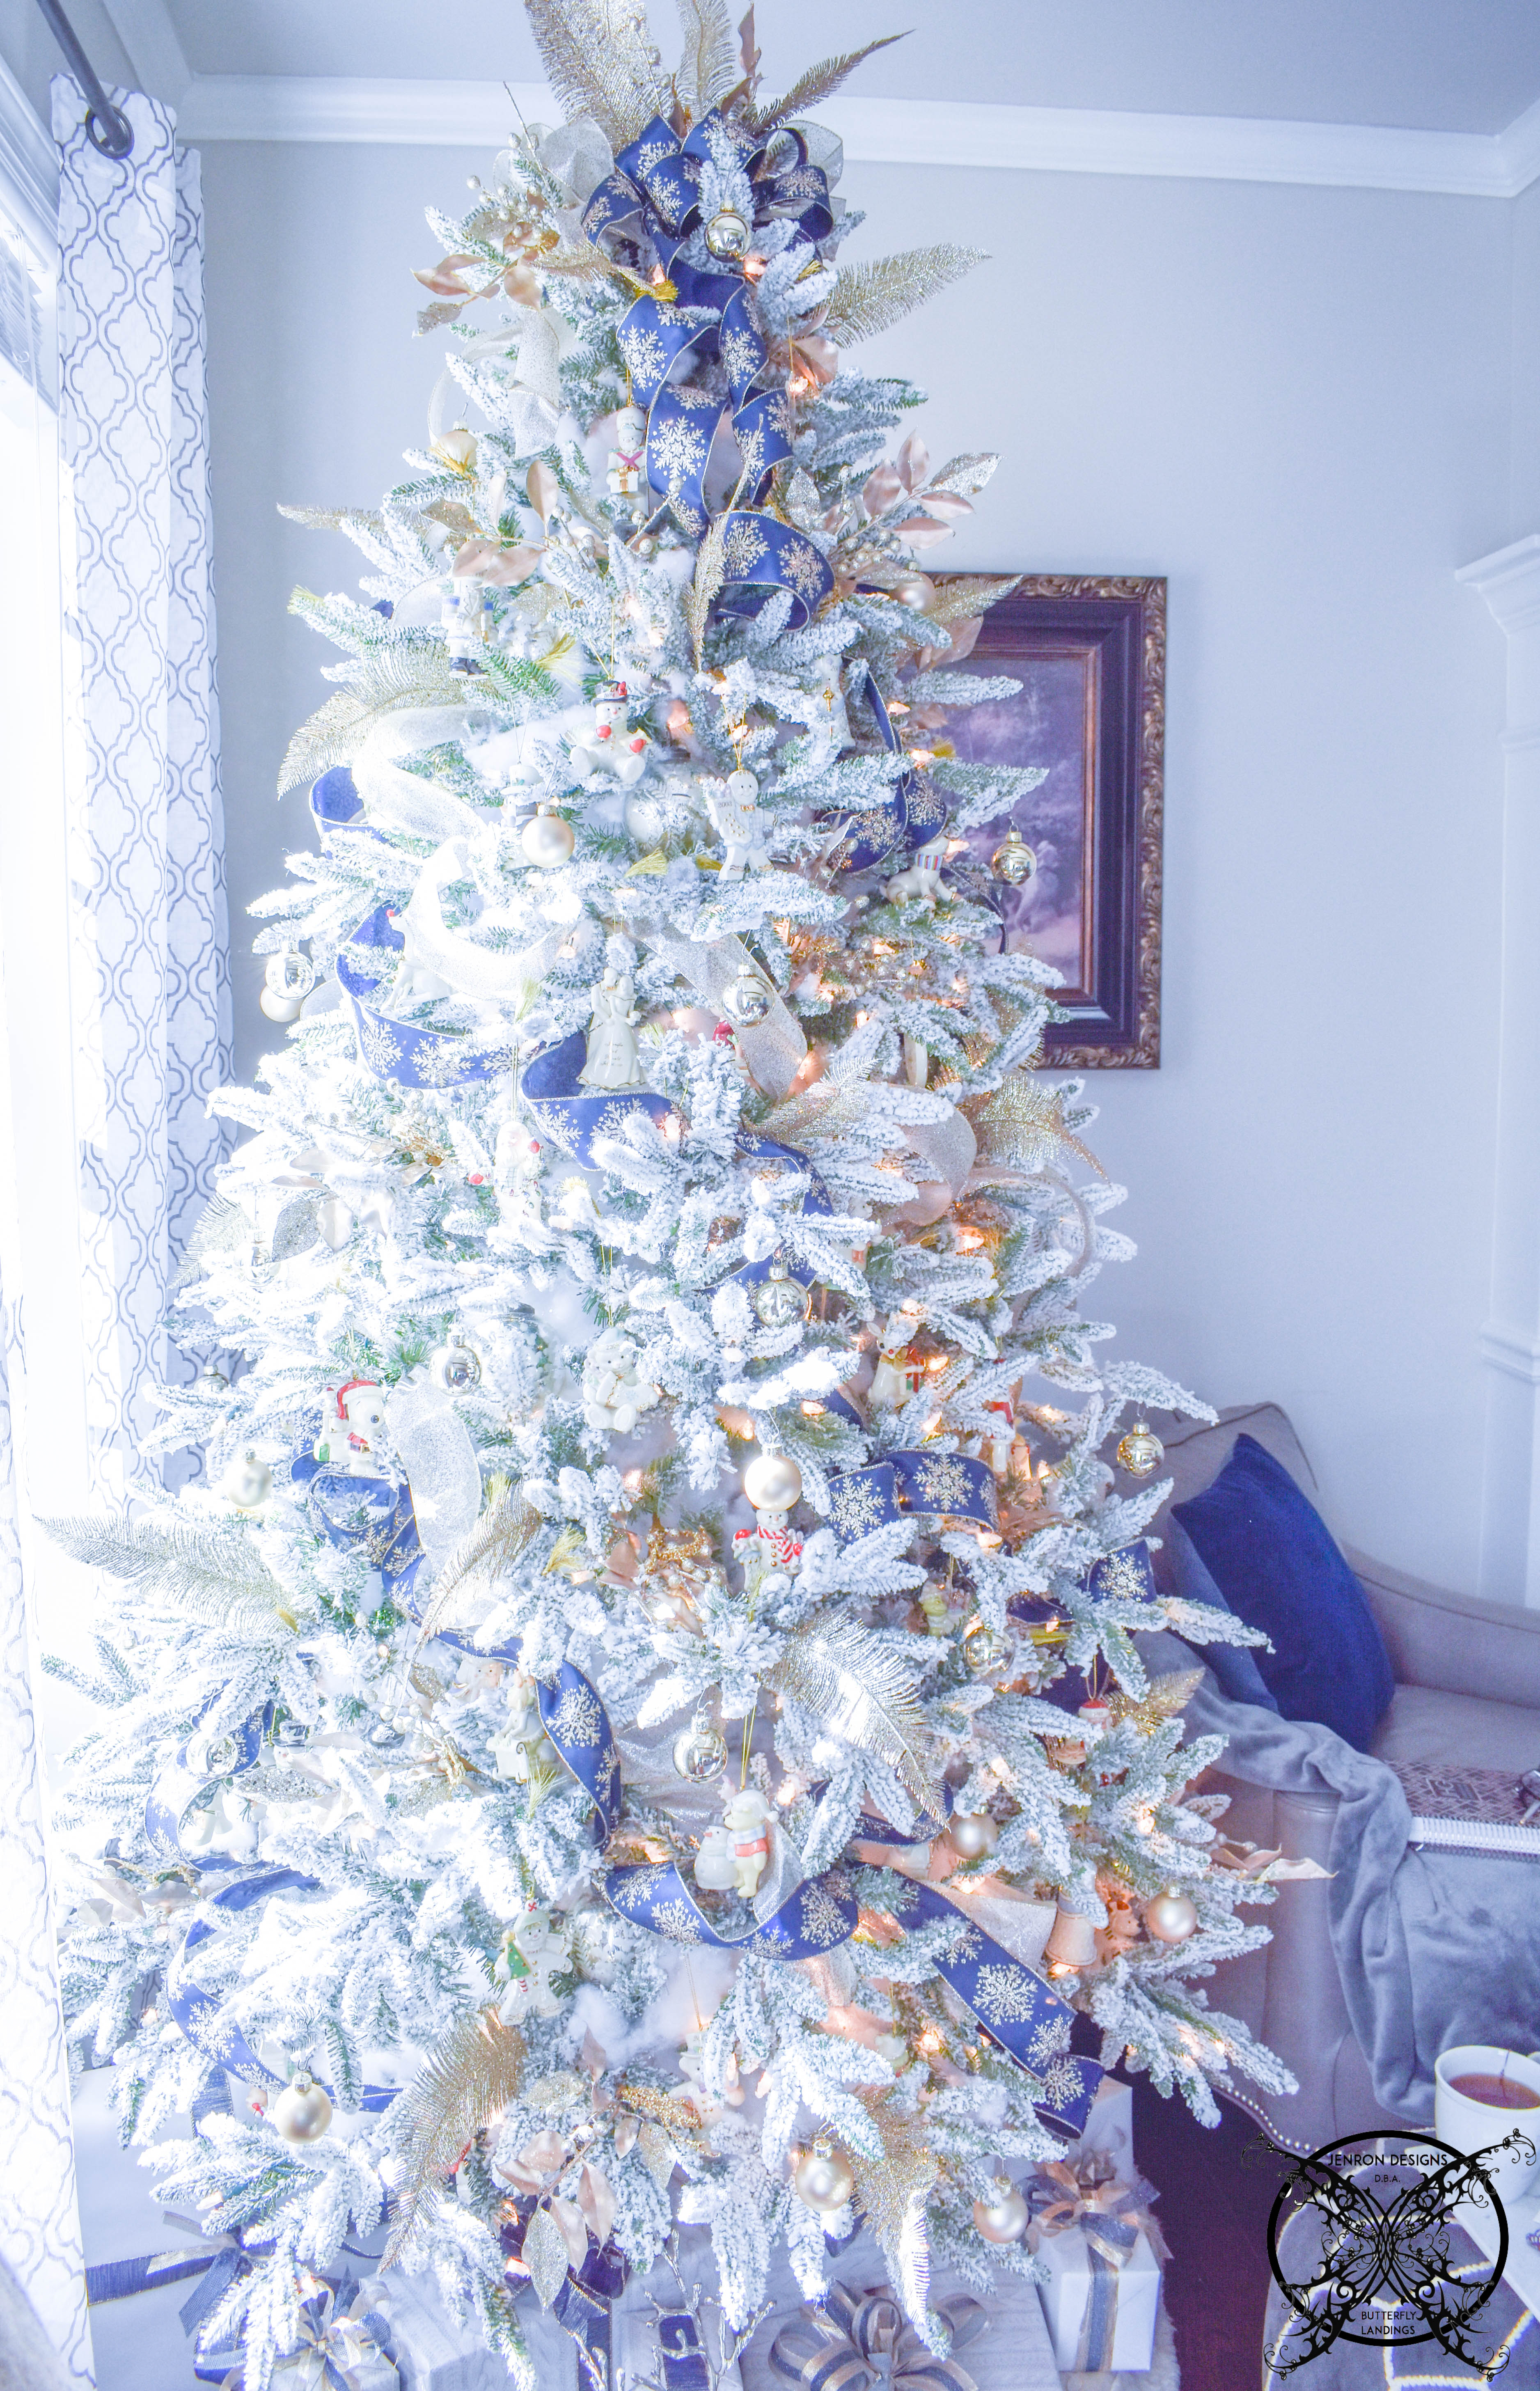
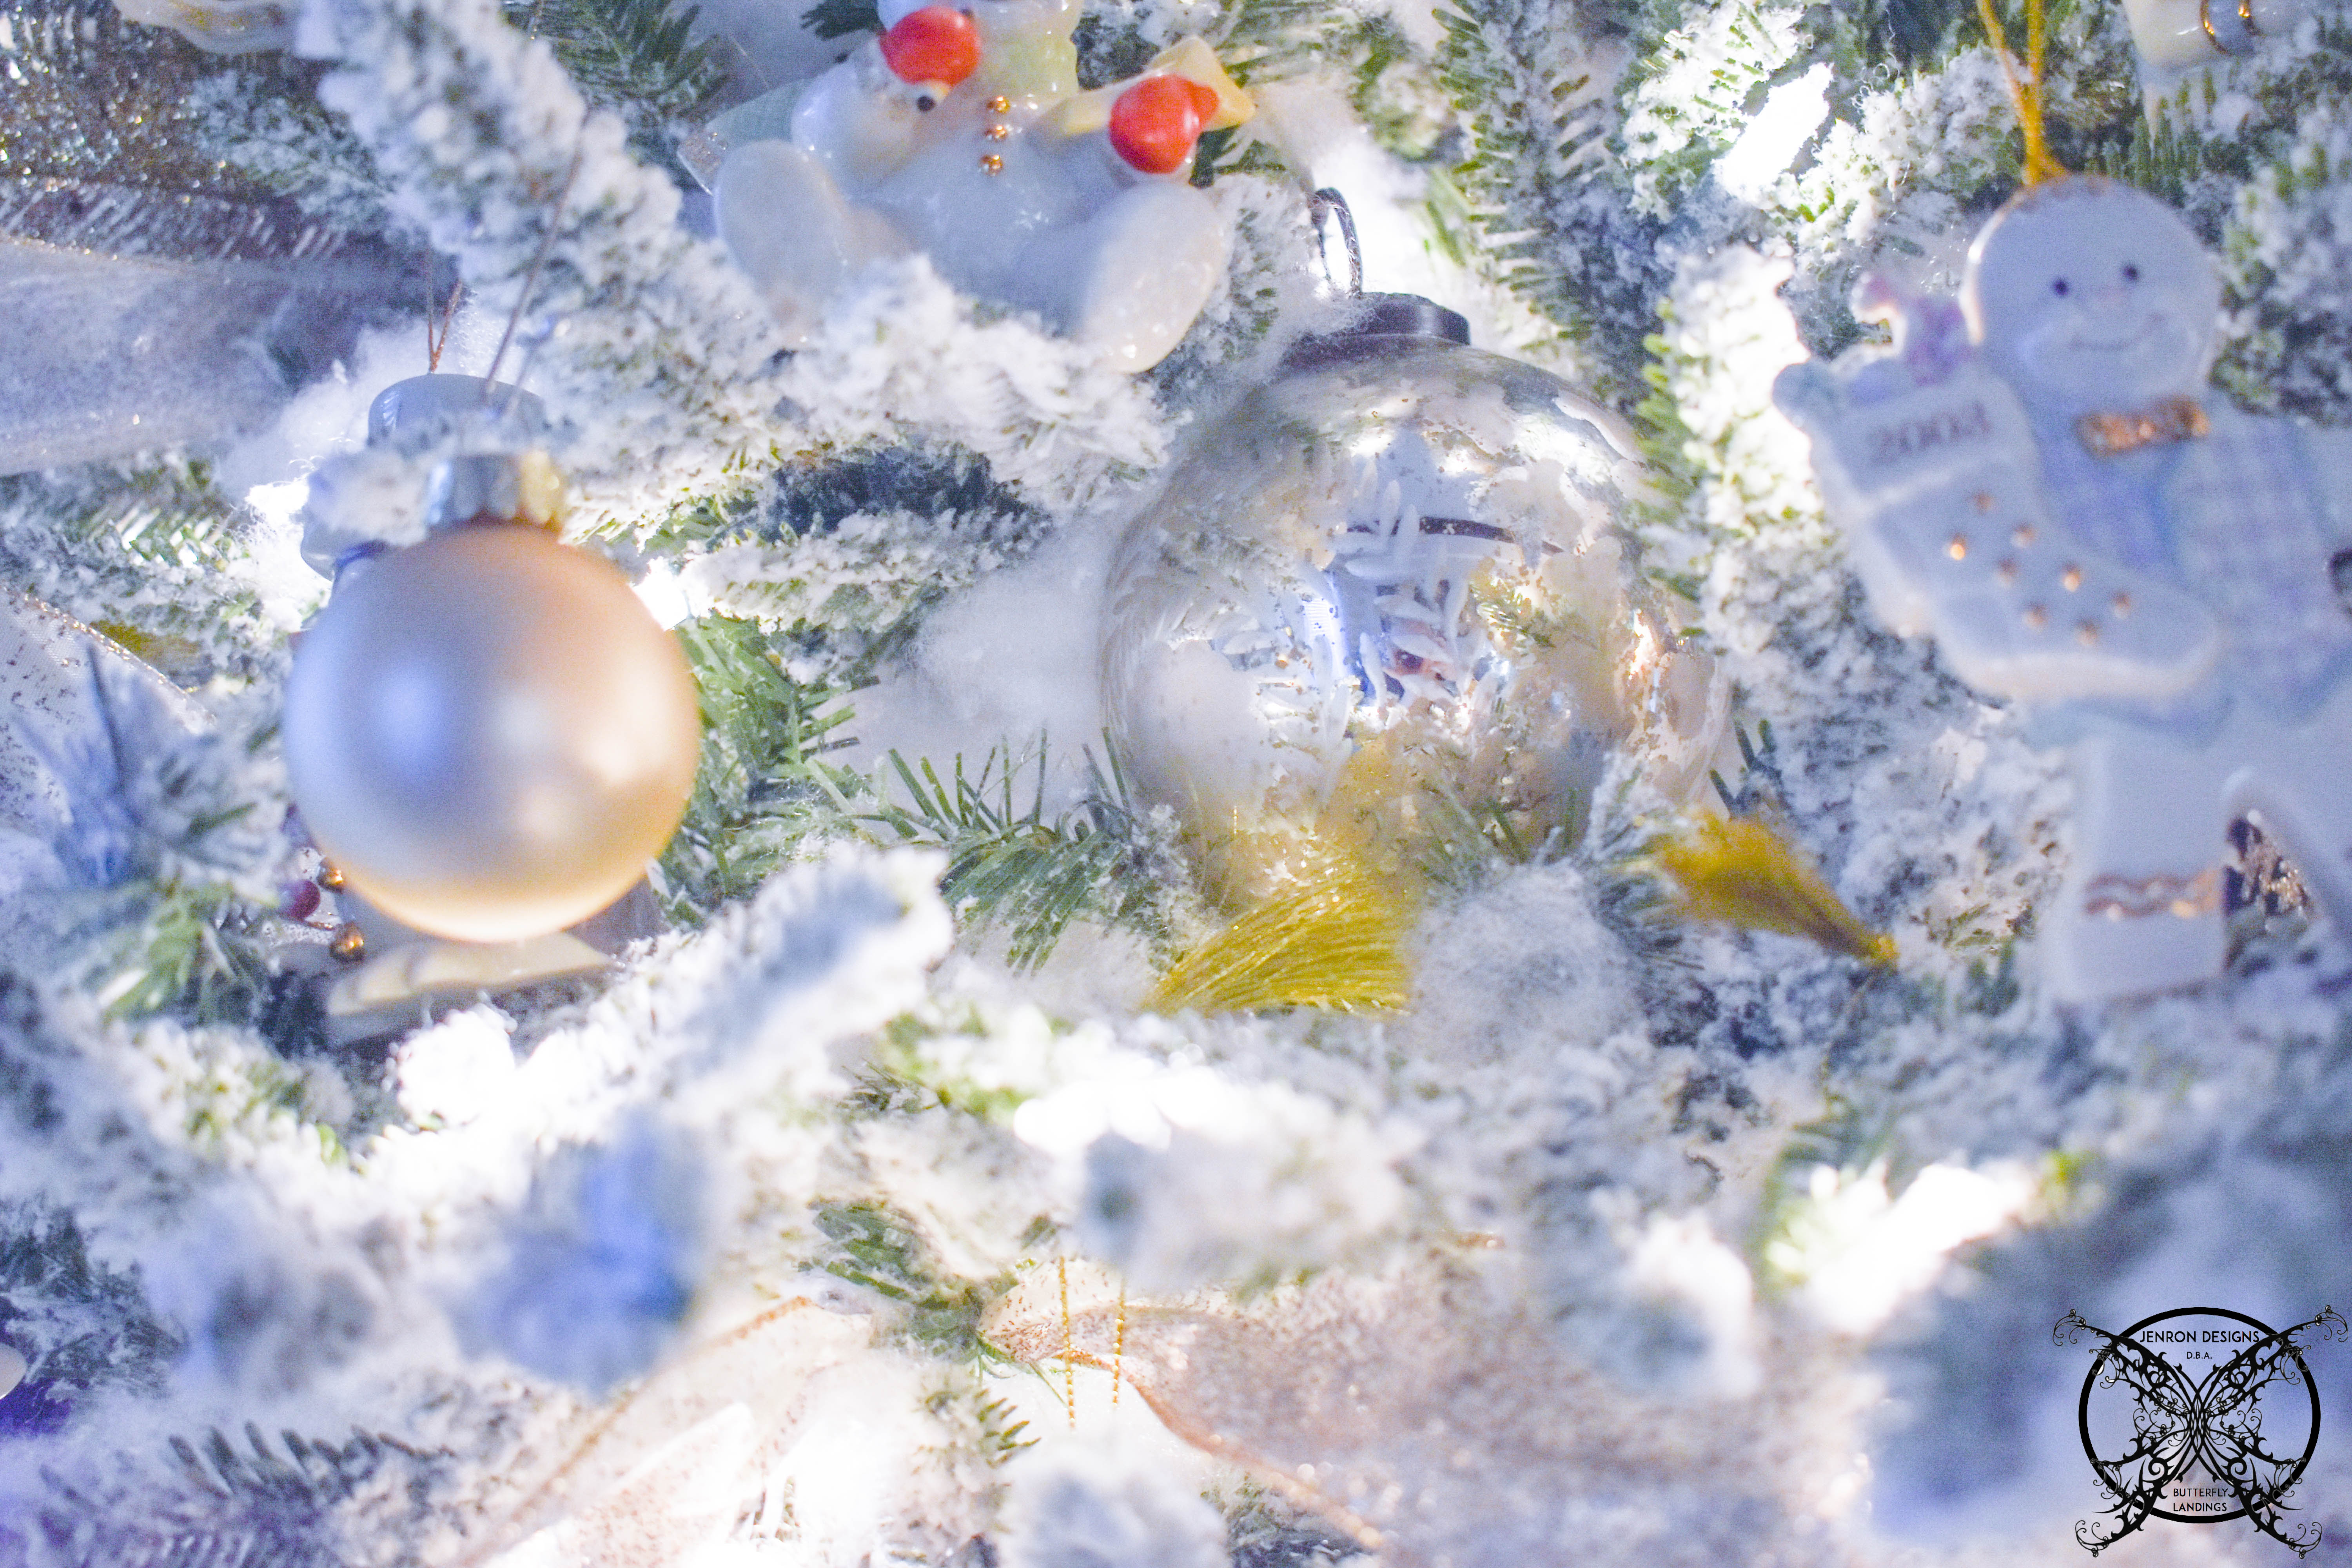
 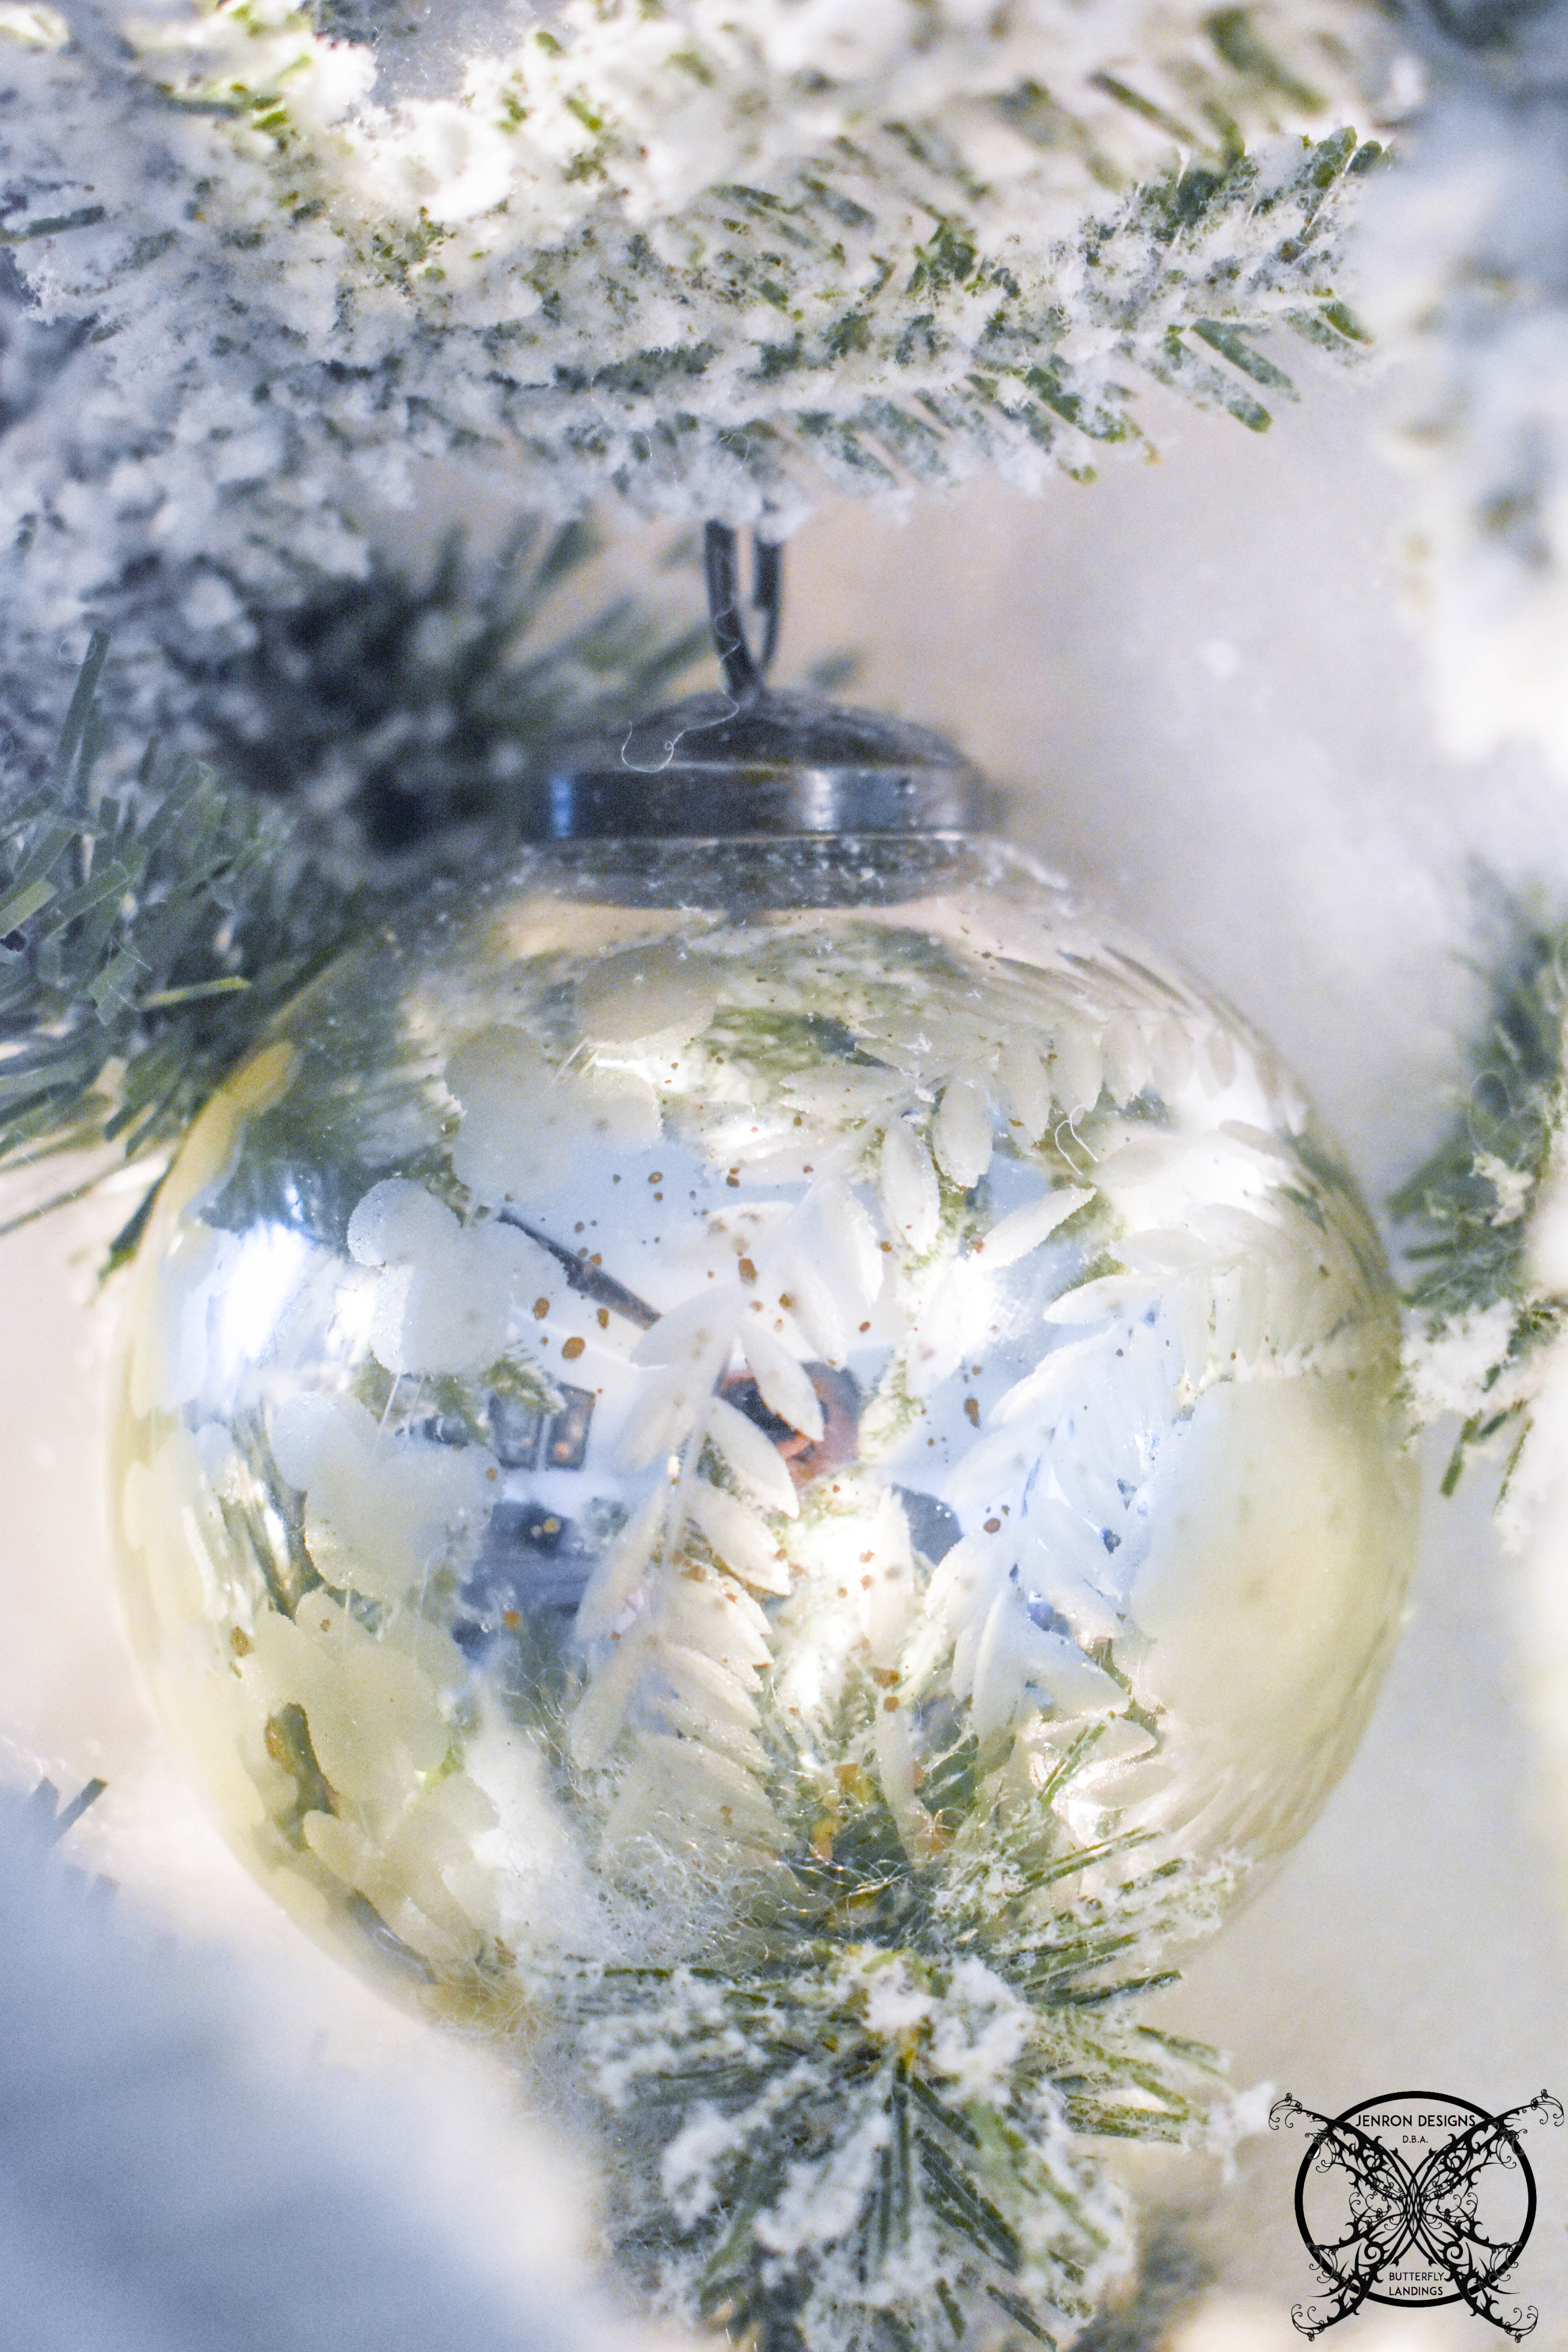 These are my Pottery Barn mercury glass ornaments, they are neutral enough to go with any type of tree theme and make a great base ornament, so they are a great investment. They also reflect a lot of light, so it just adds to the glow of the tree.
 The next step is to add in accent picks, this year mine are in a neutral gold and silver. Since I decided to use a dark blue ribbon this year, the same gold and silver picks from last year will still work and can be reused again.
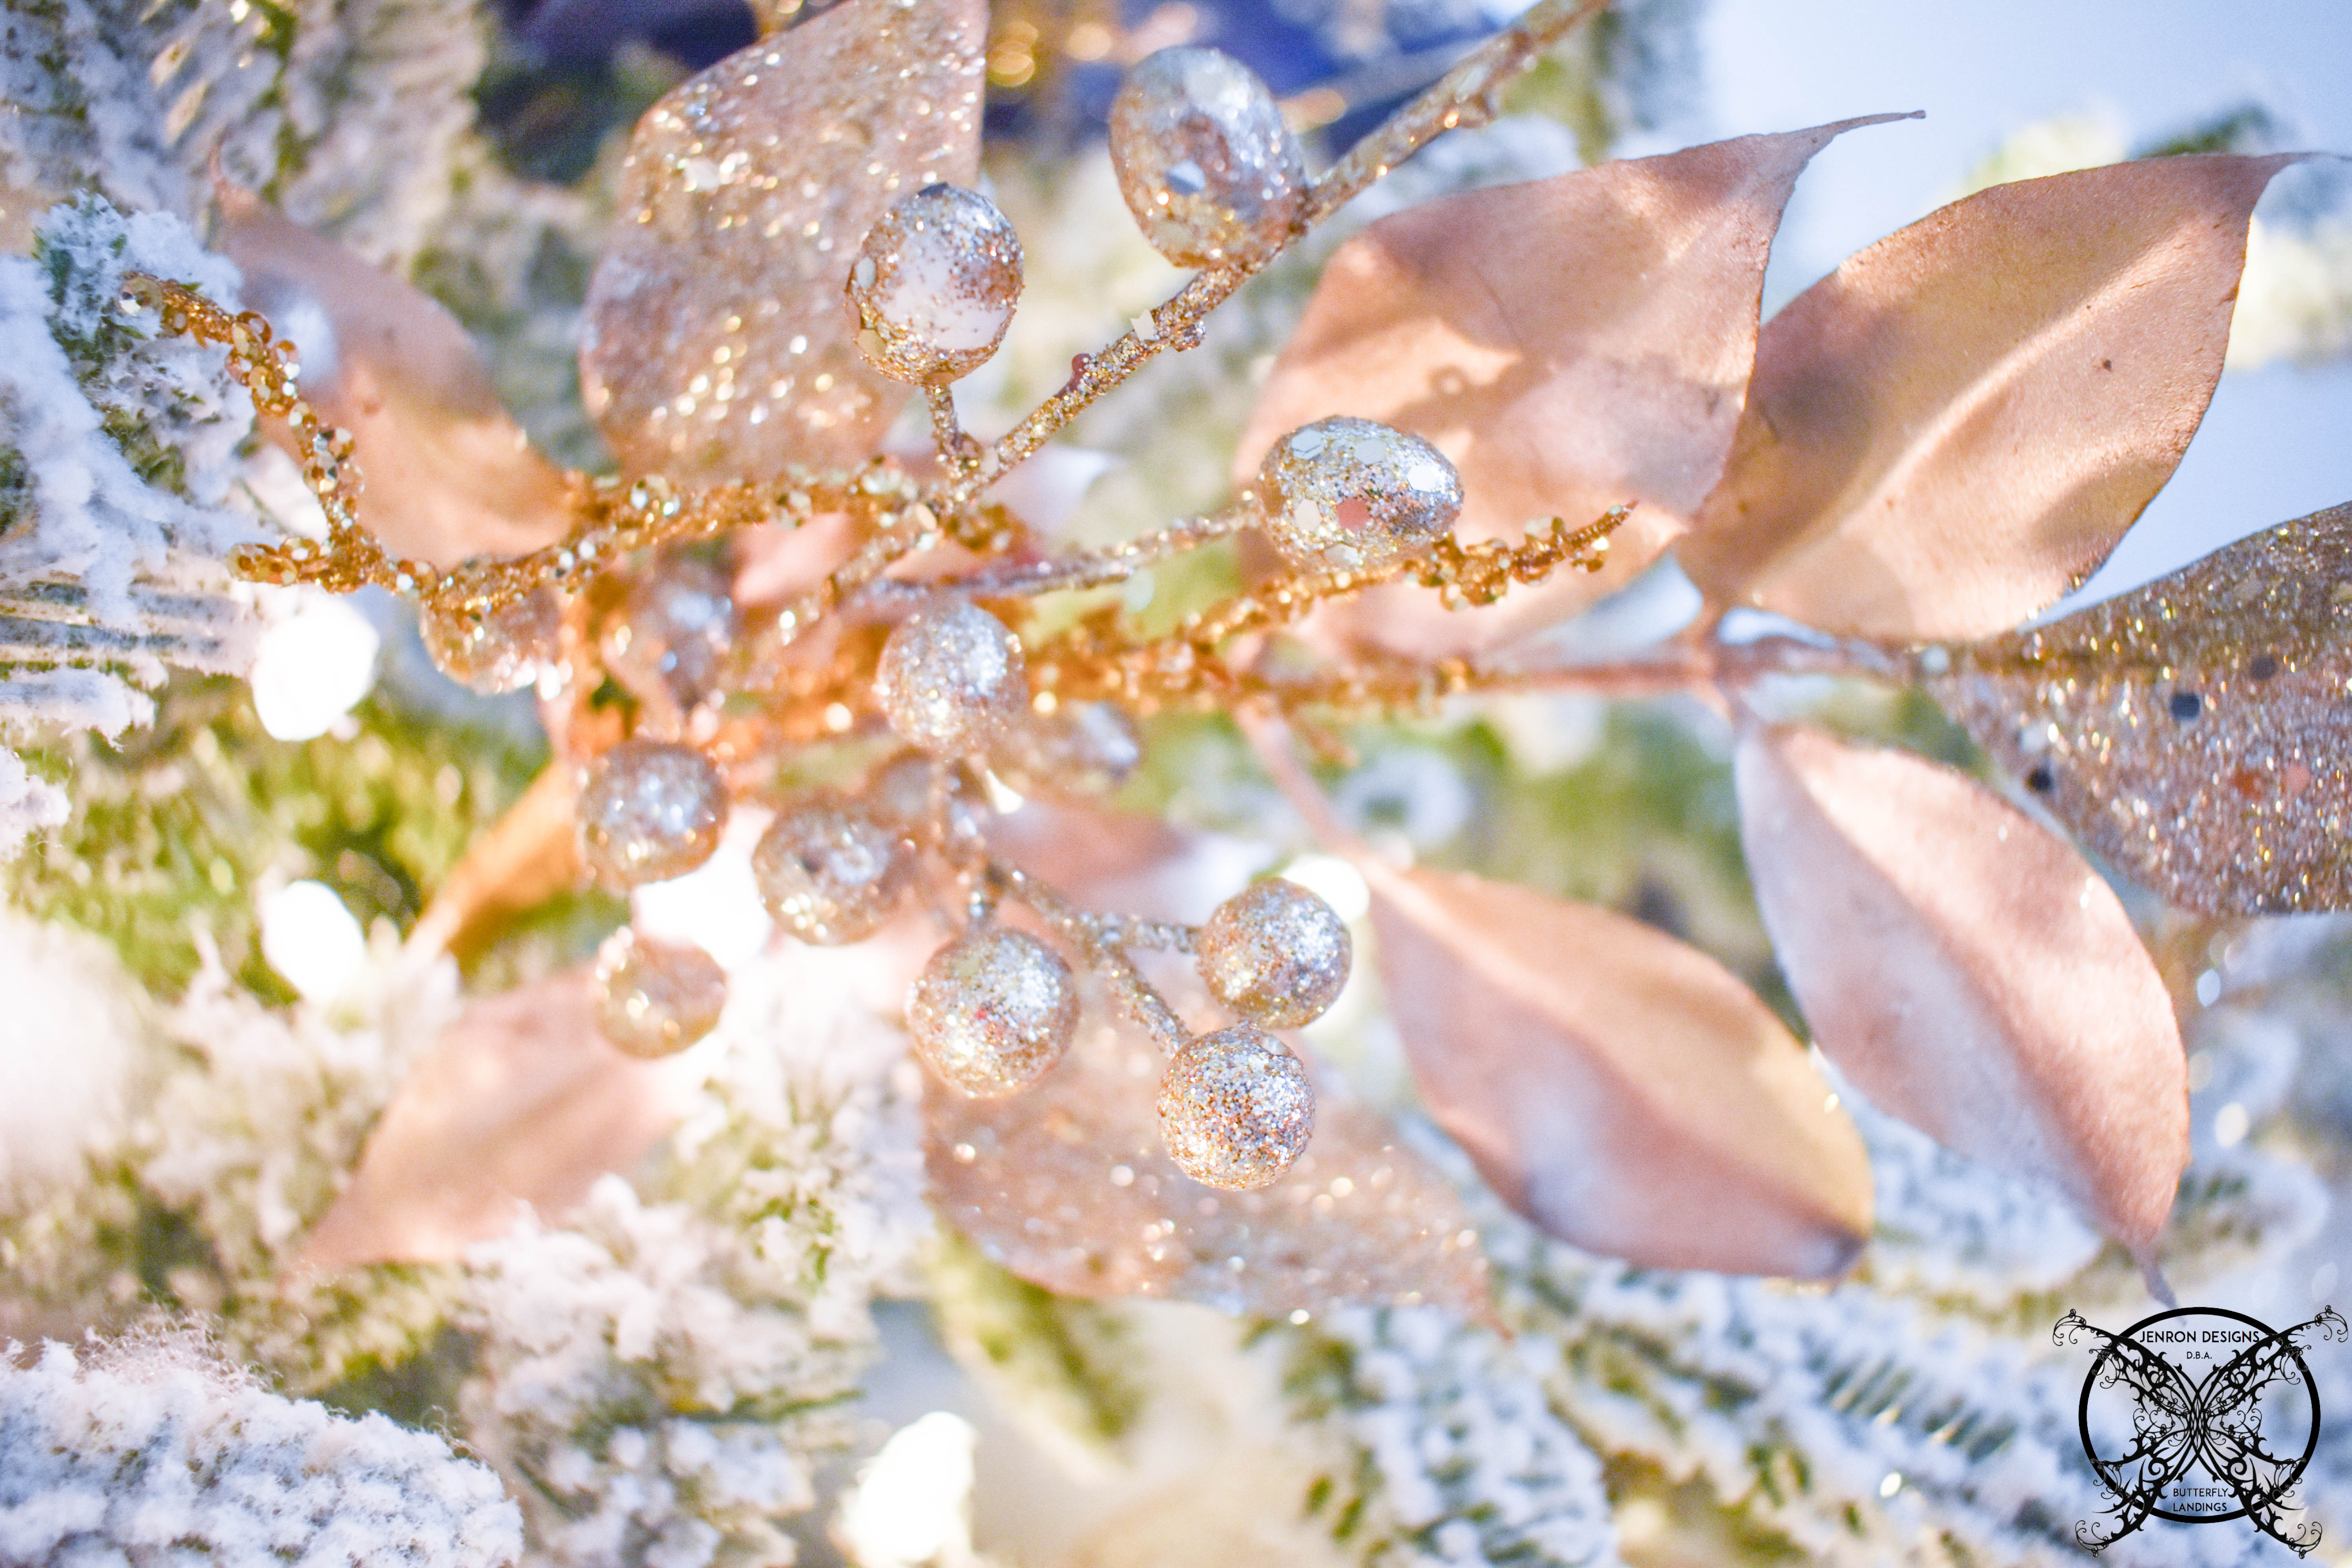 I do like to pick classic items that can be repurposed from year to year in new themes or rooms, that way I always have a nice stock set to choose from.I store them by type and color like a store in holiday area, which is a post for another day.
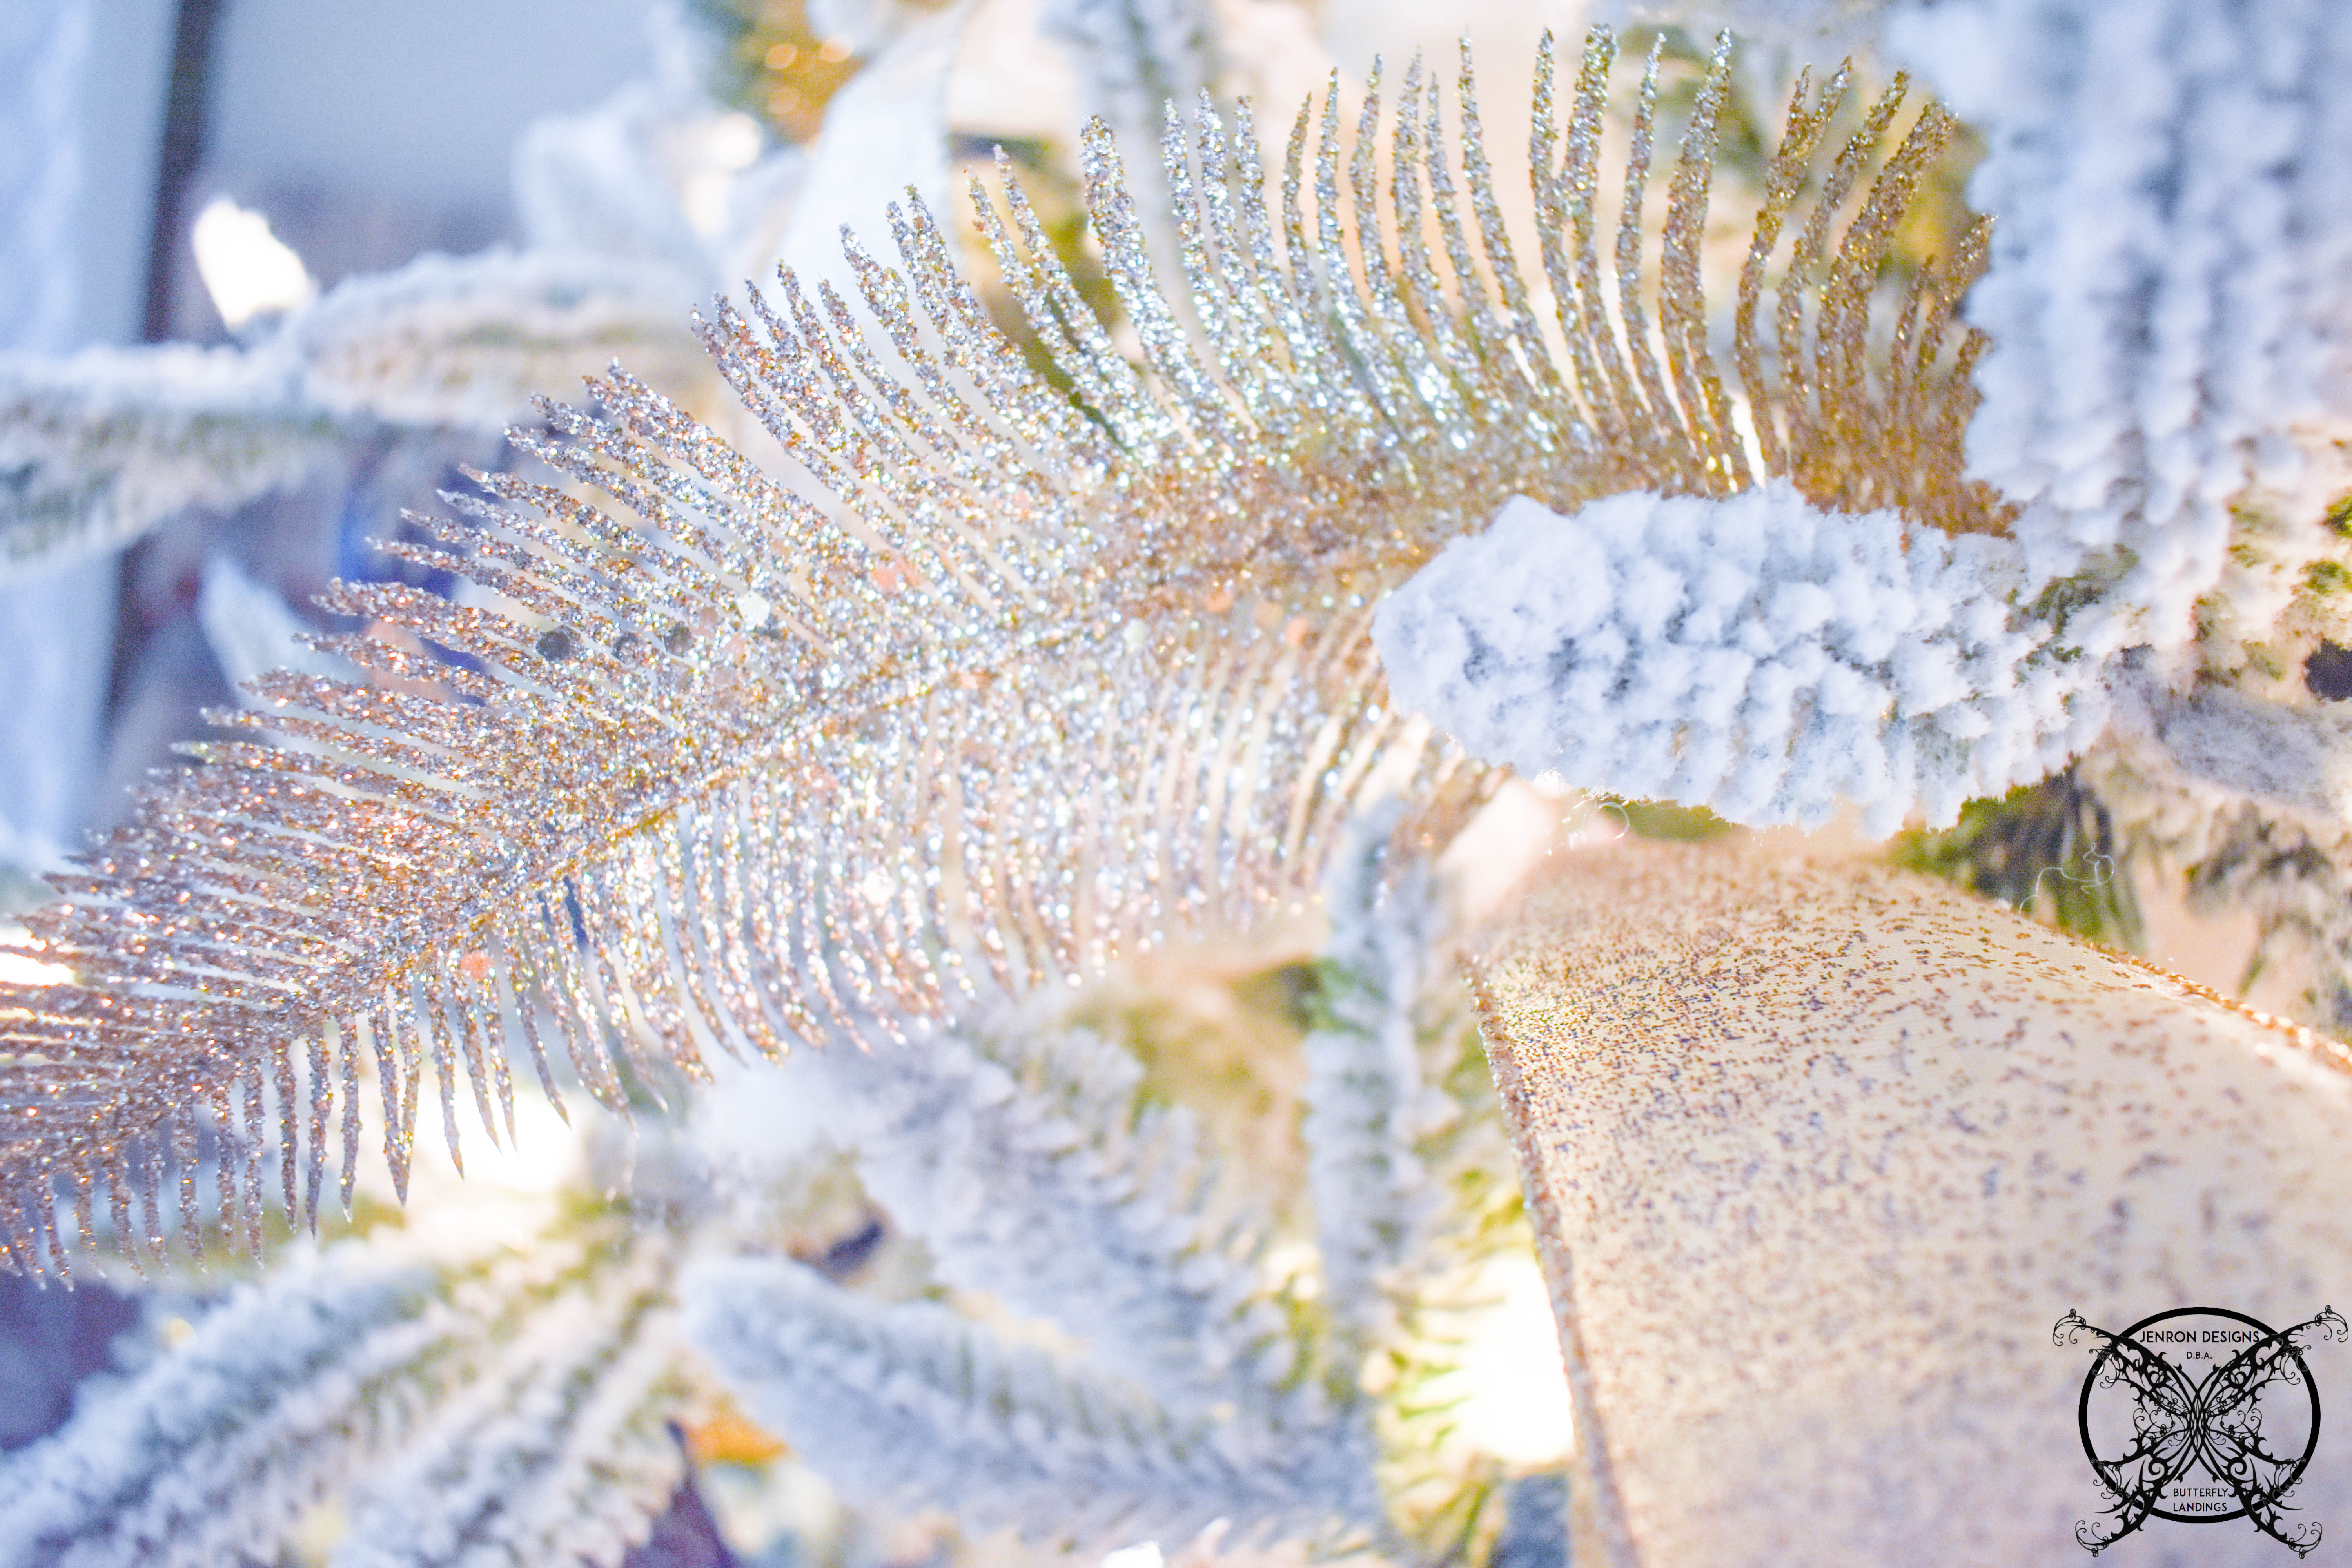 Since this is my Lenox collectible tree, it always gets my annual vintage collectable ornaments that we have been collecting each year since we got married. I order 2-3 new annual ornaments each year to continual build my collection.
 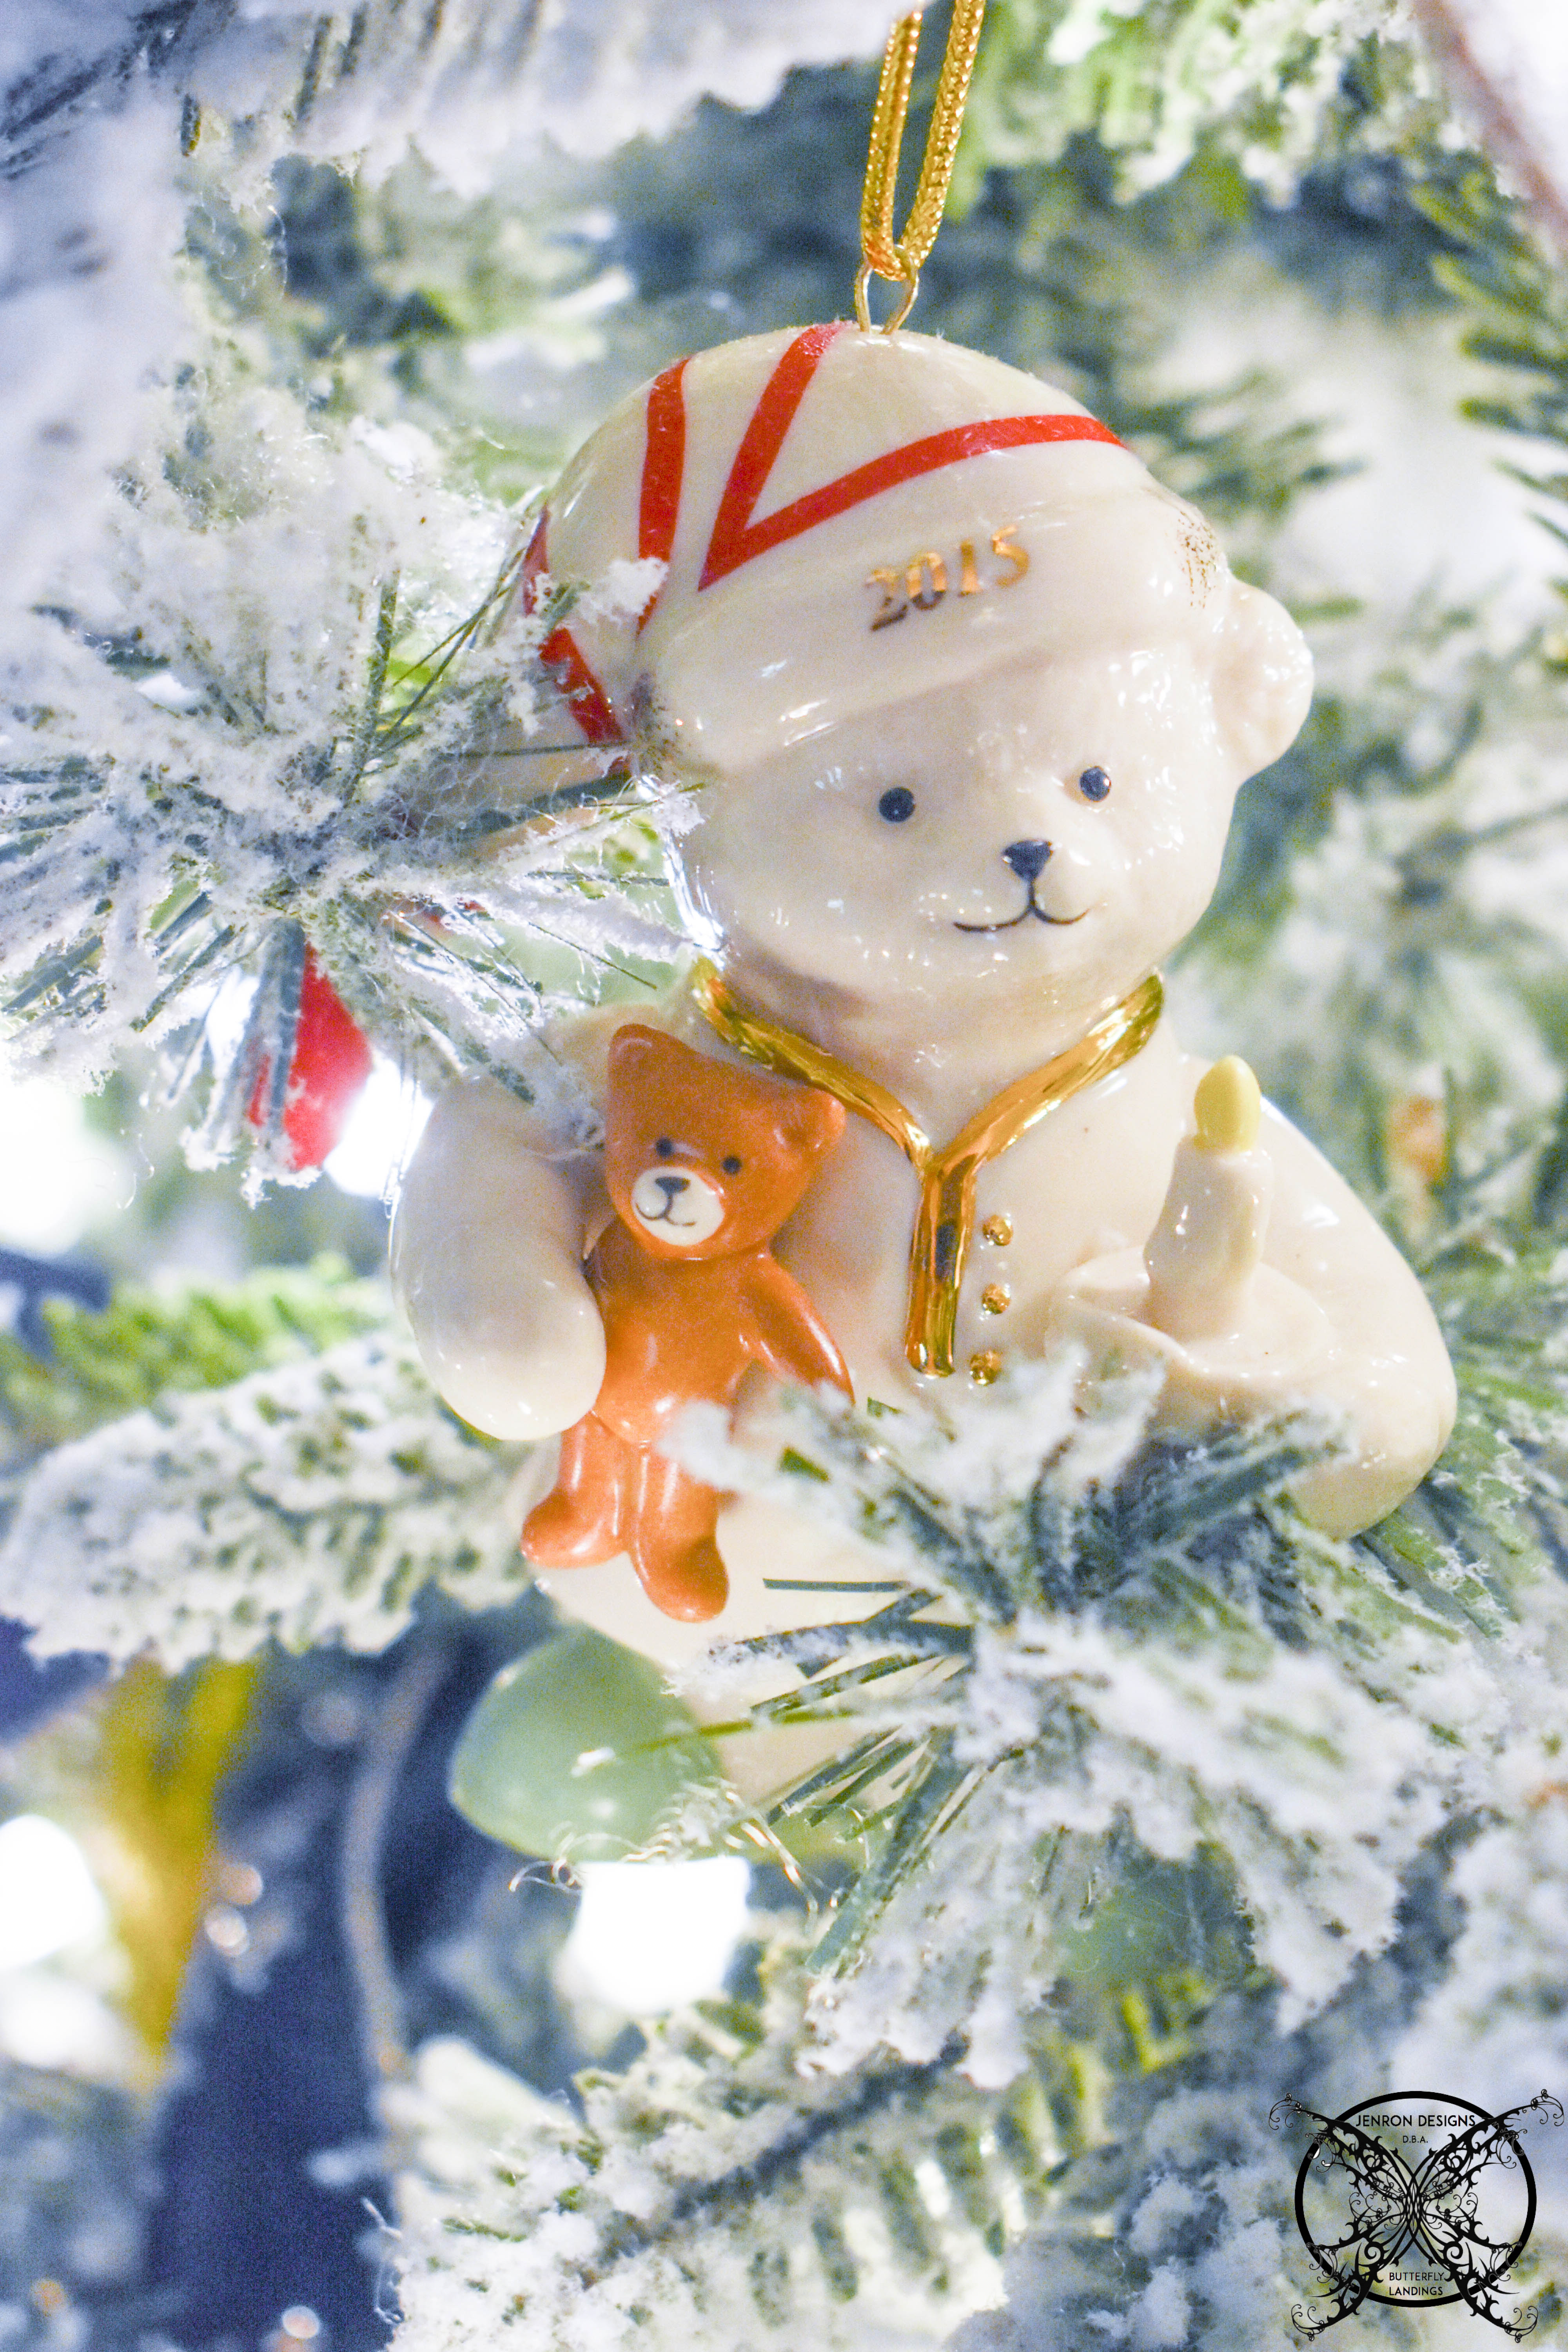 Some of these ornaments are worth a staggering amount of money now, and I probably should not put them out, given the state of our home around the holidays, but why have them if you are not going to use them, right? So when my $250-$500+ irreplaceable ornaments hit the floor because a cat knocked them off, you may very well hear me screaming in Canada!
 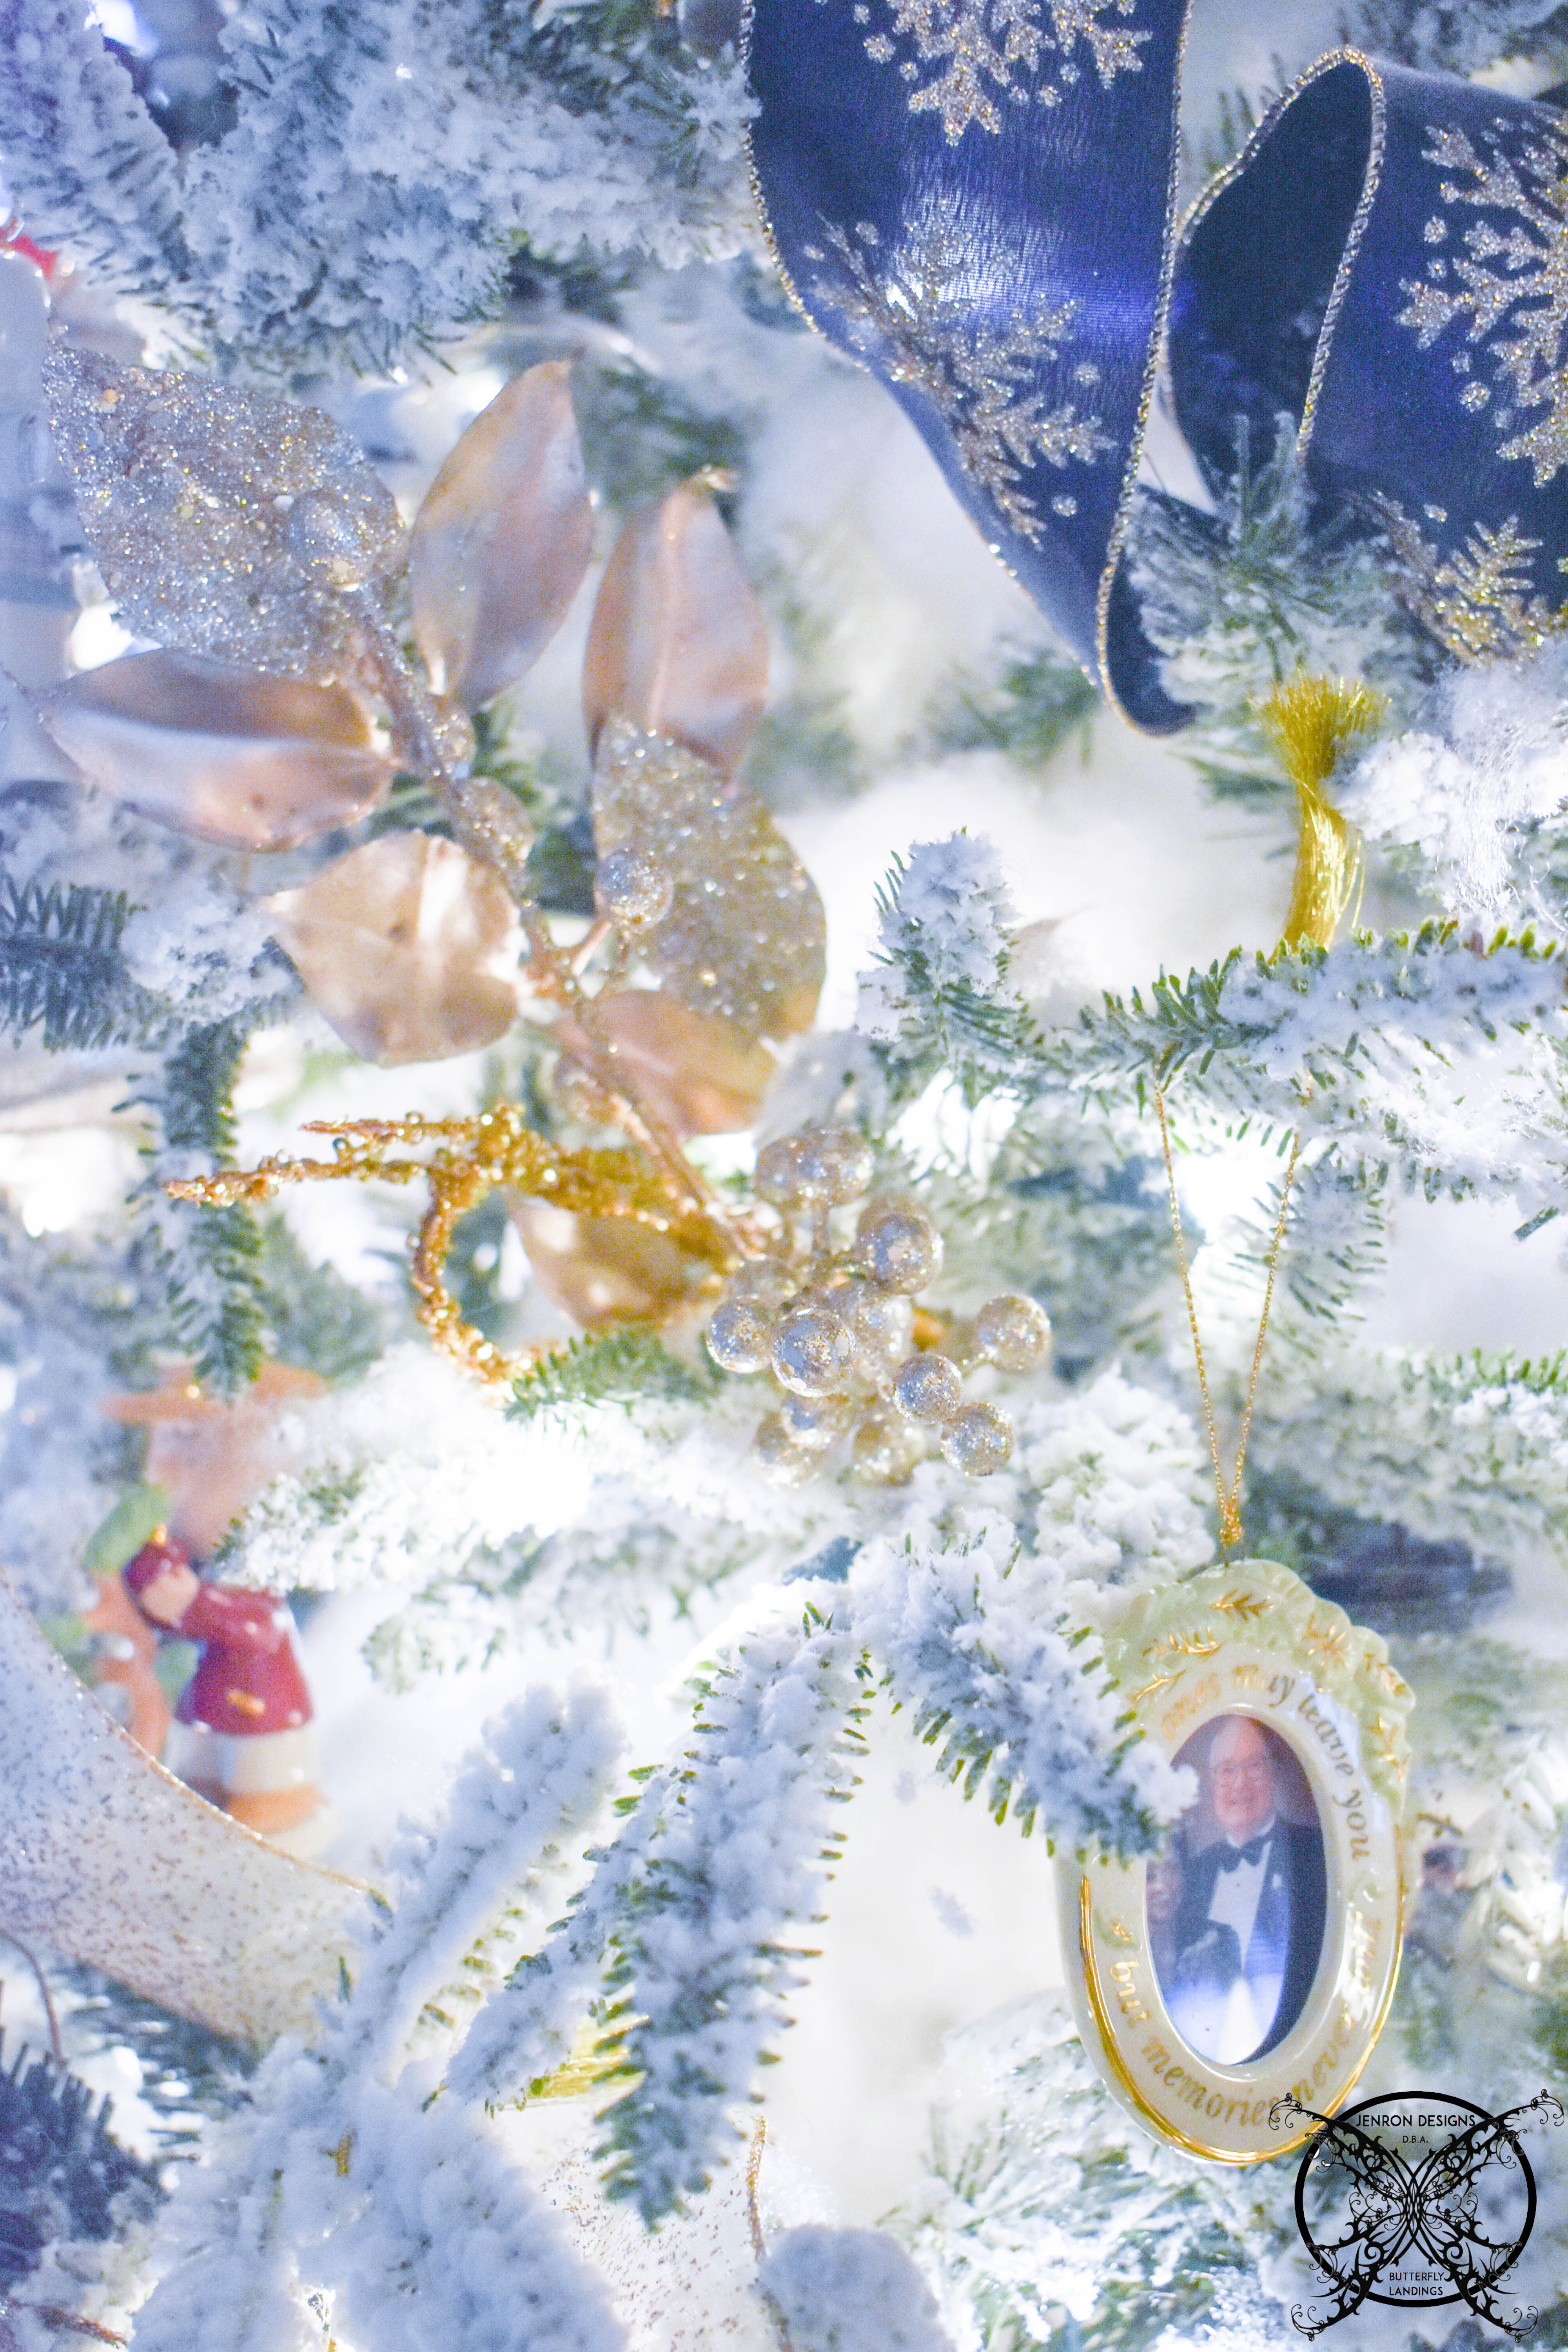 Finally, I top the tree off with some smaller solid ornaments in an accent color, these could be a focal color to go with your tree theme or still neutral. I like to think of these like jewelry, the earrings that pull the entire tree together.
 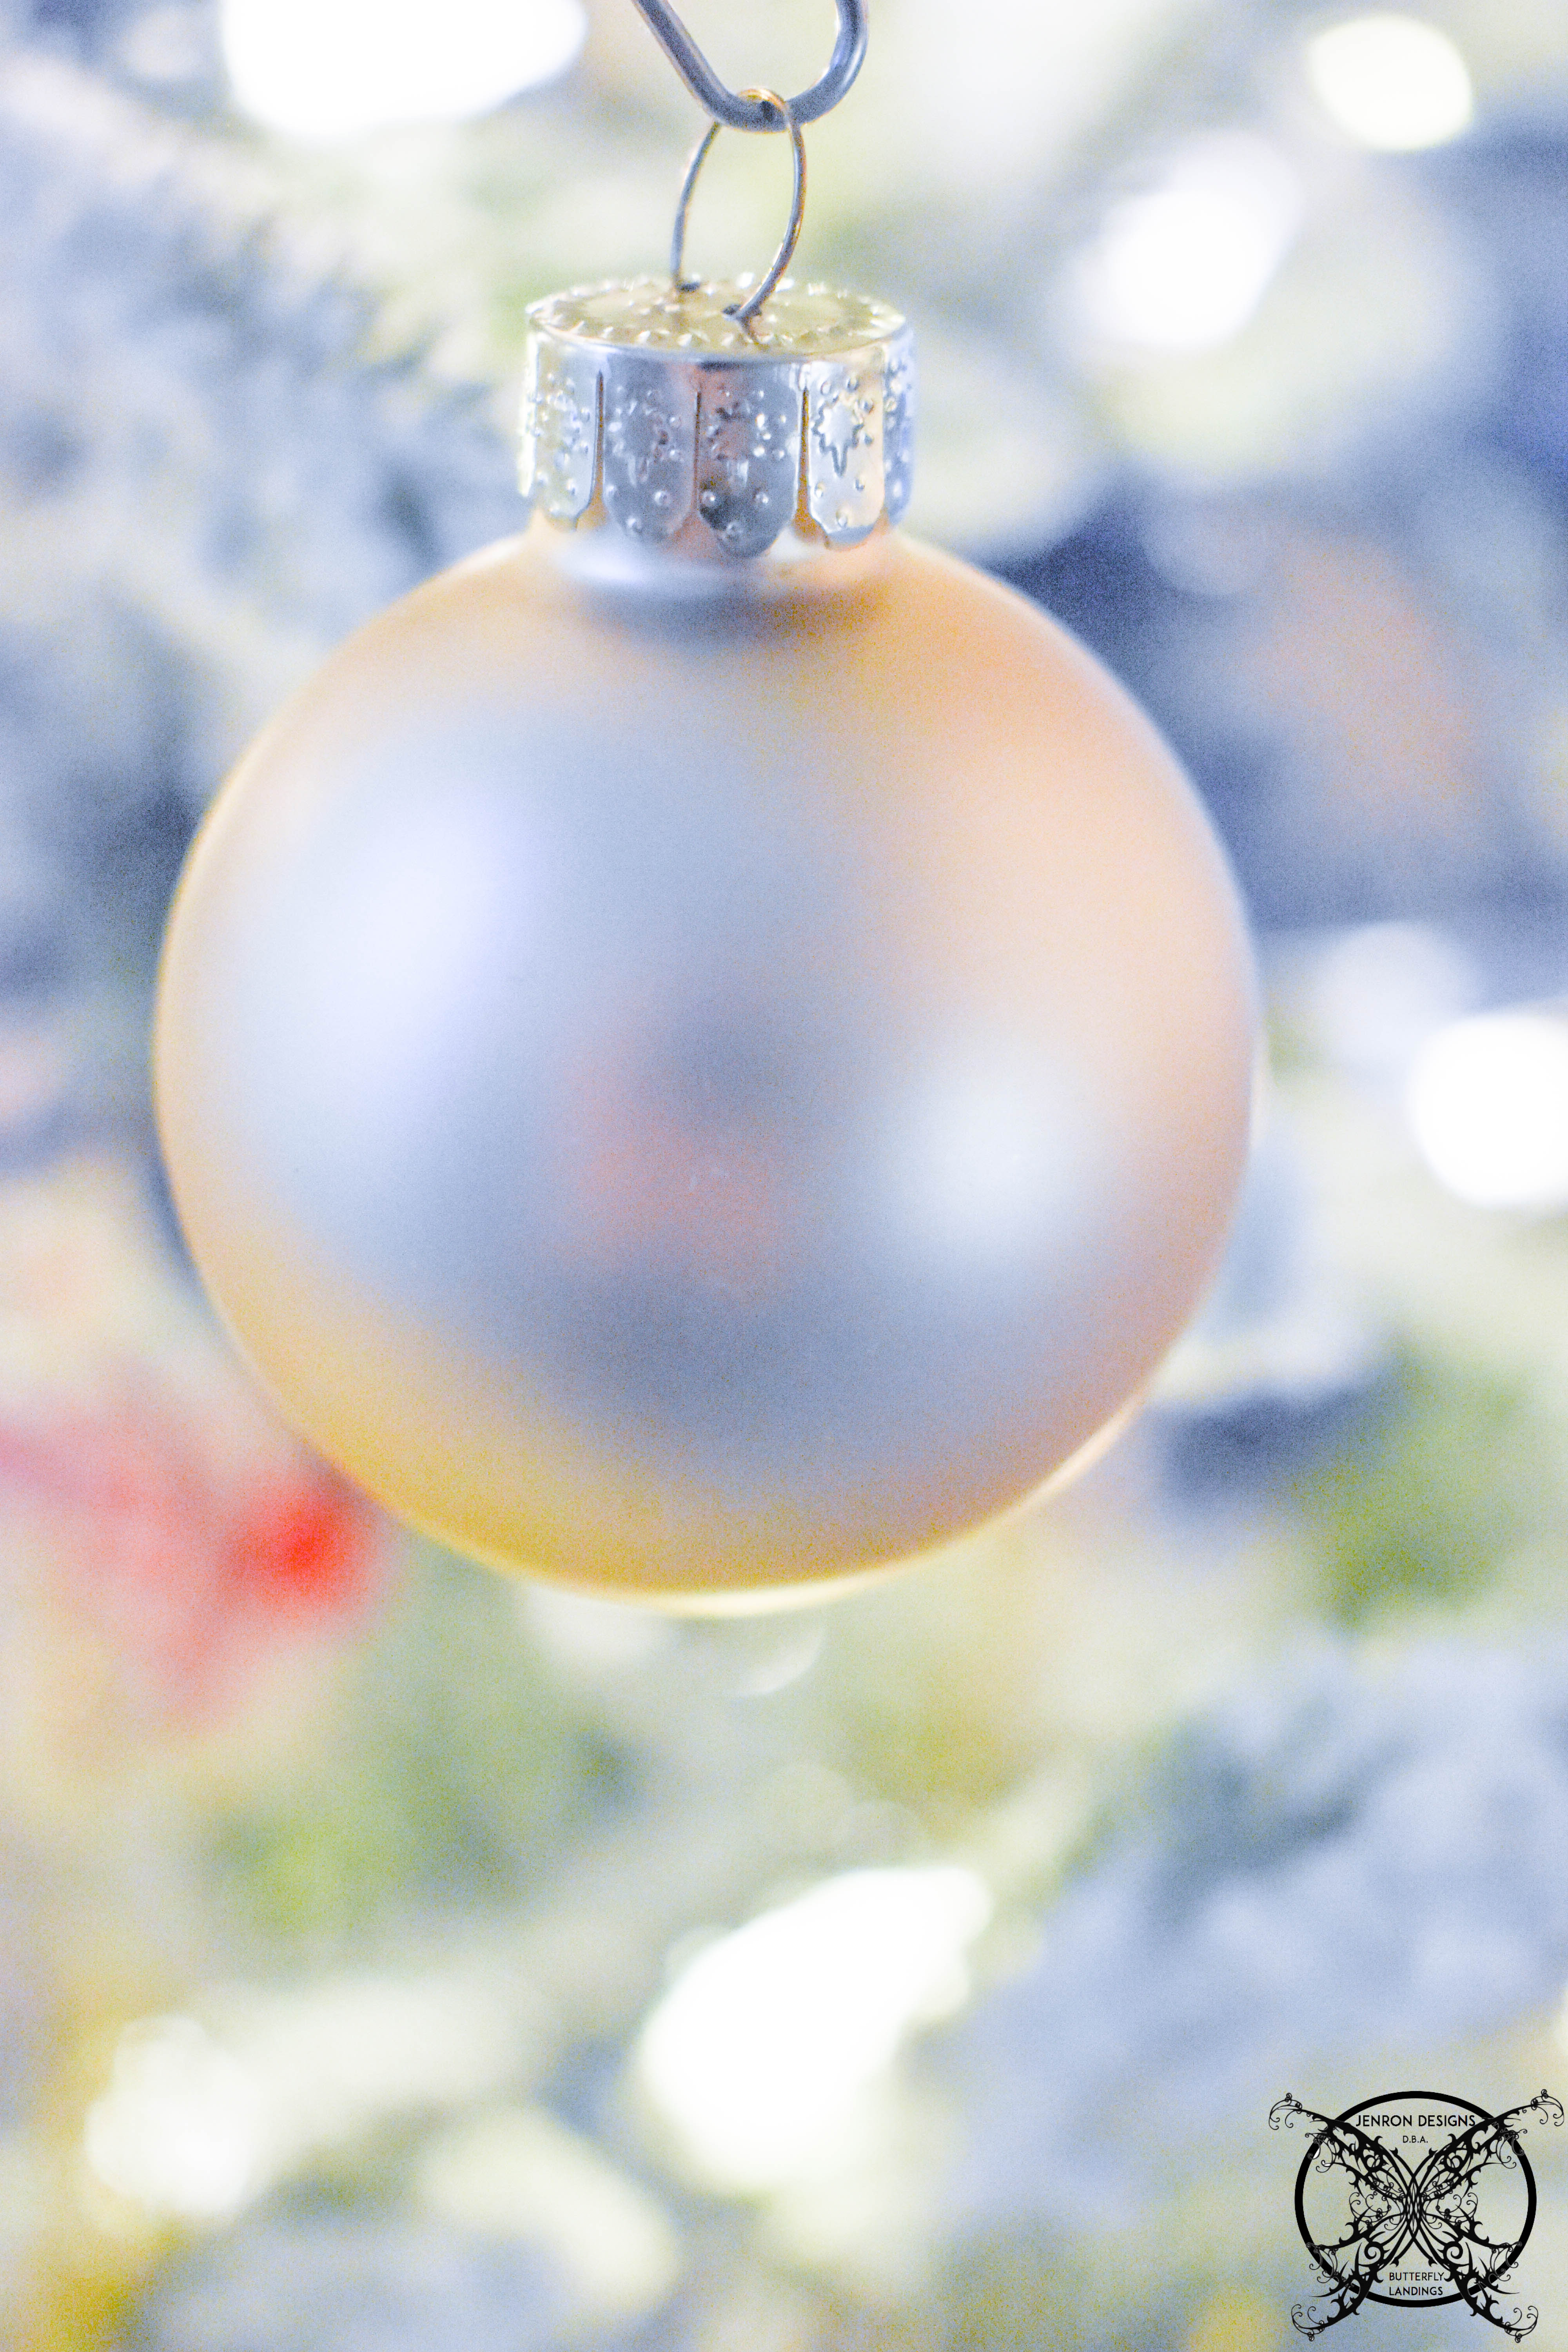 You will find that investing in simple solid colored ornaments that can easily be changed out from room to room, or tree to tree over the years will be a very wise investment. Vary the sizes to give depth and texture to your trees as well, that way as things break over the years you will not notice the sets are broken up.
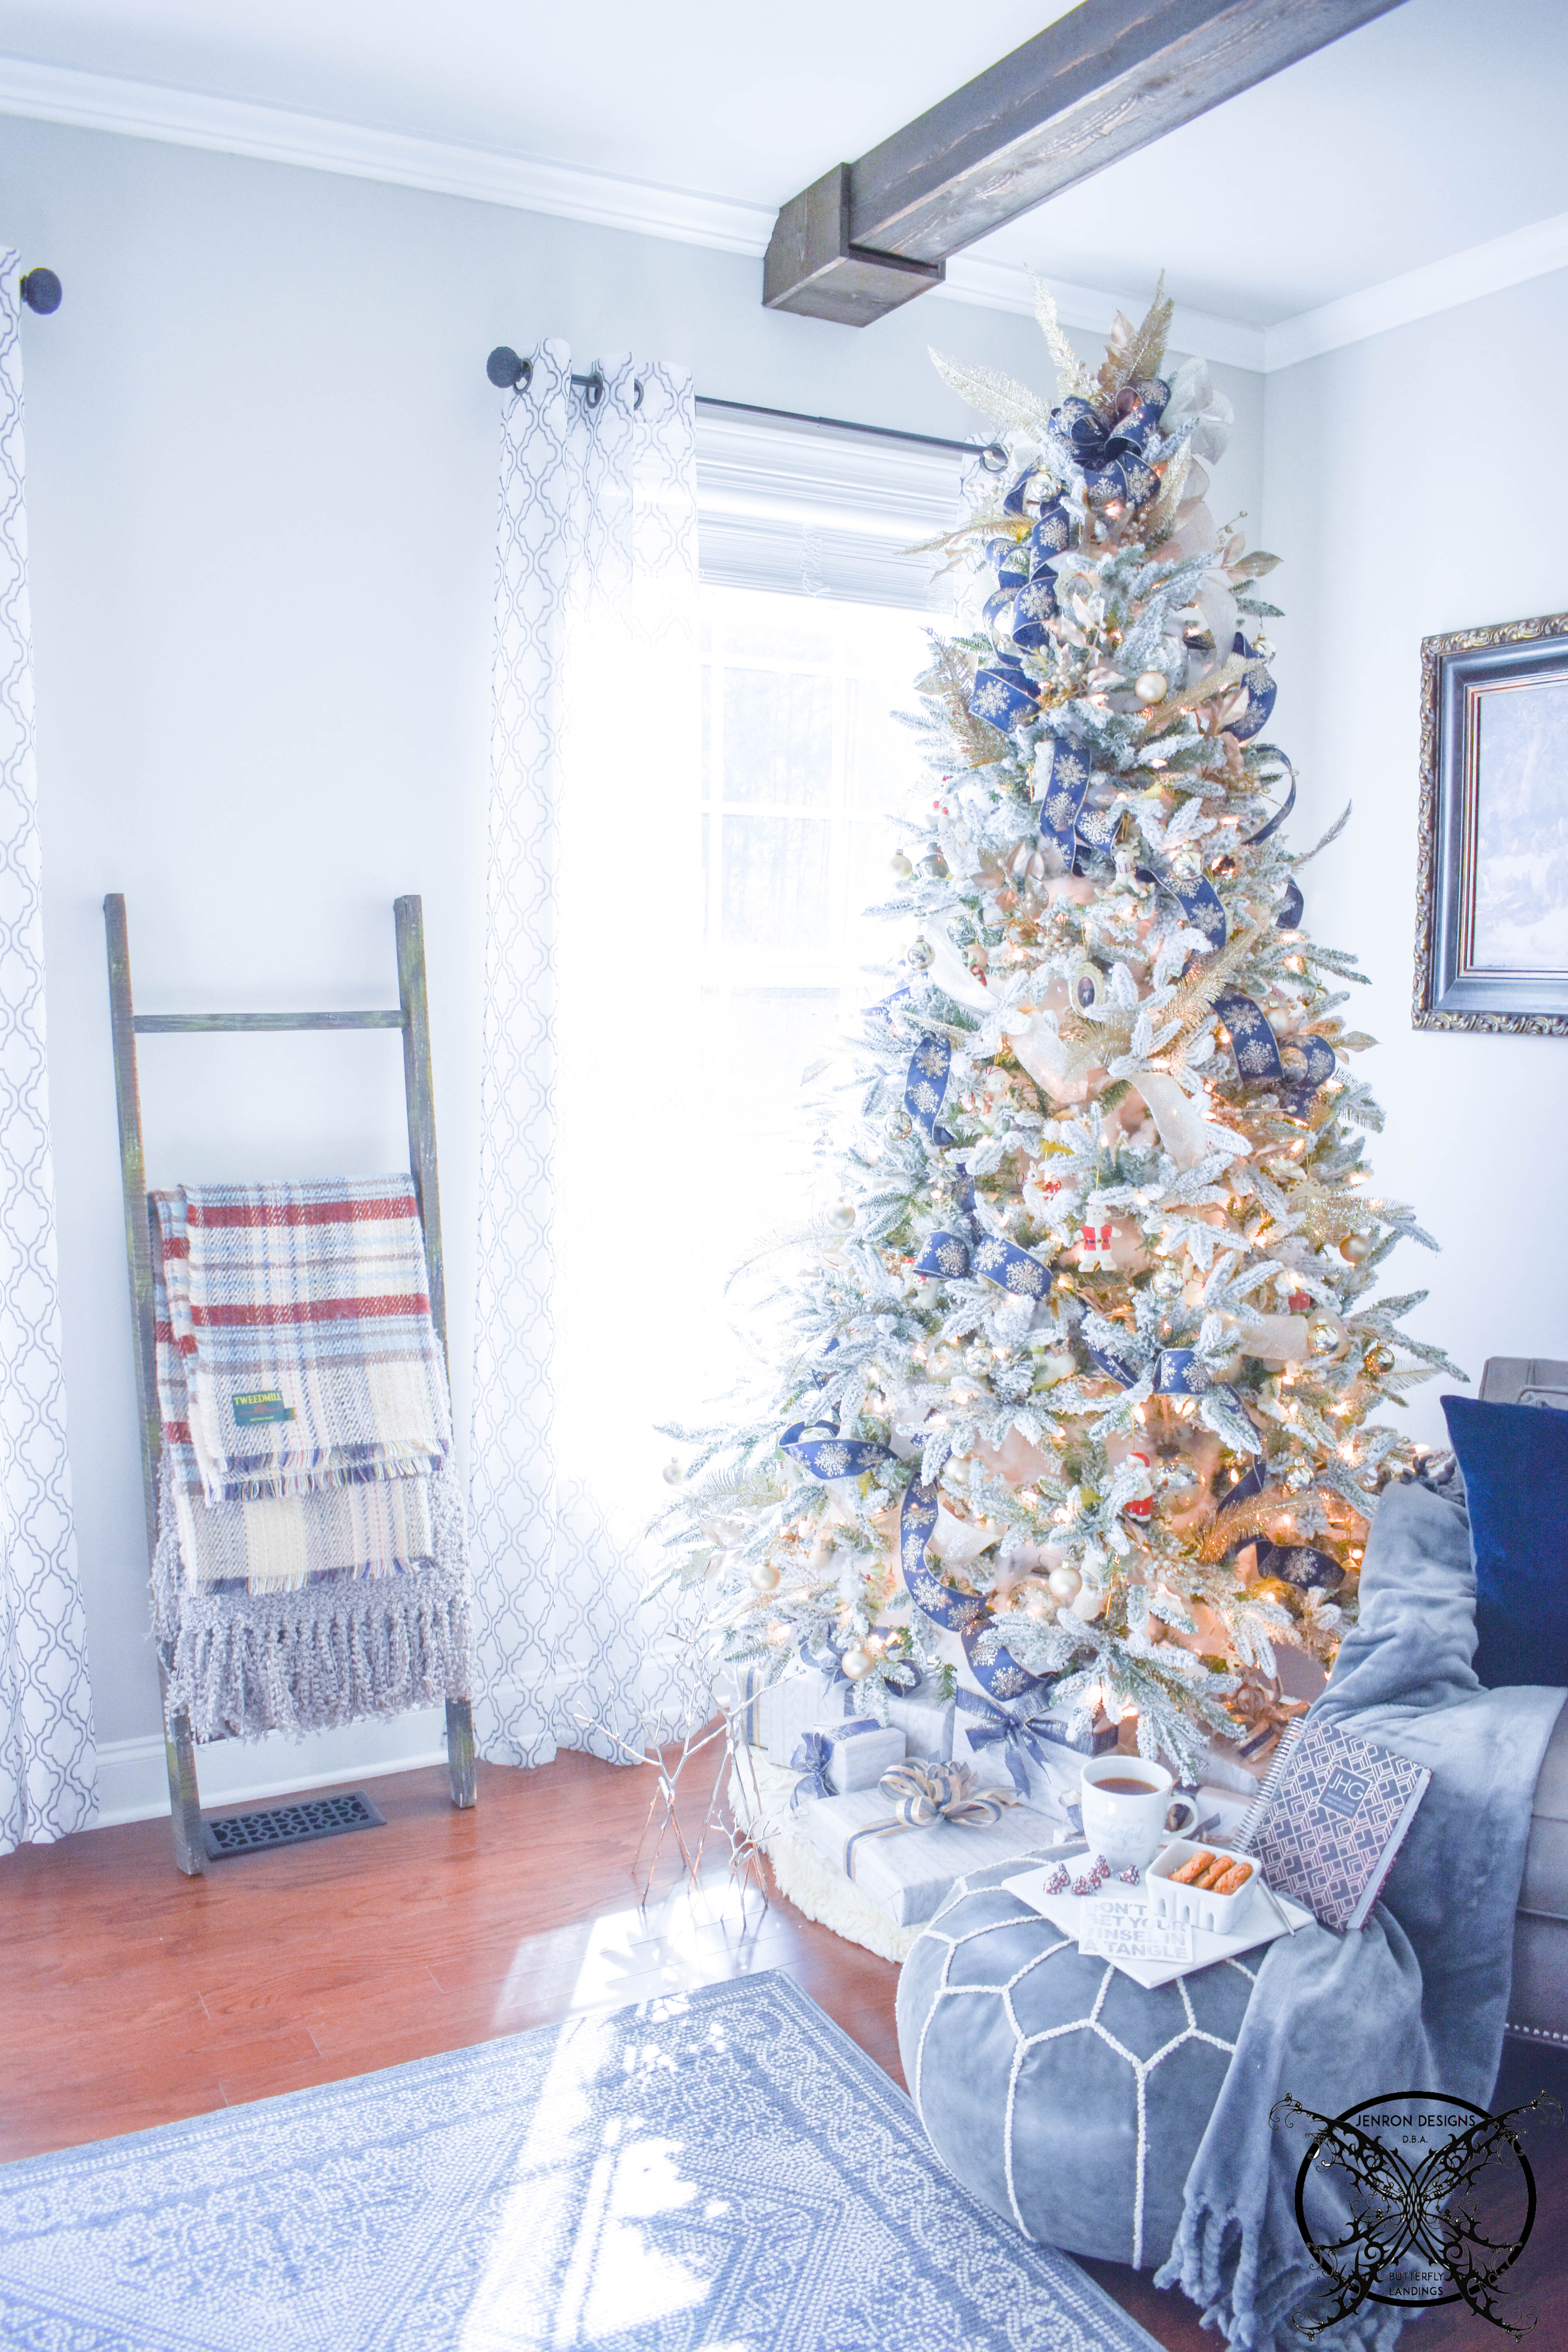
 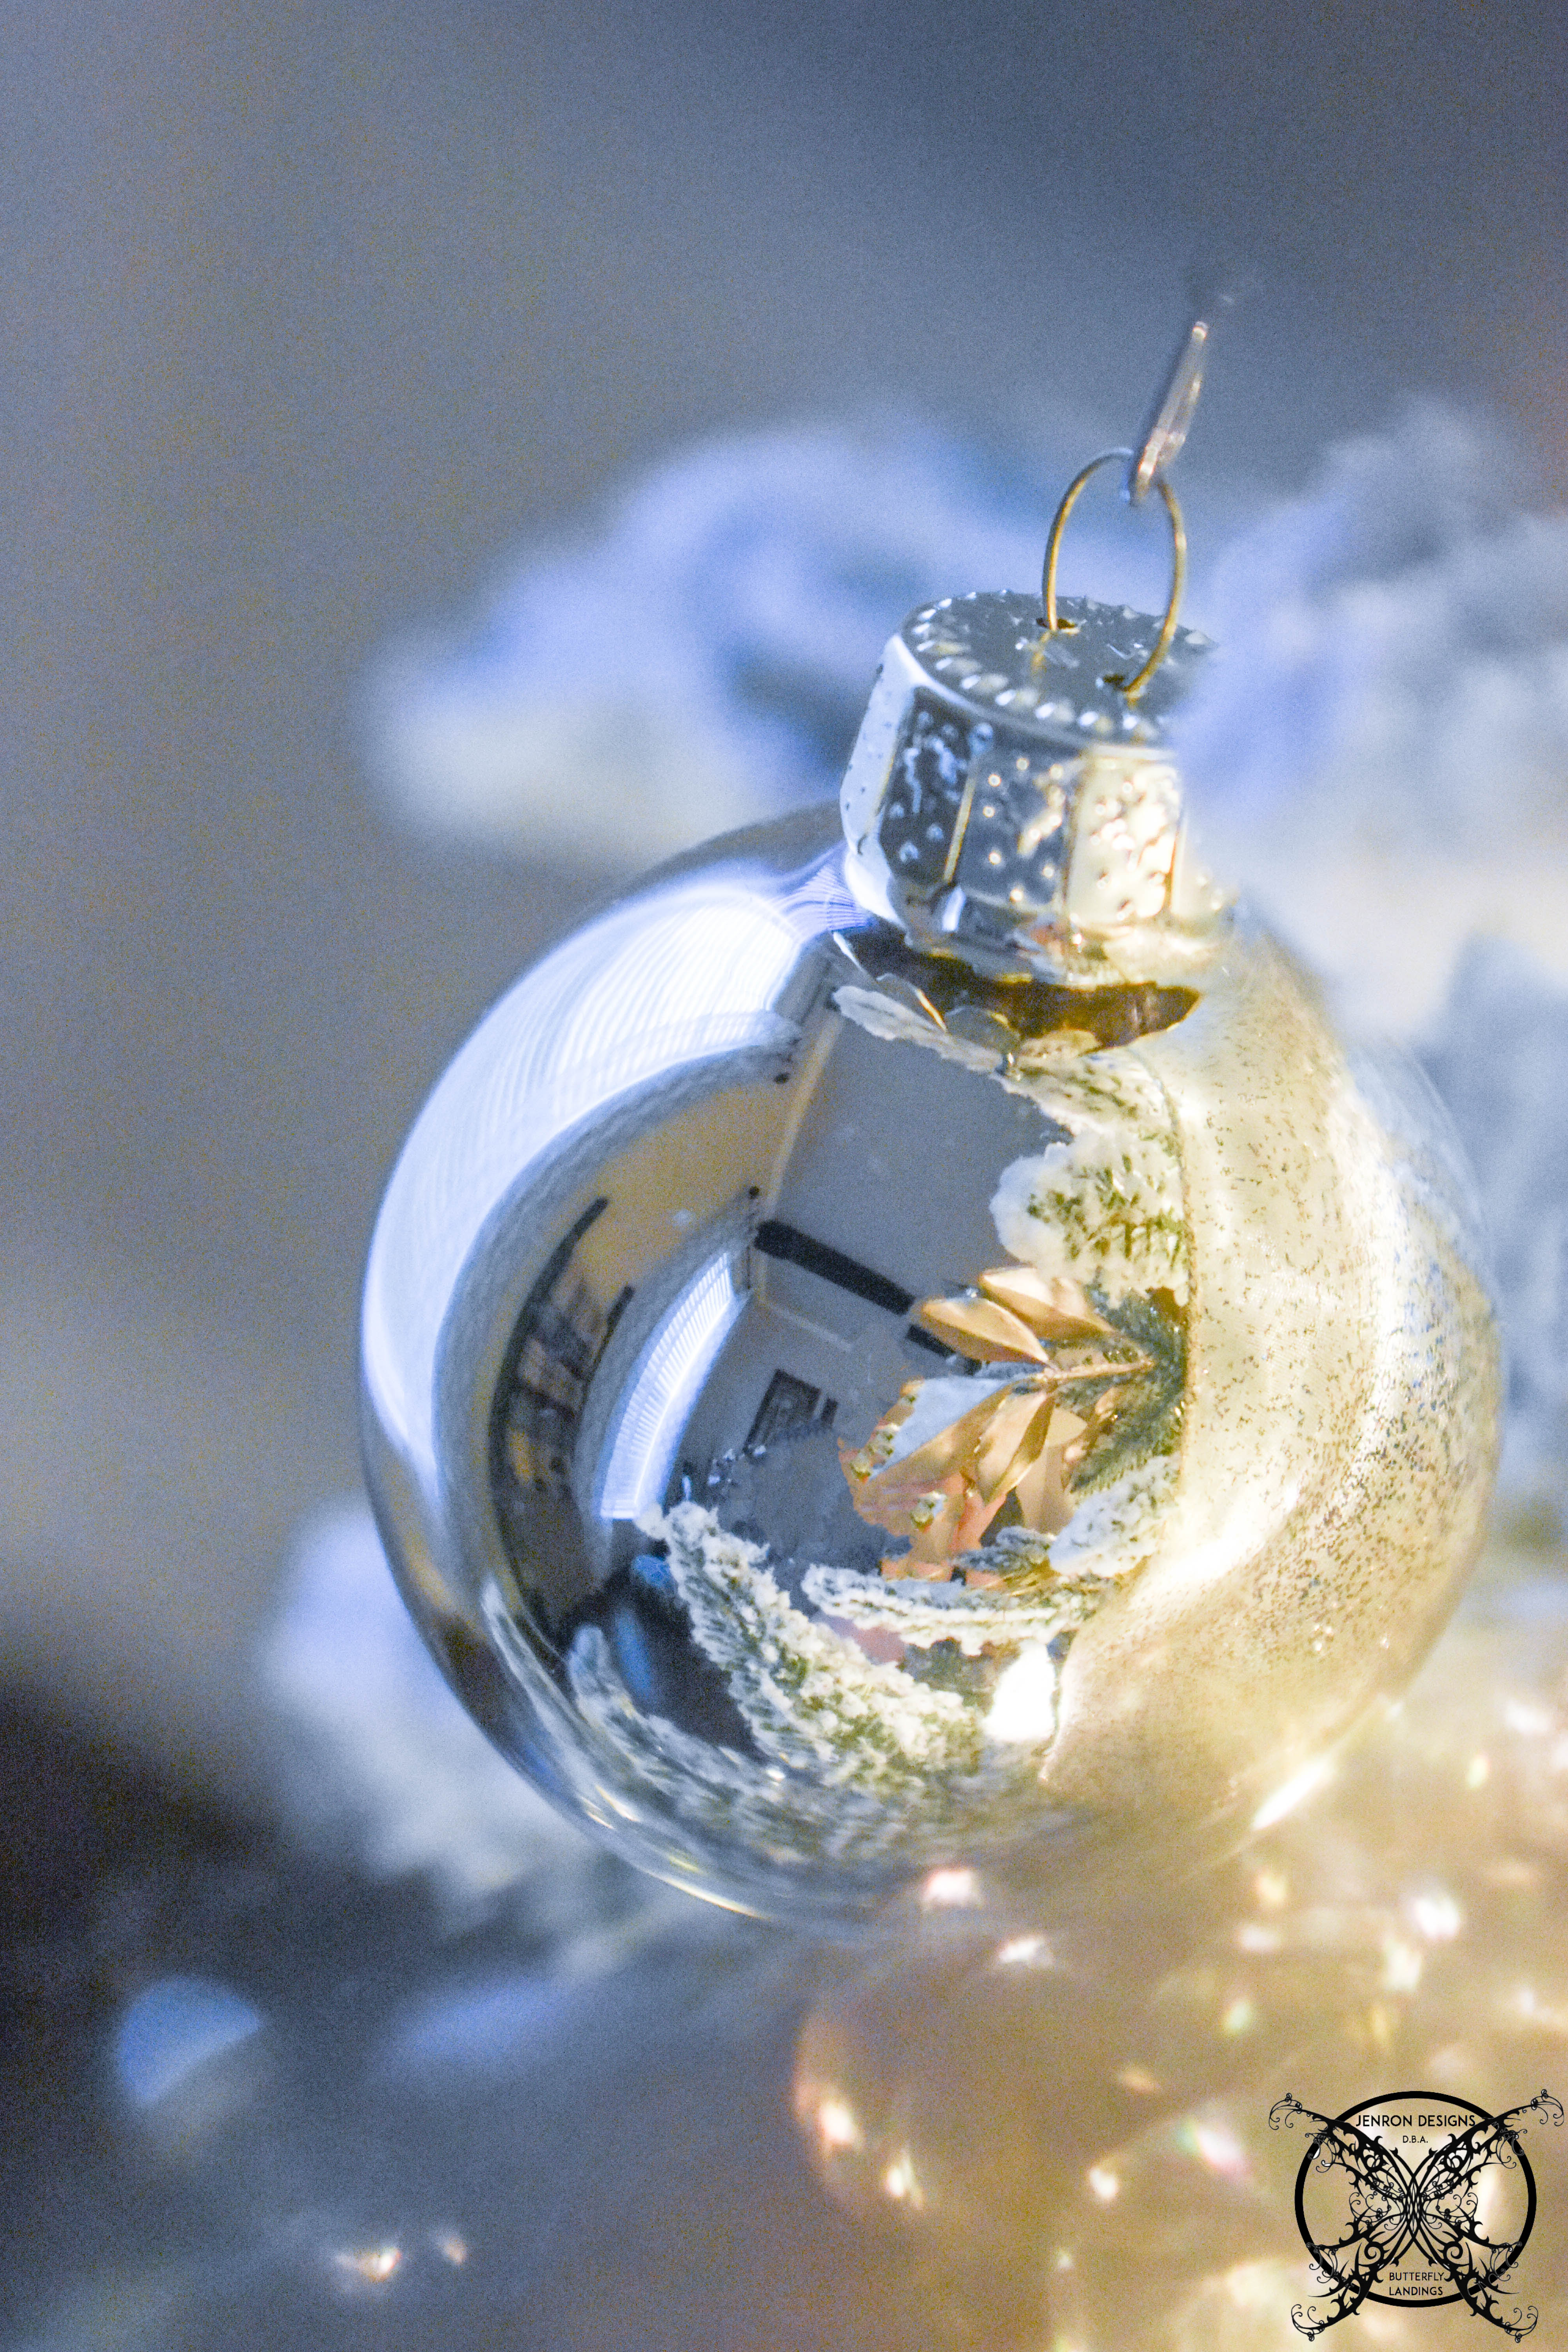 This was the end result, a tree that glows from within, and by following these easy steps, it is so easy to do and takes no more effort than a basic tree assembly. The trick really is the order and multi-tasking by fluffing and stuffing at the same time.
Did you LOVE this? See more of my Holiday Tree Tour? You can check them out here:
PIN ME for later and be sure to follow us on Pinterest at Jen @ JENRON DESIGNS
Hi Jennifer tree is beautiful as is all your work! Could you share how do you store your tree ribbon?
Hi Ms. Cain~ Hope your recovery is going well ❤️ 💕 ❤️ please let us know if you need anything.
Great question on the ribbon, I disassemble my bows each year, and re roll the ribbon, which prevents wrinkles. If a specific ribbon goes with a specific tree I store the ribbon in the box along with the fluff and the tree so I do not accidentally use it for another project lol. I do make all my bows fresh each year with the exception of my wreaths which can be hung, and I leave the bows/ribbons attached. If the tree topper is an intricate woven design, in past years I have stored the tree with the ribbon attached to the top segment only, and simply rolled the tail up to the top segment of the tree and clipped with binder clips. However has proved to leave a lot of permeant wrinkles in the ribbon the following year, which can be covered with picks, so I leave that at your discretion.
what a great and creative idea this is, I would never thought of this! and you house looks so pretty especially with that tree! thanks for this!
What a great idea! Such a simple and easy task. Your tree looks beautiful!
So many great tips and your tree is so beautiful! Putting up the tree around Christmas time is truly my favorite thing!
Such a great tip!! Your tree turned out exceptionally beautiful!! There is nothing better than putting up the tree around Christmas time! So fun!
-Madi xo
Hi,
These are gorgeous photos!:) The tree looks amazing!:) I love your idea of making “snow” out of old cushions (check color first).
Well done!
Best,
Christina
I was lacking ideas for the holidays but your site always gives me a boost.
Great pictures! I love your ideas on how to decorate the tree!
I tottaly want a flocked tree now! I just bought a new tree last year though, so I am now wondering what the polly fill would look like on a regular tree?
Your tree is beautiful! We’re getting ours tonight!
This is genius! I had never considered putting flulff in my tree. We currently have a pretty cheap one from Walmart, and this will definitely make it look fuller:)
Jen, I love that you are sharing all of your culminated knowledge from years in the field. I mean who would have thought of using left over fluff from lawn cushions? I toss those every year and never look back, but you are right why not re use it one more time then toss it. Your ideas are so inventive and out of the box, VERY AUTHENTIC that is for certain.
Gosh Lindsay thank you so much, sometimes necessity is the mother of invention, honestly I ran out of purchased fluff and was too lazy to run out for more….LOL…. see I am just keeping it real for you 😂 😂 😂. As I frantically search my home for options the scissors came out and the cushions in my giveaway box got cut….😂 and that’s how you create a blog post on the fly. Bahahaha, obivously we are just having fun over here and creating content for fun and entertainment purposes, as I cut up my old outdoor cushions, but seriously this is something we used to do in all the “BIG, EXPENSIVE” event homes and things that done behind the scenes in most movies or even set designs. It is all duct tape and spray paint 😂.
Such a wonderful post full of great details and tips that any homeowners could use for the holidays.
Great post perfect for the holidays.
I would have never thought to cut up pillows, but I guess they would work in pinch, what a funny tip, I bet you did have to do this while working for employers, trying to save a buck.
Great tips on making a tree look full and snow covered.
Wow this really is the easy way to add the poly fill to a tree, such a great tip to add as you assmeble. I am pretty sure I have not seen a design blogger show that yet, which means you clearly have been doing this a while as a pro. Great job Jen and I love your sense of humor too!
I have always wondered how they get those trees to looks so bright and solid white inside with no cords or poles. Thanks for sharing these insider tips.
You really have this tree assembly down pat and make it look so simple, thank you fro the step by step process I will try this.
Great post with lots of great tips on getting those magazine perfect trees for our homes. Thank your sharing.
I wish I had seen this sooner, great tips for adding the flock with ease. You really have great time saving design tips, I guess when you decor that many trees you learn to make the most of your time and how to get them done fast and still looks amazing.
So beautiful and inspiring and a really great read full of so many great ideas.
Your tree is so pretty I need to to try this next year.
I love reading Holiday posts, especially this one which has great photos!This one has so many great tips for self flocking a tree.
Great tips to make a tree look fuller and really glow.
I would have never thought to use polyfill from old pillows but it makes a lot of sense.
All A+ tips and things I did not know, it great to pick the mind of an expert.
Wow this is the way to do it, and make it look nice. I like the time saving advice. Thanks.
Thank you for taking the time to publish this information very useful, for the holiday season,
Great tips I love that you added the fluff as you assembled the tree not after, that piece of advice is golden.
Great advice on make an artificial tree look fuller, and the easy way to do it. Thanks!
Fantastic read, filled with all your cumulative knowledge I really enjoyed this a lot.
This was a great read so much information packed into one post.
Really good information and tips on how to execute this flawlessly, I have seen a lot of tutorials but they always leave out a few details.
Gorgeous as always my friend, your trees never disappoint, the face that you have so many is impressive in the first place.
Fantastic share and great looking tree my friend.
Your trees are gorgeous I can not believe you just walked me though how to recreate this one, thank you!
I would have never thought to pull stuffing out of my old cushions but that is brilliant in a pinch. Great job.
Oh I wish I had seen this sooner before I tried to add fluff after the tree was assembled, lol next year for sure! I am pinning this to remember.
So many great ideas and tips for holiday tree decorating.
Your tree is so pretty I love the multi bows you place at the top to make one big one, that is a great idea that I would not have thought of.
I really like that you covered all the basics for those of us that may not have prior experience may know.
Great tips for faux flocking a trees with out the mess.
Great post I love your tree it is gorgeous and so full, I know that you advise works.
Love all the hints and tips, plus your trees are so pretty, I hope my look this good too.
Great post and excellent read, I love the reuse of cushions very inventive.
Love this article and I learned so much, thank you
Great idea to add the cotton fiber fill to the inside of the tree, I use this for my village but never thought about putting it in my tree.
I just finishing watching Elf and it he took pillows and and snow covered the roof in Gimbles, this post made me think of that, your are very own Elf.
Wow I did not know that was how to get that effect, all these years and now I can make the tree look full no matter what it looks like.
Fantastic post filled with plenty of tips I will surly use next year, for my tree, pinning now.
Sorry I have not commented in a while life has had me busy, just wanted to say I loved this post! Now I know all your designer secrets, ha ha.
You have such a great inner voice and make amazing posts. Good job!
So much great information, the bows and the stuffing, I am surprised at how much I learned and I have been putting trees up for years, proves you can teach an old dog new tricks. Thank You!
Love your trees so I definitely took a few notes on this post for next year.
I really enjoyed this post, and really learned a lot too. I will be checking out a few more of your posts.
Loved everything you had to offer in this post, especially the ribbon tricks about multiple bows to create one big pretty bow instead of one ginormous floppy one.
Great tips for decorating a tree to look like it came out of a magazine. You just proved that we all can do it, thank you.
Great idea to really fill out those trees.
I found this post to be very interesting, along with the storage techniques.
I love it! I totally need this, I made my tree on Saturday and it doesn’t look too full! Such a clever hack
I’ve been wanting a tree like this. I love how you fluffed it up! We usually get a real tree and I get so tired of the clean up.
These are great tips! The tree looks amazing!
I love the effect that these tips give your tree. I know mine could use an upgrade just like this since mine is getting up there in age.
Wow, I love this tip. I’m definitively stealing this one. Your trees are all so beautiful. Love the idea of using cushion stuffing…lol! Perfect timing for this amazing tip!
WOW you are SO exceptionally creative! I am excited to try this – this year specifically! Wanted my tree to have a different feel this year. So excited to implement some of your ideas! Thank you!