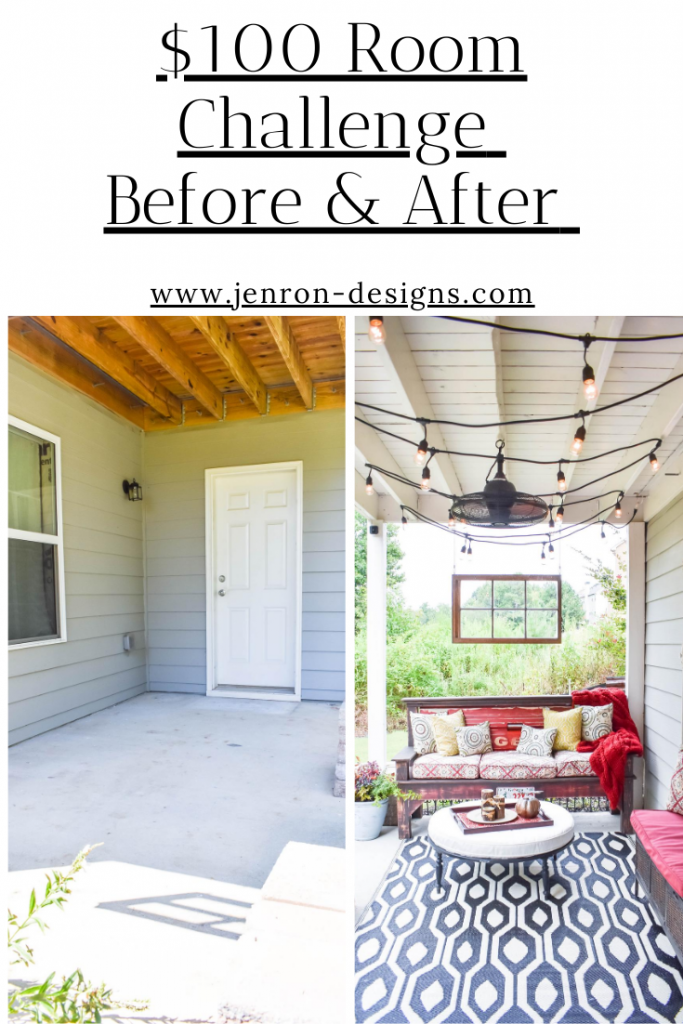
$100 Room Challenge: Covered Patio Painting
It is time again, are you ready for the $100 Room Challenge: Covered Patio, Painting edition?
Hi everyone, welcome to the first week of my $100 Room Challenge: Covered Patio, Painting edition. If this is your first time seeing the $100 Room Challenge it is a bi-annual challenge sponsored by my friend Erin, from Lemons, Lavender, & Laundry. So, let me give you a little background on what the $100 Room Challenge is all about. This challenge takes place twice a year. January and September is when Erin invites us to redo a room in our home using only $100. As you can see the premise of this challenge is real simple: one month, one space, and $100. If you want to know more about the $100 Room Challenge, check out Erin’s post to see how the concept was inspired, and it’s colossal growth since she decided to start it! This season I have decided to work on a Covered Patio, located just outside of the basement. 
Weeks at a Glance:
WEEK 1 WEEK 2 WEEK 3 WEEK 4
$100 Room Challenge: Covered Patio
Vision Board
*Please note that this post may contain affiliate links for your convenience. These involve no extra cost to you, but may result in me receiving a small commission – for which I am very grateful! You can view my full advertising disclosure here.
The Scheduled Plan:
Week 1: Pressure Wash Patio & Painting
Week 2: DIY Refurbishing Lights & Installing Existing String Lights
Week 3: Window Seat & Container Garden
Week 4: Accessorizing- Shop Your Home & Reveal
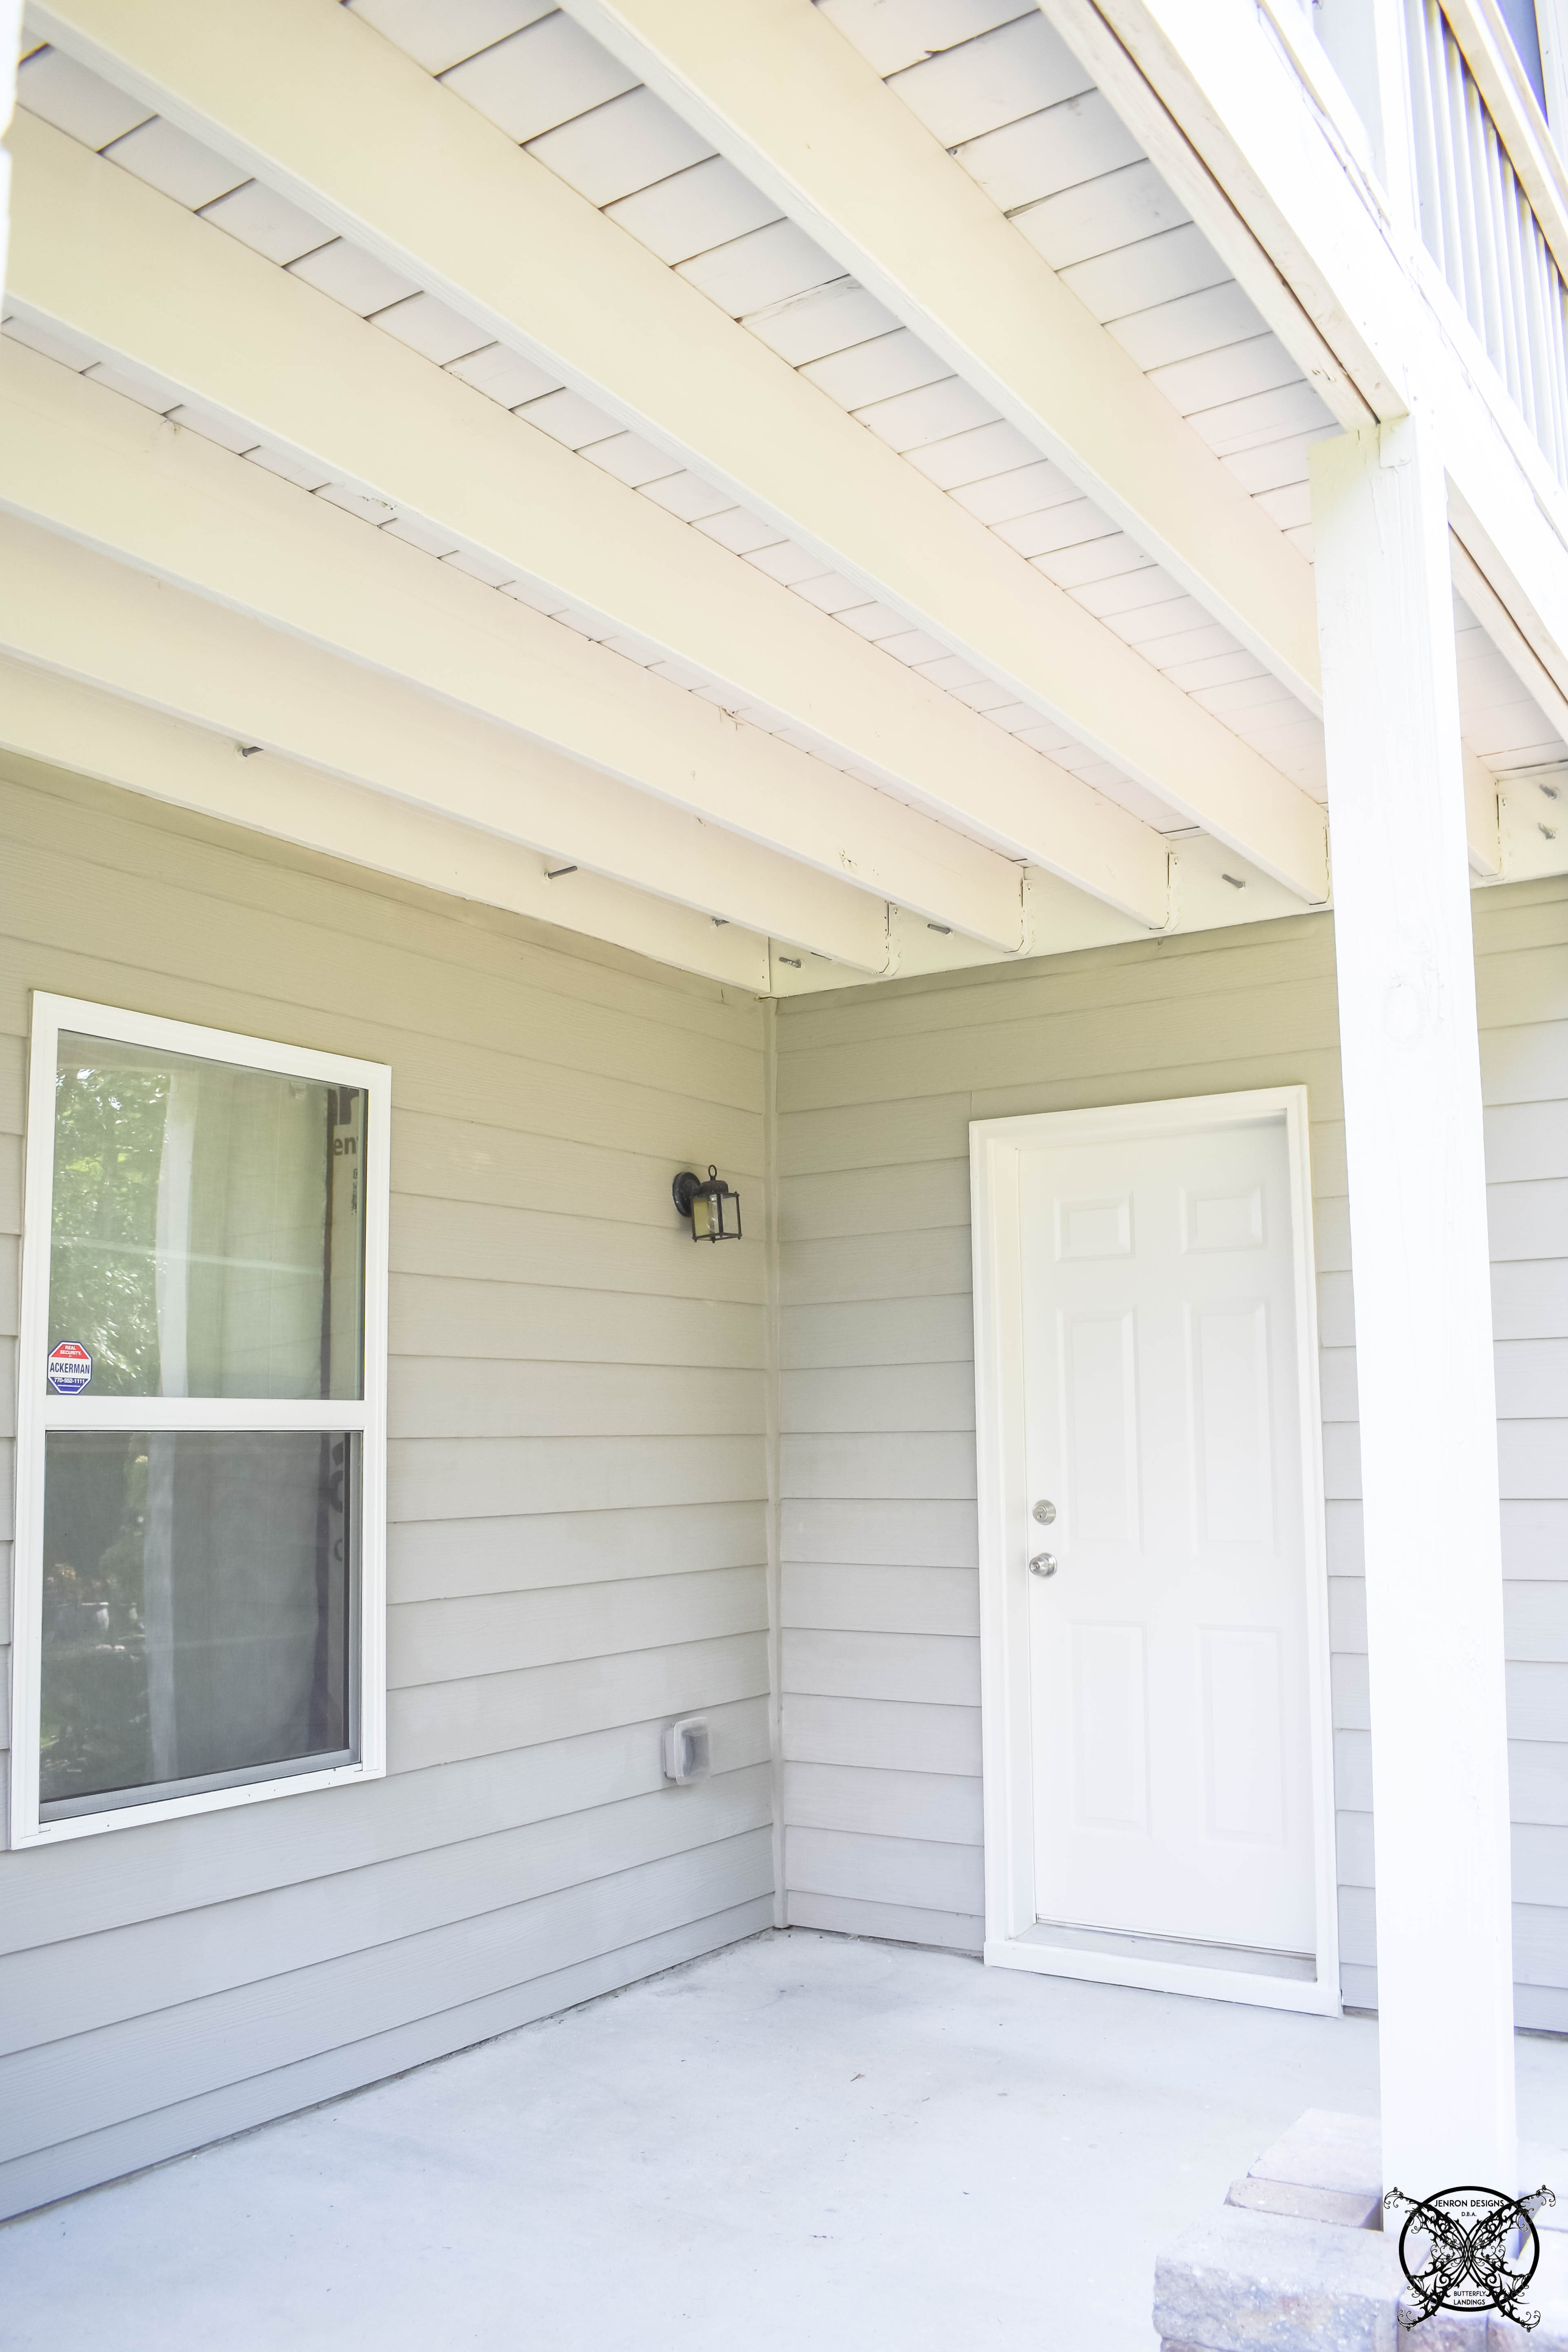
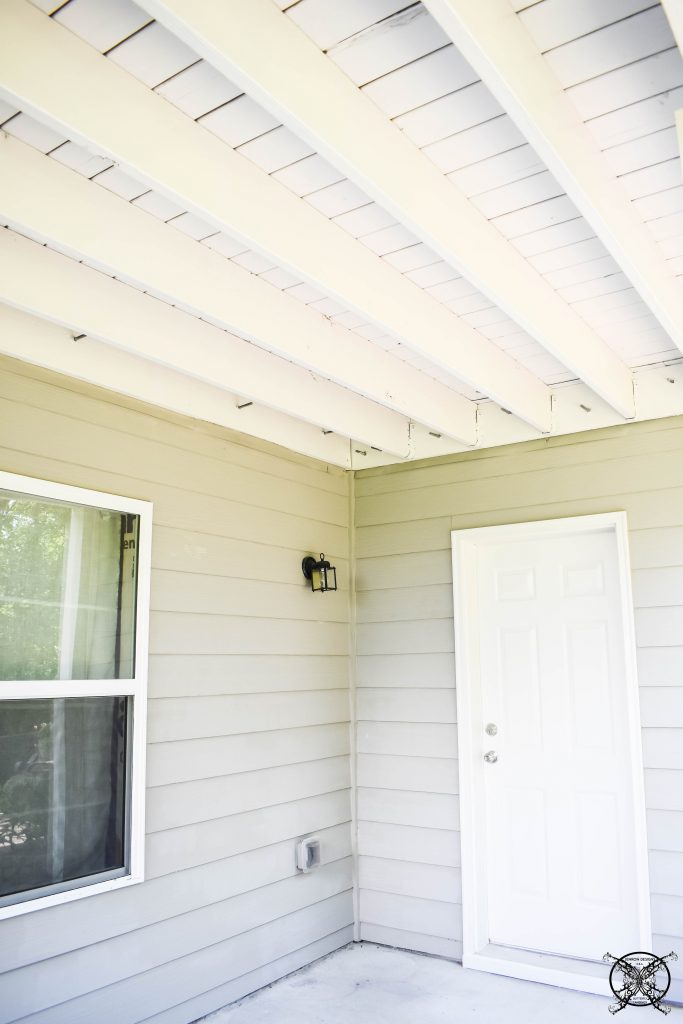
THE BEFORE PICTURES:
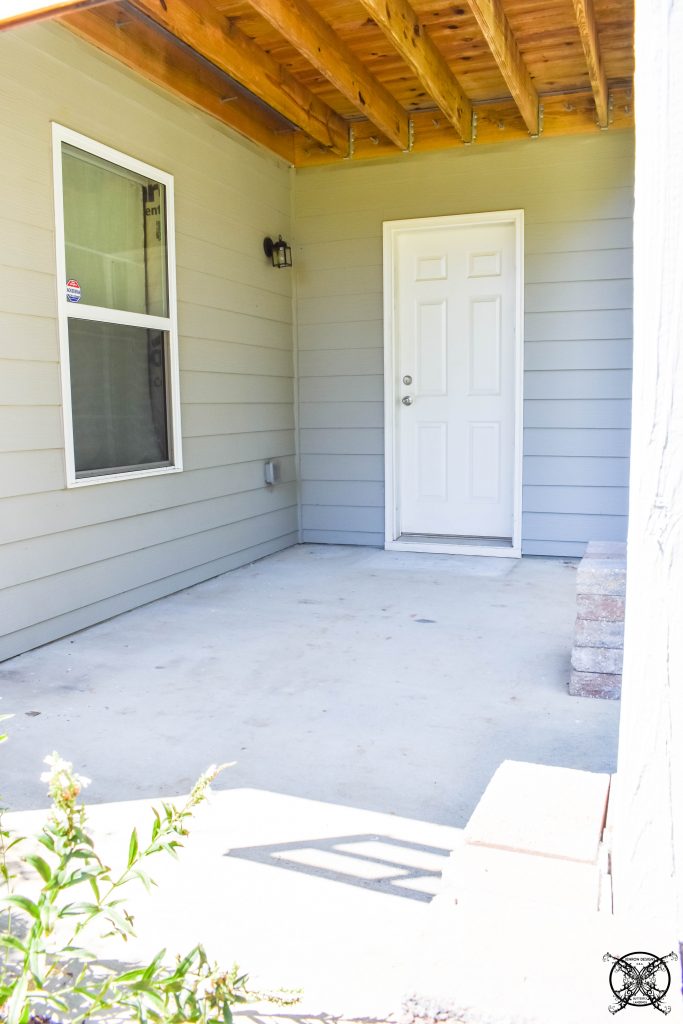
Paint the Ceiling
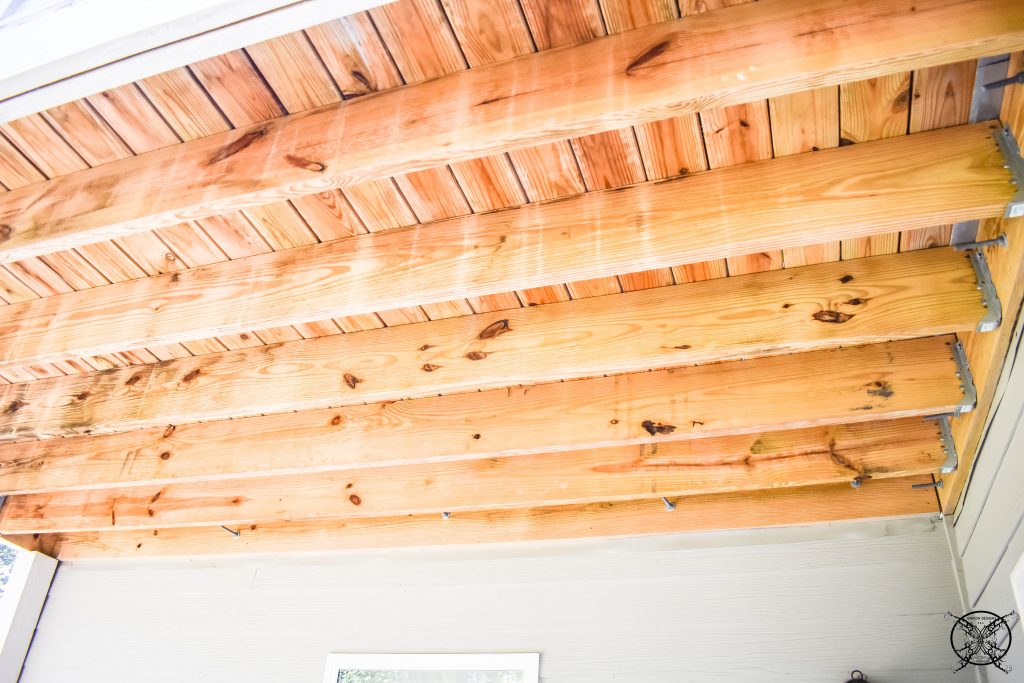
Okay so I already own the trim paint which is City Loft in a 5 Gallon bucket, from painting our deck and screened porched about a year after moving in. I really need to use it up since we are coming up on 4 years in this house, and paint does not keep forever. So let’s just use it up, and that is all free. Also, I was recently sponsored by Wagner Power Tools back in July, from the Haven conference, talk about Christmas in July! I received several great new products like the Furno 500 and the Felxi0 5000 . I have honestly been looking for a painting project to give the Felxi0 5000 power sprayer a whirl.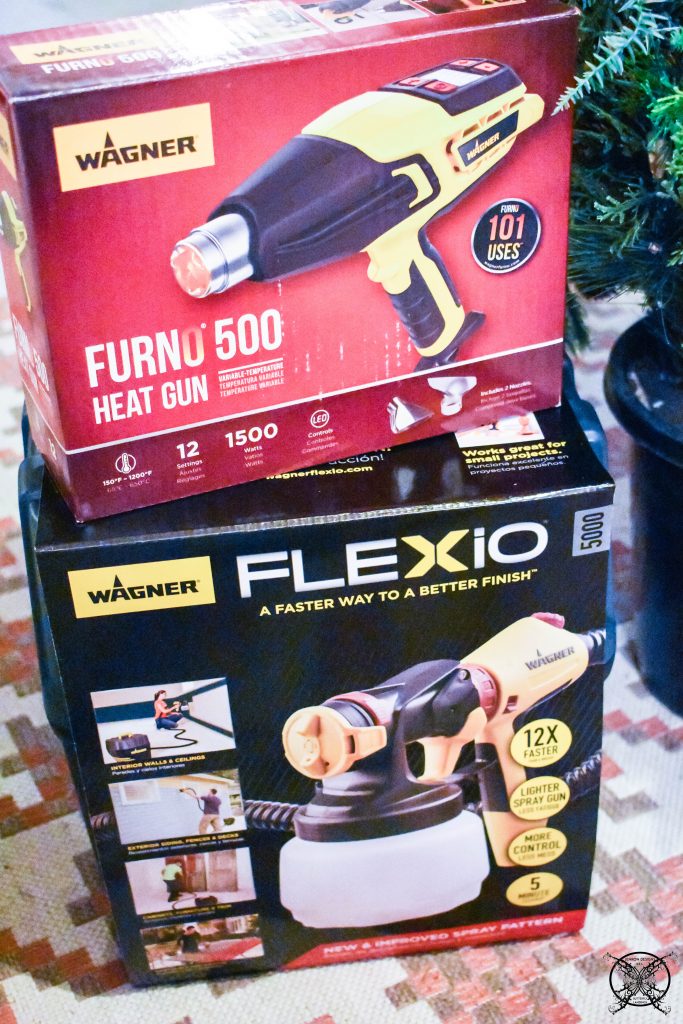 So we hooked up the Flexi0 5000 and we were literally done in an afternoon. This project was so quick and easy, the perfect one to cut our teeth on with our first use of a large paint sprayer. All I have to say is where have you been my entire life Flexi0 5000 ? It came with two attachments, one for furniture pieces and refinishing which I honestly figured I would be using first, but then this little project popped up and we thought, why not?
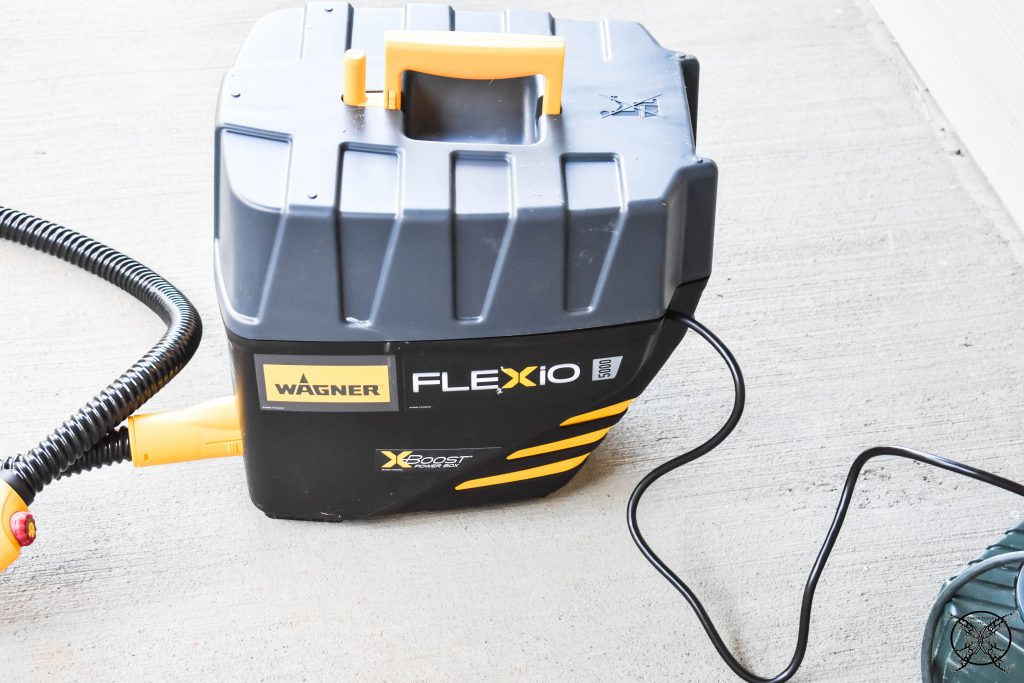
Smooth easy strokes glide across the boards making quick work, of what really could have been a two day project. I will say I am glad this was an outdoor project since this was my first attempt. There is a certain amount of finesse that you will learn the more you work with and use the Flexi0 5000 , but all and all it is so easy to use and cleans up like a dream. 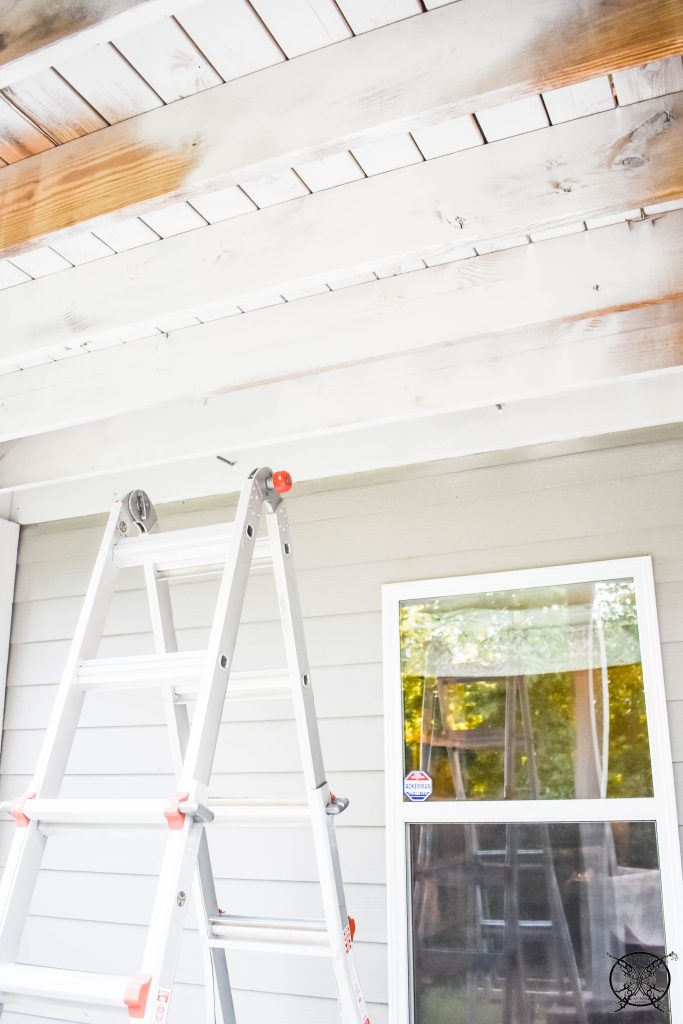 You will notice that we did choose to hand trim out the edges instead of taping off, or draping the areas. Mainly because we were outside, and the area was so large. Plus, I may have used all my stores of drop cloths as fabric to recover a certain Deconstructed Sofa, so there is that, LOL. While a $12.00 drop cloth was not going to break the budget, I will admit I was also being a little bit lazy, and did not want to go all the way to the store just for that, so I just moved on with what we had, that’s country life.
 HANDy Paint Cups still has me covered when I want to do a little hand trim out with my favorite paint and roller cup, which makes the trim out work super easy too. I think when you have the proper tools any job, can be really simple.
 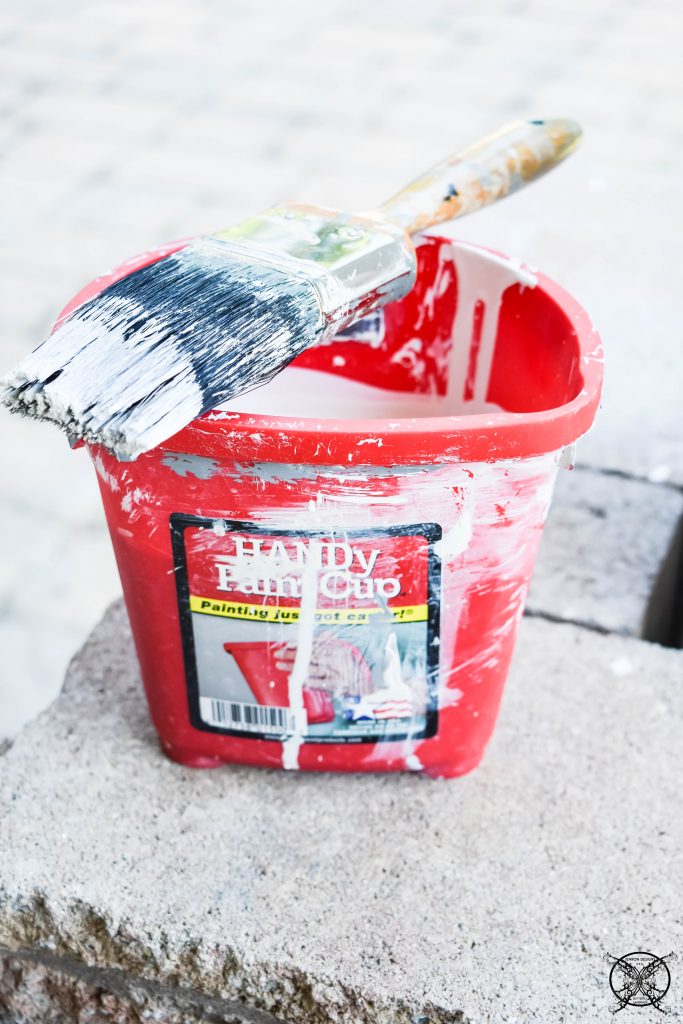 The HANDy Paint Cups are designed for climbing a ladder with ease while you have your paint cup in hand. The magnet brush holders keep you brush in place and from falling too far into your paint as you climb. As you can see ours is well worn and loved, and they clean up great especially if you use the liners.
 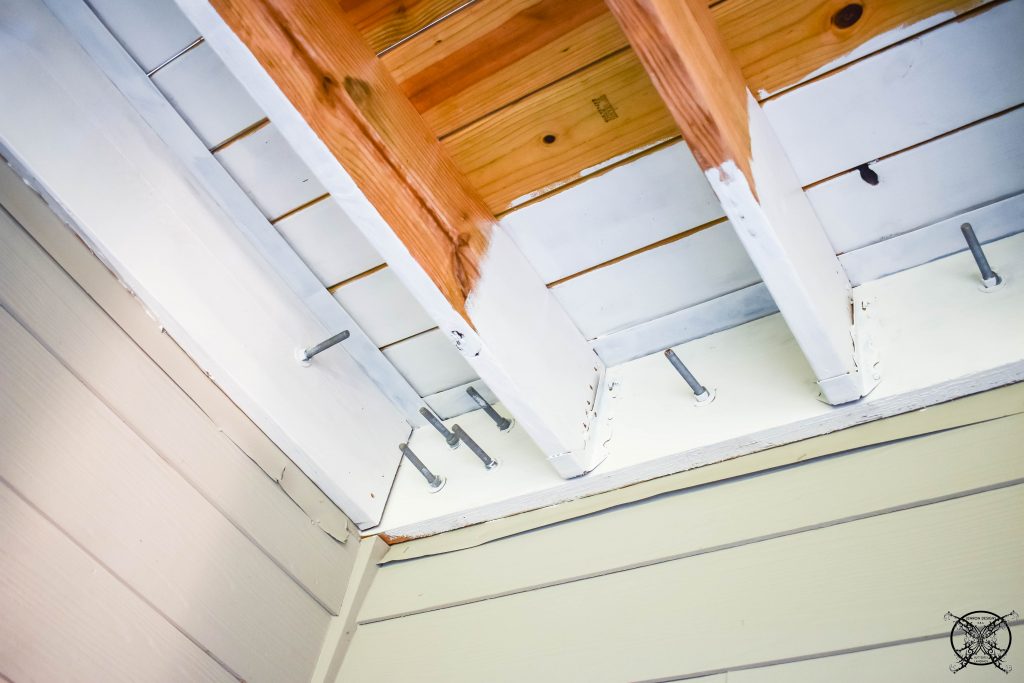 I found the HANDy Roller Cup was useful in rolling along the bottom edges of the beams.While the sprayer would get those I preferred to stick to large spans and let the roller do these narrow edges.
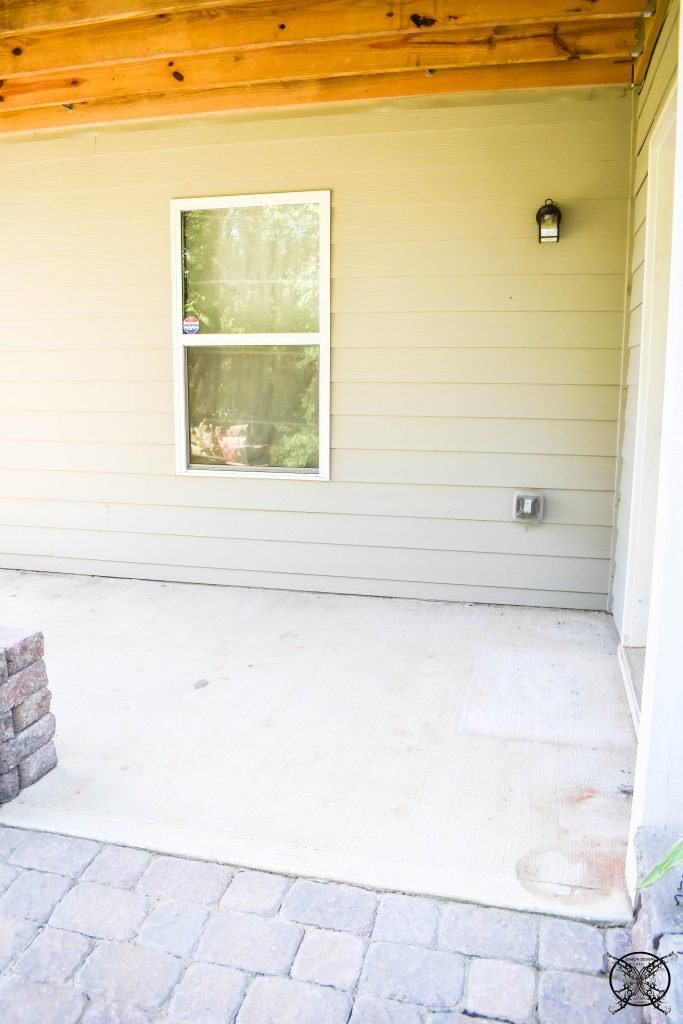
 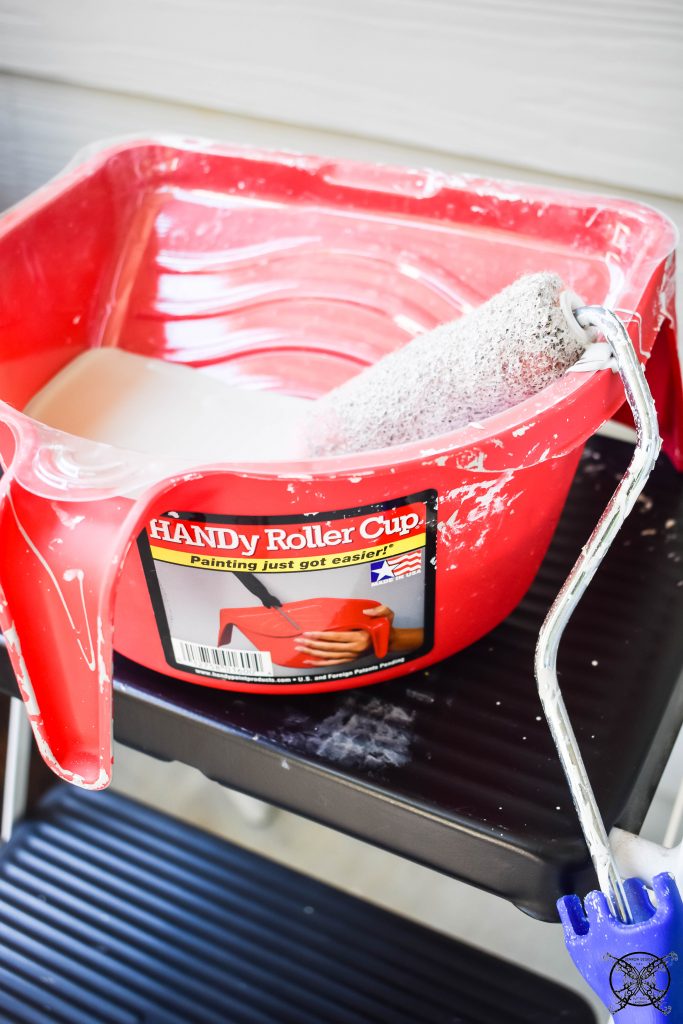 The project was done in no time, and really makes the space feel large, taller and cleaner. I also think we will notice a big difference after dark as well. The light will reflect better and the space will be much brighter.
PIN ME for later and be sure to follow us on Pinterest at Jen @ JENRON DESIGNS
*Please note that this post may contain affiliate links for your convenience. These involve no extra cost to you, but may result in me receiving a small commission – for which I am very grateful! You can view my full advertising disclosure here.
RON’S TOOL BOX :
The Finished Ceiling Project:
The Budget: ( $100 Available)
Week 1: Pressure Washing was already being done on our driveway and rest of home- Included in Home Maintenance Budget (free)
 So we have launched this project in a great direction the patio now feels fresh and clean. Bright new coats of paint and freshly cleaned concrete. All in the budget of free so far, which gives $100 left to spend going forward. Which just proved what a difference a coat of paint can make.
 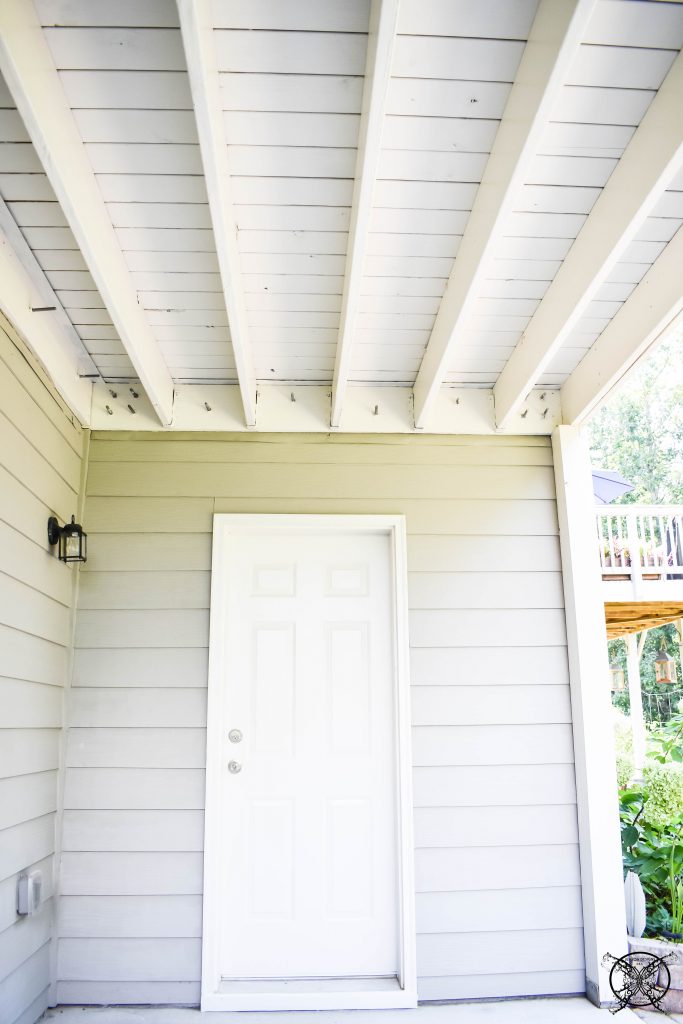 All in all I think we can come out very inexpensive for this room remodel, the $100 budget is no problem at all for this round since I have so many items that I am happy to retire to this porch area.
Be sure to check out all my friends also participating in the $100 Room Challenge this season. I know I am so excited to see all the creative ideas and content that will be created.
PIN ME for later and be sure to follow us on Pinterest at Jen @ JENRON DESIGNS

Thank you for the great ideas. I love how it looks.
I would have been a literal mess with all that paint. It looks light and airy though, so I like it.
I have a patio under the deck off our basement too. Love the idea of painting the ceiling white! I can’t wait to see the finished space!!
Oh I can already tell that’s going to be great! I thought about doing our back patio for this round but since I needed to cover the ceiling and buy some heavy duty paint for the weather damaged beams I knew I would easily blow the $100 budget. Lucky for your budget you already had the paint!
Can’t wait to see how it turns out
Yes we were lucky that we still had almost half of a 5 gallon bucket from our deck and screen porches, but this project pretty much took out that, LOL. It was almost 3 years old so it was time for it to be used up. We will buy fresh next time, since I am only left with about a quart size amount for touch ups.
I can tell by your inspiration photos that this outdoor space is going to be beautiful. You always have amazing room makeovers!!
What an amazing makeover! And a great idea, $100, one room, one month. I’m going to try it!
I want to see more photos! I like that the ceiling is painted in white.
What a great idea and challenge! I think I may need to incorporate this as a challenge to get things done in my home – inexpensively!
This is going to be a fabulous outdoor space! The white paint looks so fresh and clean!
Wow I am so amazed how you were able to do this for $100!!! You did an amazing job!
Jennifer, this is AMAZING! I am inspired every time I come to your blog. So much fun stuff!
What a difference some white paint makes! It looks beautiful, and I think you’re right about the string lights… they will reflect beautifully off the white. What an awesome start to this space. Excited to follow along!