Building a Custom Double Cornice
Welcome to Week 5 of the One Room Challenge: Building a Double Custom Cornice.
Week 5 of the One Room Challenge: Building a Custom Double Cornice. This week we are building and installing the accent cornice to replace those heavy drapes and roman shades that blocked my beautiful woodland view.

RECAP: Just to recap this challenge happens twice a year, April/ October, the designers only have six weeks, from start to finish in order to complete a full room transformation. Each week the guest designer’s will link their progress to the host page, Calling It Home, and share their room’s progress. The best part is you will be able to follow along step by step with all the participants progress including JENRON DESIGNS and just by clicking the ORC Spring 2018 post.
WEEKS AT A GLANCE:
WEEK 1 WEEK 2 WEEK 3 WEEK 4 WEEK 5 REVEAL
Building a Custom Double Cornice
If you can’t find what you want, then you build it instead!
This seems to be the motto of my life. I can not begin to tell you how many times my poor husband has a picture of something I want shoved under his nose. Then the conversation goes a little bit like this: I love this _______, BUT I want it to have ______ instead of _______, and I needs it to be _______ instead of _______. Honestly you can pretty much fill anything into the blanks, because at this point he has seen and heard it all……LOL. Thank God I married an engineer, and let me tell you that degree is really paying off. He can pretty much figure out how to make whatever it is I want, to my specifications, and it usually, 99% of the time, always works. {knock on wood}
Before: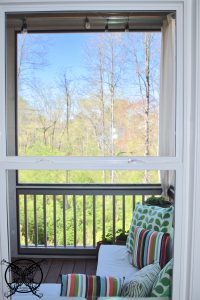
So today we are building a cornice to go over the window to look as if it was built into the home as a original piece. I have tried a bunch of different things over the years on this window, nothing that I really liked. You see the thing is I love my view, and since it is an office I do not want to obstruct my view in any way. As the trees have started to green up this spring you can see my backyard is now completely private. 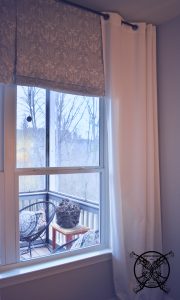 As I mentioned I have tried drapes, with a rod, and while they did frame out the window they just did not float my boat. I even tried adding a Roman shade to cover the large area of sheetrock above this window and it just made the wall feel too heavy and over done.
 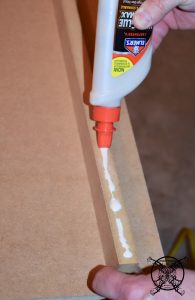 So, I ended up deciding that I just wanted to use trim to match the rest of my home to create a cornice board over the window. We purchased a very large piece of MDF board to create the backer of the cornice.
 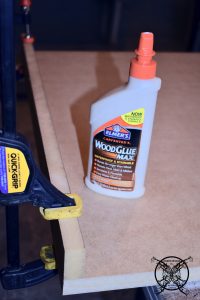 I only wanted wanted the cornice to be 2 1/2″ deep to create that built in look. These side reveal pieces were cut and first glued to the main board and allowed to dry over night while in clamps.
  Then we tacked them in with mending brads from our nail gun, for additional support. These brads were long enough to go all the way into the wrap around piece from the front side.
 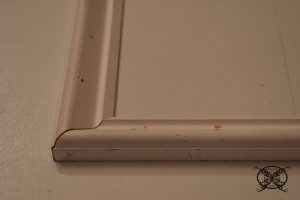 Next we added picture frame molding, which was already used on various columns and trims around our home. We have a great DIY tutorial on How to Upgrade Your Kitchen Island, that gives more details on how to create and install picture frame trim.
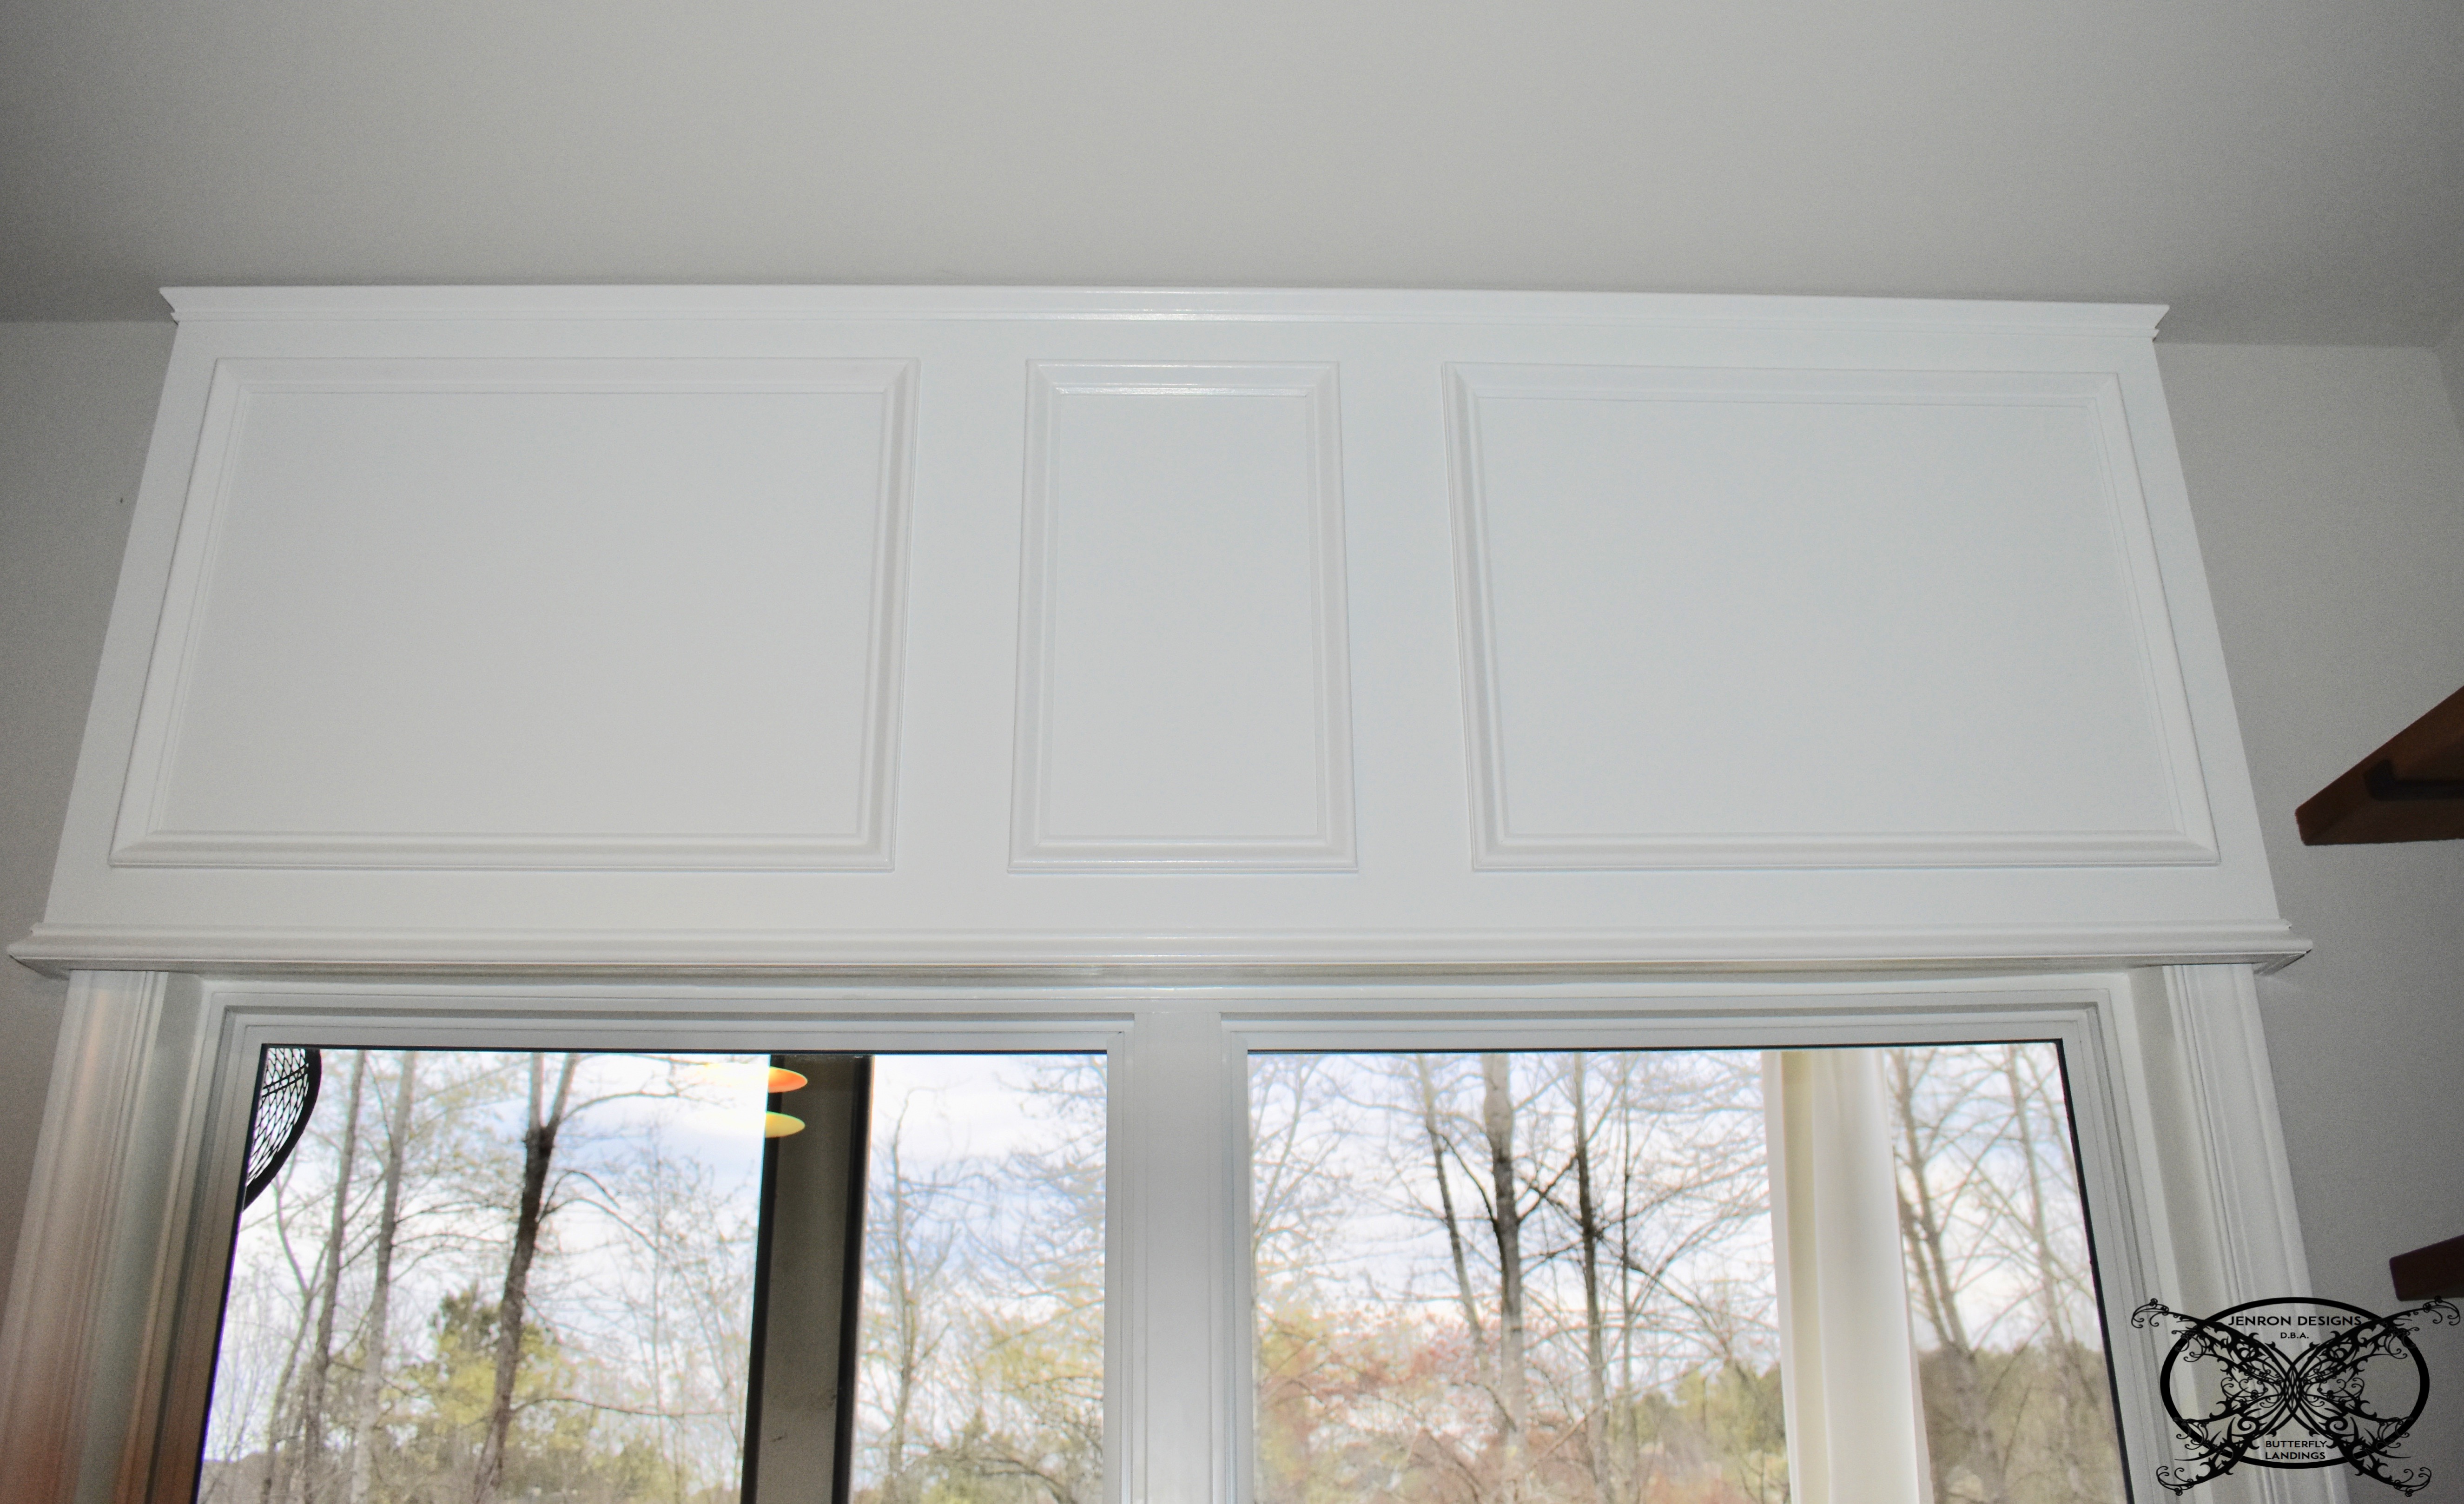
 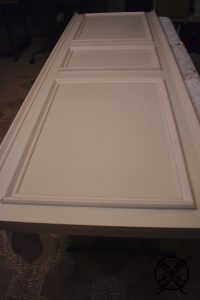 I decided that since my office window is a double window that it would pretty to create two large picture frame boxes and a smaller narrow one to line up in the center over the window casing. This layout just felt right for my window, please know that we considered 3 evenly spaced boxes too, but I decided to be all fancy, lol.
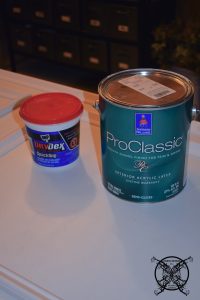 Once the picture frame molding was attached to the MDF with a nail gun. I filled the counter sunk nail heads with dry wall spackle. I love the pink kind that turns white when it is dry. This way I know for sure that the mud is dry prior to painting, and the humid south things take forever to dry properly. Plus there is just something super girly about pink drywall mud, and I just like it. {insert my husbands eye roll here}
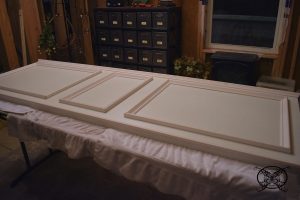 It took 2 good coats of paint to make sure we had a really good coverage. I used Pure White by Sherwin Williams to match the rest of my trim throughout our home. Once it is dry we can go ahead and hang this beauty up.
 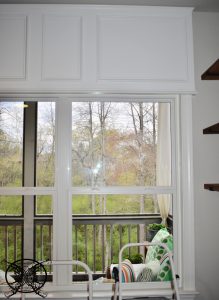 Since it took the both of us, together, to hang this beast up; there are no any installation pictures, sorry lol. See, I told you we did all our own work, no staff here. So, I will walk you through the basic idea of the installation. We added 3 support boards installed directly to studs in the wall. One ran across the the top and two shorter ones for each side.
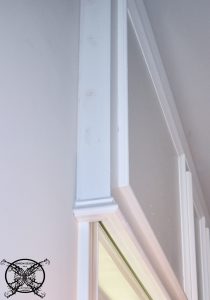
 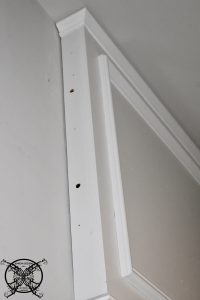 Then once the cornice was lifted and snuggled into place, I held the one side as my husband attached drywall screws through the cornice into the support boards. They are counter sunk so I can use my famous pink putty and fill the holes never to be seen again. Of course we will paint and caulk any gaps at the ceiling and between the cornice and the wall.
 As you can see by the checklist below, we are almost there! All I really have left to do is staging the room with all the accessories I have been buying over the last 6 weeks. I need to hang the art work and tie up a few other odds and ends but we are almost there.
The Check List:
Week 1- Introduction & Inspiration Board
Week 2- Place all orders for Custom furniture and online pieces
Week 3- DIY open wall shelves, stain & install
Week 4- DIY build custom cornice board, paint to match trim & install (MOVED TO WEEK 5)
Week 5- Assemble and place all furniture, art and accessories.
Week 6- Stage the room for The Big Reveal
*Please note that this post may contain affiliate links for your convenience. These involve no extra cost to you, but may result in me receiving a small commission – for which I am very grateful! You can view my full advertising disclosure here.
RON’S TOOL BOX:
Pin this project for later: 
That cornice board looks great! Makes a big difference here. Nice job
Your cornice board came out so nice, Jen! Those picture frame mouldings really make such a huge difference. Looks like you’re pretty much at the finish line. Looking forward to seeing the reveal next week!
Beautiful job with the cornice! It looks fabulous! Almost to the finish line. ~~ Susie from The Chelsea Project
That cornice board is wonderful!! You guys rock….see you next week at the reveal!!
Wow, your cornice is amazing. I love that you DIY when you can’t find what you want. And your fill in the blank is just perfect, I think we’ve all bored/frustrated our husbands with the blanks LOL I totally get the no process pictures, I was doing something by myself without a free hand to hit the button 🙂
Such a cool idea! Thanks for the tutorial
Hello. Great job on your cornice it really makes you window look tall and majestic.
Wow, Jen! It looks amazing! It makes the window look taller in a way! Very nice job!
I would never be brave enough to tackle this myself, but it looks great!
Wow! This looks seriously amazing. I might have to ask my husband to help me with this 😉
wow that looks amazing, great job!
You did an awesome job! I love home DIY yourself projects because you can truly make them exactly as you envision. Keep it up!
This looks like something I would try my hand at. It came out so beautiful.
Nailil
This is really neat!
thank you for this post, I am a big big fan of this website would like to keep updated.
Wow… this is looking awesome. This is really a great job done by you. Such a wonderful idea. Thanks for sharing this post.
This looks beautiful and seems like it was pretty simple to do. I’m not much of a DIYer myself, but i’m trying to get more into it.
This looks great Jen! You are giving me ideas, for my poor husband to make! Lol
Cant help but admire your creativity. The room is looking amazing. Great job!
Wow you are so lucky to have such a talented husband – what a team you are!
Great post! I love to DIY, and this was such an informative post!
You did a great job! Now you have me trying to figure out where I can try this at my house. Definitely saving for later.
Thank you for the post and easy to follow diy, it really made your windows look expensive. I am very impressed so I had to leave a comment! 🙂
Wow I loved what you did with the cornice,It totally transforms the whole look of your window I’ve been wanting to do something like this, you’ve inspired me!
Jen that is so smart!!! (And stylish!) And versatile as it isn’t fabric dependant!!!
The cornice turned out great. What a big project to attempt, but you did it. Can’t wait to see the finished room.
The cornice looks great! I love how much detail it adds to your window!
wow! you are so crafty! it looks fantastic!
This window cornice looks great and is exactly what that double window needed. No reason to cover up the magnificent view with shades or drapes if you got it you should flaunt it!
It’s nearly impossible to find people that build custom cornice board nowadays your should market yourselves to the public because yours is beautiful.
Your office really is looking great, I am starting to look into the One room Challenge myself so I am doing some research about it. Thanks