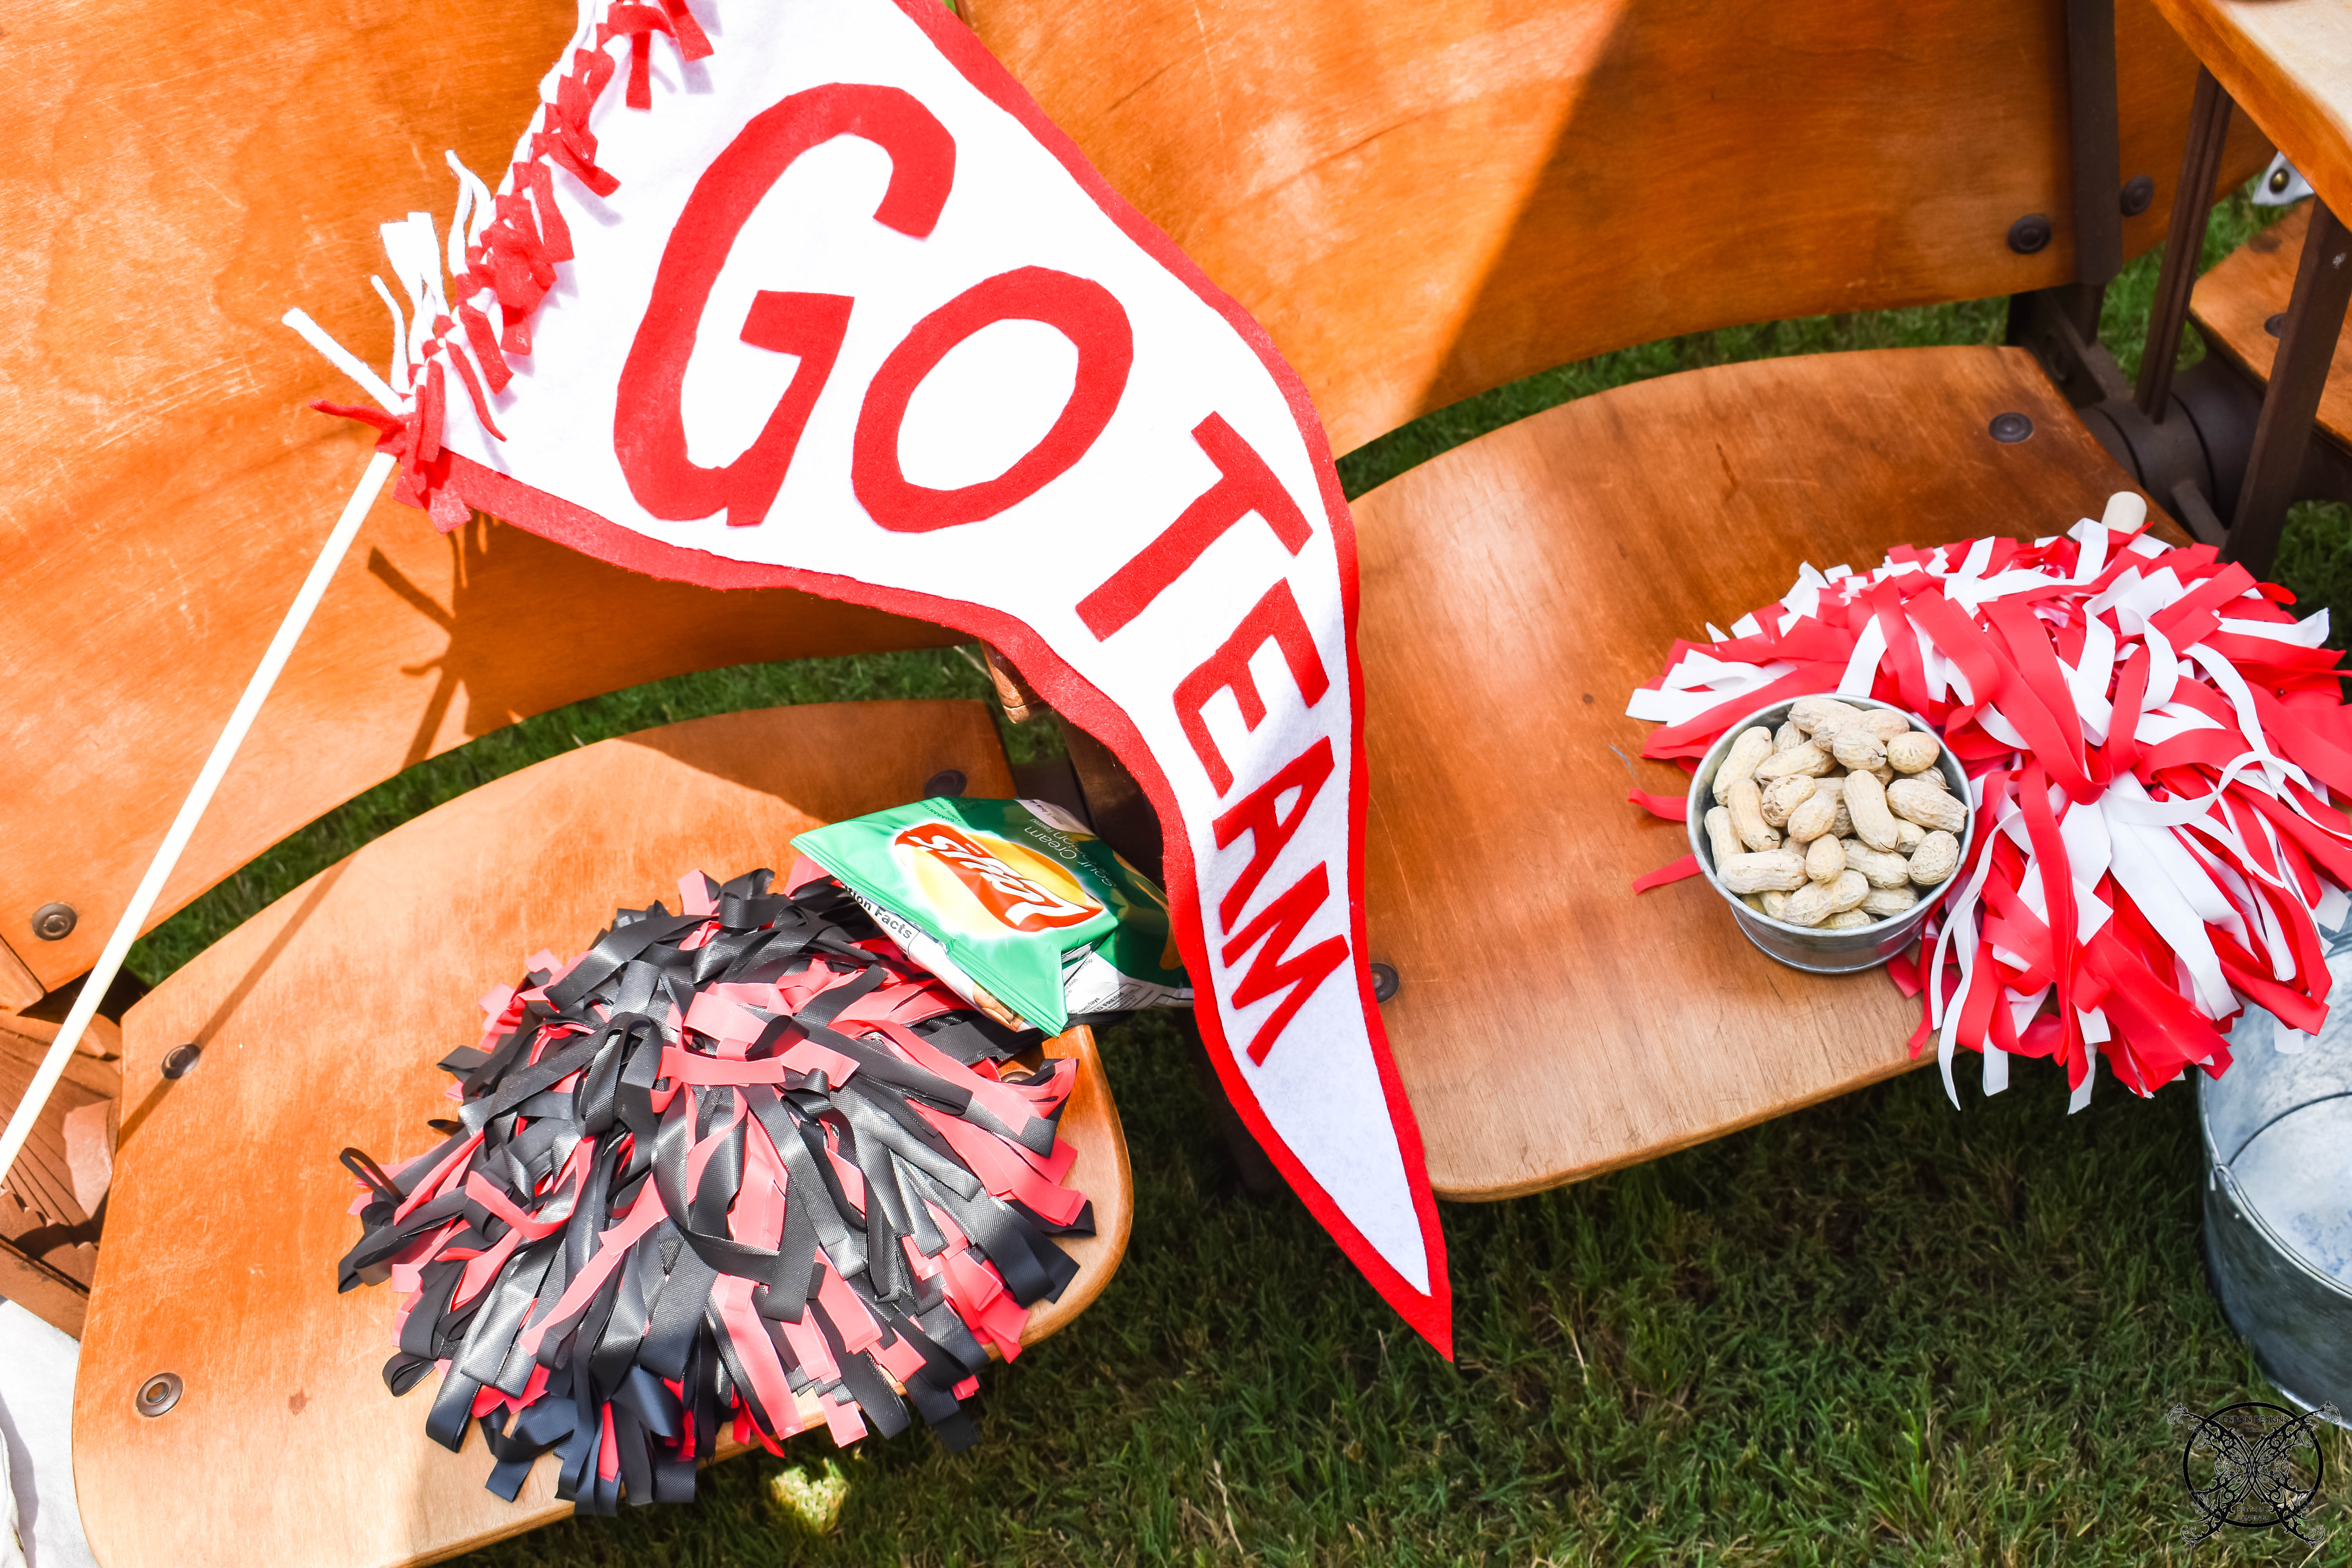
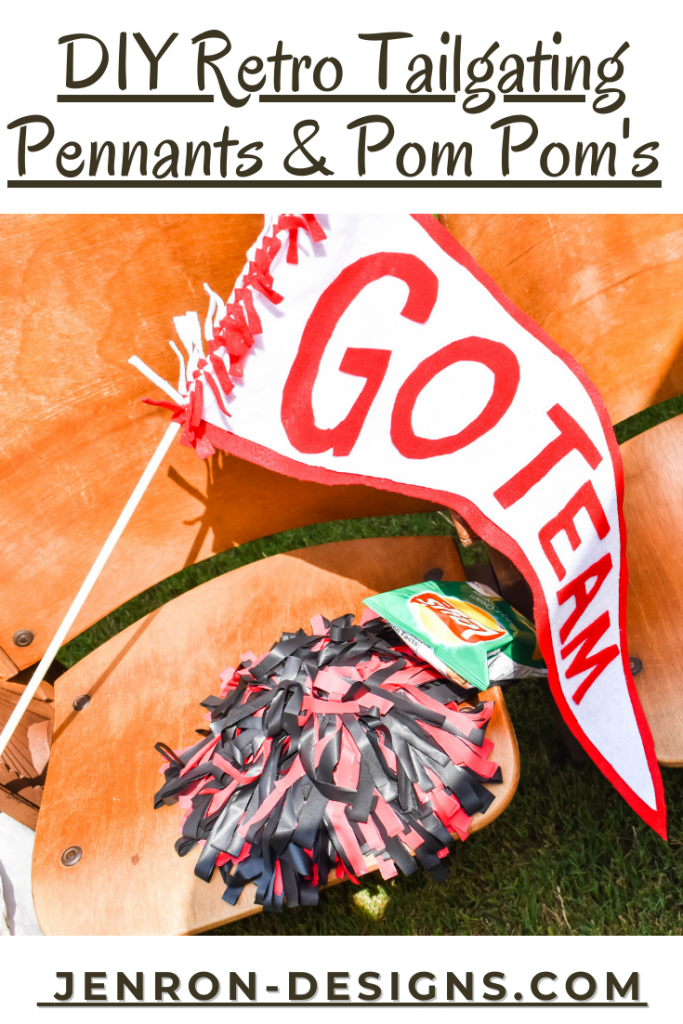
DIY Tailgating Pennants & Pom Pom’s
Today I am sharing how to create a fun retro version style of Tailgating Pennants & Pom Pom’s for your next game day.
Retro style college pennants have really become a hot item in the sports memorabilia arena. Which have sent the prices skyrocketing with collectors. So I thought it might be a fun idea to try and create our own versions of these fun pennants for tailgating on game day. In addition to these pennants, I also though it might be cool to create a fun mini pom pom to go along with them. So let’s dive right in so I can show you how to DIY Tailgating Pennants & Pom Pom’s.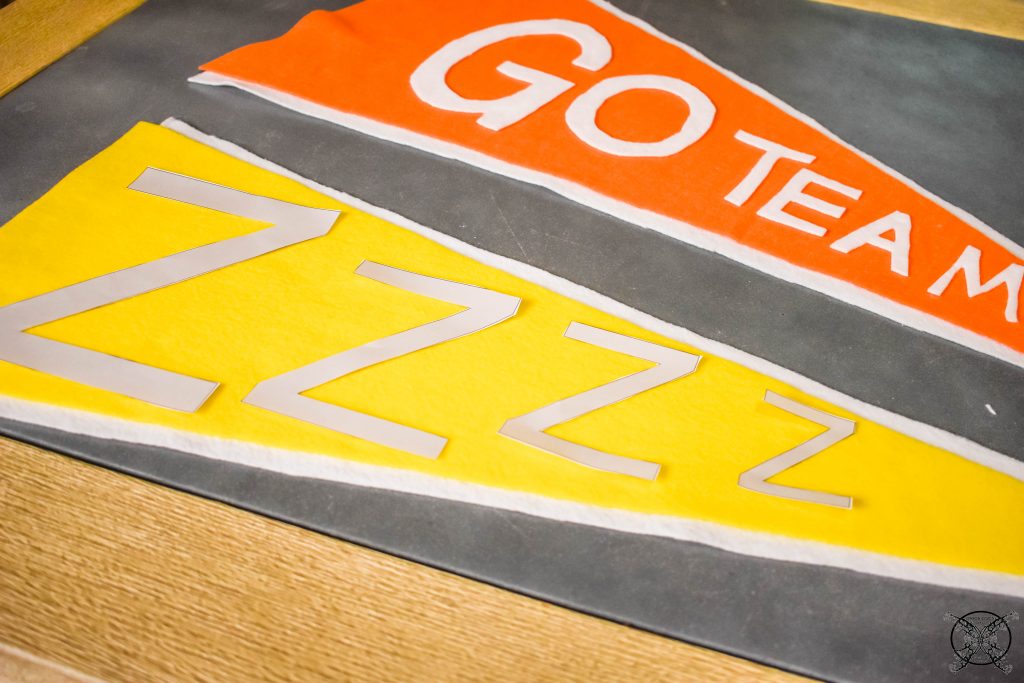
Pennant Supplies:
The first thing you need to start creating your DIY Tailgating Pennants is a list of supplies. Now depending on how many you chose to make and your team colors, your supplies may vary slightly, but these are the basics:
- Felt in Team colors (1/4 yard will do two Approximately Pennants with letters)
- 1/8″ dow stick per Pennant
- Tacky Glue Original (for felt)
- Scissors
- Printable Pattern
- Pom Pom Balls (optional)
The Retro Pennant DIY
The first step is to print out your pattern for the Pennant. I have several pre made printables available at the bottom of this post or you can create your own. If you decide to create your own I recommend going with the standard pennant size of 12 x 30. 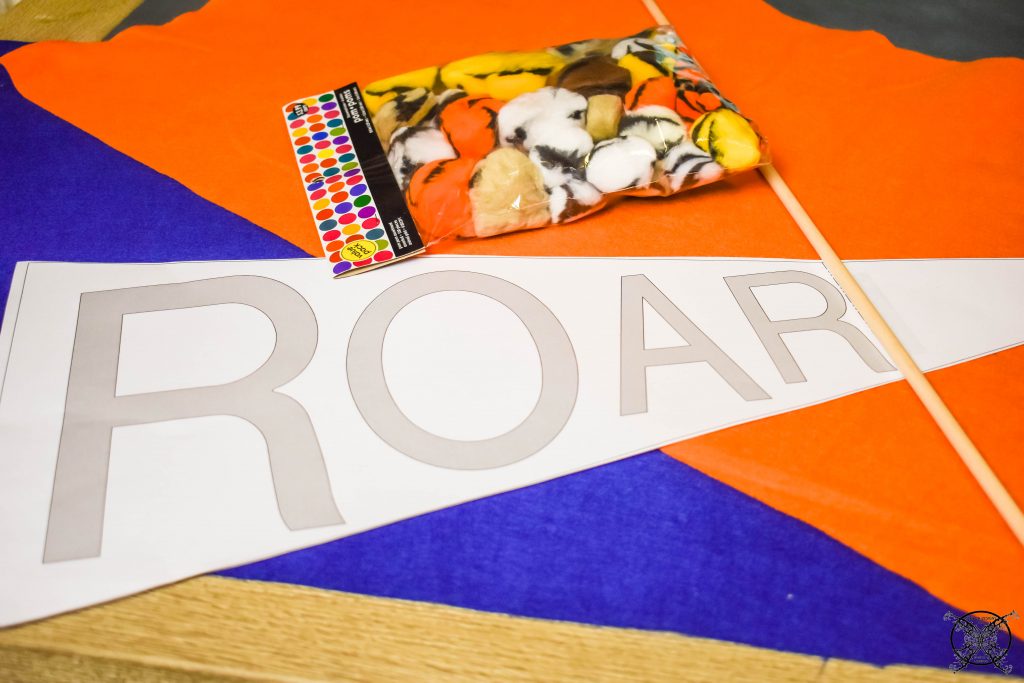 Then the next step is to cut out your pattern so you can trace it on to your felt. I actually chose to free hand cut it, so I would not have chalk lines or pencil lines on the edge of my pennant and to save a little time. However, if you want them to be absolutely perfect, I recommend tracing the shapes. I just tend to be a little bit more of a free hand artist so I really just use them as guides.
 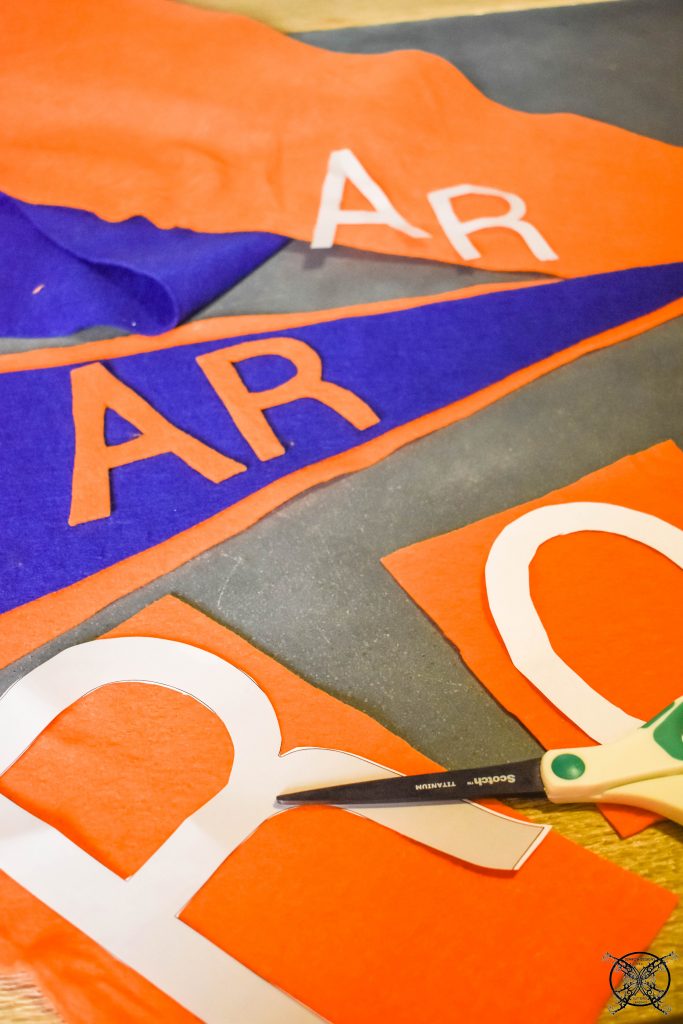 Once you have all your letters cut out lay them out on your pennant to center them up. This was when I decided that I liked the look of a double backed pennant. Which I created by free hand cutting an additional pennant under the first with a boarder of 3/4″ extra to reveal from behind the original pennant triangle.
 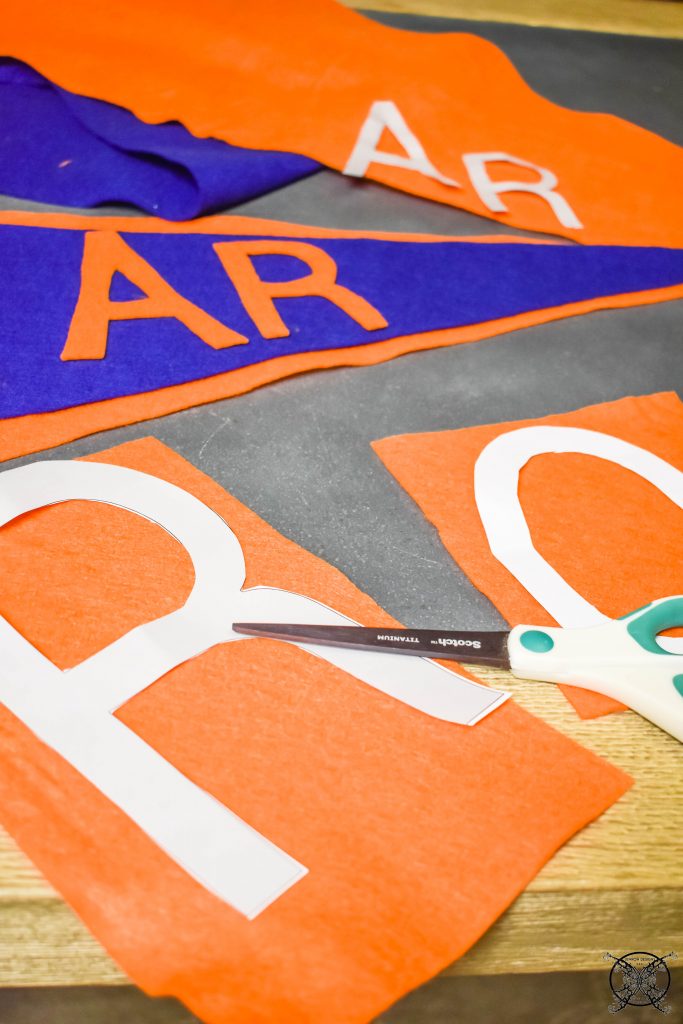 I glued all the layers in place with Aleene’s original Tacky glue. which I remembered this being the best product for use with felt, from when my mother who made felt Christmas ornaments when I was a child. You will want to let this part sit over night to get nice and firm prior to attaching to the stick.
 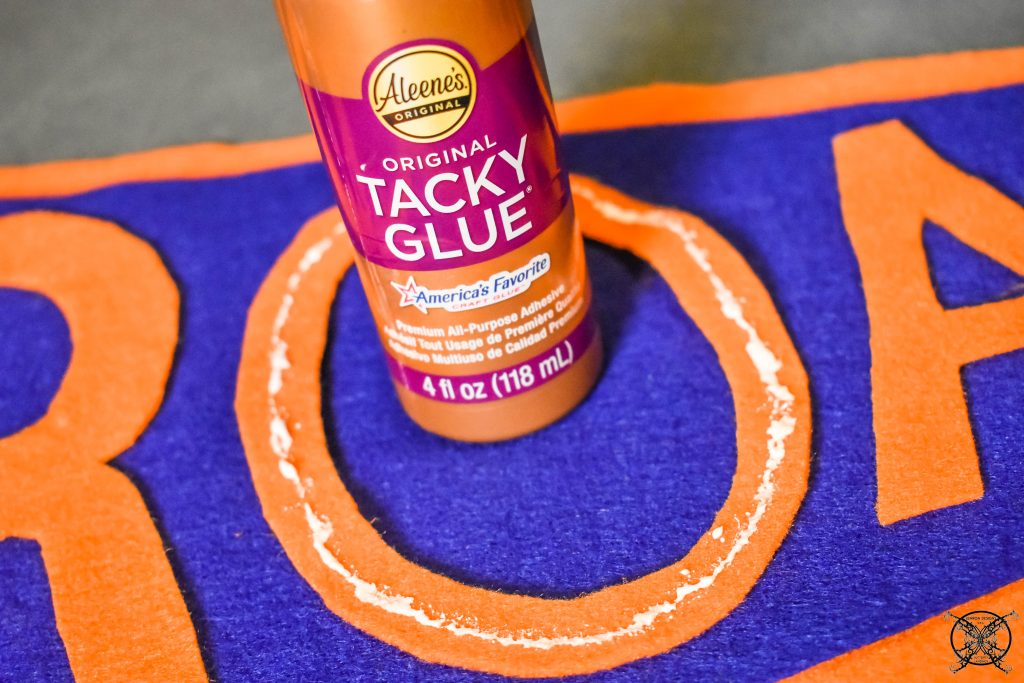 I also decided for this pennant I wanted to add a fun little Tiger Paw, which was best to adhere with a hot glue gun. This type of dense fur on the pom pom needs a bit of adhesion to hold on to felt.
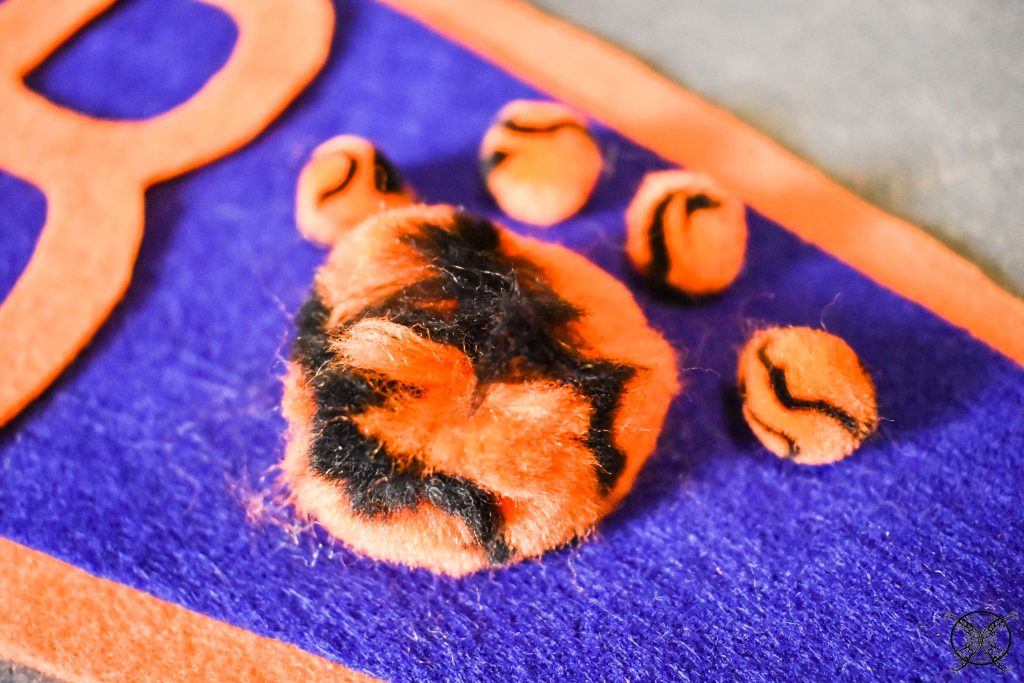 After allowing to dry over night it was time to add the 1/8″ dow rod to the pennant. I decided it would be fun to tie it on with a fringe style knot. Similar to the double sided felt blankets often seen as bleacher blankets in the stands.
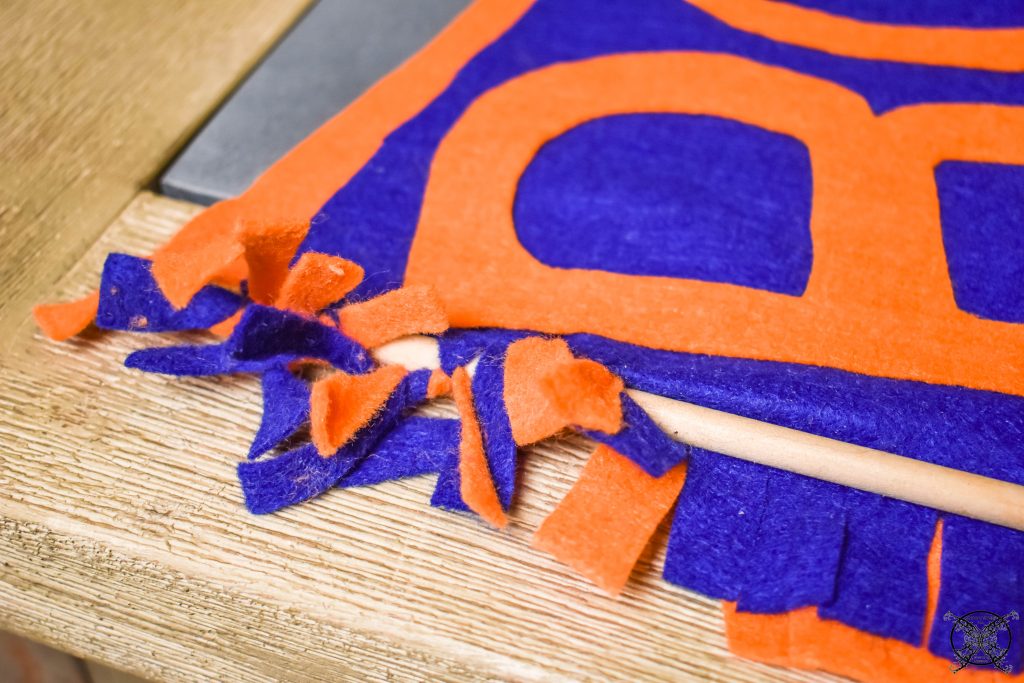
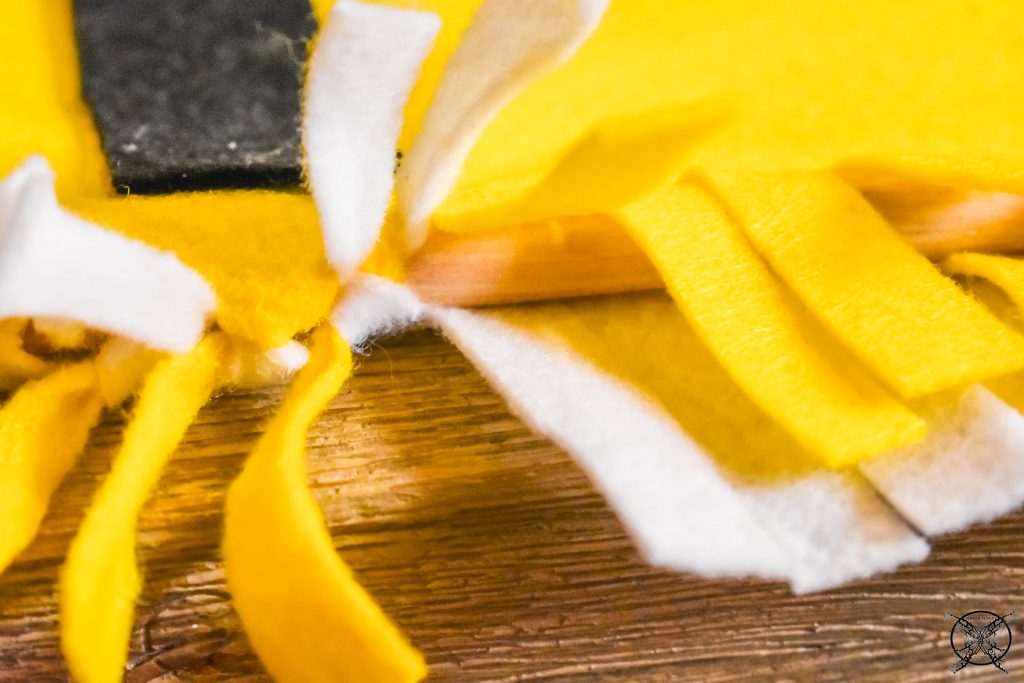
 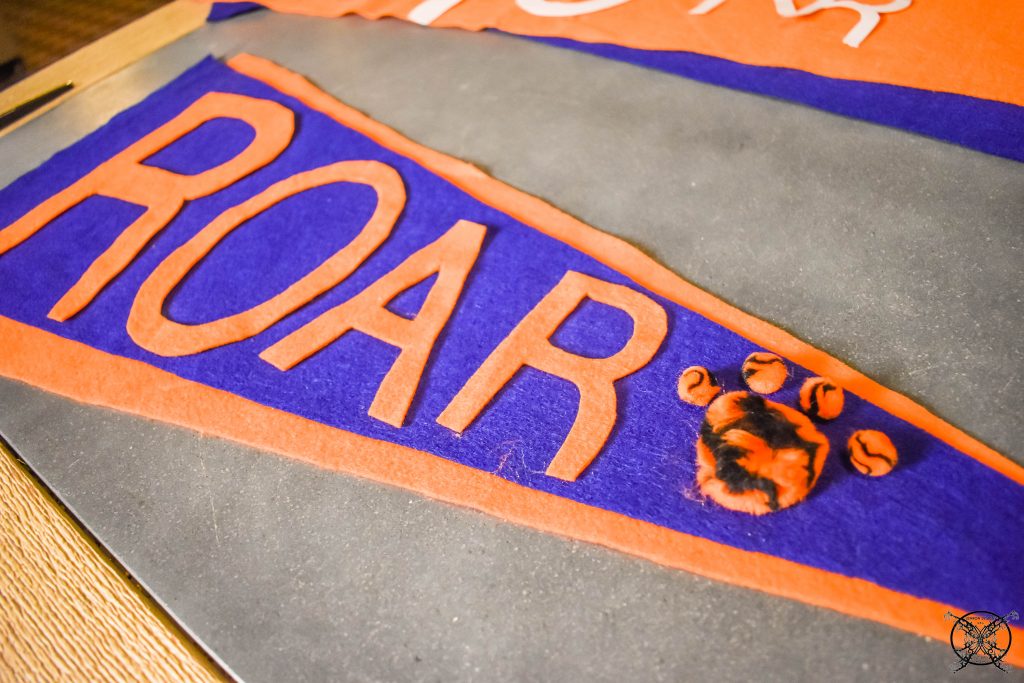 To achieve this look you want to cut slits into the pennant in both layers approximately 3/4″ -1″ long. Then insert the dow between the layers and tie the alternating ties into a knot.
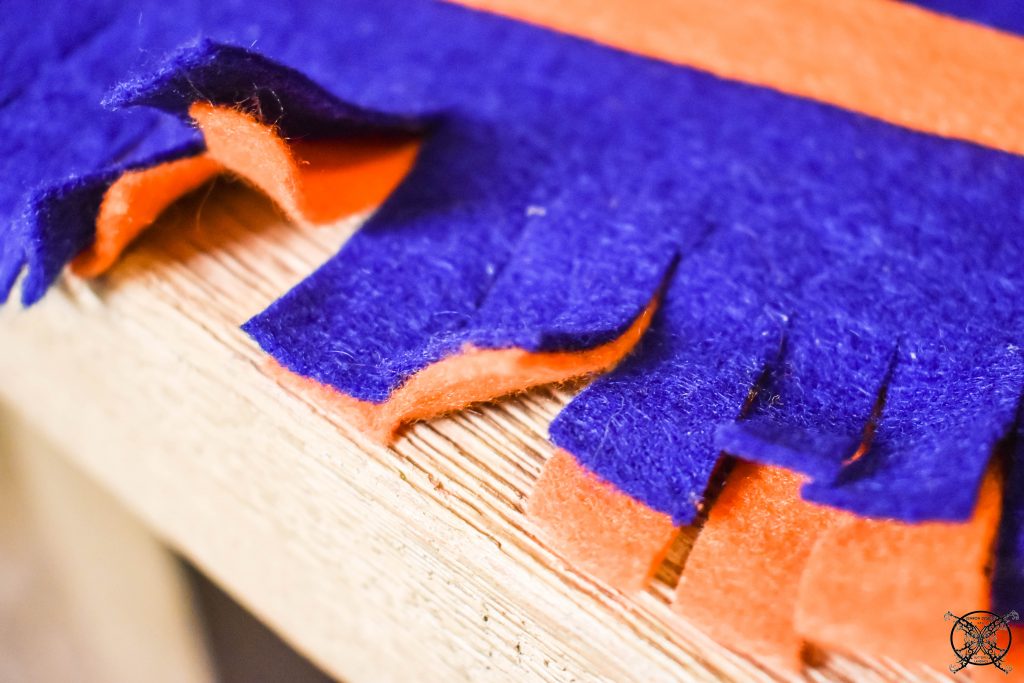 By doing this it will alternate the colors so the orange is forward and the blue is in the back, and creates a nice look that will match the pom pom’s.
 I created several pennants for many other teams, to give you all inspiration. You can make these to cheer for your favorite college team, high school team or even a little league team, the possibilities are endless.
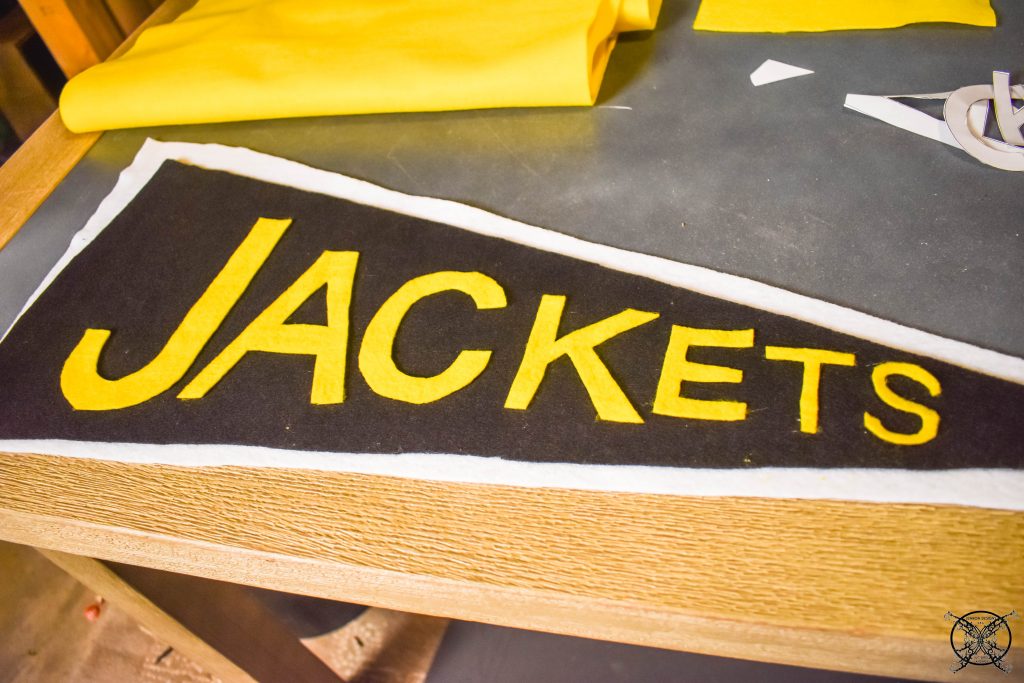 The only thing you need to remember is that if you plan on selling them, maybe as a school fund raiser for a prep rally. You must check to make sure that you are not breaking any copyright laws on team logos. If it is only for private use, then you can do want ever you like, but it is when you advertise, or sell them with a logo that has a copyright on it, that you could have an issue. Which is why I have specifically designed my pennants the way they are designed after reviewing all the specific schools in my area.
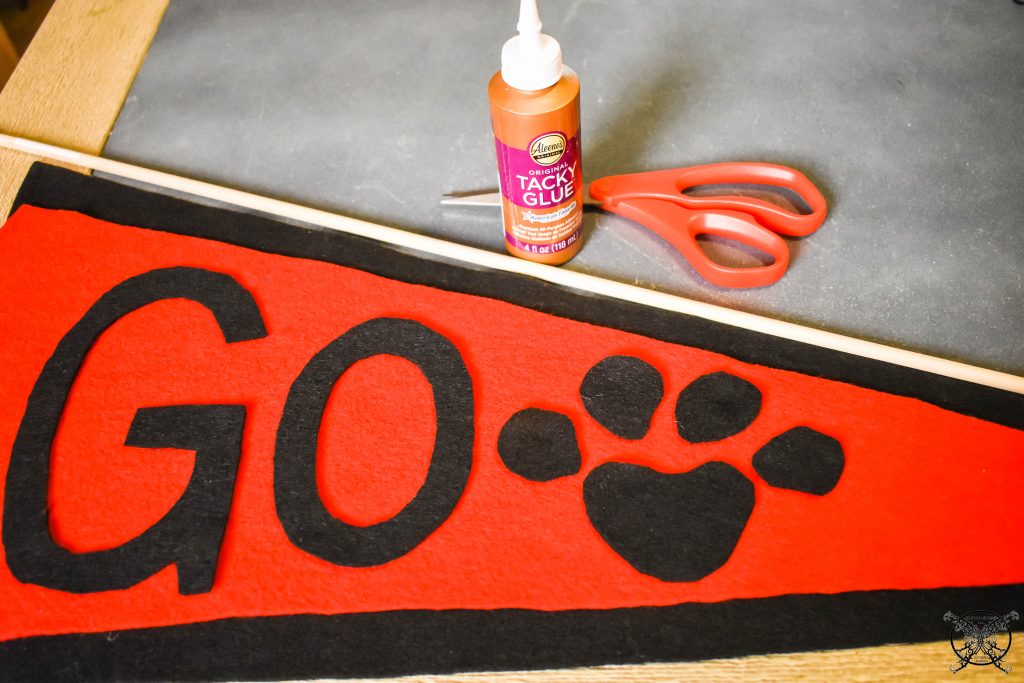
FREE PENNANT PRINTABLES: ( you will need both A&B to complete the pennants)
Blank Pennant-Type 3A Blank Pennant-Type 3B
GO TEAM_Pennant-Type 3A GO TEAM_Pennant-Type 3B
GO (Paw)_Pennant-Type 3A GO (Paw)_Pennant-Type 3B
JACKETS_Pennant-Type 3A JACKETS Pennant- Type 3B
ZZZZ Pennant-Type 3A ZZZZ Pennant-Type 3B
ROAR Pennant-Type 3A ROAR Pennant-Type 3B
POM POM DIY
So here is a funny little story about how I figured out how to make pom pom’s at a very early age…. I may have taken mine apart as a child, LOL. You see I was constantly seeing how things were made as kid. I would take things apart and put them back together again, for the fear of my mother finding out that I had taken it apart. Let me just say reassembling my cheerleading pom pom’s at the age of 10, was not the easiest thing I have every done. It ranks up there with ripping off all the stickers on my Rubix Cube, because I wanted all the colors back to the proper sides, or rewiring the house phone lines when I got grounded from phone calls so it only rang in my room…. yes I was a resourceful kid.
Supply List
- 54″ x 108″ Plastic Table Clothes in team color (2 colors per pom pom) 2 sets per cloth
- 1/2″ dow rod
- 1/8″- 1/4″ eye hooks
- Twine
- Glue
- Scissors
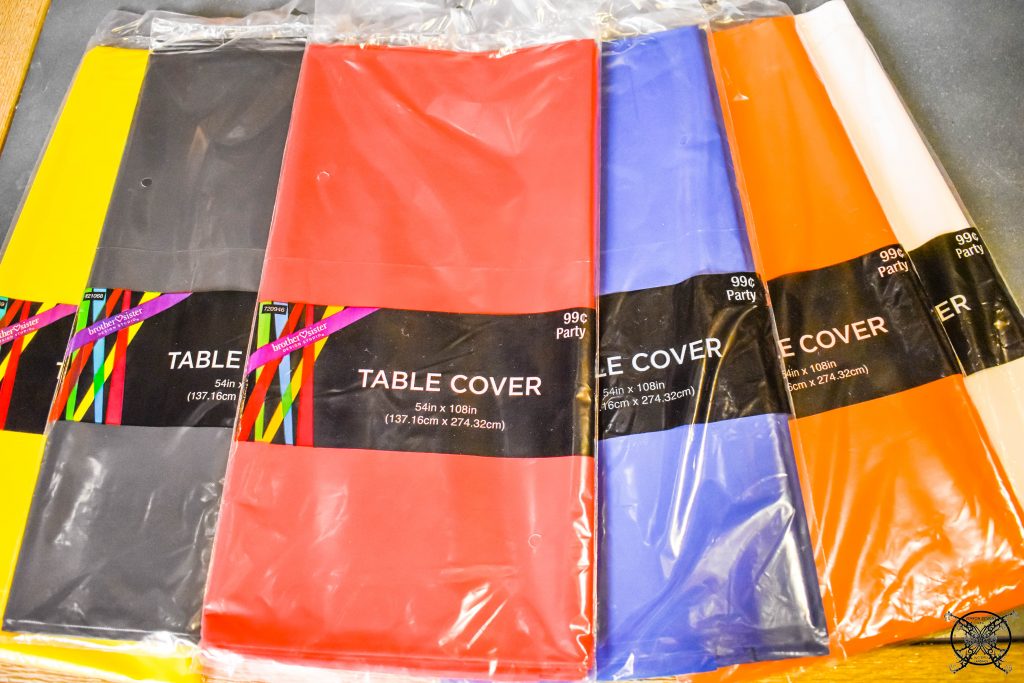
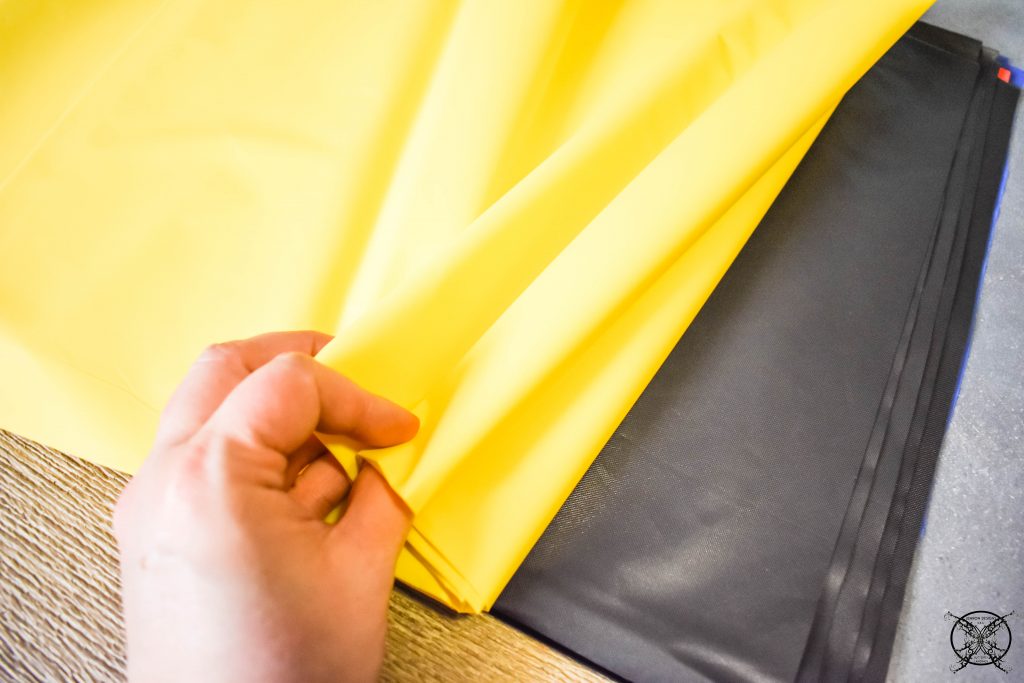
This is such an easy project and so very cost effective. You just need to use plastic table clothes. for the pom pom’s which run about $1.00 a piece. You can get I solid color pom out of one cloth or two bi color pom pom’s out two cloths. 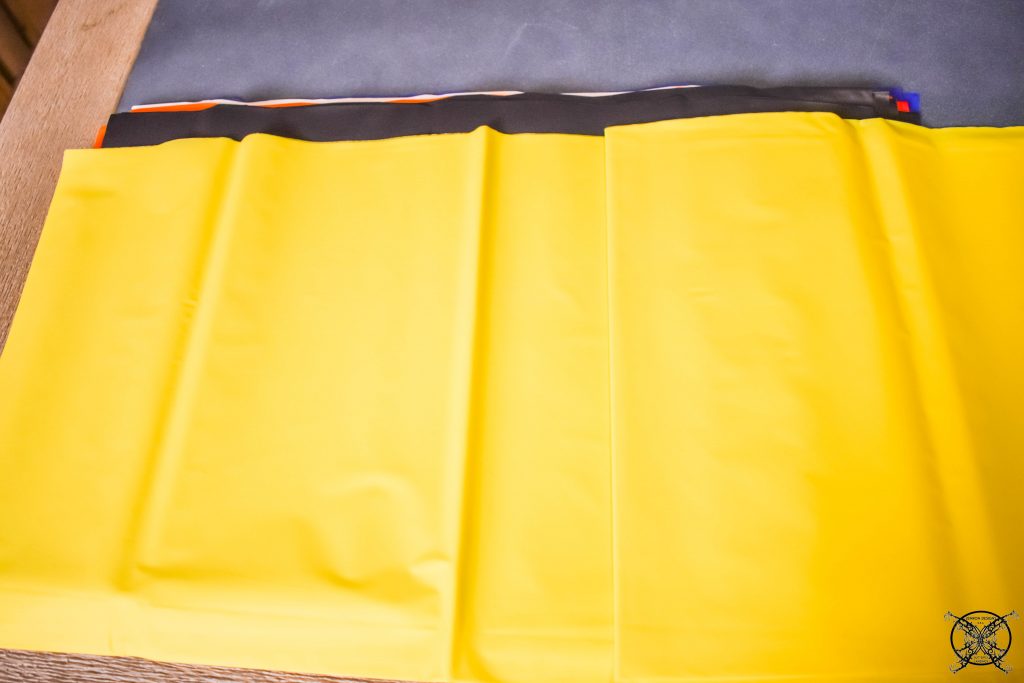 The trick is when you remove the tablecloth do not unfold it all the way. Allow the folds to work for you. You want to cut sections across the width of the cloth in 12-14″ increments to create your pom pom’s.
 For ease, I went ahead and pre-cut all of the sections at one time. Once I had made a single prototype and knew that the magic measurement was 12- 14″.
 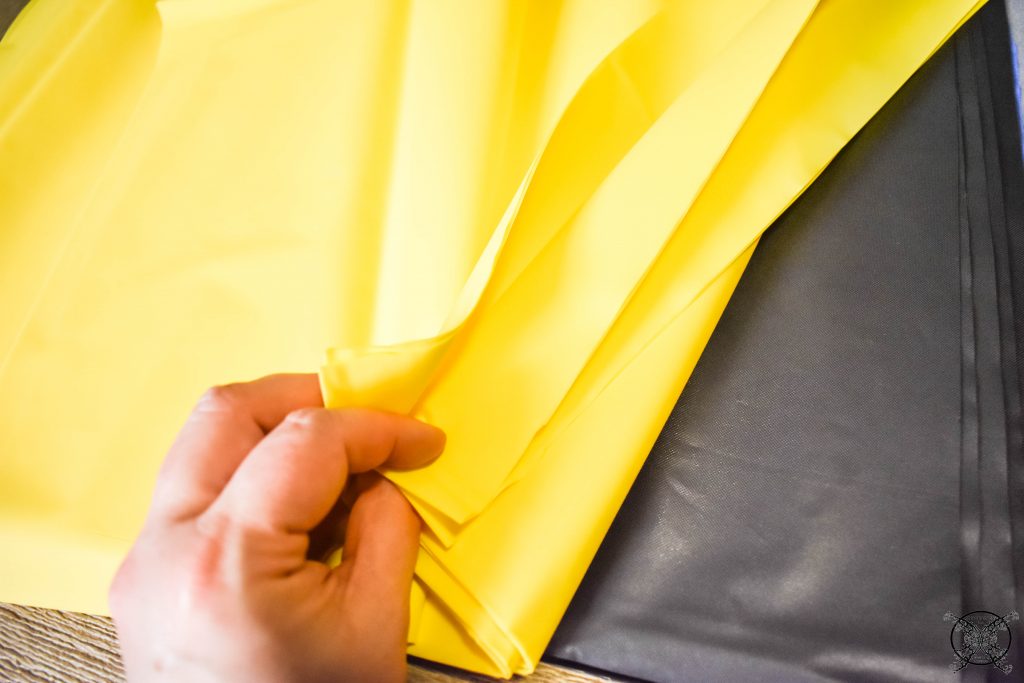 Once I had all my colors cut I could mix and match the pom pom’s for each team accordingly, which made the process flow go very quickly.
 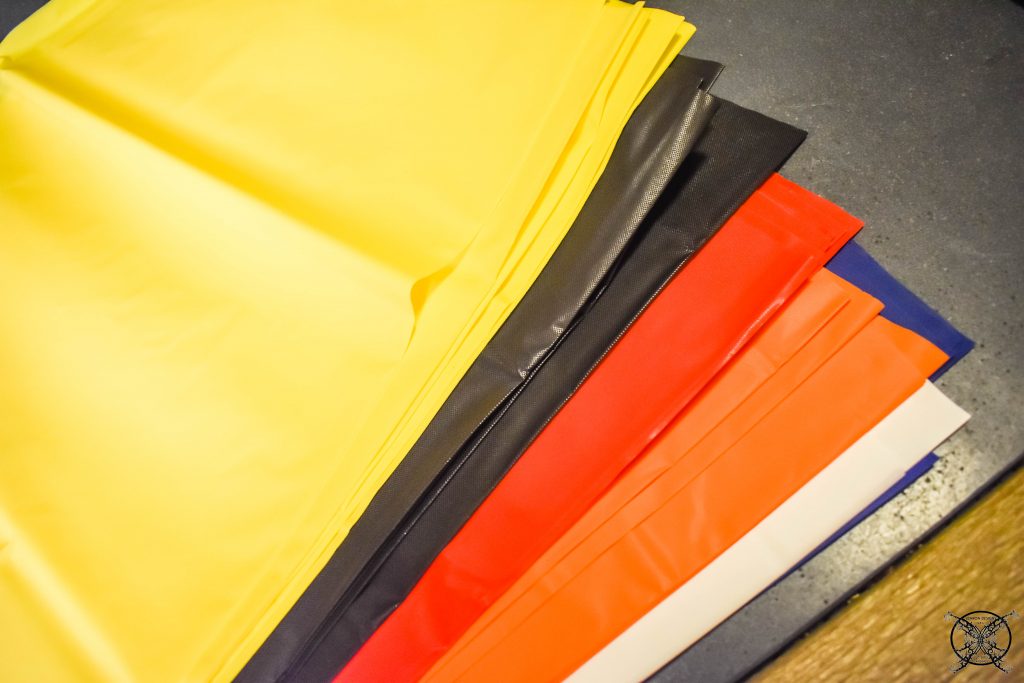 The next step is to take one section and fold it in half as seen below.
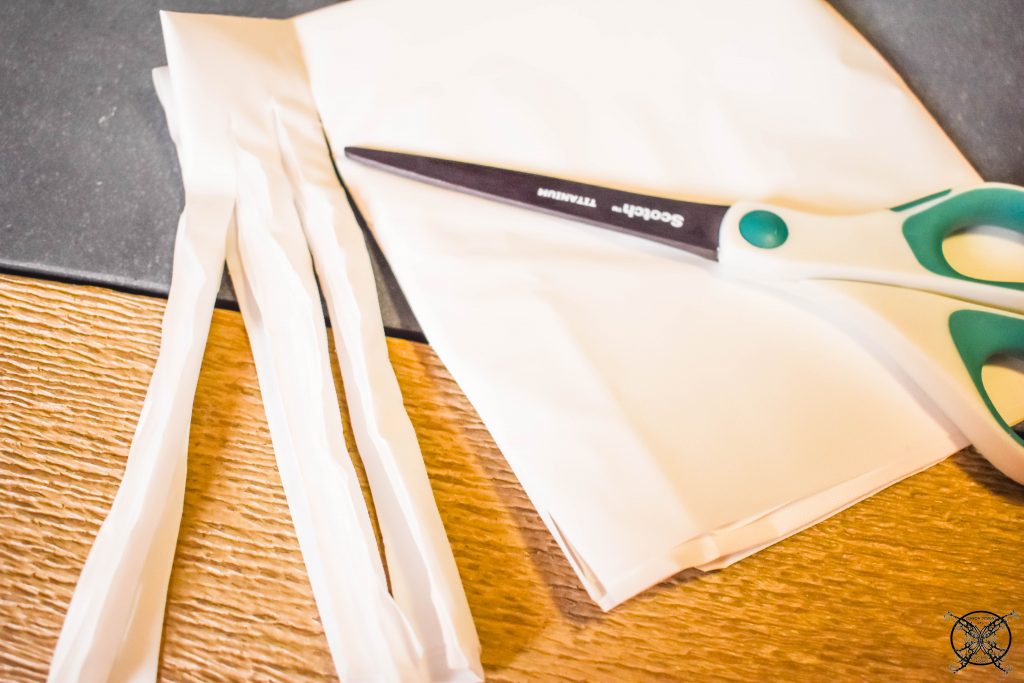
 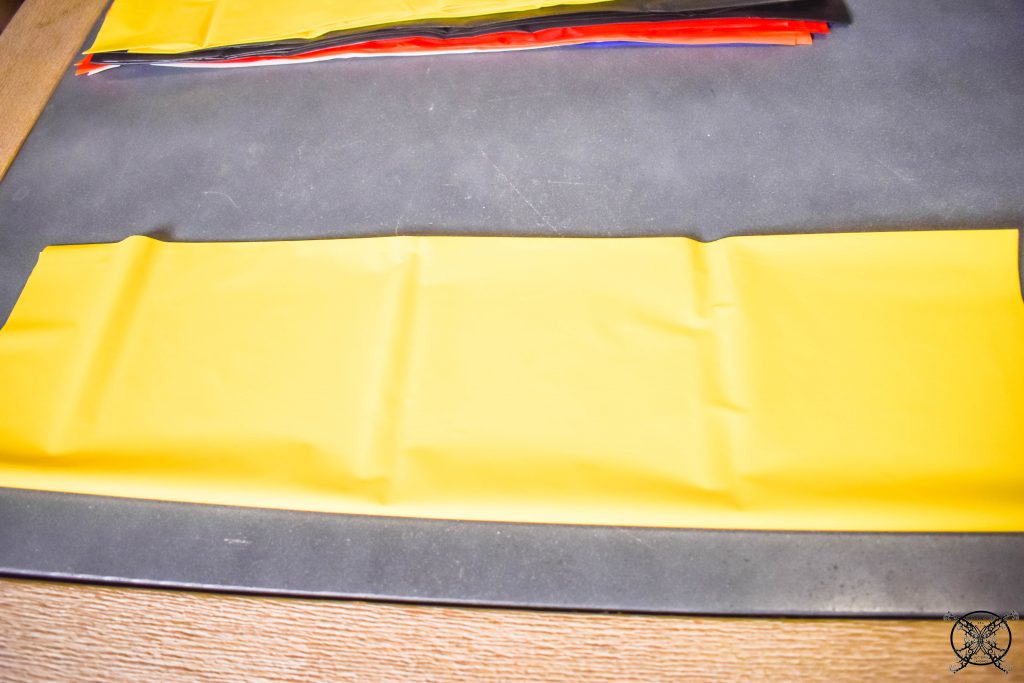 Then fold it into to thirds, making sure to keep the original folded edge toward you. This is the edge YOU DO NOT WANT TO CUT!
 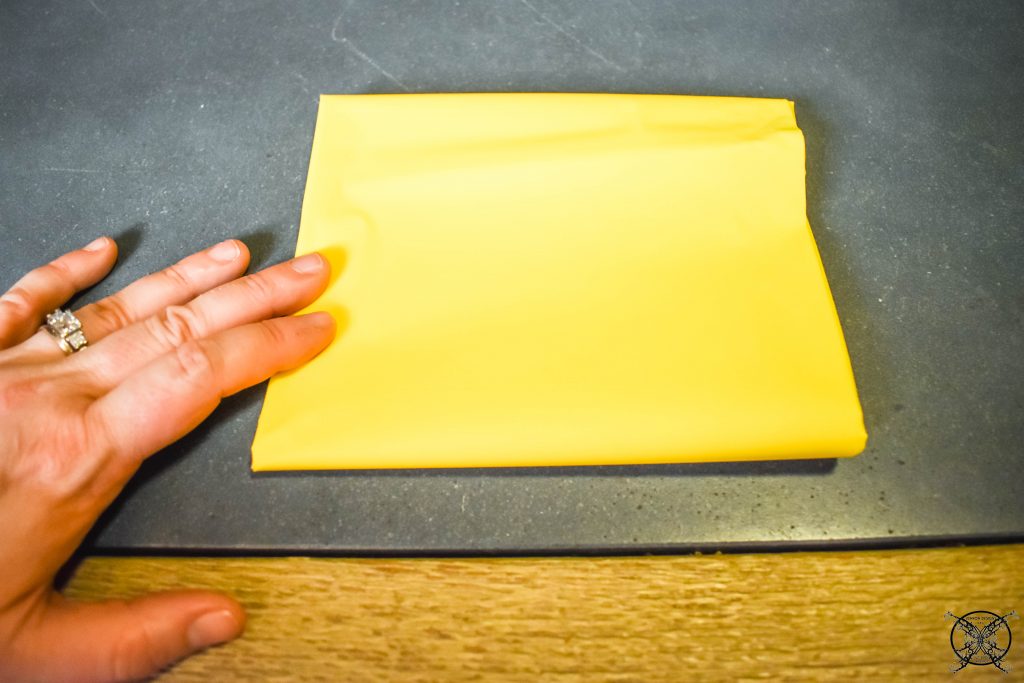 Flip the folded edge away from you and cut slits up to a 1/4″- 1/2″ away from this edge.
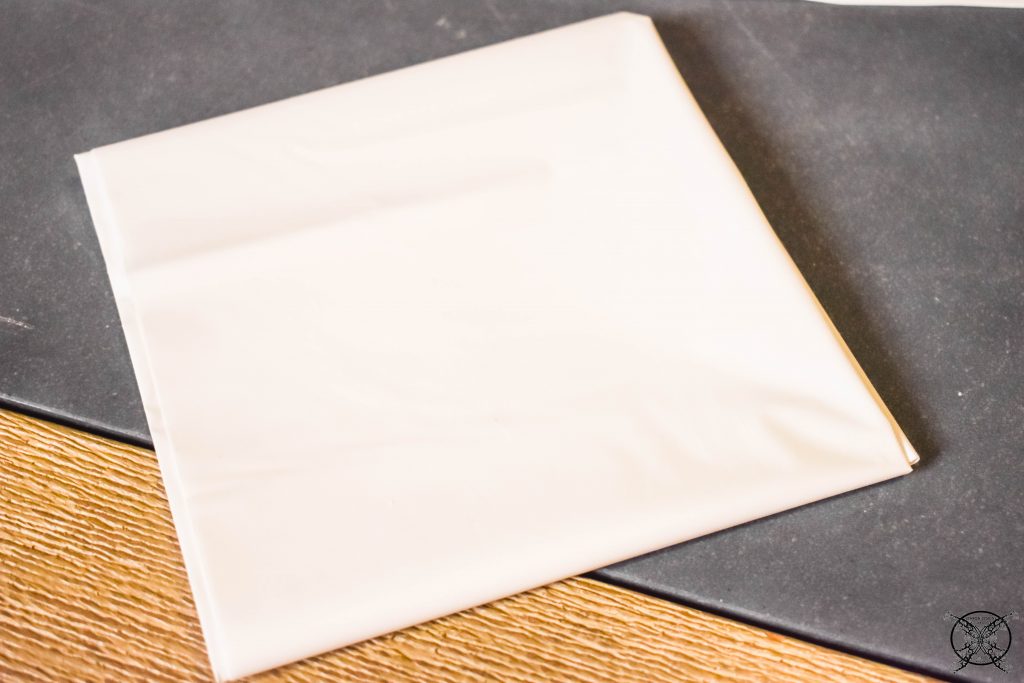
Just like this picture below. Try not to cut through the top edge, if you do it is not the end of the world, but you will have a little bit more work in the following steps.
 You may also need to split the sides as well, but only up to the same 1/4″ -1/2″ mark.
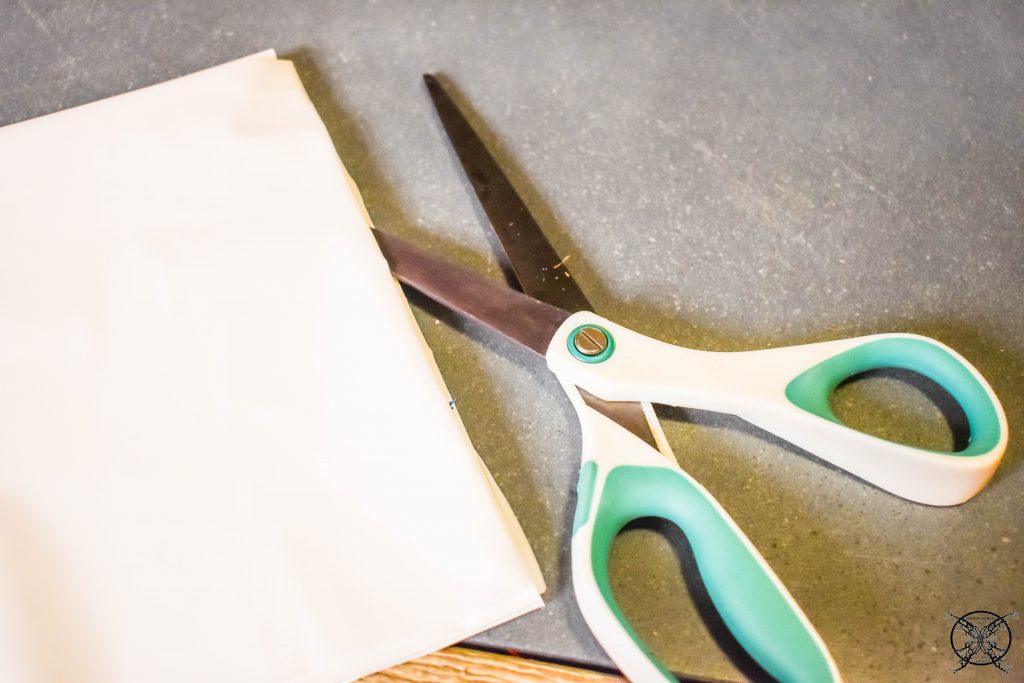 Once you are finished it should look like this. Now repeat this step 3 more times. Either with the same color, or two of each color.
 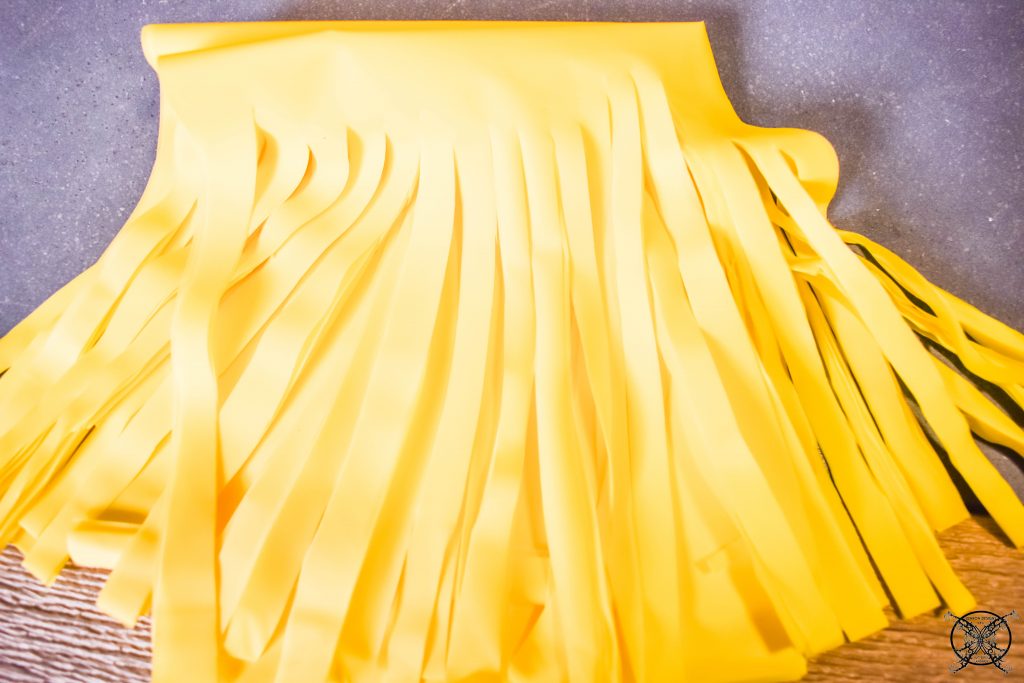 As you can see below I have created sets that are ready for the next step in assembly. First I am going to show you how to make the handles.
 Take you dow rod and cut it into 6″ pieces. My dow rod was 36″ so I got 6 pieces total.
 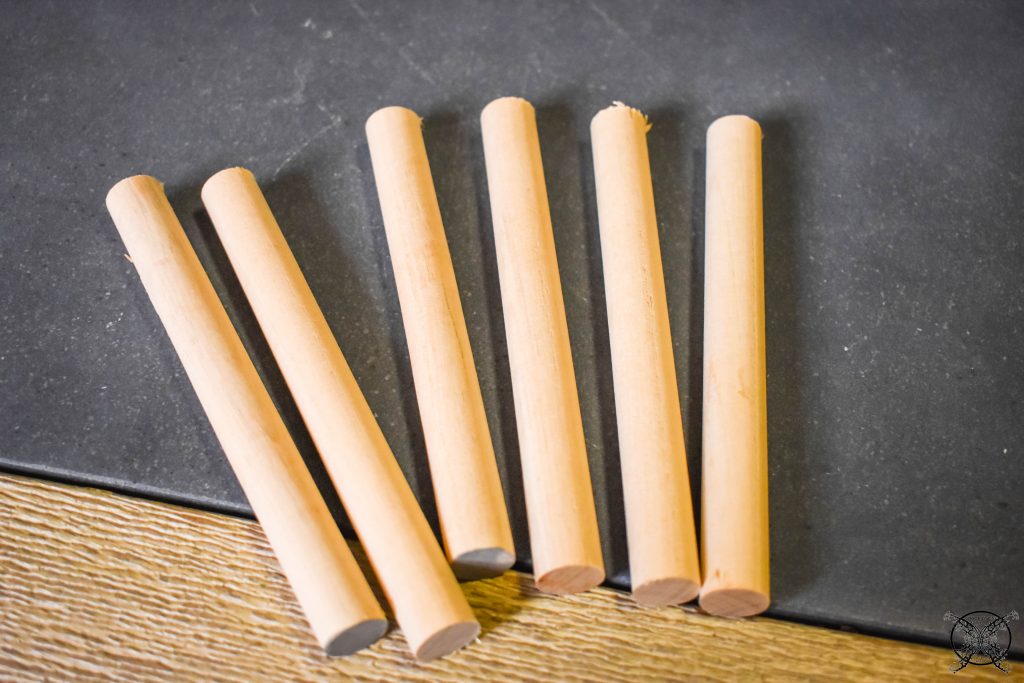 Then take you eye hooks and screw them into the end of the rods.
 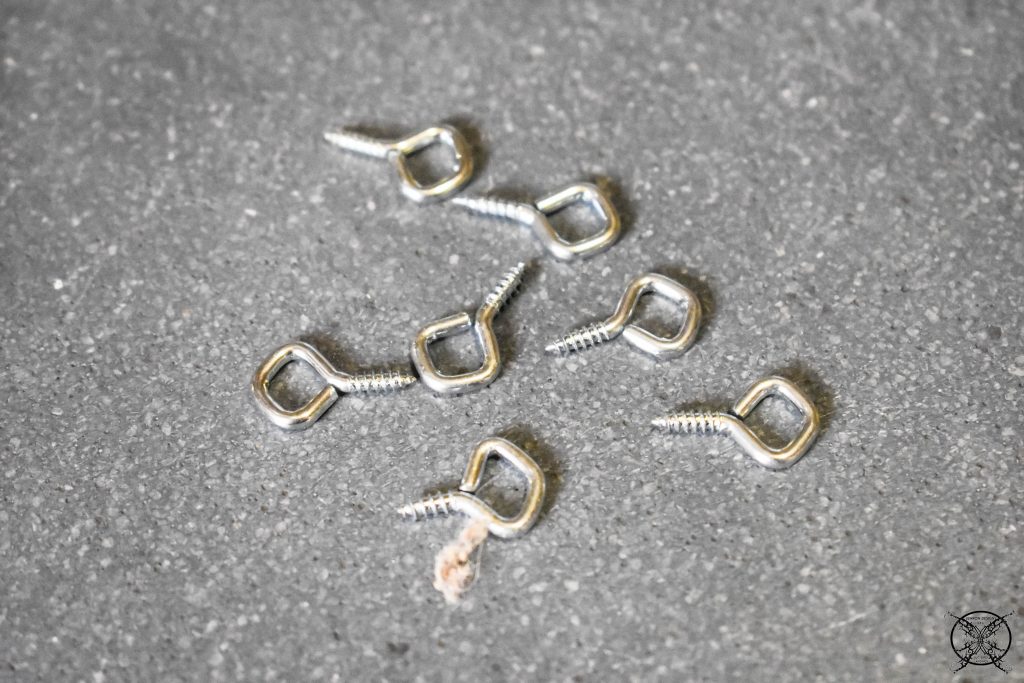 You may want to lightly sand the edges with some sand paper if you have some splintering like I did. Viola you have a handle.
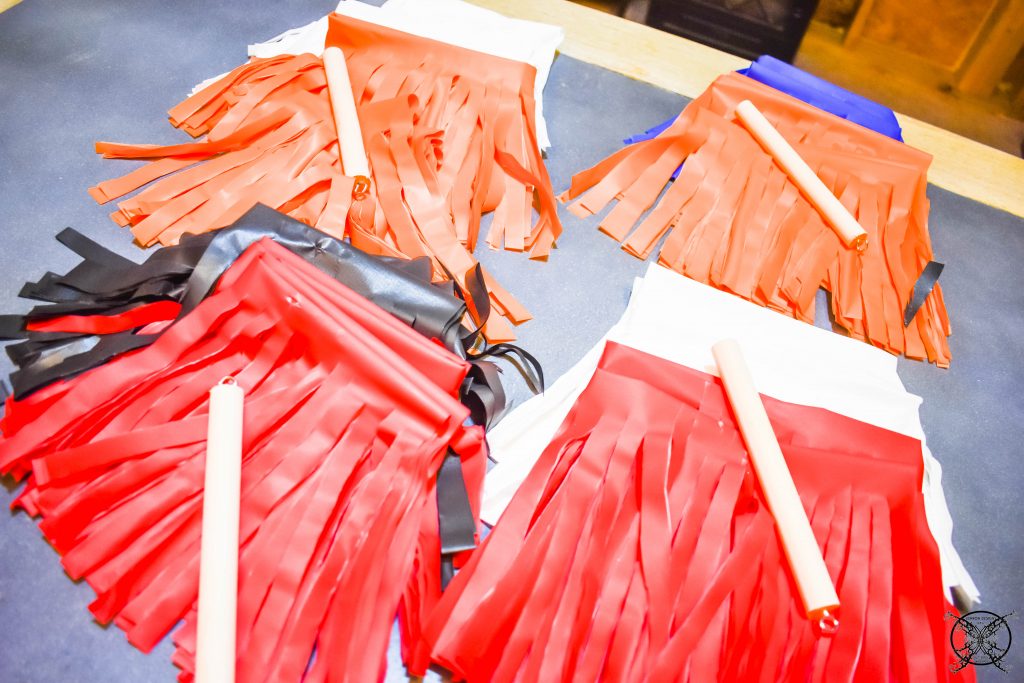
 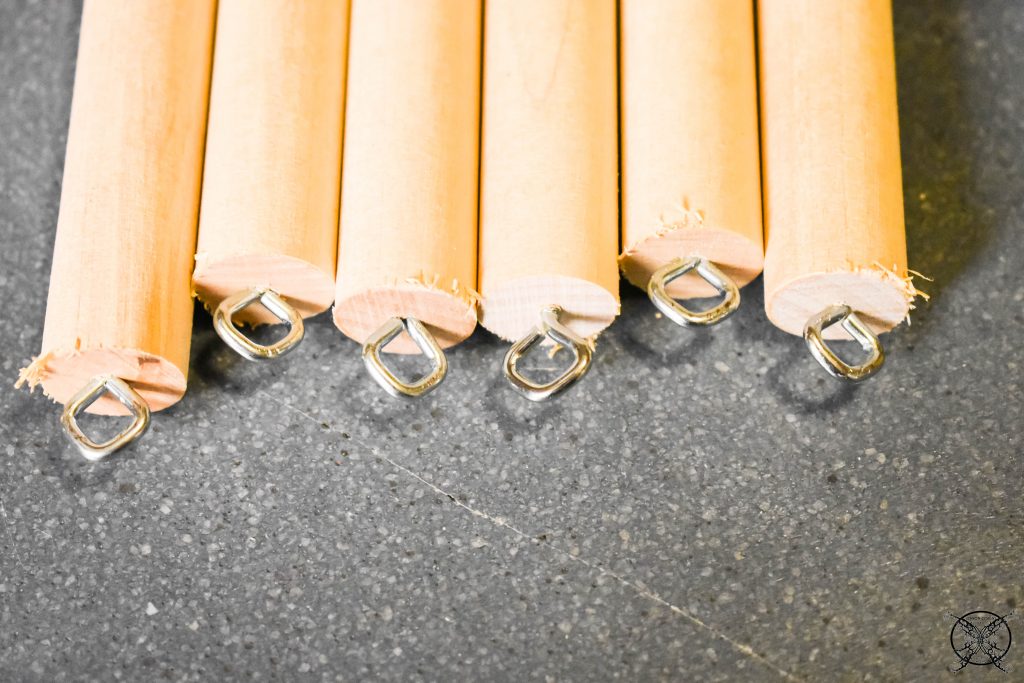 To assemble your pom pom take two of each color and open them up to where the solid center line is in the middle and the fringe is on the outer edges.
 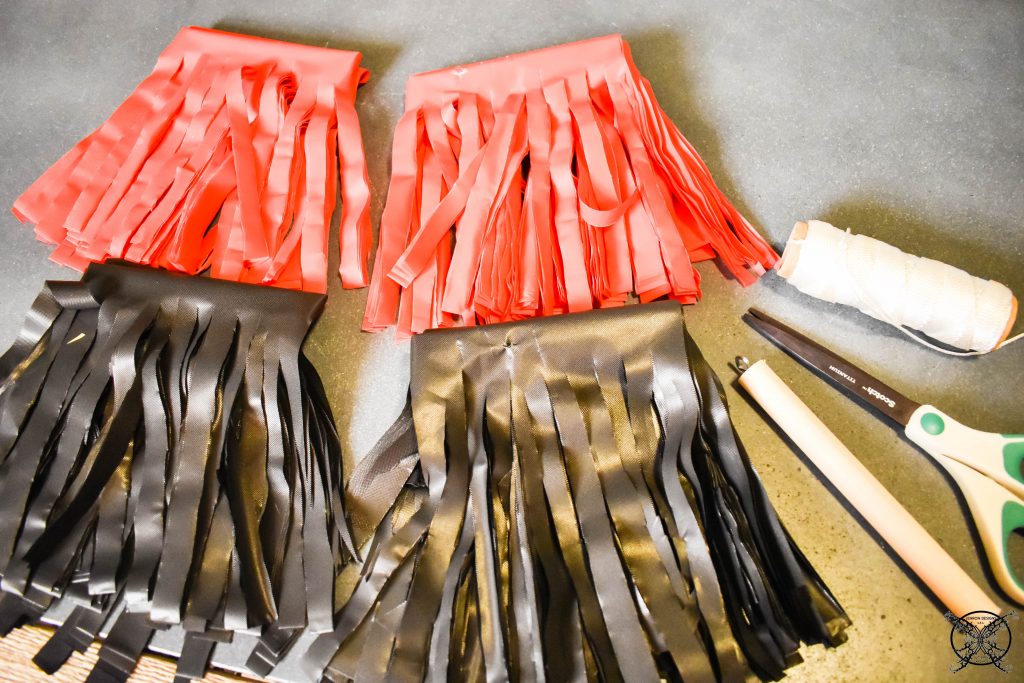 Layer the colors in an alternating color pattern. Then roll them up, keeping the center section lined up and fringe to the outside edges. Try to keep this part very tight.
 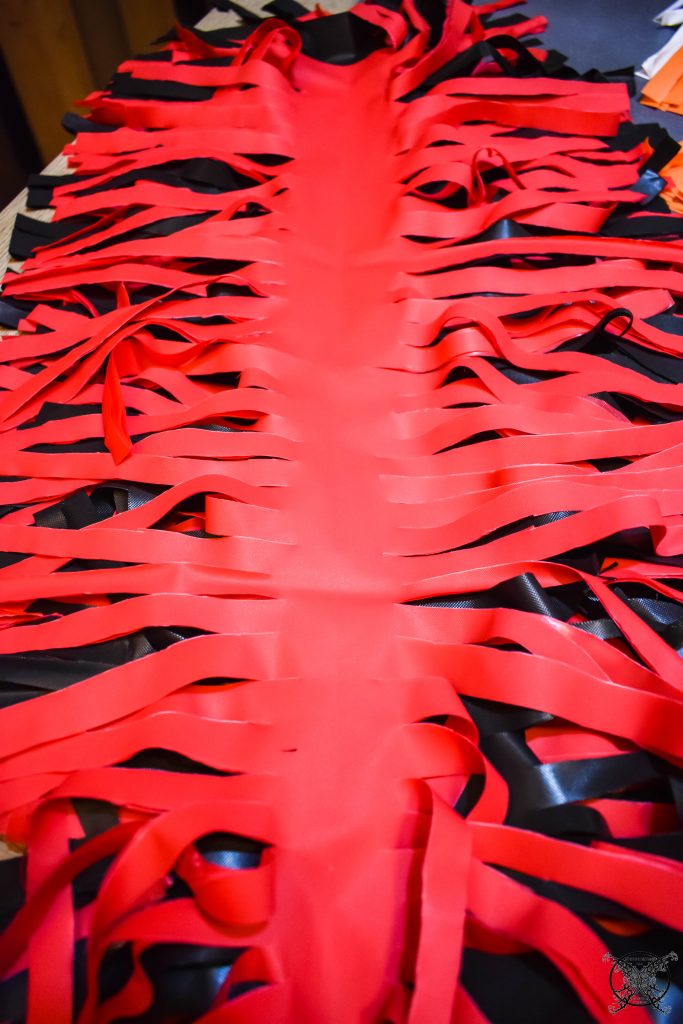 Once you have rolled the layers use a heavy duty twine to tie up your pom pom’s. I wrapped mine around twice just to be safe, since it will get a lot of shaking.
 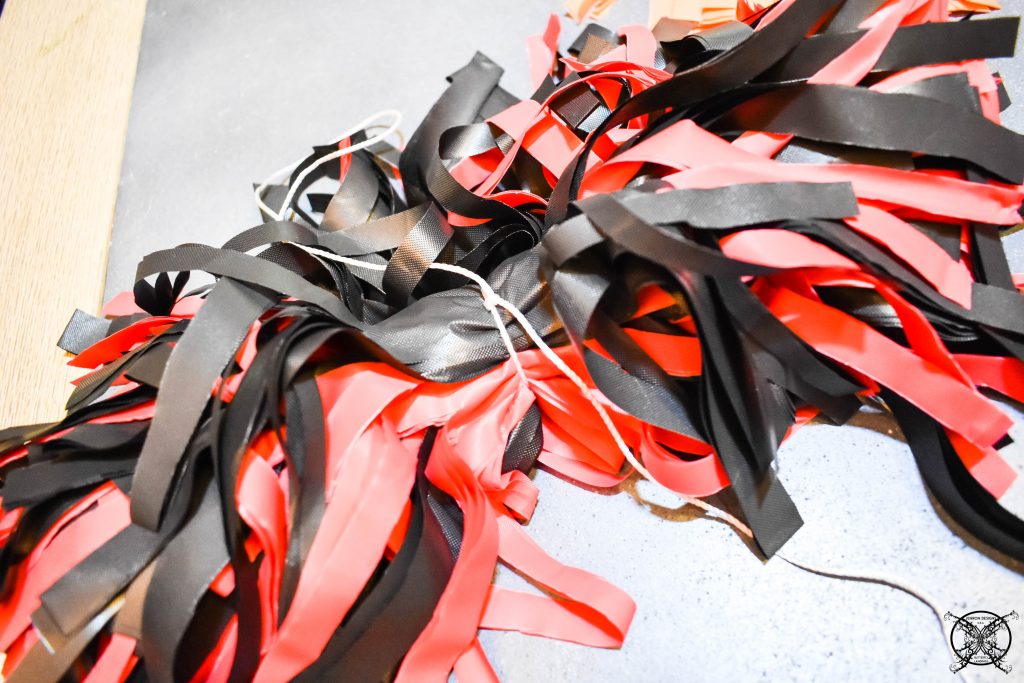 Next secure your handle to the tie inside the pom pom. I did several knots here as well and then secured with a dab of glue. Allow to dry.
 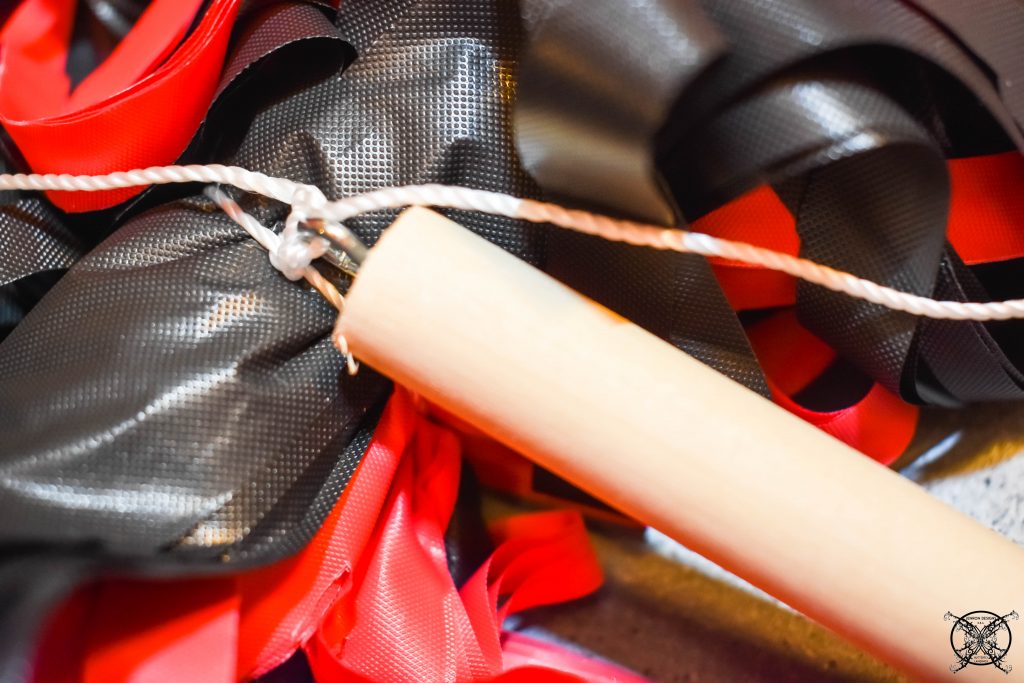 You can trim up a few of the stray edges and sperate the fringe. Then shake until your heart’s content.
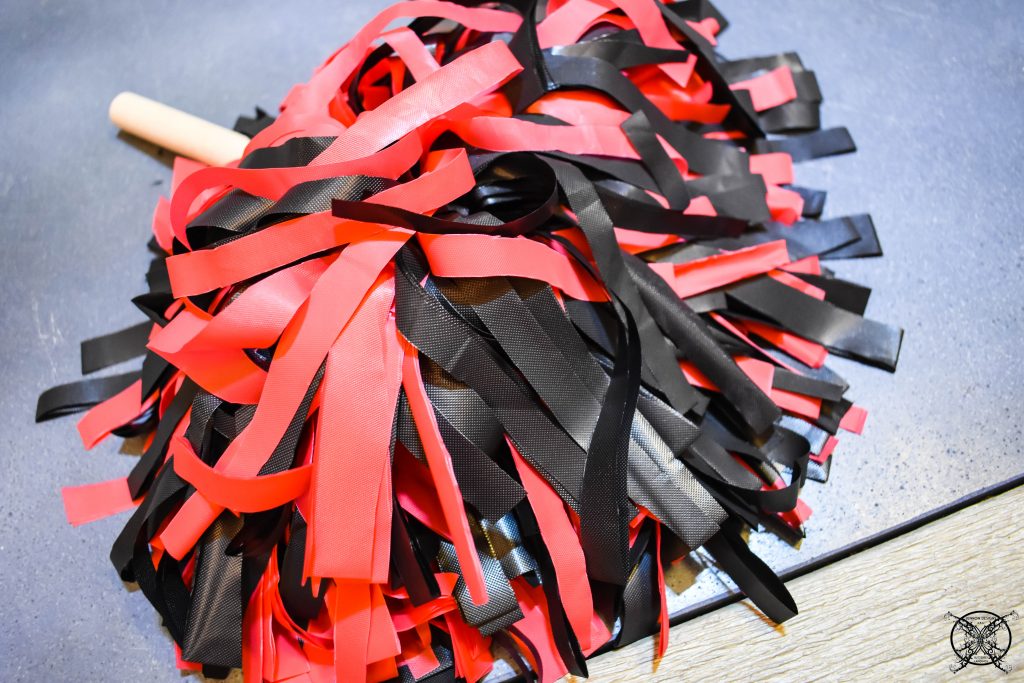
PIN ME for later and be sure to follow us on Pinterest at Jen @ JENRON DESIGNS
these are adorable! I am definitely pinning this for later!
Now this makes me eager to have a baby girl so I could do all these things for. Very detailed explanations on what to do. Nice one!
I love the idea of doing it than just buying. Its so much to enjoy this time with my children while making a DIY.
These are great. I’ve never made my own pom poms before – time to get started! Thanks for sharing your skills! Handmade with love is always better.
This is so lovely. Quite an awesome easy step by step guide. Nice.
I am definitely NOT a free hand artist! 🙂 I would be tracing or using my Cricut if it will work on felt (would have to check). My youngest would love those pom poms. We don’t go to or watch many games, but we may have to make those just for fun!
I love this idea! I’m a huge Dallas Cowboys fan and will be going to tailgate and game soon. Gave me some great inspiration!
this reminds me so much of my childhood. back when I was in grade school, we used to make our own pom poms for family days. so fun that you’re teaching the new generation this awesome diy 🙂
Such a great idea. May have to make them for my stepsons JROTC raiders team.
We love doing DIY’s, it is fun and keeps my little ones busy. Will try this during the weekend. Thanks for sharing.
These are so simple and cute to make! I love them!!
I love how you’re doing it step by step. I must try this one day! Thanks for sharing your tips! 🙂
I love how you didn’t have to buy those but could just go to the craft store and make them! Who doesn’t love a good craft session!
These are great ideas! If we ever get back to normal school, these would be fun things for classes to make before pep rallies or for the homecoming parade.
Very cute and creative idea!
These are so cute, and it looks like a really fun craft project! I can’t wait to try it out.
These are so cute and would be so much fun to do with my daughter and nieces. Thanks for sharing!
These are so cute. I hate sports, so I’d make one that says chocolate or something that I do enjoy 😉
I am so excited about football season! tailgating, snacks, and this fun craft to make for cheering on the home team.
I remember my highschool days because of these diy pom poms. Hayzzzz
Such a cute & simple way to enjoy a game. Thank you for sharing!
I’ve been looking for some fun tailgating ideas, and I really love the pennants those are so retro and cool. Totally going to make some for our local team this year, along with those rummy gummies for our mamas! Holla~ we will be so much fun in the stands with those.