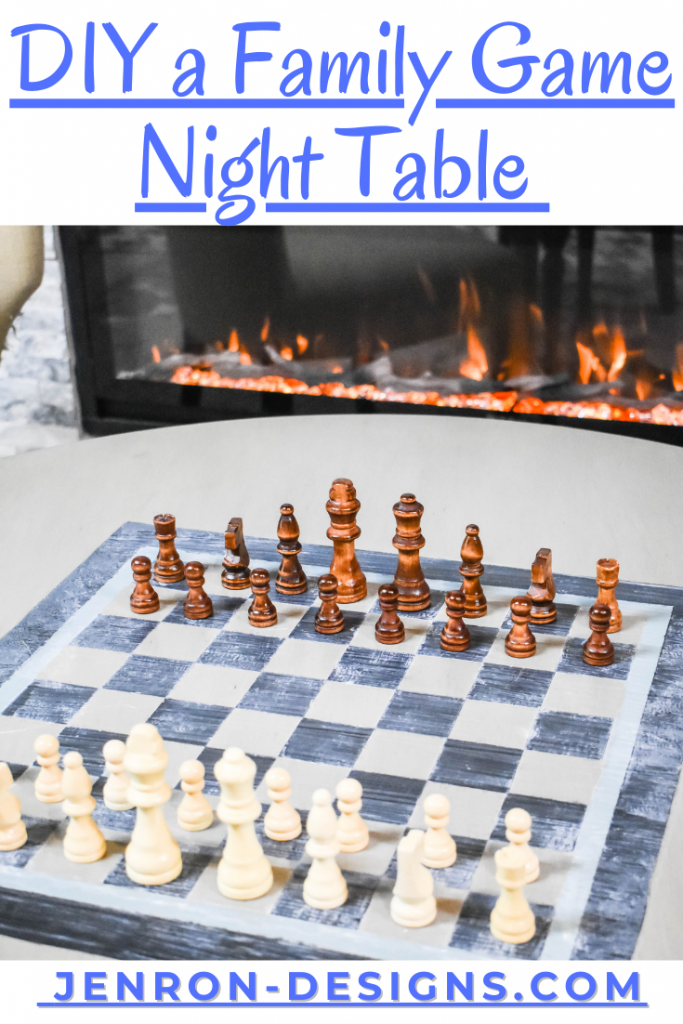
DIY a Family Game Table
Just wanted to share this fun little DIY a Family Game Table, it is perfect for all your game night needs and a recreation room addition.
Sometimes you just want to hang out inside when the weather chooses not to cooperate and what could be better than a family game night? I have always coveted those pretty game tables with hand painted chess and checker boards ever since I was a little girl, so I decided that I would hand paint one for my own Recreation Room we have been working on finishing out in our basement.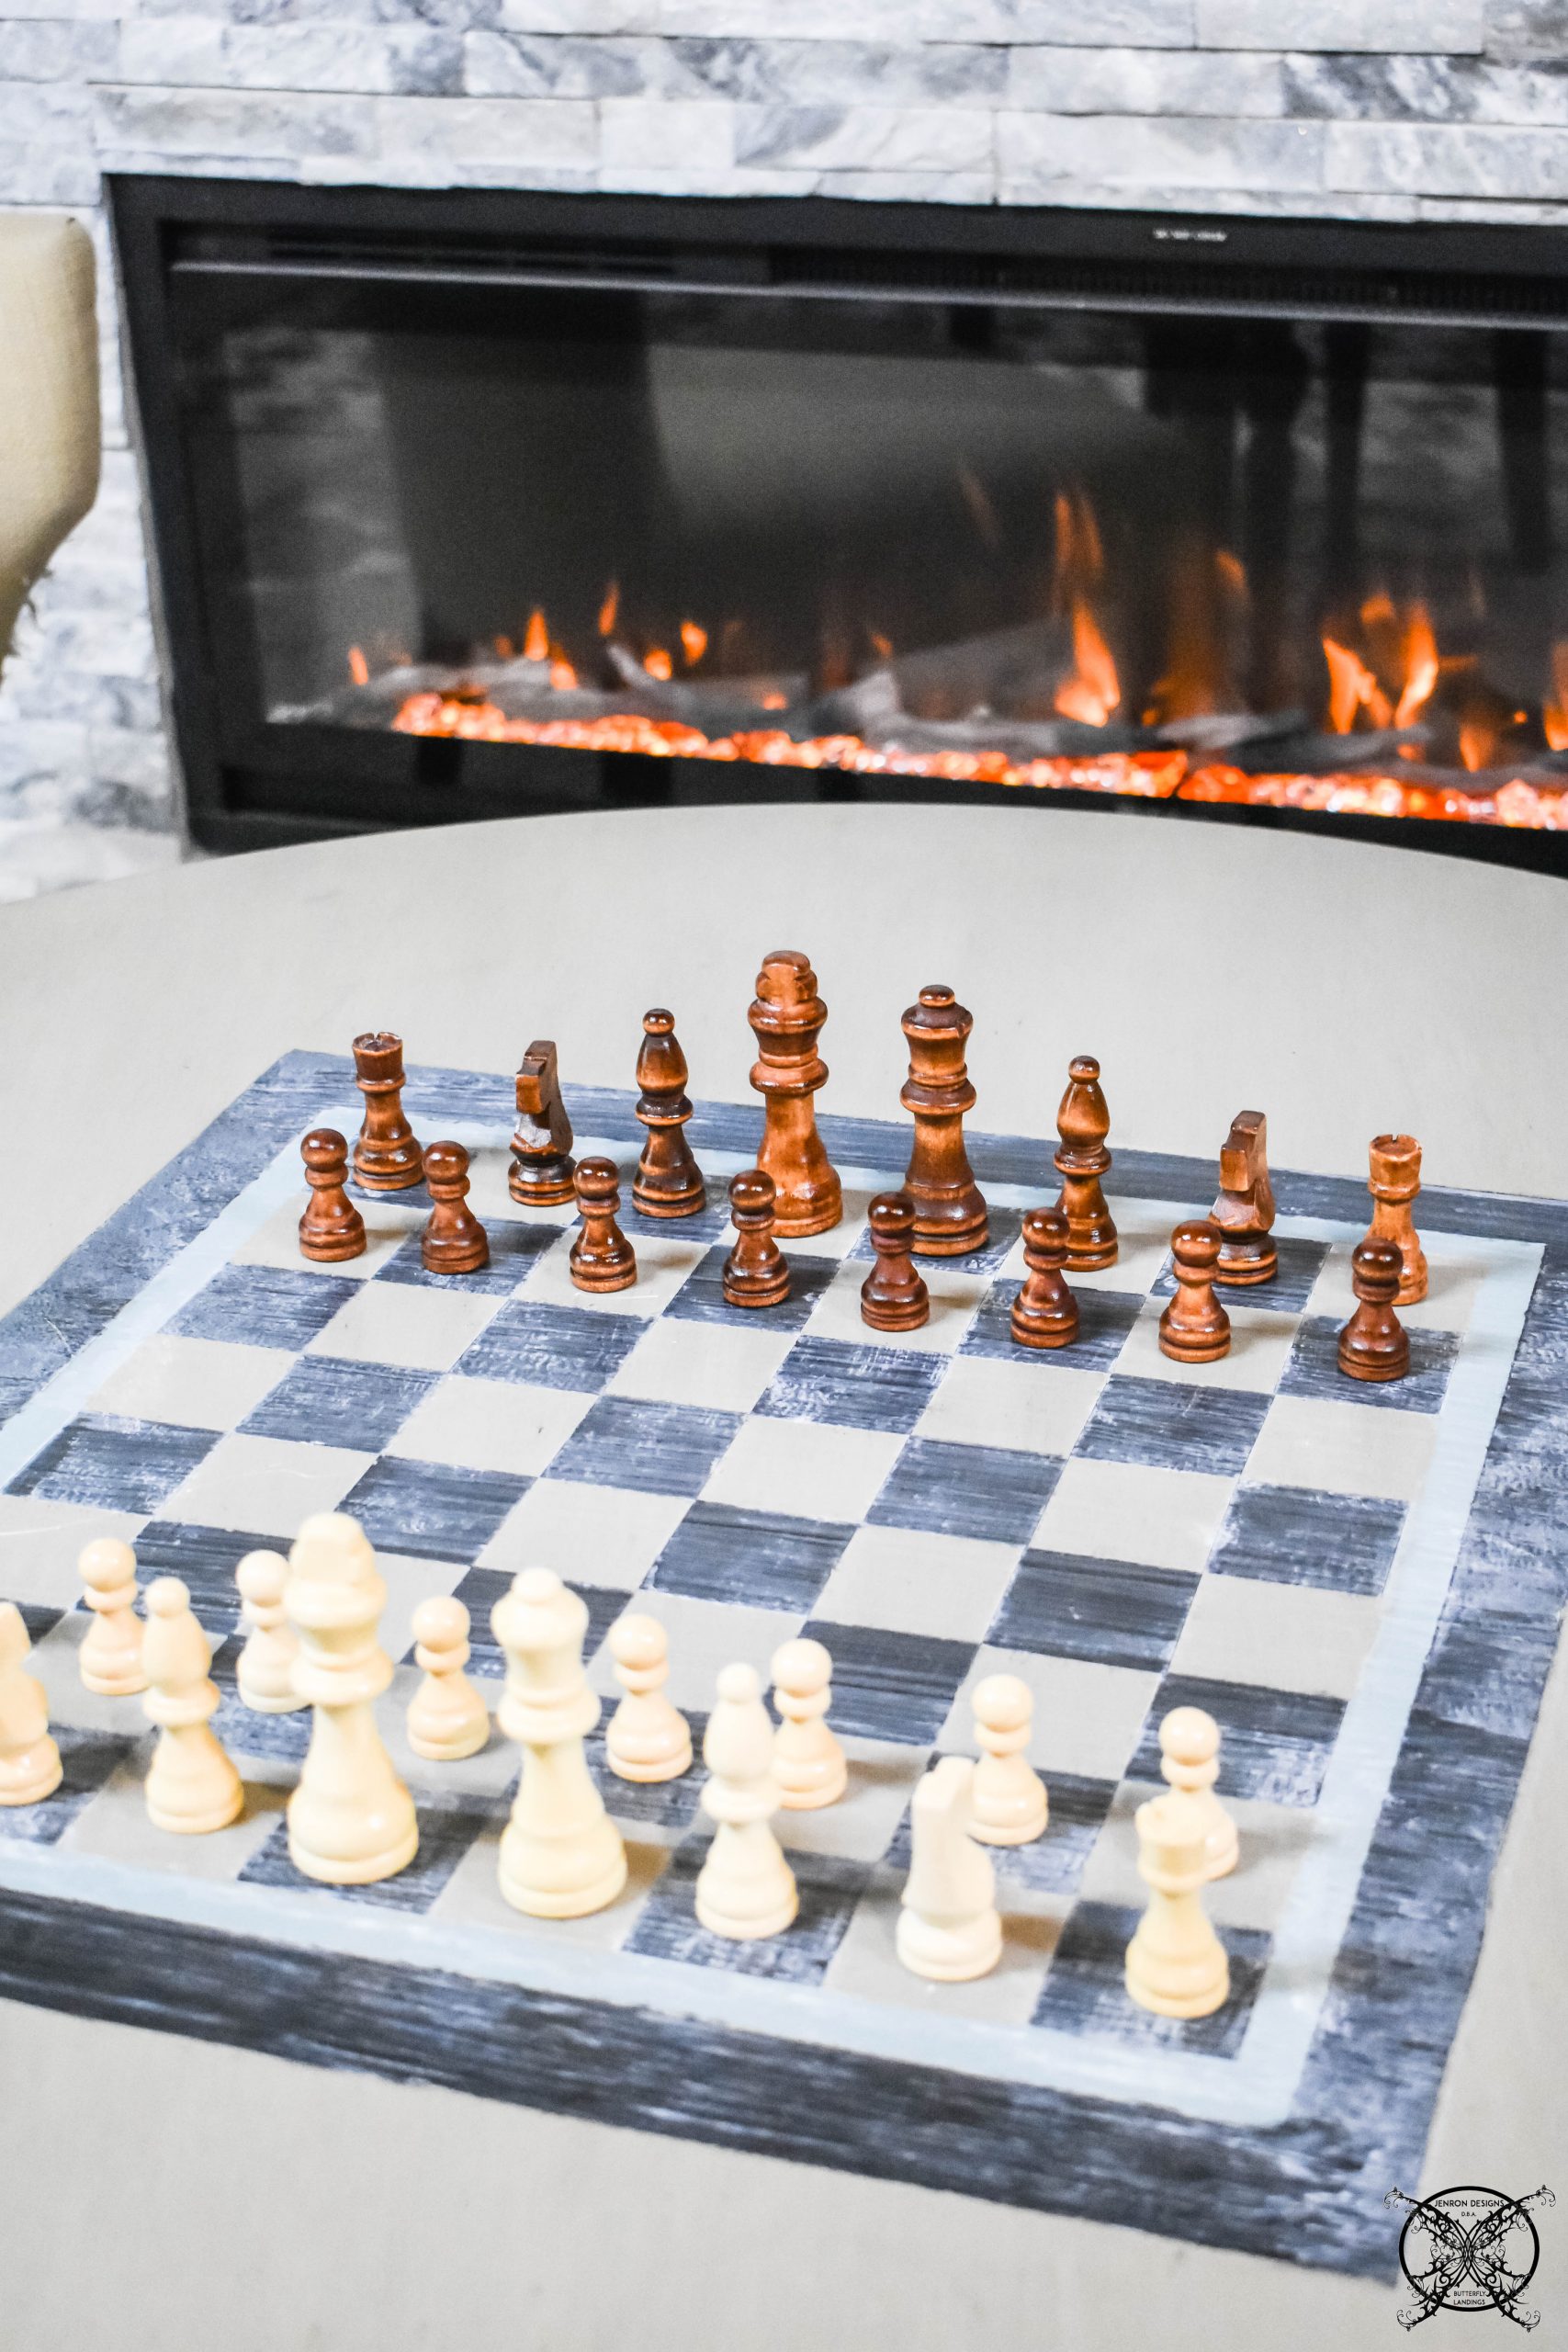 While the room may not be completely finished yet, it is still a fun place to hang out by the fireplace, put on some tunes and play a game. Here is how I created this custom made game table, from many vintage and found pieces.
BEFORE:
AFTER: 
THE DIY:
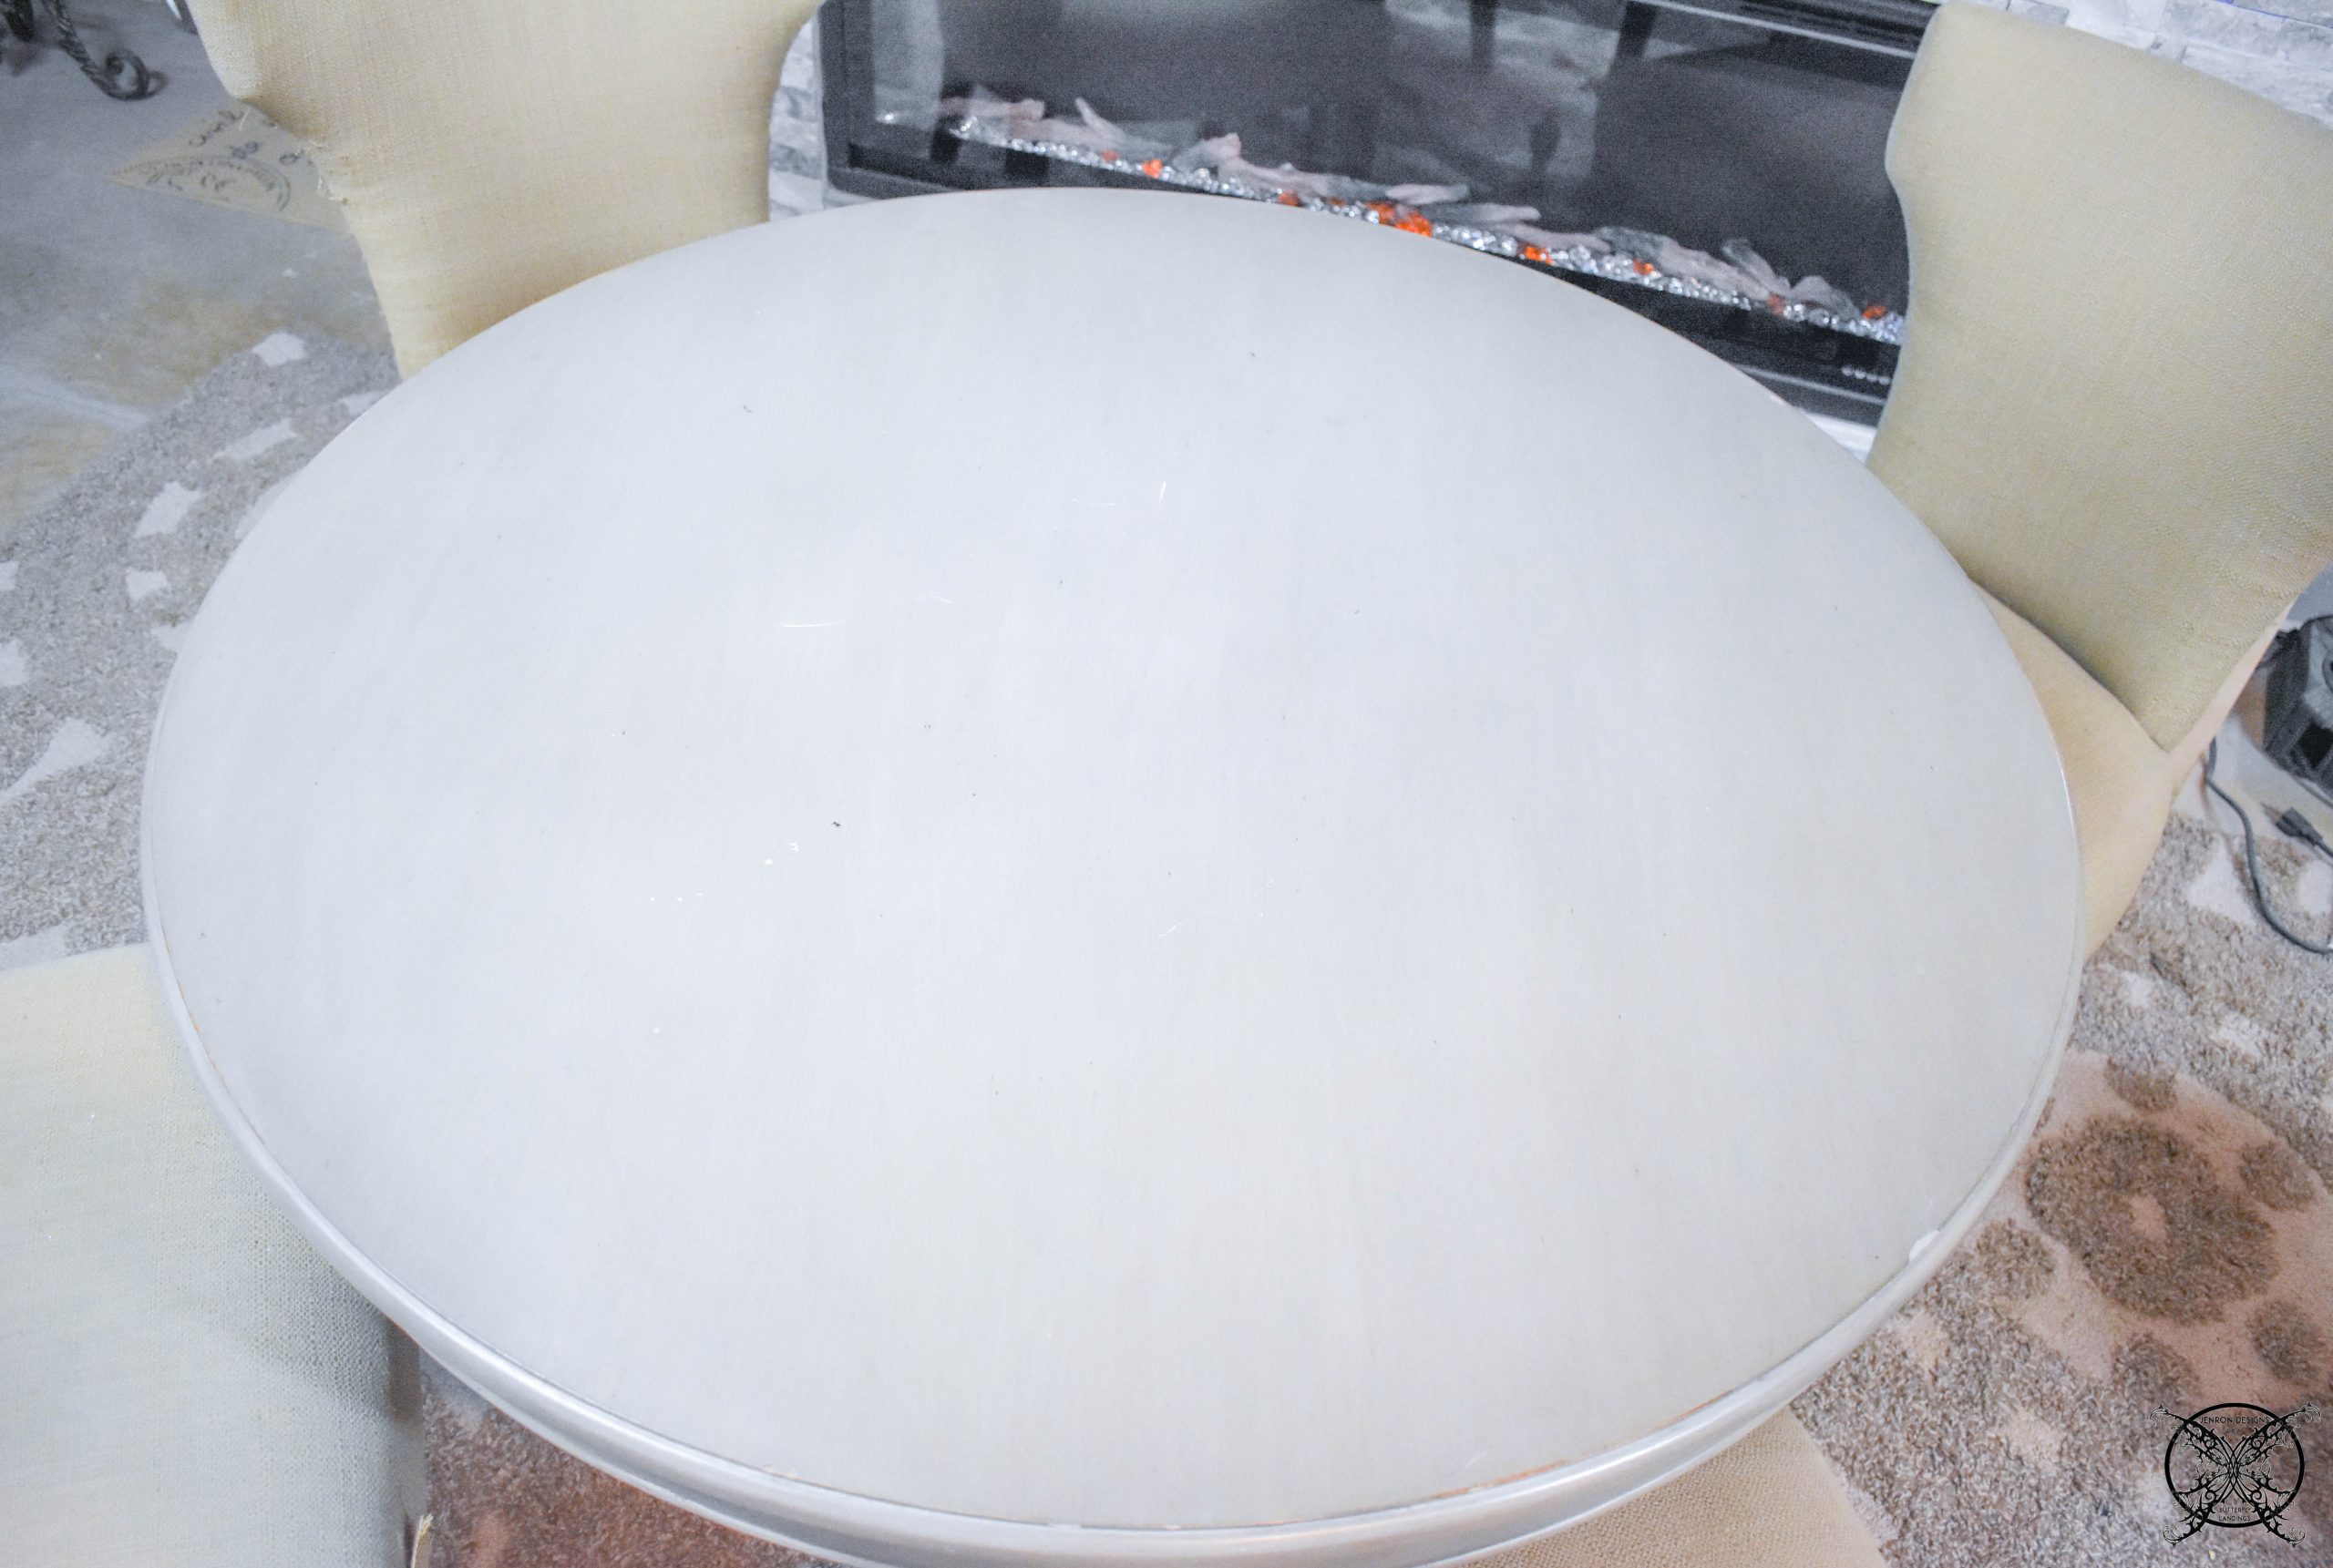
Here is how I started out, this was a basic tabletop I found at Ballard Outlet a few years back. I attached this top to a base of an old vintage side table to create a round breakfast style table, which we used for several years, then it got retired to various other rooms and used in other capacities. I had decided that one day I was going to make it into a game room table and paint a permanent chess/checkerboard on top. 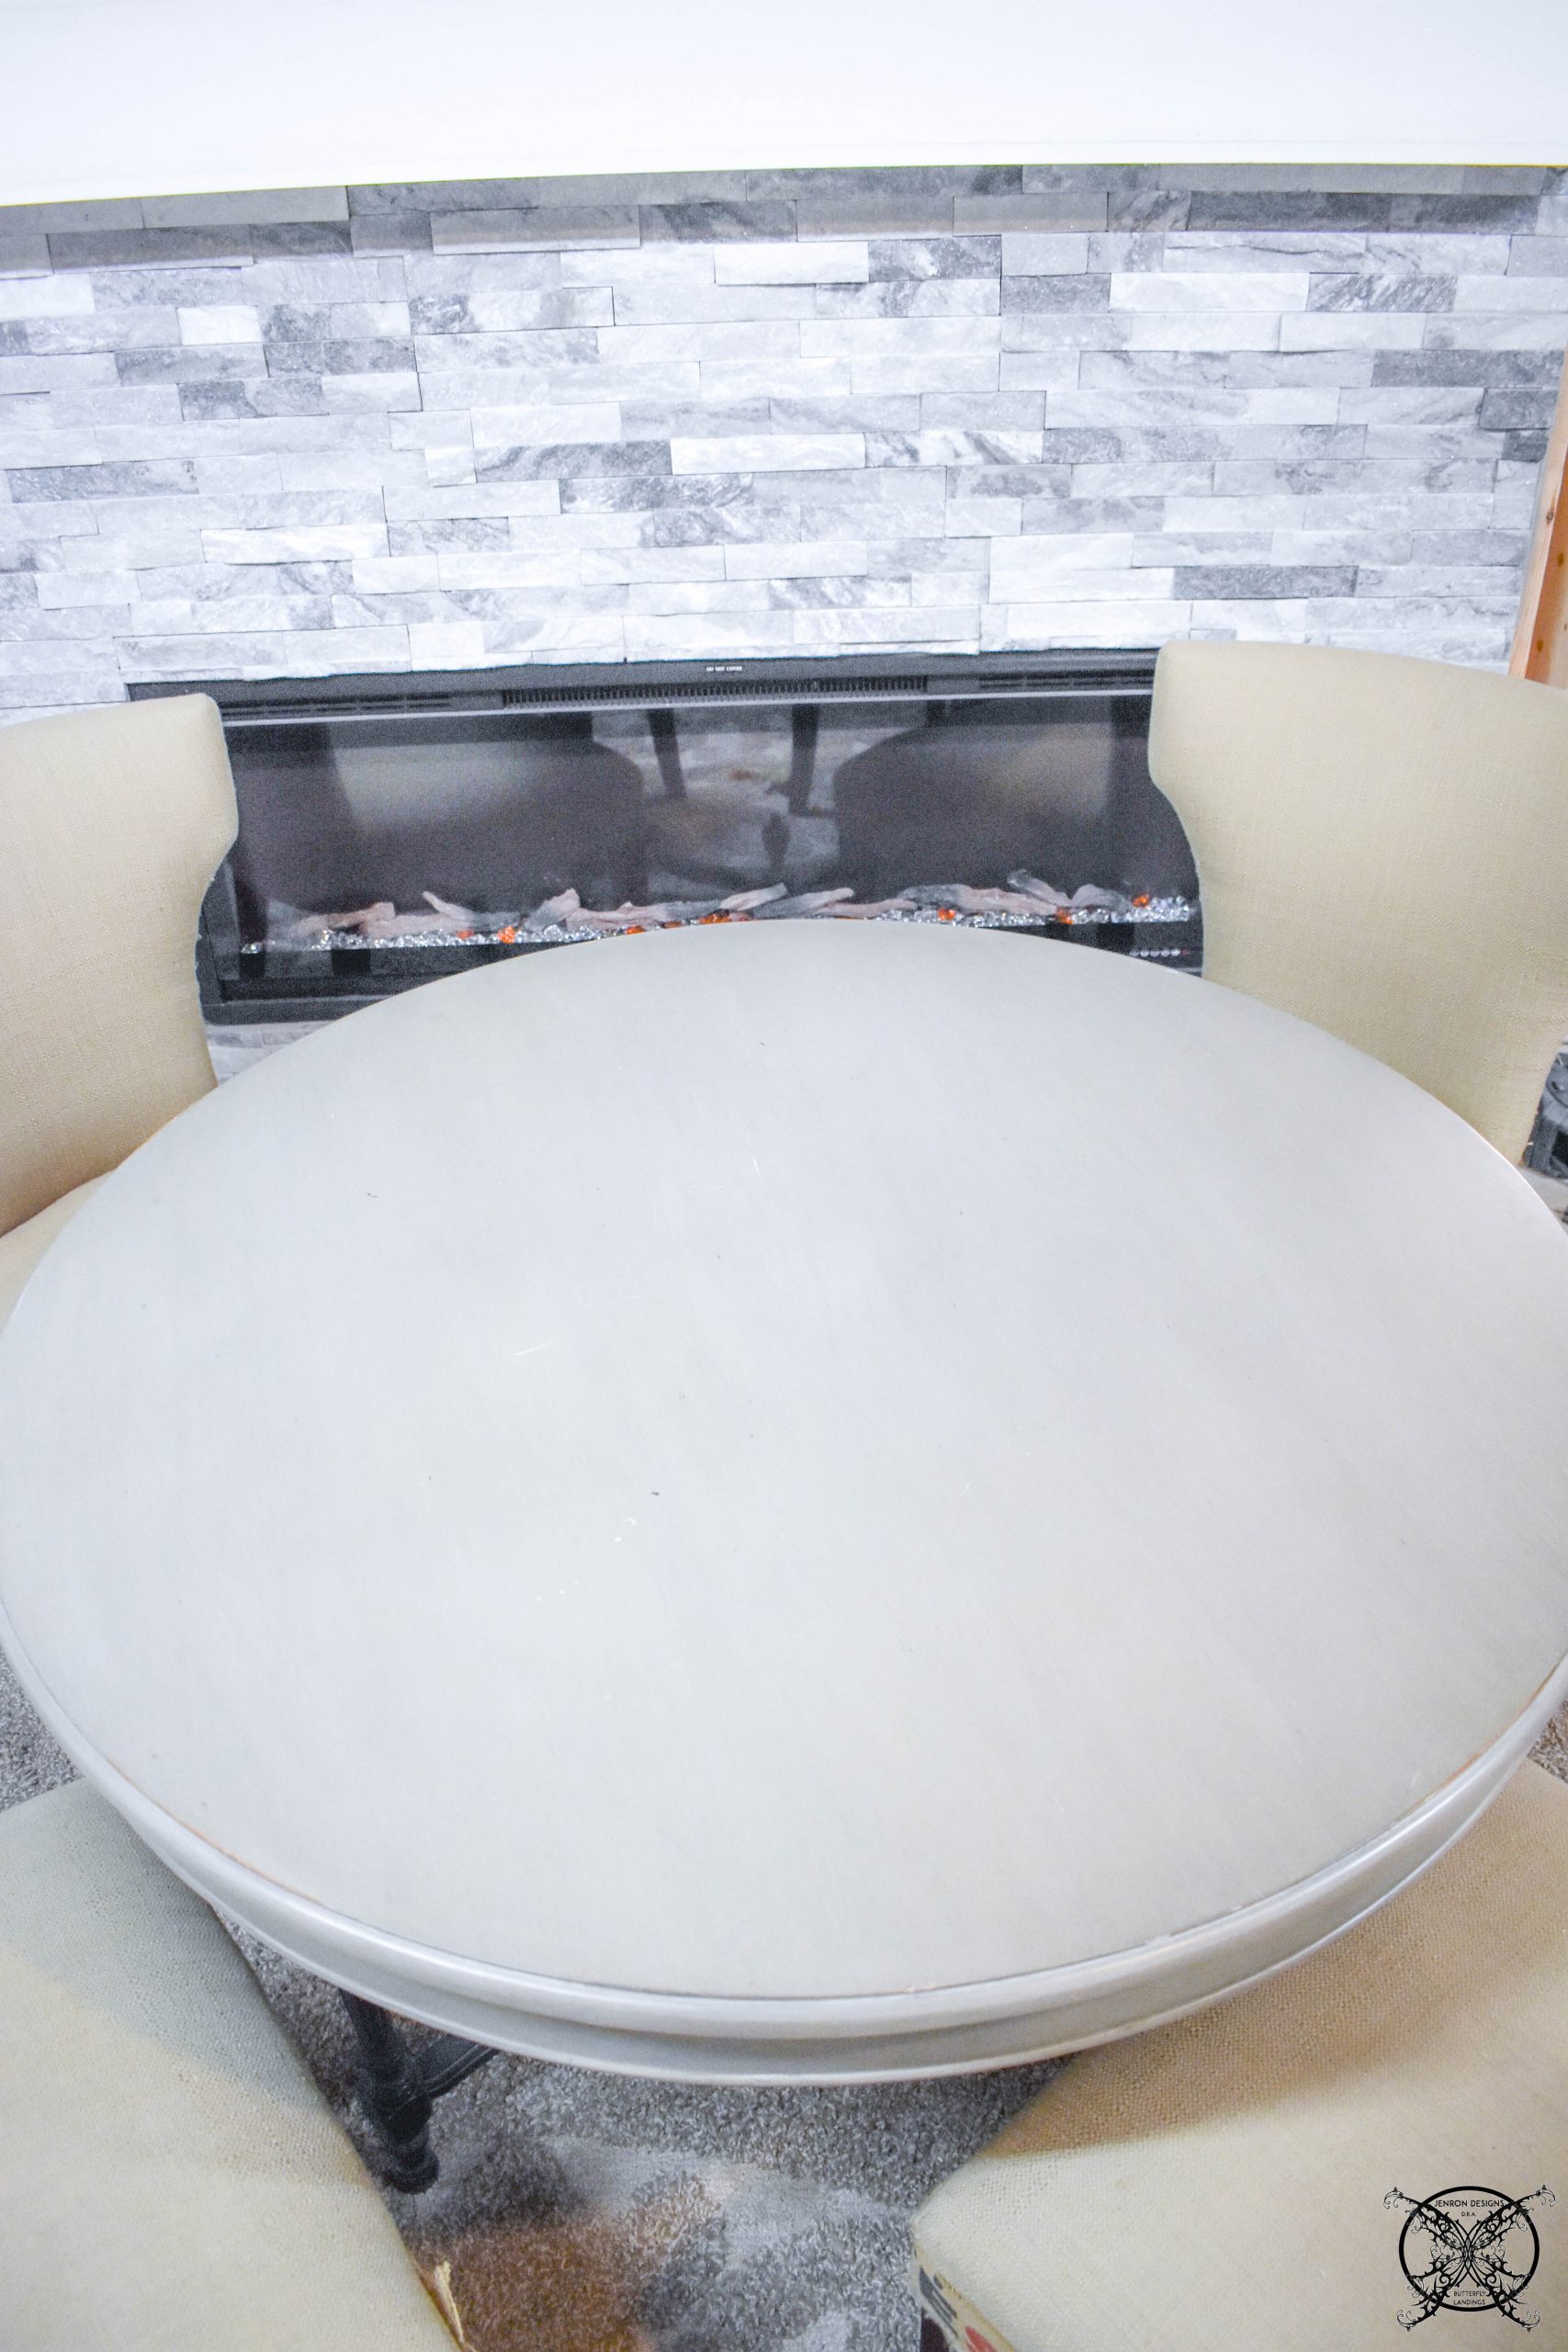 To create the game board pattern I found the center of the table and created 1 inch squares using both 3m blue tape and frog tape to create an alternating pattern, along with an outer border.
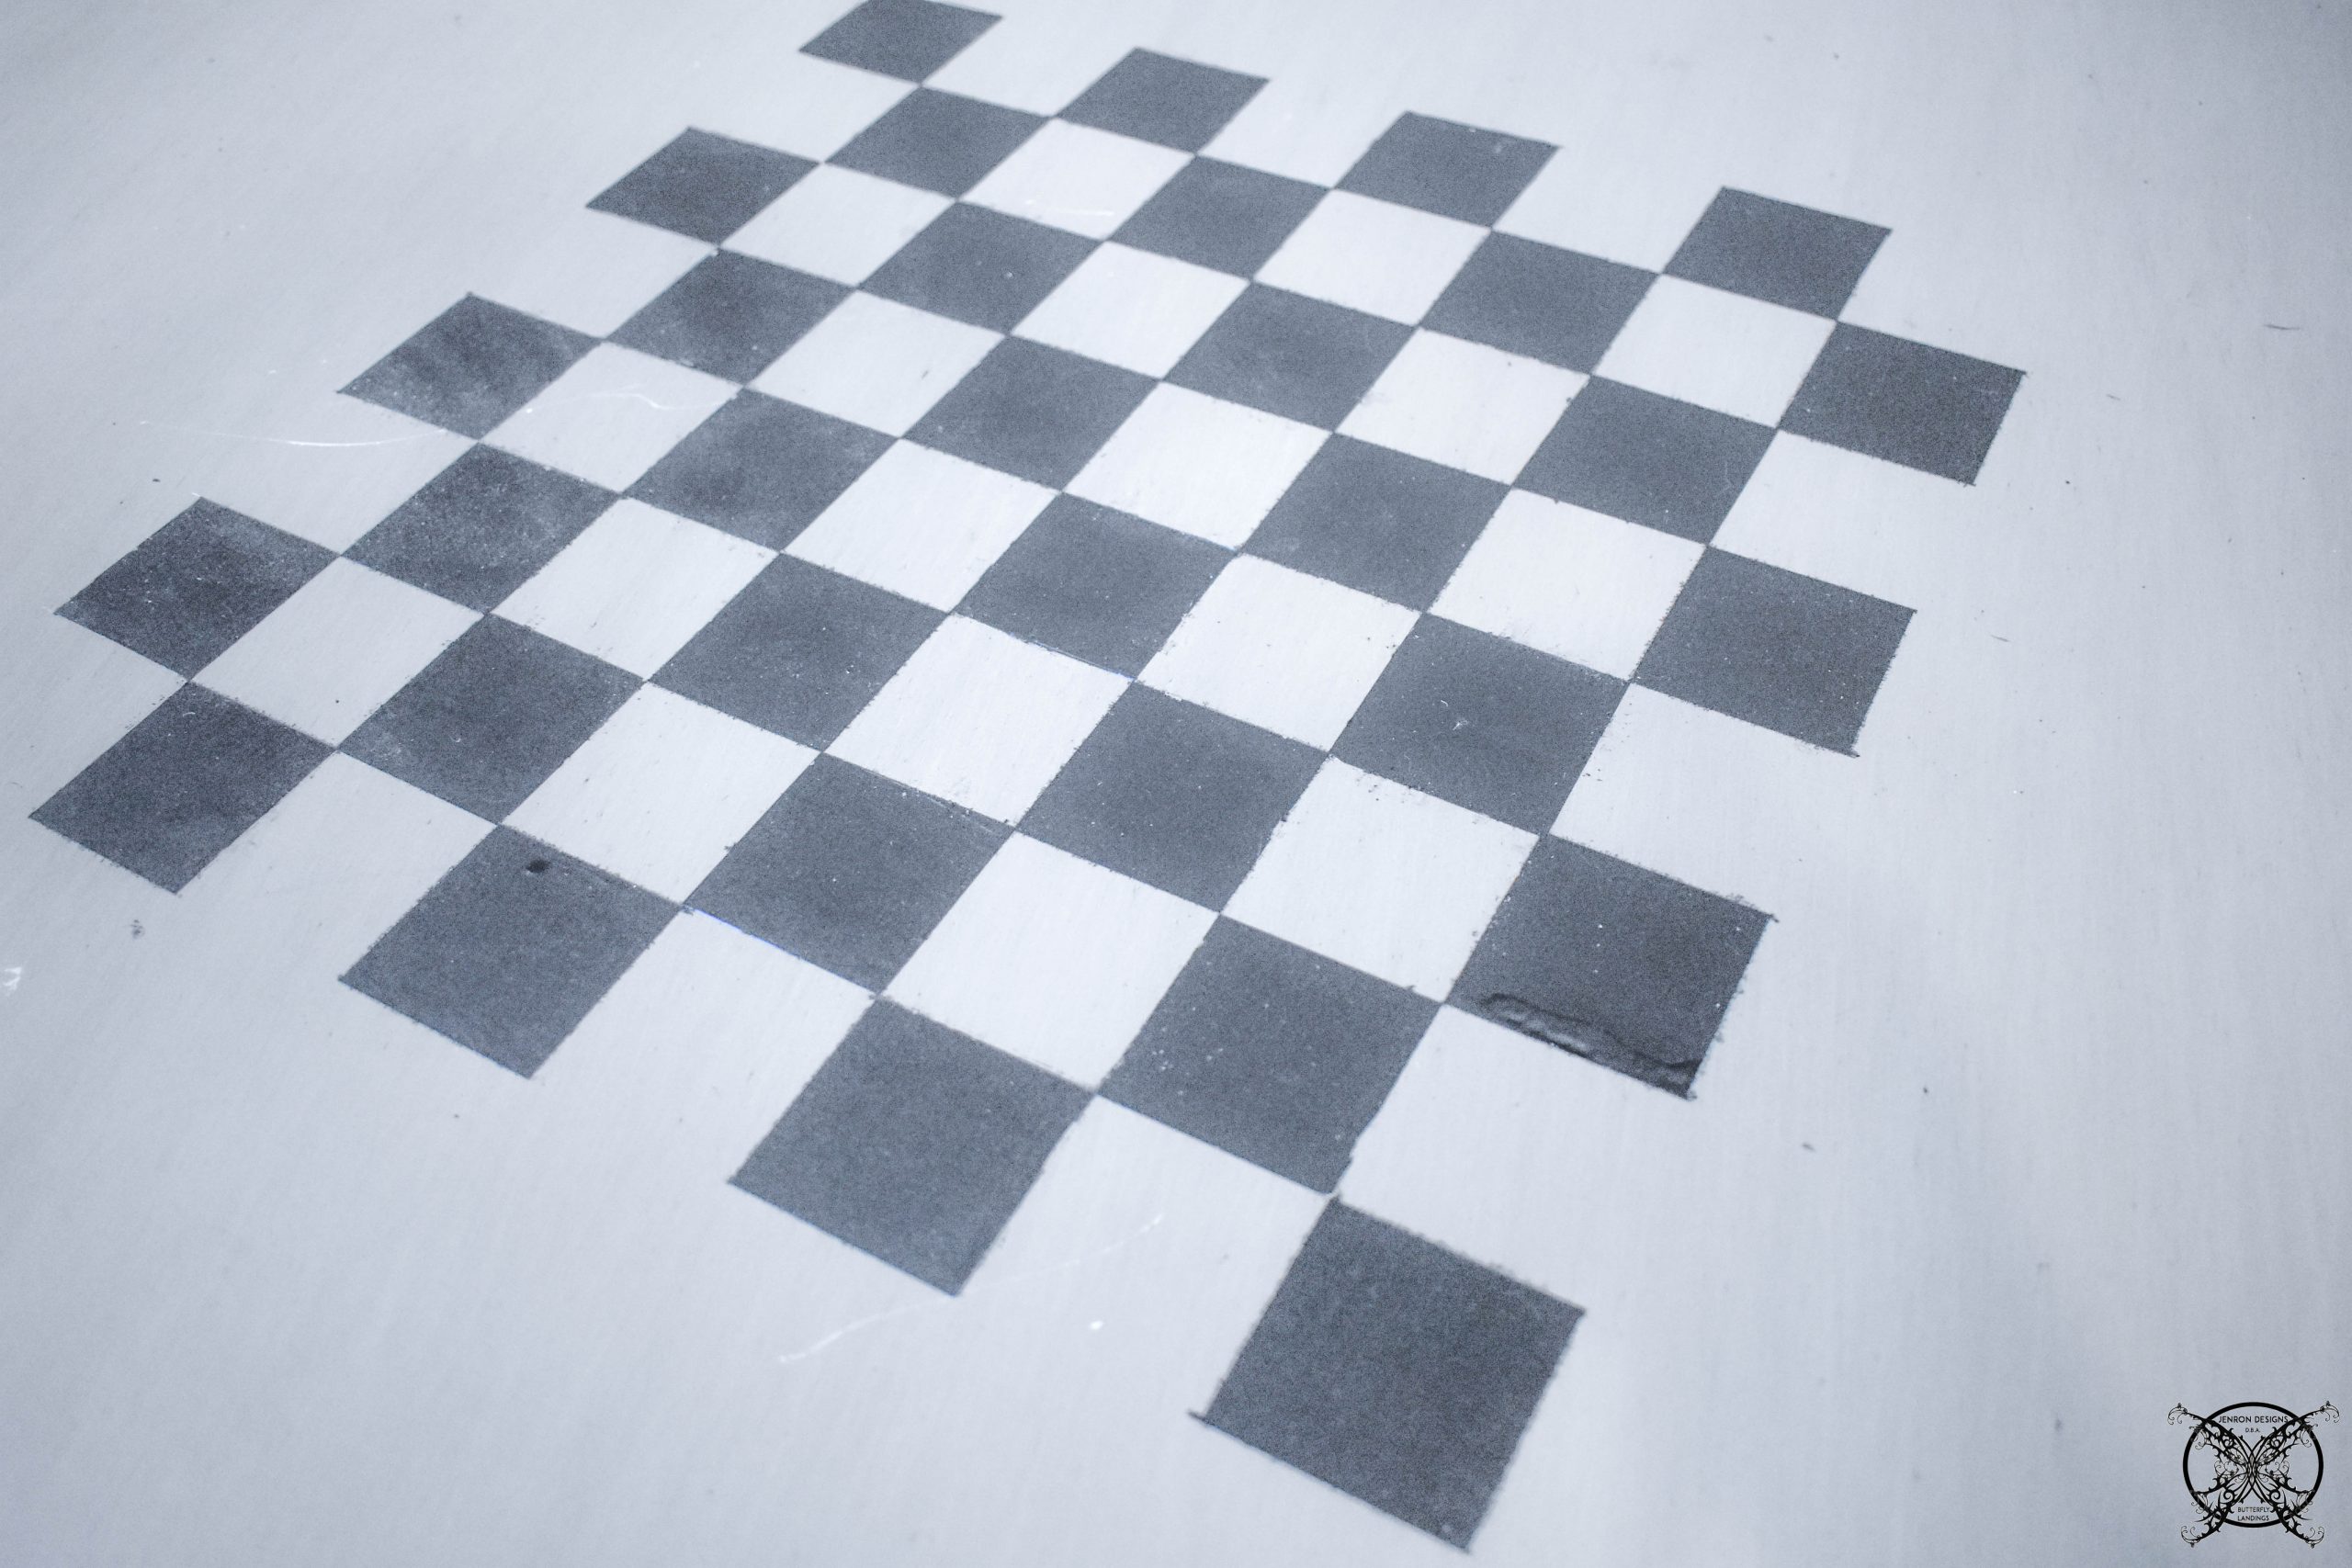
  I used a black paint to create the alternating squares for the board and left the original table color as the opposite color. My end color story was a plan of gray, black, and pale aqua, with a light white wash over the board to add a marbled effect.
 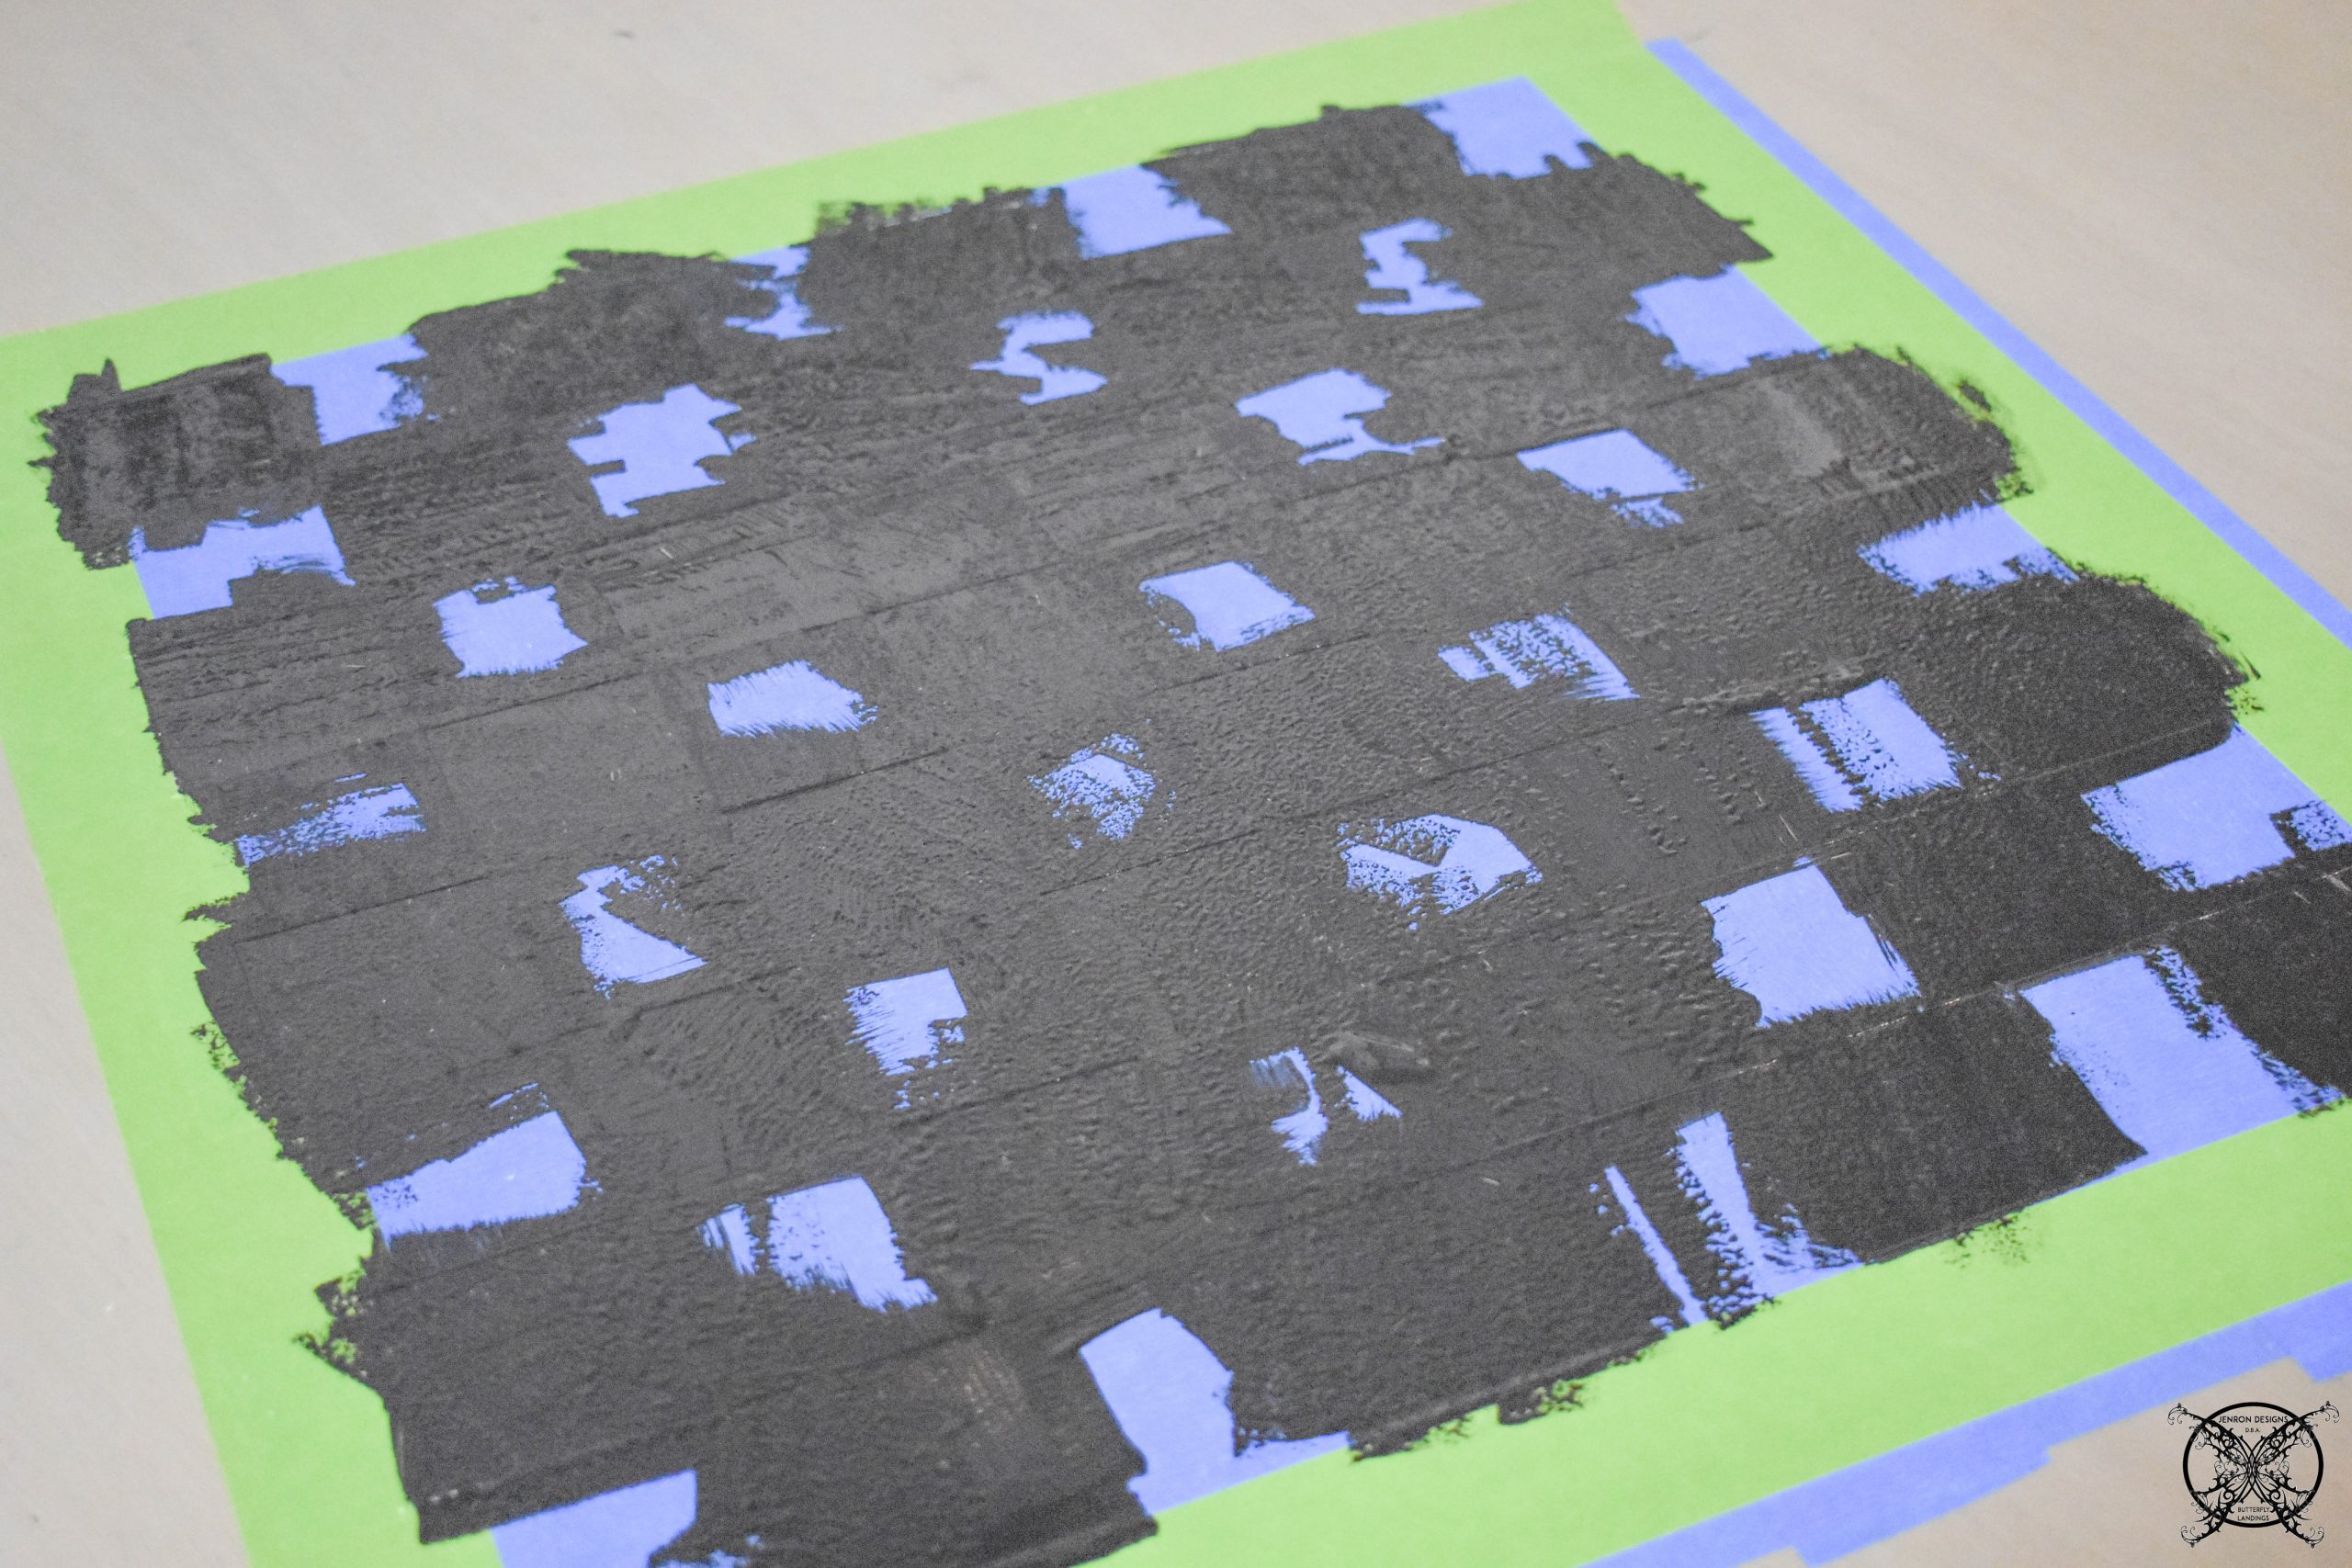 I allowed the paint to dry over night before removing the tape. Please note that this project will take several days painting and drying to achieve the layered effect. So you are literally playing the long game here, with this project.
*You may also notice a little bit of paint bleed under the tape which can literally be scraped off with and exact o knife.
 The next step is to create the border of the game board. Which is done by lining up the 3m blue tape along the edge of your painted squares to create a line for your next boarder. I chose a pale aqua blue to contrast both the squares and make a true border.
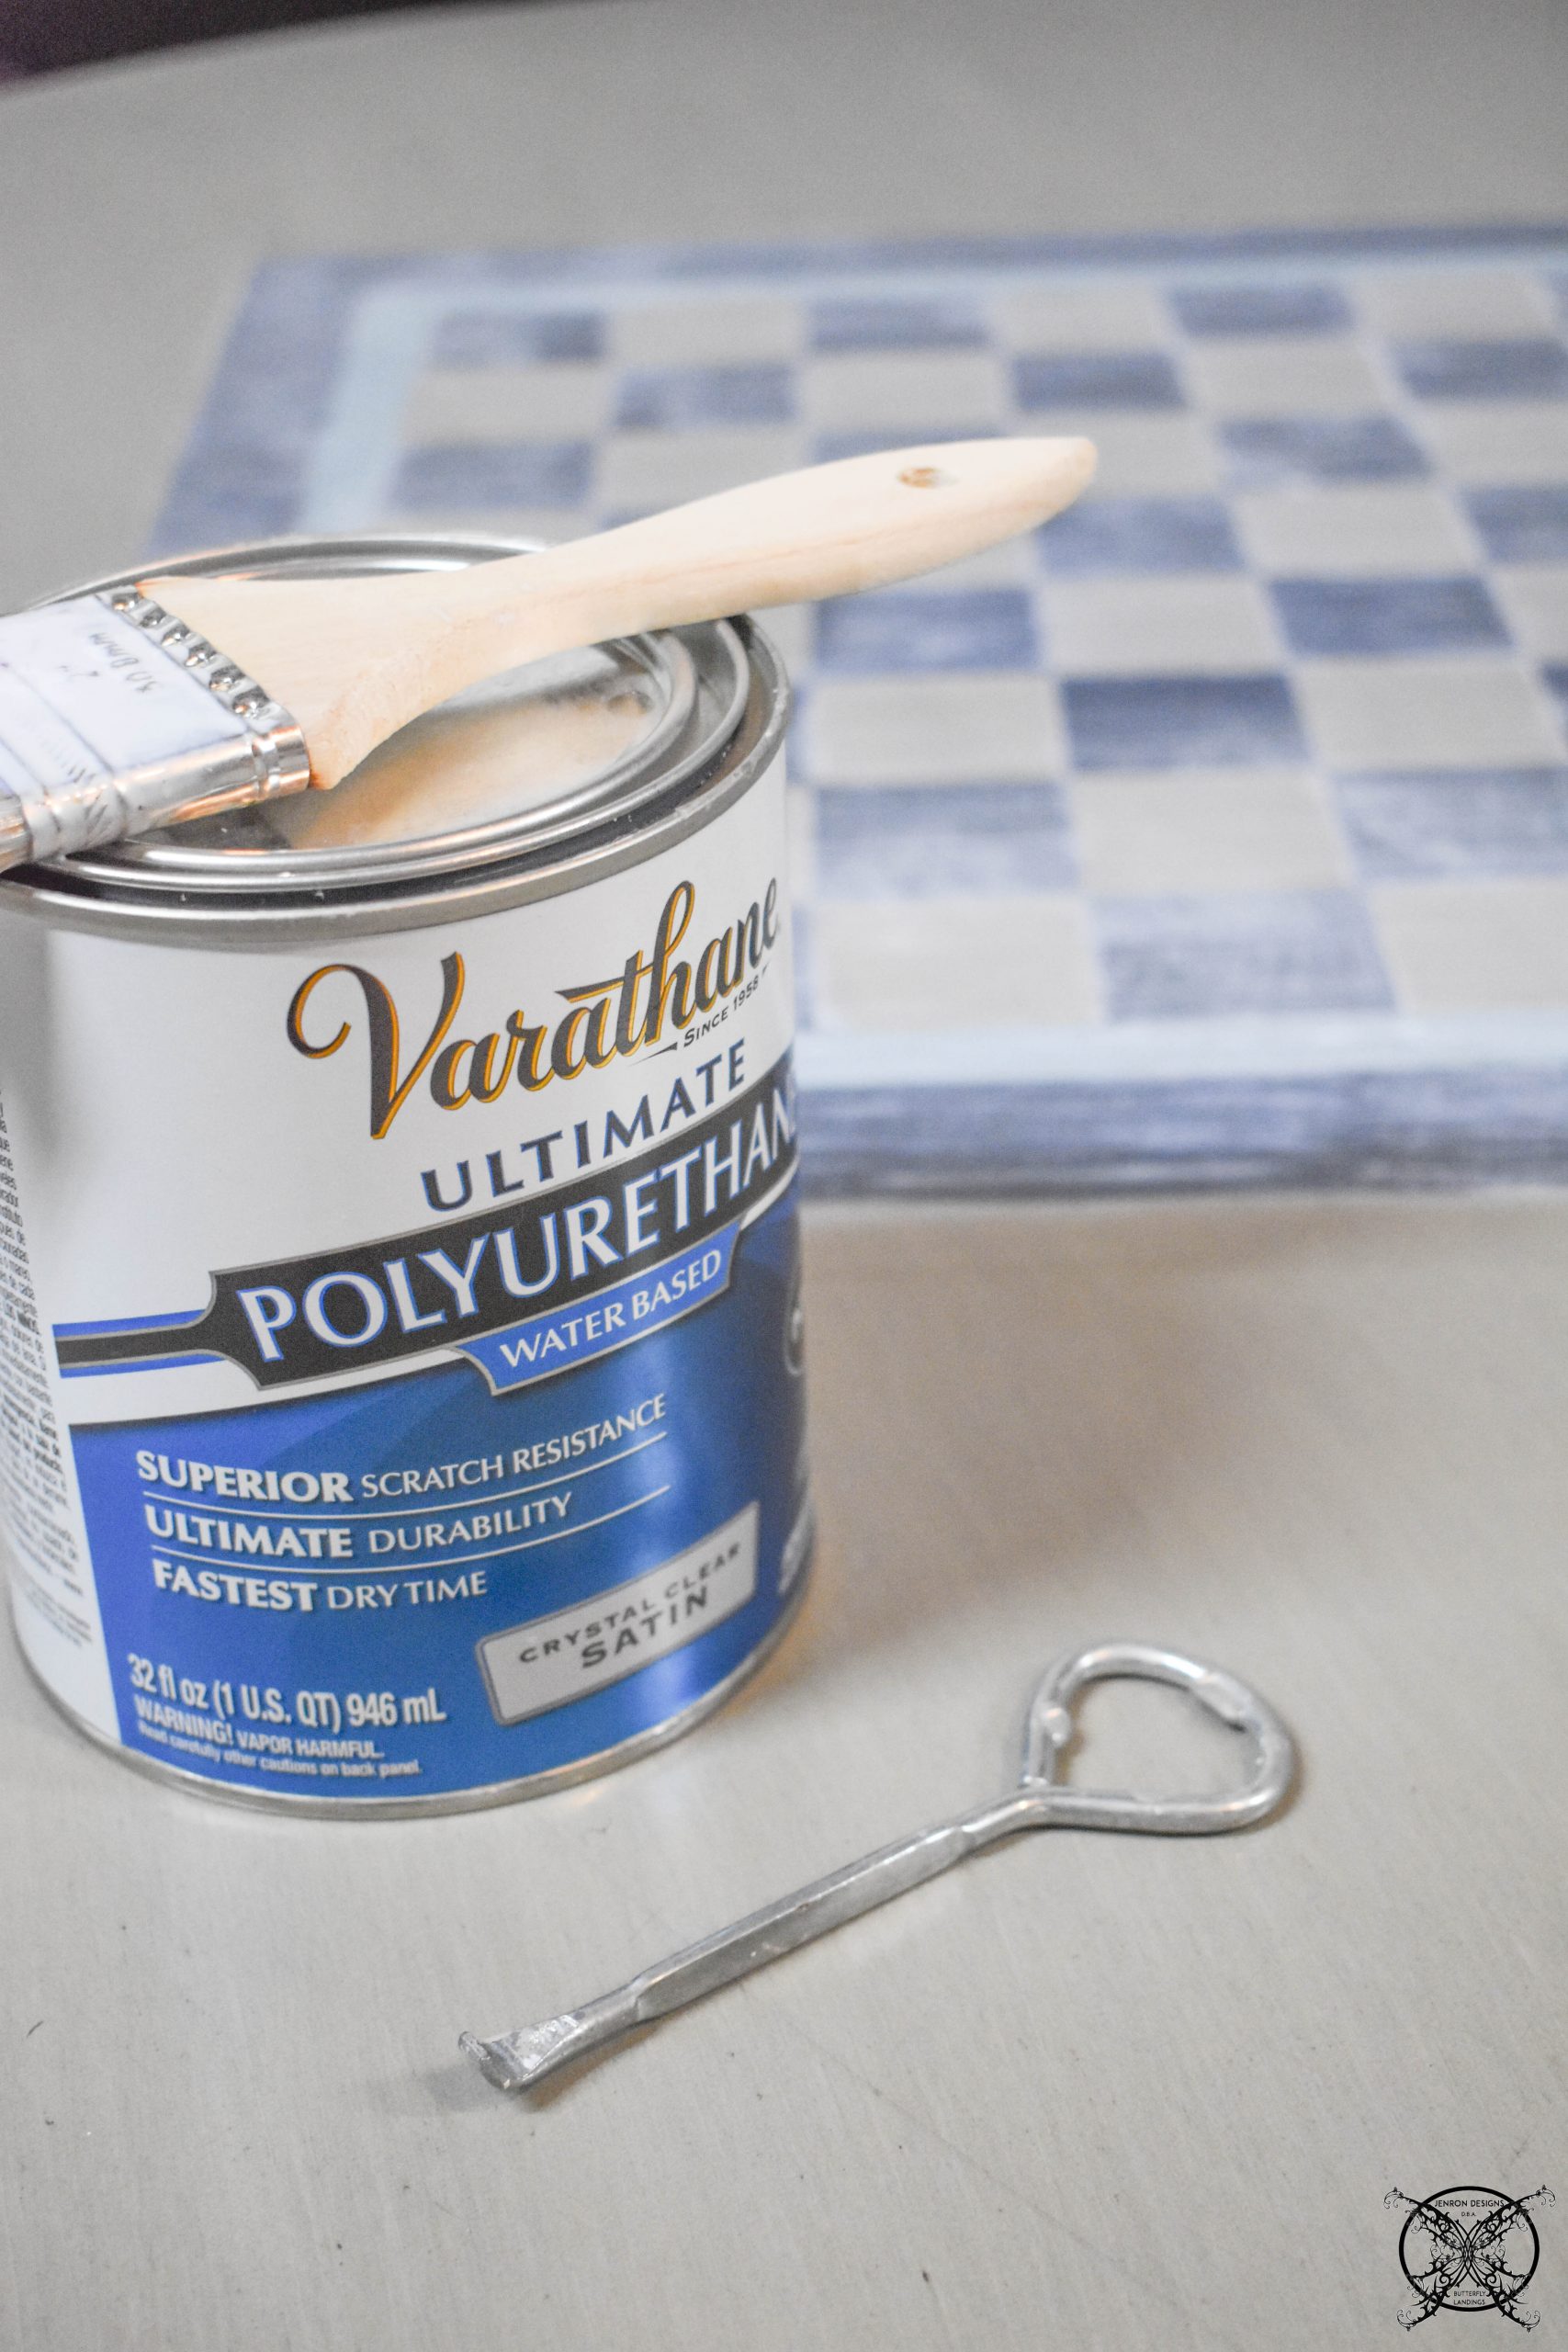
 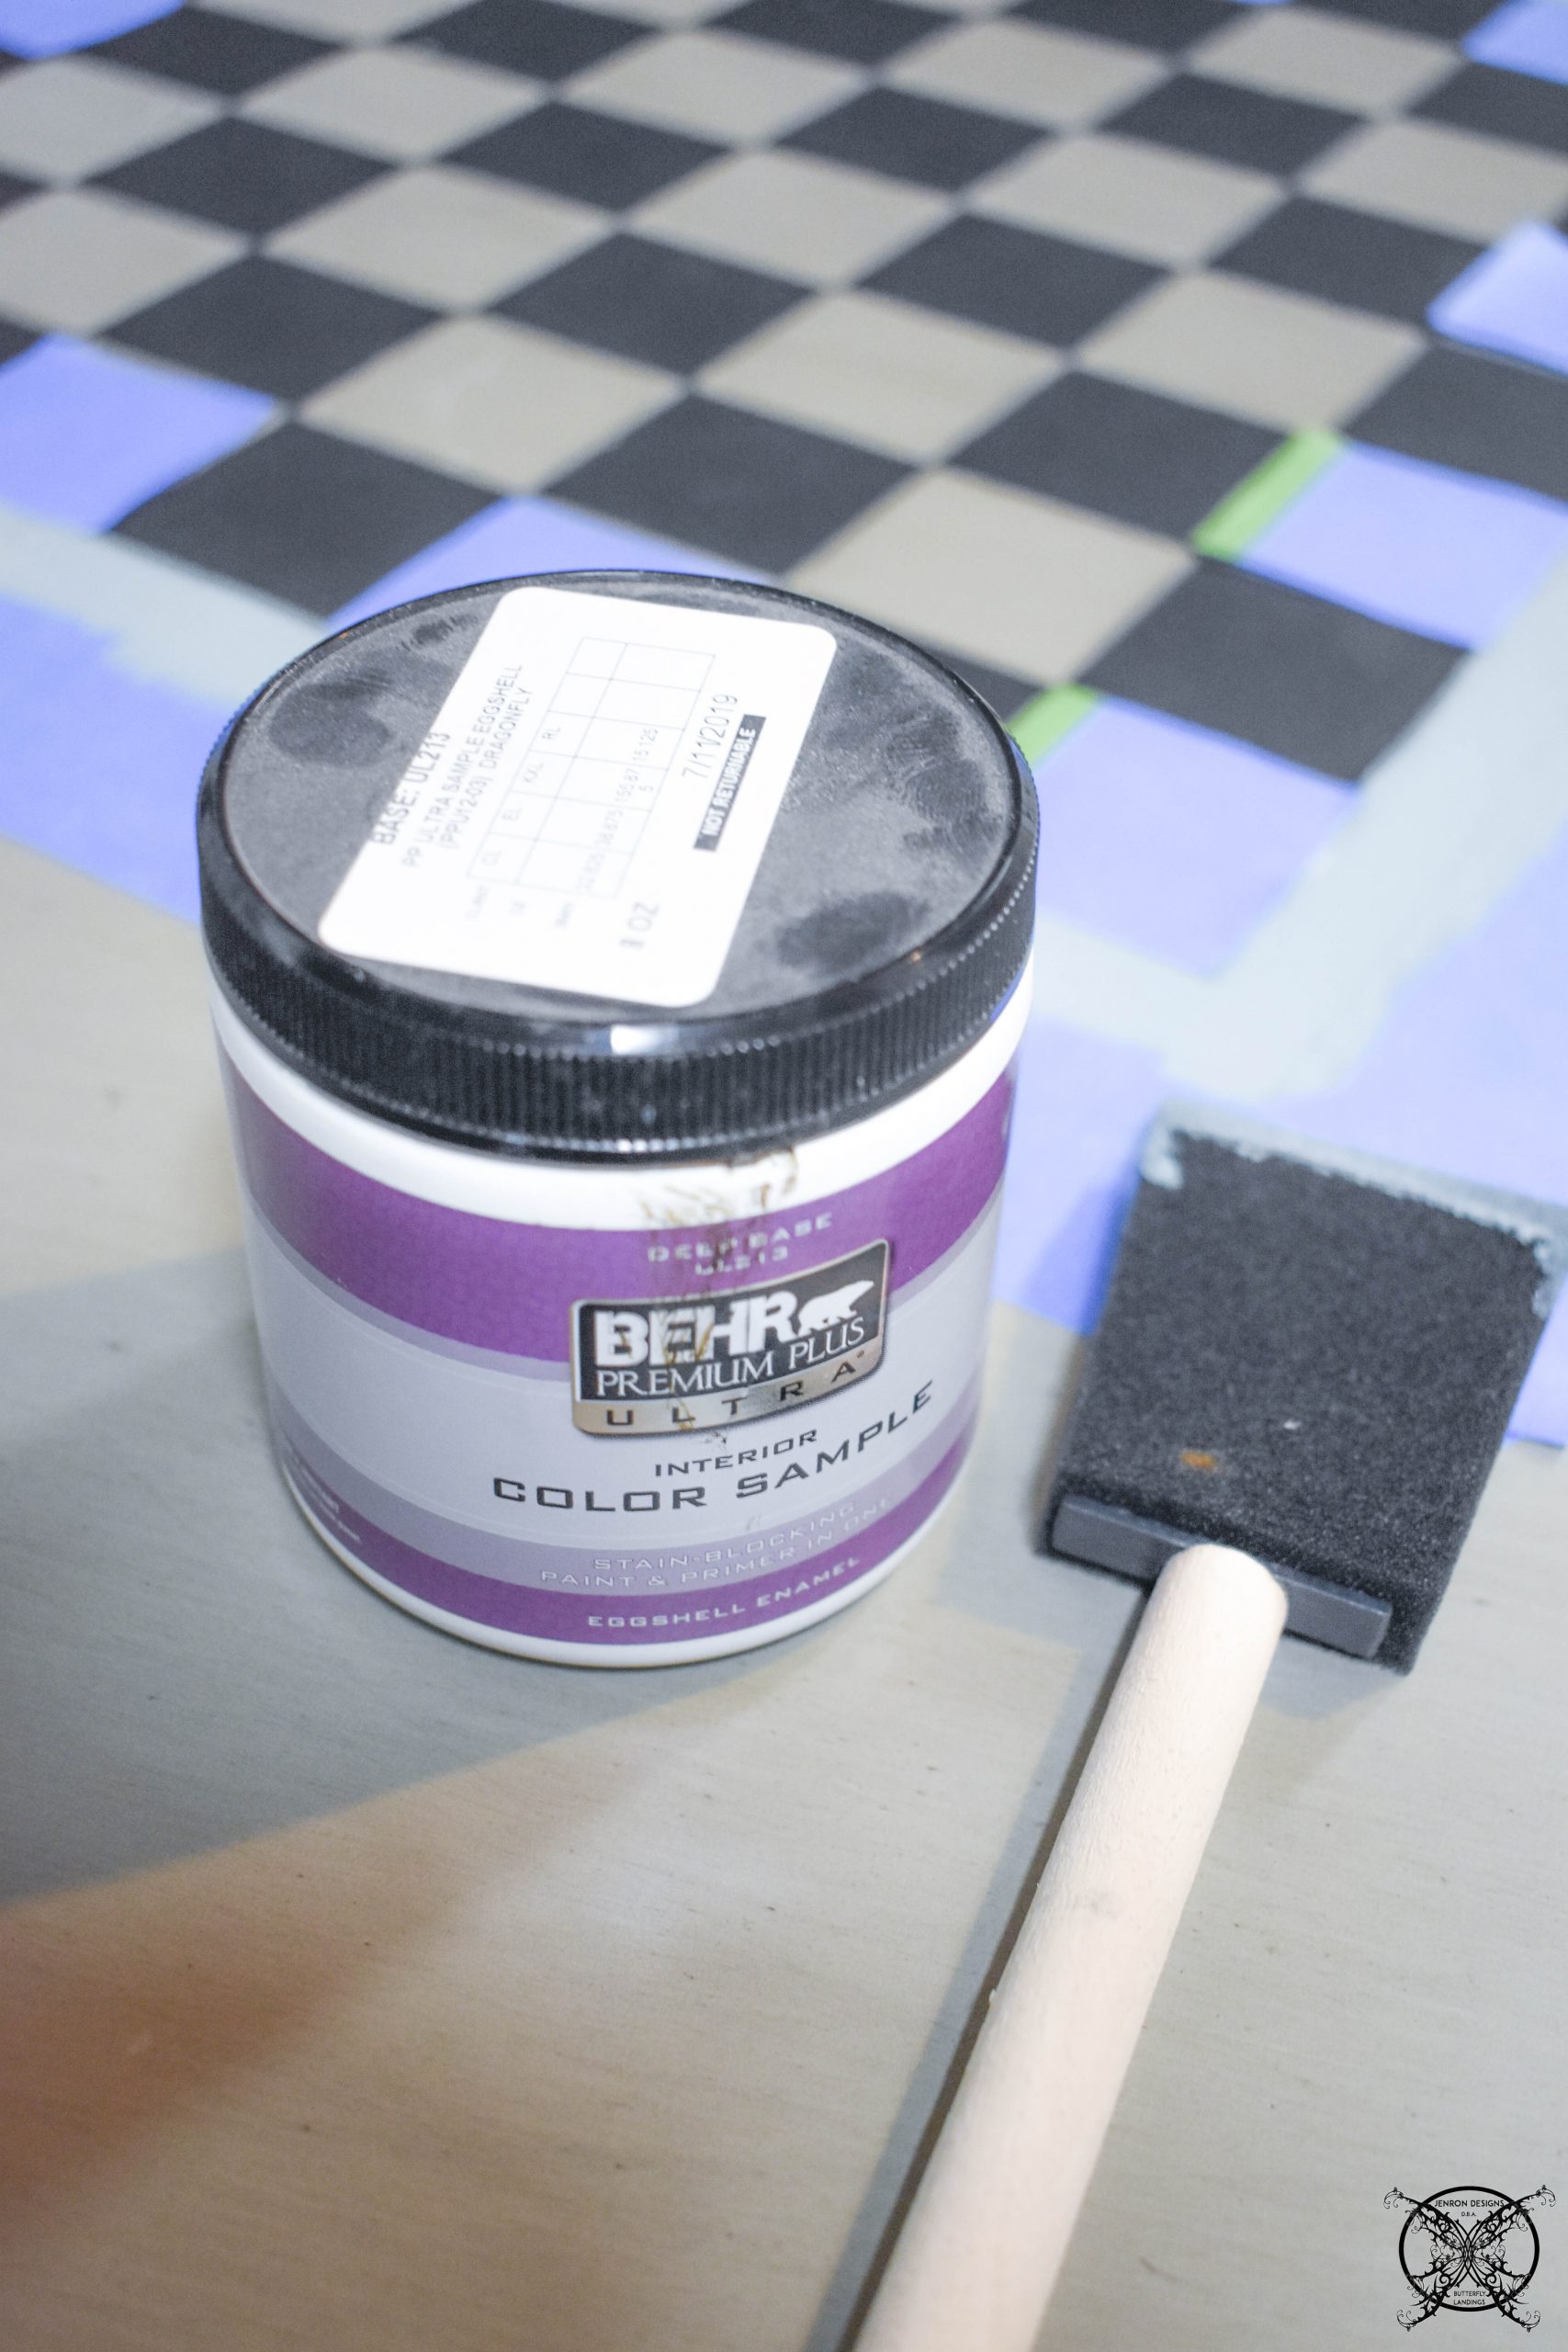 A great tip is to use a sample paint like the one seen above, this can save you a lot of money when you only need a small amount of a specific color. Since we are sealing the entire table top with a Polyurethane, specific paint is not really required at this point.
 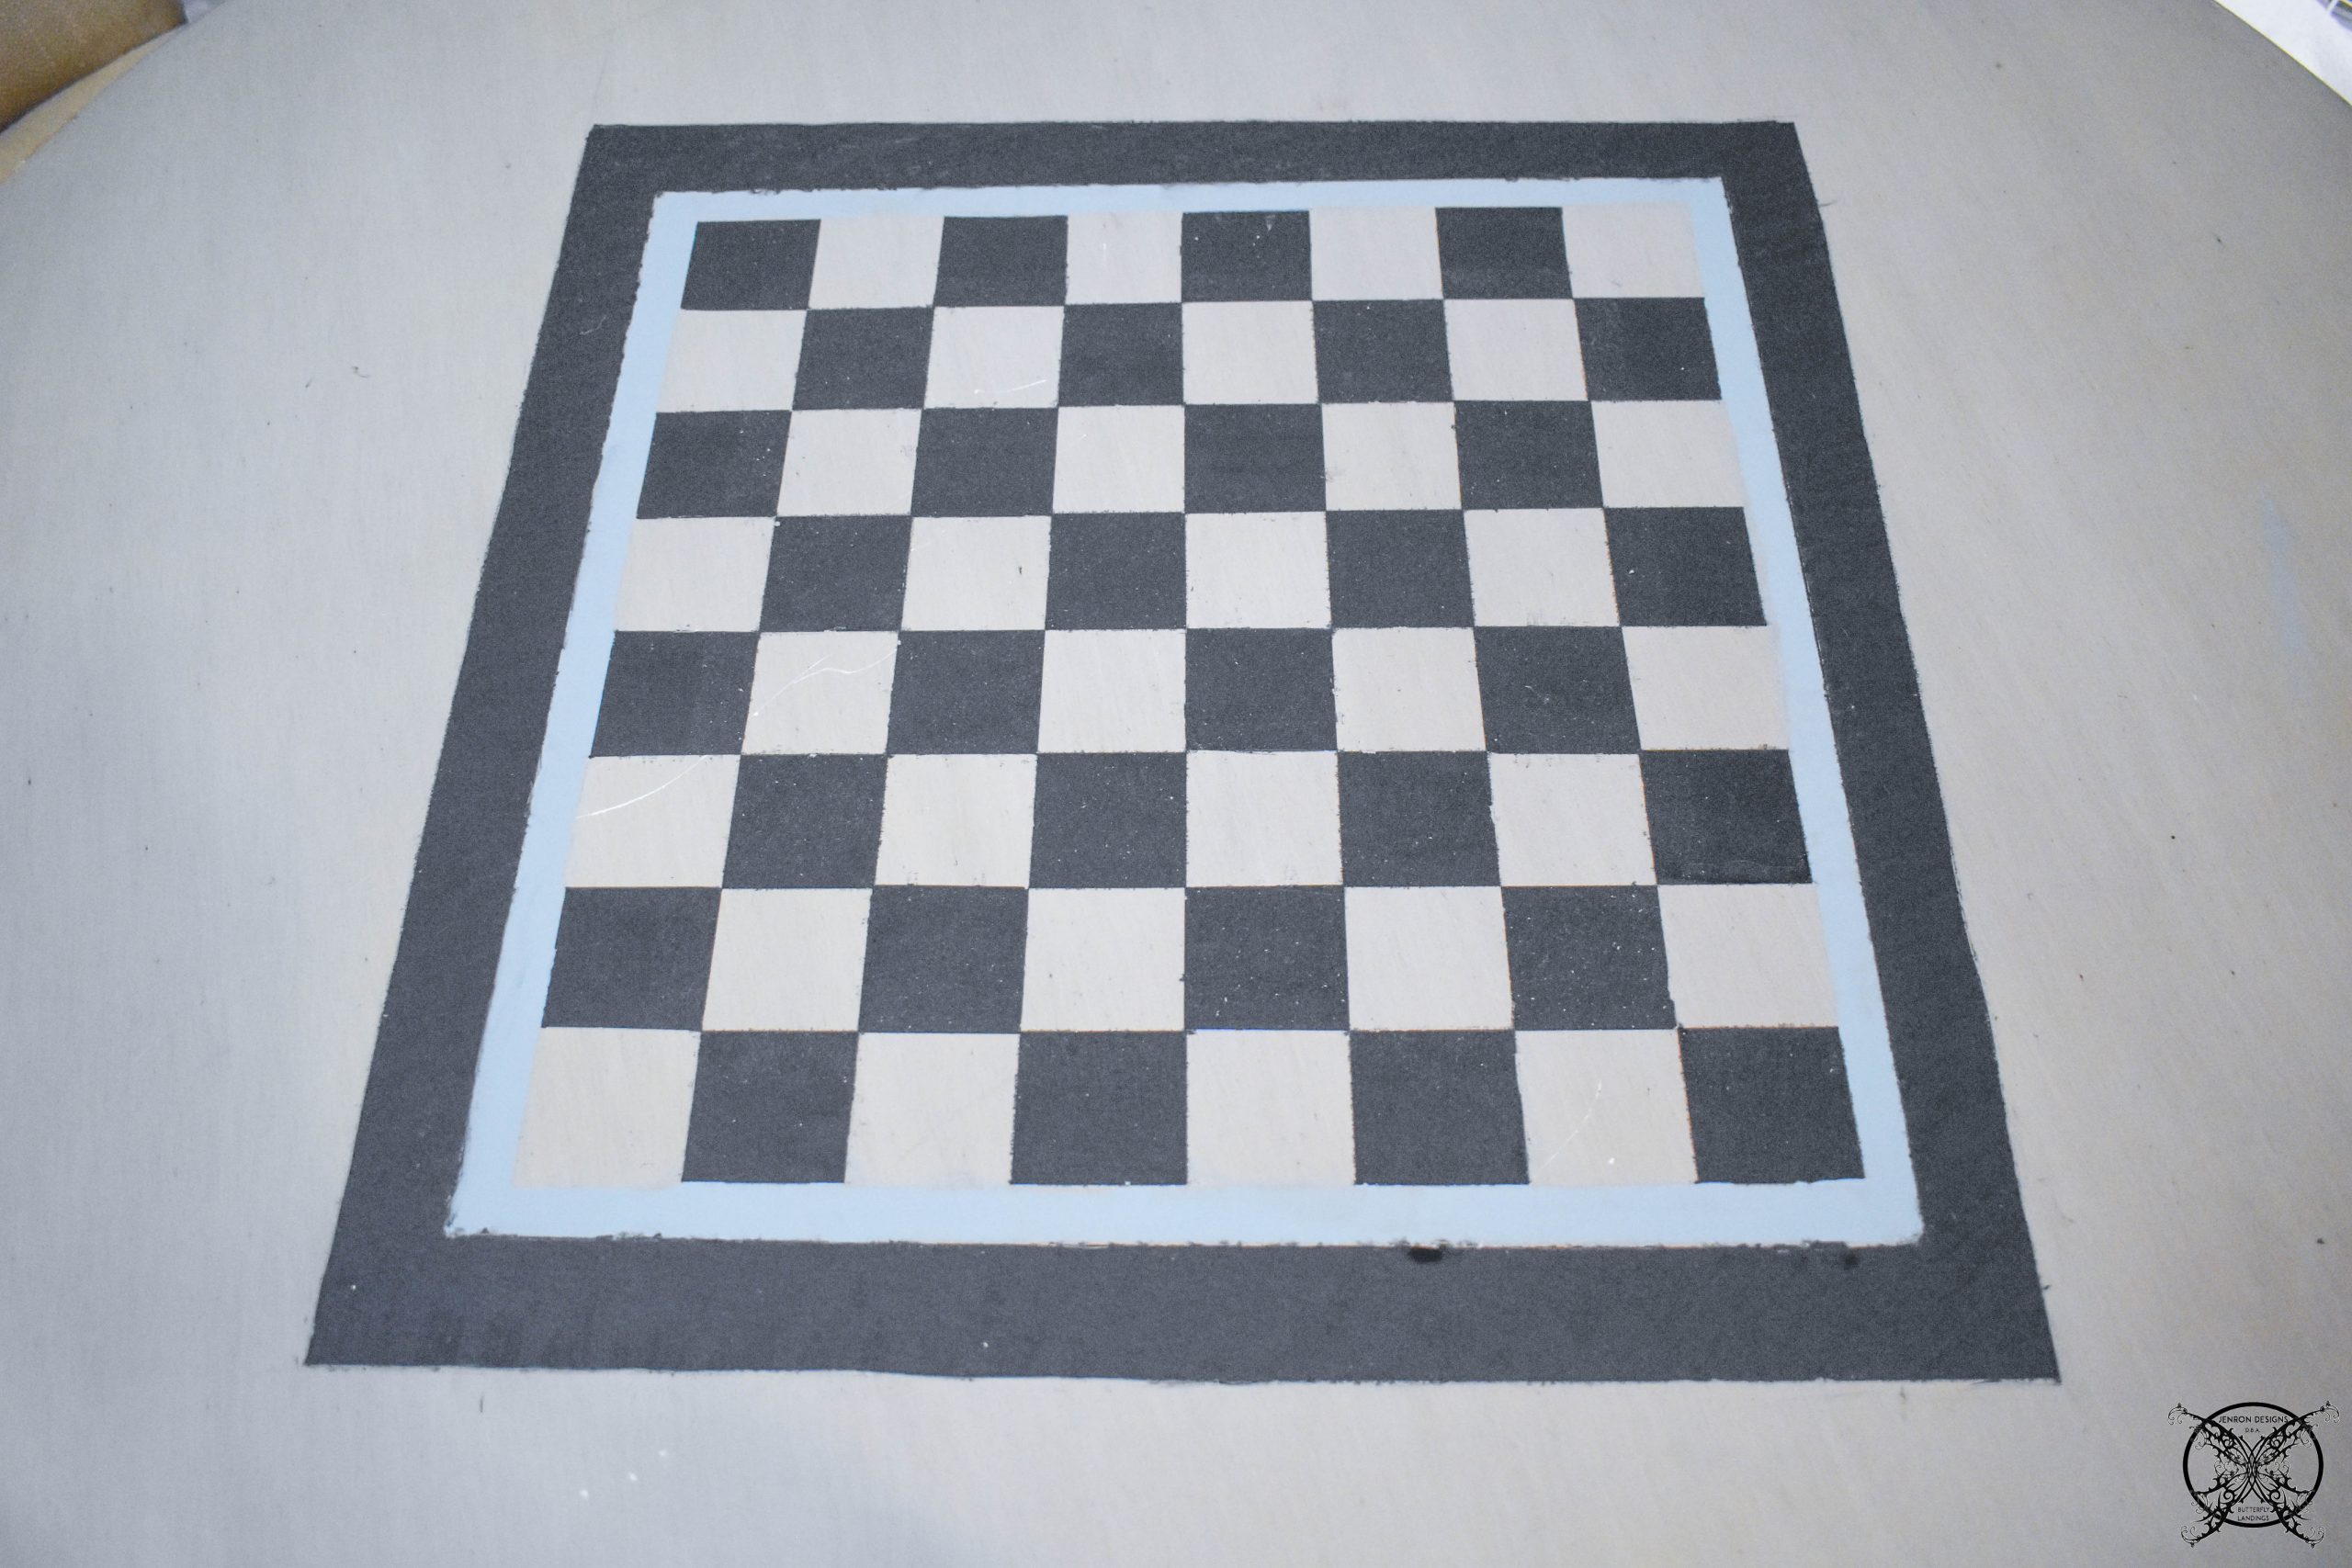 You will repeat the same process for the outer border as well to complete the basic board shape. I used a 1/3″ aqua border and then 1″ black border on my board. Allowing each layer to dry overnight between each coat.
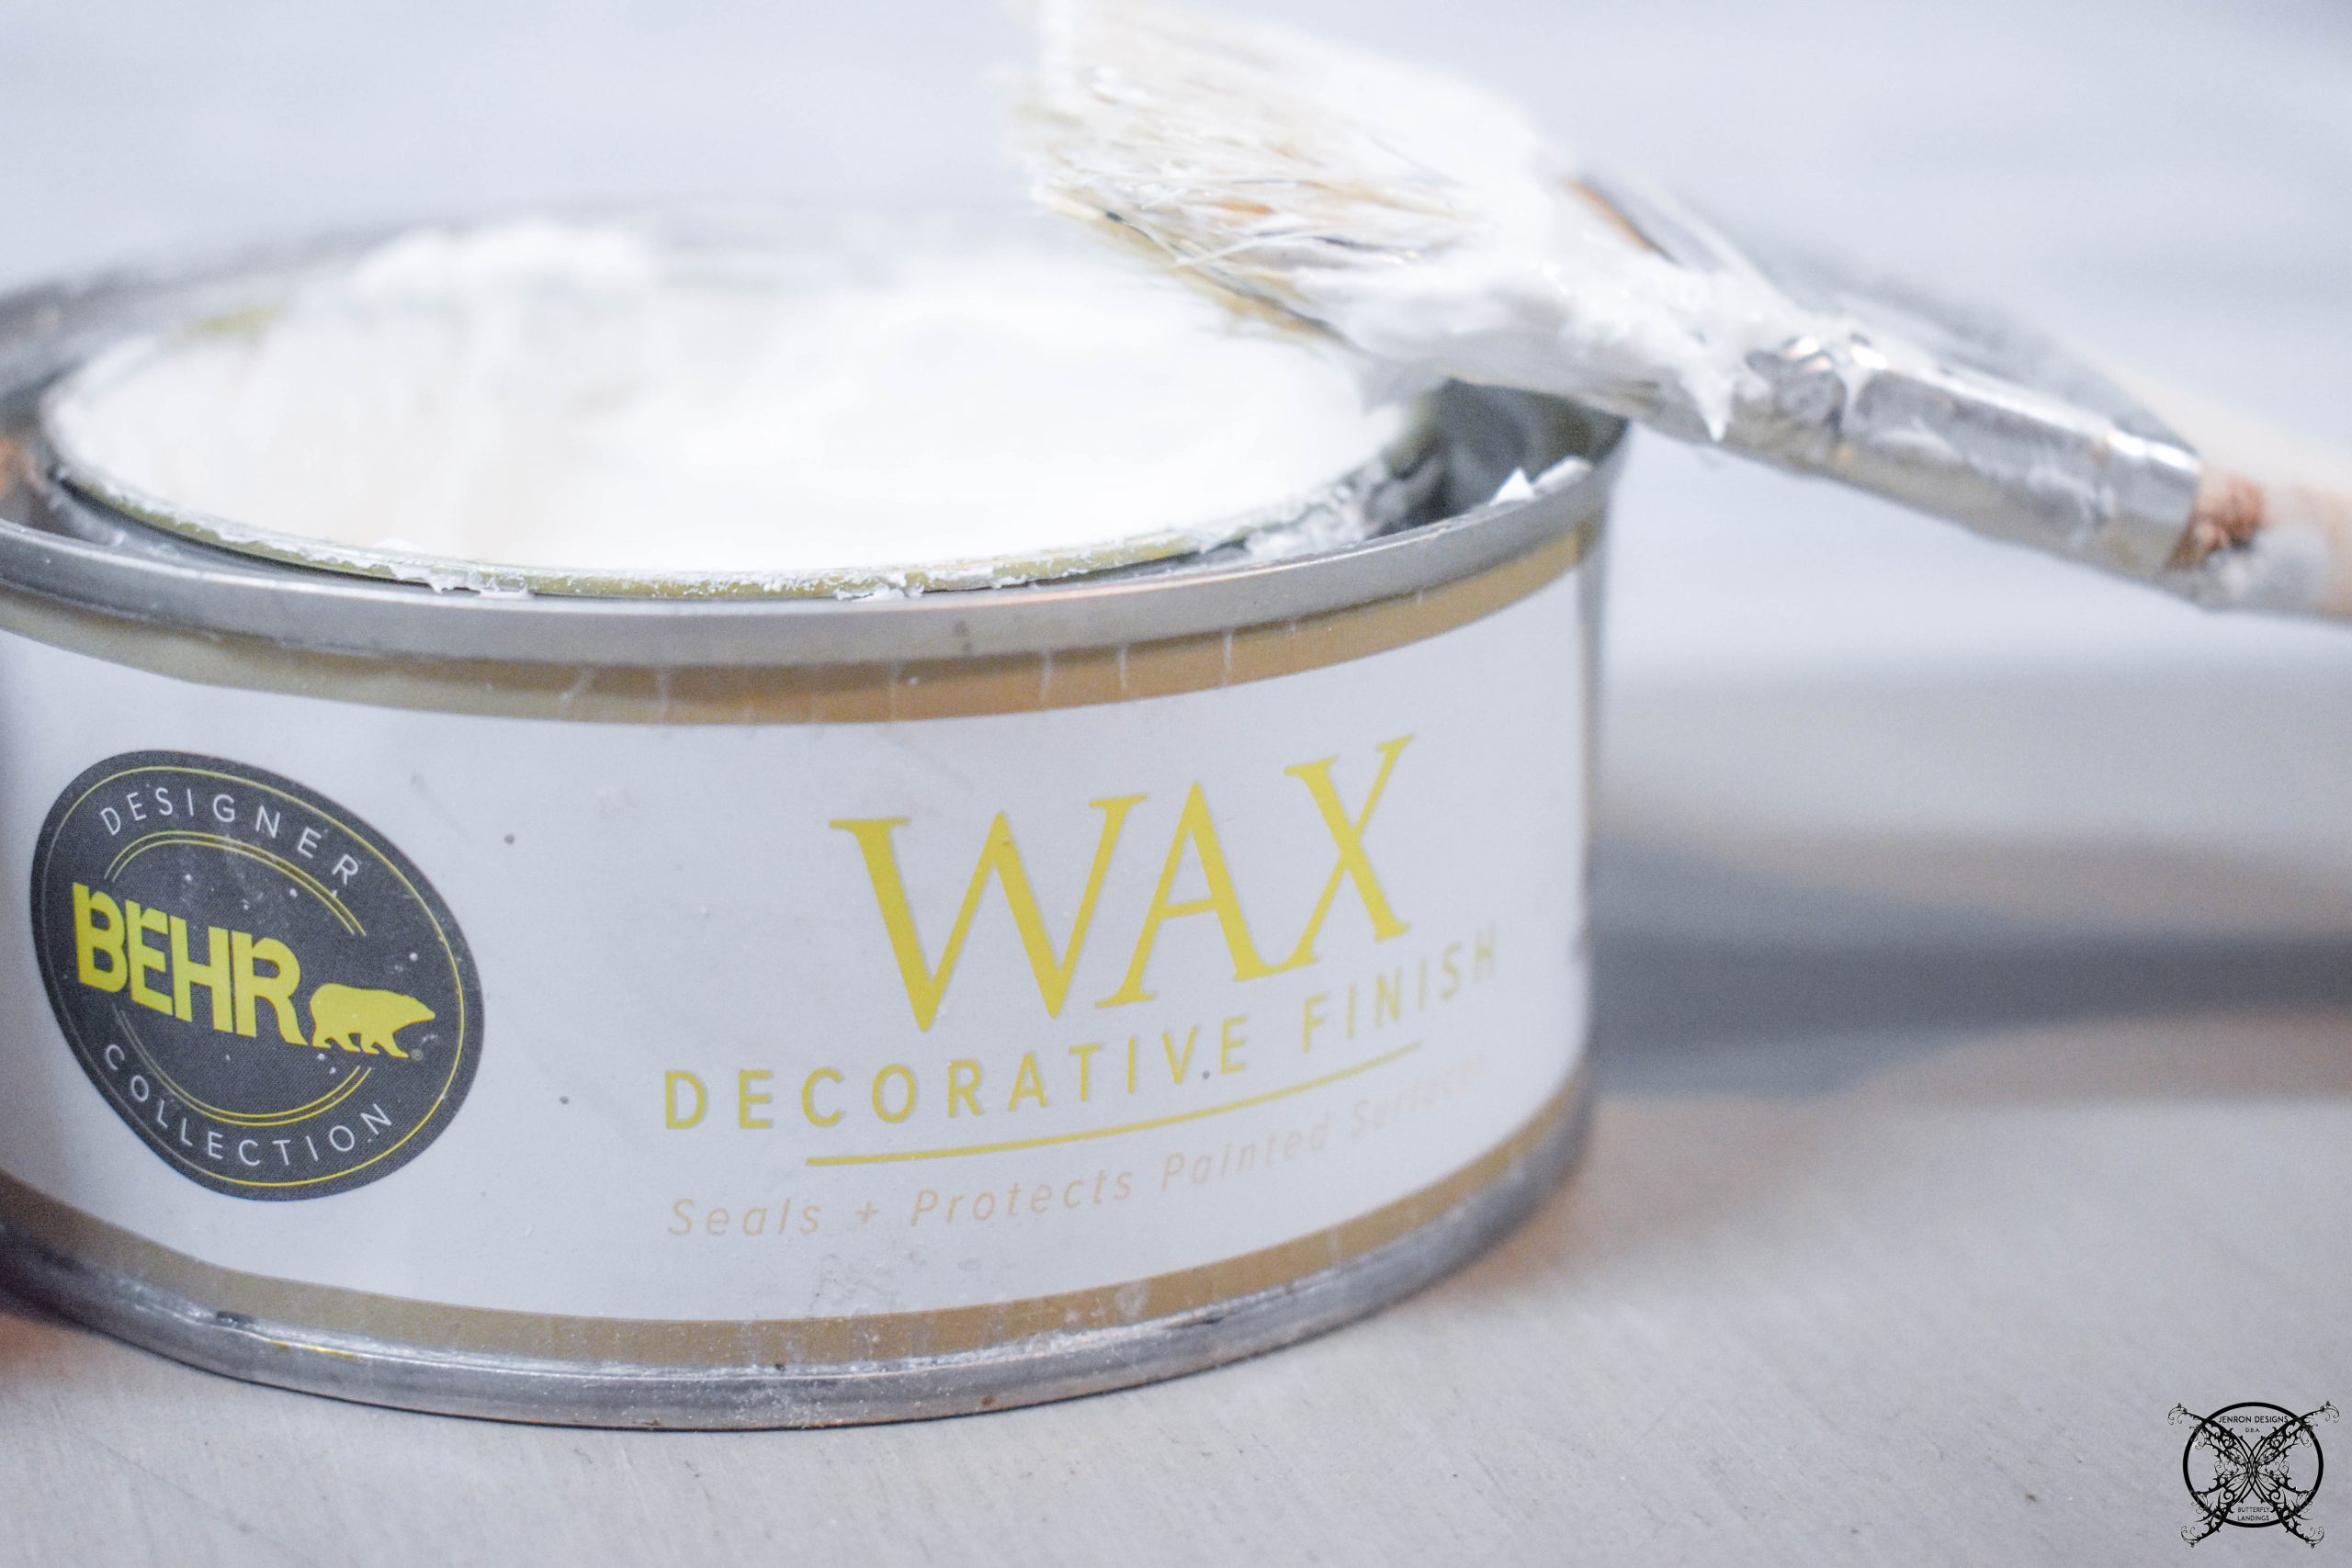 Then I used a layer white decorative wax in a muddled marbled effect across the board to give a marbleized effect to the board. I allowed it dry overnight as well. Then applied a full coat of a satin sheen polyurethane to the entire board to seal up all the paint to prevent scratching.
Note: make sure that you have done all your edits and touch up bleed lines prior to doing this, after you seal the board they are set forever.
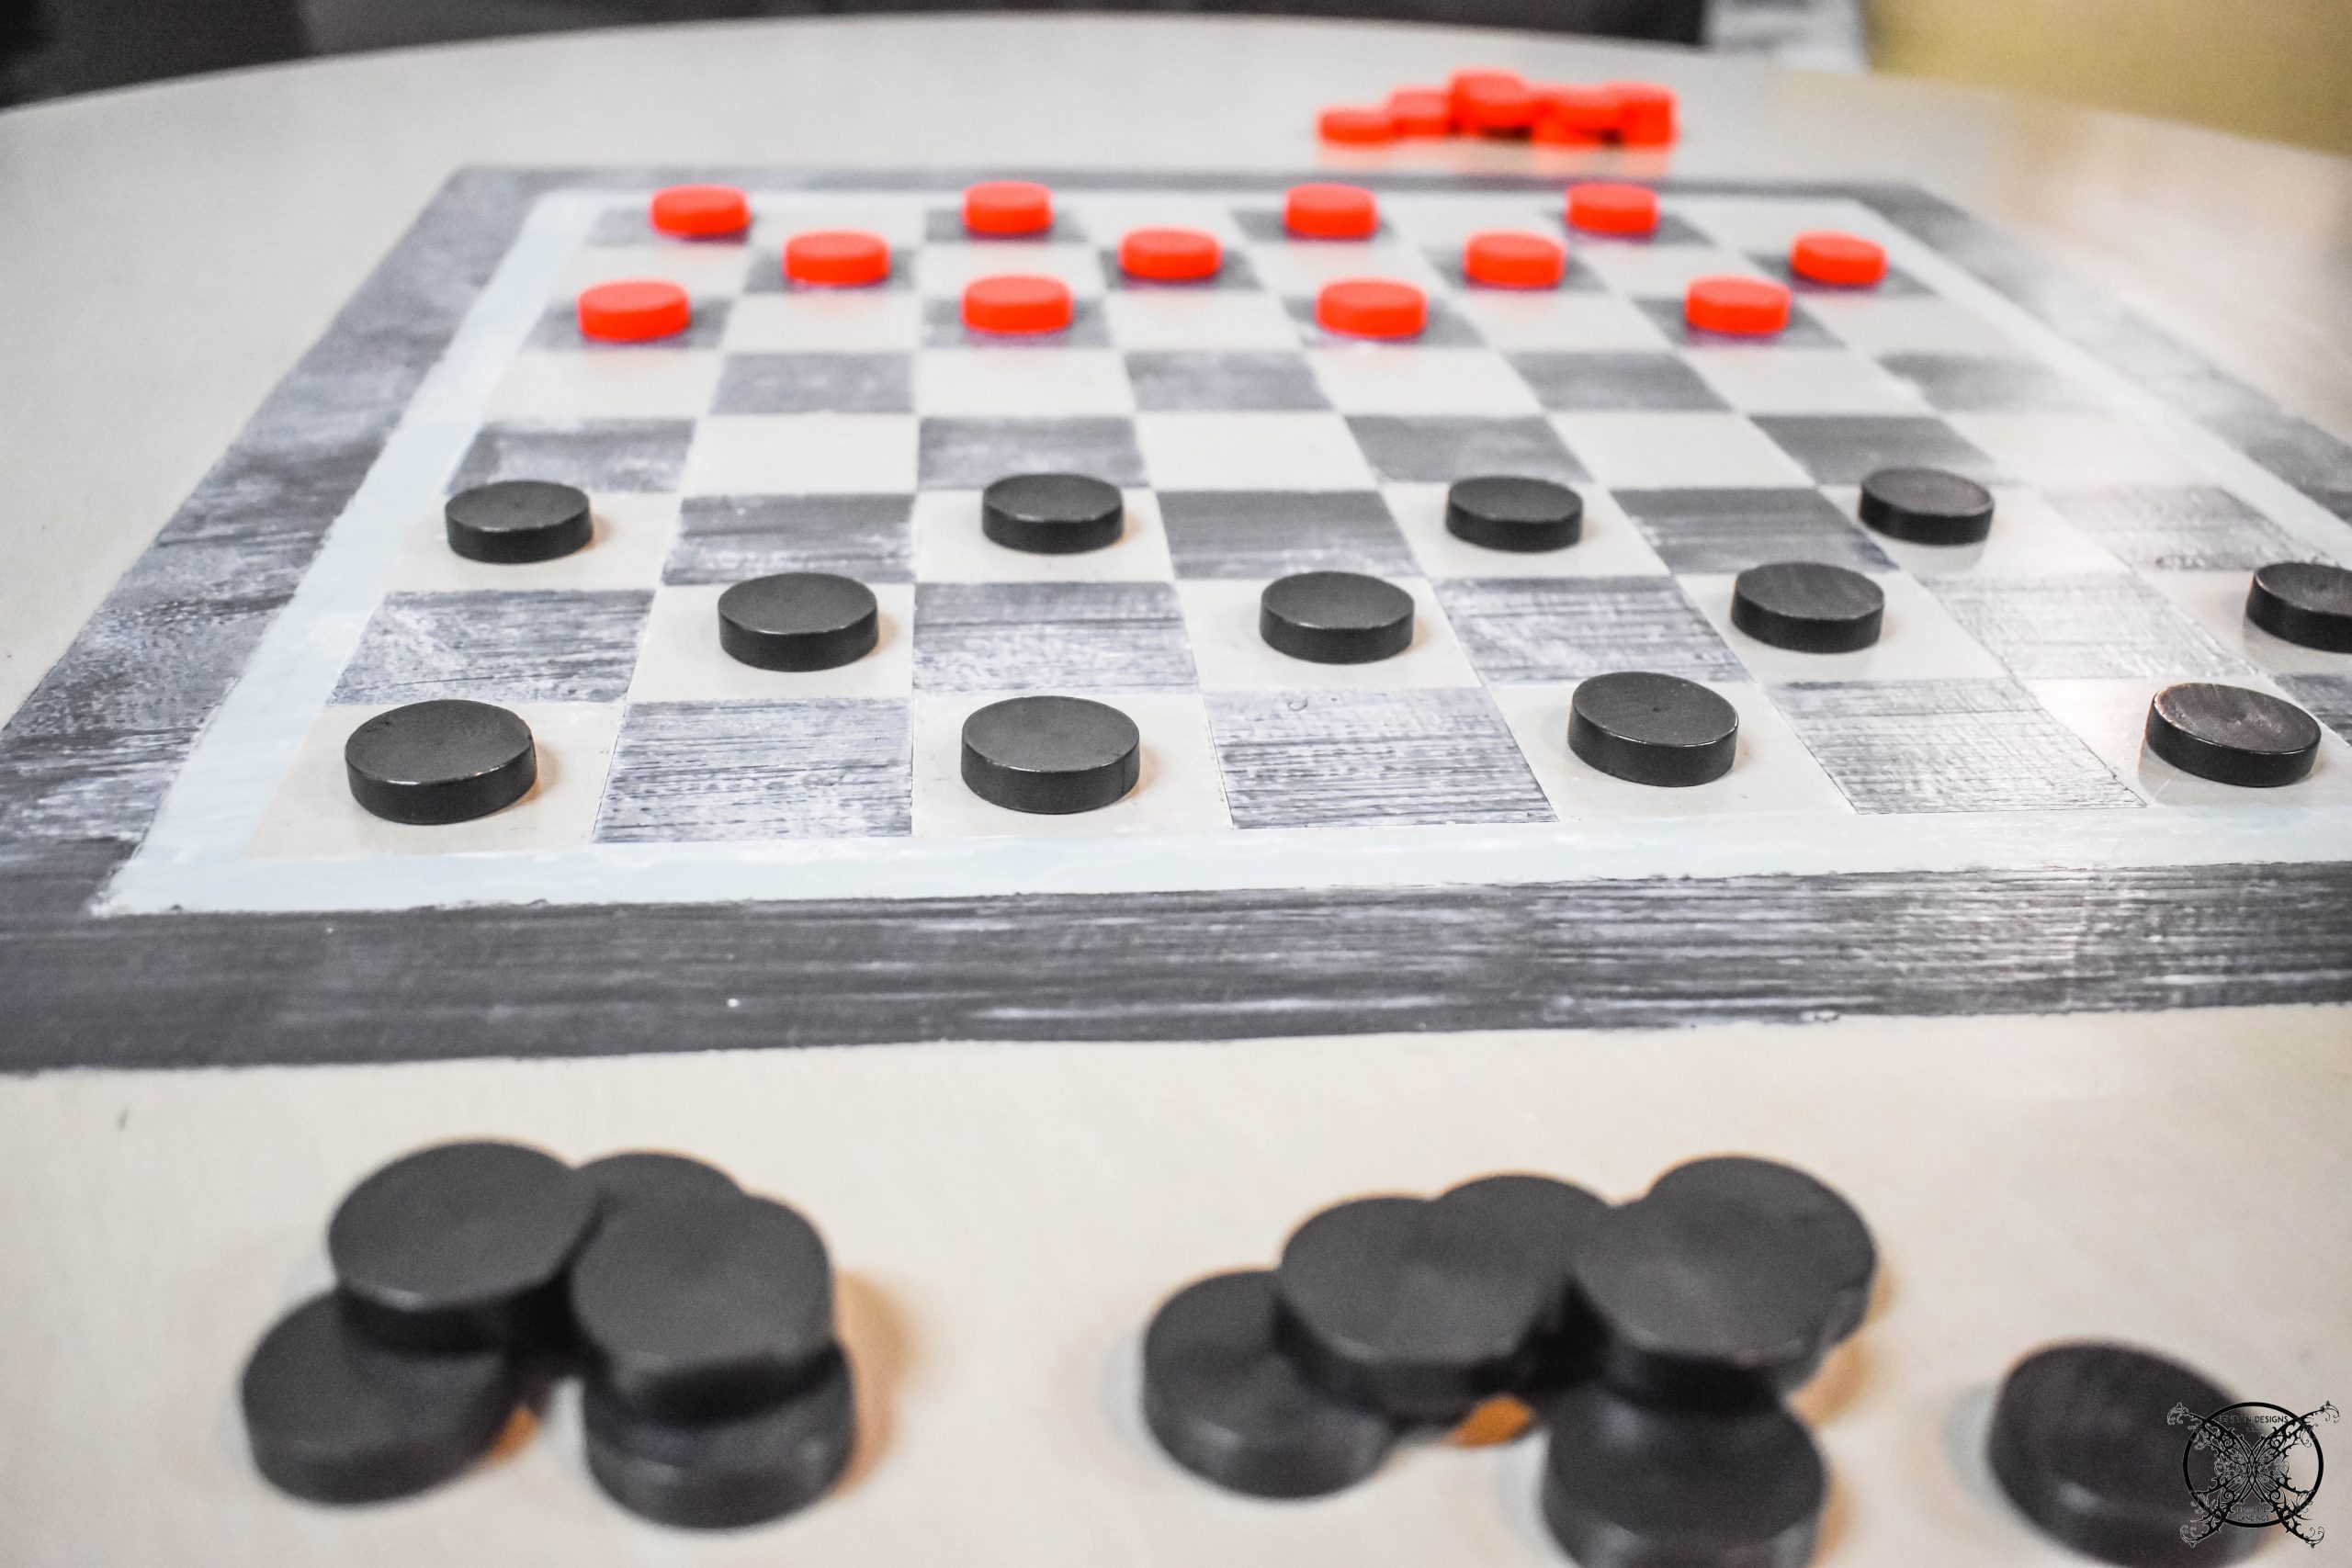
 After allowing to set for 48 hours to cure, your game board is ready for use. You can purchase sets of replacement checkers or chess pieces online, or if you are like me you can shop vintage antique stores to find some novel ones out there missing their boards.
 I did decide after painting the basic board that I wanted to add a little bit more decorative features to my table, so I decided to take one of my existing stencils that I have used for so many projects, including a stenciled floor, a tabletop and custom wall art, to add to this table. As a side note I do know how to set up a checker board (which is using only the black squares) however the pieces did not show up well in the photos, so please just ignore this particular board set up which is for visual purposes only, lol.
Check out my other favorite Farmhouse Stencils below perfect for tile floors or walls like I have created in this post. Also be sure check for the latest saving events always listed on my Shop My Style page, linked here.
By only using certain points on this mandala stencil I was able to add the custom points on to the game board and the table in the round and give it an even more elevated look. I alternated the same two colors of paint and allowed it dry overnight. Then sealed the entire table top with polyurethane to prevent scratching.PIN ME for later and be sure to follow us on Pinterest at Jen @ JENRON DESIGNS
LOVE THIS PROJECT? Want to see more of my easy furniture refinishing projects check them out here:
Refinishing a Vintage Radio with Modern Technology
Such a creative idea! Love the DIY and family time concept here.
My family loves game night so I definitely need to check this out and try and do this one of our many tables we have just taking up space.
So fun, my family and I love to play games so I definitely need to do this 🙂
This turned out so great! We could use one of these in our house.
Lovely family game table, both to look at and use! Your photos and guide are both so helpful.
What a fabulous game table idea. You are so creative !!
That’s such a great idea! I can definitely see myself creating a game table!
Being a crafter I love making DIY stuff. This is such an easy and creative idea. Totally loved it.
This is a fantastic idea that adds so much depth to the room! I would love this for a kids playroom too- less mess and game board clutter!
This brings back childhood memories. My older sister worked for a rich family who had a fancy games table – I’ve loved them since. Your table is beautiful and I love the way you put it together yourself and painted it … inclusive of that special feature you cannot buy … love ❤️
Hello! I could have sworn I’ve been to this blog before but after browsing through some of the post I realized it’s new to me. Anyways, I’m definitely happy I found it and I’ll be book-marking and checking back frequently!