Creating a Rustic Side Table
Today I am sharing a DIY project I have been working on creating a rustic side table, which was previously a cherry wood stained piece from the 90’s.
Today I am refinishing a side table, which was previously a cherry wood stained piece purchased from Bombay in the late 90’s. This was one the first pieces of furniture we bought as a married couple and was all the rage during this time frame.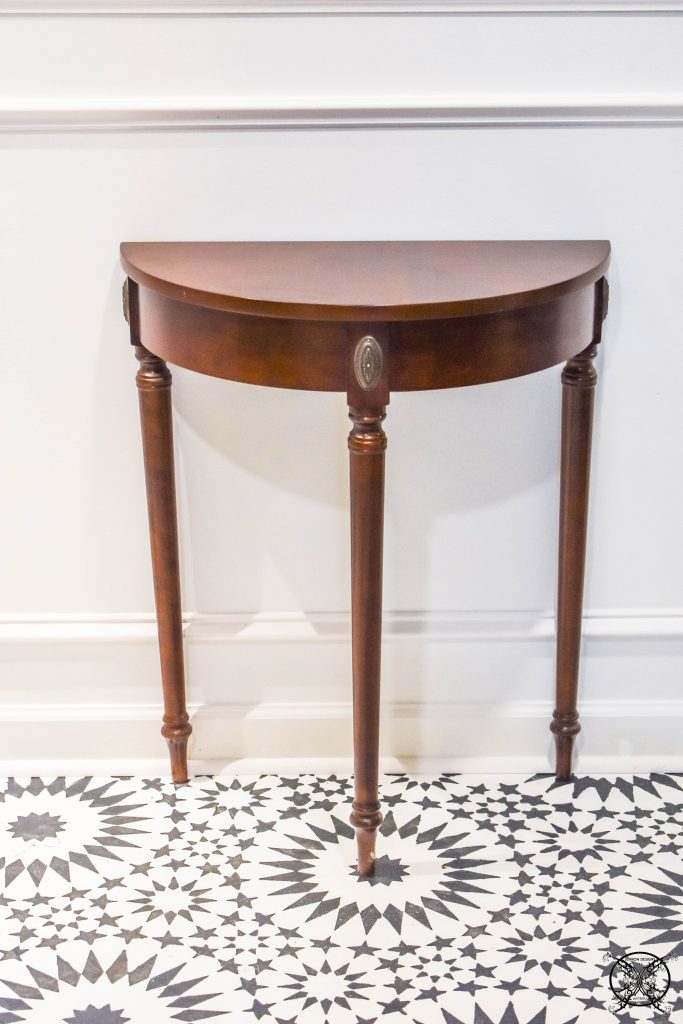
However as you can see from the before picture above, the basic cherry wood finish is very dated and simply screams 1990’s furniture. I do still really like the simple lines and size of this piece, so I feel like a refinishing would be a good option for this piece. My end goal is to reach an unfinished, bleached or raw wood look.
 Ask the Designer: Does the Easy Off Oven Cleaner Furniture Stripper Method Work ?
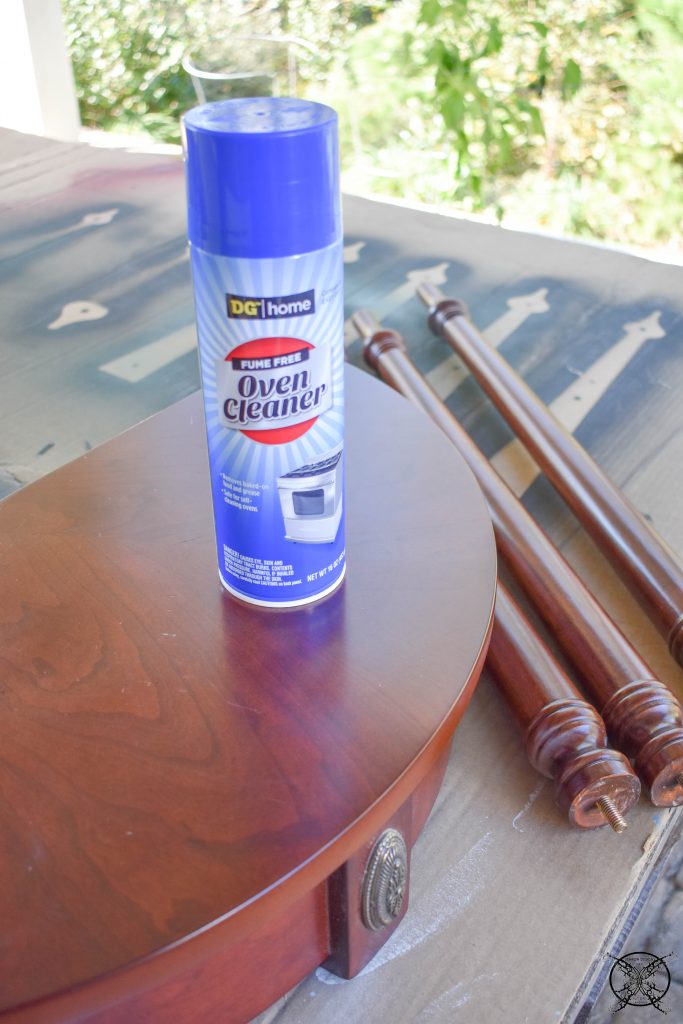
I decided I wanted to try the oven cleaner stripping method I have seen all over Instagram in videos. Let me just save you all a lot of time, it does not work very well. I am not sure what those other bloggers are doing differently, but I assure you that this method did not leave any desired results I wanted, LOL! 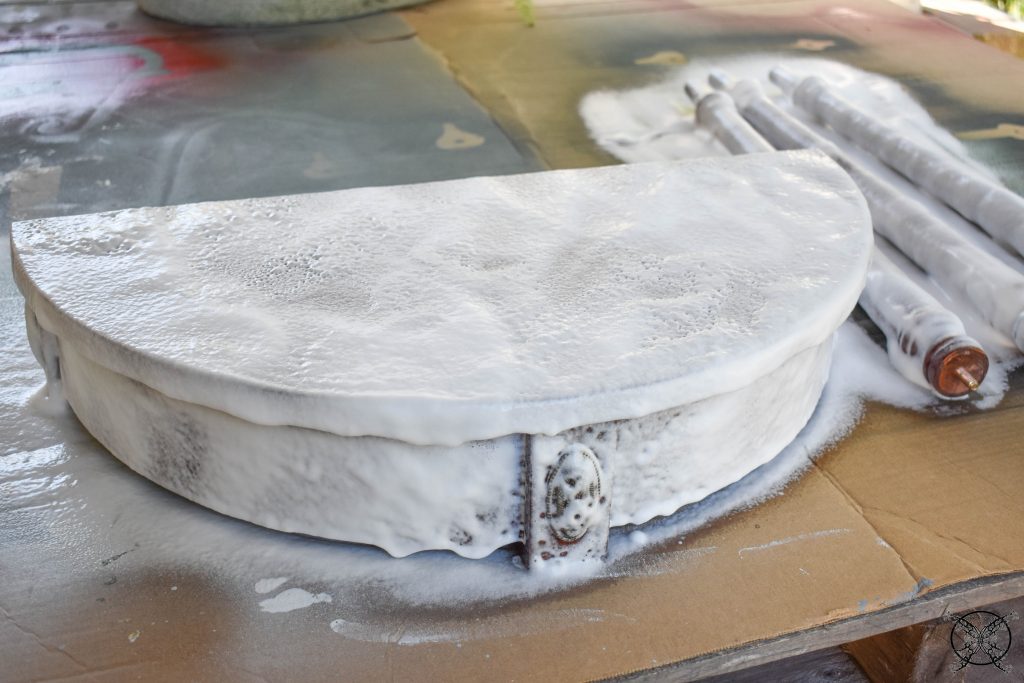 I will say it did lighten the color and remove some of the lacquer but I feel like this method might work better on antique or vintage pre sanded or a raw wood piece. It is not meant for any type of furniture that was sold from a store in the last 30 years.
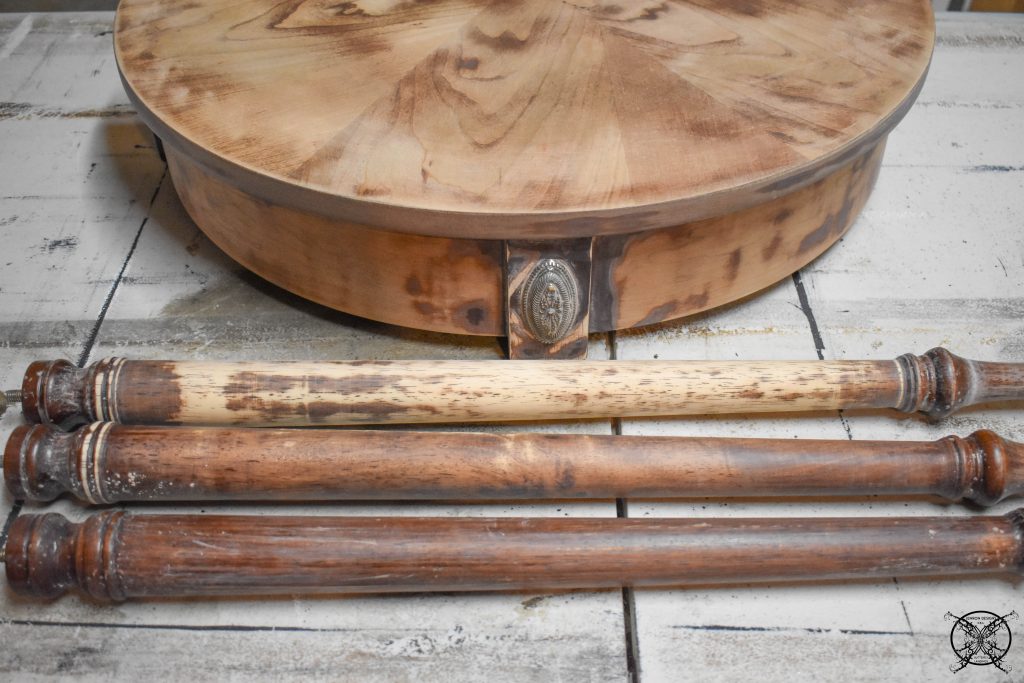 So I ended up simply sanding down the entire piece with a electric sander. This yielded much better results as you can see above, however the legs were tricky. We tried a drill method where you attached the leg into your drill and use sand paper but it removed to much stain, which made them white.
 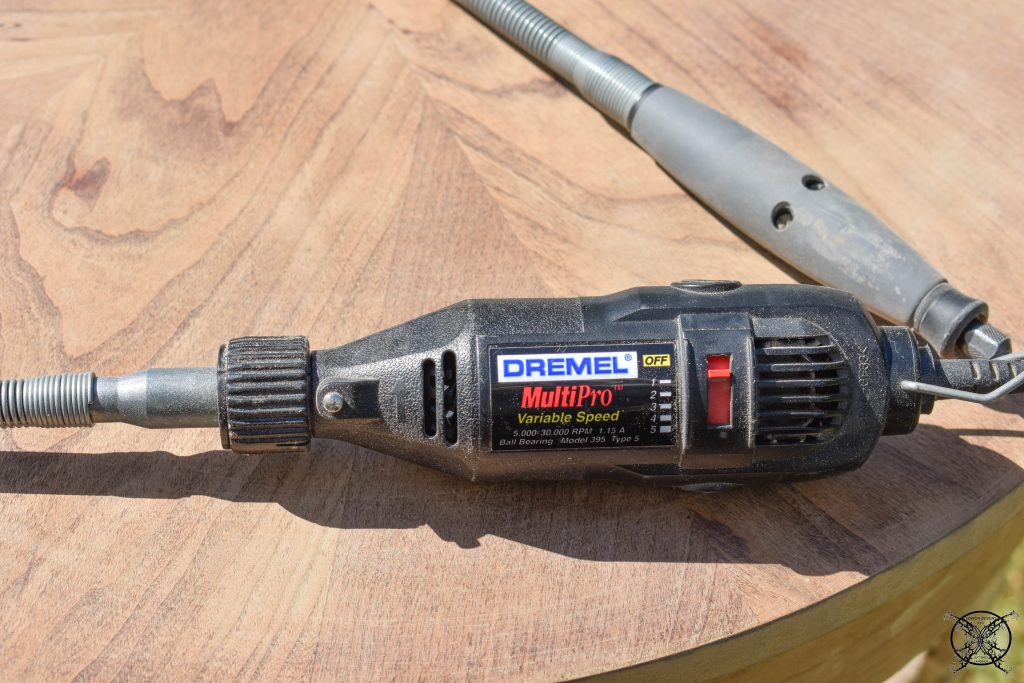 I ended up using a Dremel tool and selectively removing sections of the strain, to leave a wood grain pattern behind on the legs. This created a more eye appealing look for this piece, since the legs were a different type of wood, which was lighter.
Designer Tip: Keep in mind you never know what is going to be under the stain, in can be a patchwork of all kinds of wood types that were made to look the same with a gel stain and varnish.
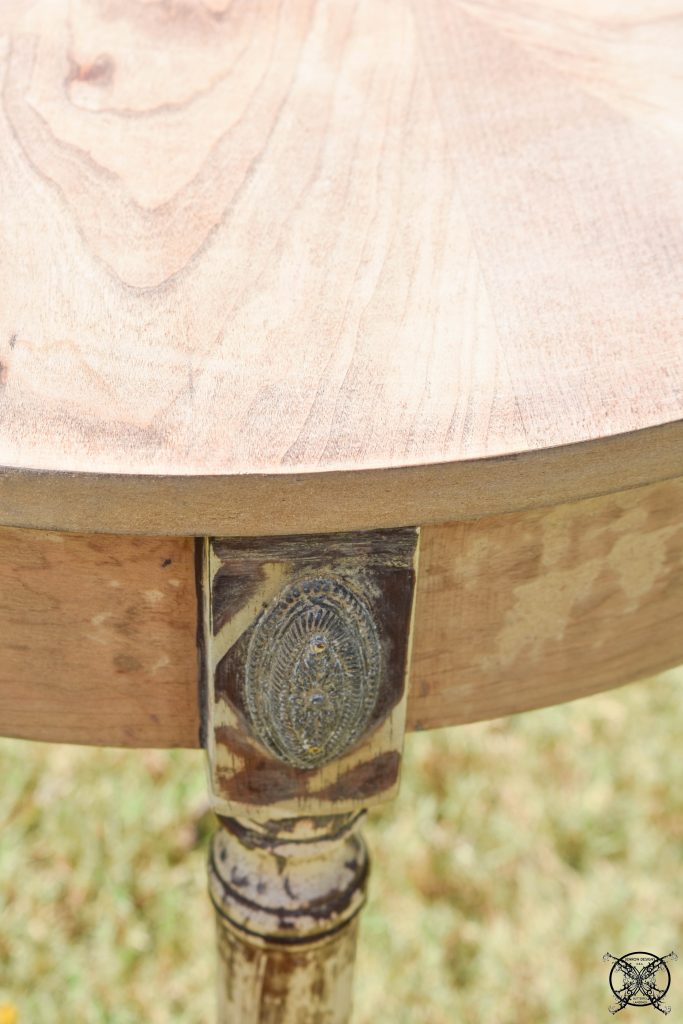 The Dremel tool was also very handy for the tight areas of sanding. For example around the medallions and the corners. I was able to selectively remove sections of the stain and leave a slight cow pattern behind.
 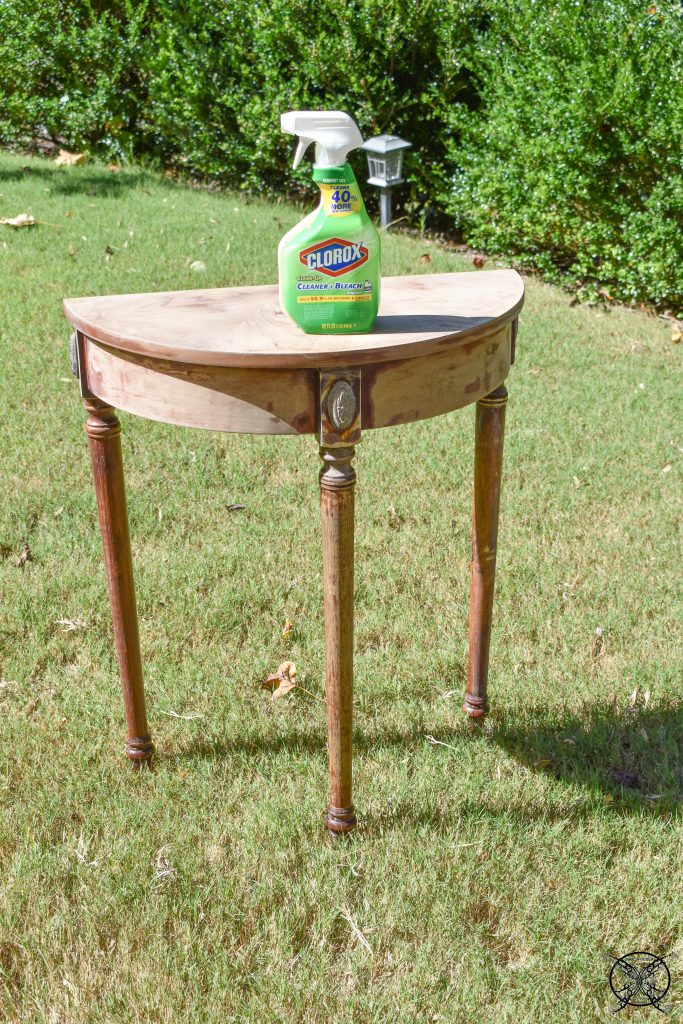 The next technique I wanted to try was bleaching the wood. I wanted to remove a lot of the cherry or red tones. I decided to use a basic clorox cleaner and leave it out in the sun for the magic show.
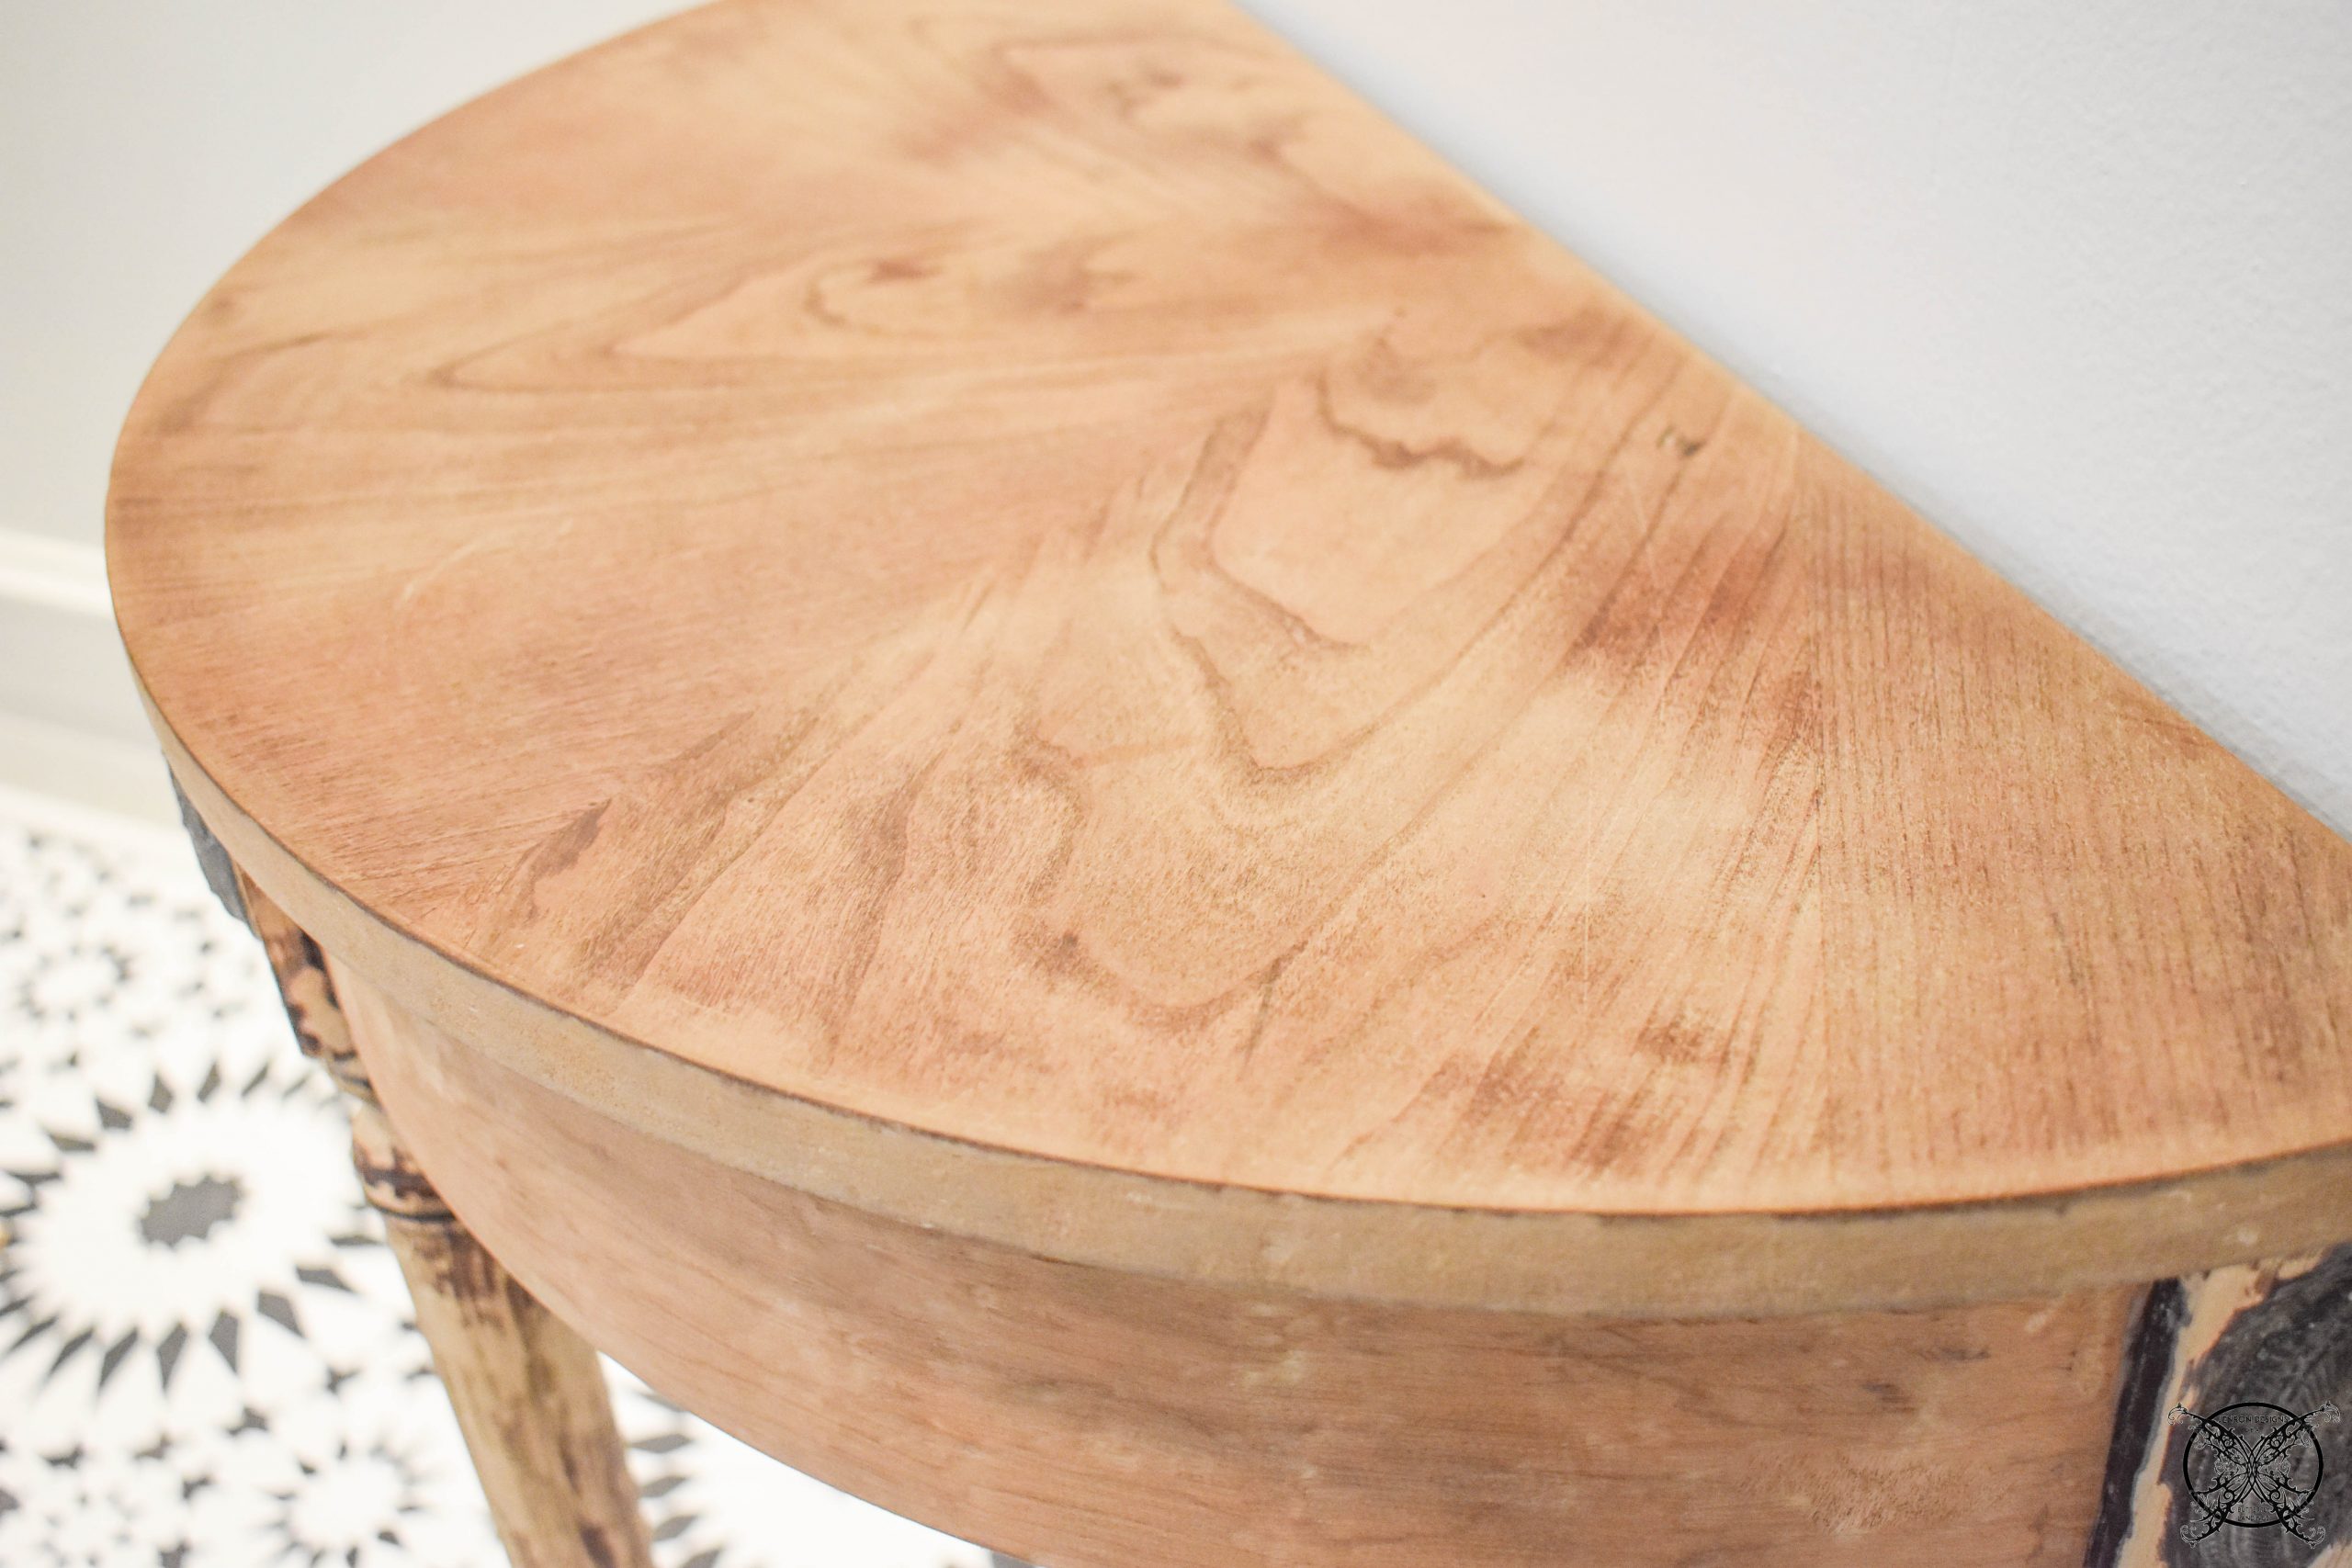
 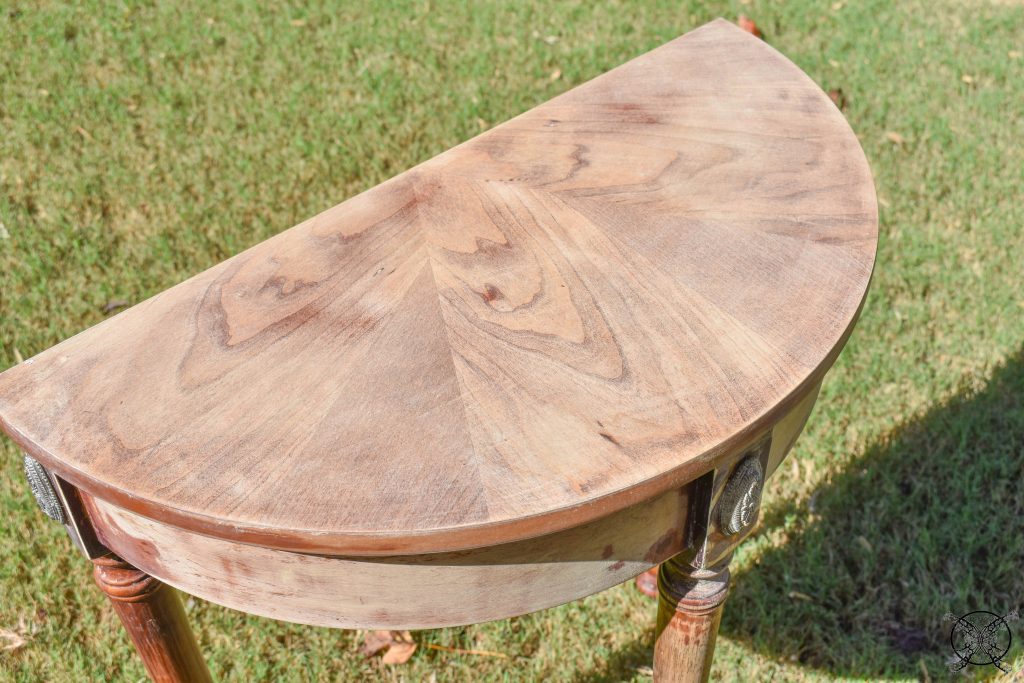 The results were astounding, no more red anywhere. Plus the wood grain looked even more pronounced as it dried, all good things and was what I was looking for on this piece. To be honest this was all guess work and since I had no real attachment to the piece, it was just a test run for a another piece I plan to do later on in the same wood.
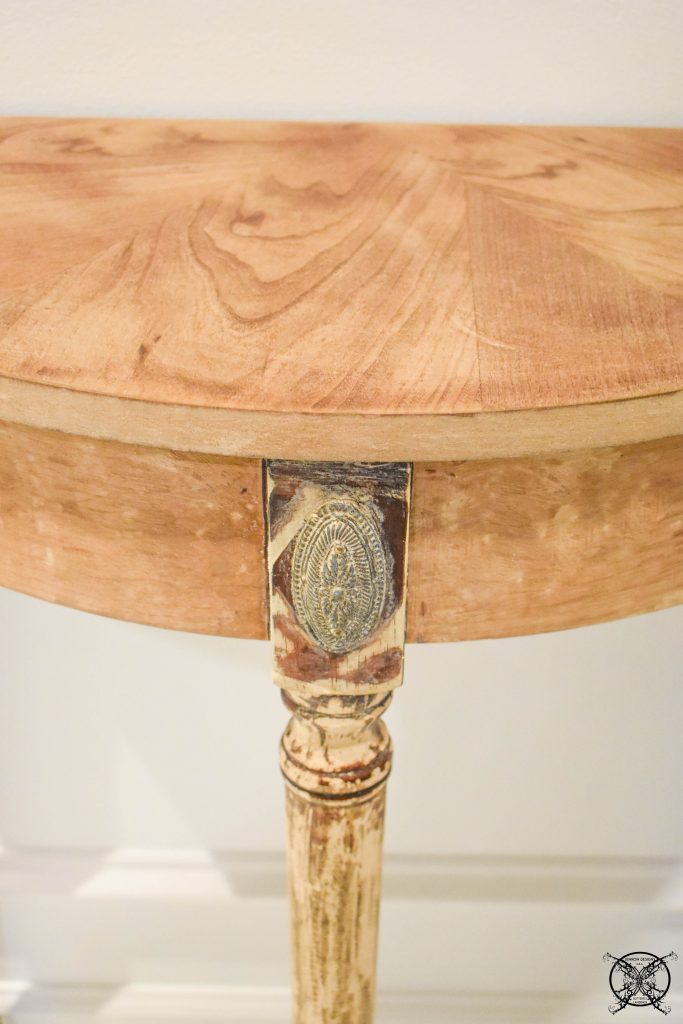 So after allowing to dry and adding a nice top coat of sealing wax from Minwax, this piece is now exactly what I wanted. I just invested a little time and have a new piece of furniture from a piece I was going to donate.
 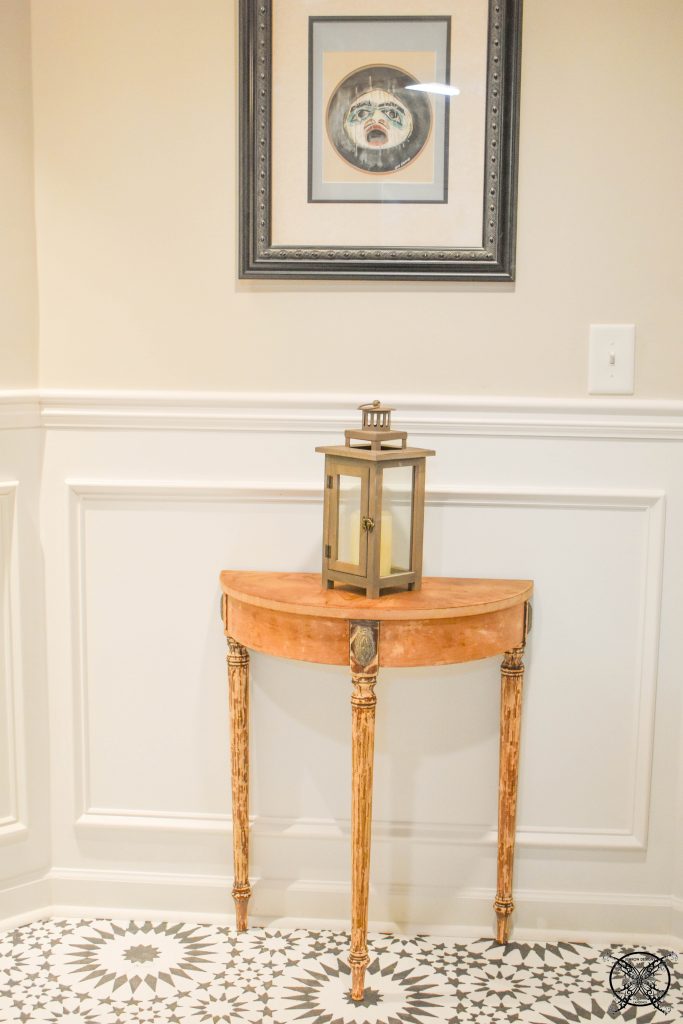 PIN ME for later and be sure to follow us on Pinterest at Jen @ JENRON DESIGNS
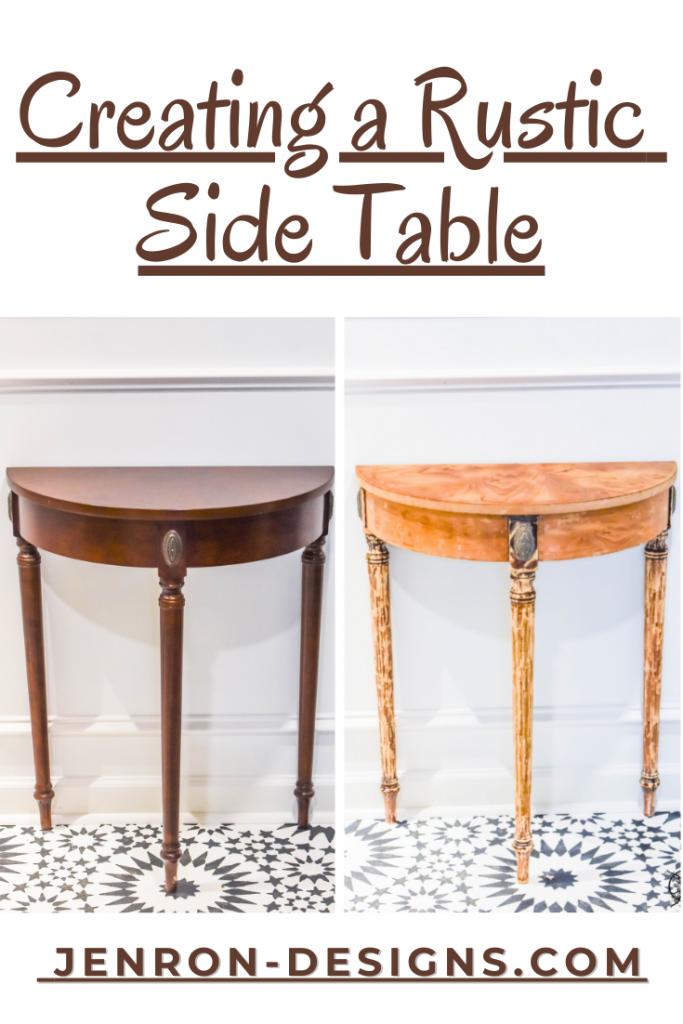
I like it so much better now! IT looks rustic but chic!
Wow what a great transformation! I’ve always wanted to do this with furniture!
Wow! So easy to make. A real transformation of the table into a unique rustic look!
My mother-in-law gave me a table very similar. I love it – but what you’ve done to yours is fantastic. A total new look!
Wow, like the new look – well done you!
You make it look so easy!! So love it! I’d like to give some of our furnitures a new look!
This transformation looks amazing! I love the cow print detail you added as well.
Wow I love the before and after. The transformation is amazing!
Wow I love the before and after. The transformation is amazing! Looks new if you ask me
This looks fabulous! What a great but simple change for making the entire table more updated.
What a great transformation! Love it!! Thanks for sharing, especially what worked and what didn’t.
I have always wanted a side table like this. I may have create one for my living room for my home soon. It doesn’t look too too hard to make.
Thanks for sharing another fantastic post. You always have the best information on these types of topics. I also love this table in your room!
Rattling off one of my favorite quote “Every artist was first an amateur.” by Ralph Waldo Emerson. I think this applies to you since one day, you are going to be great!
Thanks for sharing, I have read so many of your DIY blog posts. I have learned a bunch of cool techniques, your blog is very good and insightful.