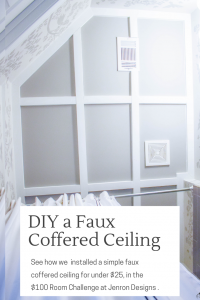
$100 Room Challenge: Week 3 Coffered Ceiling DIY
Welcome to $100 Room Challenge: Week 3 Coffered Ceiling DIY, this week our DIY is adding a coffered ceiling to our bathroom.
This challenge takes place twice a year, January and September and is hosted by Erin from Lemons, Lavender, & Laundry. She invites us to redo a room in our home using only $100, and we must complete the task in one month. We have one month to complete the makeover and we post a weekly update every Wednesday. You may have seen Erin talk about this challenge on the Rachael Ray Show. If you want to learn more about the $100 Room Challenge, you can check out Erin’s post to see how the concept was inspired, and it’s colossal growth since she started it.
Weeks at a Glance:
WEEK 1 WEEK 2 WEEK 3 WEEK 4 WEEK 5

Adding a Coffered Ceiling
Okay so this week we are installing a faux coffered ceiling to our bathroom to add some visual interest to the ceiling. Since this room has 9 foot ceilings, we are not concerned about the feeling of making the space feel small, in fact we plan to paint the ceiling a darker shade of gray.
 The first part, as with any project is prepping the room for painting by removing the vents, wall art, shower curtain and any other extraneous items that would be in the way.
 Next, I want to talk a little about paint color, we will be using an existing paint that we already had on hand left, over from when our house was built. The reason this will work so easily is due to a simple rule of two shades lighter or darker. If you are ever unsure of matching colors for a ceiling or an accent wall for a room; the rule of two shades lighter or dark will always work. If you pick a single color card and go up or down two shades on the card your will always be safe in your color tone choices. This is also great for exteriors when picking trim colors to a base paint, to avoid horrible color pairings.
  This is how I know our leftover paints will work perfectly, since I paired the entire house, including the exterior colors when building. So now I have many colors to choose from at a moments notice. Also, another trick is to always keep white and black paint on hand, and you can darken or lighten any paint you already have on hand just by adding a spoonful of white or black to your decanted paint. However, a good tip is to keep measurements, just like baking, so you can replicate the color if needed, example 1 cup base paint to 1/2 white paint.
  *Please note that I was compensated for this post. This post contains affiliate links for your convenience. These involve no extra cost to you, but may result in me receiving a small commission should you decide to purchase after clicking on my links – for which I am very grateful! You can view my full advertising disclosure here.
The painting will go super fast with my supplies that I had left over from my fall ORC project, from my friends at HANDy Paint cups, another one of my must haves on any painting project. These cups are super handy when climbing a ladder and working in tight spaces. Plus, since the cups are completely reusable, the only thing you would need to purchase is a new paint liner, which is super affordable and will save you money over the long haul. 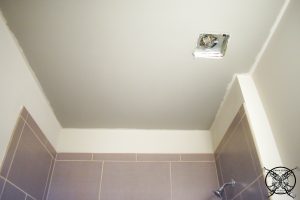 Once we got the bulk of the ceiling painted and dried, we will install the the trim to create the coffers. For that reason we are not trimming out completely. If you followed my fall ORC challenge, you may remember I mentioned that this will save you time and paint. Also this keeps you from seeing dark paint between the trim and the ceiling if your walls bows. Which we will caulk, since I have OCD issues anyways.
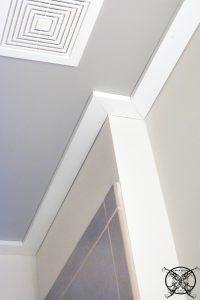
  The next step was adding the basic white primed wood trim to create a cased frame around the ceiling. Since this room had several odd angles Ron used our miter box and bevel to cut the proper angles.
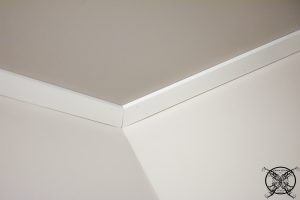
 Then using a nail gun with fine brads, he attached the boards to the ceiling. As you can see there will be a little bit of gapping that will need to be caulked and painted with our trim paint, which we bought in bulk for our last two projects of wainscot, and board and batten.
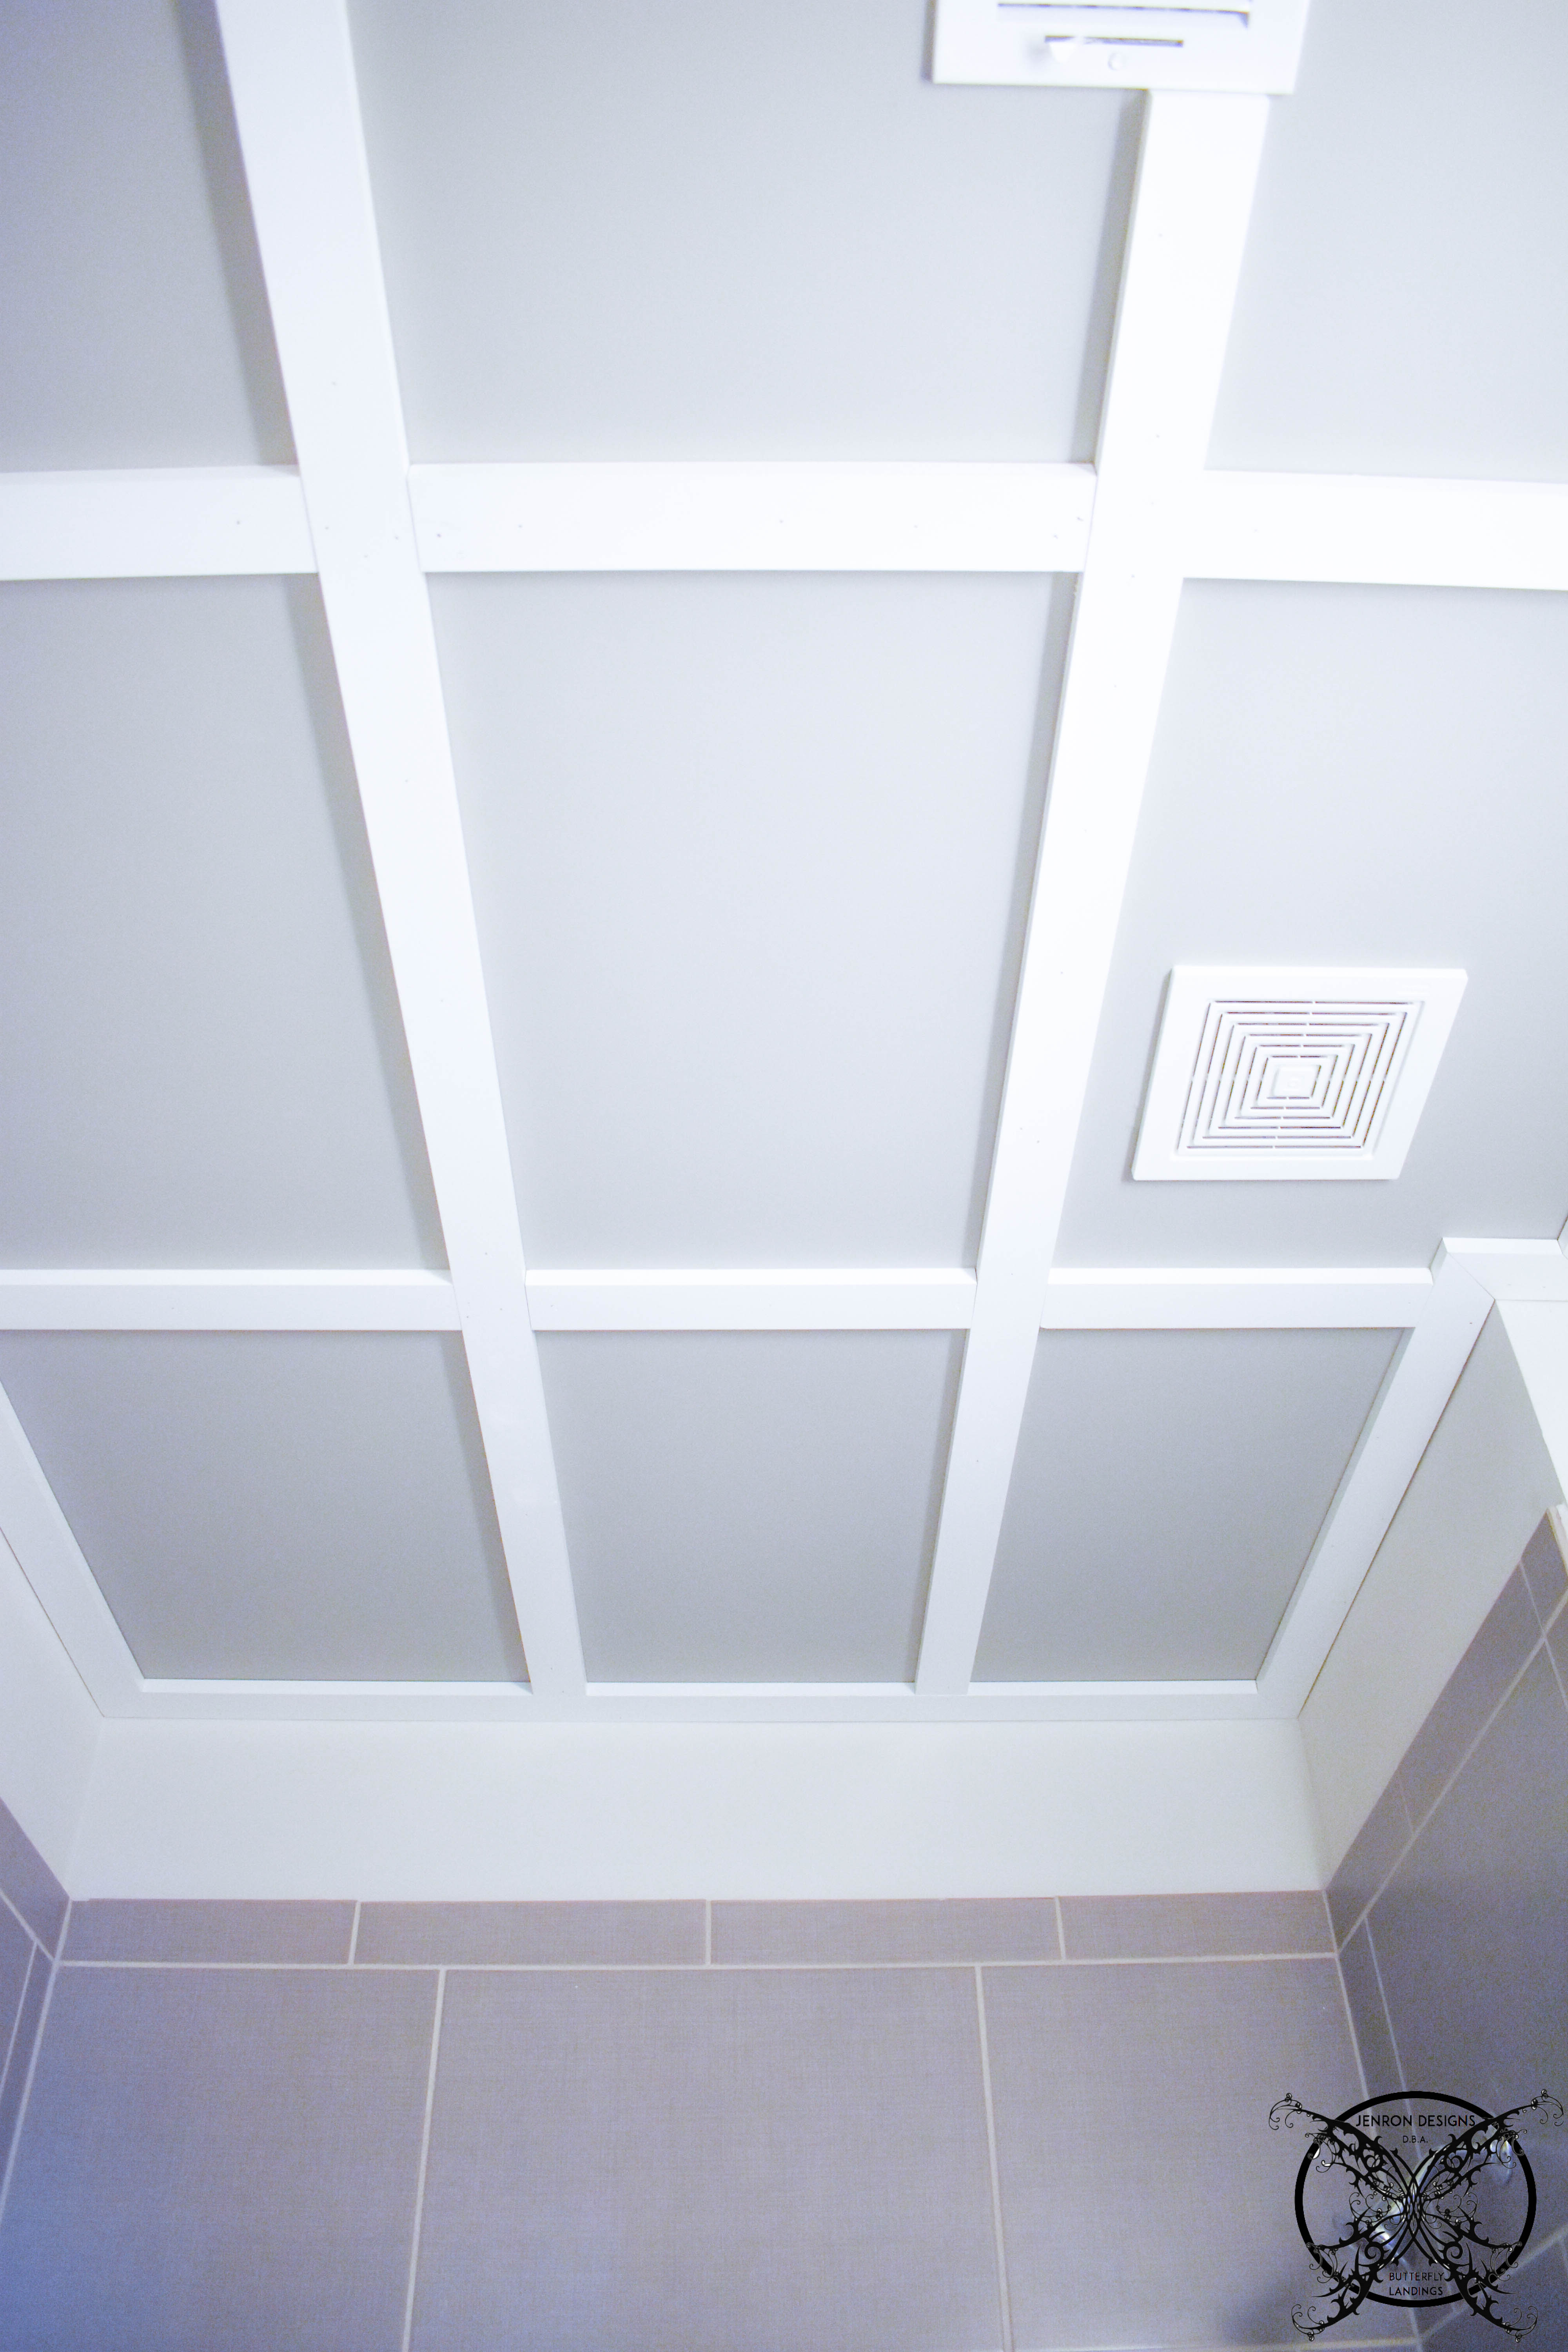
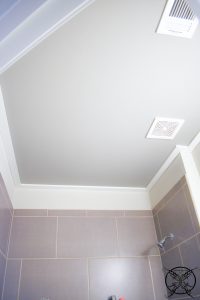
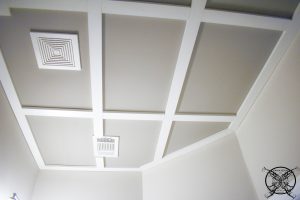
 To make the grid of coffers, we opted to run them lengthwise across the bathroom in thirds first, which unfortunately hit right in the middle of the supply vent, go figure. As with any good project, these things happen and you just have to make the best possible decision. So in order to keep the coffers square, I opted to have the trim break on either side of the vent.
 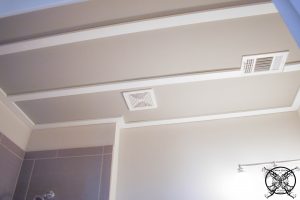 While it is not ideal, I do not think that this looks horrible. In fact, I have actually seen worse on new construction homes done by “the pros”, so I am not going to lose any sleep over this decision, LOL.
  Once we got the horizontal long pieces installed we added the the grid work, or the frame. The reason we chose to do the long strips first was to make certain that we got them plumb, or straight in the room, even though no walls are ever straight.
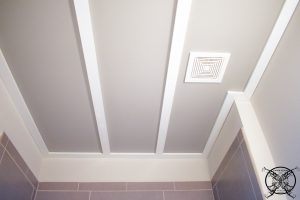 Also, you will want to do this from the main entry of your room. Since this room had two entrances, from two different directions, I picked the common entry point since this bathroom also doubles as a powder room from the downstairs living area. You are more likely to notice a visual slant from this direction.
 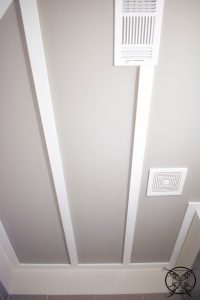 As we added each of the grids into the room, it created the faux version of a coffer, a smaller version of what we have in our great room. The two tone coloration of paint adds a nice richness to the ceiling as well. So for no additional money, just a little extra time, effort and energy, we were able to upgrade this project with a few supplies we already owned.
 The final step will be to caulk around the seams and fill the nails holes, which we have plenty of half used white caulk tubes around here that we need to use up. LOL! Do you guys ever do that? Just buy new every time you do a project and end up with a bunch of half used tubes that will eventually dry up and get tossed if you don’t use them? Well not this time, we are using everyone one of them and I am hoping we don’t need to buy and additional that hits my budget….LOL!
BUDGET:
Week 1- $0
Week 2- $17.82
- 8 ft fluted primed trim boards $6.95 ea. x 2= $13.90
- Decorative Rosettes primed .98 ea. x 4 = $3.92
- Trim Paint, Adhesive, & Tape- On Hand Leftovers
Week 3- $20.28
- 52 ft primed trim boards .39/ft x 52=$20.28
- Dorian Gray Paint- Exterior Paint Color, left by builder from building house
- Paint Supplies- On Hand Leftovers from all our painting projects
- Caulk-Leftover Tubes- Loads of half used leftover tubes
REMAINING BALANCE $61.90
Project Schedule:
WEEK 1- Inspiration Board, Room Prep, and Product Procurement
WEEK 2- Install Mirror Frame DIY
WEEK 3- Faux Coffered Ceiling DIY
WEEK 4- Chinoiserie Bird Stencil DIY, Revisit Mirror Paint Color-Possible Grey?
WEEK 5 – Room Reveal
PIN ME for later and be sure to follow us on Pinterest at Jen @ JENRON DESIGNS
Jen I absolutely love this for a smaller bathroom it makes the space feel larger and really adds a nice focal point, so excited to the stencil next week!
Wow this is really amazing! At first I thought I was looking at a wall from your Instagram picture yesterday, but now I can see it is ceiling which is even cooler.
What a great project! I would never have thought to do this, and it turned out great. Beautiful and a great investment to your home.
Amazing how details like this one can change a room! It looks gorgeous that ceiling!
Oh my God, this is so wonderful project. I can’t wait for week 5! 😍😁
This is a really great challenge. Not to mention economical. And the creativity is the cherry on top. Love it
Just went through out tubes of all assortments and had to toss many half-used, dried-up ones. Seems like every time we go to the home improvement store, I am throwing more caulk into the cart. Great tutorial and tips. It looks so much better!
This has me wanting to do all my dream home renovations. Maybe I can convince the hubby now that we have some leftovers as well from other projects. The paint tone tip is amazing. I always sweat bullets in the paint aisle 😂
Yeah we had a few like that too, my husband usually puts a deck screw in the end and twists it down into the tub. This is trick we picked up around the construction sites when building various homes. I am actually surprised at how well it works, better than the provided caps, lol.
The difference is beautiful!! I need to create something like this for my bathroom also!! And it is in my price range!
It looks incredible Jen!!
I love the ceiling! It looks great and adds so much character to the room. I always shy away from doing ceilings because it just sounds like it is uncomfortable to be working from that angle. so I think you are brave for tackling this!
You are totally the one that I first saw about this challenge which inspired me to participate. I can’t believe this ceiling is such a low cost! That looks amazing. I can’t wait to see the final room!
Wow, your ceiling looks amazing! This is such a classy DIY project and makes a huge impact. So beautiful!
These details really add dimension and interest to the ceiling. I love following what you do.
Lexington, that is the nicest thing I have heard all day, thank you so much! I am really excited to see everyone’s room makeovers this season and all the creativity in our community.
I am surprised at what a difference this really made in your room, and for so little money too.
Hey there, it has been a while but I wanted to leave you note to say how great this project is and I am looking forward to the reveal.
This is really looking great for such a small investment.
Wow this ceiling is really nice, and looks fantastic I can say I am inspired.
Wow what a difference! Love how this turned out!
What a big difference this project has made in the your bathroom. I am so surprise and the reasonable pricing of it too!
Oh gosh I really, really like this a whole bunch.
What an amazing tutorial!!! It looks so good!!!
Ooohhh That looks awesome! I so totally want to do this now somehwere in my home! I Love it!
Such a nice way to visual interest into room. You are doing a such nice design work on this competition.
I went over this web site and I think you have a lot of superb info, saved to favorites (:
Hello I was just wanting to tell you how great this DIY is, and that I learned a lot. Thanks!
Very nice style and design and wonderful content material , practically nothing else we need : D.
Good read, I’m going to spend a little more time trying to learning about this type design subject.
I have observed that over the course of home building a sense of buyer emergency in order to make prompt decisions often leaves out design decision to add things like this to the home to facilitating the closing. These are great ways to add after market to upgrade the appearance of your home, love it.
Love this paint color and pattern looks really nice in the ceiling such a nice way to dress up a space~
It’s nearly impossible to find knowledgeable men and women on this topic, and to be understood about what you’re speaking about! Thanks
After all thats done I m curious the amount of people that truly realize the writer what all has been revealed for only $100. Thanks.
You are truly a design and webmaster! The contents here at your site is filled with masterpieces that you’ve designed wonderfully!
I’m definitely enjoying your blog and look forward to new updates. So much good information and DIY’s here, thanks!