Installing Sheetrock in Your Home
Hello my friends, welcome to week 5 of the Spring ORC: Installing Sheetrock in Your Home. This week we will showing how to install sheetrock in your home as we finish the basement walls for our home gym.
Welcome to week 5 of the spring season of the ORC: Installing Sheetrock in Your Home. This season we will be designing our Home Gym located in our basement, that we have been finishing out over the past year. So, this will be a fun room for the next 8 weeks as we build walls, and see this room take shape literally from the start to the finish line.
WEEKS AT A GLANCE:
WEEK 1 WEEK 2 WEEK 3 WEEK 4 WEEK 5
WEEK 6 WEEK 7
REVEAL

Just in case you maybe wondering exactly what The One Room Challenge is, here is the link, and the scoop. This event was originally started by Linda Weinstein @ Calling It Home. It is currently hosted twice a year, in May and October for the past 17 seasons. The ORC has hosted over 600 interior designers & home decor bloggers, that have joined together in this challenge to makeover one room in their own homes. The participants have a total of six weeks, from start to finish, to complete a full room transformation. Over 5,000 rooms have been transformed through the One Room Challenge to date, and many spaces have been recognized and featured by several prestigious sites, like Better Homes and Gardens the hosting media site this season.
Inspiration Board: The Home Gym

PIN ME for later and be sure to follow us on Pinterest at Jen @ JENRON DESIGNS
Tips on Hanging Sheetrock Yourself:
If you have never personally hung sheetrock you can join the club with my husband. I personally have been hanging sheetrock since I was 12 years old, so for me it is old hat. However, for him it was quite challenging, and with any project as a husband and wife working together it can have it’s heated moments. Especially when one of the spouses refuses to listen to the other, or thinks that they may know more about the project…. emmm RON!
 Well let’s just say he is a bit of a hard learner so, in the true spirit of teaching properly, I allowed him to learn several things the hard way first. For example a sheetrock saw is the worst way to cut sheetrock, you will always want to you use a nice sharp razor blade a score your sheetrock for all cuts. I allowed him to murder several pieces before offering this handy piece of knowledge, since he decided to choose not to listen to me the day of installation. Passive aggressive, I know, but why waste my breath if he is not going to listen?
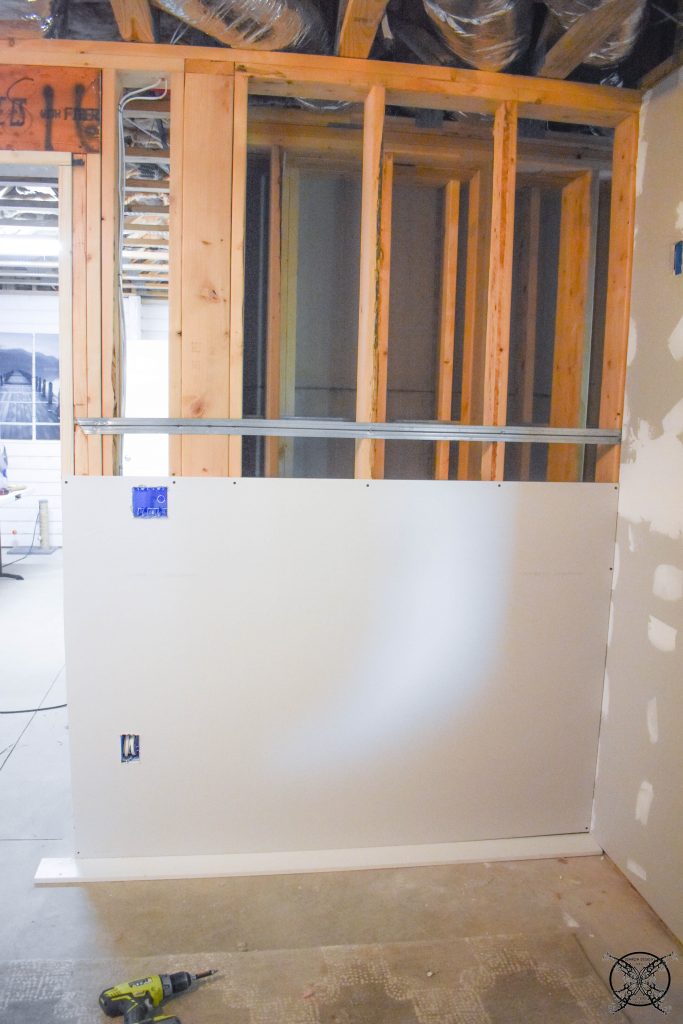
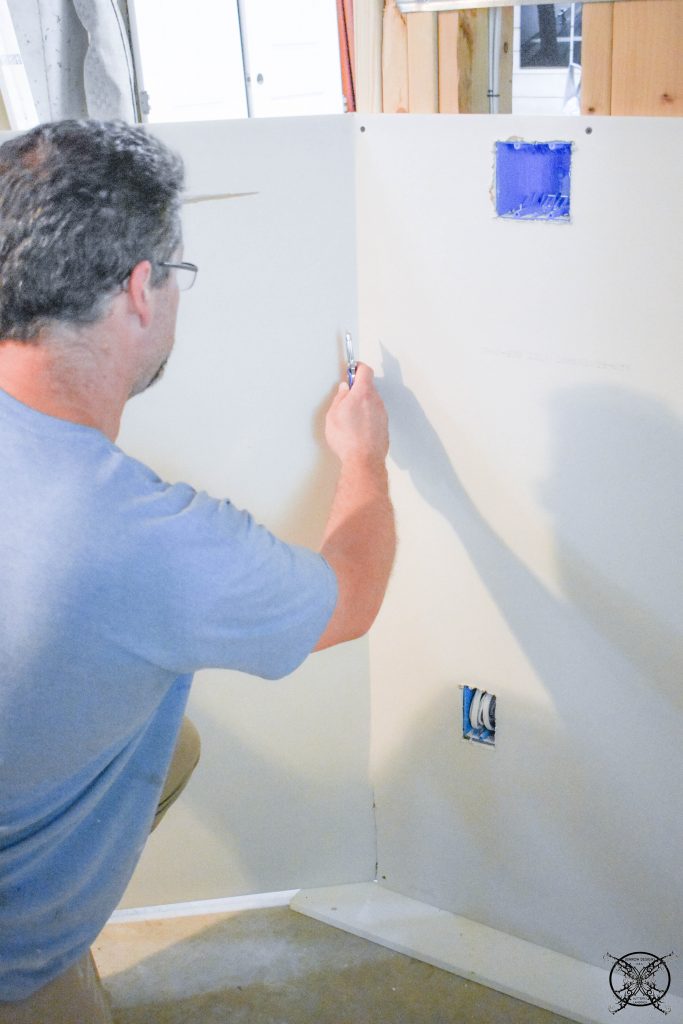 The next thing we did after he decided that I may know a thing or two about what I was actually talking about was to hang the sheet rock on its sides, horizontally. This will allow long runs, and more mileage out of your sheetrock. Plus once your bottom piece is attached it allows you to pop the top piece in place easier, and with fewer seams, work smarter not harder.
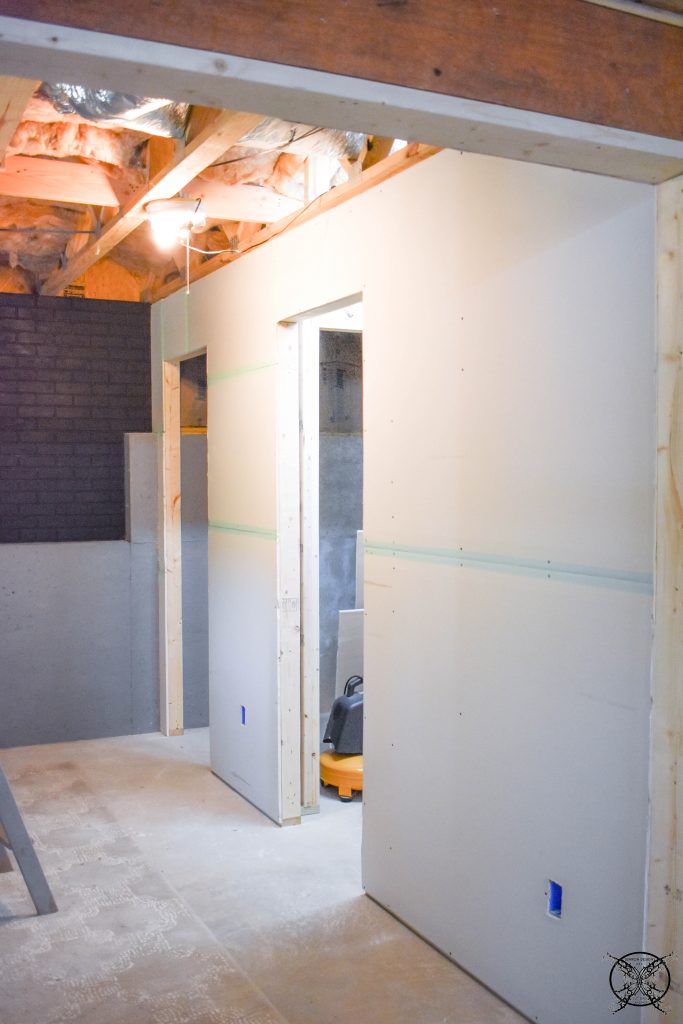 As I mentioned, I have been hanging sheetrock in homes and repairing sheetrock since I was 12 years old. I believe this is actually a good life skill to know, honestly. Once we started really talking about it, civilly again lol. My husband disclosed it would have been handy to have known this stuff. His dad did a bunch of sheetrock installations and repairs, like when his sister put her head through a wall horsing around with her friends jumping on the bed and got in a ton of trouble as a kid, but they did not have any idea how to fix that stuff. Right there would have been a good teaching moment in my mind.
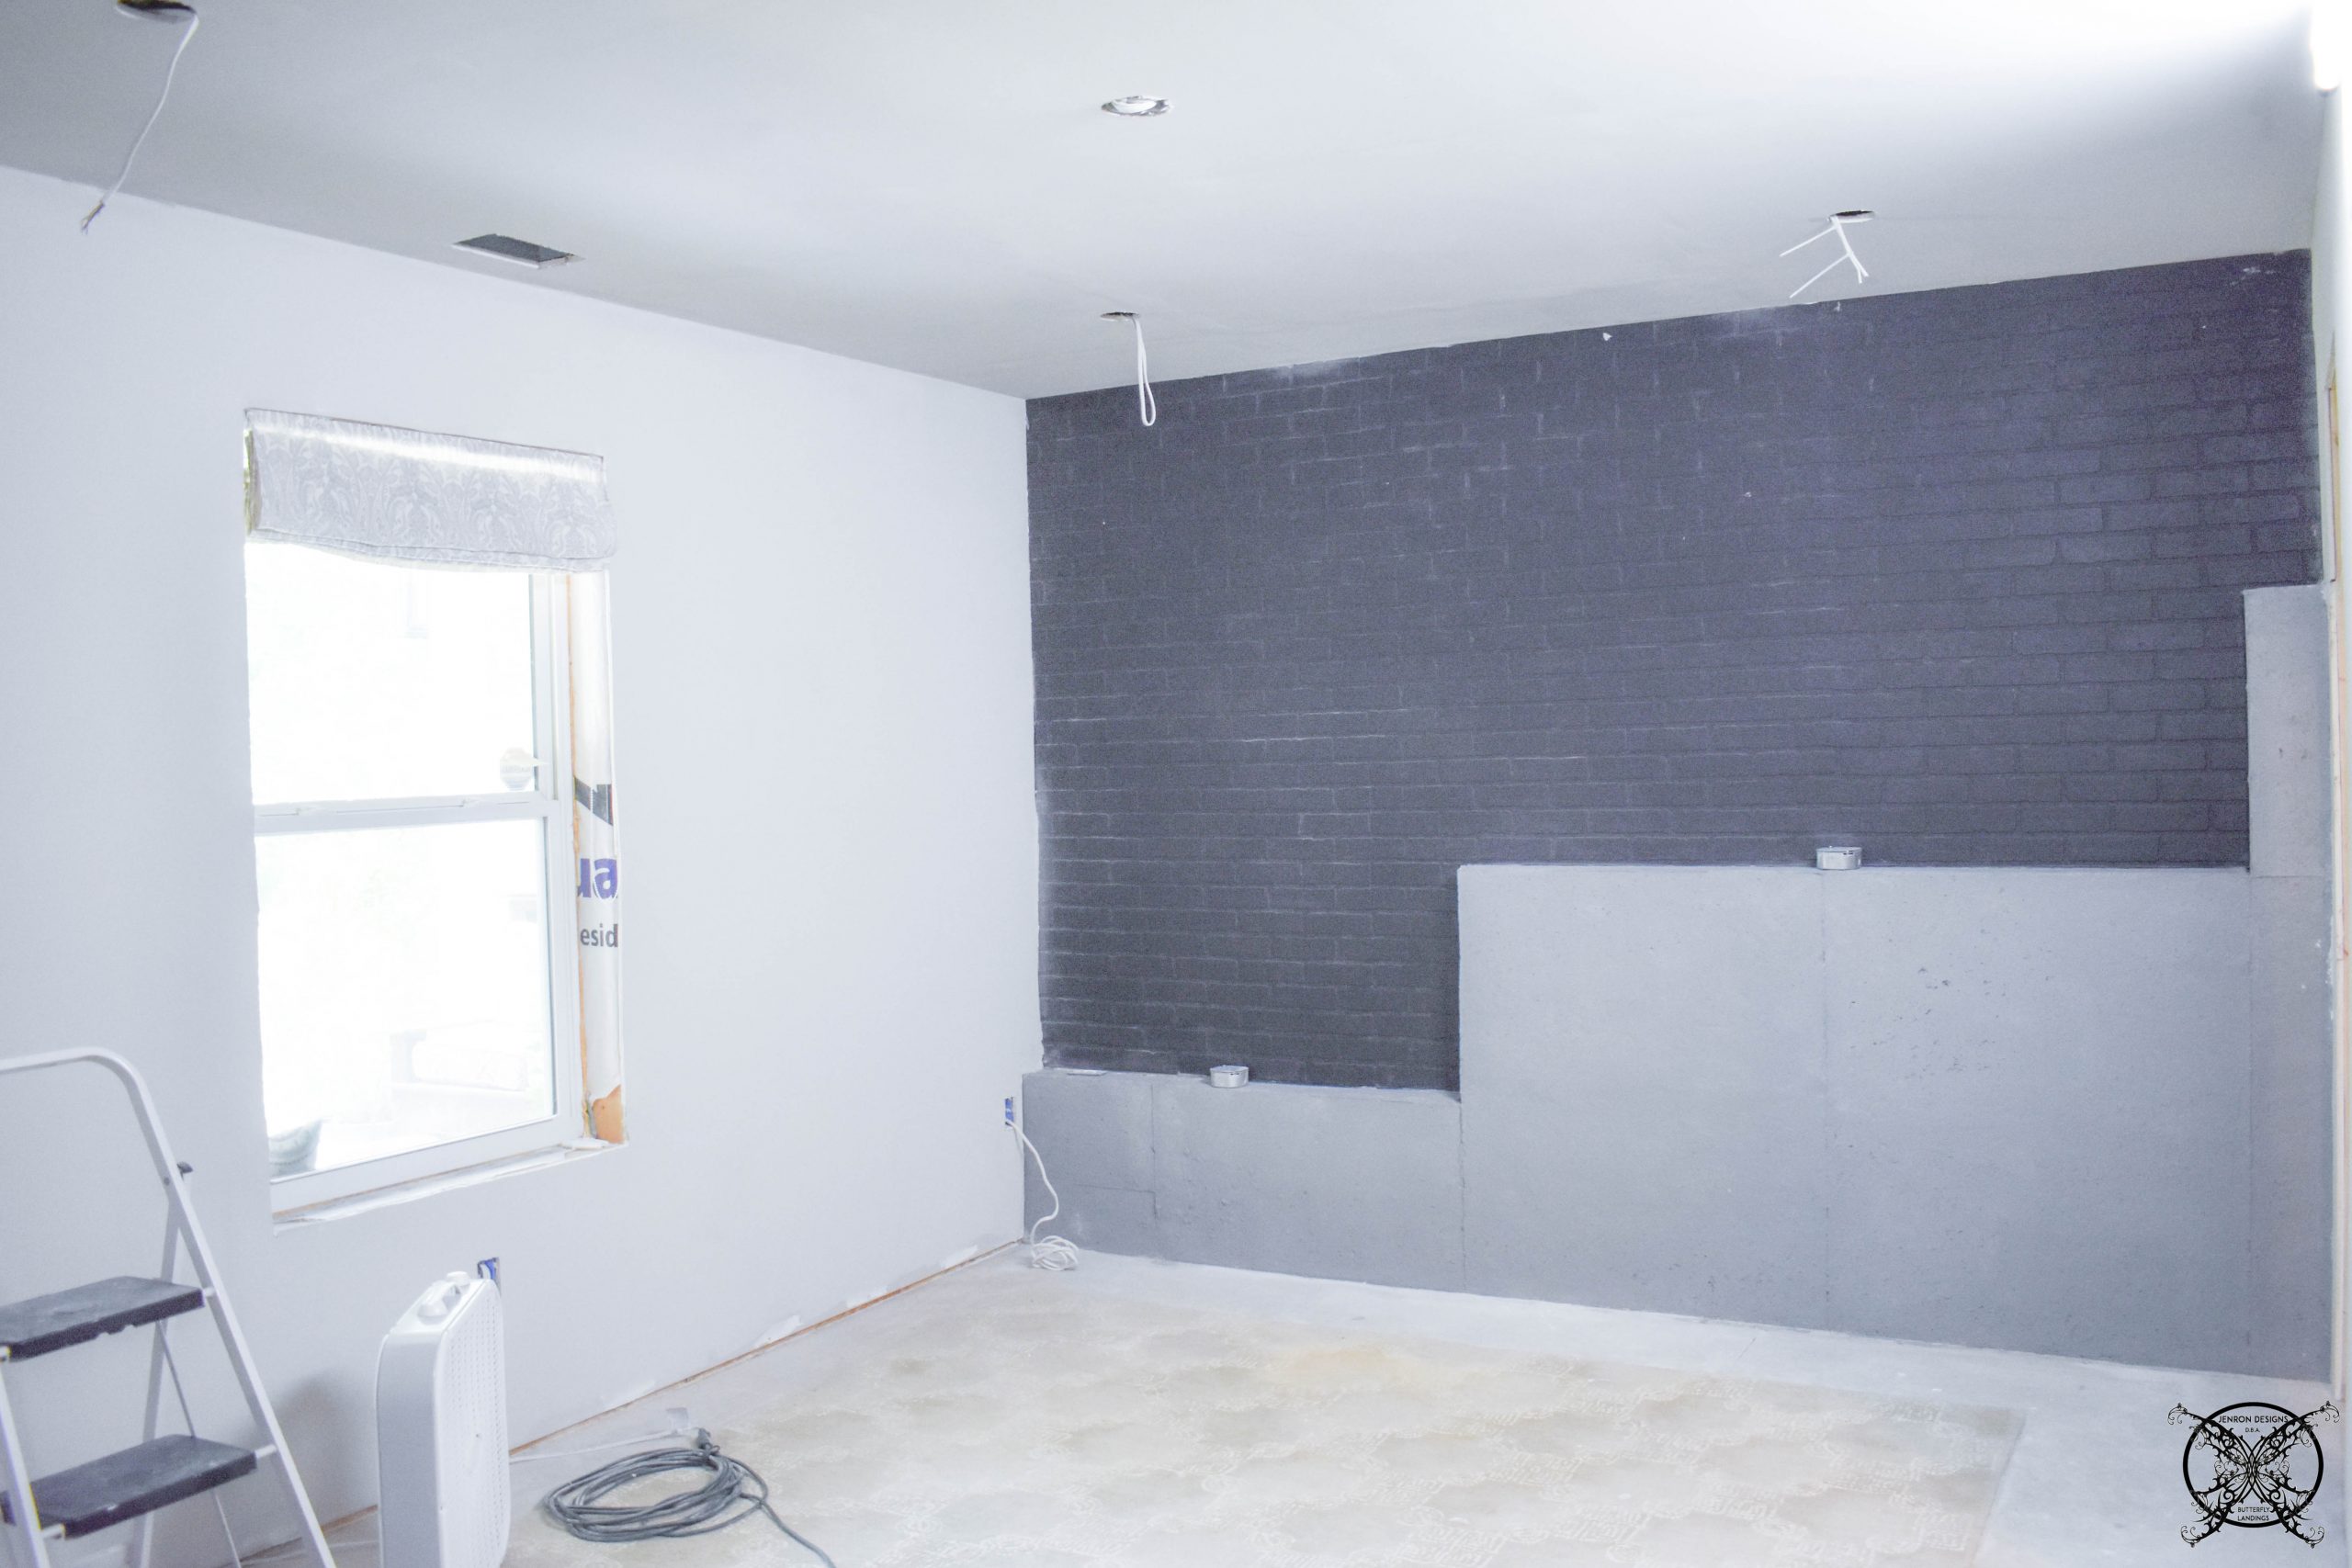
 As seen above, I used a mold resistance webbed tape for the mud, since this is a basement, to prevent any issues down the road. Since basements are always the first place that gets wet or have any kind of moisture issues. My thoughts are always think ahead and down the road, a little preventive maintenance on the front is worth a lot on the backside.
 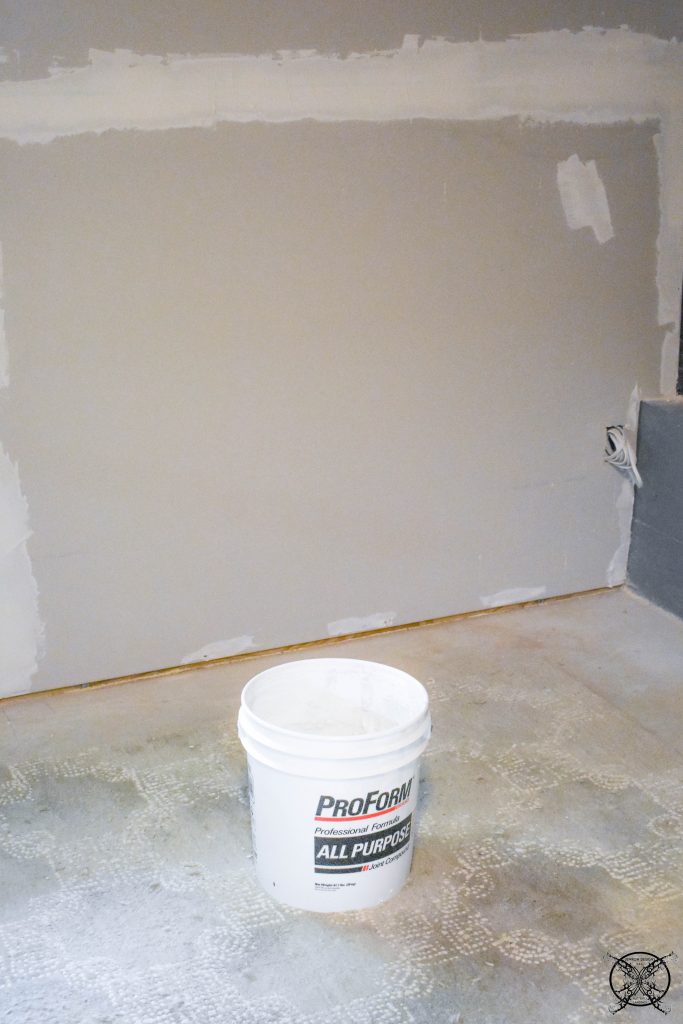 The next step is to mud the seams with all purpose joint compound, You may remember this is the very same variety I used to do the German Schmear technique on the faux brick walls last season on the ORC. So I still had plenty left over for this project.
 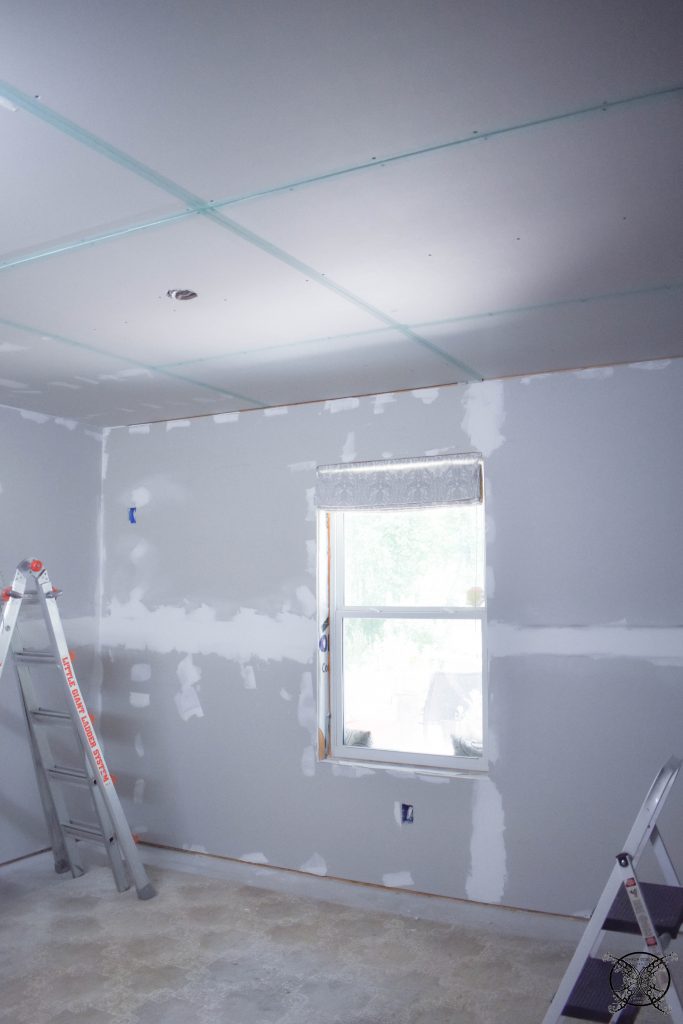 Once we finished the walls we moved on to the ceiling, and while you can rent a sheetrock lift to help assist you hanging the sheetrock we muscled it ourselves, just the two of us. After all this is a work out room, so why not right? Plus this is lightweight sheetrock so it is not as heavy, and we also had to make cuts in the 8 foot sections to fit the ceiling, so there were only two full sized boards, total.
FYI we also get asked alot about our ladder which is super handy The Little Giant which is easy to store and convertible up to 22 ft.
 The next part of the project was sanding, which is totally messy, so Ron got this job since he had been difficult at the beginning LOL! We did purchase him a respirator and he just spent an entire day sanding the seams.
  He also cute in the holes for the light fixtures and HVAC vents as well. This is where you will use your drywall saw for sure, good job Ron!
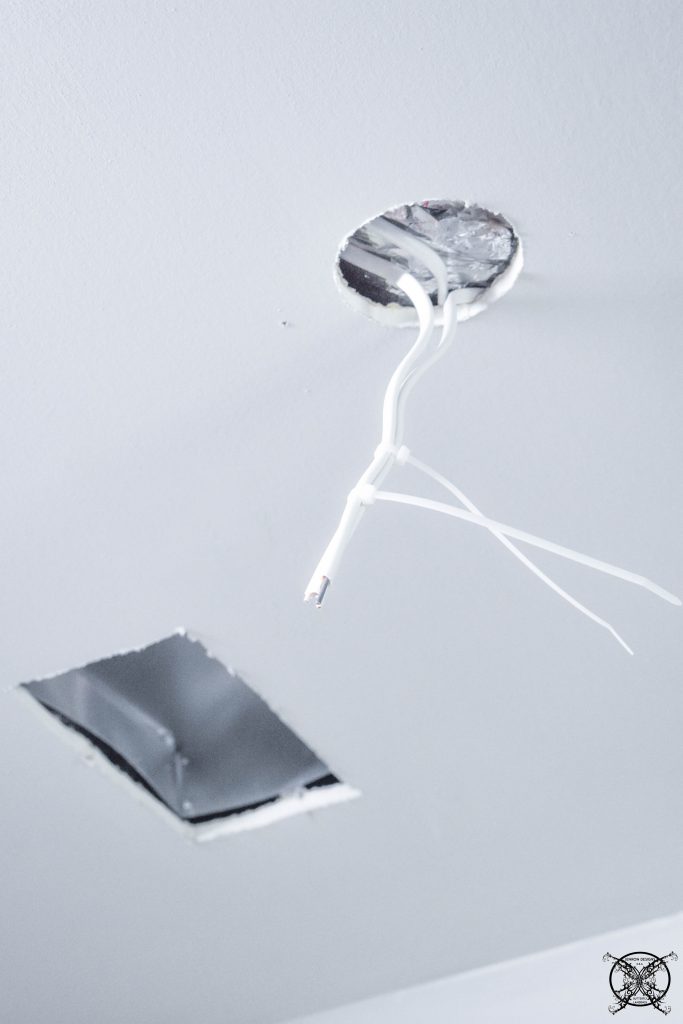 Next I painted the entire room with Agreeable Gray, which is the base color for the interior of our entire house. I like to think of this is the new Antique White for the millennium, LOL. It is everywhere and one of the most common and popular colors out there; but it goes with everything and really is the perfect greige, not too blue or, God forbid, purple in tone, which is so hard with gray colors sometimes.
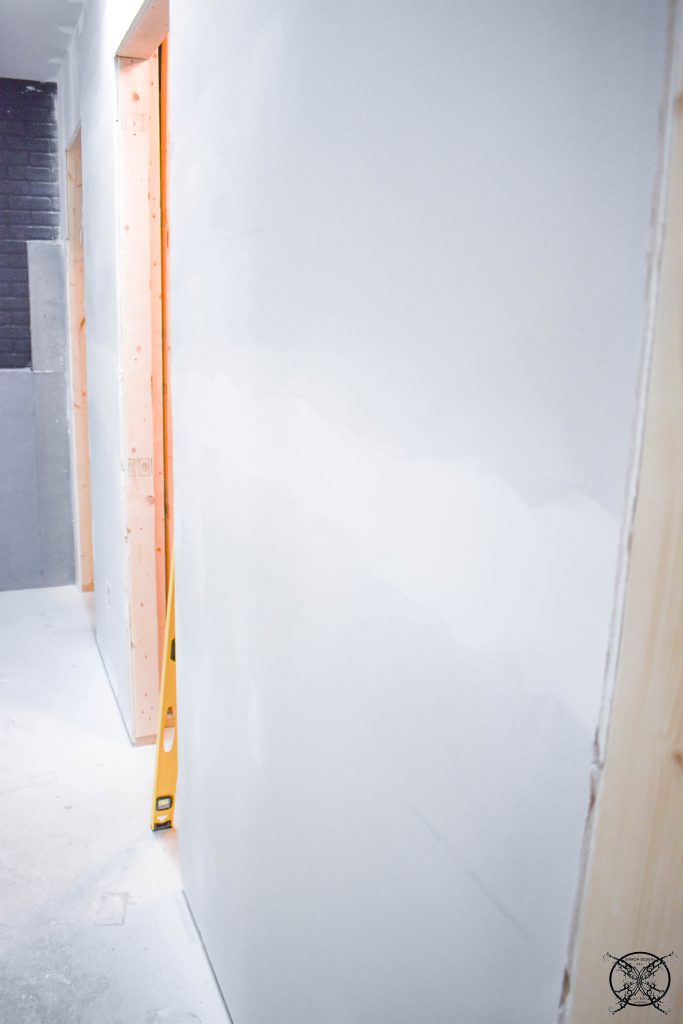
 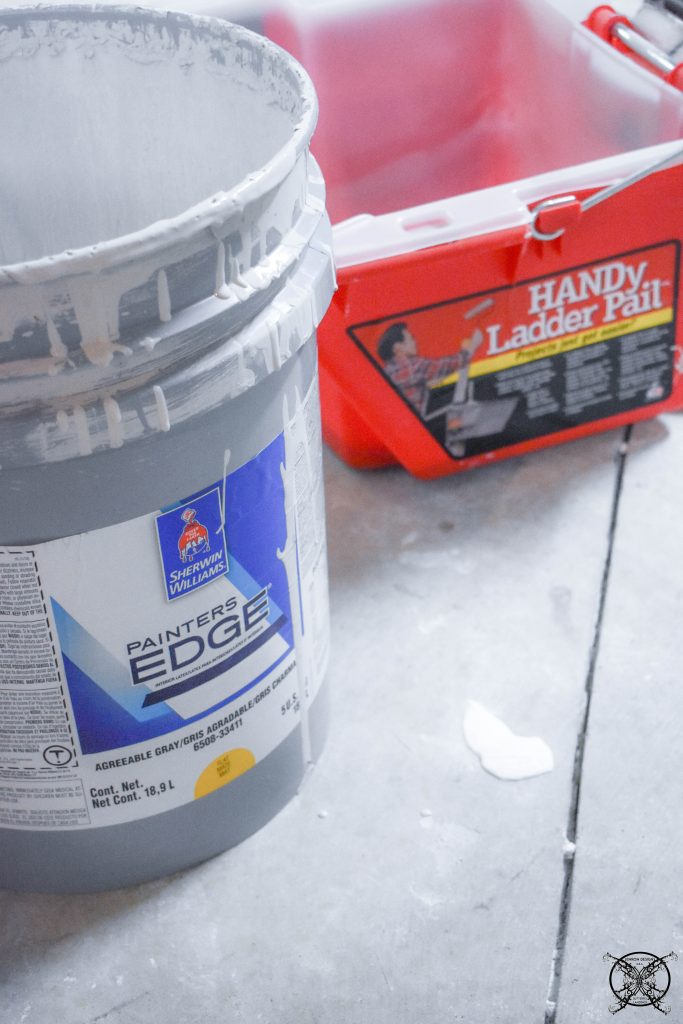 After the first preliminary skim coat, I could easily see the areas that would need just a little more love with drywall mud to be perfect. This is my technique to get great looking sheetrock. Believe me, I even told my builder not to worry about their flaws at closing, and to just keep the roll of blue tape, because I was probably better at it than they were, LOL!
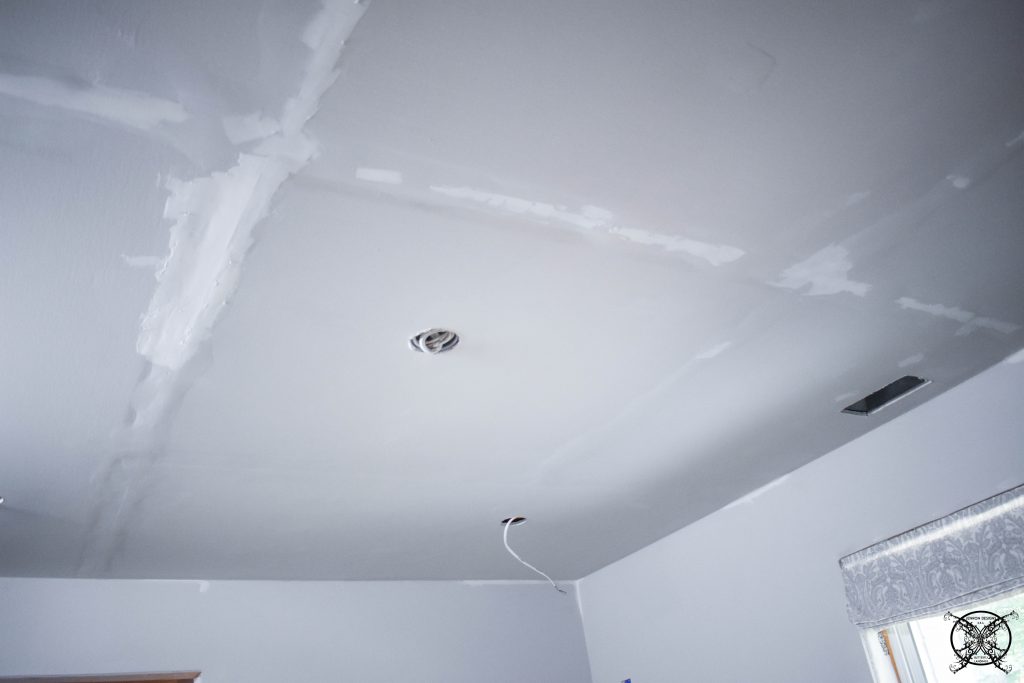

Adding Light Fixtures
Since the light fixtures will not actually be installed until after all the sheetrock is in completely in place, we placed the boxes for all our downlights at this point. We decided to add in five down lights, with the center down light being pre-wired and braced for a future ceiling fan. The thought process is that should this space ever become a sixth bedroom, it would be pre wired and ready for for a ceiling fan. This is something you would decide in all new home builds, so we figured go ahead a be proactive for the future option.
Designer Tip: When designing a space you always want to think about resale value moving forward. While you may love what you are picking, try to also pick and design areas with classic design options in mind that would appeal to others as well. That way when you go to sell your home it has more value to future buyers and checks more boxes. Visualization is not everyone’s strong suit, and buyers love to have bonus features that are already done for them.
THE PROPOSED SCHEDULE:
WEEK 1: Introduction & Inspirations
WEEK 2: Insulate Walls & Paint/Seal Concrete Walls
WEEK 3: Build Out Walls for Bathroom & Sauna
WEEK 4: Run Electrical, Set Light Boxes, & HVAC ducts
WEEK 5: Add Brick Walls (Painted) & Sheetrock
WEEK 6: Vintage Locker Build Out Project
WEEK 7: Set Faux Wood Padded Floor Squares for Workout Space
WEEK 8: REVEAL
LOVE the sheetrock look! Thanks for taking us through the process. We hope to buy a house sometime within the next year or so and I know we will have many a project to tackle.
Love how this is coming along! That brick wall is amazing!
I’ve been wanting to add sheet rock to a part of our undeveloped basement and this is such a good resource and guide. Great information to get this job done right.
Thank you for this detailed step by step. Never done Sheetrock, so don’t have this life skill. Looks great
I love the idea of the sheet rock for a gym! Want to come to mine?? 🙂
Deborah you do have great home gym too! Honestly I am excited about getting back to weight training again and focus back more my yoga. Back in highschool I used to toss the discus and shotput around a bit, with a few state accolaids to show for it. It would be nice to get my upper body strength back. While running was never my thing I did do the hurdles a few times, not very well, and 4×400 and 4×100, running was never my thing, but our elliptical and bike keep some cardio going for us.
Looking good! I want to see what you do with the lockers coming up!
This is a great tutorial and Ron’s stubbornness serves as a great learning tool for the rest of us! haha Thanks for sharing these tips to make the job easier for those of us willing to listen 😉 😉
LOL well, he was a bit difficult on this project for some unknown reason… I don’t really know why…I guess because I was pushing him outside of his comfort zone, which makes him get that way, go figure.
Great idea! This blog post has helpful information for a successful installation!
Thanks for the step by step! I want to do this for my home (when I convince my hubby 😅)
This space is going to be amazing!