ORC: Faux Wood Padded Floor Squares
Welcome to week 7 of the Spring 2021 ORC: Faux Wood Padded Floor Squares, for your home gym. This week we will showing how to install faux wood padded floor tiles, as we finish the basement walls for our home gym.
Welcome to week 7 of the 2021 spring season of the ORC: Faux Wood Padded Floor Squares. This season we will be designing our Home Gym located in our basement, that we have been finishing out over the past year. So, this will be a fun room for the next 8 weeks as we build walls, and see this room take shape literally from the start to the finish line.
WEEKS AT A GLANCE:
WEEK 1 WEEK 2 WEEK 3 WEEK 4 WEEK 5
WEEK 6 WEEK 7
REVEAL
Just in case you maybe wondering exactly what The One Room Challenge is, here is the link, and the scoop. This event was originally started by Linda Weinstein @ Calling It Home. It is currently hosted twice a year, in May and October for the past 17 seasons. The ORC has hosted over 600 interior designers & home decor bloggers, that have joined together in this challenge to makeover one room in their own homes. The participants have a total of six weeks, from start to finish, to complete a full room transformation. Over 5,000 rooms have been transformed through the One Room Challenge to date, and many spaces have been recognized and featured by several prestigious sites, like Better Homes and Gardens the hosting media site this season.
*Please note that this post may contain affiliate links for your convenience. These links involve no extra cost to you. You can view my full advertising disclosure statement here.
Inspiration Board: The Home Gym
PIN ME for later and be sure to follow us on Pinterest at Jen @ JENRON DESIGNS
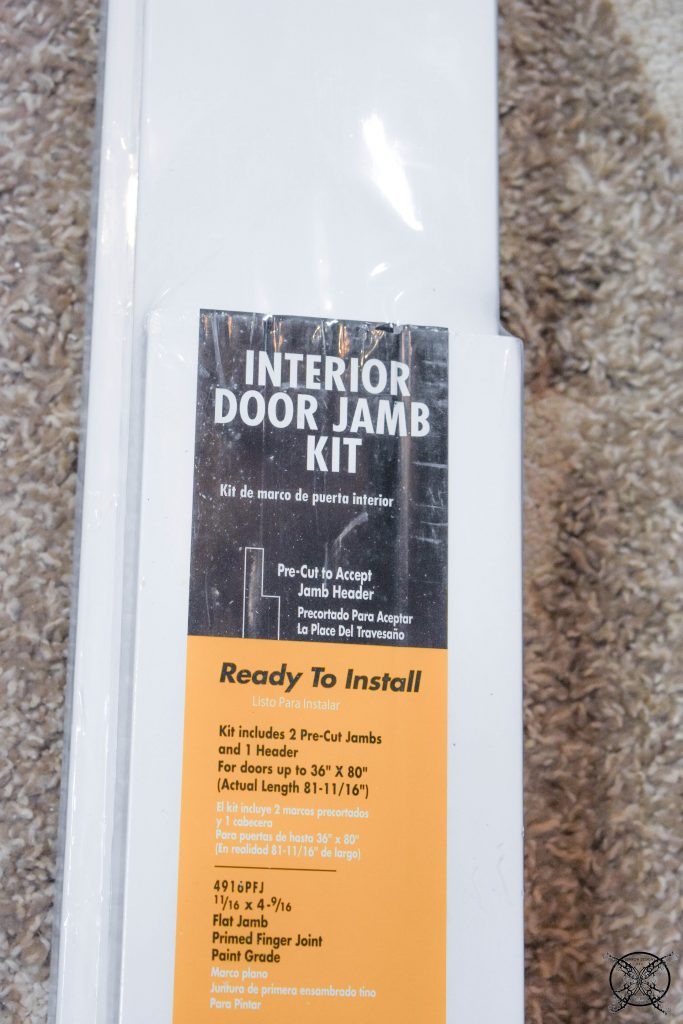
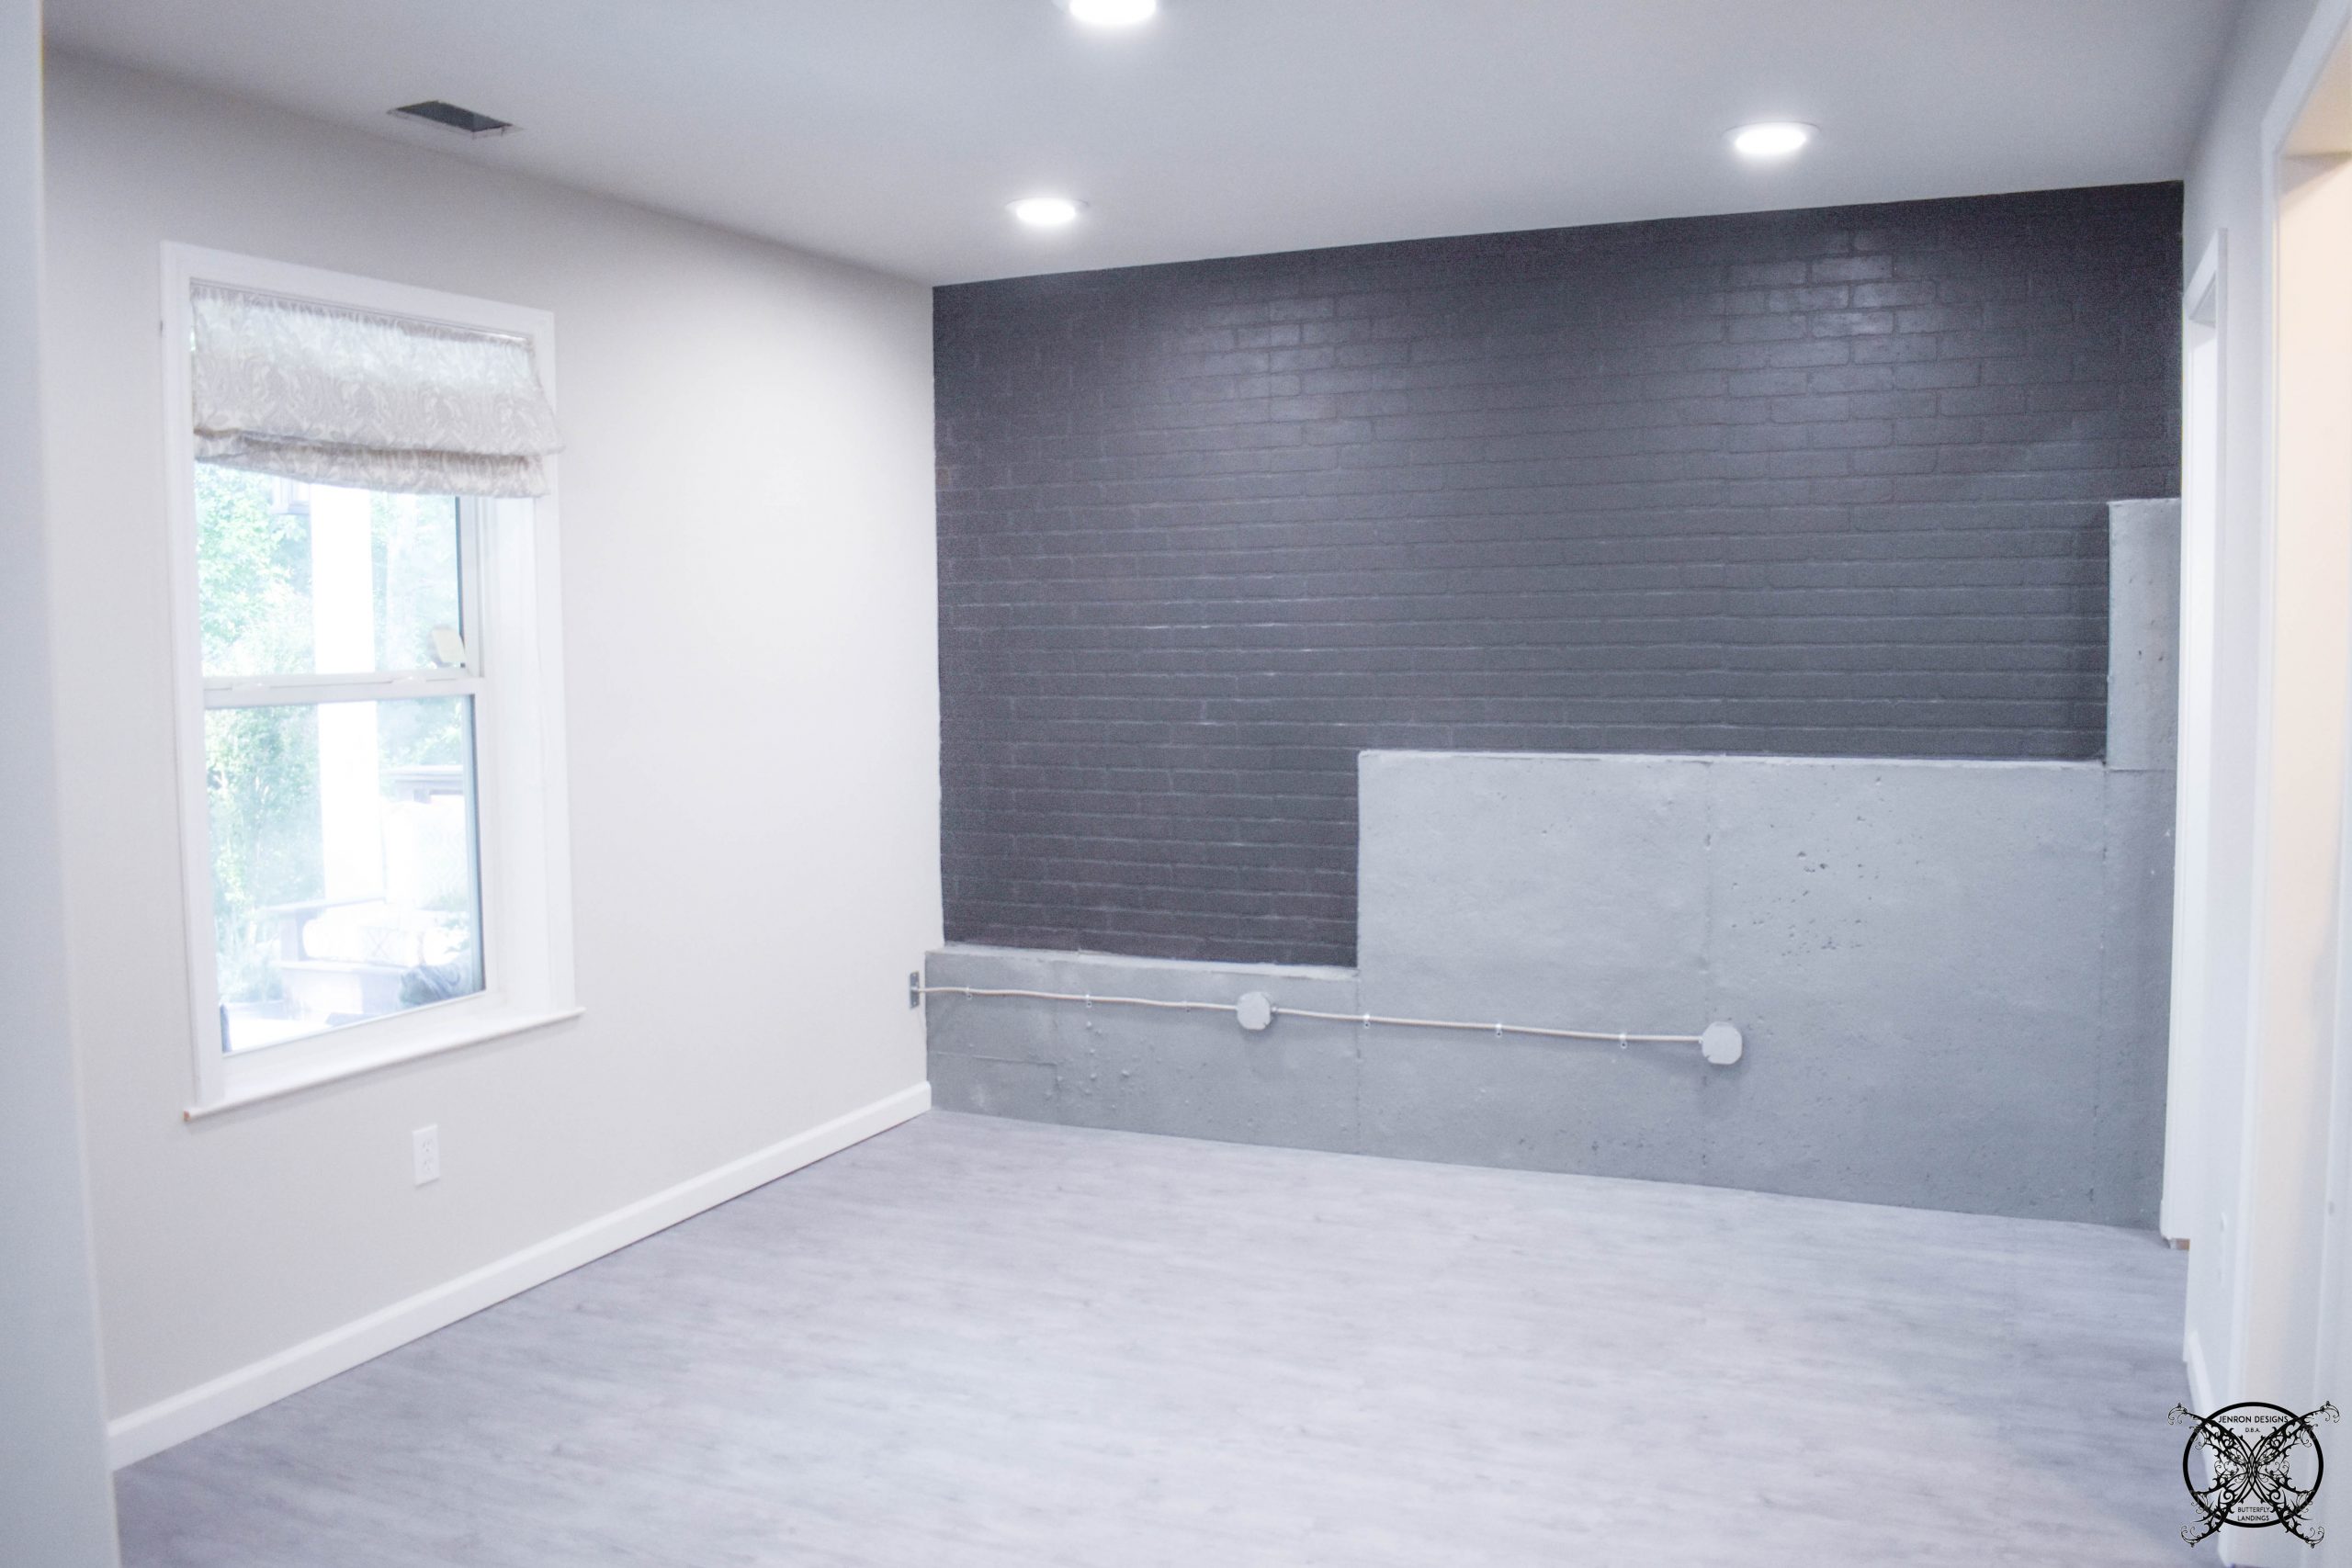
This week we are adding in the finishing details of the room. We added all the trim and millwork to the space, this included the window casing, door jamb and frames, along with the baseboards.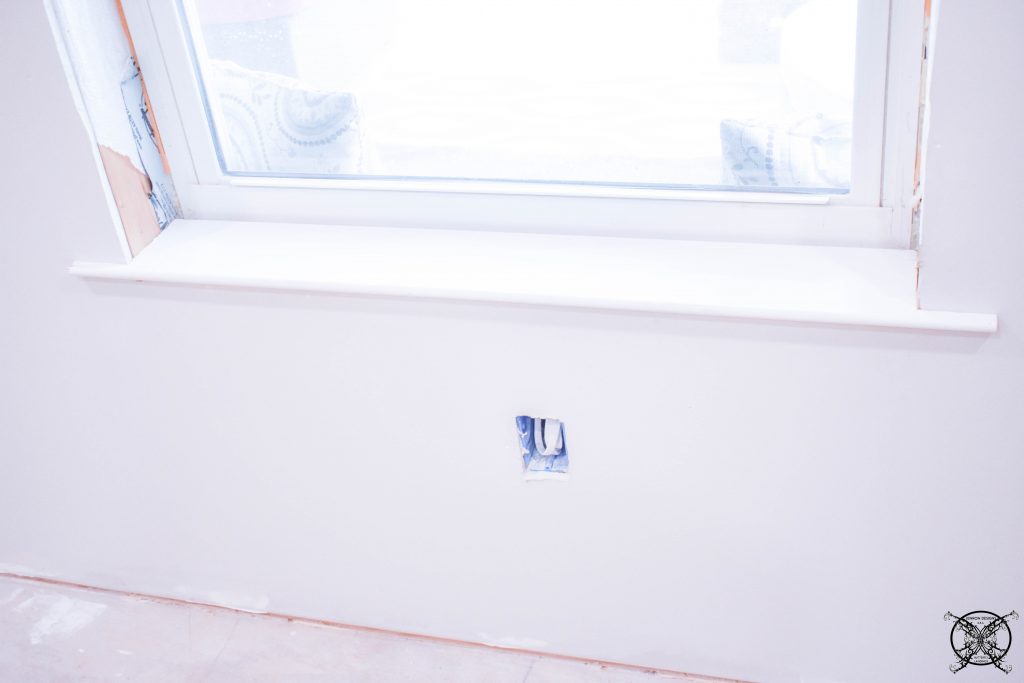 While the window casing required a few speciality cut from Ron using the jigsaw to create the actual sill, since our windows sit very deep, and we want all of our windows to match throughout our home. You can buy a premade kit for most windows and doors. This makes the process super easy for installation.
  You also may notice that we installed the exterior style electrical plugs on the concrete wall as well. This was a design element I choose to incorporate to add an industrial vibe to the concrete wall and meet the electrical plug code spacing requirements at the same time, without having to fur out the concrete wall, which would lose the esthetics I wanted to keep.
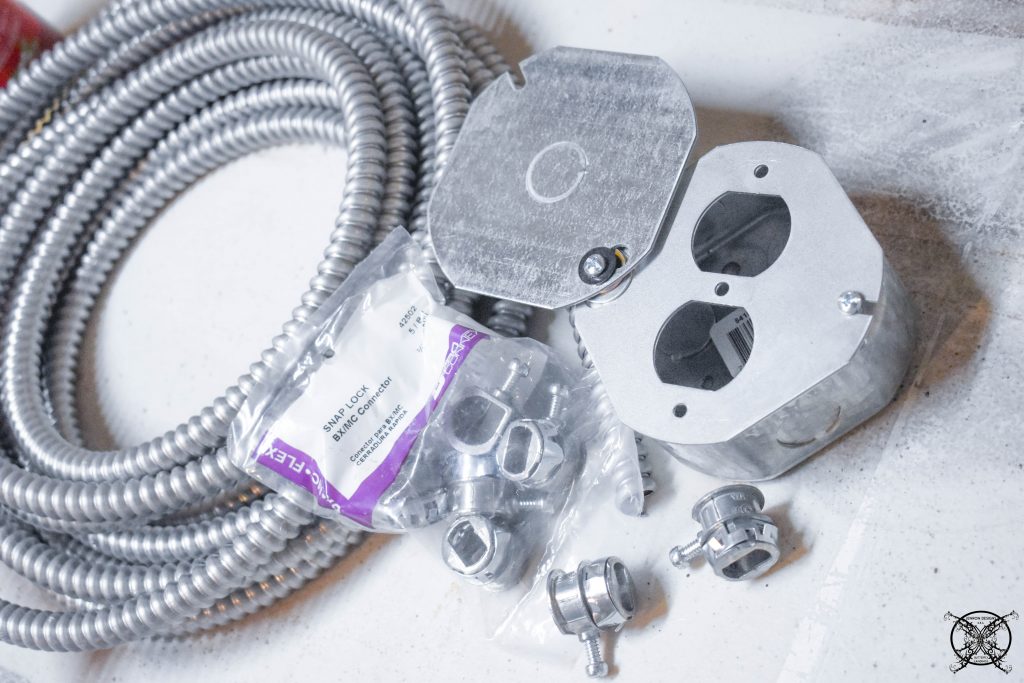
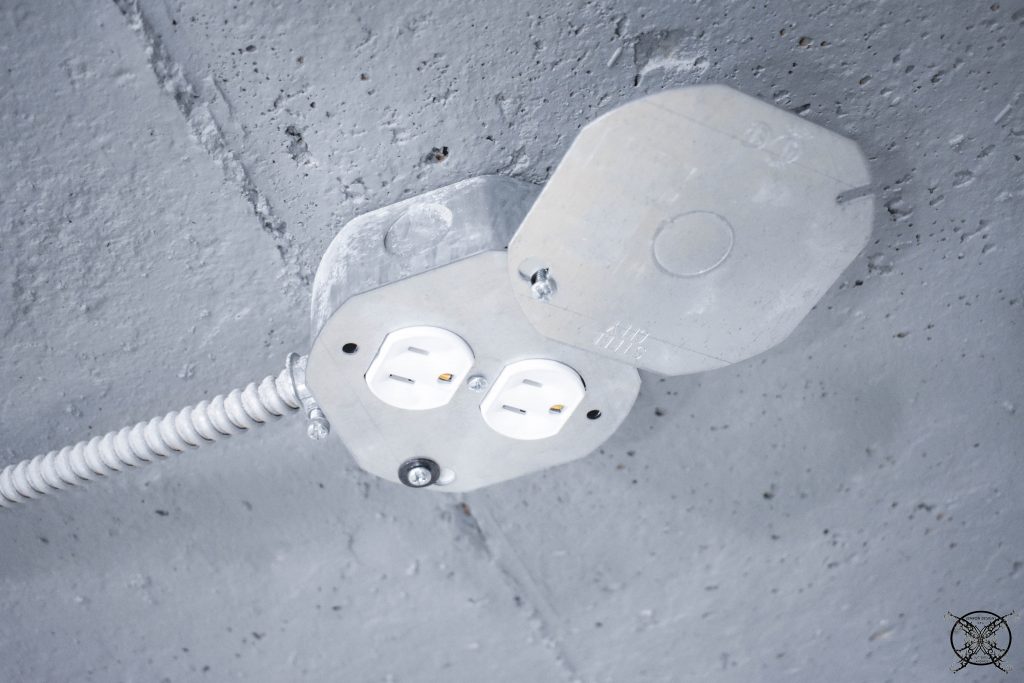 They were also super easy to add but we needed to wait until the sheetrock was completely installed to run the flexible metal conduit across with the wire inside.
ADDING PADDED FLOORS
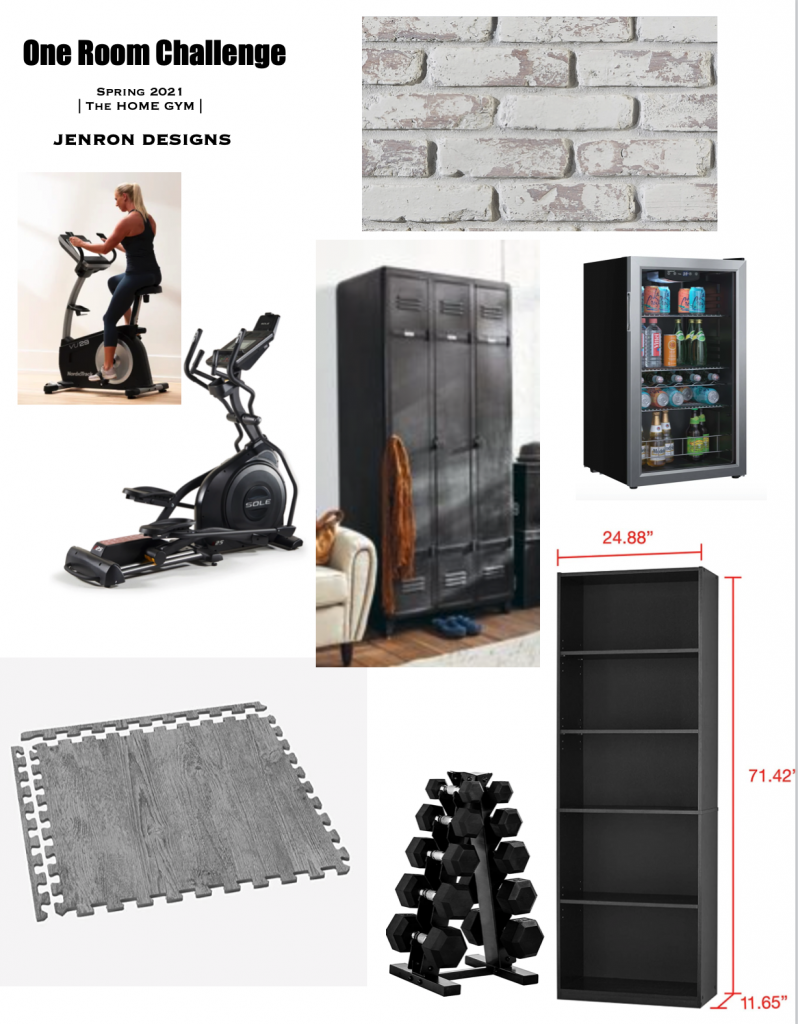
While we are adding in the finishing details in the room, one of the biggest details is the flooring. We decided to go with a padded exercise mat style floor as seen on our vision board above. While we have made several changes throughout the design process with brick color and the locker cabinets, this was a non negotiable.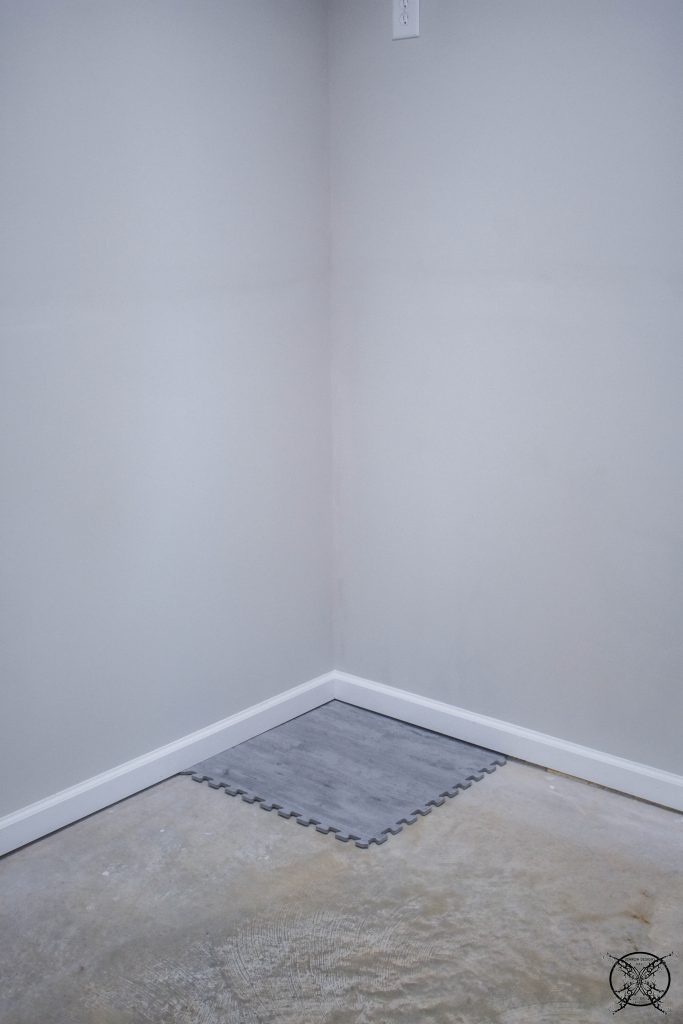 I found these really great padded floors tiles in a gray weather wood grain finish on Amazon for a great price point. They are also very easy to install as well. They fit together easily like puzzle pieces to fit any space.
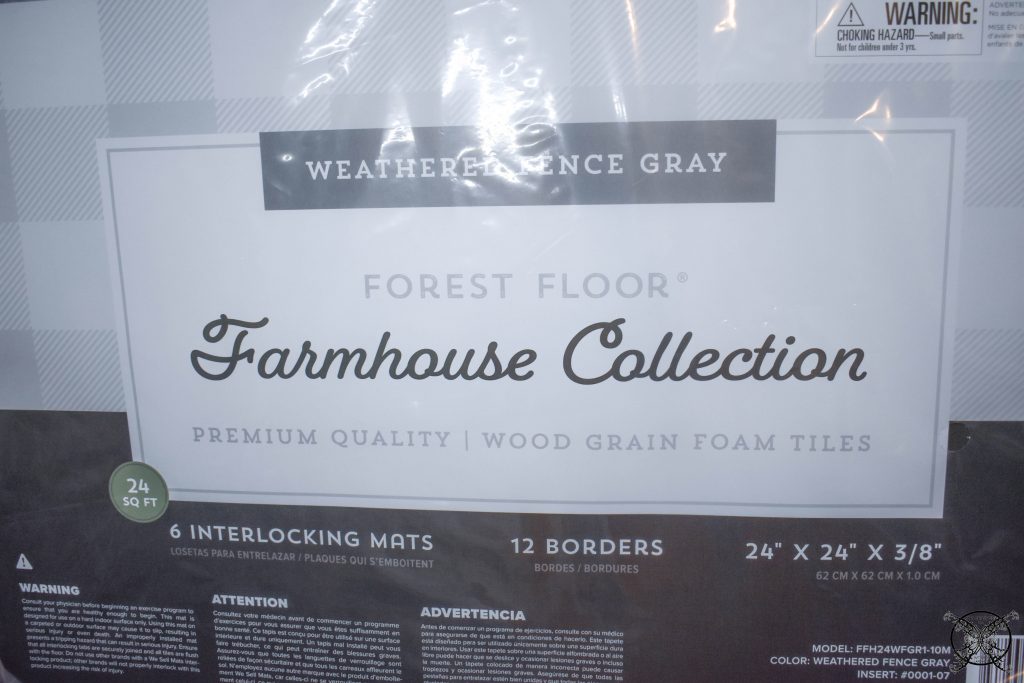 Theses were also the perfect option for us since we are not quite ready to select the hardwood floors for the entire basement space yet. So they can easily be installed temporarily until we get to final phase of the basement, which will be those hardwood floors throughout.
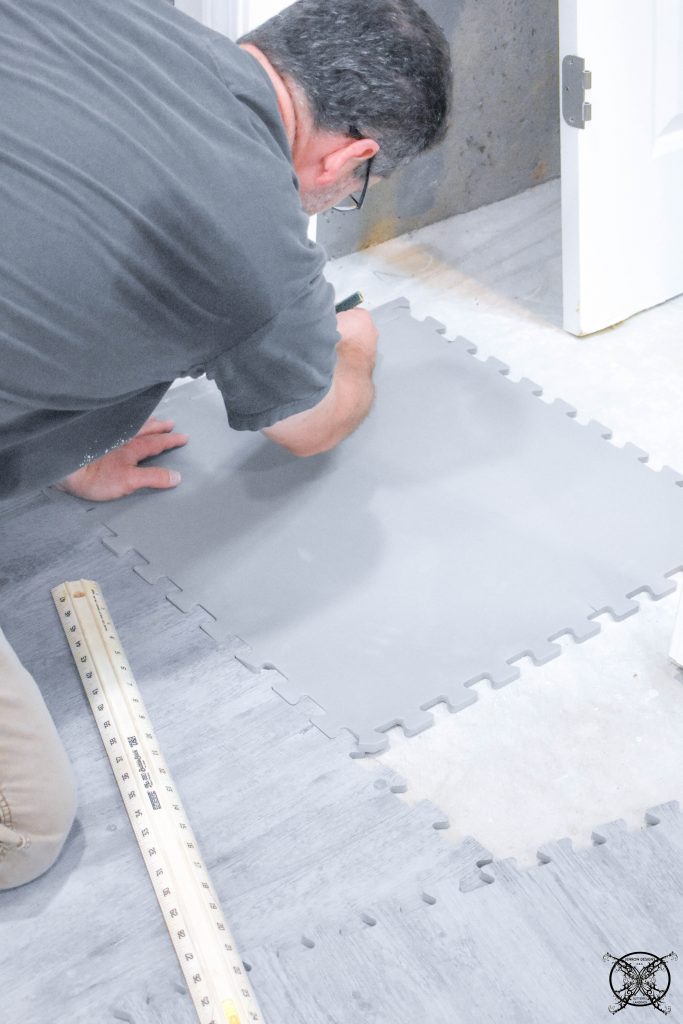 Another nice thing about these tile is that they can easily be cut with scissors or a razor blade to fit any corner or space. This allows you get that complete custom fit for any room. They also have removable edges so you can have a solid edge of adjoining edge to your tile.
 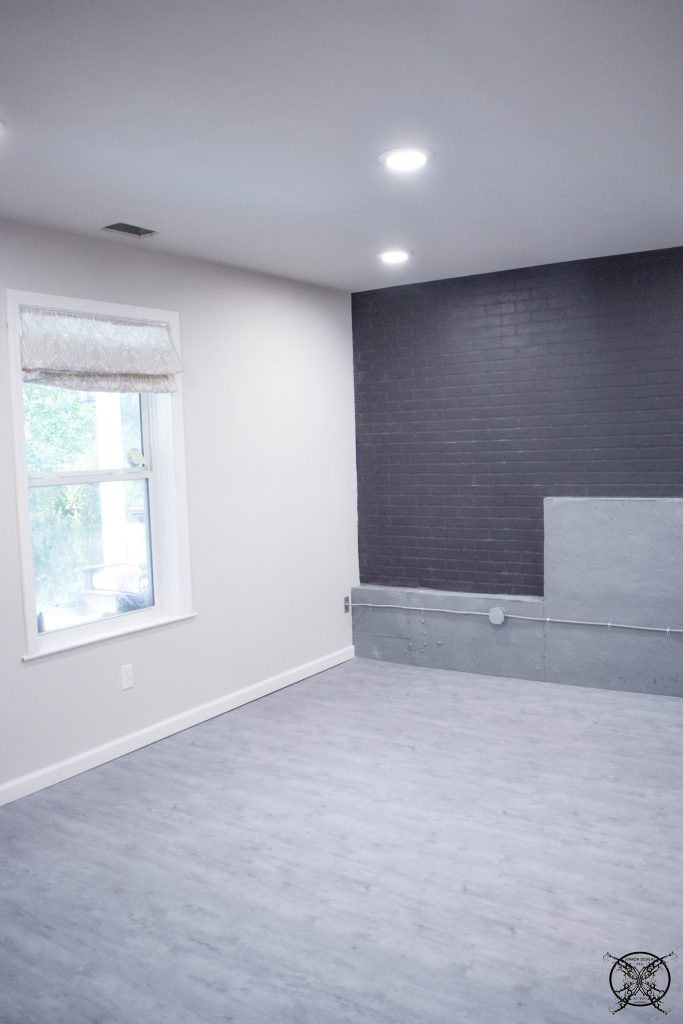 The floor looks and feels great under our feet and will be perfect for yoga, stretching and floor exercises. It has a nice cushion and adds a little bounce to your workout as well, which is nice. Plus it can be reinstalled back over the top of our wood floors later on to protect them later down the road. As a designer tip, always plan ahead for how your design element will be utilized, never buy off the cuff.
Okay so next week is THE REVEAL WEEK, just a few more final touches and we are there!
THE PROPOSED SCHEDULE:
WEEK 1: Introduction & Inspirations
WEEK 2: Insulate Walls & Paint/Seal Concrete Walls
WEEK 3: Build Out Walls for Bathroom & Sauna
WEEK 4: Run Electrical, Set Light Boxes, & HVAC ducts
WEEK 5: Add Brick Walls (Painted) & Sheetrock
WEEK 6: Vintage Locker Build Out Project
WEEK 7: Set Faux Wood Padded Floor Squares for Workout Space
WEEK 8: REVEAL

oooo this is such a great idea, I love this style!!! so neat 🙂
I love seeing the progress of this room! It looks amazing
This is SO nice! I did this in a hallway near my kids playroom and these instructions were so helpful. Thanks!
this is such a great idea & came out so perfect!!! I did something like this in our bedroom and its quite the job!!!! Congrats!
That is amazing!!! Looks so great, I wanna try this in our garage so the kids can play in there!
I’m looking at new flooring for my house. This post is great. It looks great I’m going to have to check it out!
I am in love with that tile! What a great idea for a home gym. Looking forward to next week’s big reveal! Good luck.
This looks great! The floor looks perfect for yoga, stretching and floor exercises as well as every day comfort
Wow it looks so good! I really want to do this in our spare room. I can’t wait for the reveal!
Great looking gym and nice ideas. I would certainly love to try these ideas in my new home.
Everything is looking so good. I’ve not seen those padded floor tiles before – perfect for a gym – no sore knees! I look forward to the reveal next week.