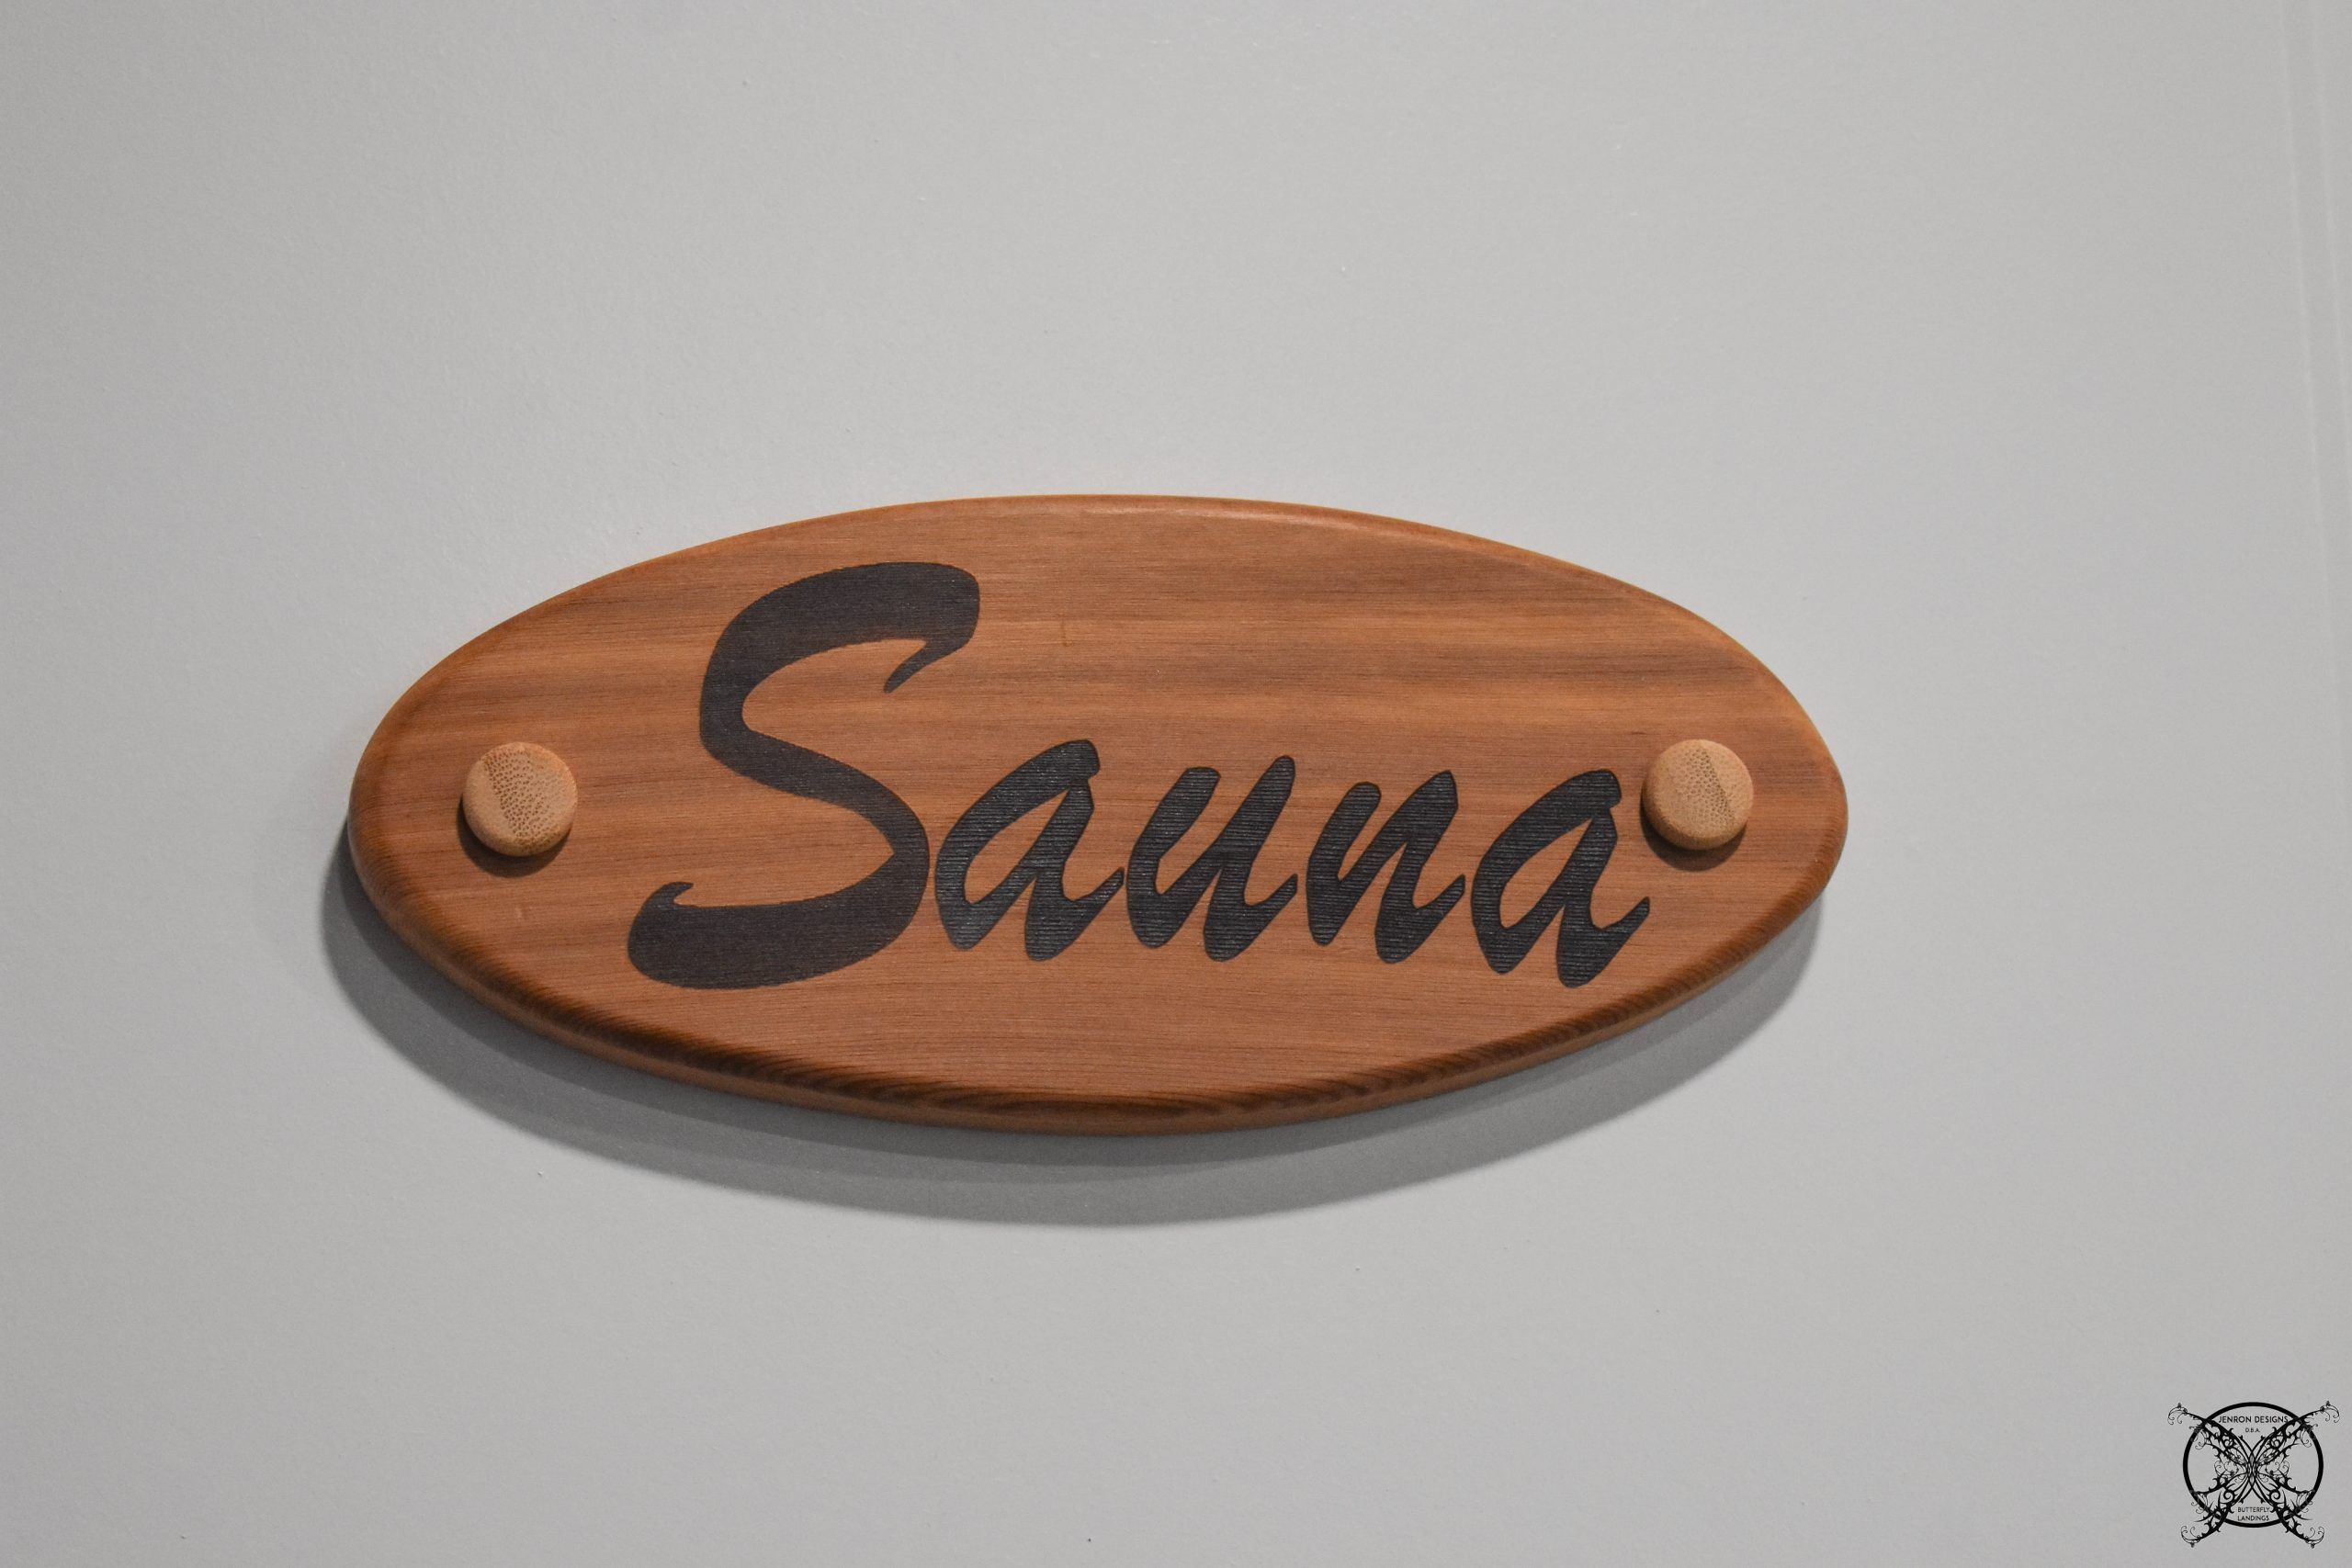
How to DIY A Luxe Home Sauna
Check out how to DIY A Luxe Home Sauna, like we did in the basement.
As many of you know we have been slowly finishing out spaces within our basement to create the perfect at home gym and luxury spa space. Today we are sharing how to DIY a luxury home sauna, which is perfect on these cold winter days. Welcome to our beautiful new at home sauna, filled with tons of beautiful aroma therapy scents the minute you open the door. 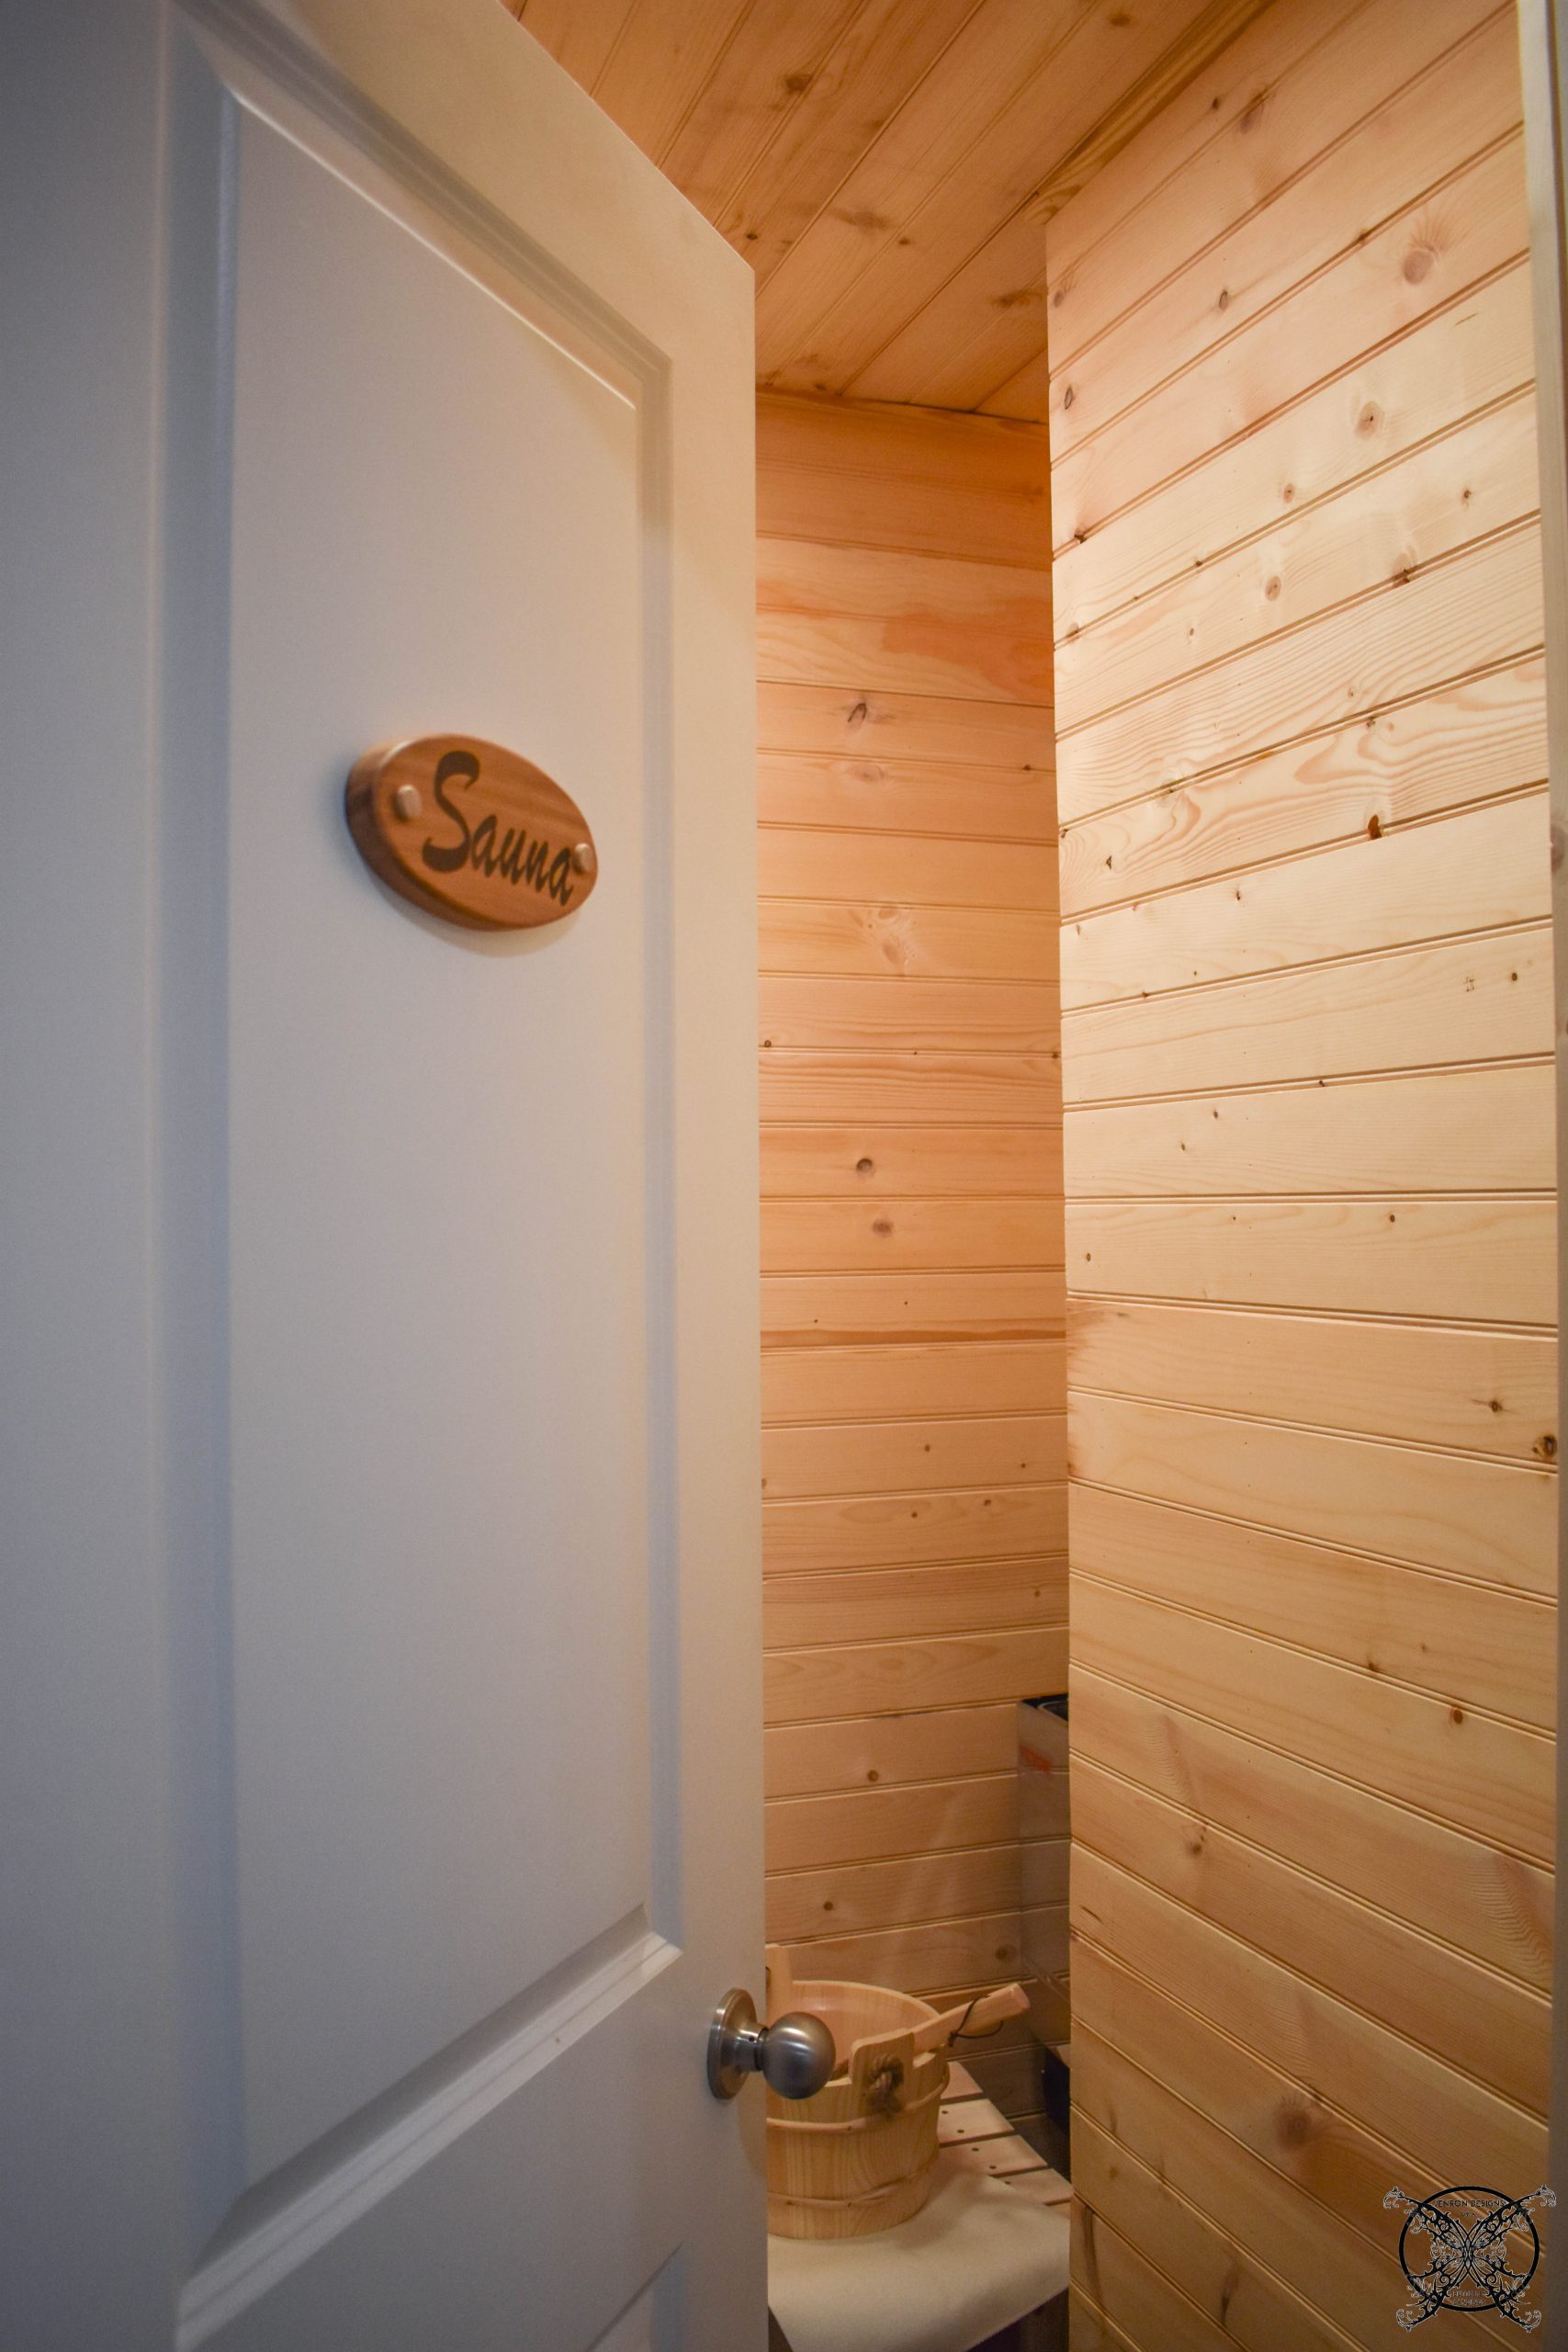 The one thing I do want to address is, yes, we could have ordered a pre built sauna, which would have been so easy. However, when you look at the pricing for those for this size, you are really over paying. Building our own allowed us to make a custom sized space room for less money, and it works like a dream. I use 2-3 times a week and maybe more in the winter; and no it does not raise my power in any significant way.
 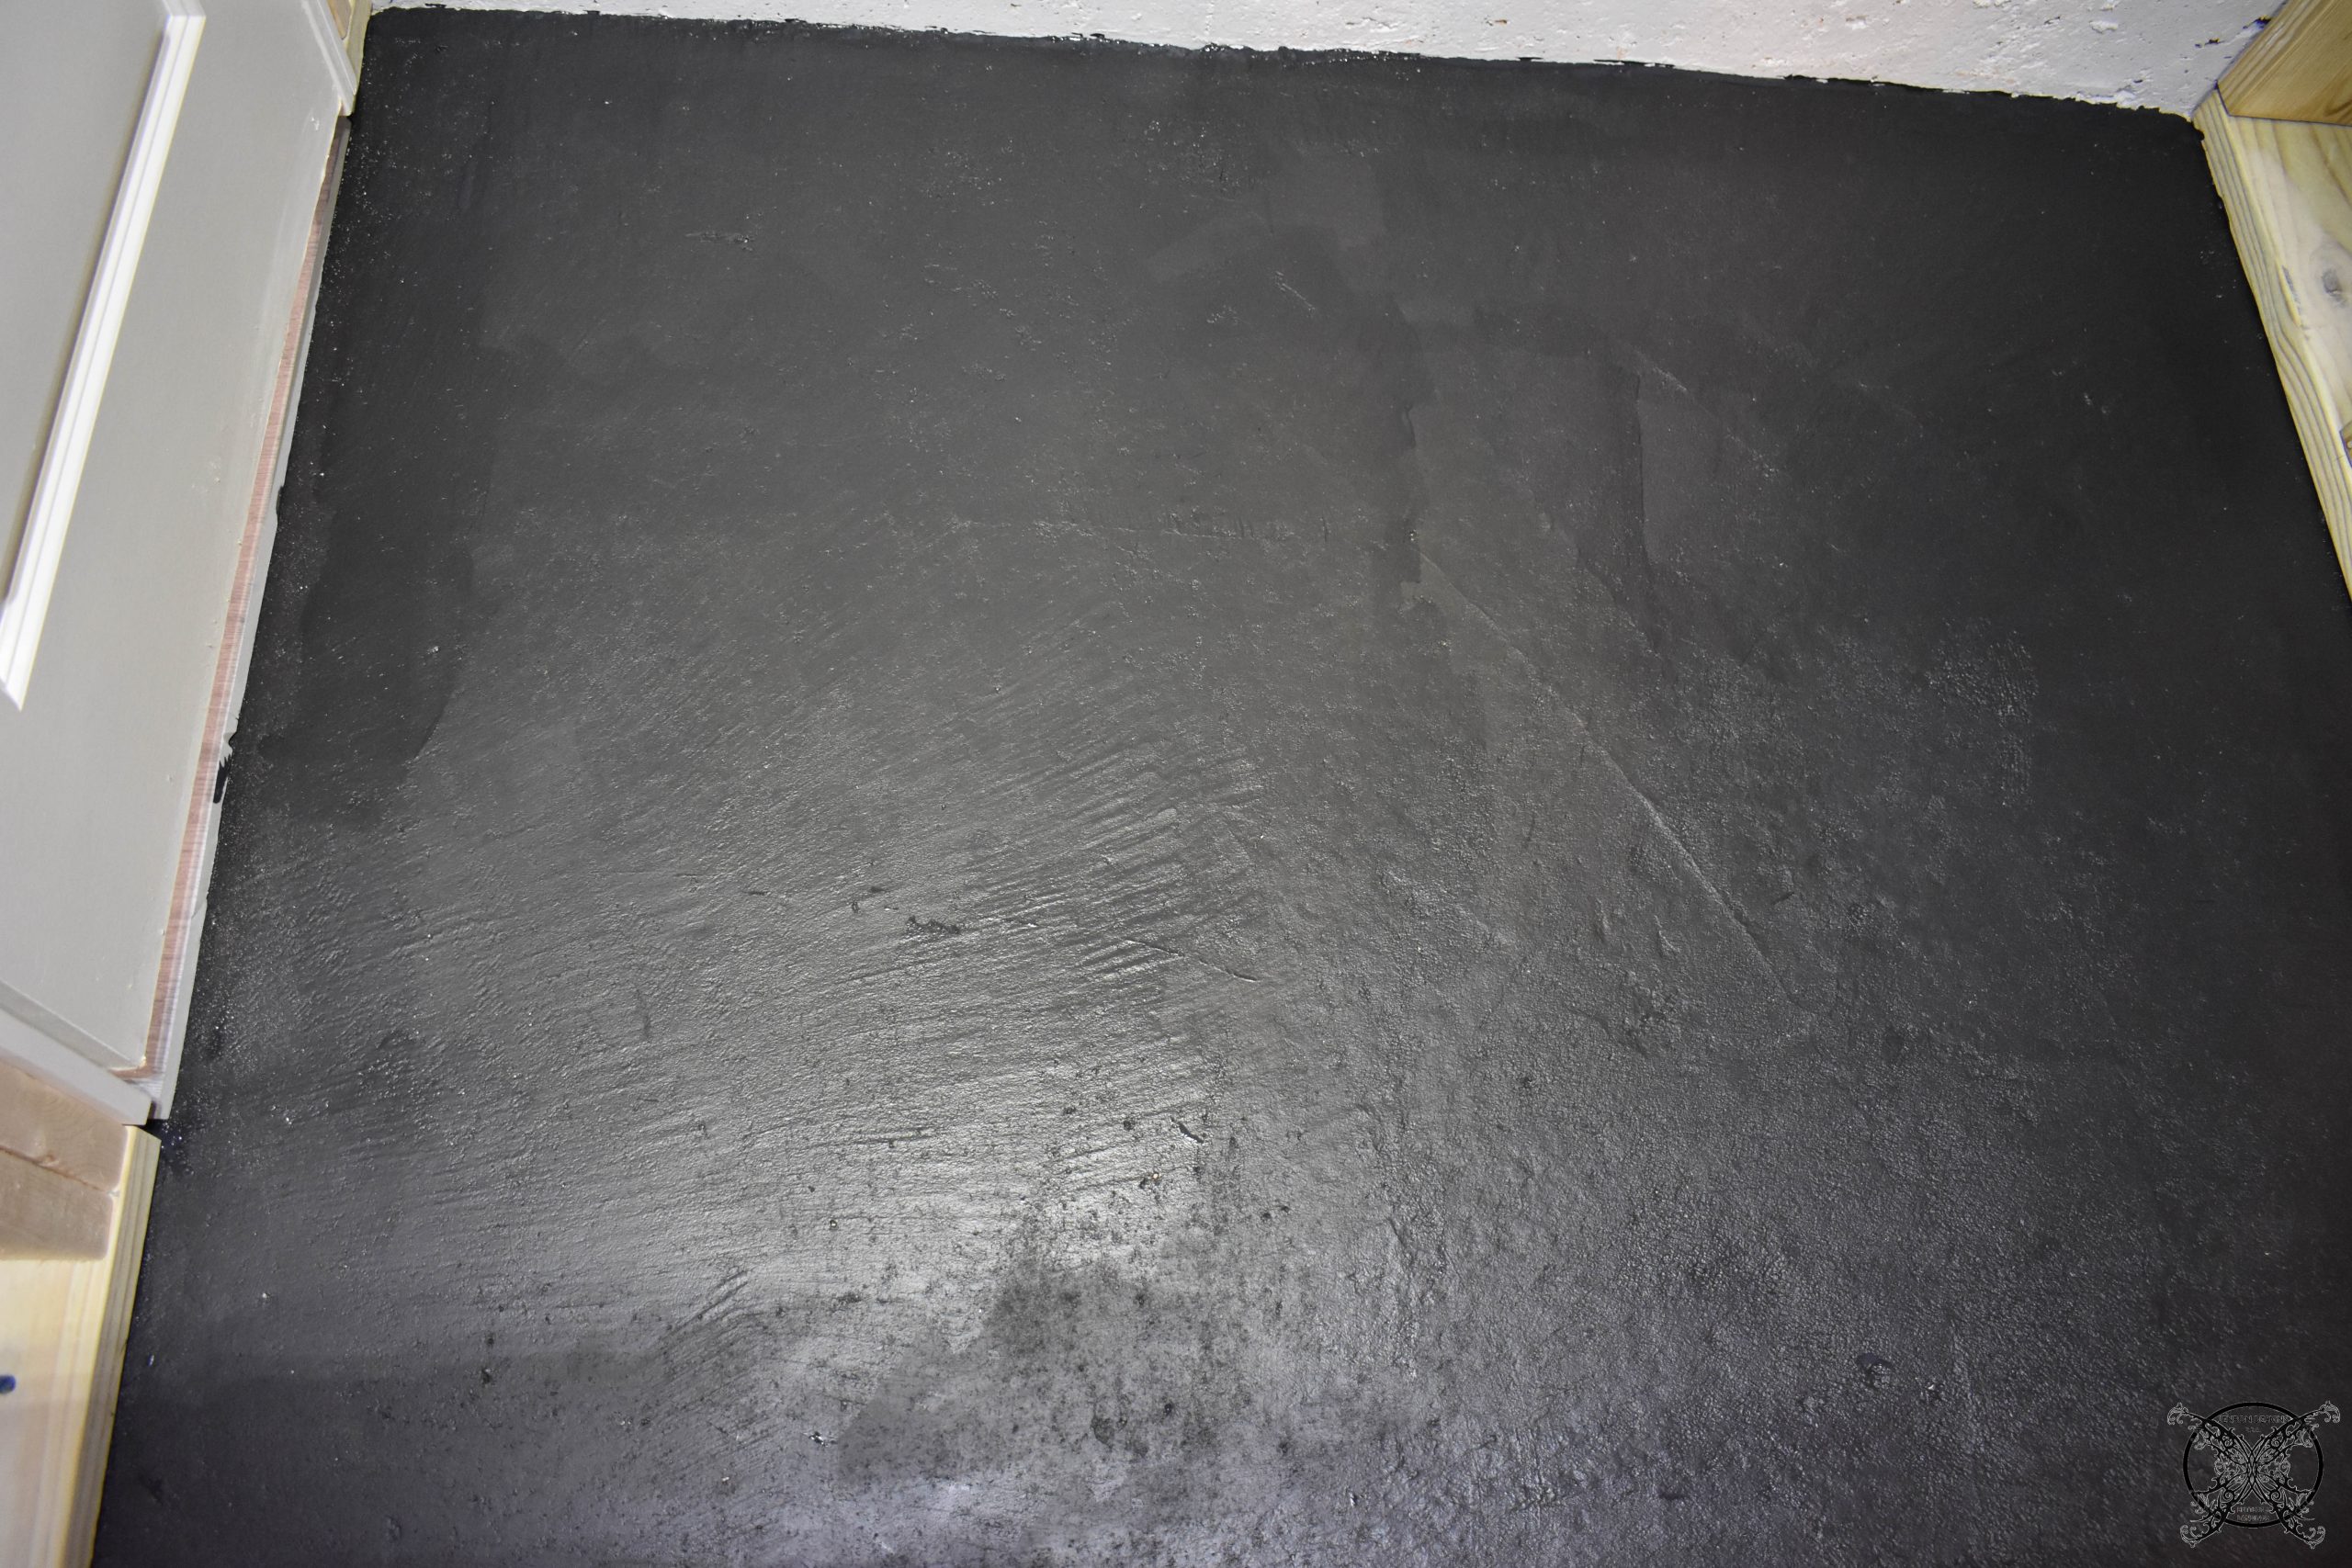 One of the first things we did in the space was seal up all of the exposed concrete, which included the walls and floors. This makes the less inclined to have cold spots or since it is basement, bugs. Since the floor was going to be visible thru our indoor/outdoor deck tiles we were using for the floor, we went with a black concrete paint.
*Please note that I was compensated for this post. This post contains affiliate links for your convenience. These involve no extra cost to you. You can view my full advertising disclosure here.
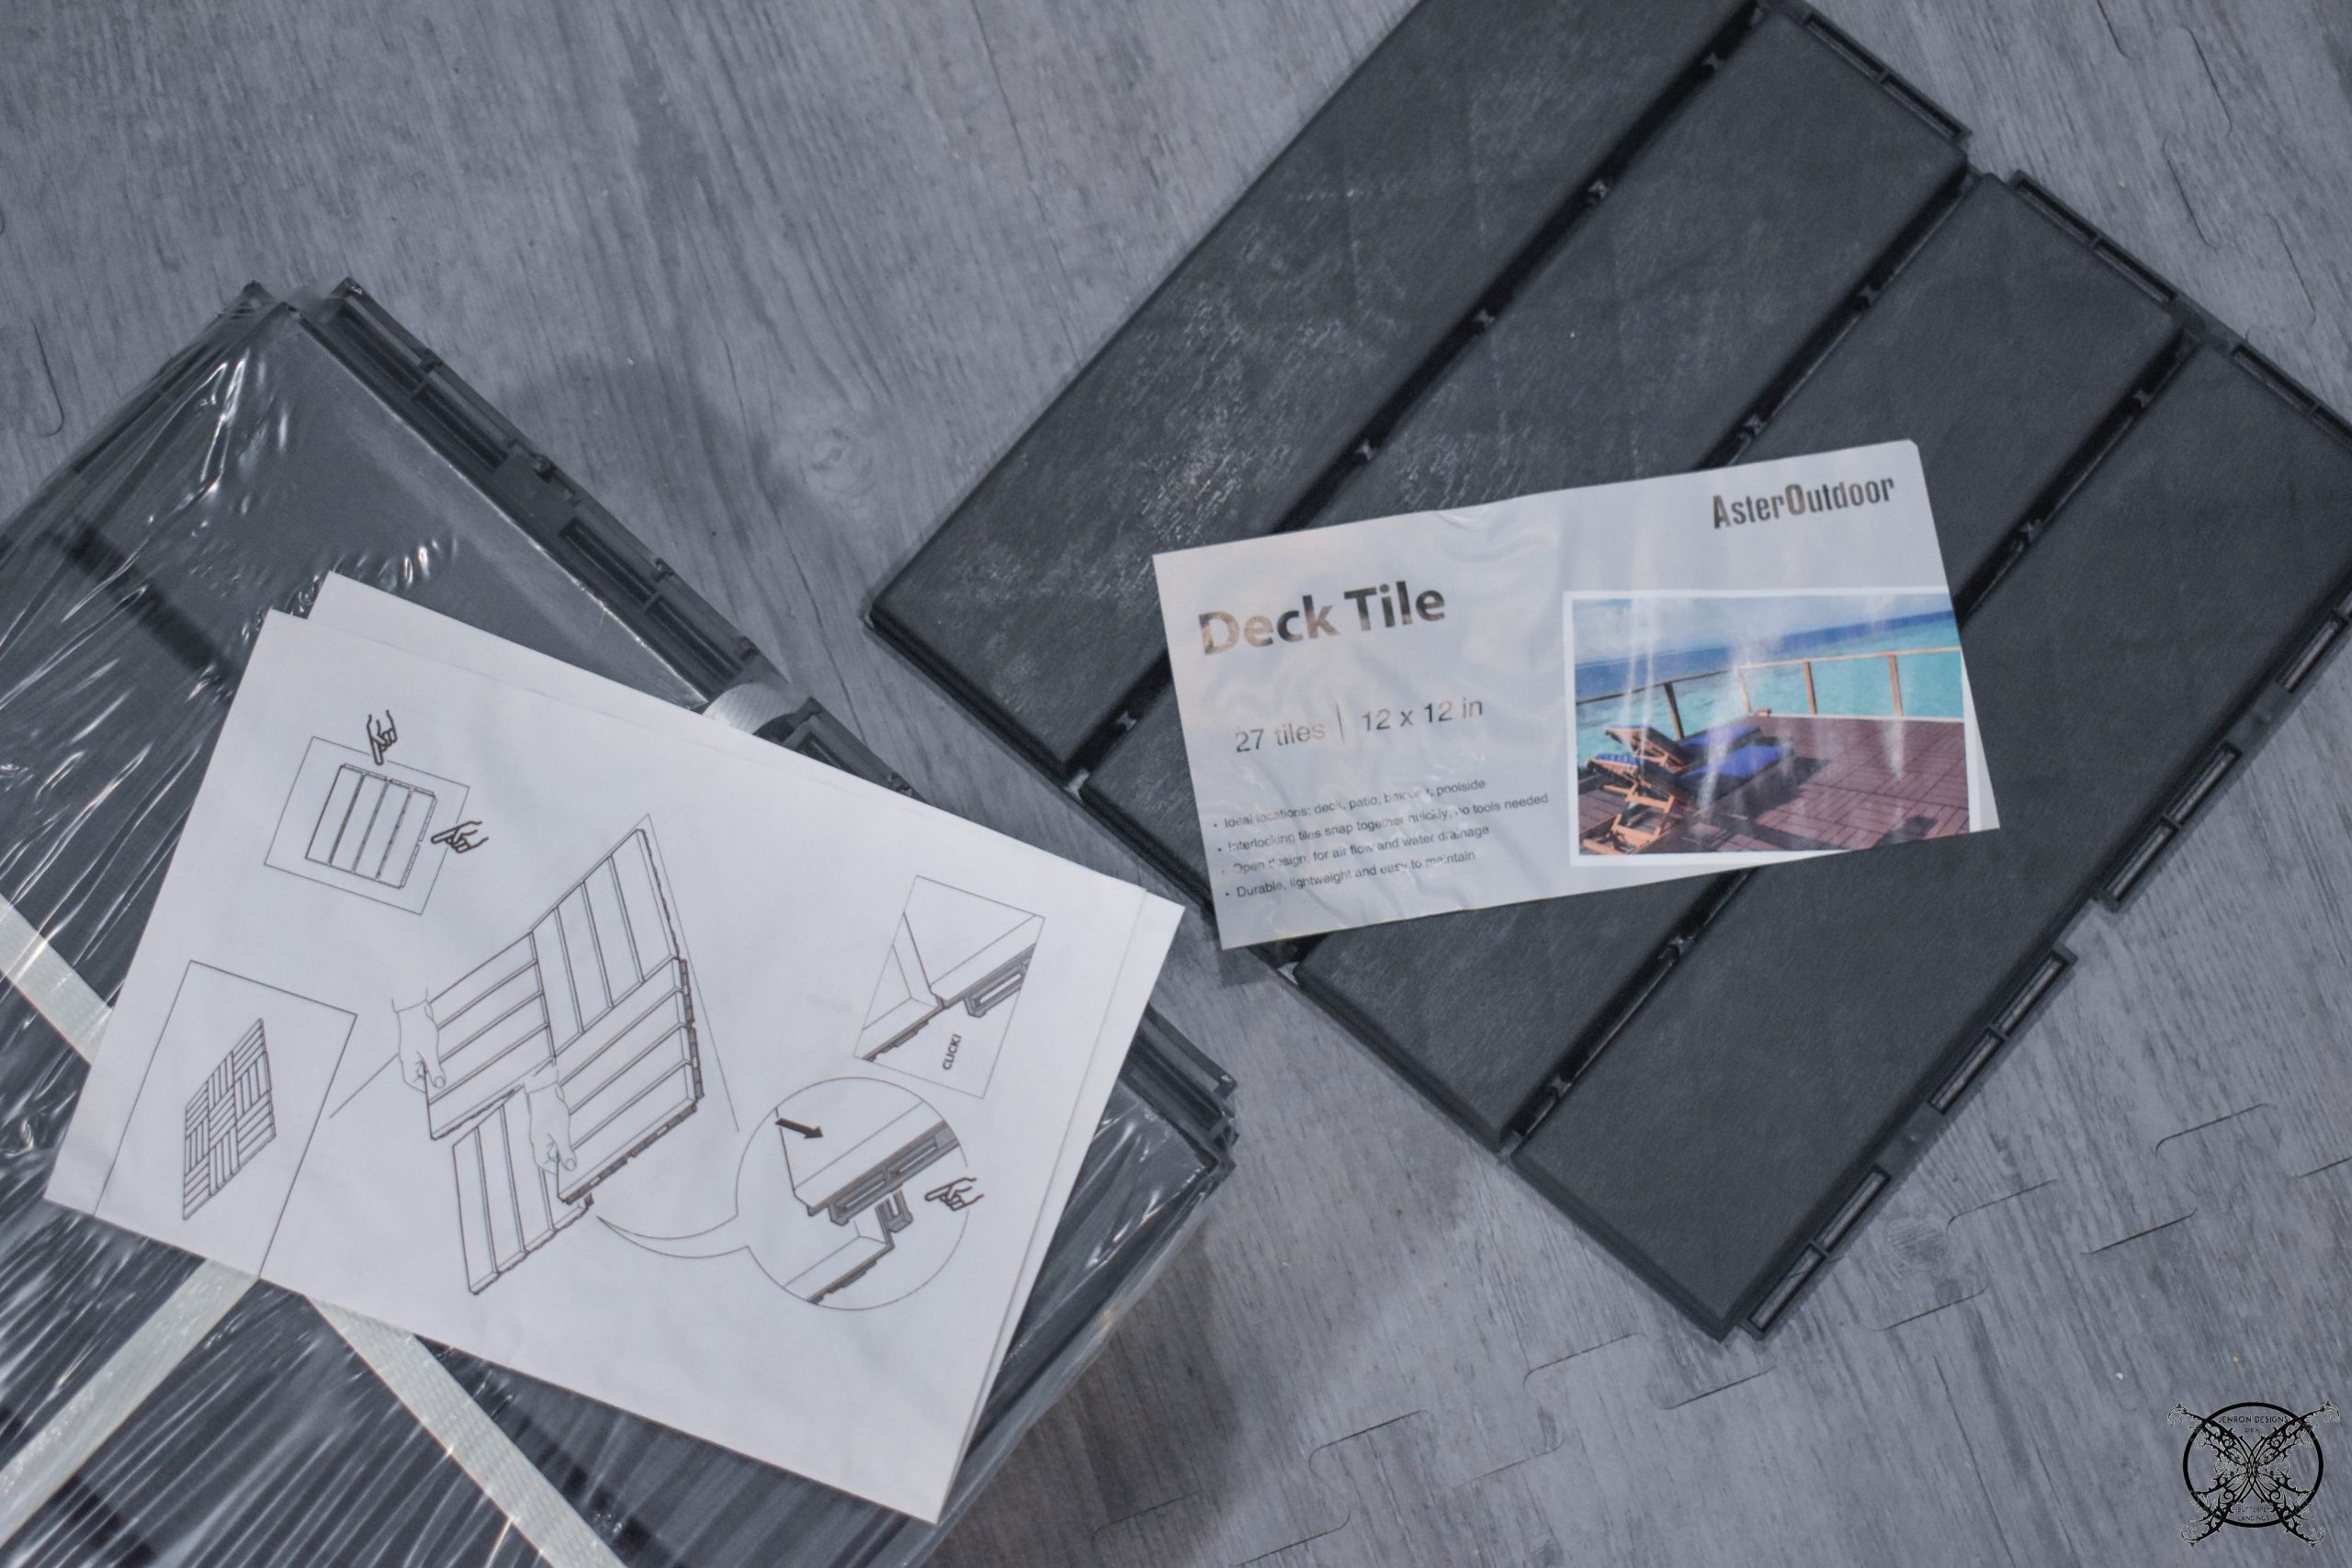
The Aster Outdoor Interlocking Deck Tile Plastic Waterproof Outdoor Flooring come in a 12″ x 12″ size and are designed for Patio Garden Deck Poolside indoor/outdoor use. We purchased the 27 pieces box in gray to complete our space. They easily snap together with the use of rubber mallet, and can easily be cut for the specialty size areas to fit your space. They also clean up nicely with mopping for sanitizing and cleaning of the space, which is also a consideration as well.
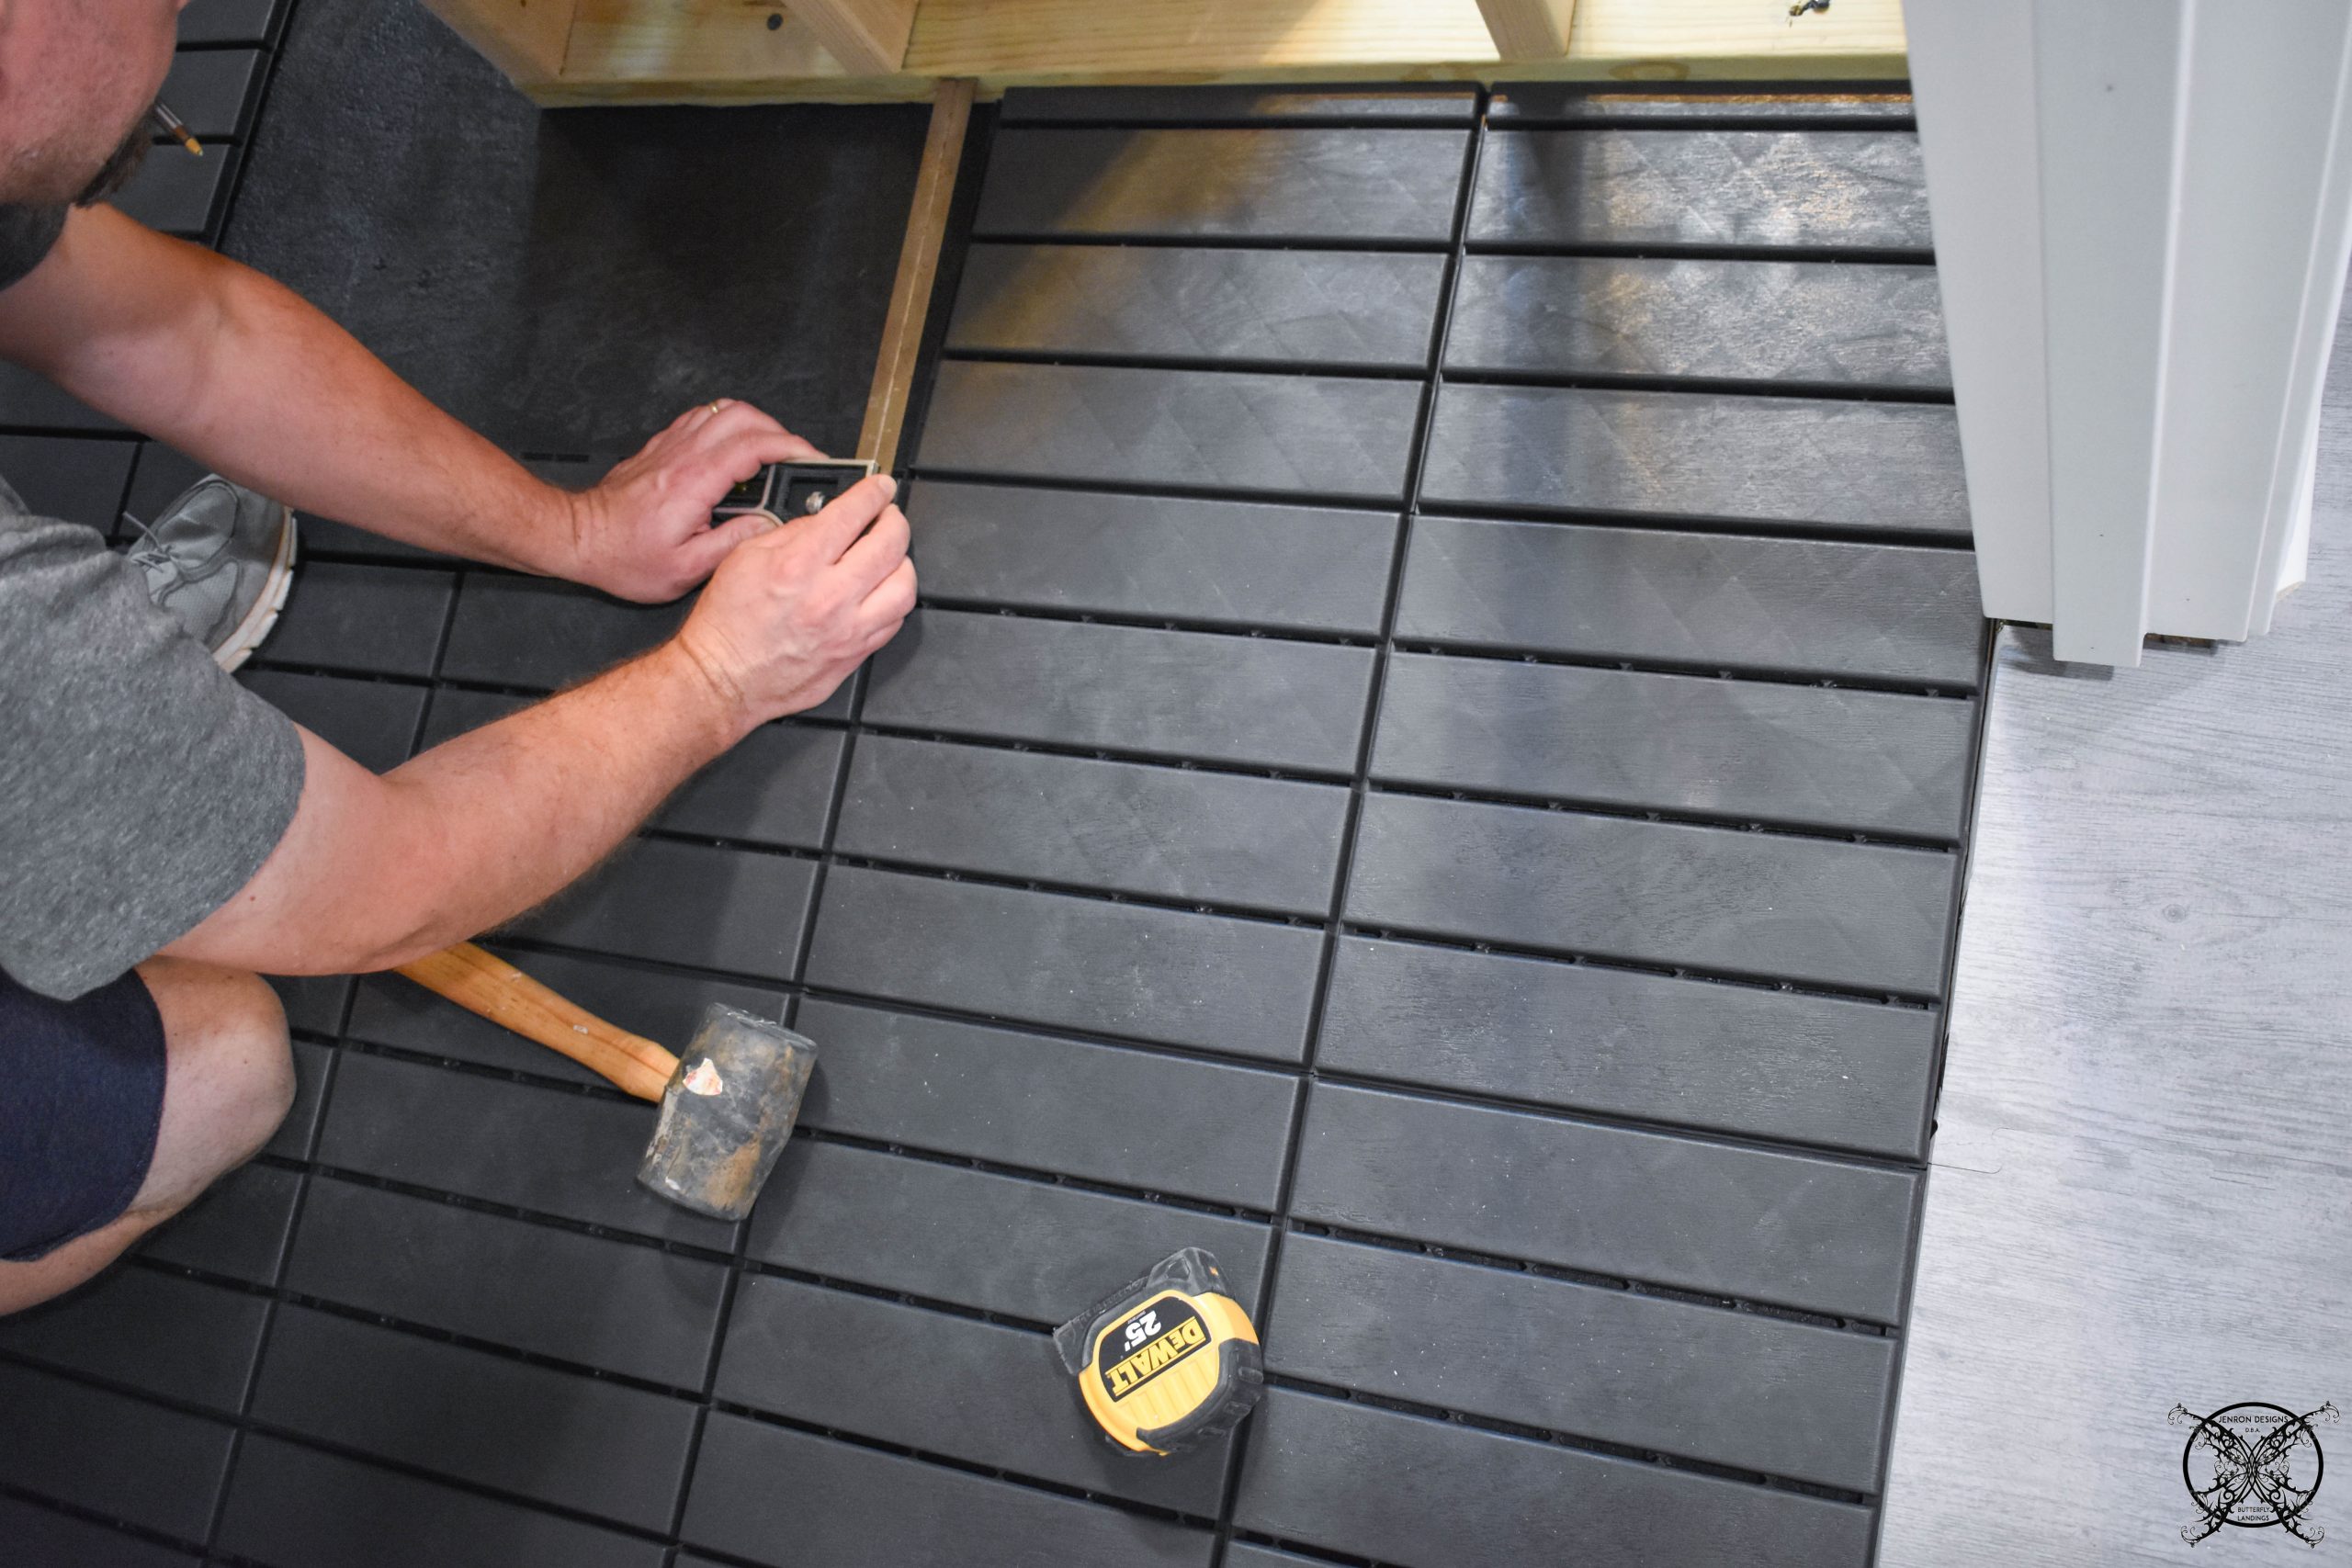 This was the perfect choice for a sauna floor due to its slip resistant open design, the grooves on the top surface of these outdoor patio tiles between each slat increase friction and help keep you from slipping if the tiles get wet. They are weather resistant which makes them durable. The high quality plastic material is a better alternative to wood deck tile versions that do not hold up against the elements. These tiles will not warp, rot, crack, stain, scratch, split or bend.
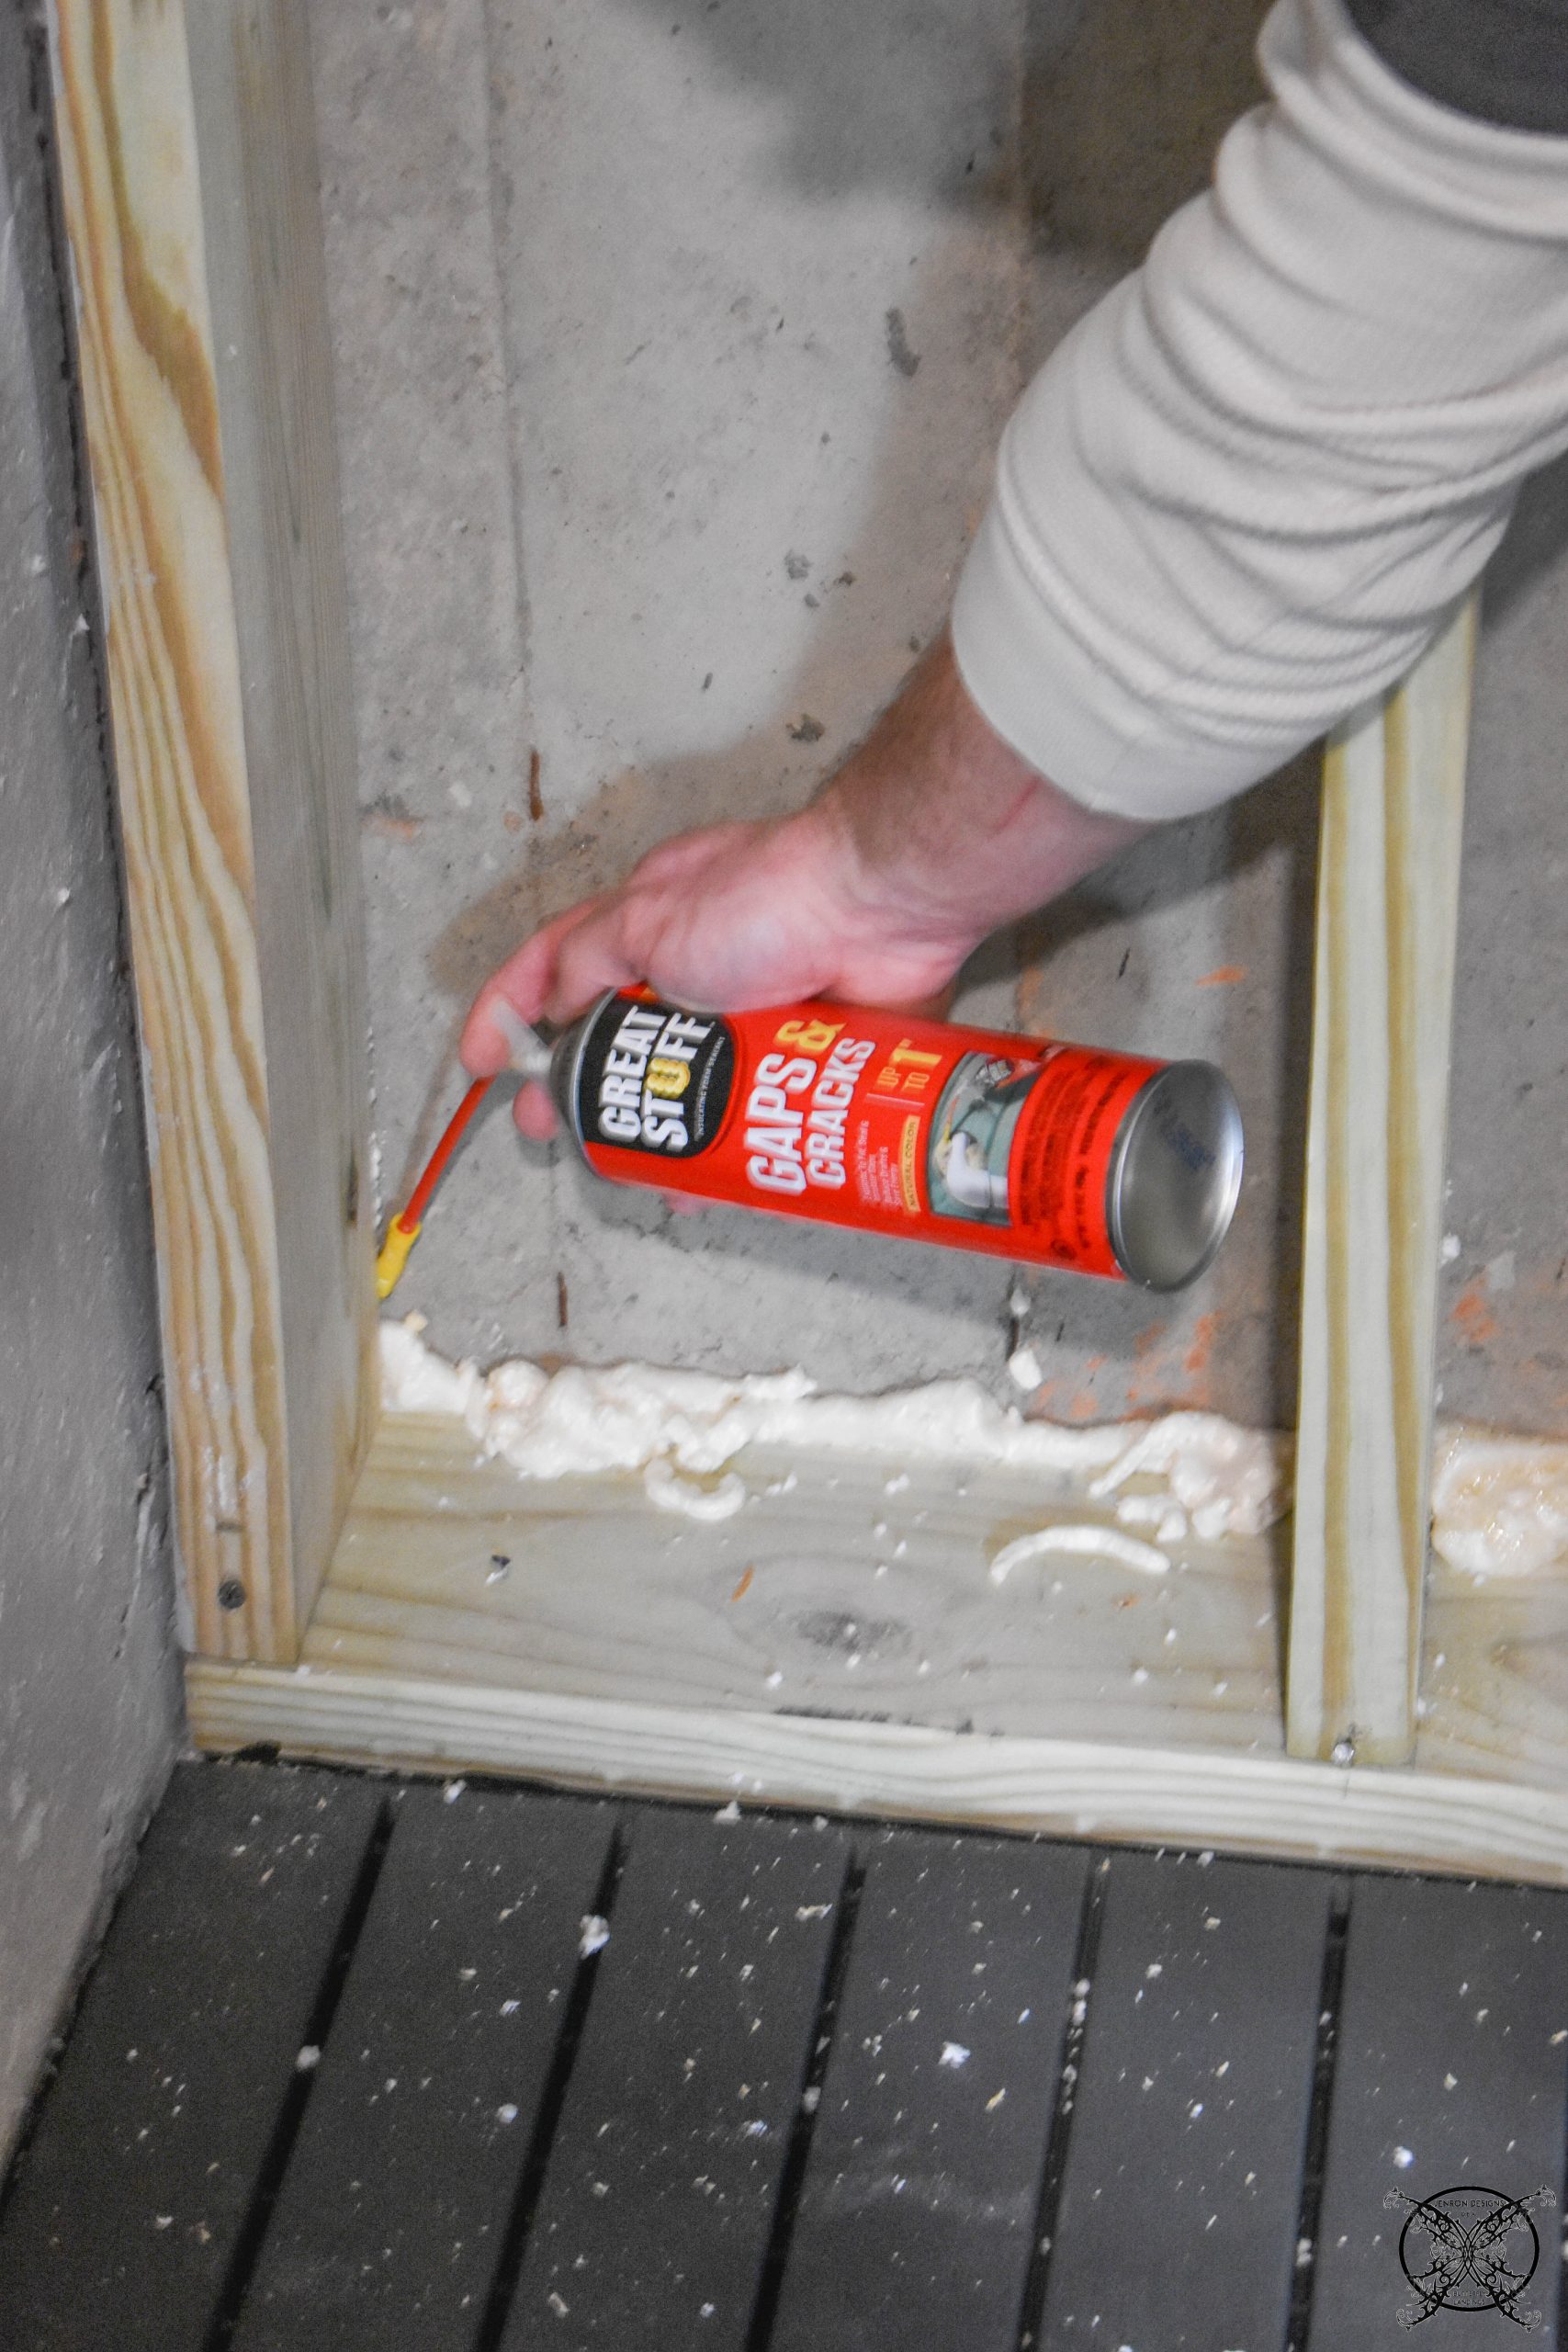 Once the floor was in place we started to work on sealing up the walls and placing the first layer of insulation in place. Since this is a sauna you do not want to use a traditional style of insulation as you would the rest of your home.
 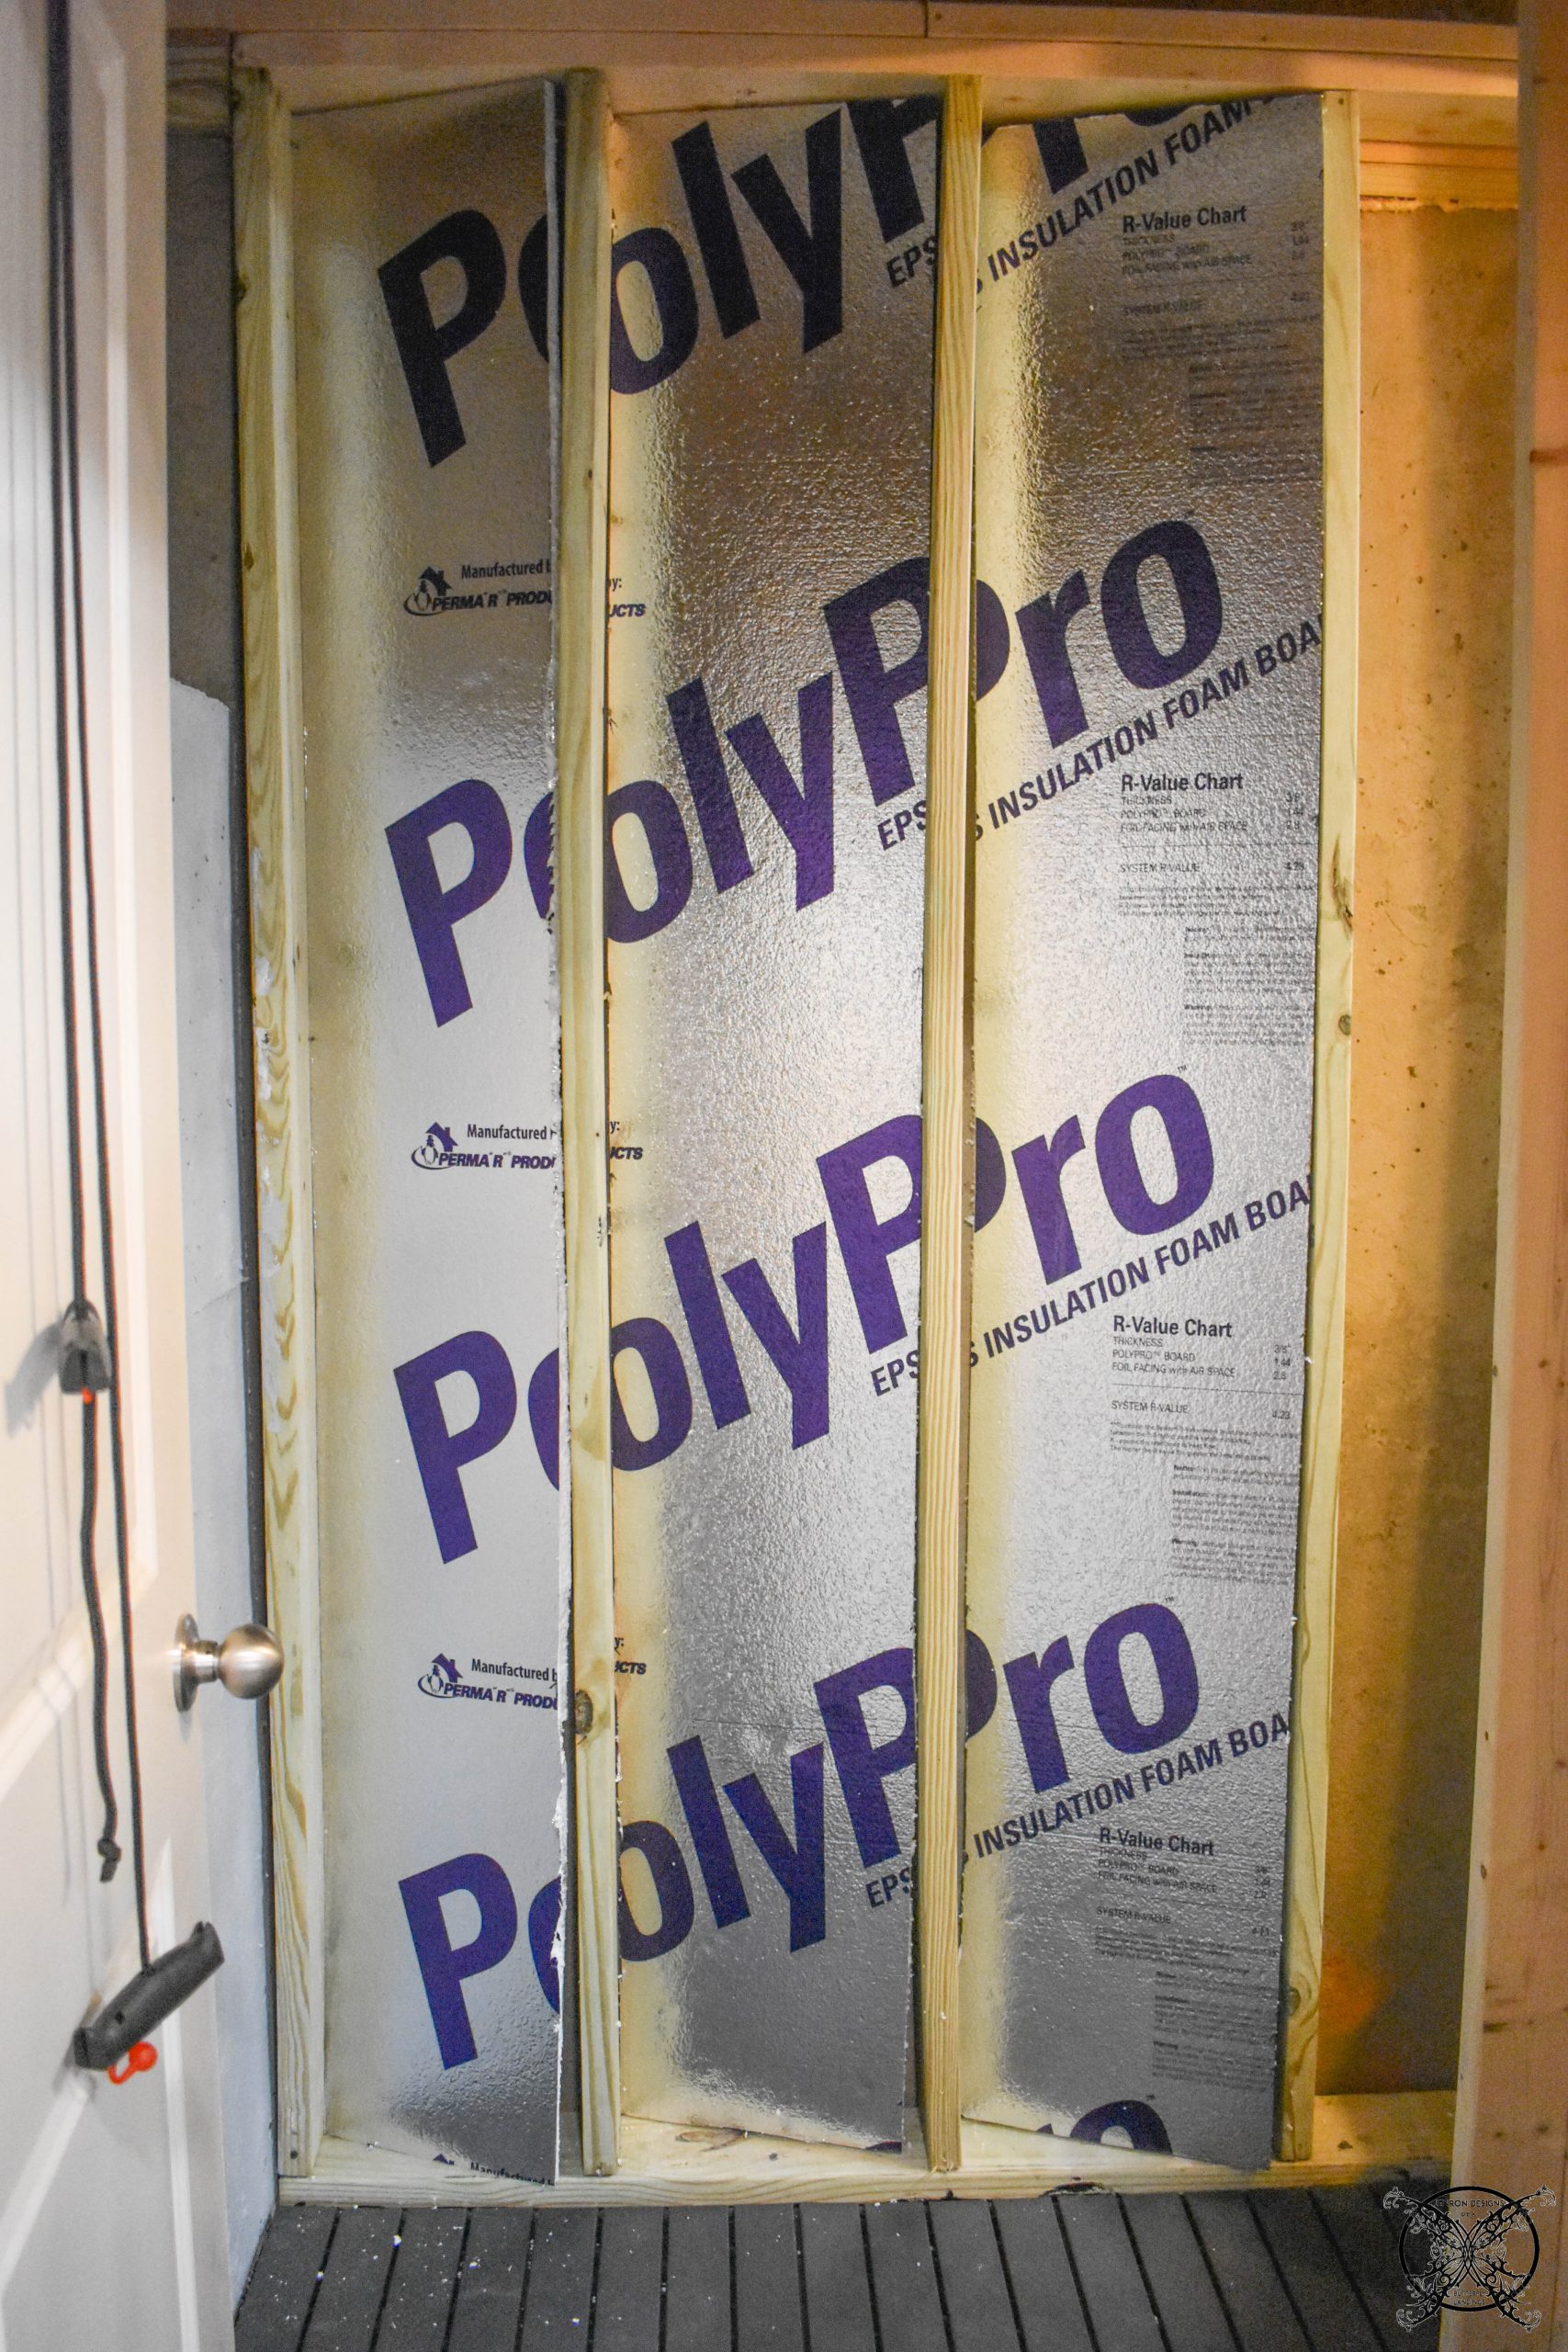 After doing some research we decided on a two layer approach of a Poly Pro foam board which is glued into place with a Loctite type of adhesive glue, seen here below.
 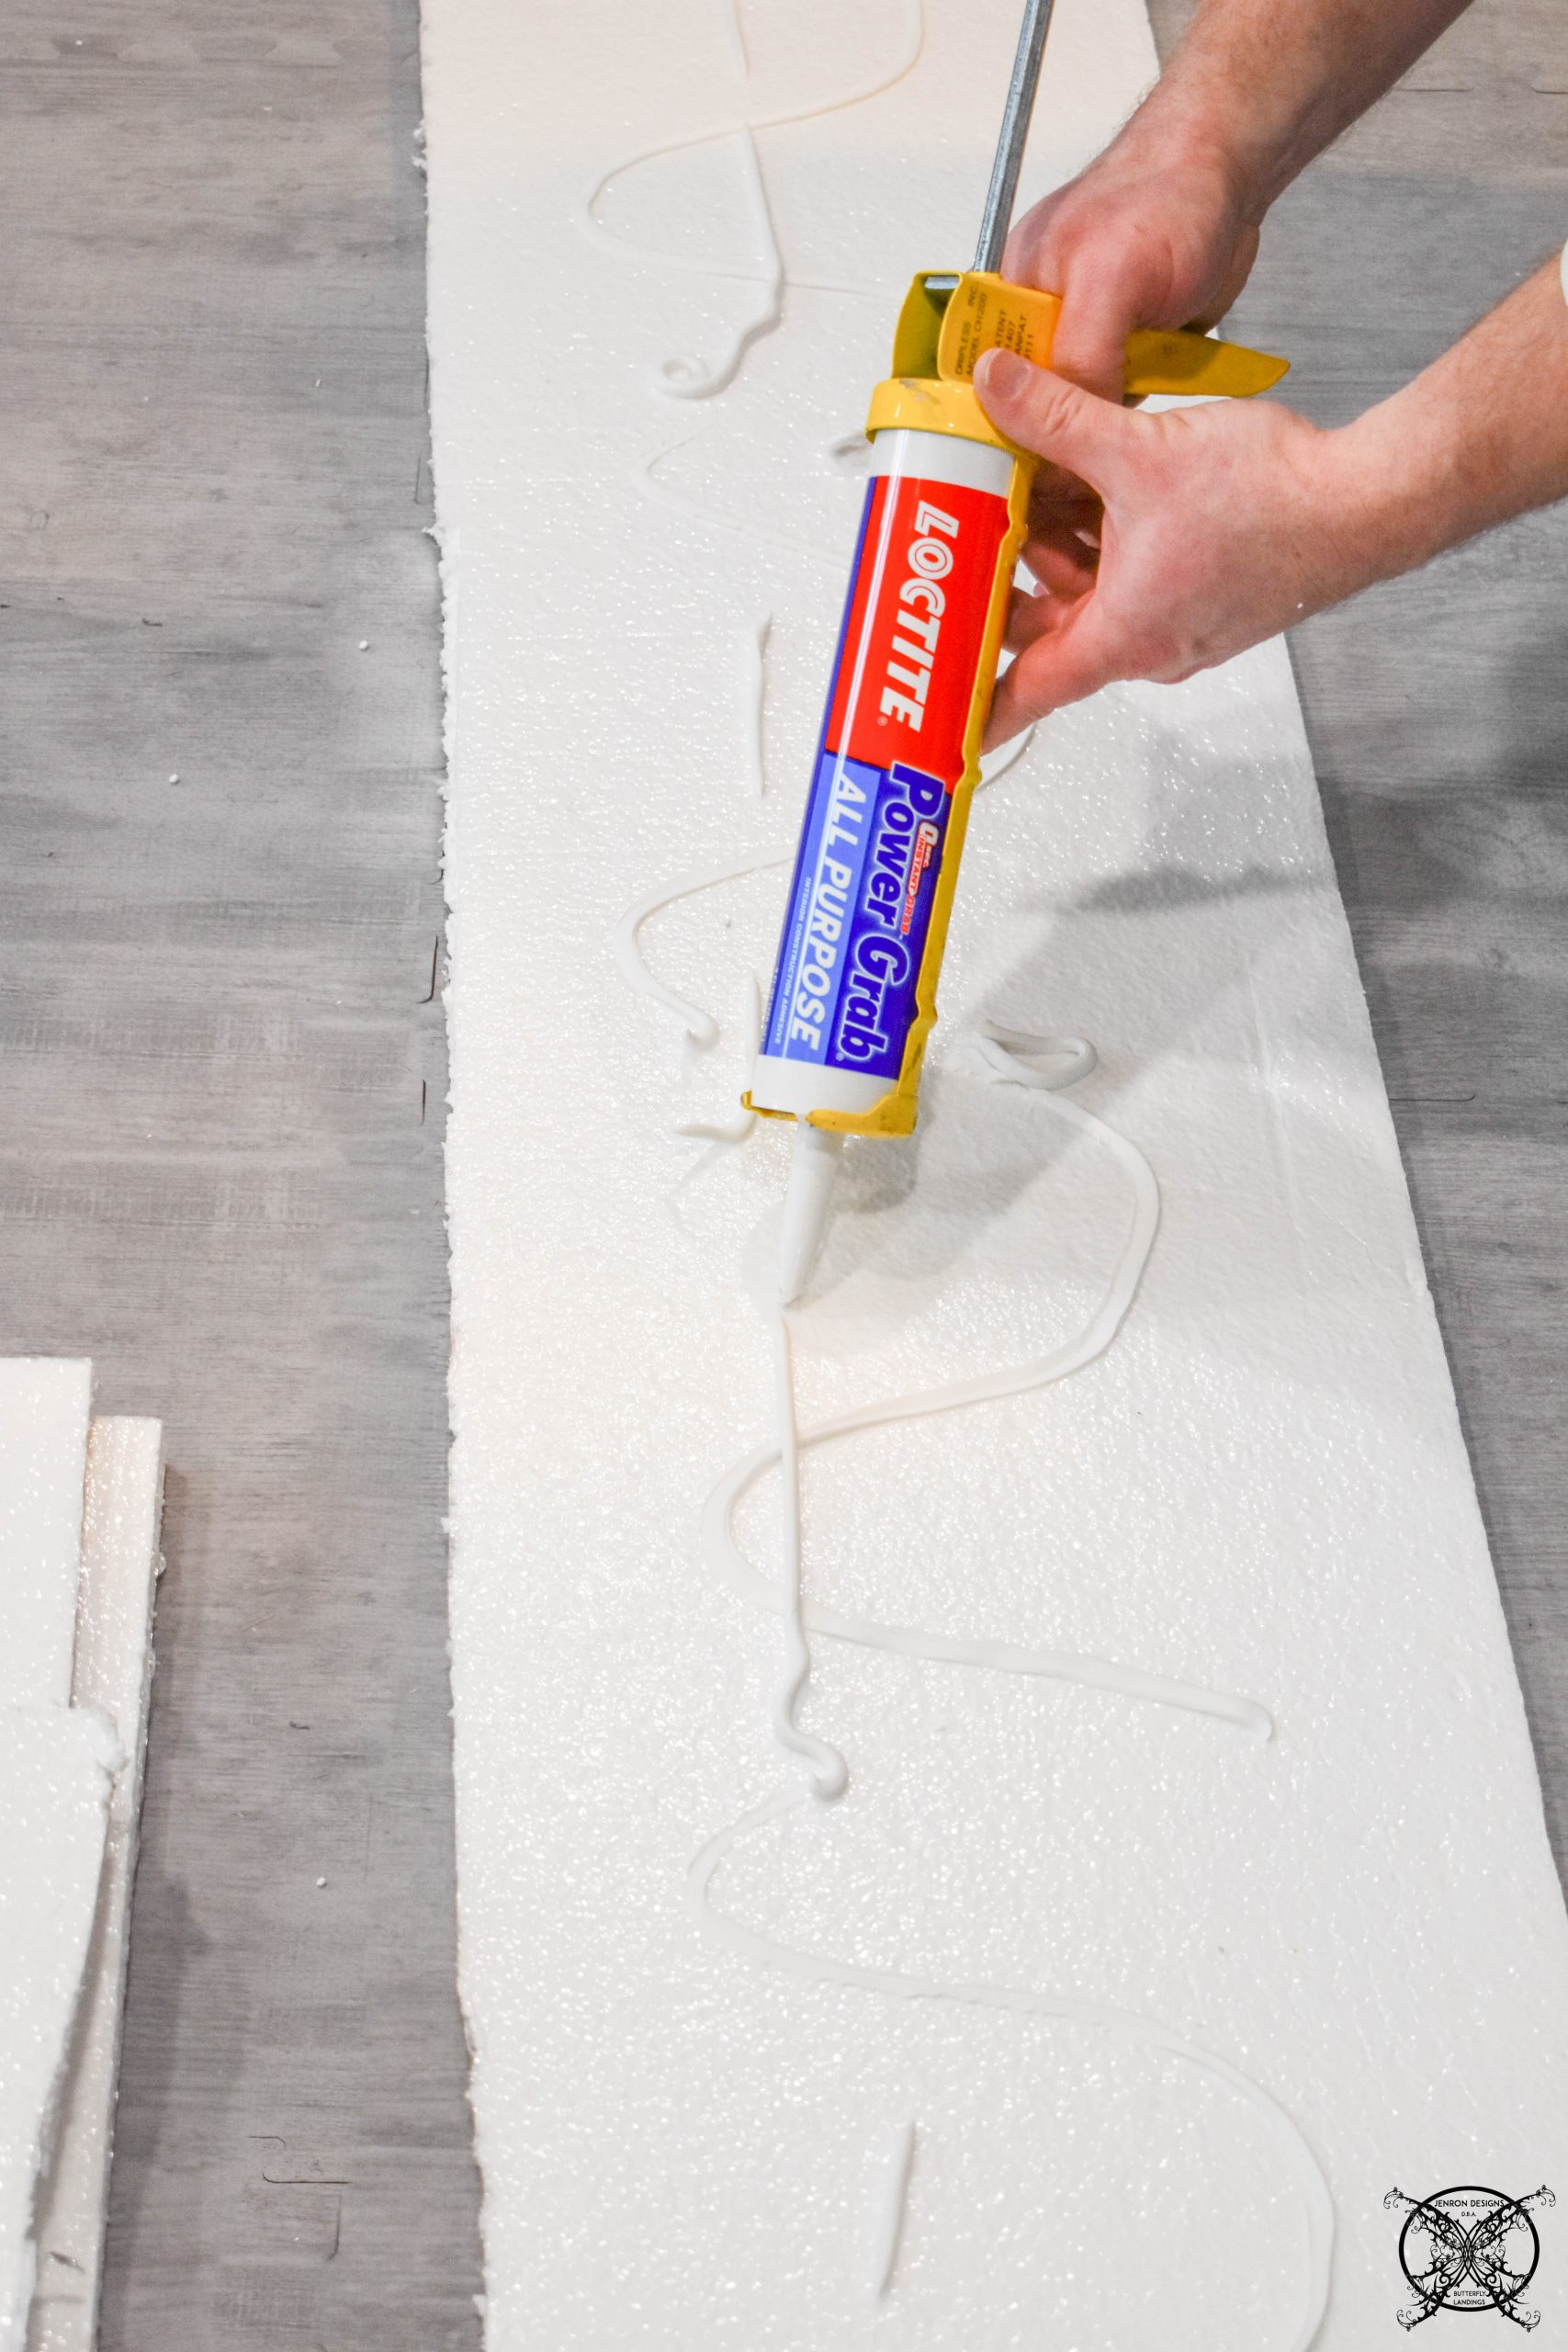 Followed by a layer Reflectix insulation bubble foil which is recommended for rooms and areas like saunas. This creates a nice double layer to hold in the heat and keep out the cold and possible moisture with this wall being in the subterrain area of our basement.
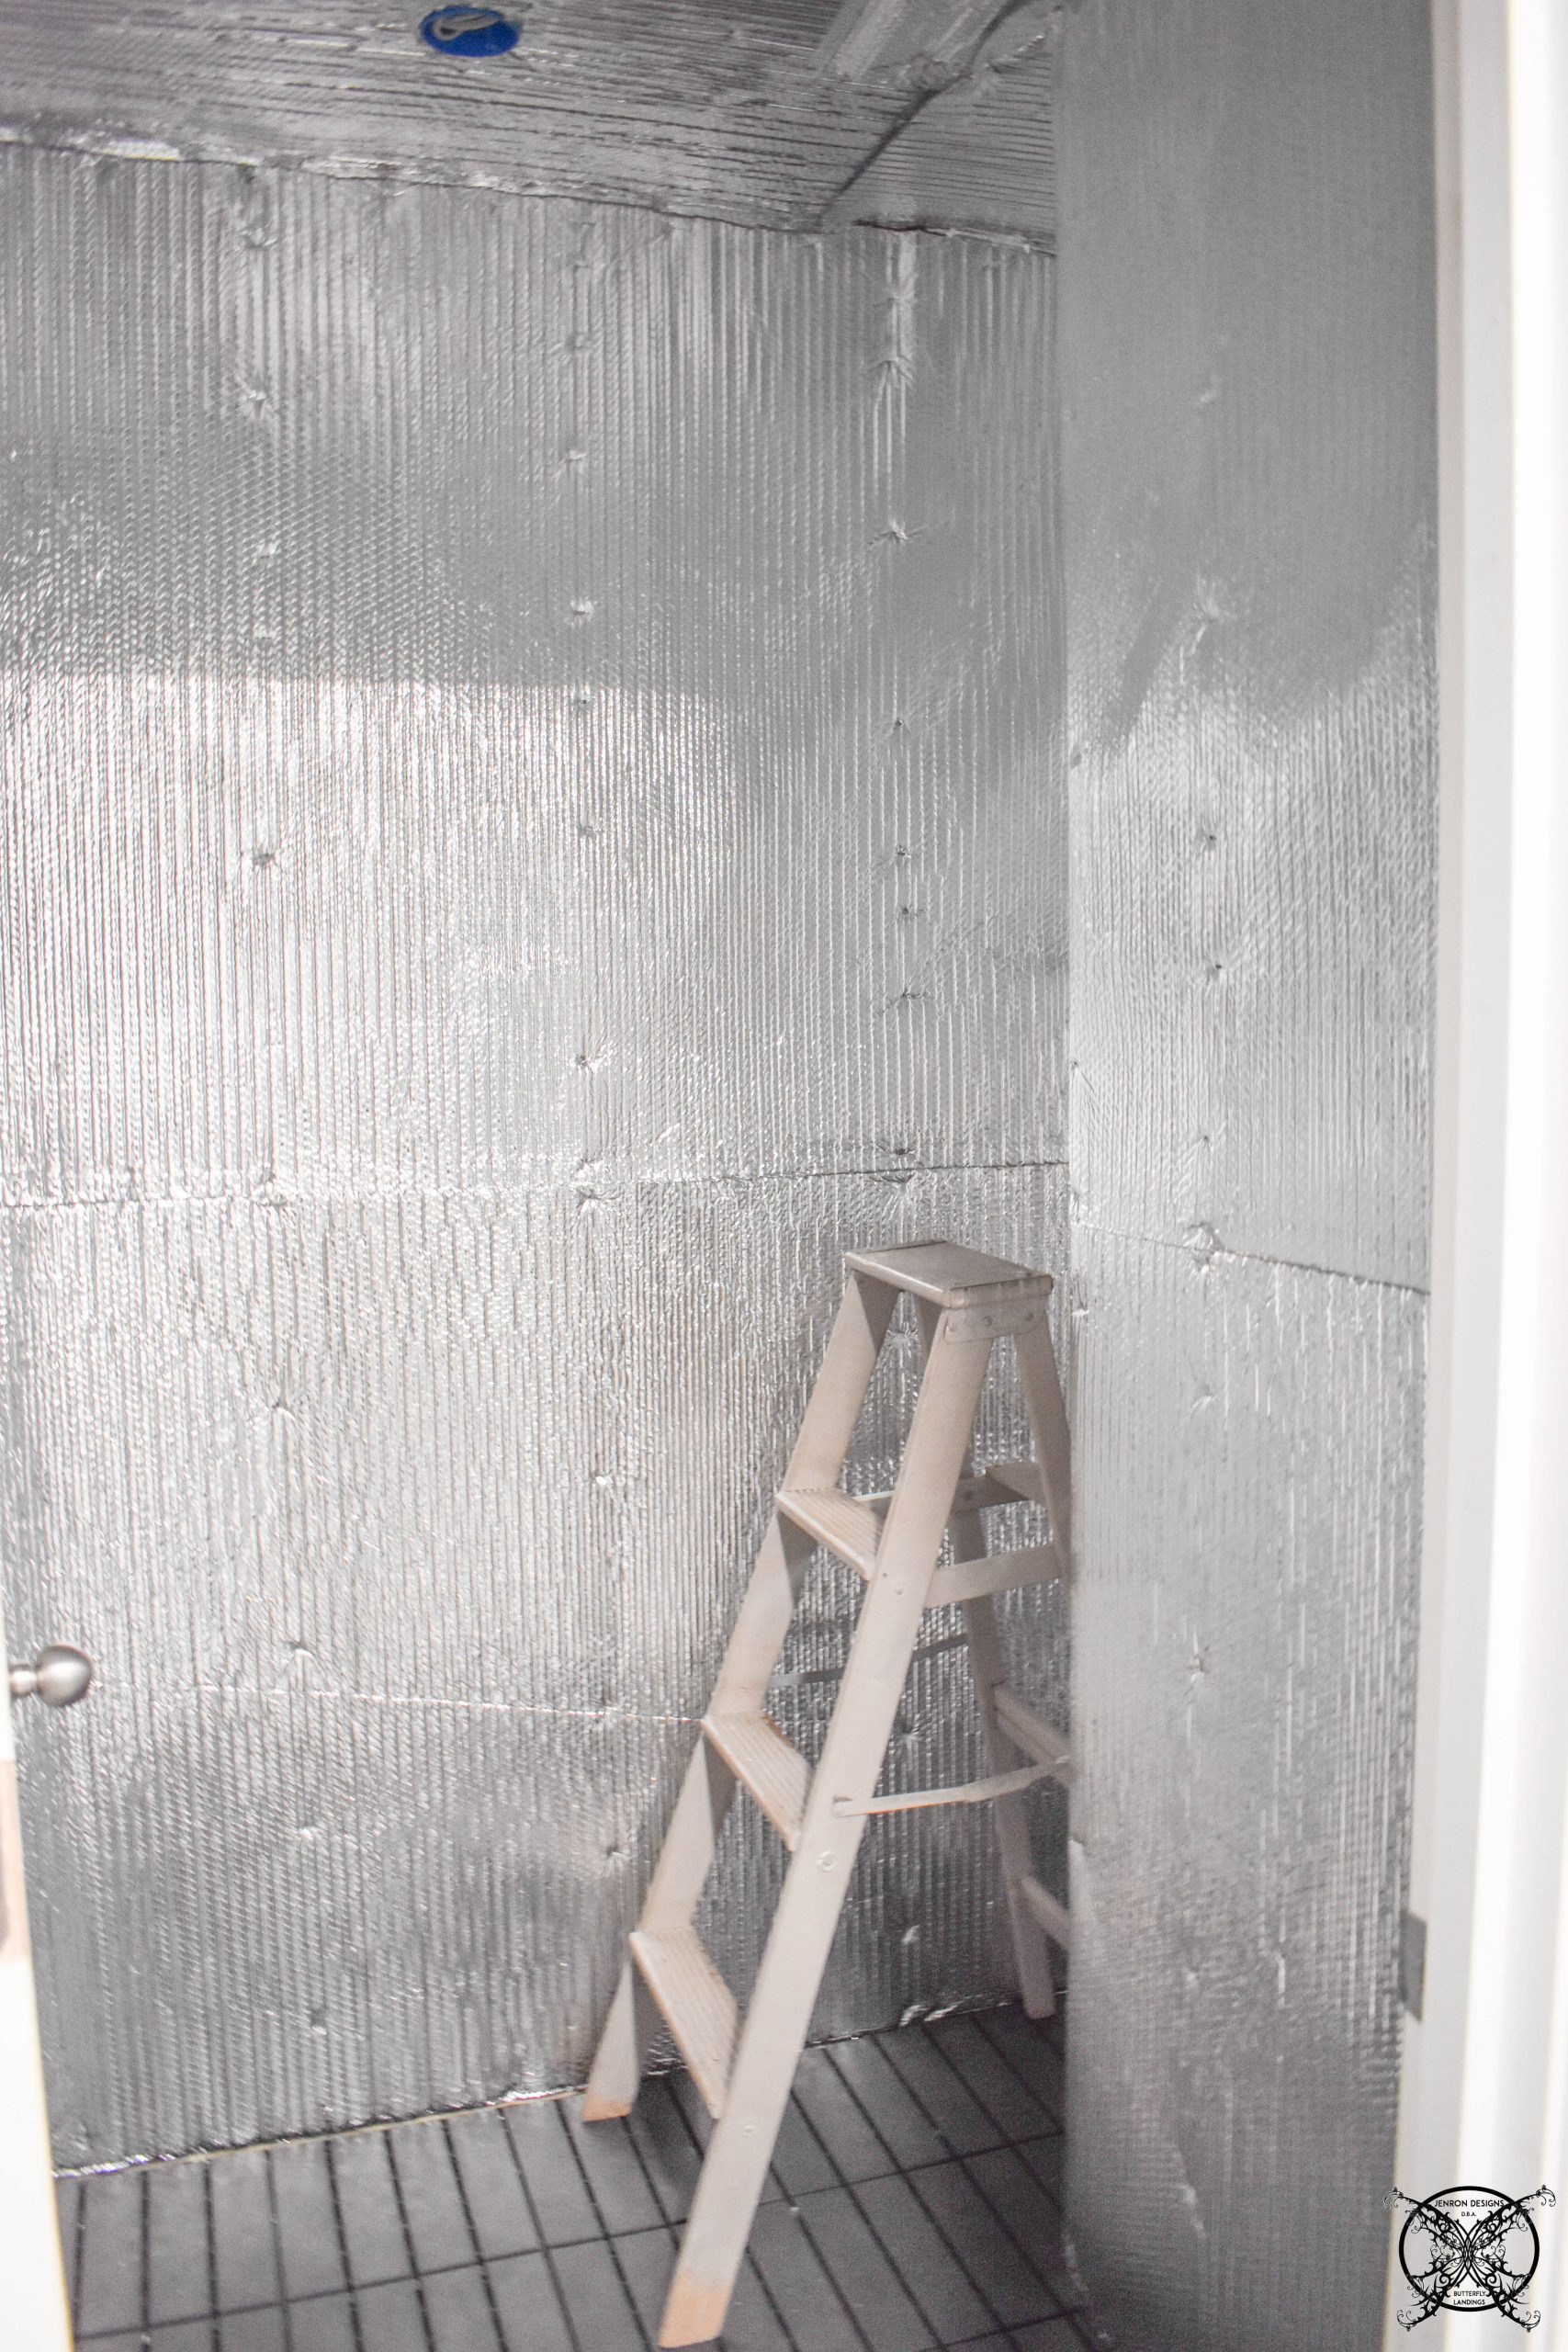
Once the space was well insulated it was time to add the quintessential wood walls, which everyone thinks of when they think of a sauna. We choose a nice pine spruce to save on money verses a cedar, which is fine they both smell great, in my humble opinion. Plus the pine had a wide plank and beaded plank option on the same boards, which was a nice decorative touch. 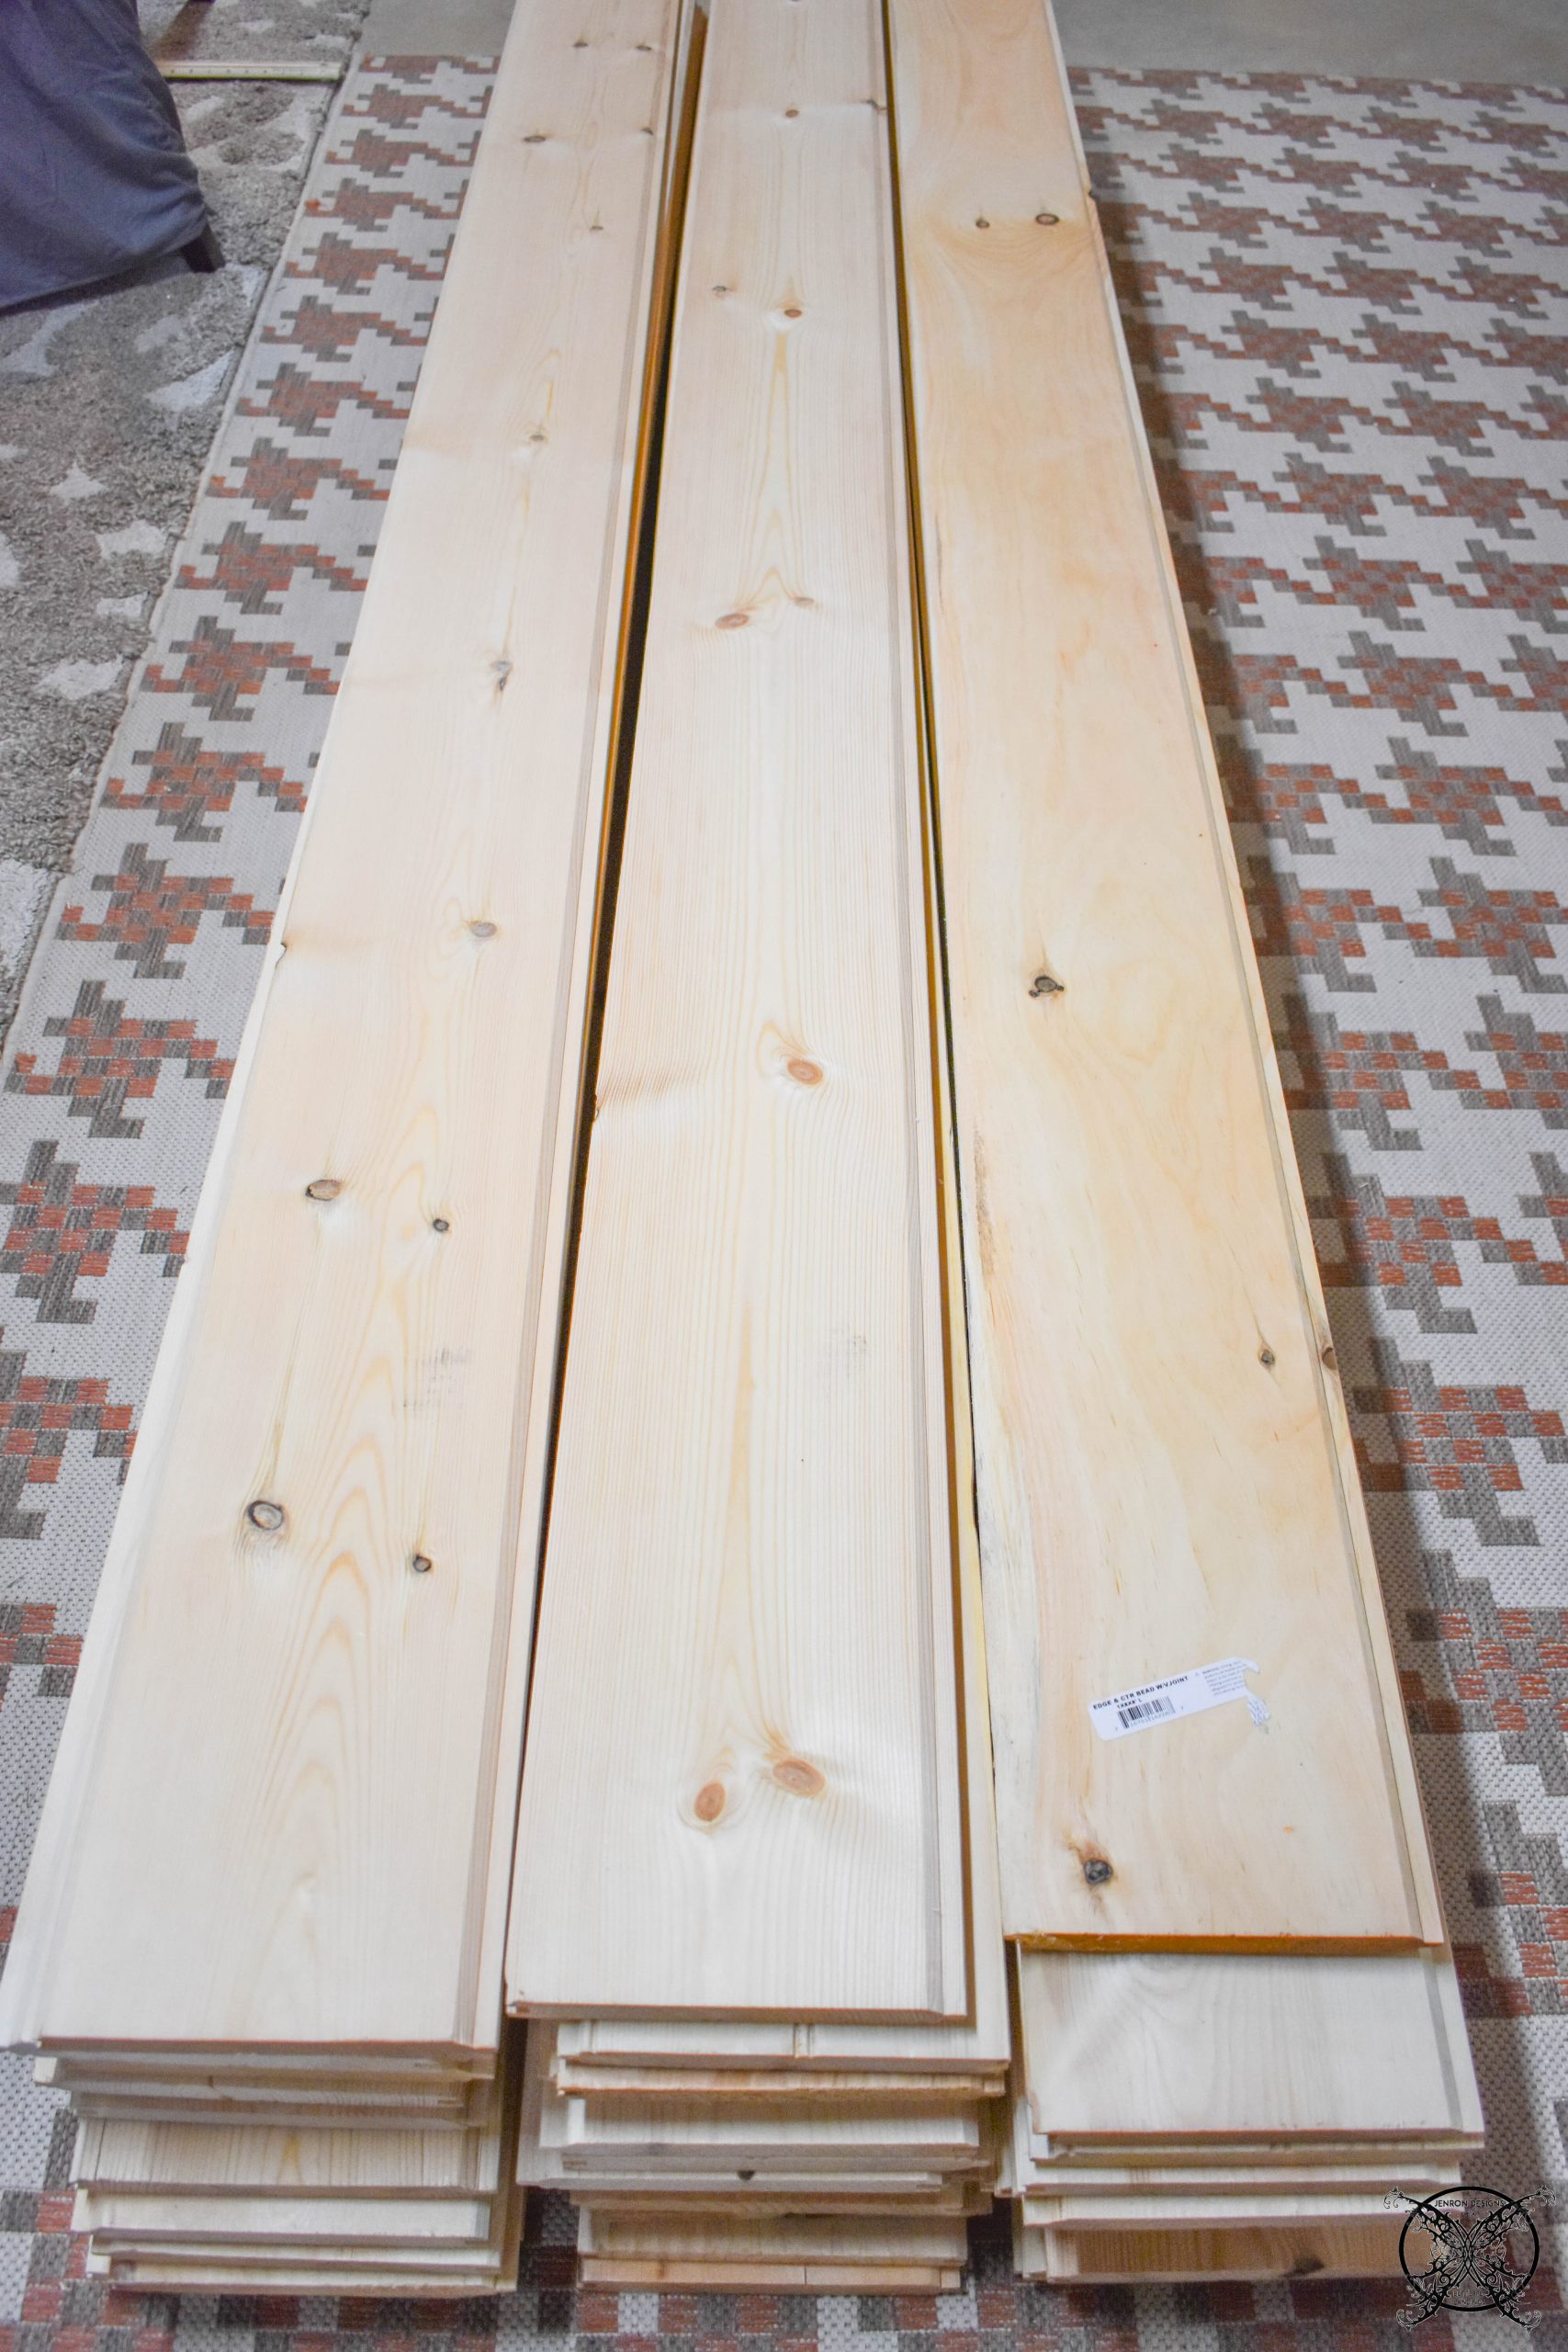 As you can see we ended up using the side which looks a bit more like bead board since the boards were made reversible and we had the option. I just liked the smaller plank look for this space verses the wider 8” solid boards.
*I will note that cedar wood planks do ooze sap a bit around the knot holes in areas still to this very day due to heat, however it also creates a nice smell as well on top of the essential oils which makes the sauna very fresh smelling. Please keep this in mind as you select your wood boards.
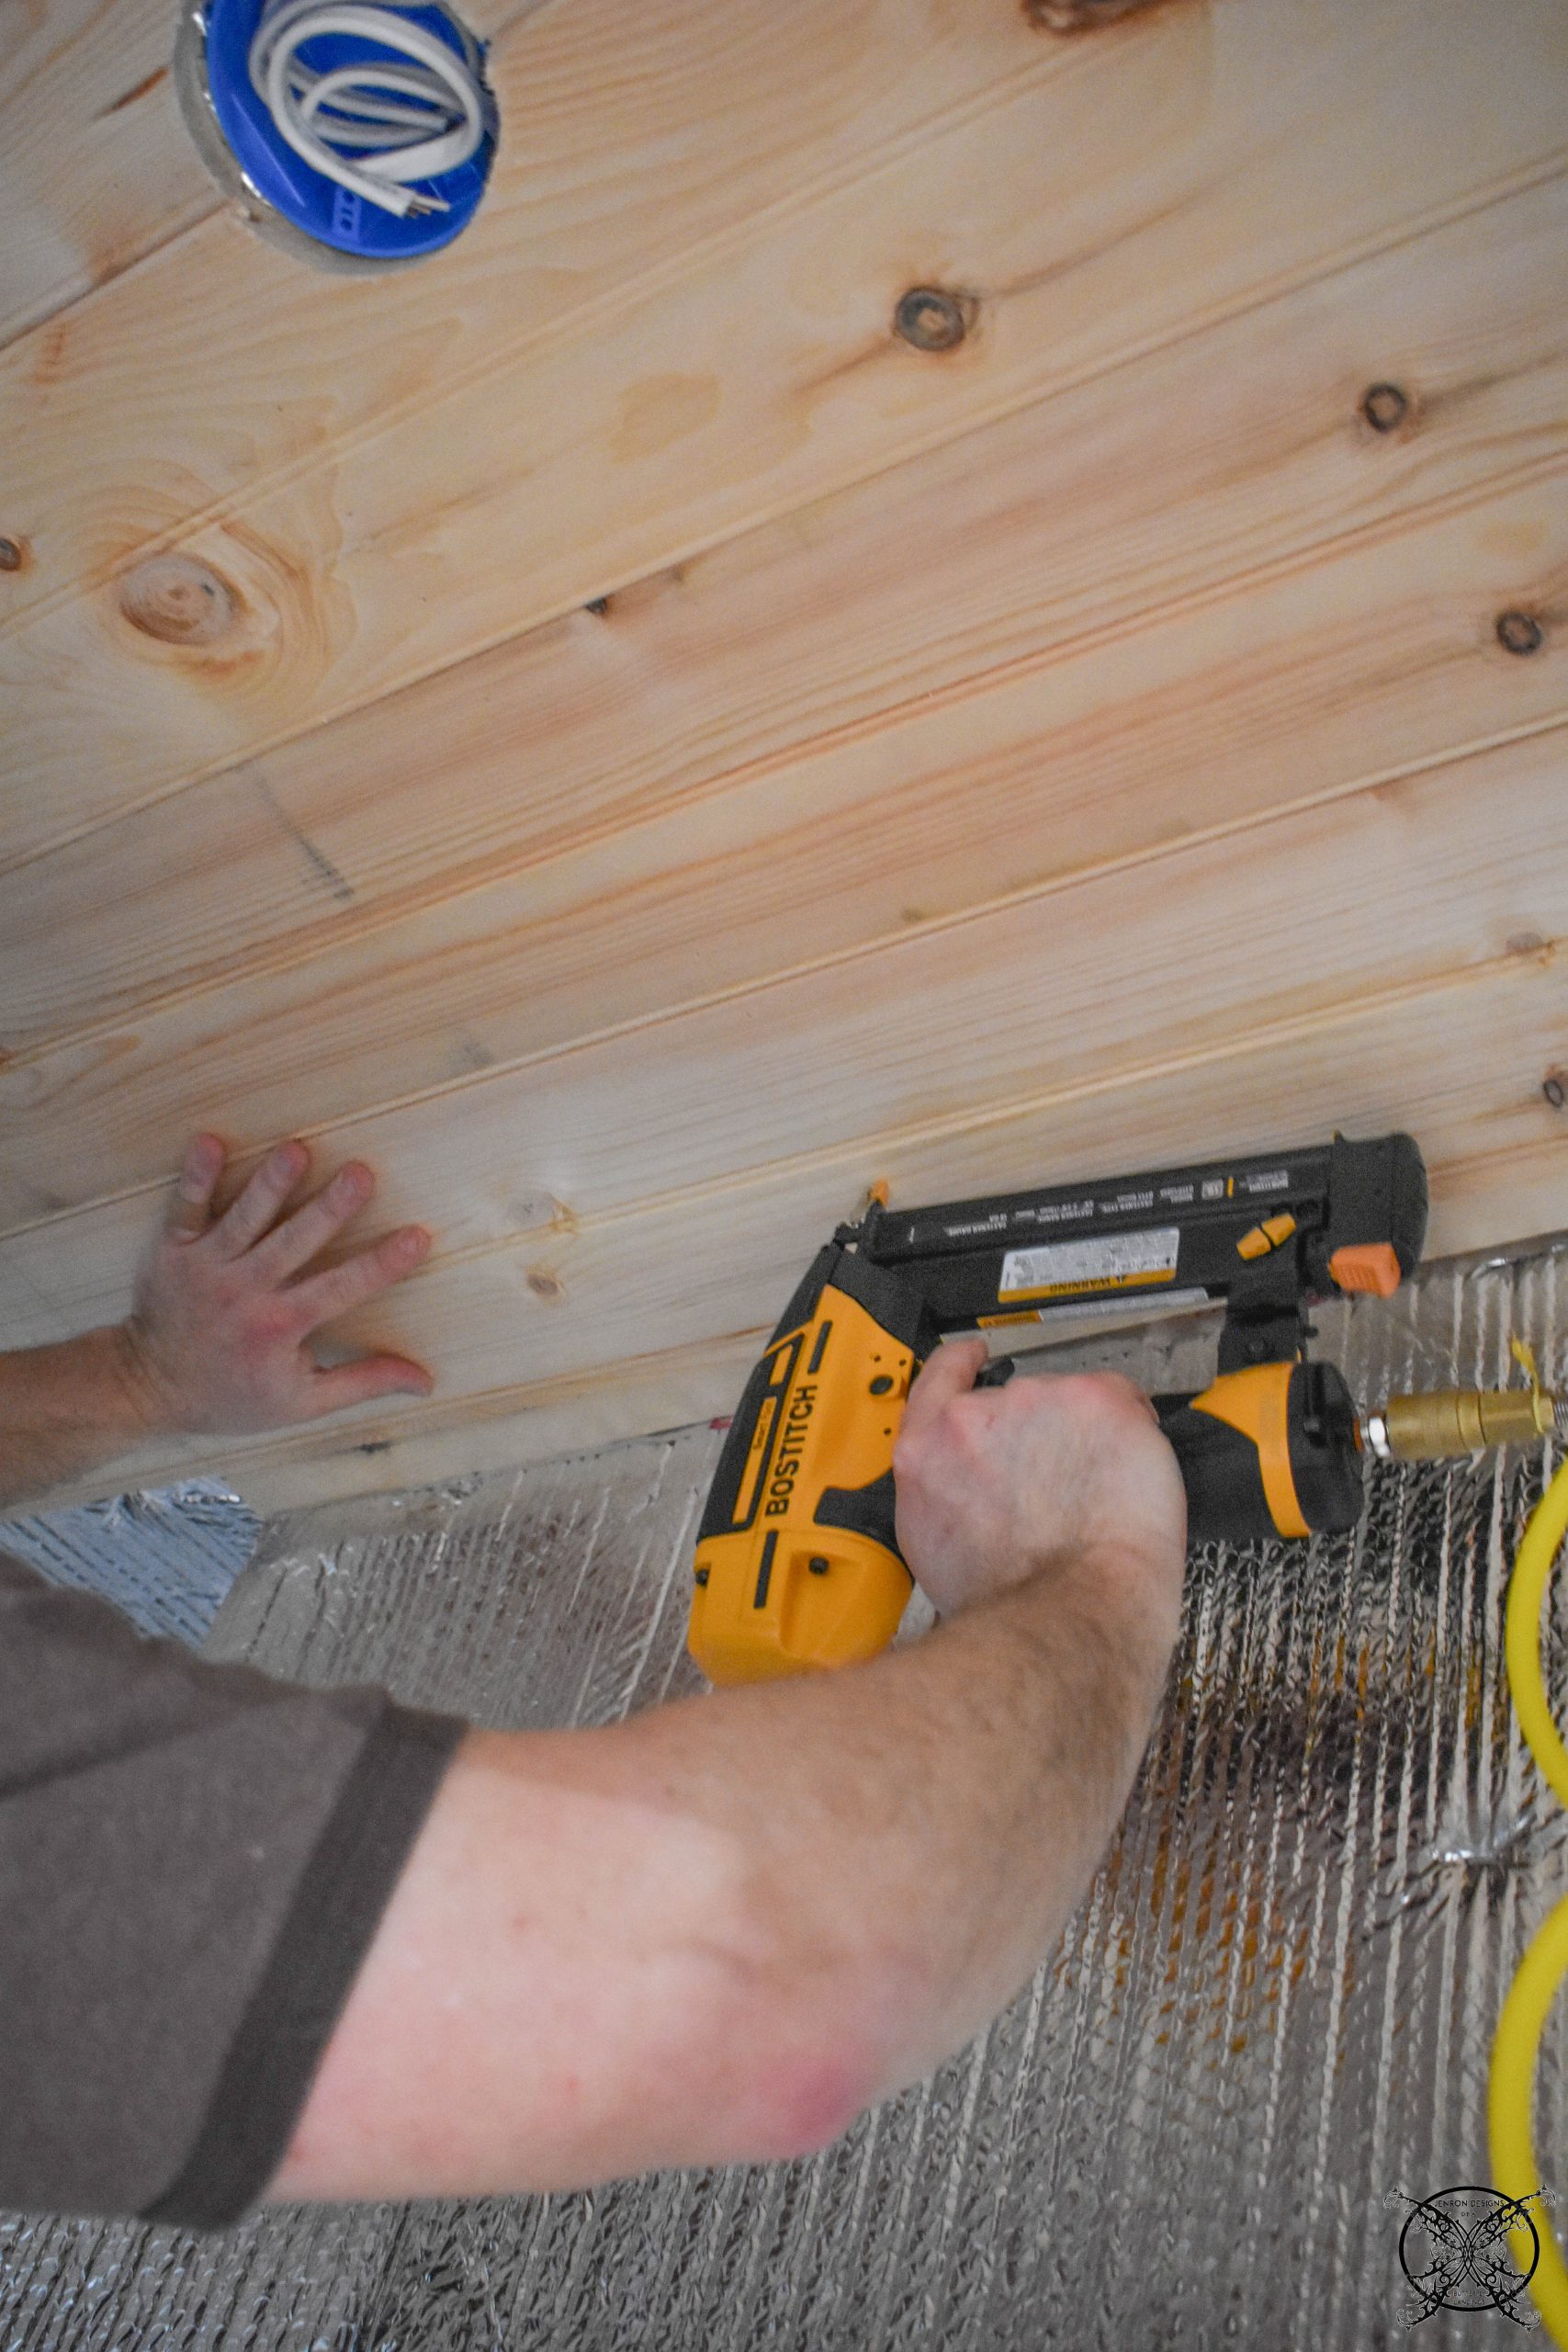 We started on the ceiling and worked our way down the walls. We used a finish trim piece to fill the gaps in the corners and along the ceiling. There were only a few specialty cuts for the overhead light fixtures and the light switch and plug for the heater.
 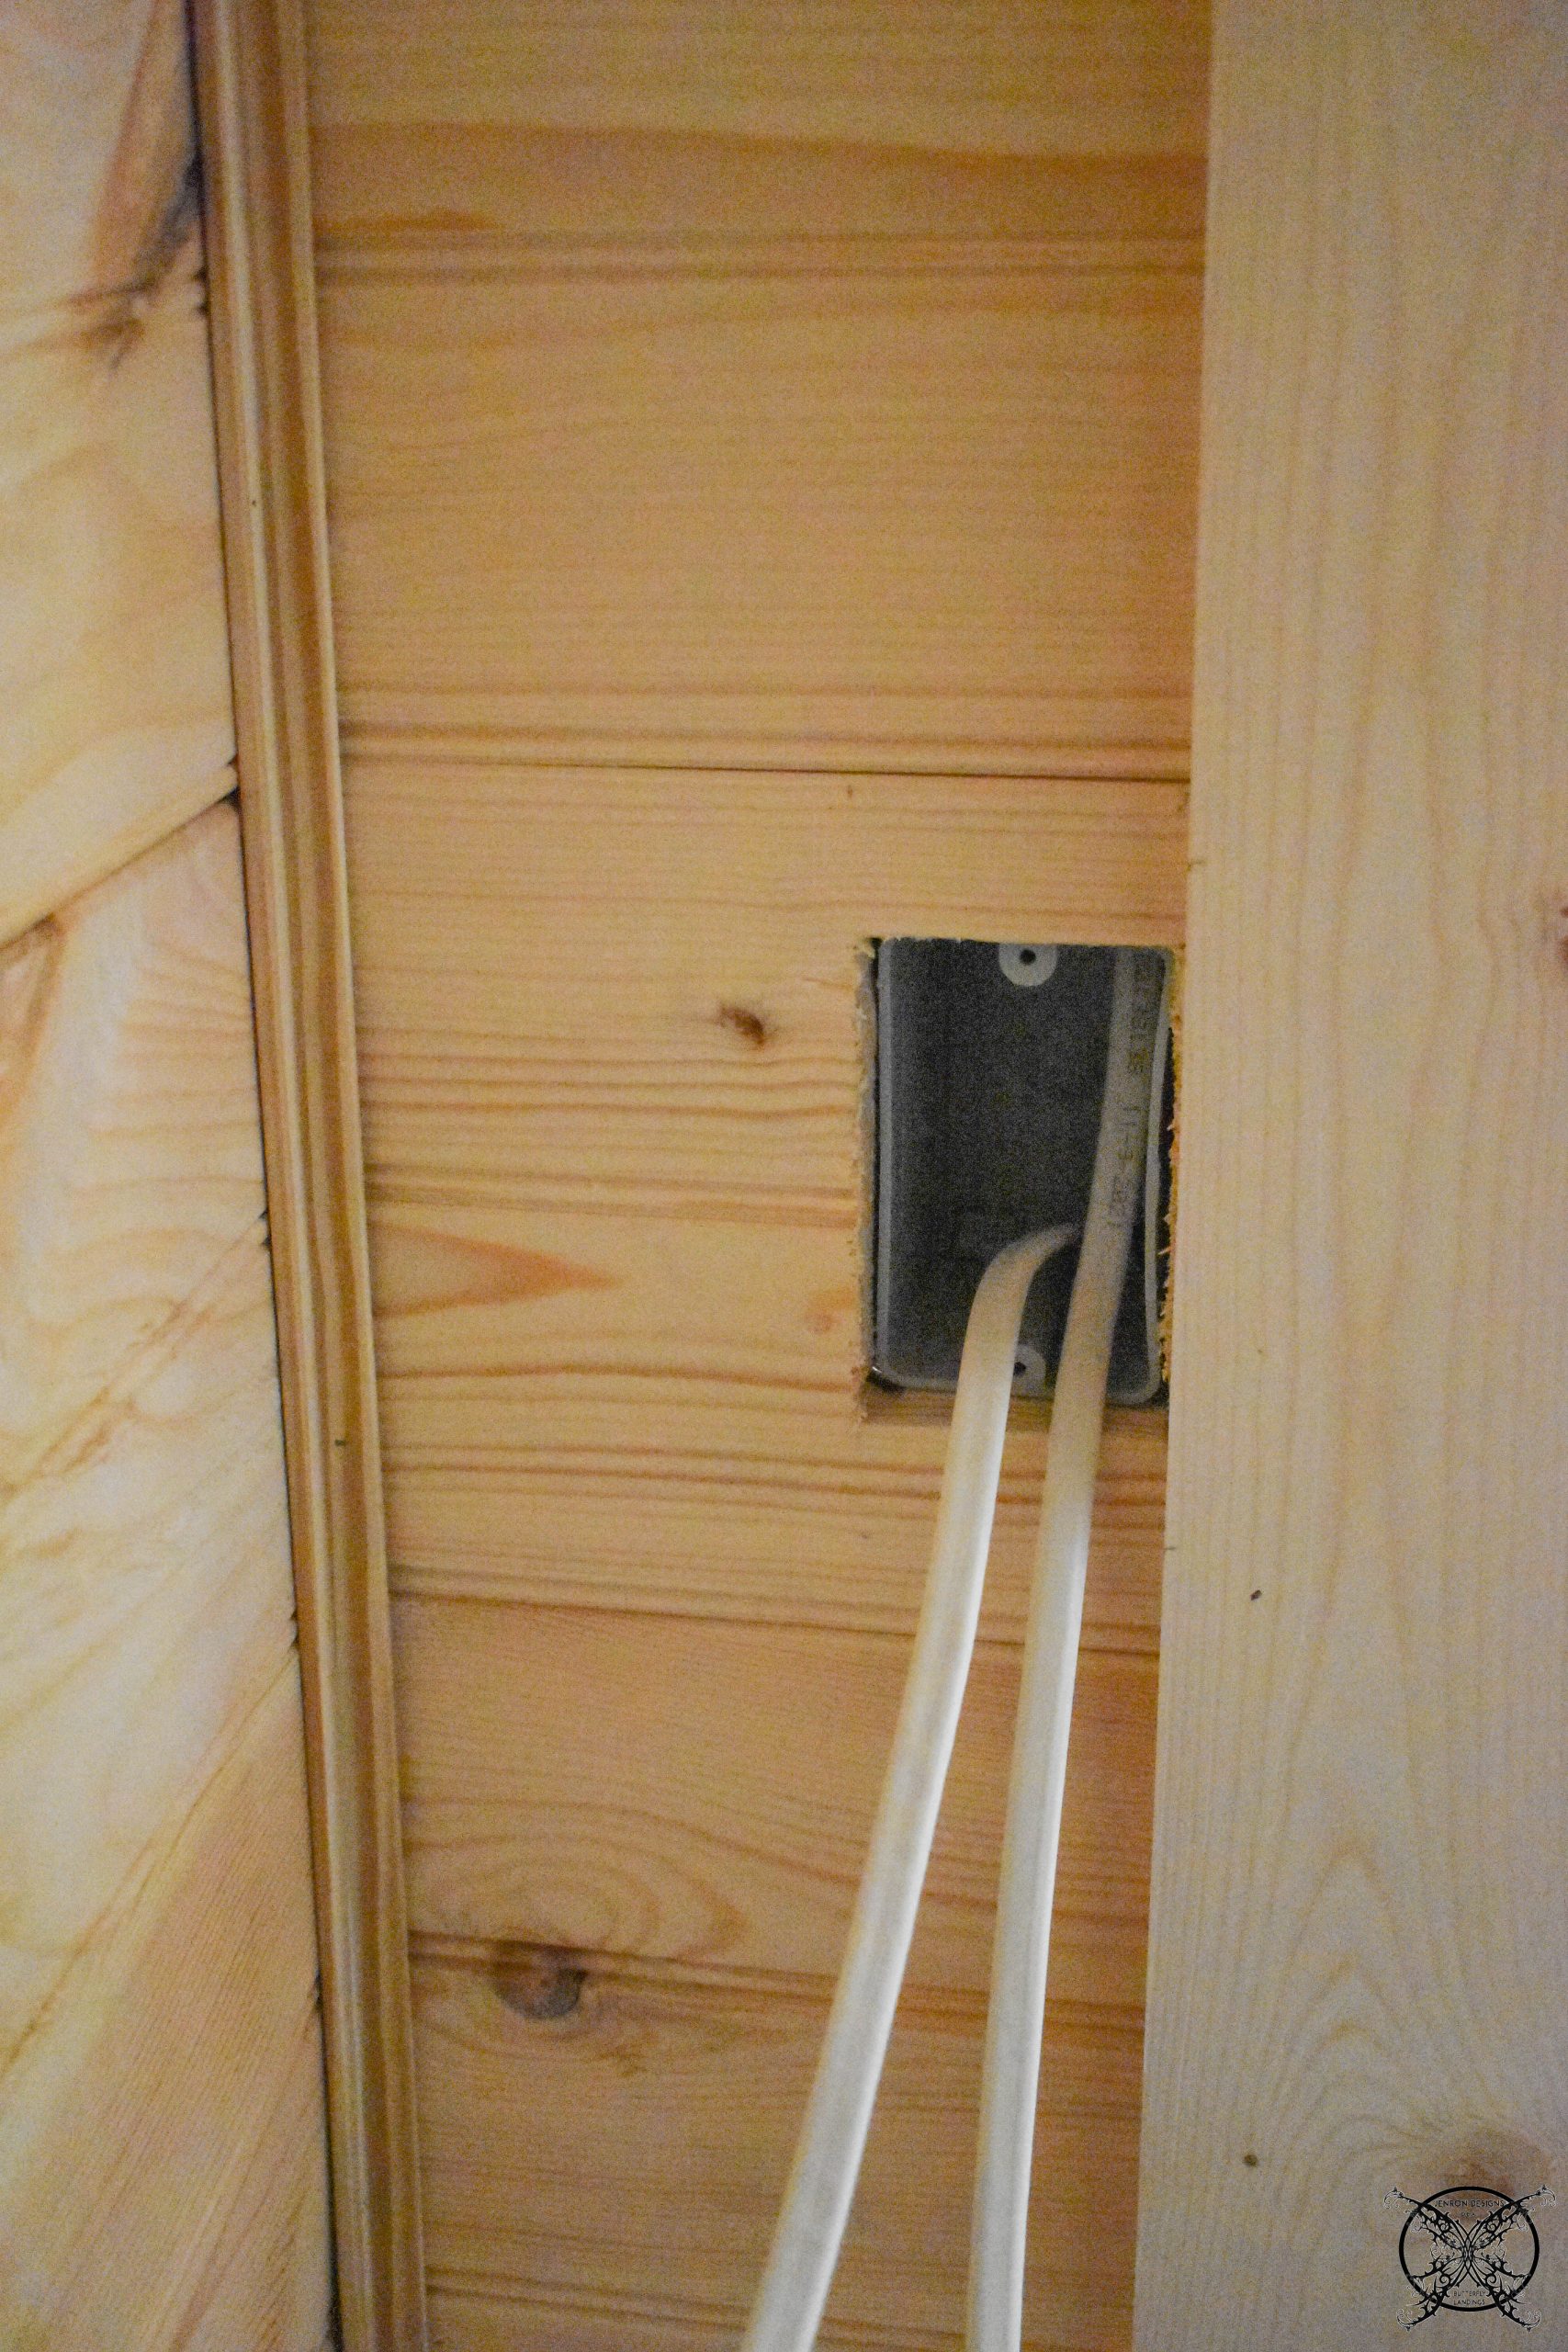 This is how we finished out around the switch and door frame. We used a basic 1×3 pine board as a trim piece, nothing fancy. We had decided to keep it really simple and rustic looking.
 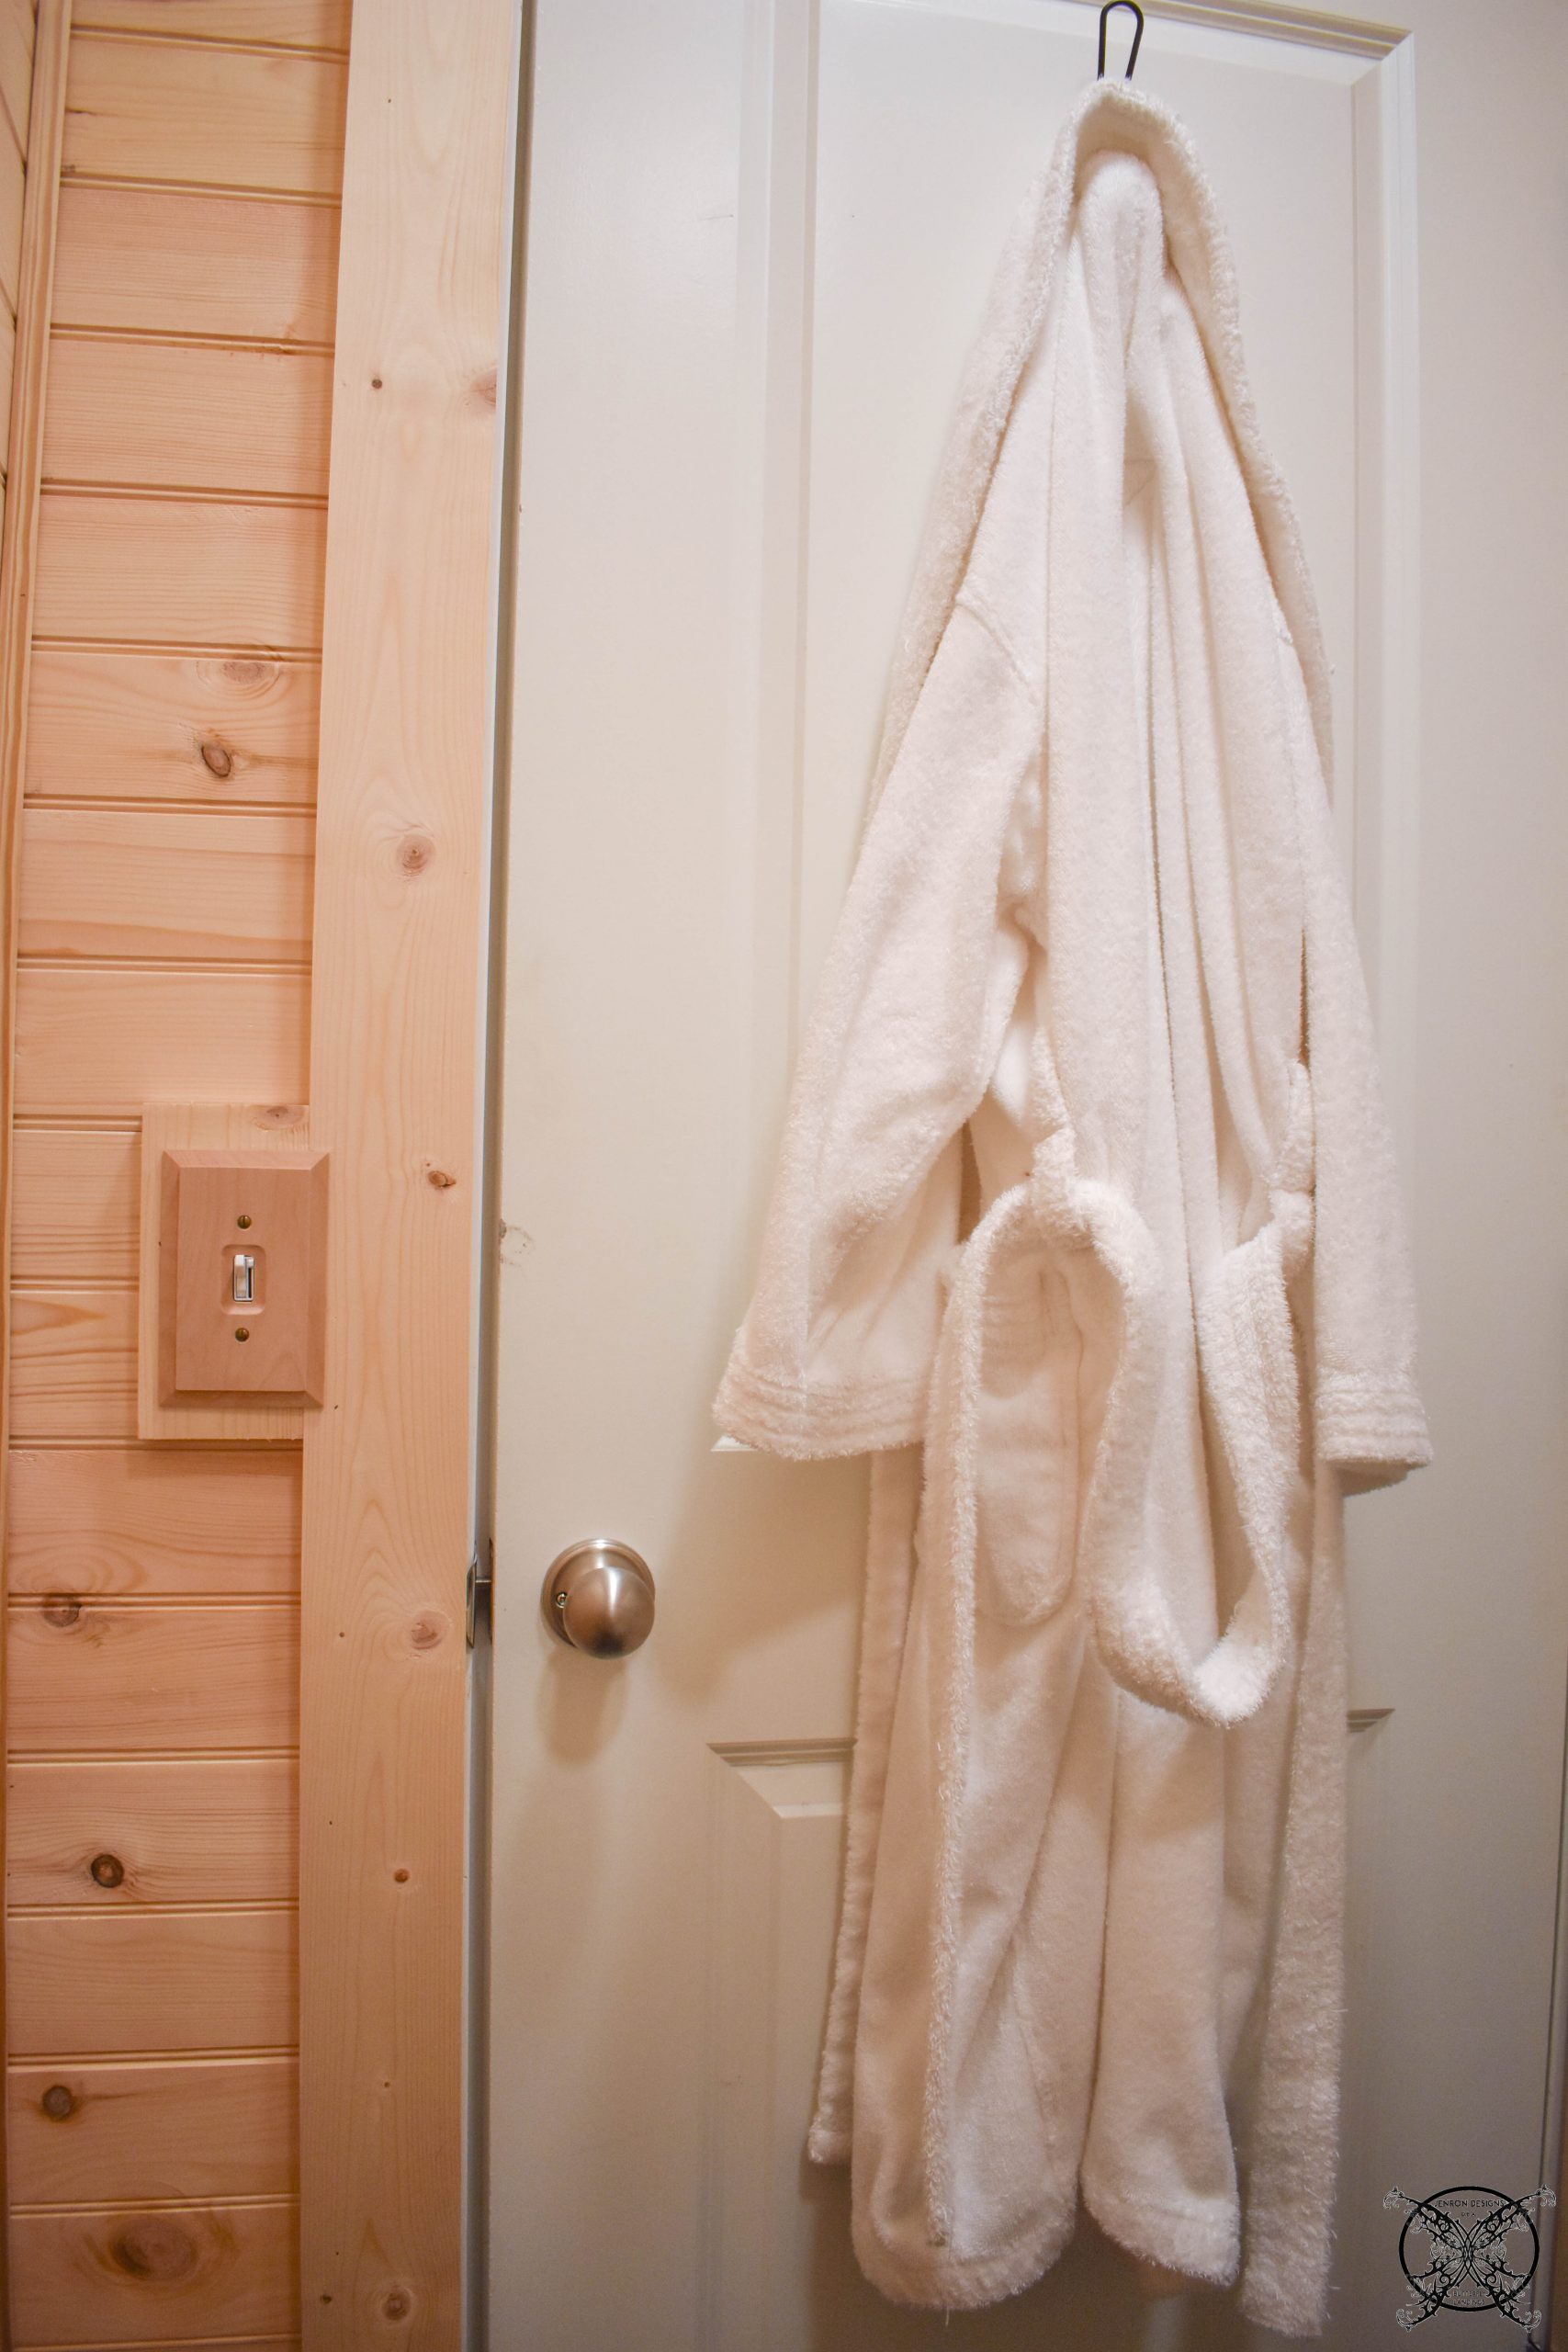 The LED lights are basic as well, just two round flush lights that are weatherproof for the space. We added a dimmer so we can adjust the level of light in the sauna for our needs while using the space.
 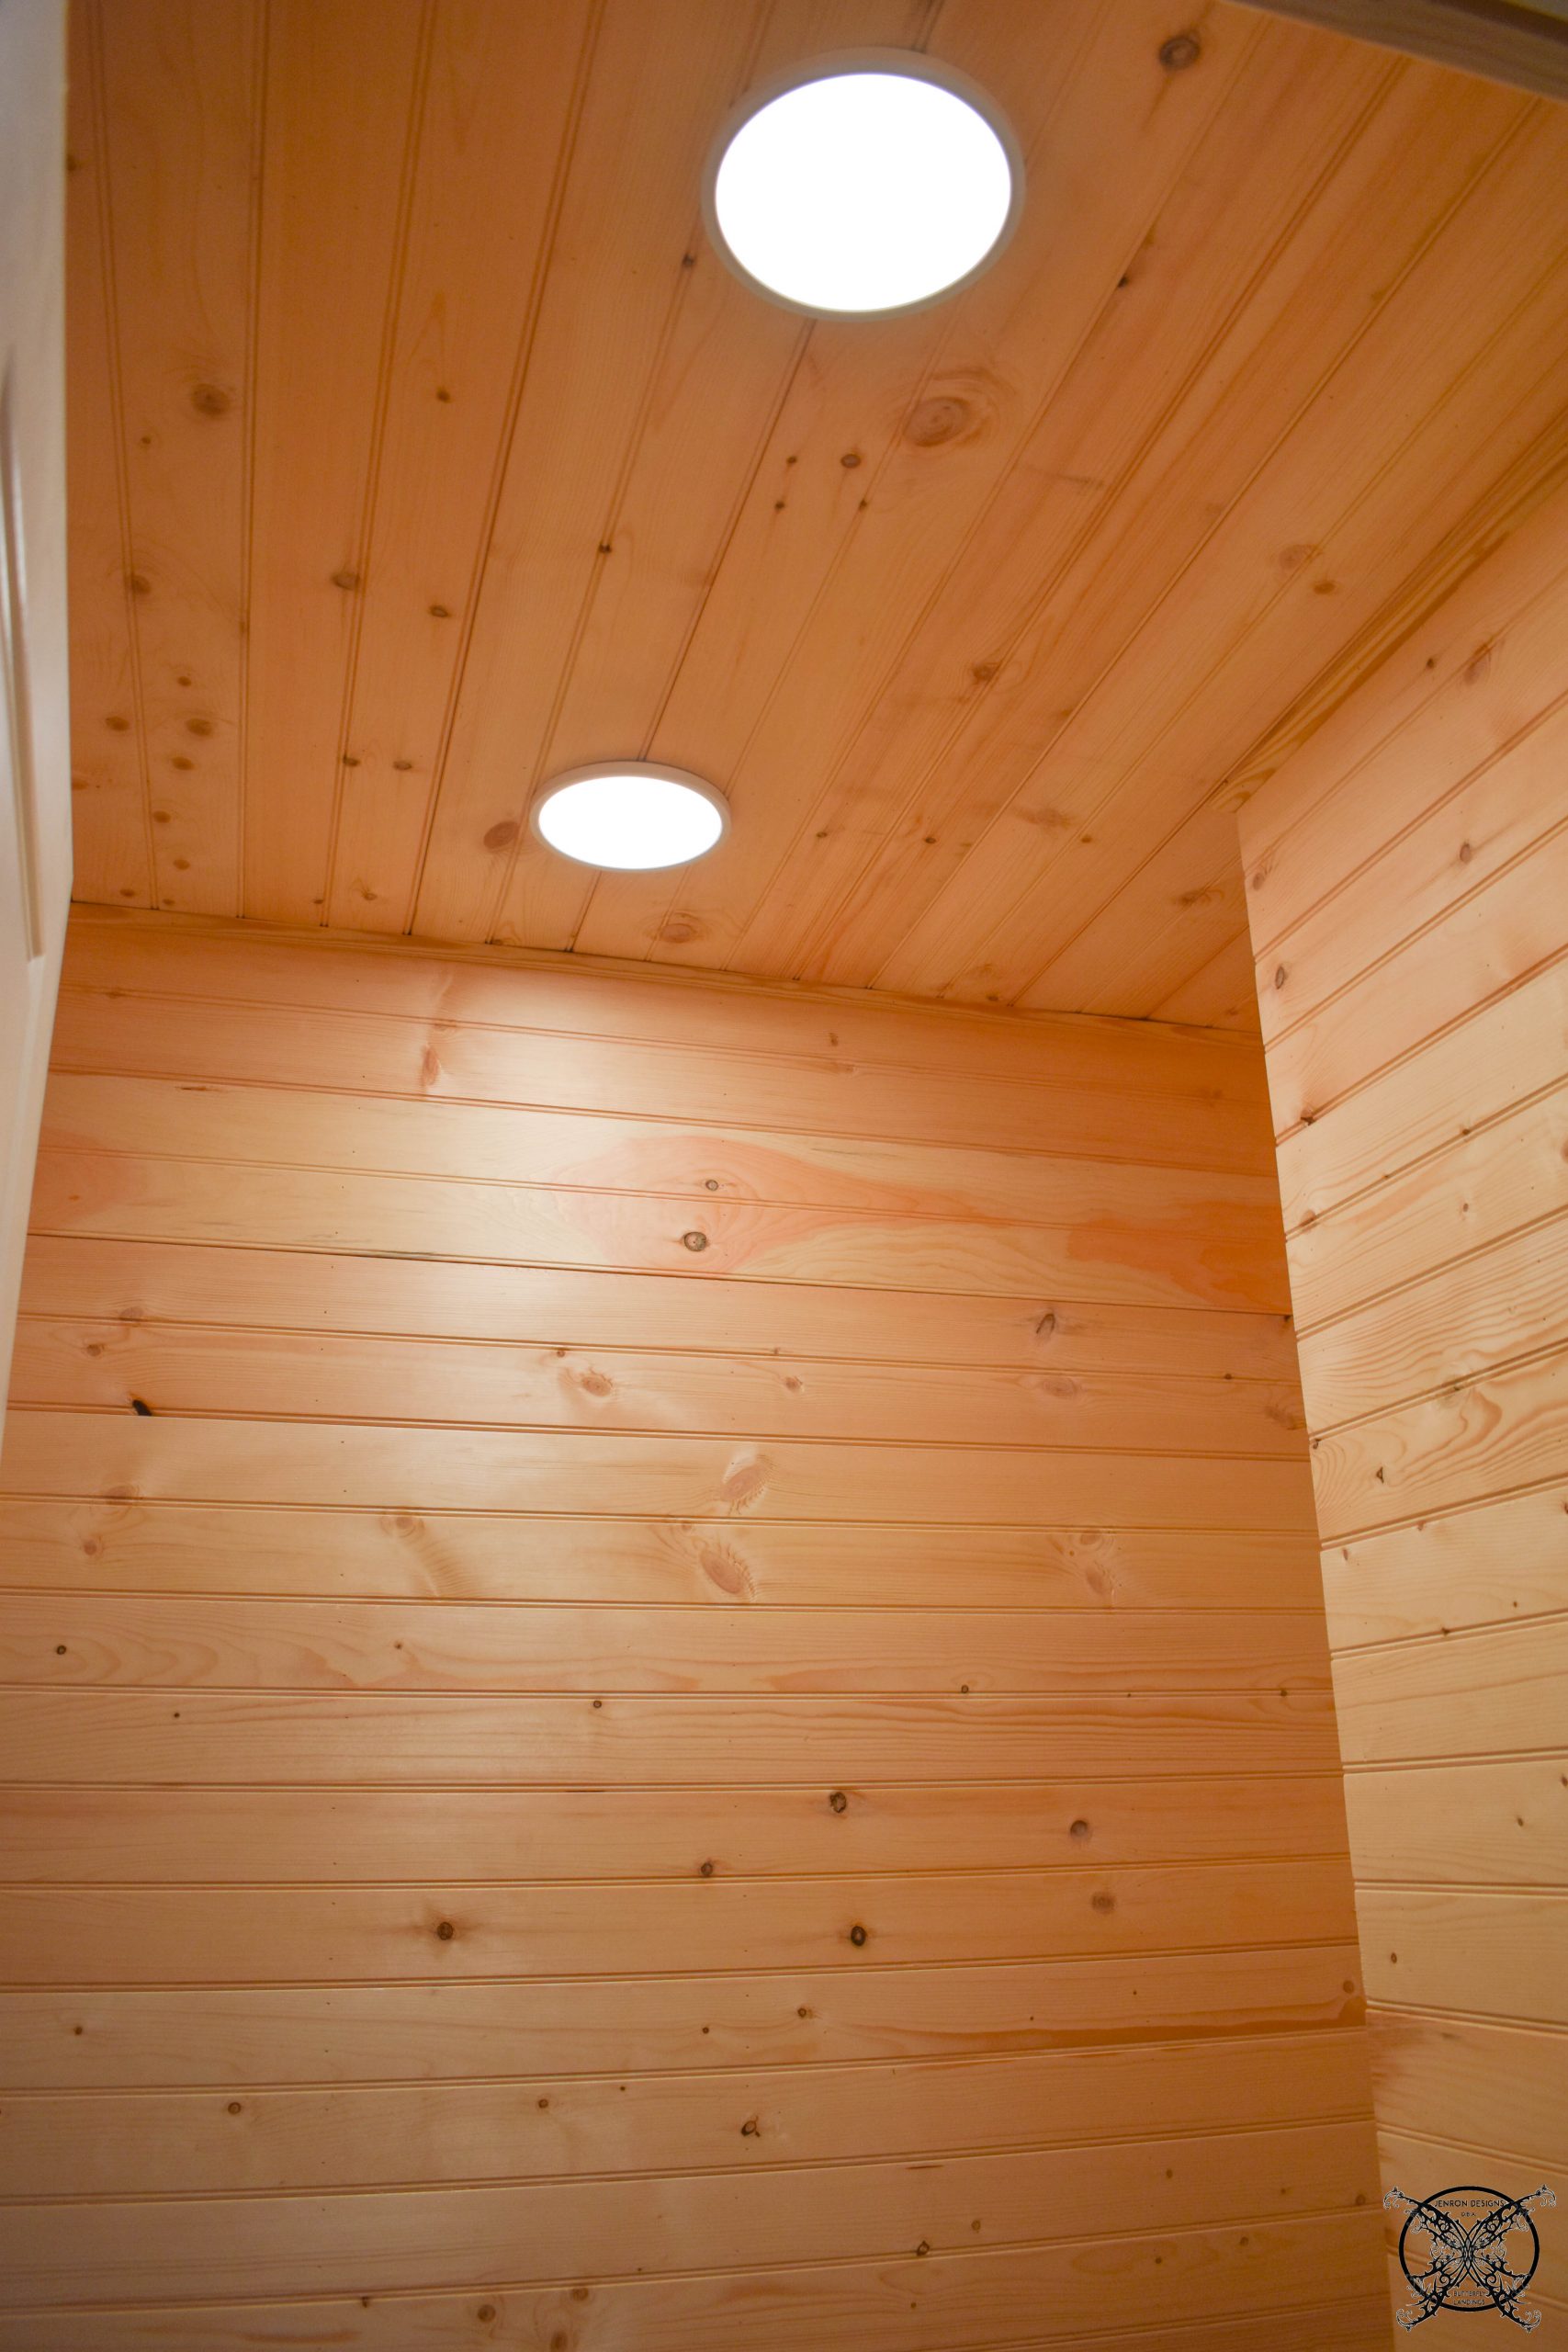 The next main piece we added in was the actual sauna heater, again after doing our research, we went with the VEVOR Sauna Heater 3KW Dry Steam Bath Sauna Heater Stove. It is a 220V-240V with Internal Controller Electric Sauna Stove for maximum volume of 141.3 Cubic Feet and for use in Homes/Hotel Sauna Rooms, Spa Showers or Bath Saunas.
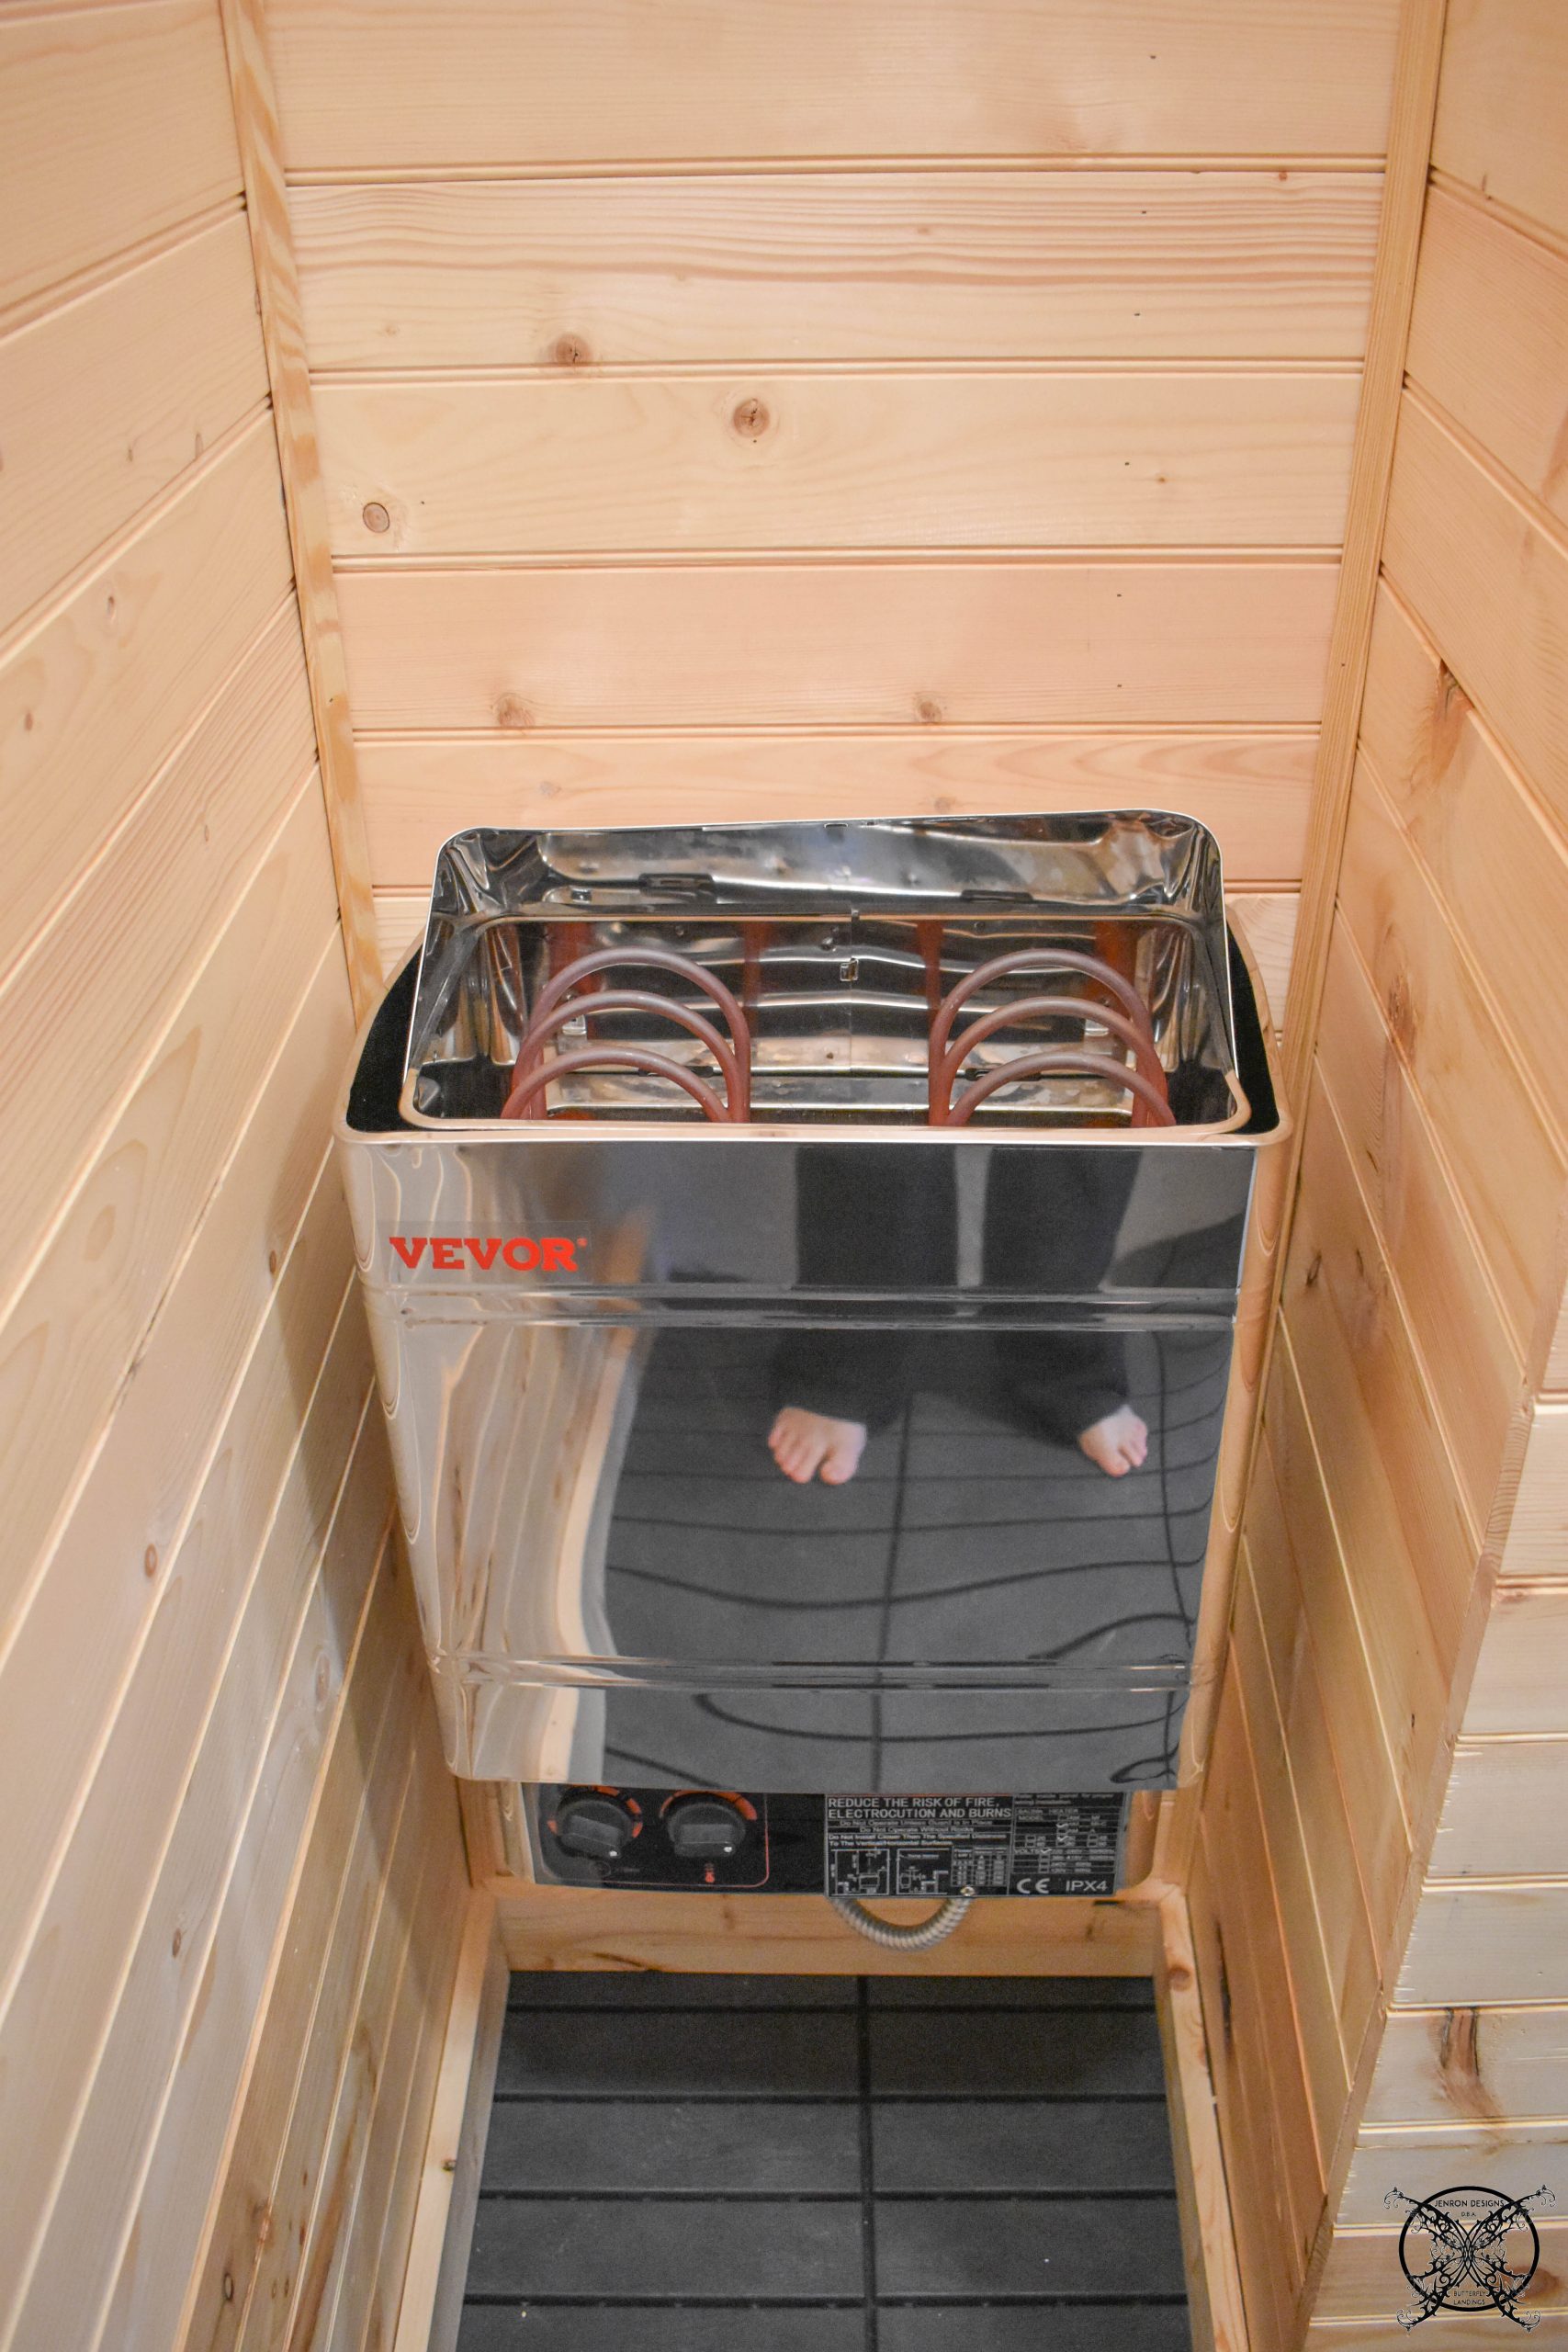 You do have to burn off your sauna heater and any sauna rocks that you plan to use inside of the heater prior to your first use, just in case it has anything on the rocks or elements.
 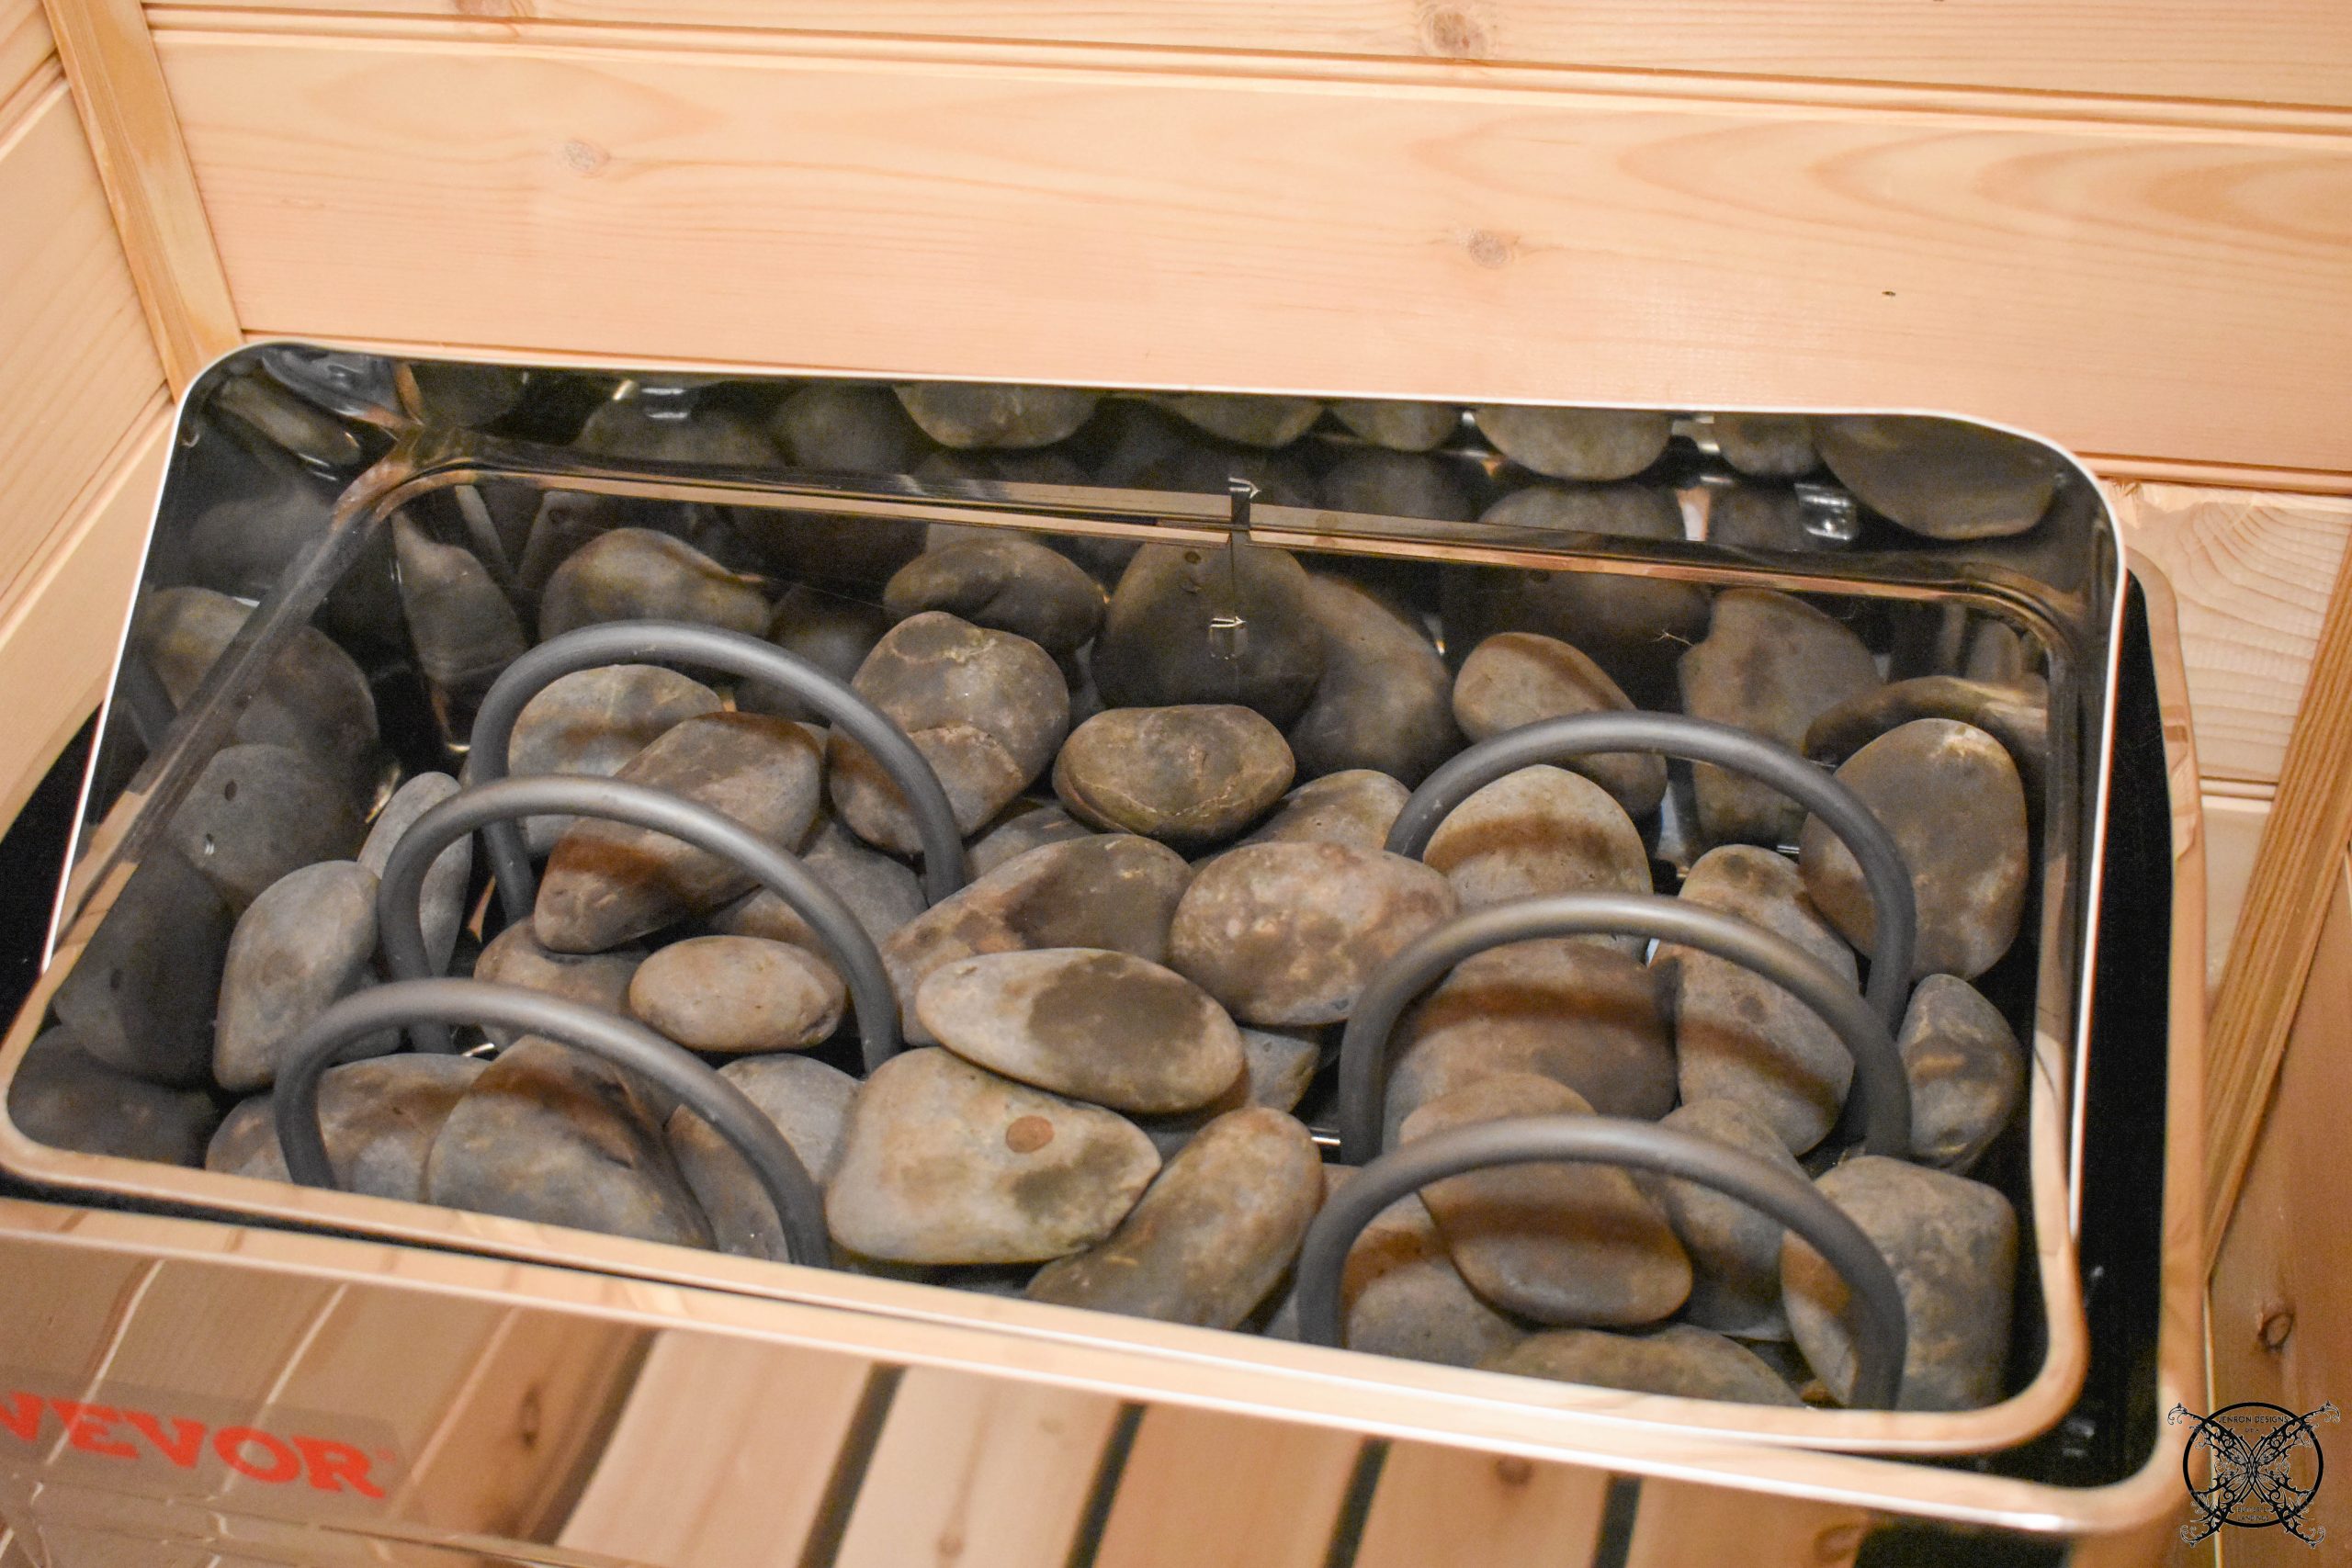 Then you are free to add oil infused water to add an extra level of spa relaxation to your sauna. So I just had to get one of these cute little sauna water buckets, just like all of the big boy spas have, I mean why not? Bestnewie Sauna Bucket with Ladle Handmade Wooden Sauna.
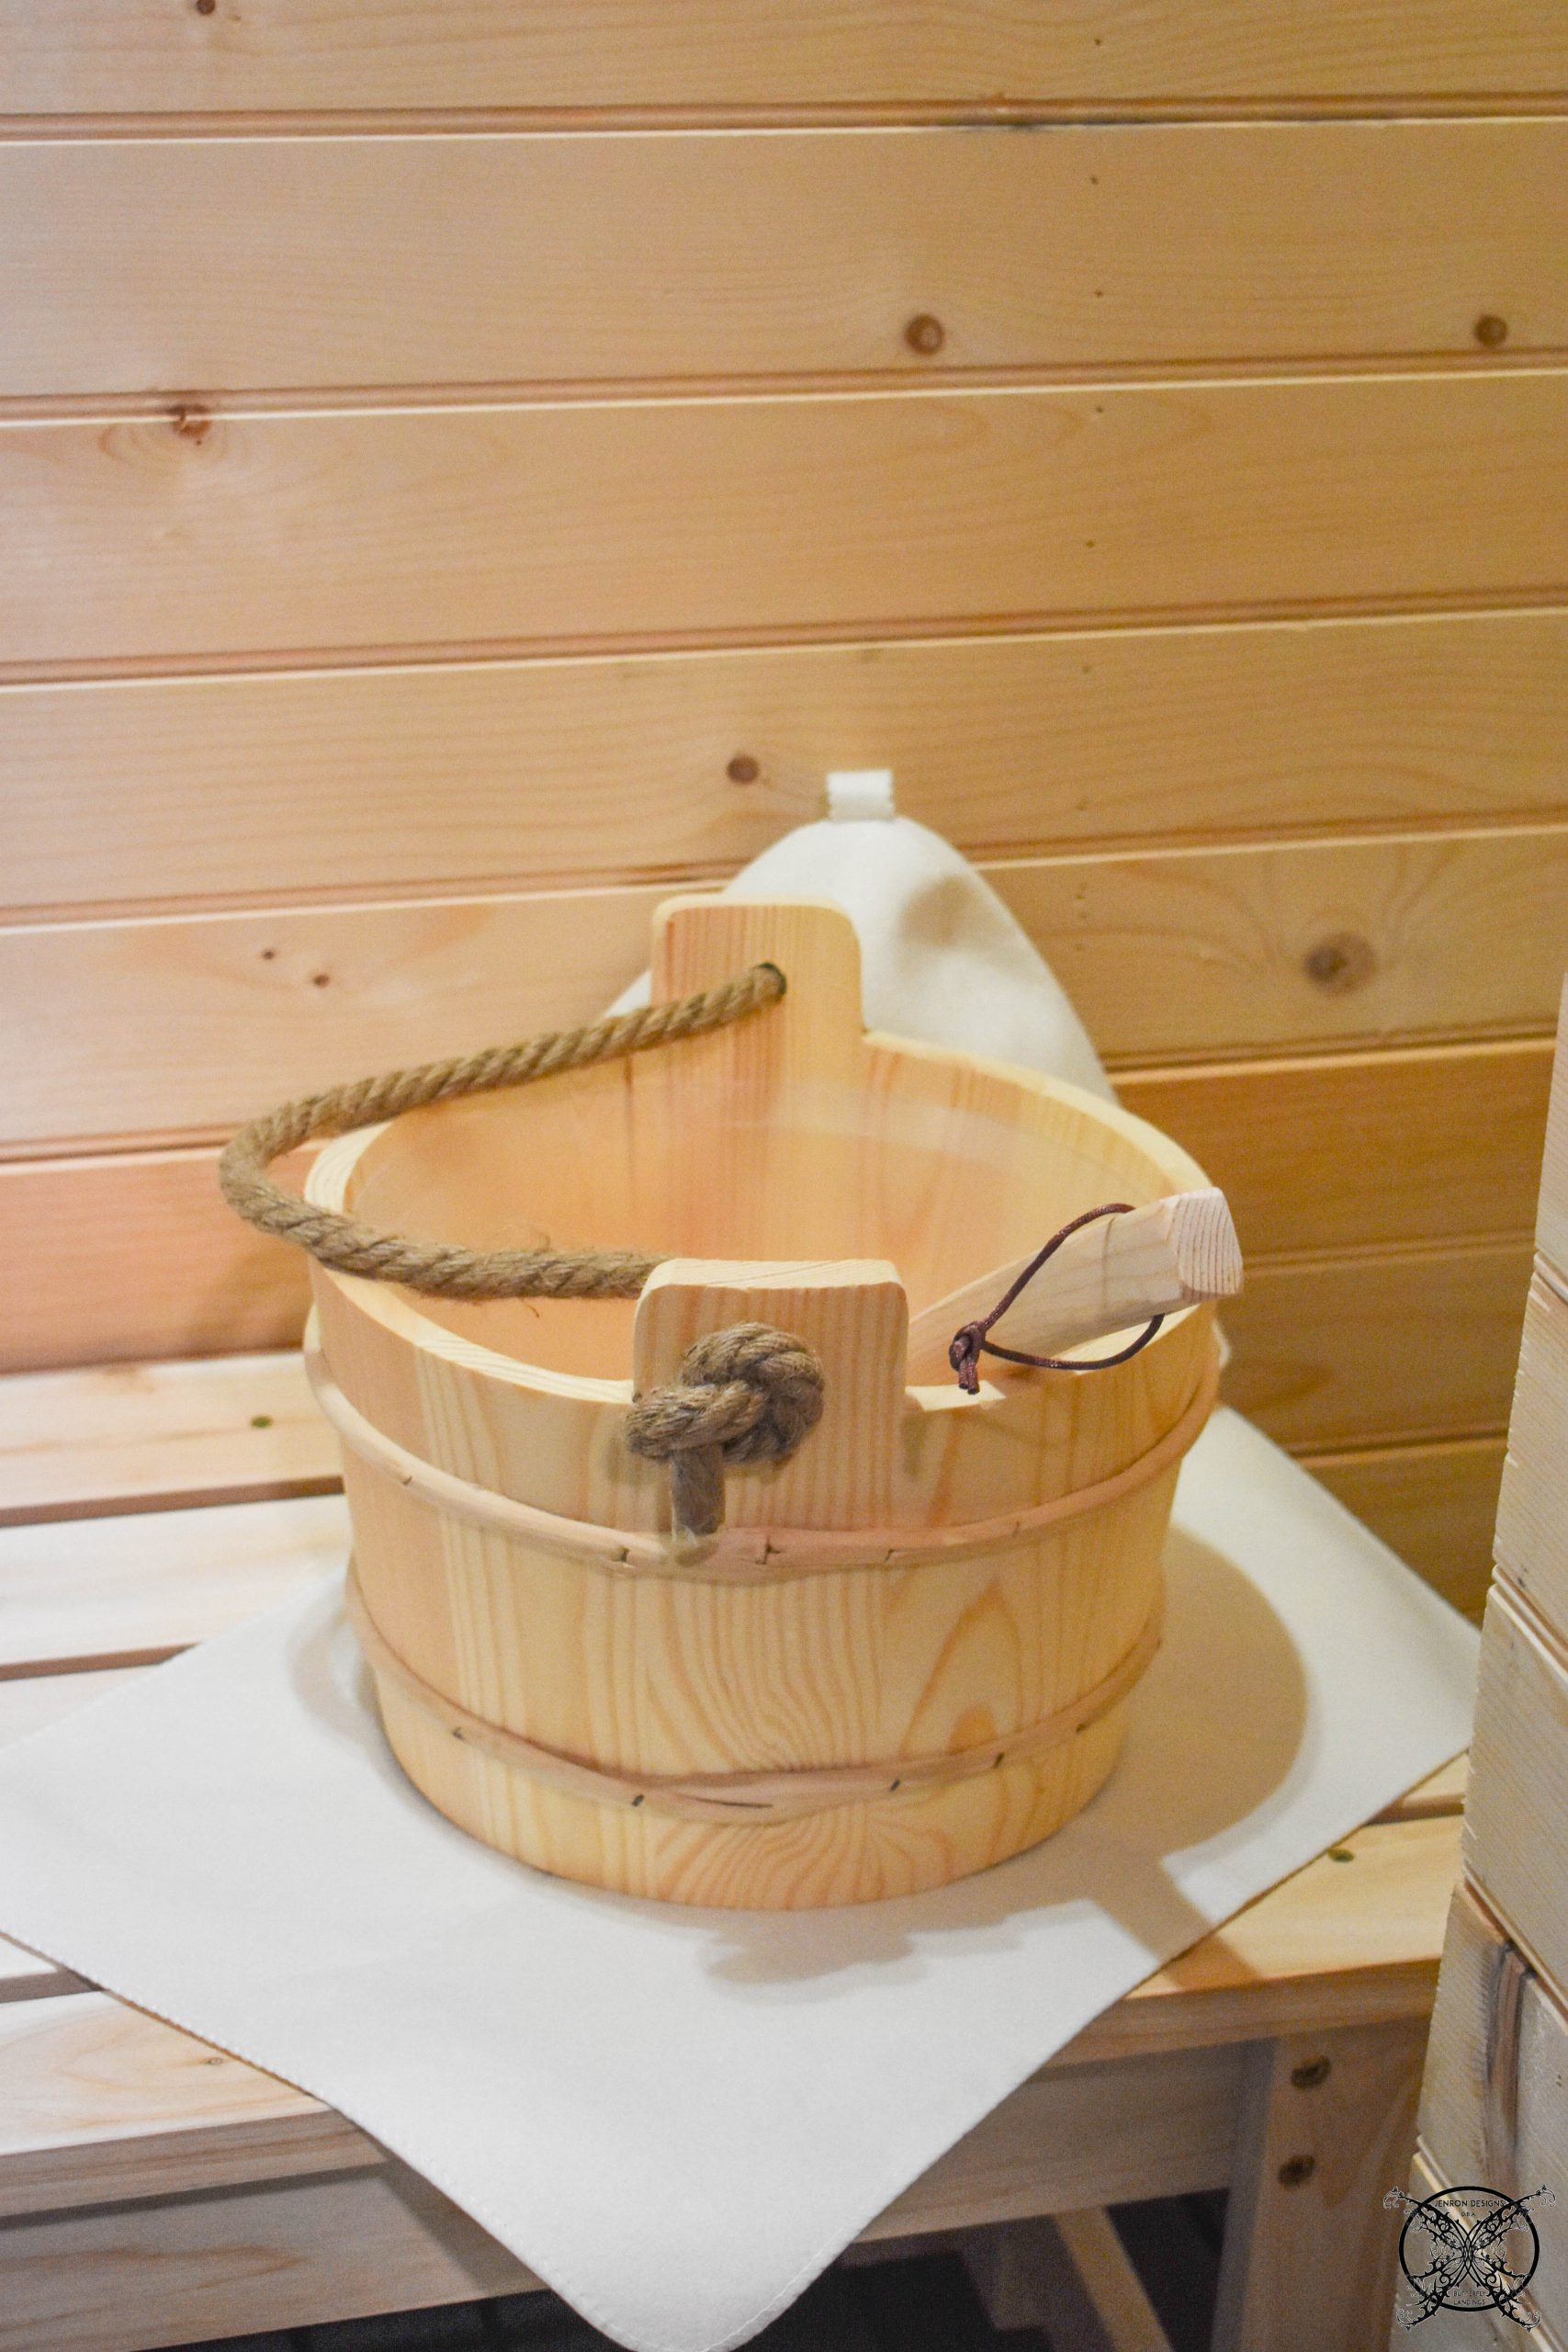 I honestly find that I do not use the water bucket very much, personally, as I prefer dry heat and using oil rubs for my skin, but to each their own. We ordered this amazingly comfortable pine bench which matches the space perfectly, and has a great ergonomic curve in the seat for maximum comfort as we lounge around inside our new sauna. We opted for a freestanding bench so we could move to the center of the room if we wish to lay down.
 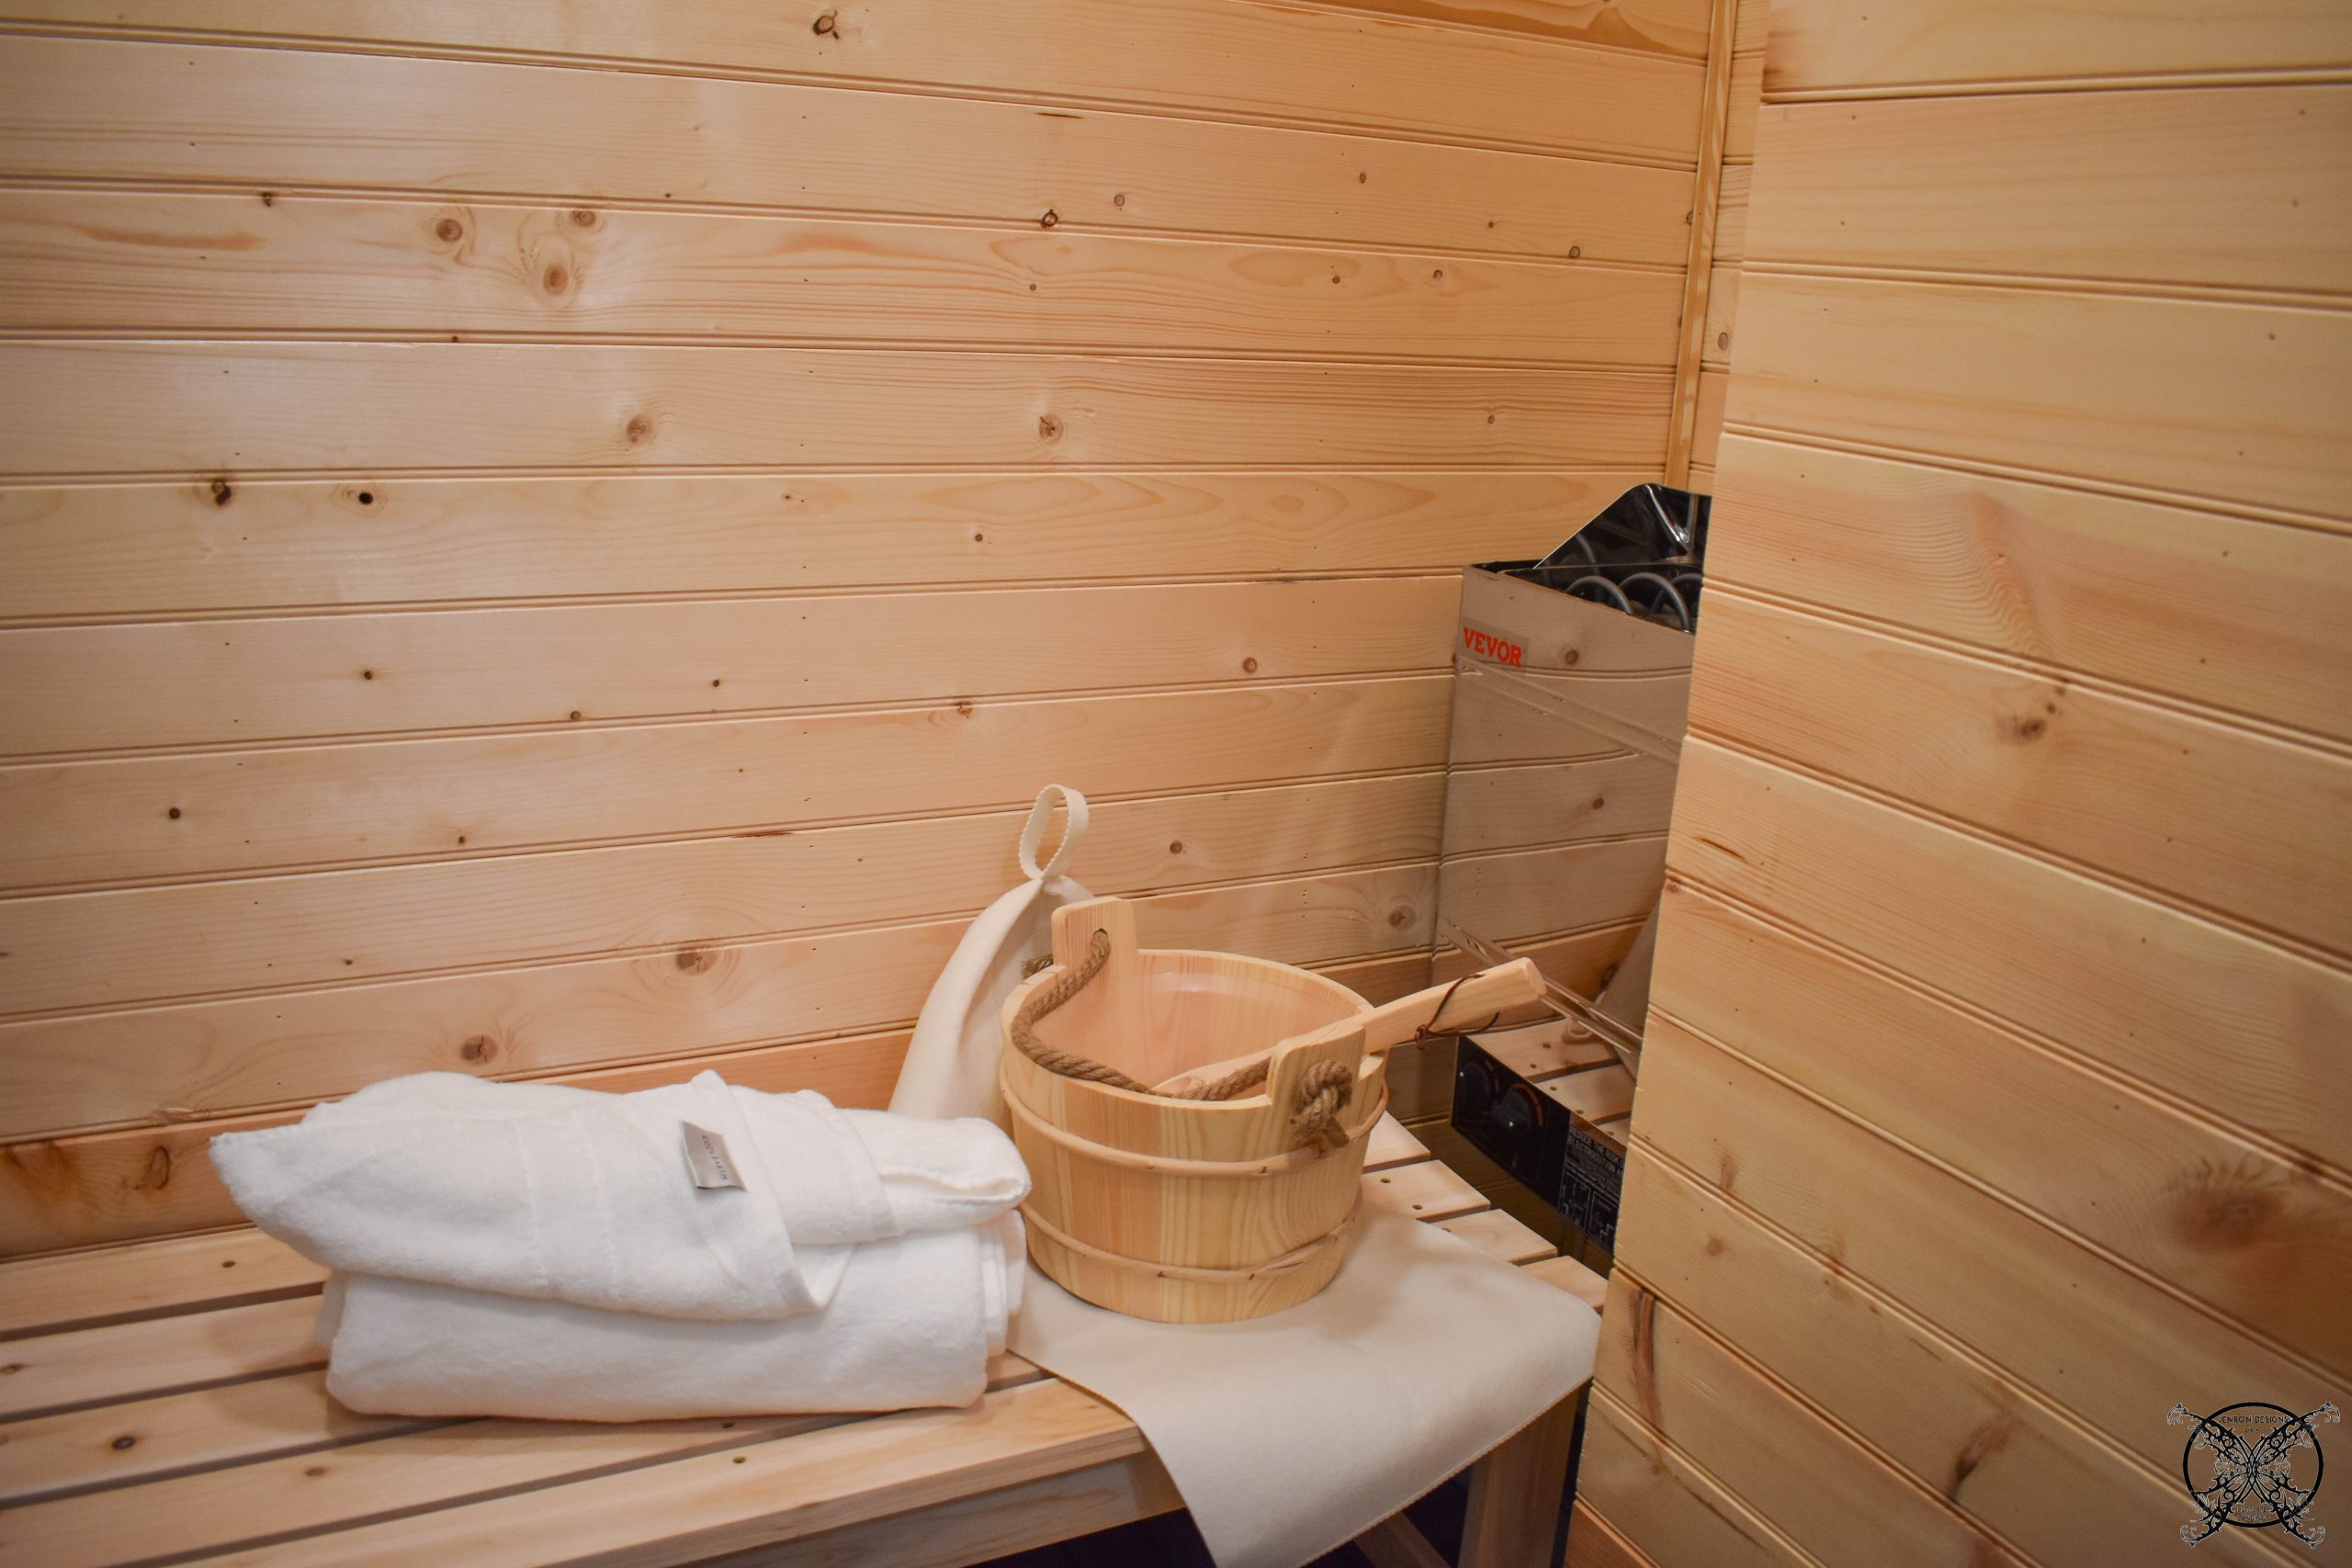 As for the accessorizing we went very basic adding in a few wall hooks to hang our bath sheet towels from Cozy Earth and sauna hats aka banya bonnets, seen in my photo above. The Finnes recommend them to keep your head a bit cooler than the rest of your body. This allows you to stay in the sauna for longer periods of time and makes for a more enjoyable experience as well. This helps keep your head at its natural temperature of 98°, it keeps you cooler in the sauna, where air temperatures are much hotter than 98°.
 These hooks are mainly where my hang my Cozy Earth Bath Sheets, which have truly come in handy. They are the perfect size to wrap up in for the sauna. I am in love with these premium sized plush towels in the Cozy Earth Towel Line.
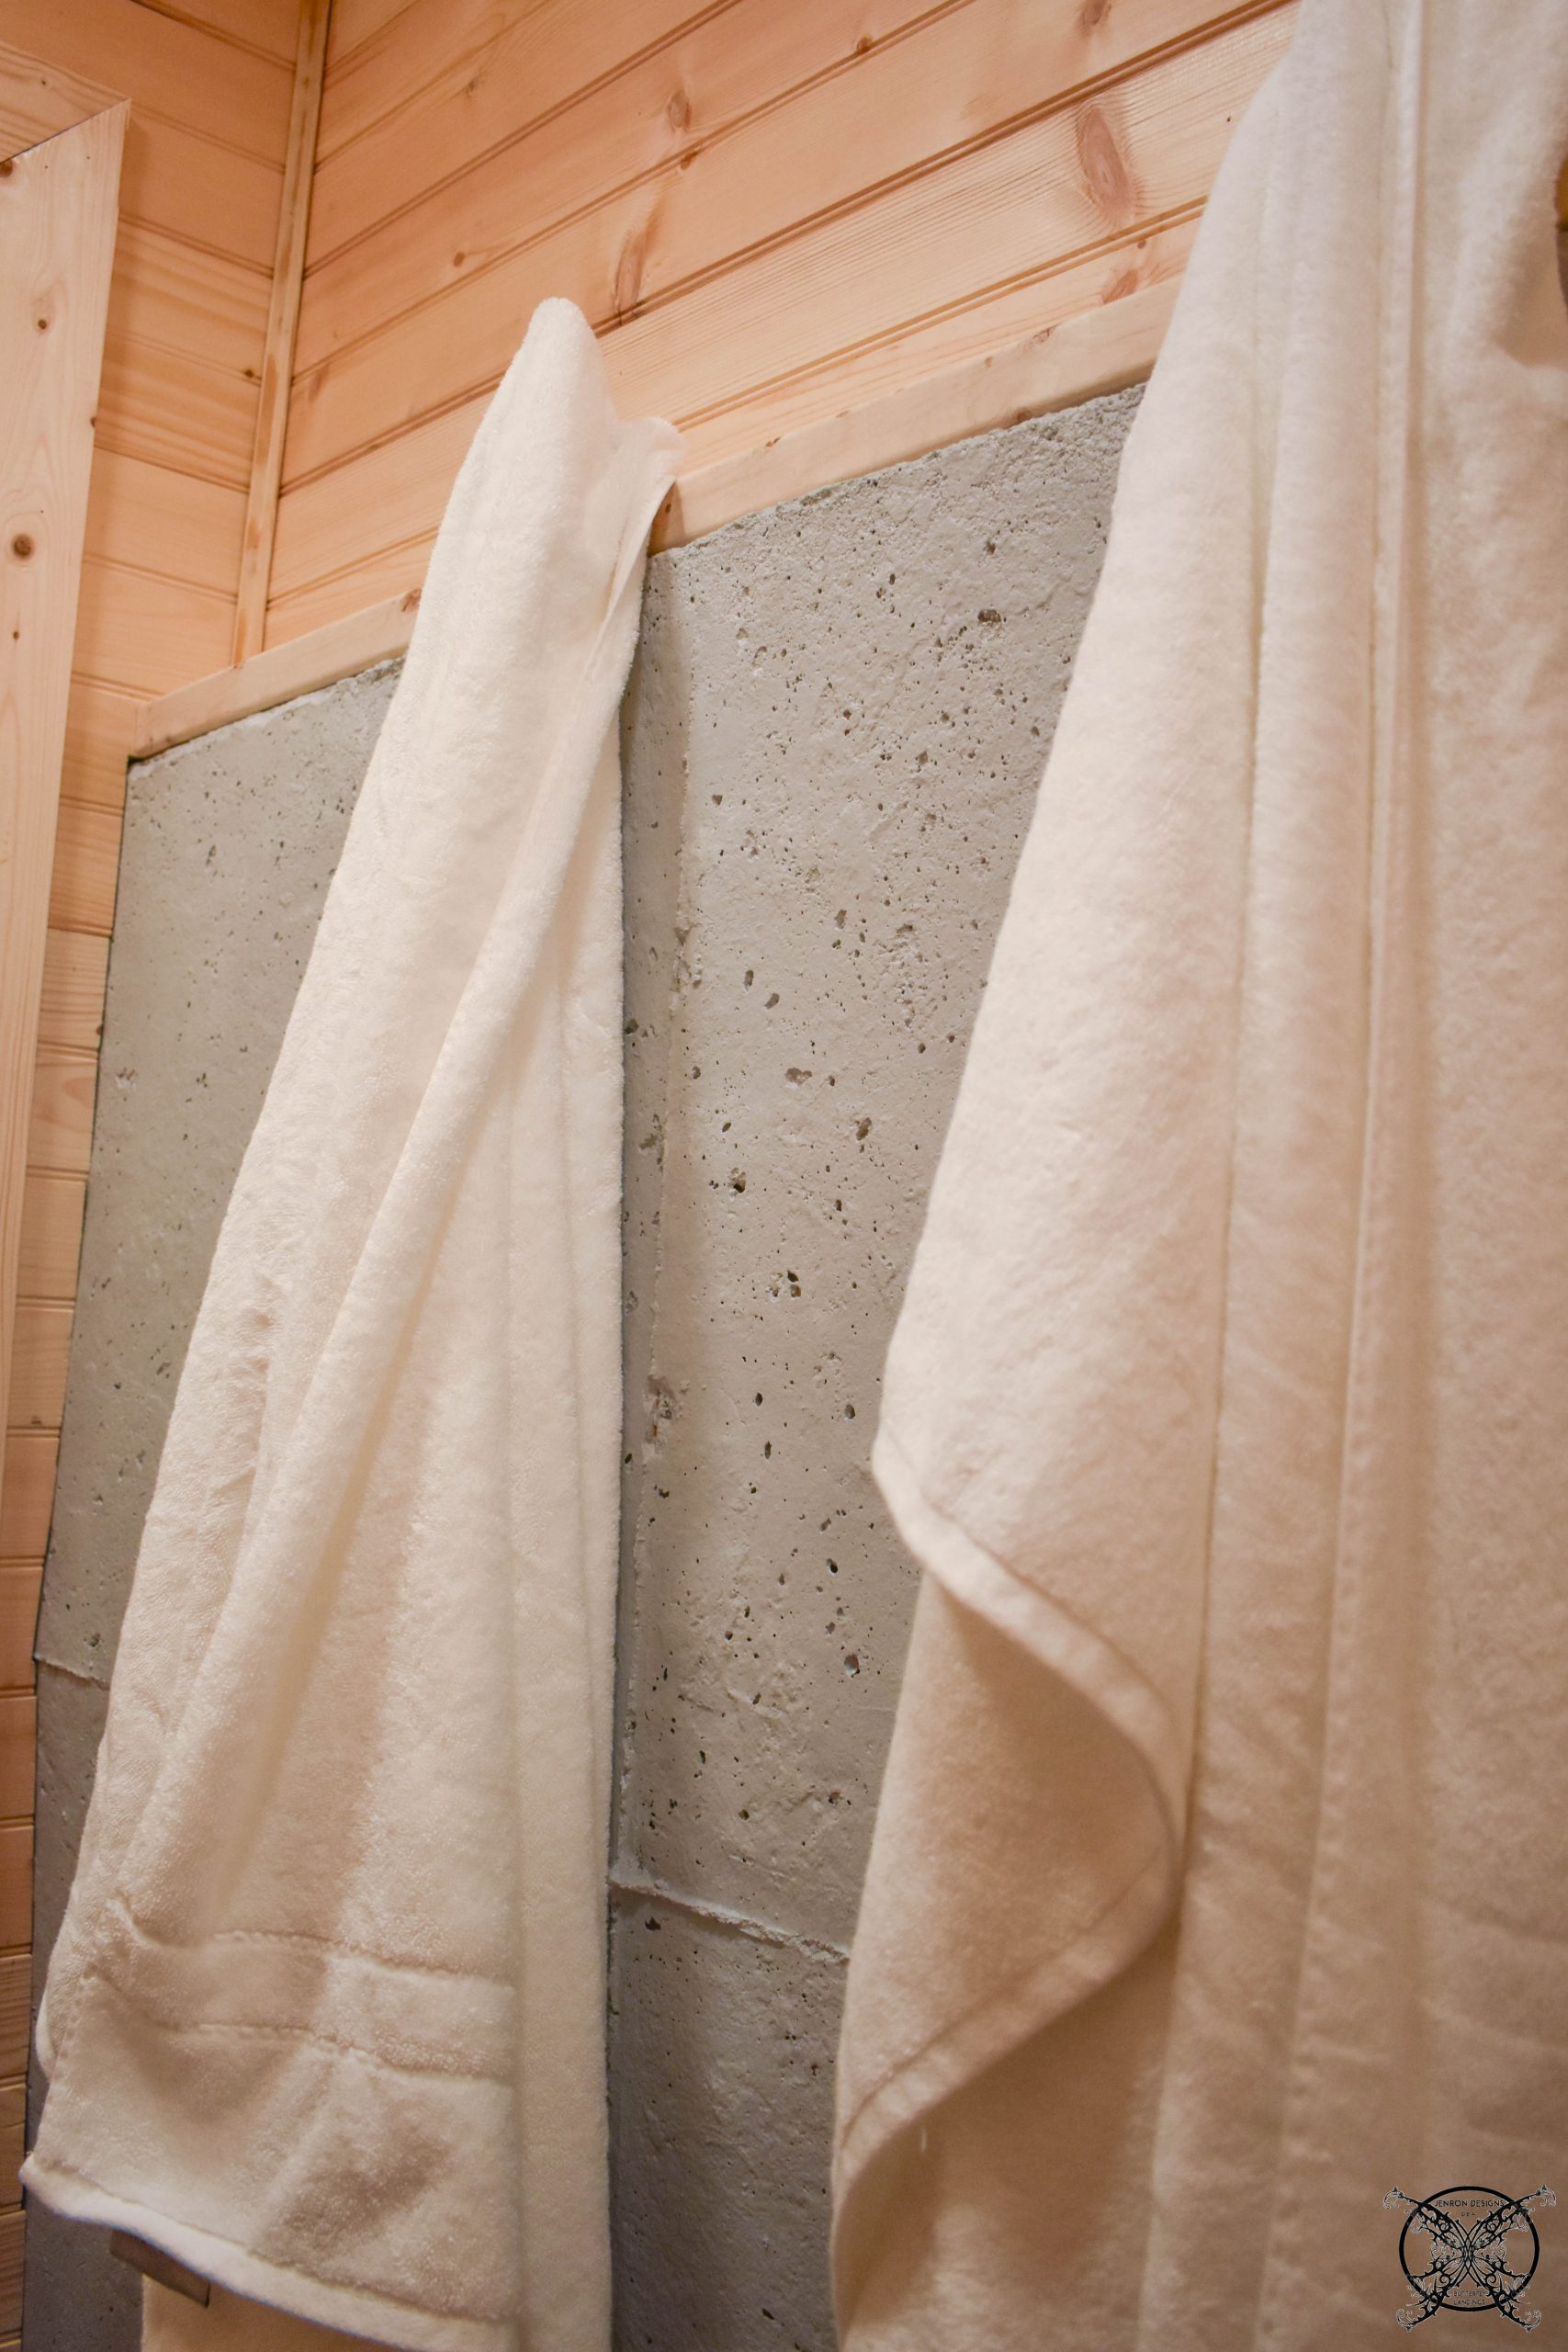 I was able to acquaint myself with the luxury of the 45″ x 60″ bath sheets last month when they launched, and they are perfect for creating an at home spa experience. They are so soft and ultra-absorbent; I love them, and I know you will too. You can even try them, just use my custom link to: Cozy Earth and save 40% with my code: JENRON40 when you order.
  So in closing, I highly recommend a in home sauna, and if you are considering doing it as a DIY, I am here to say it is not really that hard to do or create. It was worth every penny, and yes we do use it regularly, especially in the cold winter months.
  PIN ME for later and be sure to follow us on Pinterest at Jen @ JENRON DESIGNS
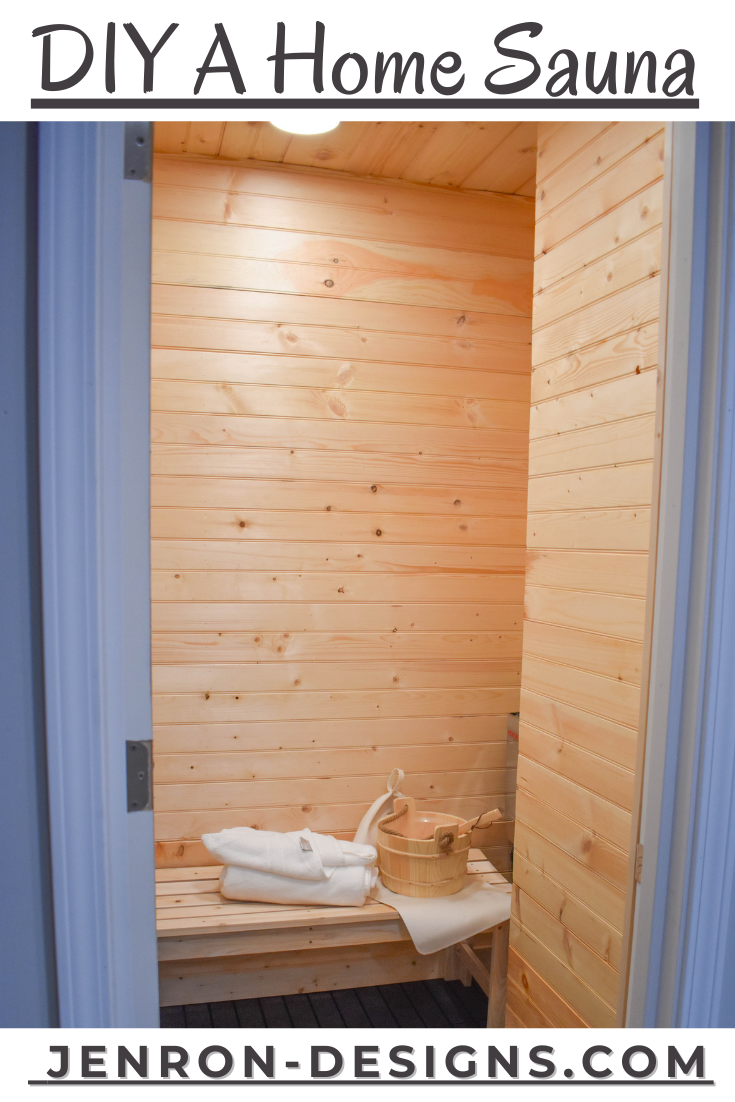
Adding a Rock Wall to My Home Sauna: Check out how I am now adding a rock wall to my home sauna, we created in our basement.
As many of you may have read last week, we created a luxe spa space with a home sauna. Today we are adding a rock wall to my home sauna just to dress up the space a little bit more.
*Please note this post contains affiliate links for your convenience. These involve no extra cost to you. You can view my full advertising disclosure here.
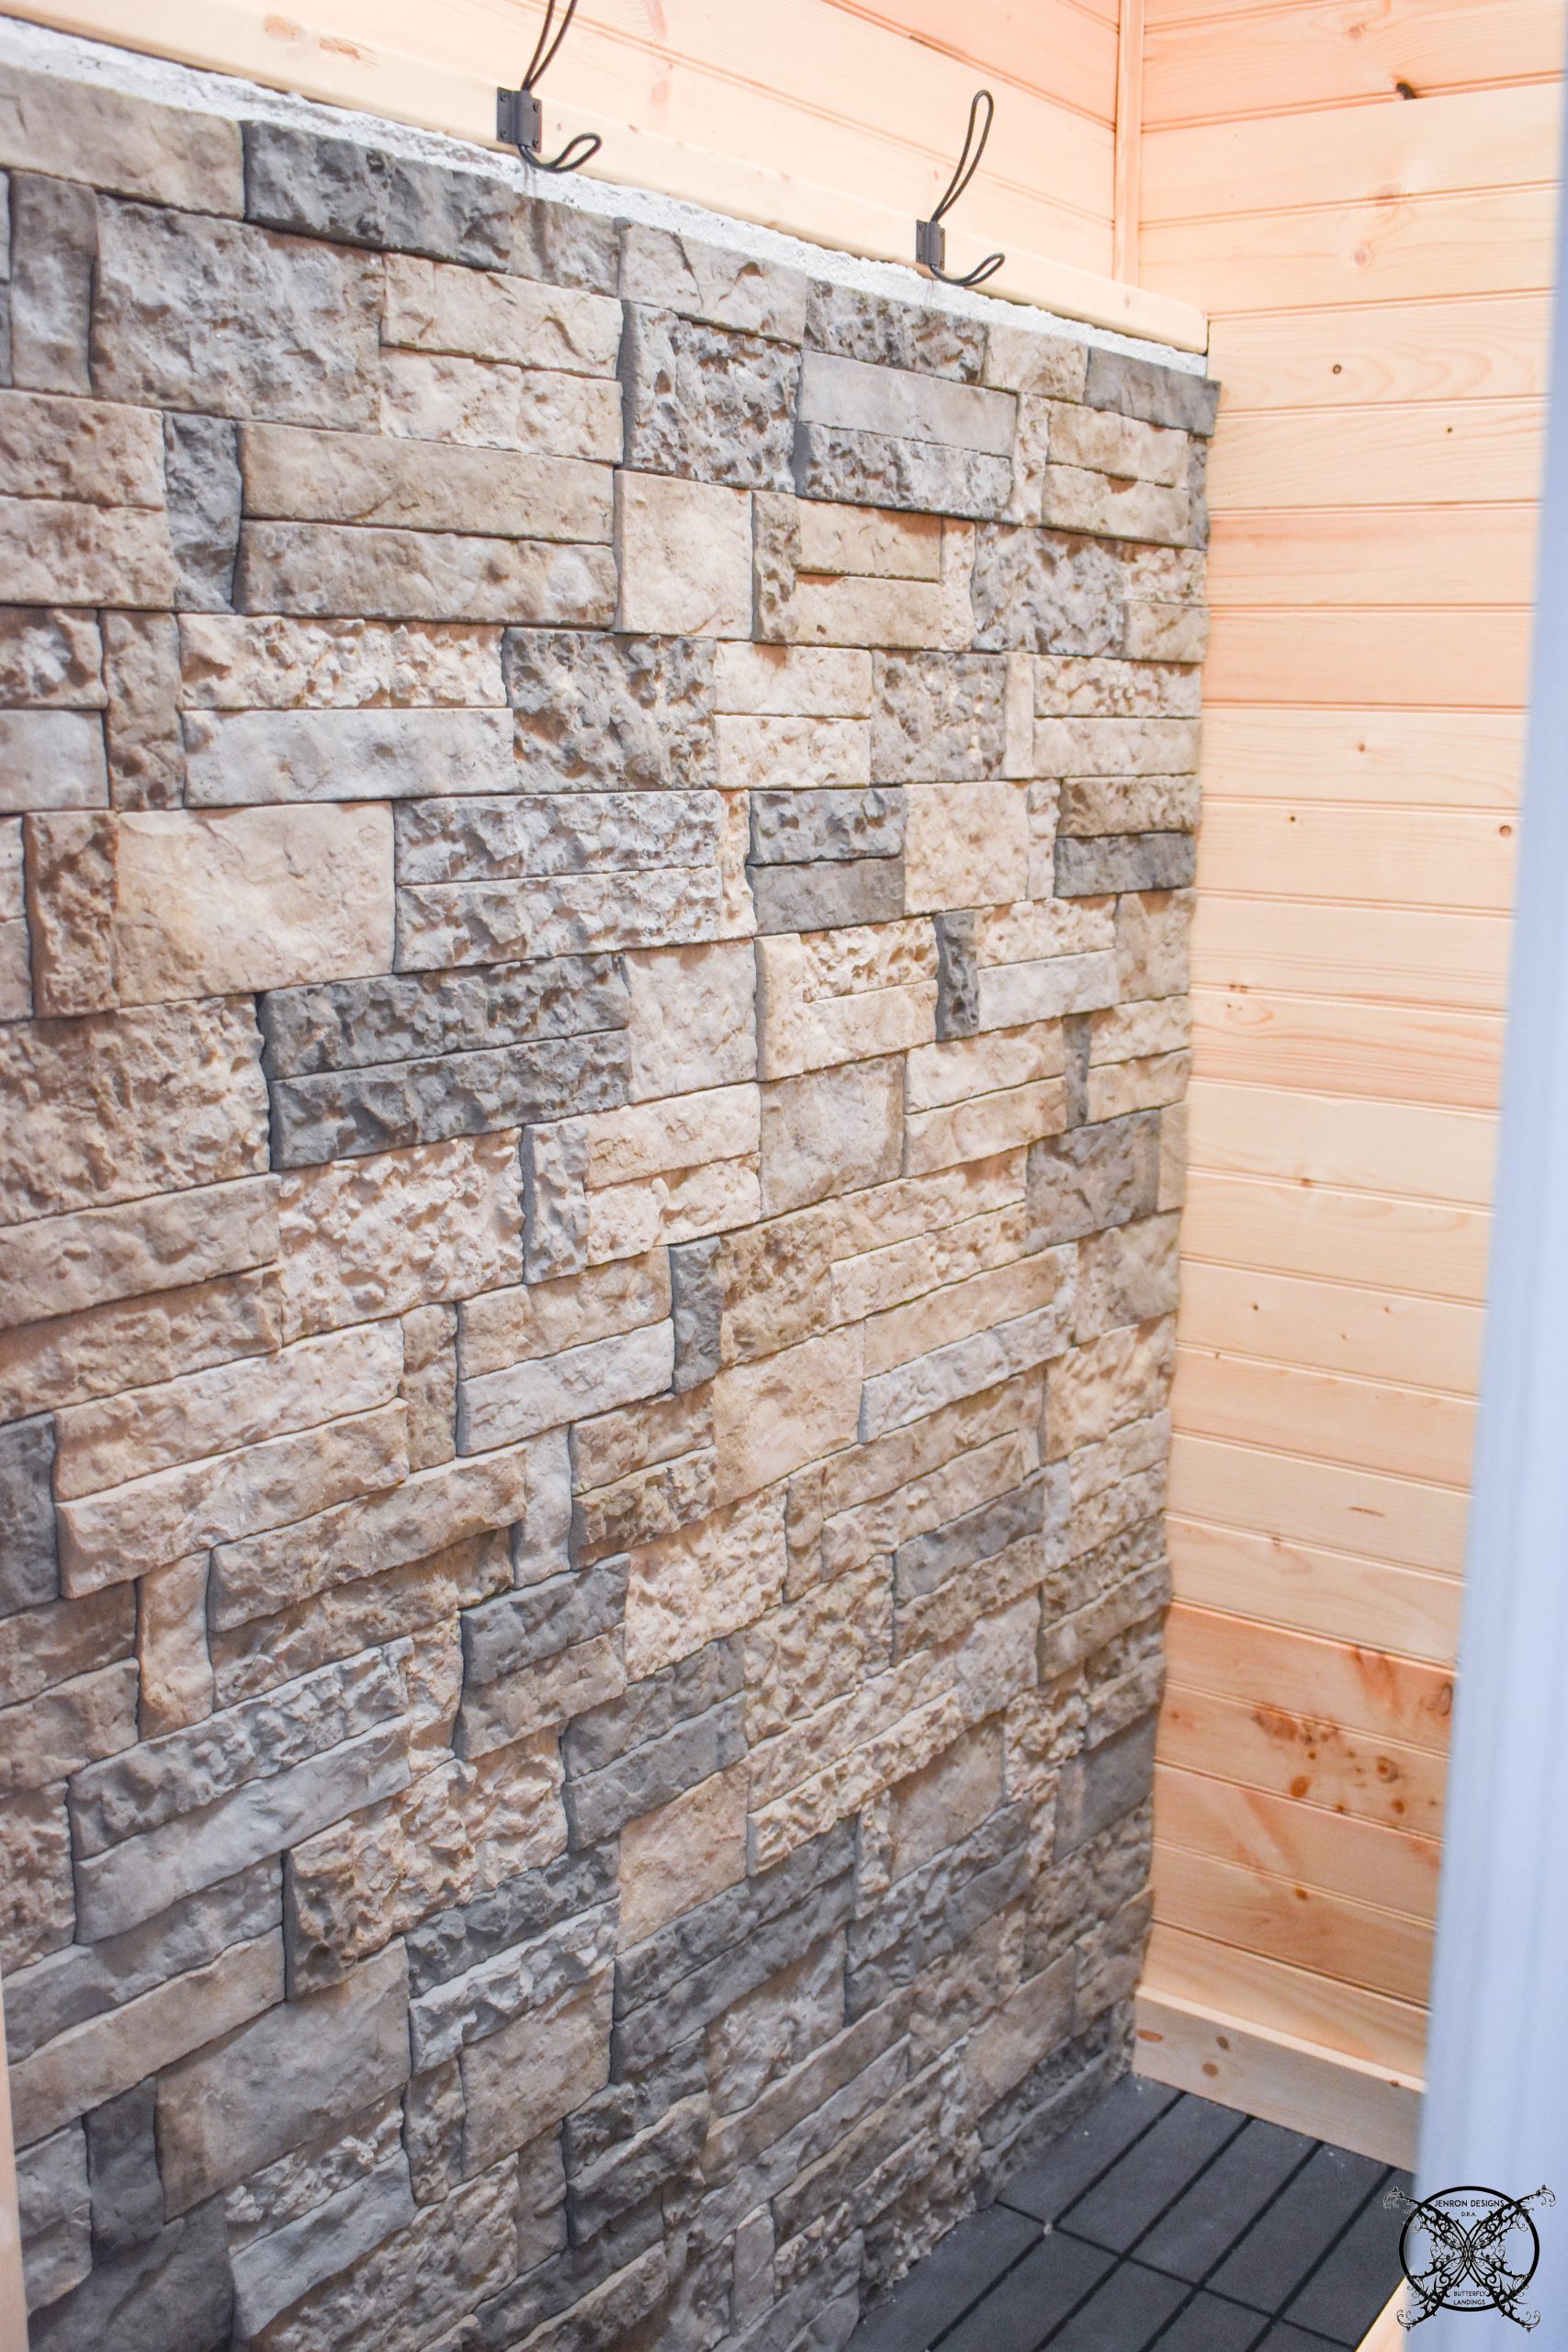
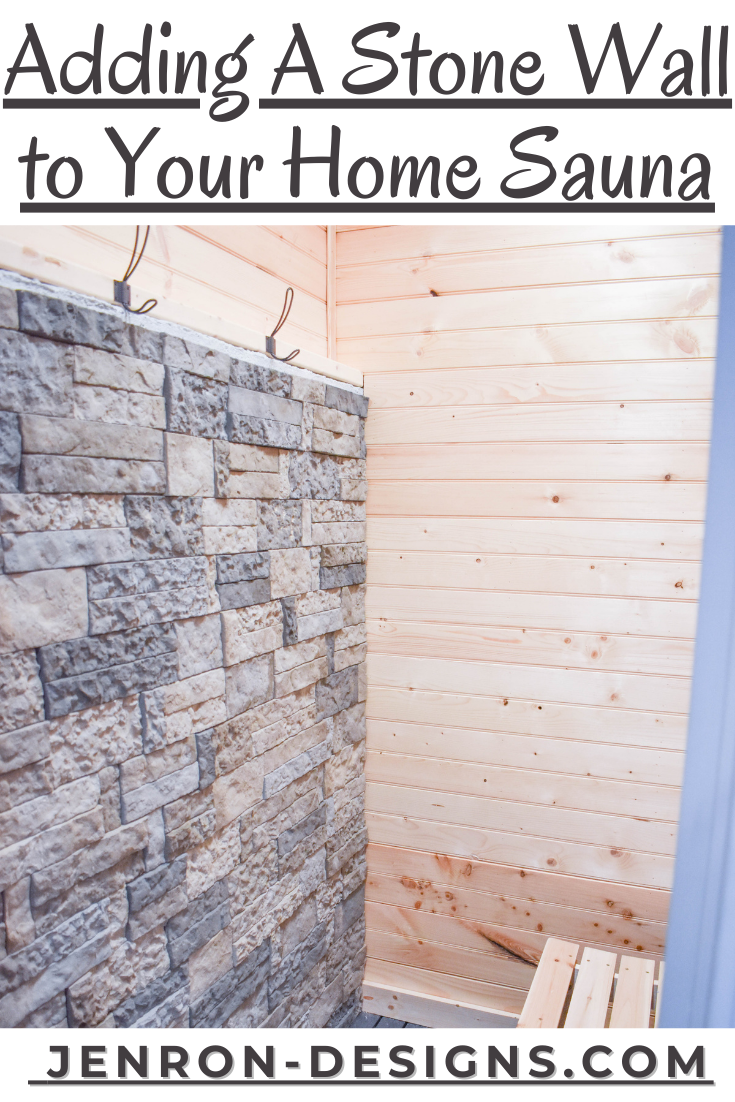
You know how after you spend some time in a space and you look at it and contemplate how to make it better? Well, this is what happened the longer I sat in my sauna and looked at this very basic painted concrete wall. Honestly it is fine, and yes, I could have just left it but the more I looked at it the more I wanted it to be a natural stone. So I decided to pull the trigger on just adding a faux stone wall, similar to how I added a faux stone fireplace hearth in our bedroom a few months ago. I picked an easy glue on version of the Airstone in a Spring Gray that would complement the pine and the space we designed in our home gym next door.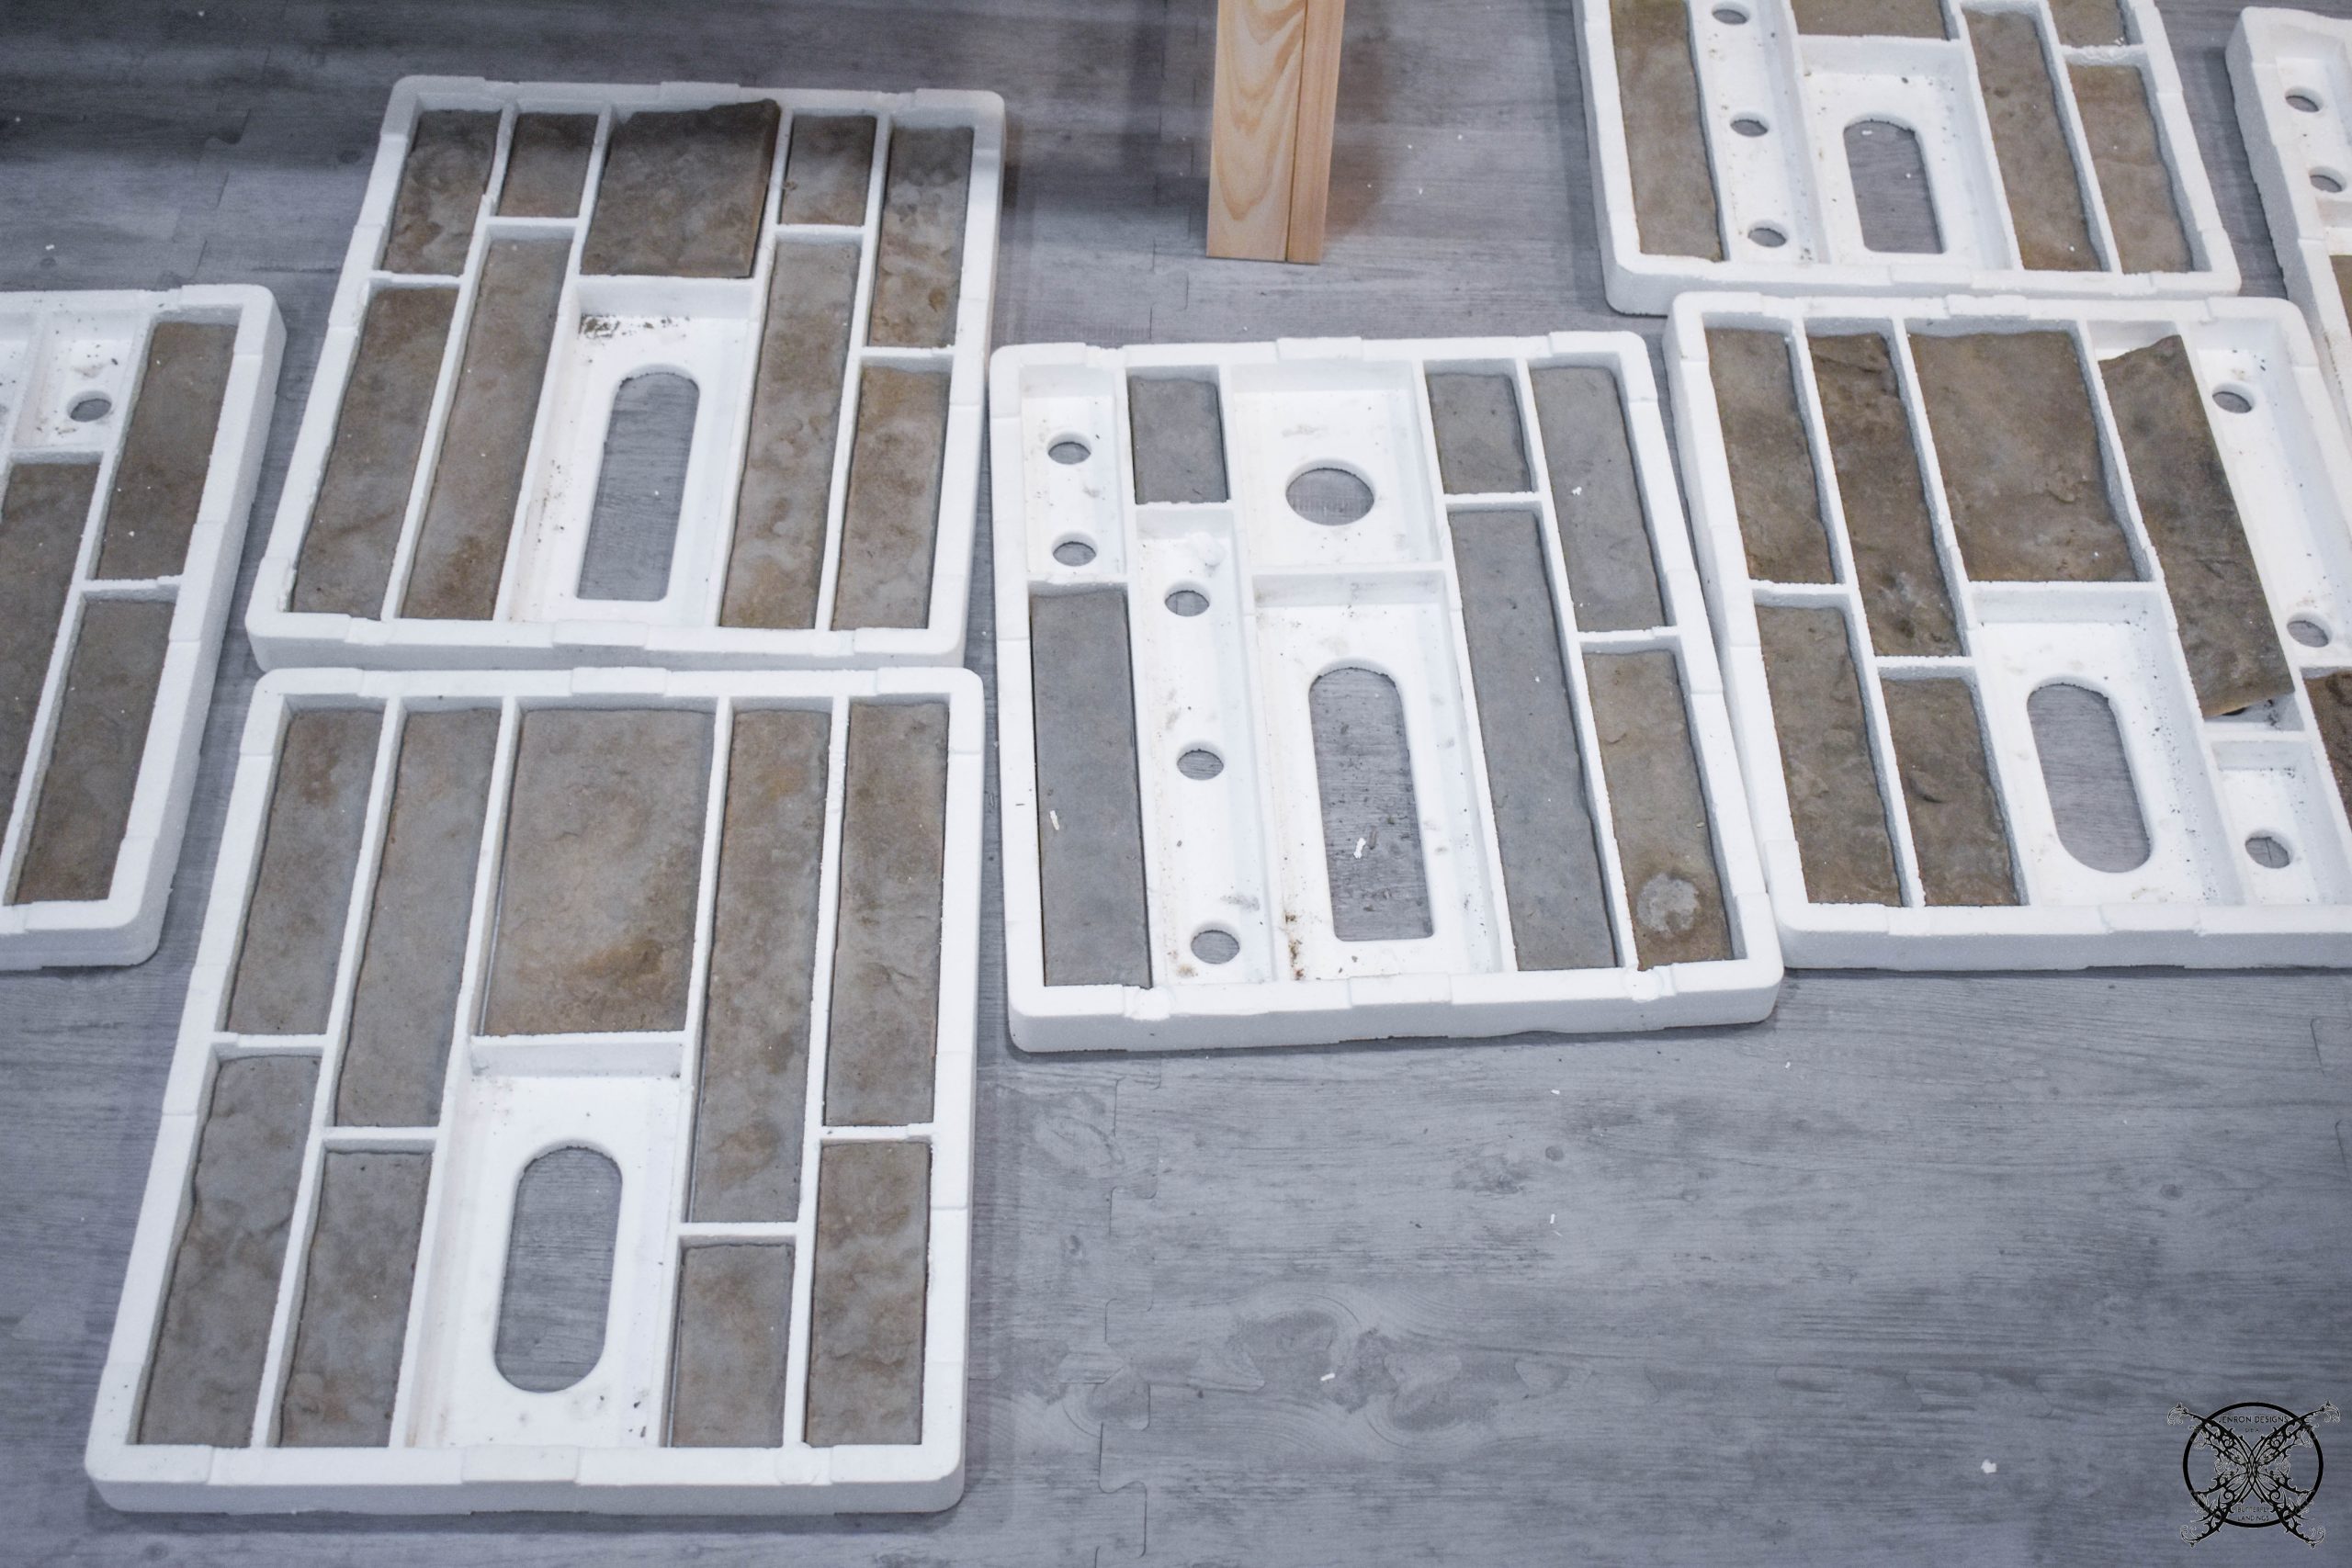 The first step was to lay out all the color trays of the Airstone so I could create a pattern, while making sure the length would fit evenly across the wall. I was very lucky, and we only had to cut a few pieces which can easy be done with a tile saw or any saw with a masonry blade.
  This time we opted to use an all-purpose power grab glue, which bonds to cement in interior and exterior settings. This will hold up to all temperatures and any possible moisture that could occur with the sauna.
 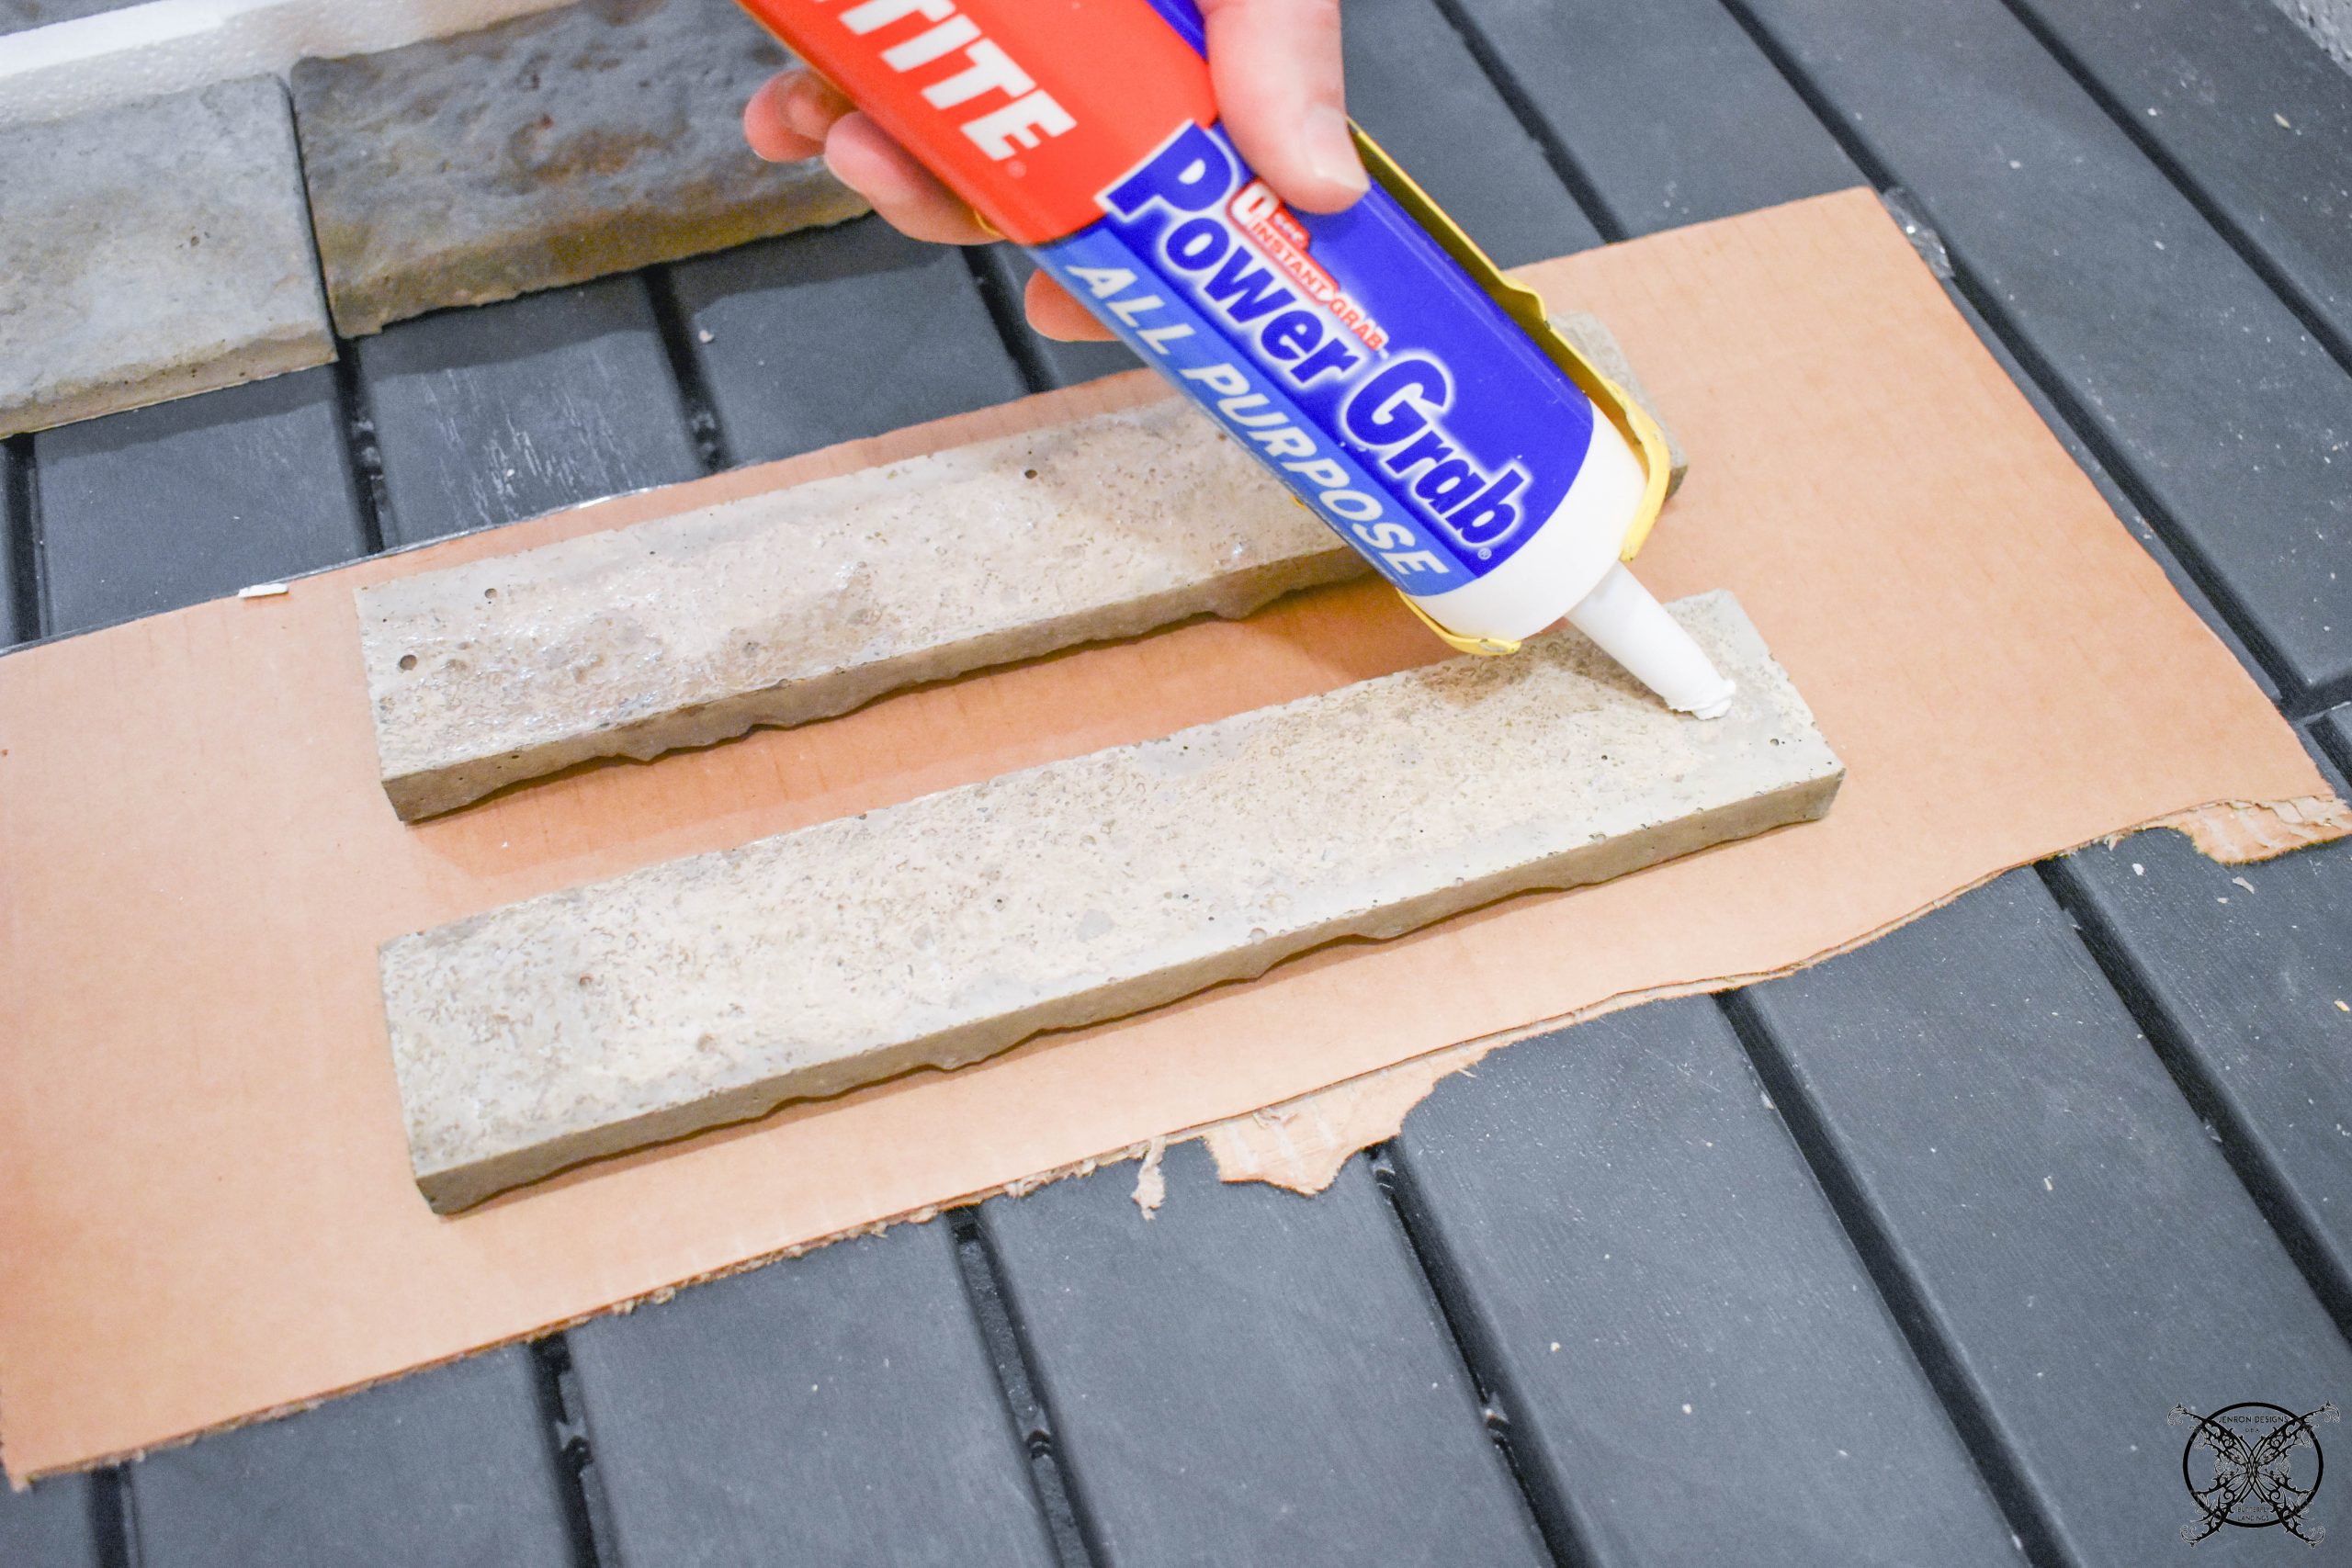 It also has a quicker set time as well, which makes the installation a lot easier. I could literally glue and stick the stone pieces and they would pretty much be set within minutes of them being placed on the wall.
 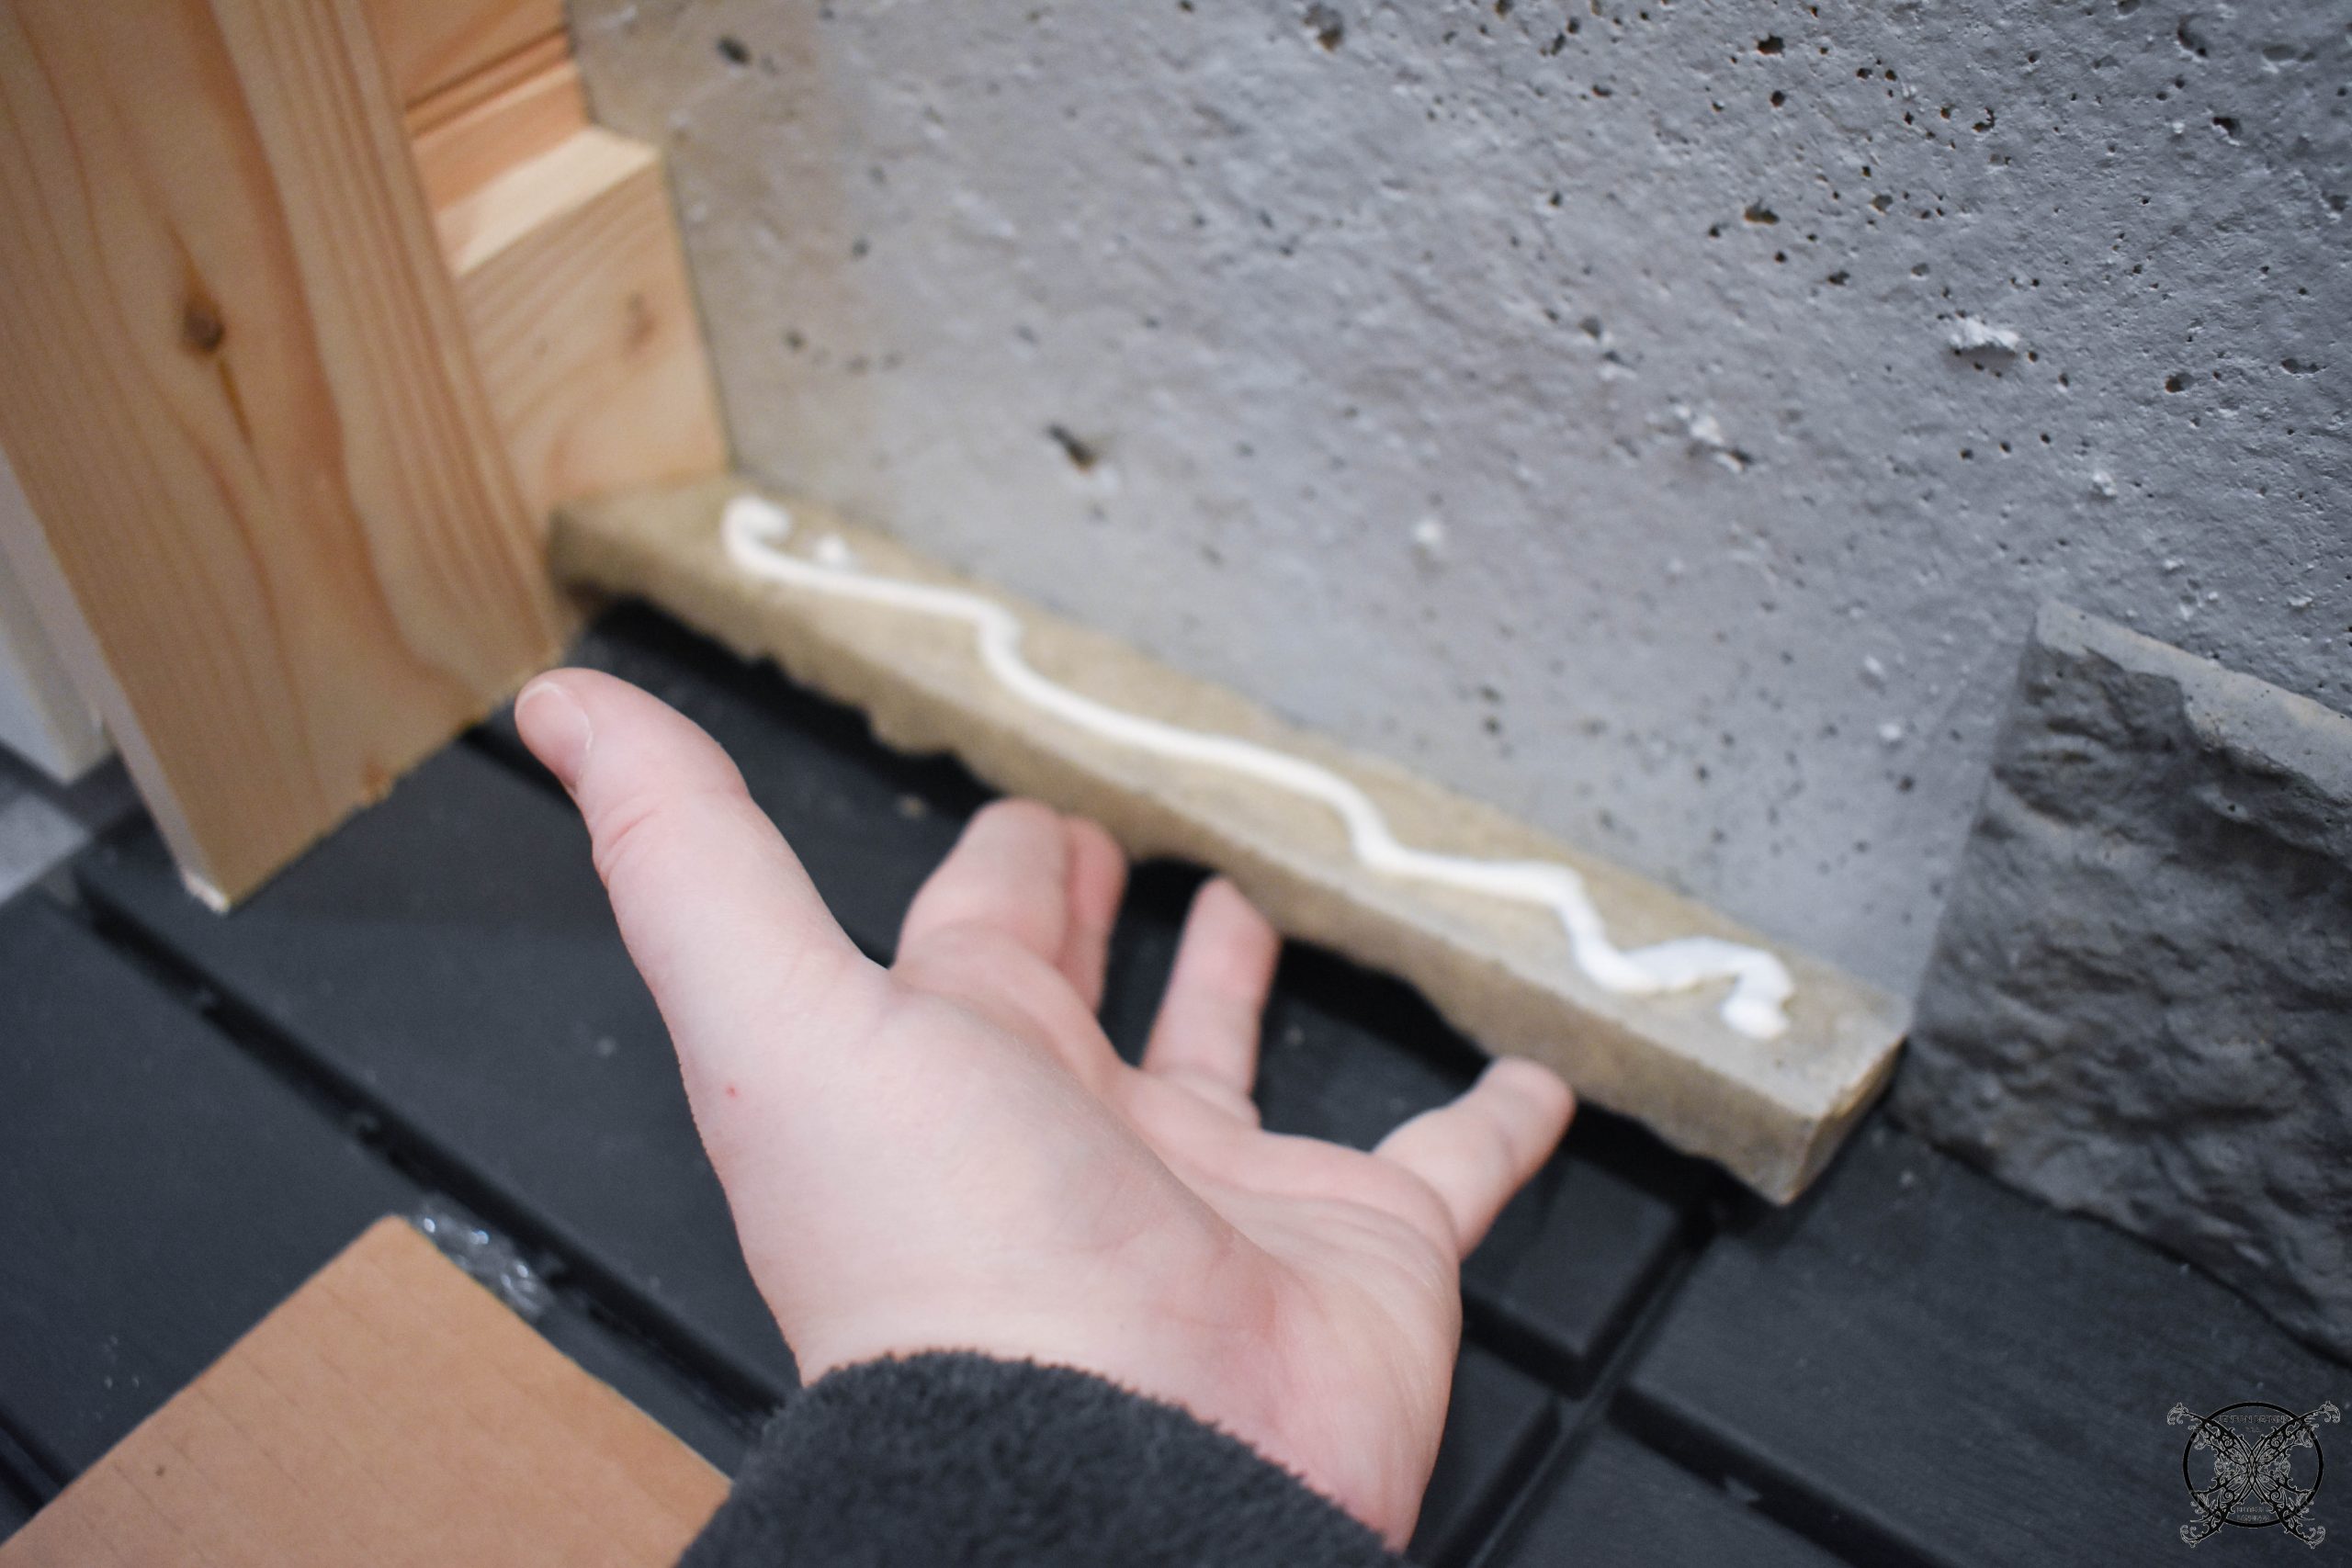 These are the actual Airstone instructions for you own information, which is also available on their website. Please note that we are using the exterior installation, with a premium construction adhesive method as seen below.
 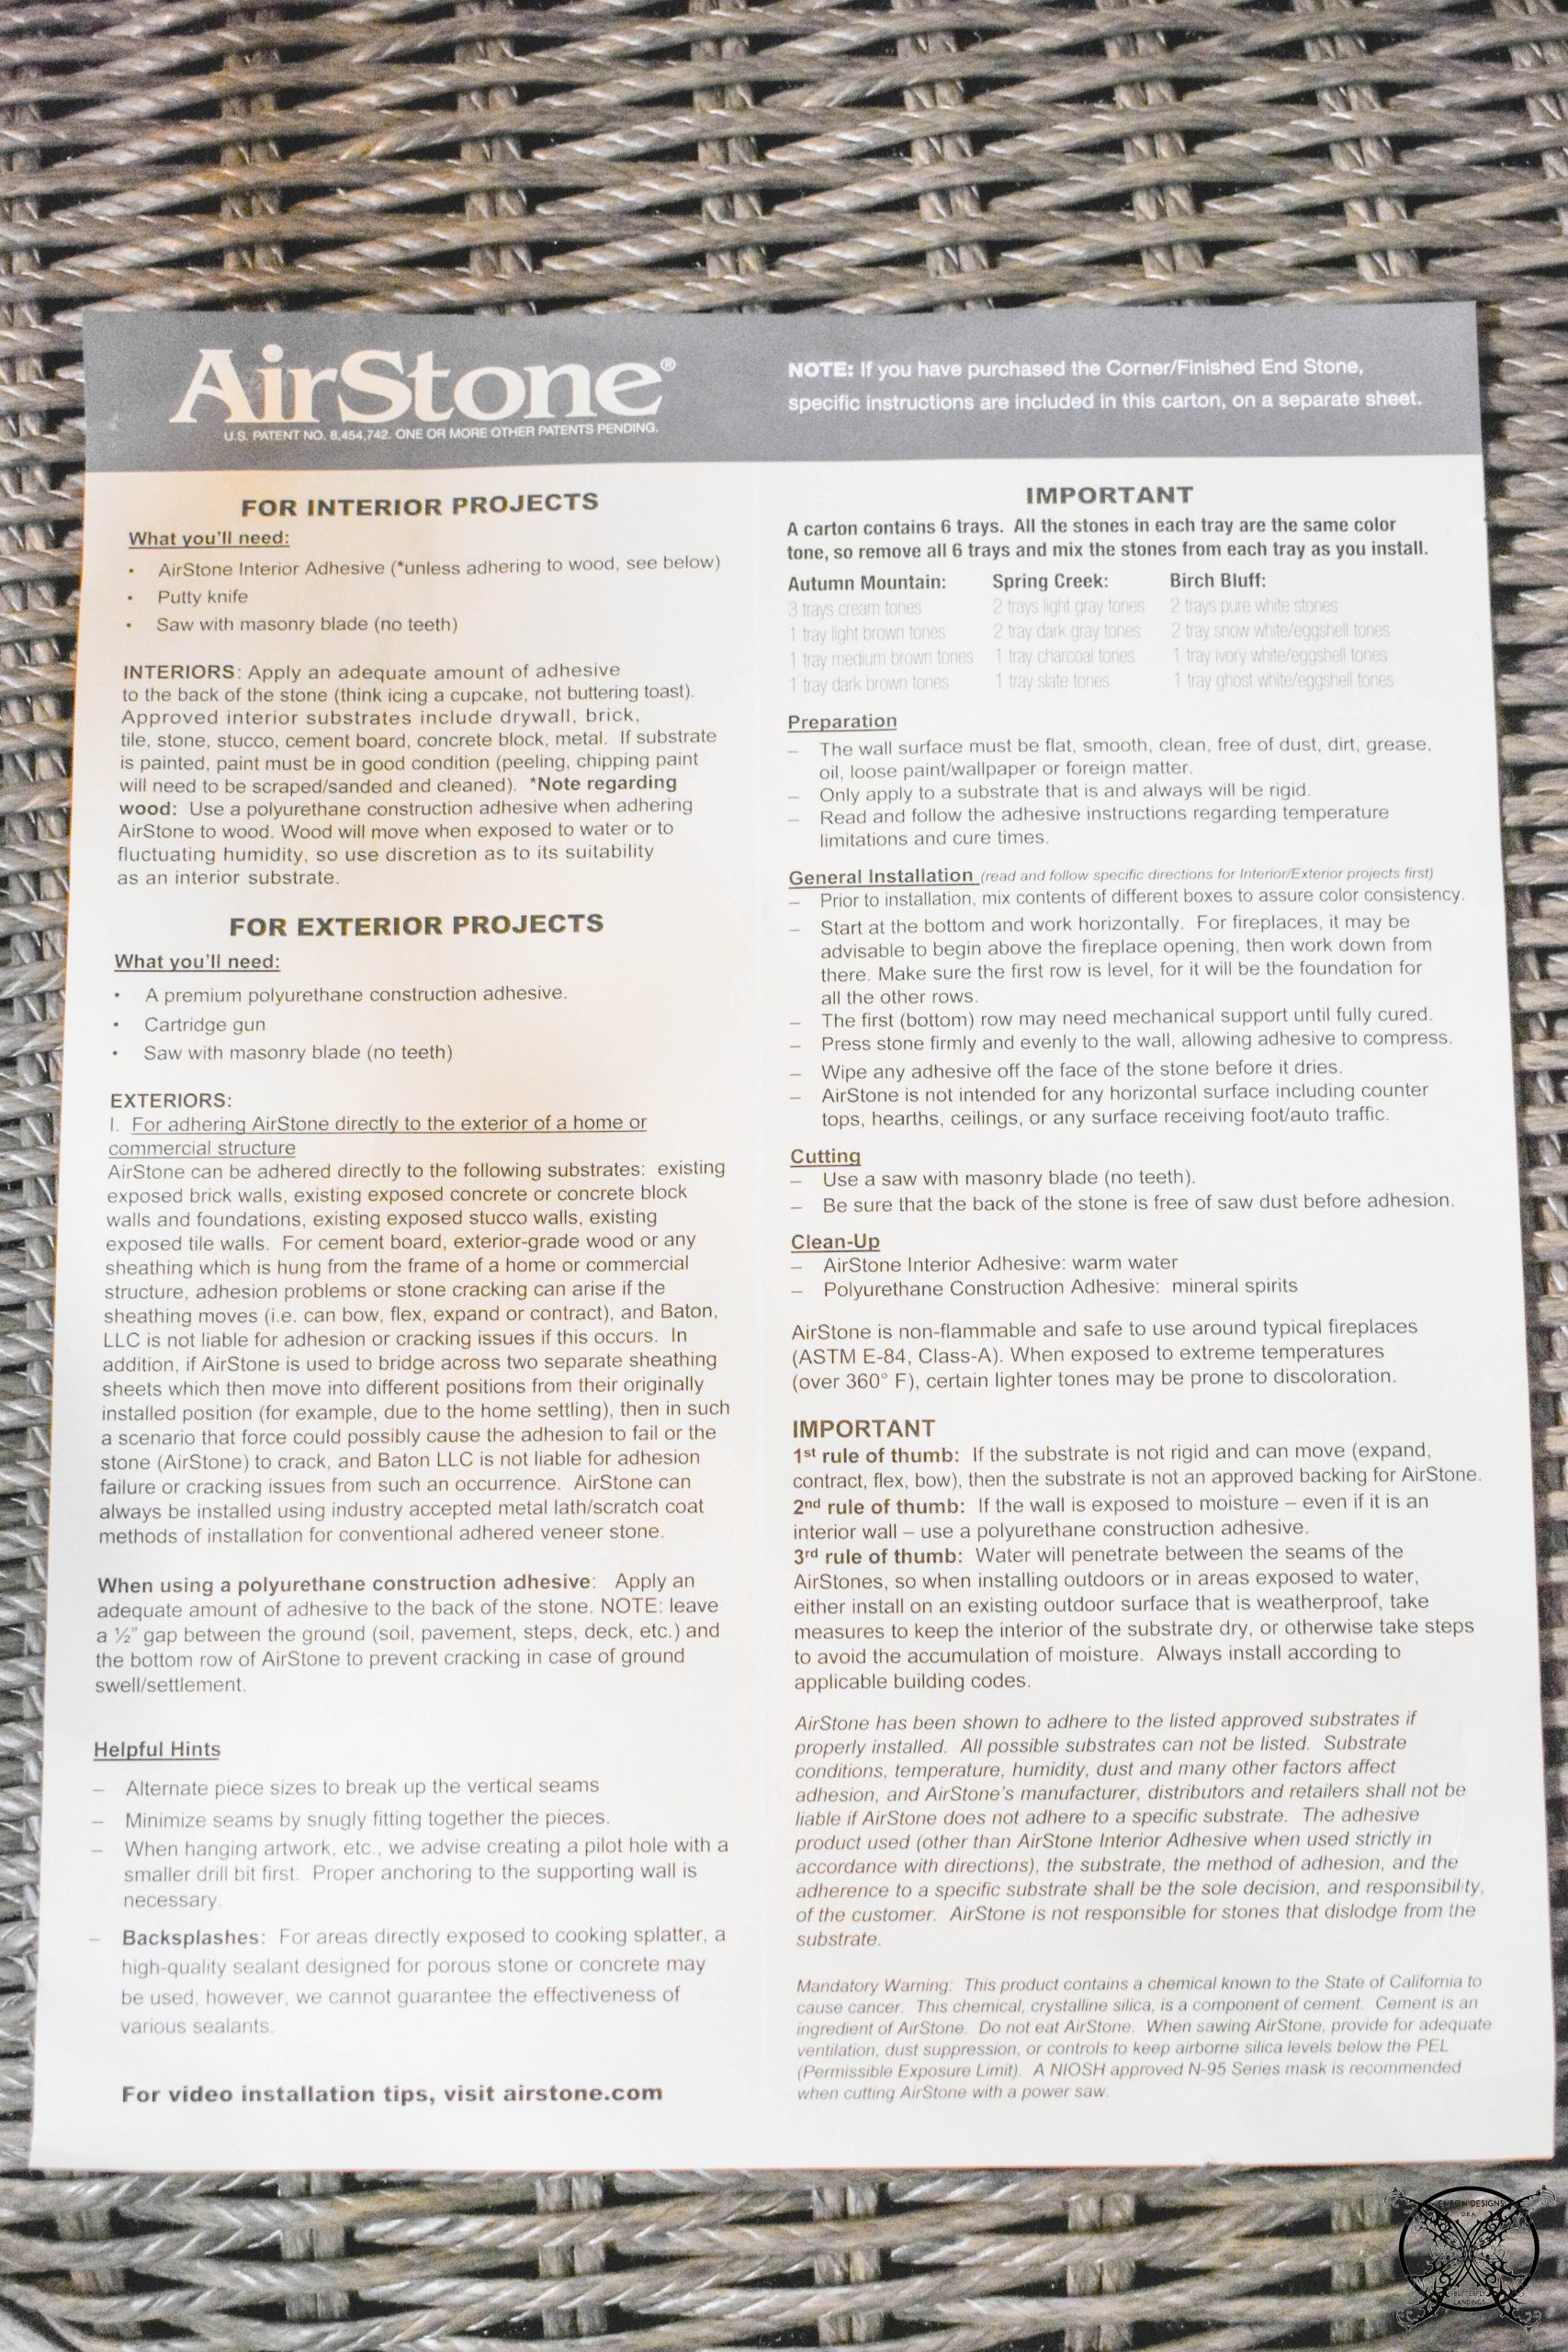 It took about an hour to get halfway up the wall and two boxes for reference, which runs about approximately $65.00 each. So, you are looking at about $120 in stone so far, and $240 for the entire wall.
 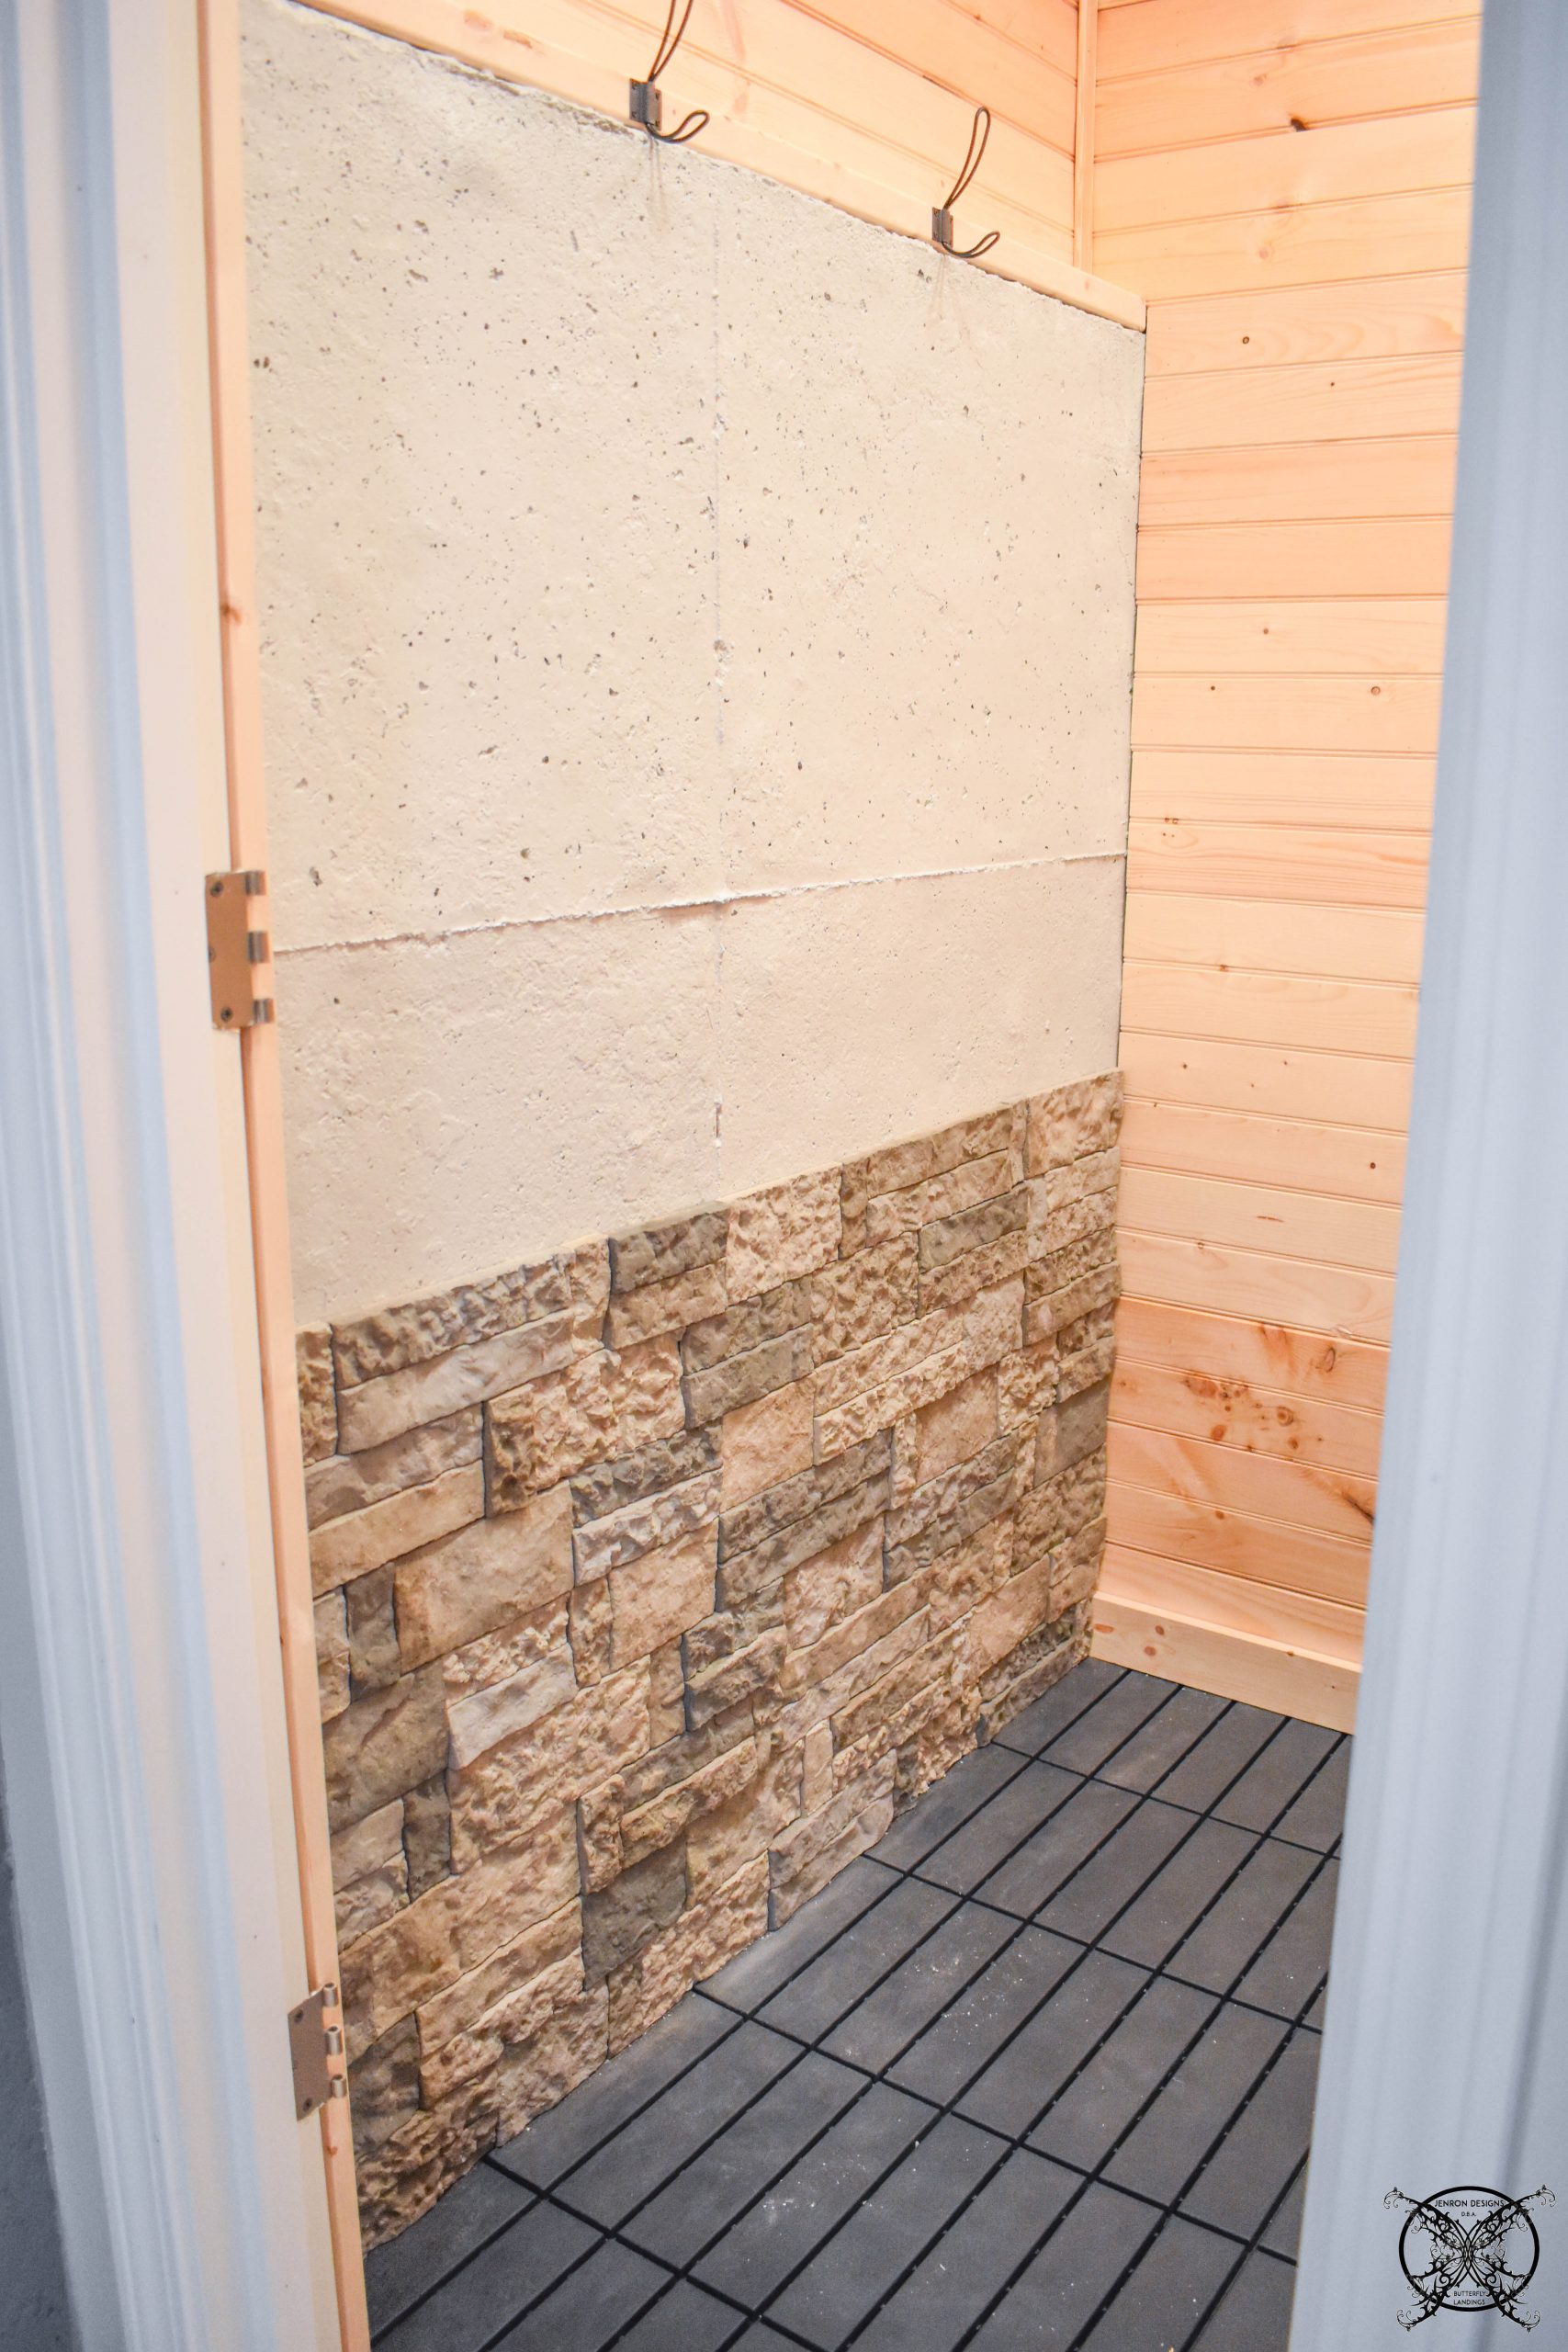 The entire project took about 3 1/2 hours to complete, and I have allowed it sit up overnight prior to using the sauna, just to make sure that the adhesive was completely set and cured.
 I do want to share a funny sauna story, so we ordered a complete sauna kit that came with all of the pieces seen below.
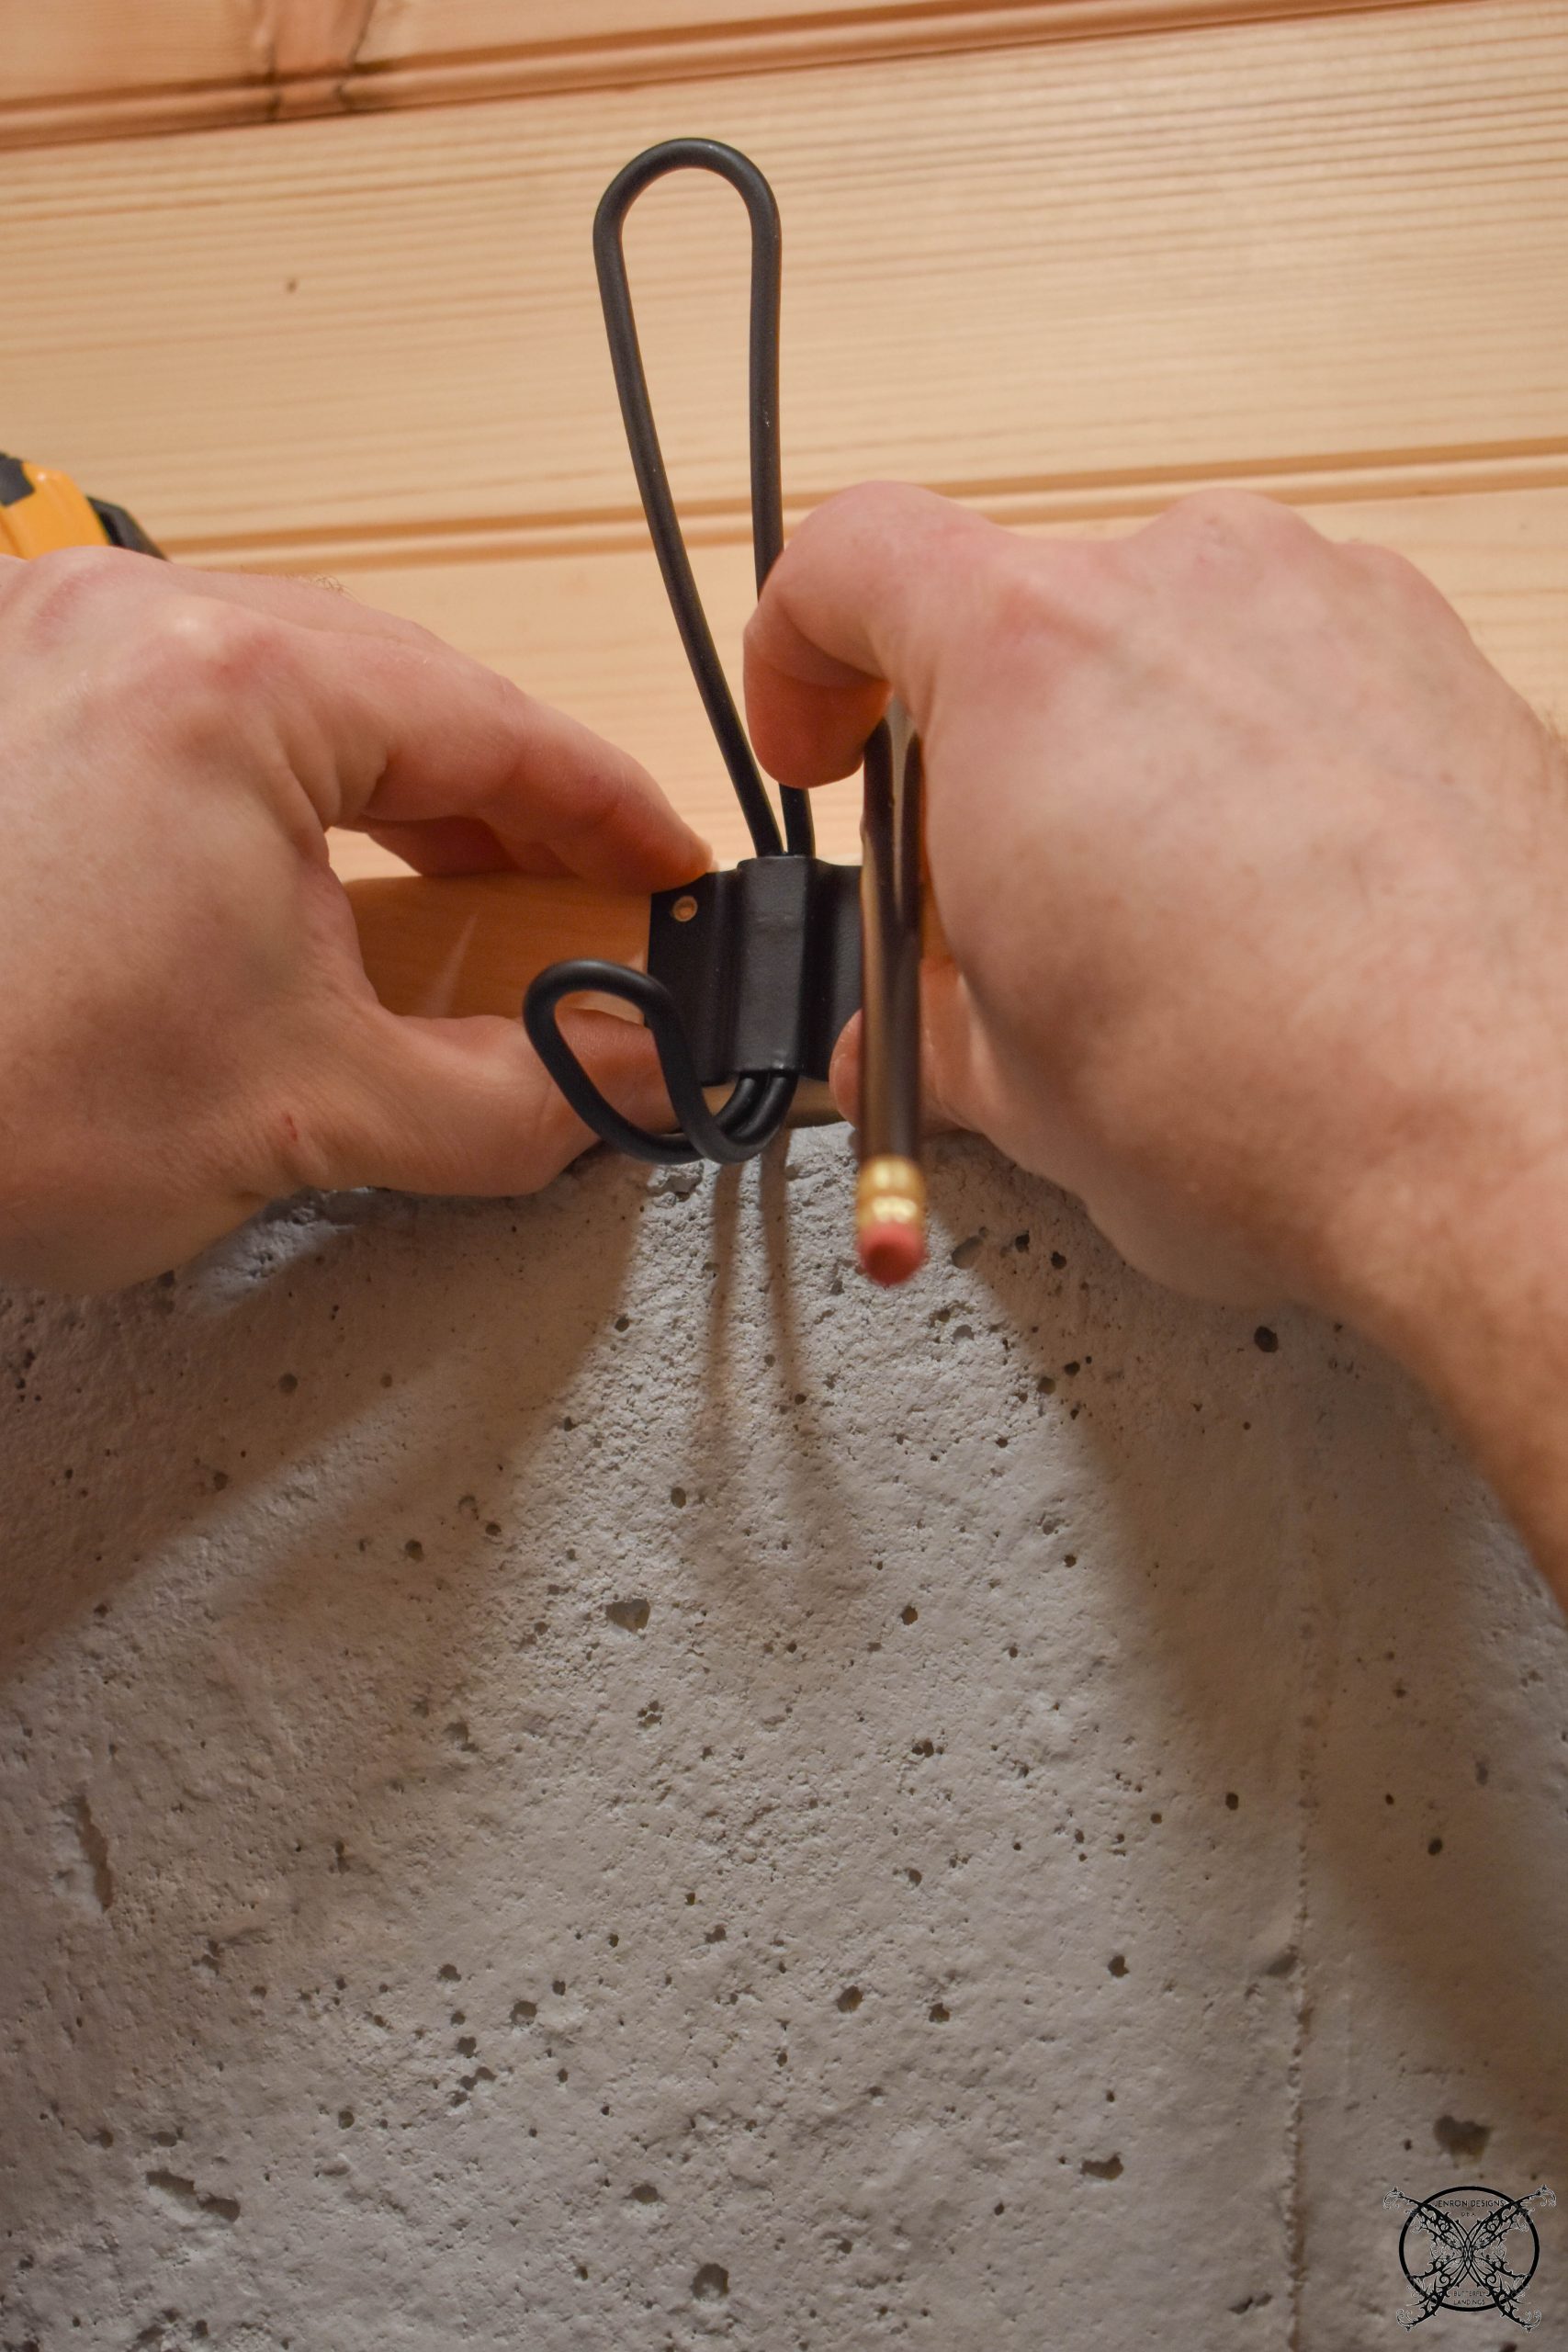
 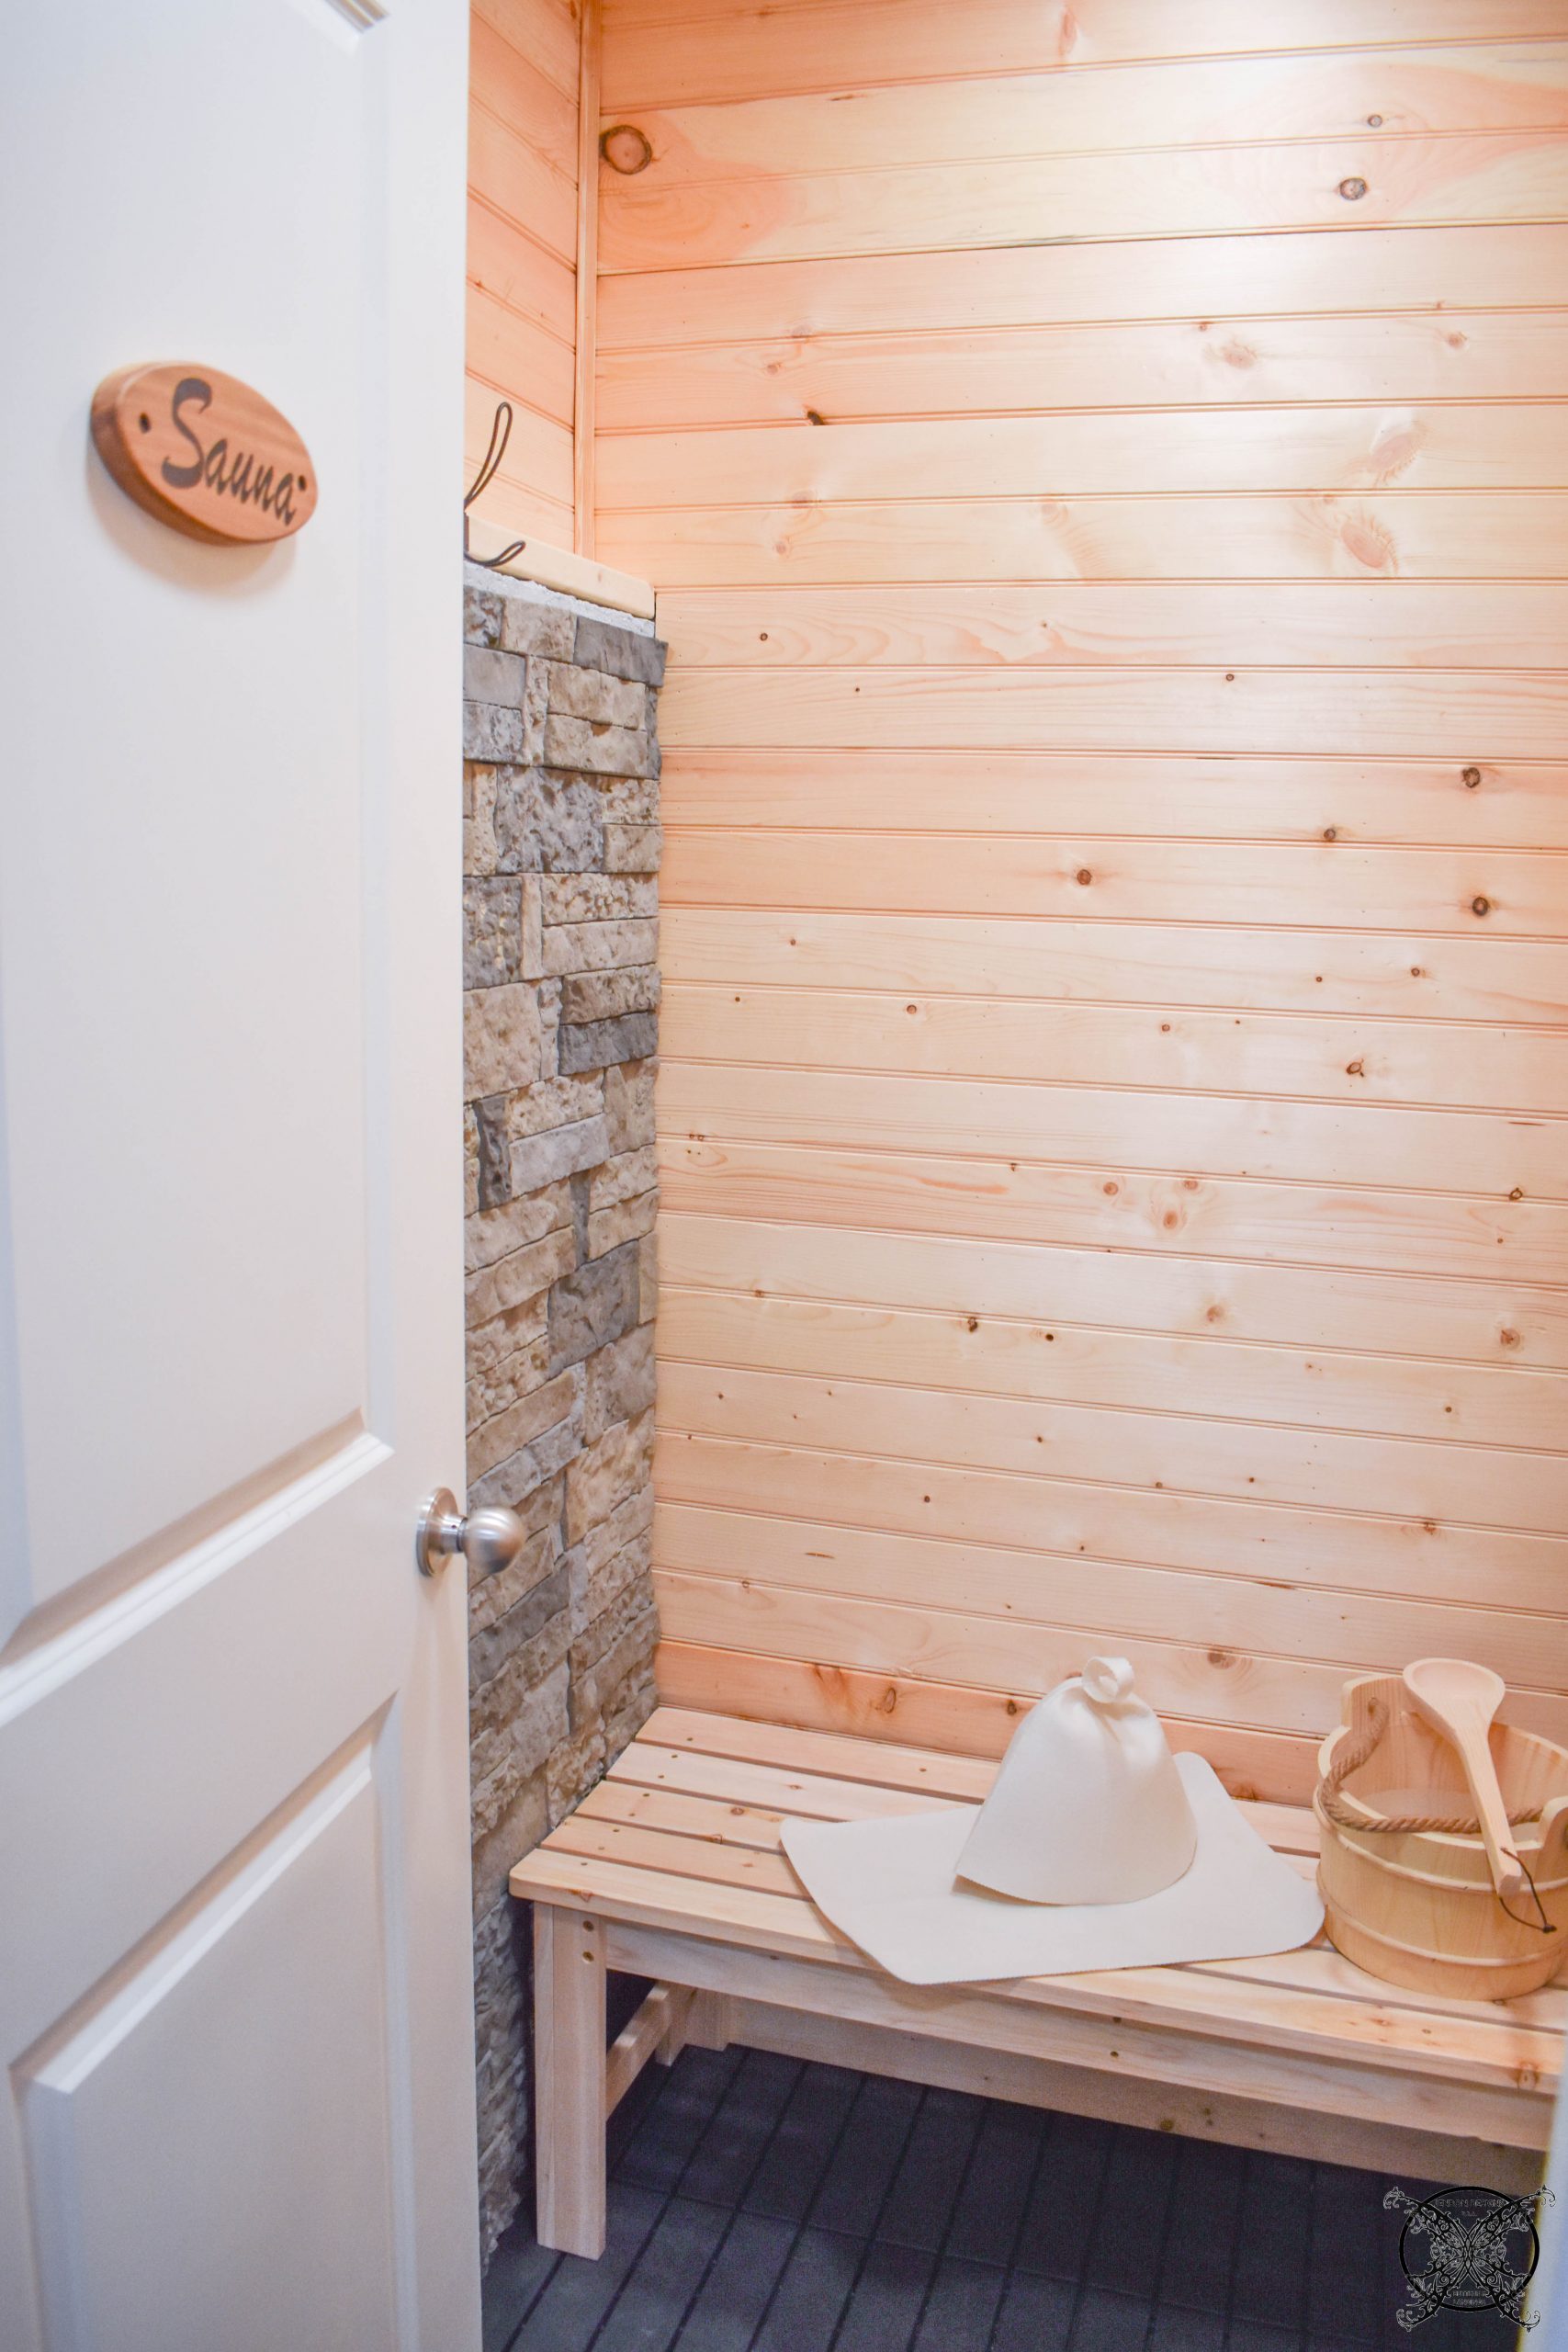 We had no idea what this piece was, in jest we called it a hat. Then I made a funny and said it must have been for my husband, since they only sent one. Yes, ladies I might have suggested it was like a Teepee. You know, like they make for little baby boys, LOL!
 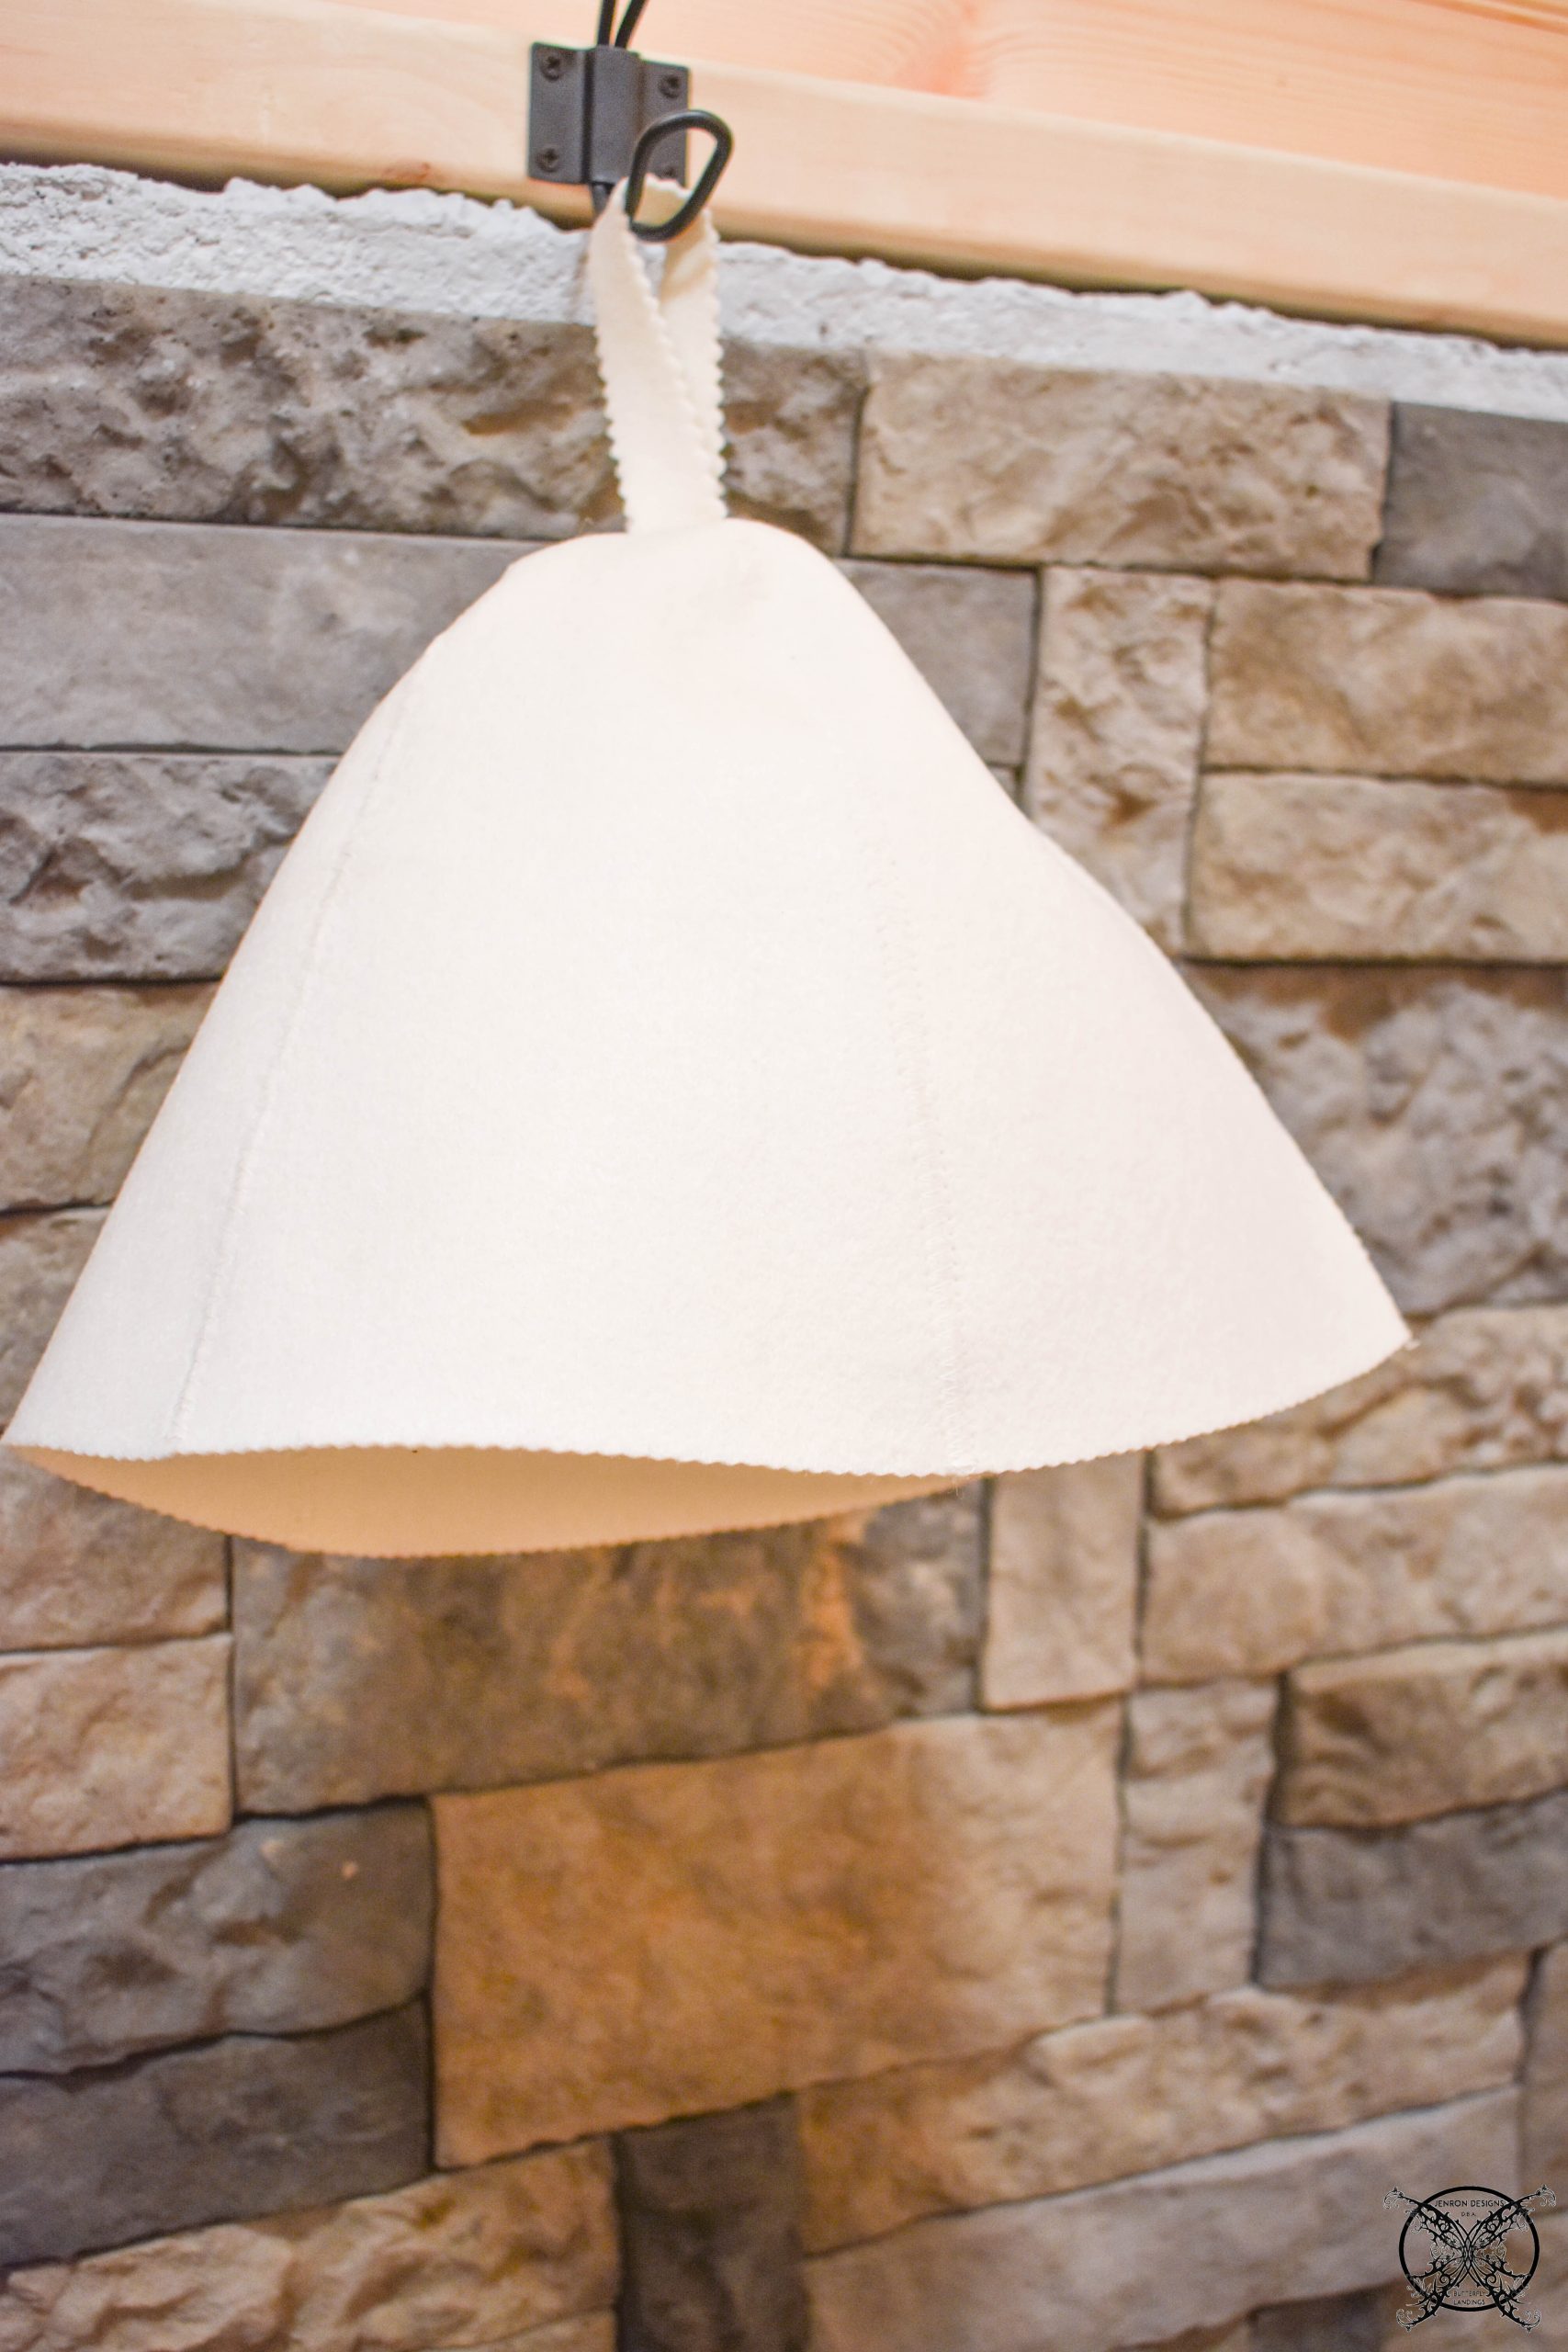 Well jokes on me, after talking to a neighbor, apparently it is indeed a Swedish hat that ladies use to protect their hair from the heat, and I am mortified. He teases me every time I have to put my Teepee on my head and says how adorable I look.
PIN ME for later and be sure to follow us on Pinterest at Jen @ JENRON DESIGNS
I do realize it may feel like an impractical add to a home, my thoughts on the subject are it is the size of a closet. For the cost of the heating element I now have a sauna which makes me and my husband happy. As for resale, if a future buyer loves it we would leave it as a sauna; if they hate it they have a lovely wood lined closet, we would just add a different flooring which would probably have to be done for the Home Gym, seen here, which is directly off of it. 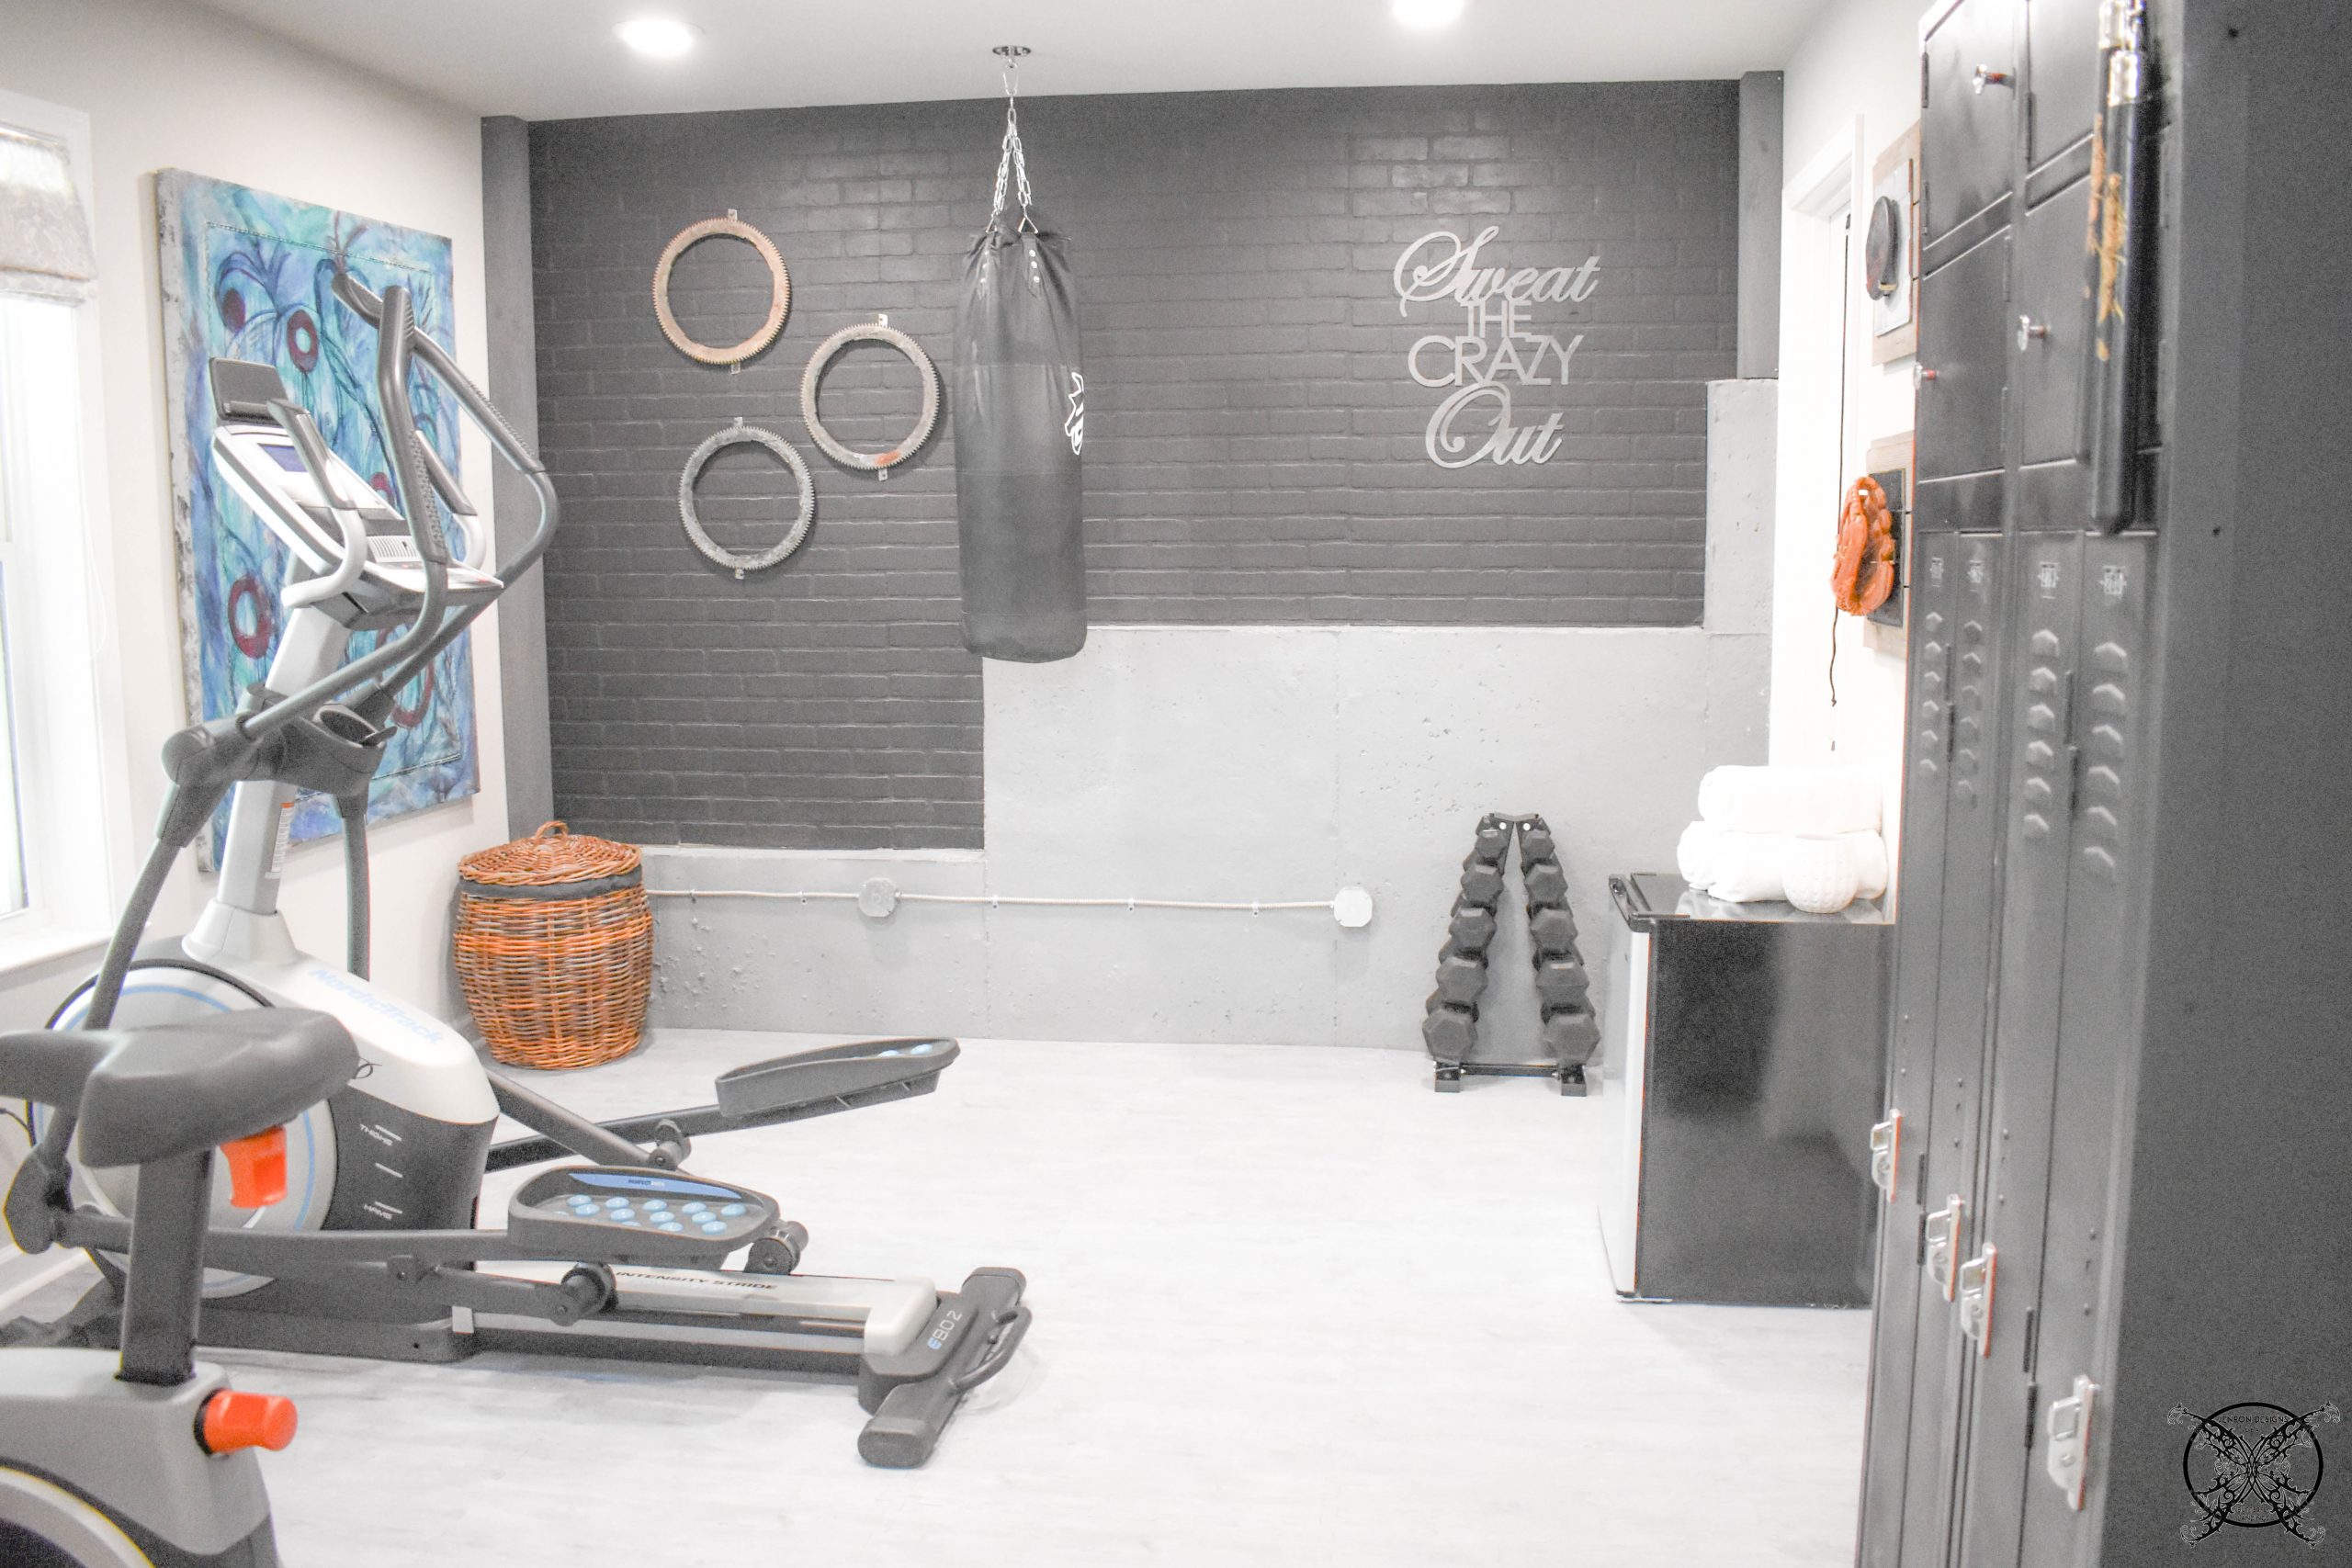
Having a sauna in the basement sounds like a dream! I bet that’s a wonderful way to end the day.
WOW! Who knew you could do this in your own home. Your sauna looks incredible, beautiful and super relaxing. I’m jealous!!
I would love a home sauna! I really dislike the cold and a sauna would be a luxury space to have here in Colorado in the winter months!
Wow, what an upgrade this is! To have your own spa at home sounds amazing. Well done.
I didn’t realize you could build a sauna in your home!
Wow this must have been quite the project! Hope you all enjoy it!
Wow such a beautiful project I wish I had the space
Wait until I show my hubby this – he’s gonna want one! We’ve just bought a house that needs renovating – you’re giving me all kinds of inspiration.
I like the simple but rustic look. Looks great and such a useful thing to have at home. Enjoy!
Oh my goodness – you are living my dream! Thanks so much for sharing this process. It looks amazing!
This is truly amazing! thanks for sharing
Oh my gosh! I need this in my life. Sending these plans to my hubby now!
I consulted a lot this information, which made me feel a lot better about trying this project myself. Thanks for the information!
Thank you for your sharing. I am worried that I lack creative ideas have been circling the internet lately. This is not true at your site and in your article that makes me full of hope. Thank You!
I am dying that you added a sauna to your home, wow! How luxurious is that? You really do it all, I just can’t stop reading now.
Wow this is such a great project to upgrade a home. It also seems pretty simple and the end result is much better than those prefab boxes you just place inside a room, which are weird looking.