Adding a Rock Wall to My Home Sauna
Check out how I am adding a rock wall to my home sauna, we created in our basement.
As many of you may have read last week, we created a luxe spa space with a home sauna. Today we are adding a rock wall to my home sauna just to dress up the space a little bit more. 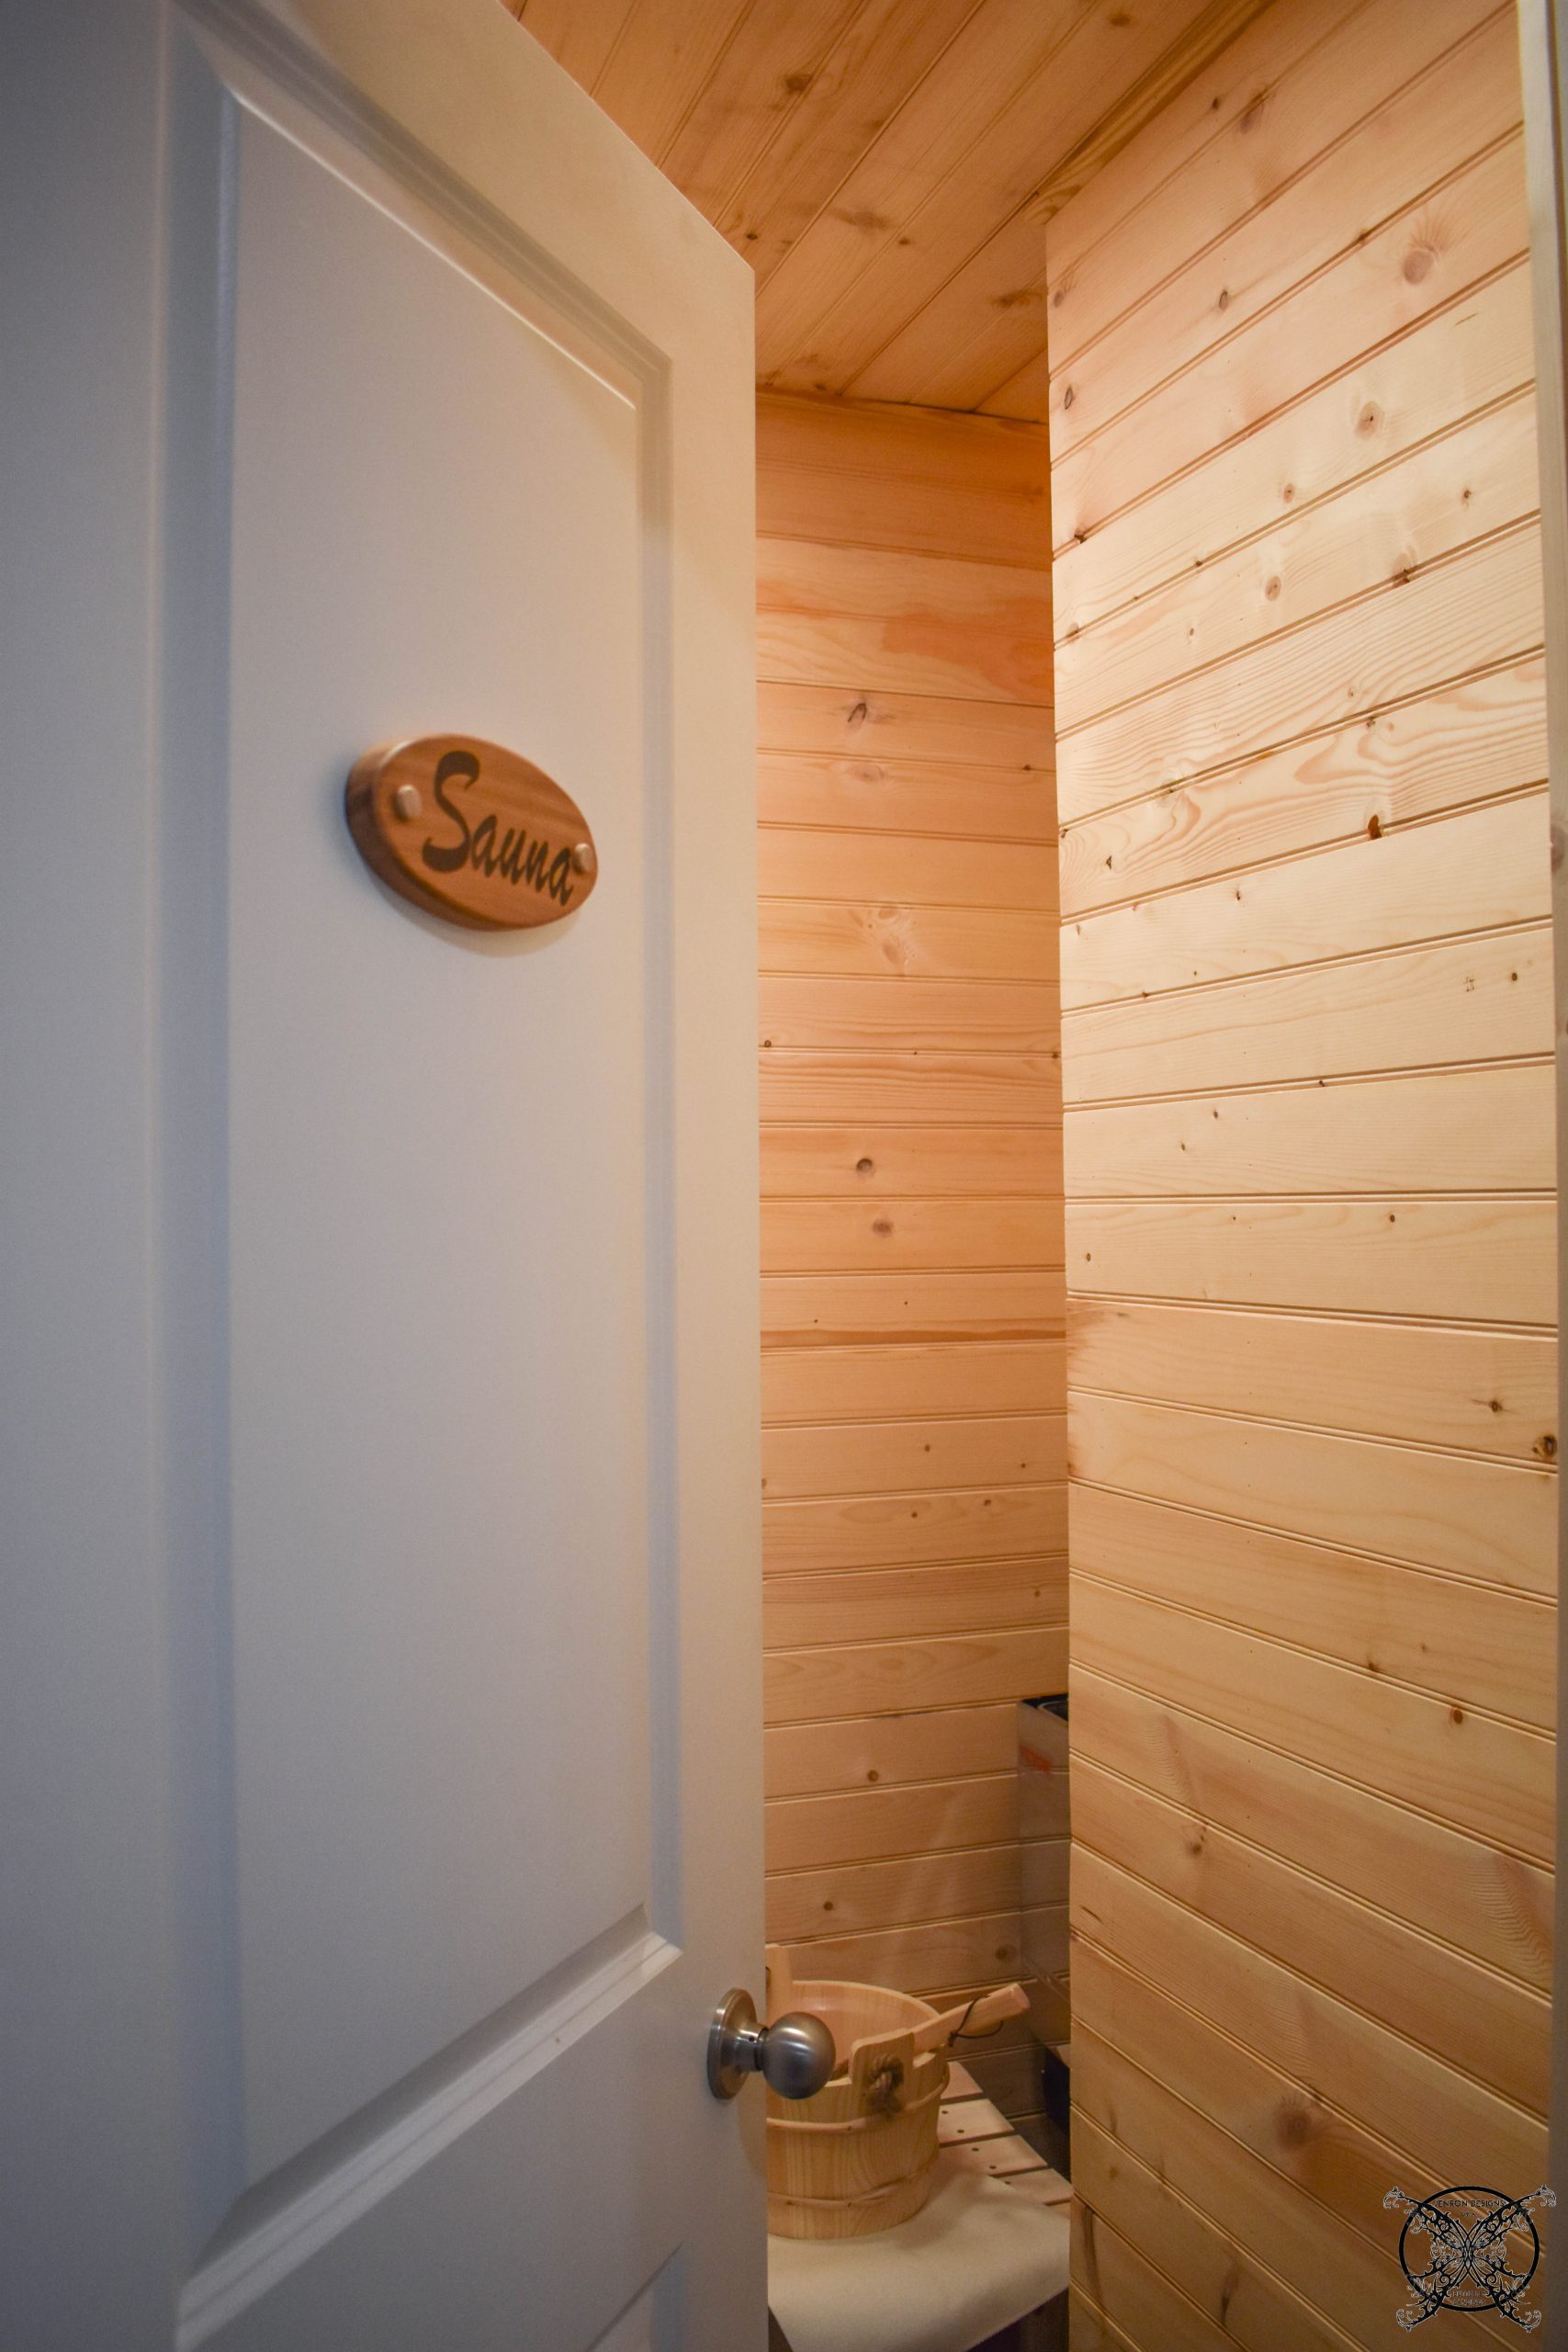 *Please note this post contains affiliate links for your convenience. These involve no extra cost to you. You can view my full advertising disclosure here.
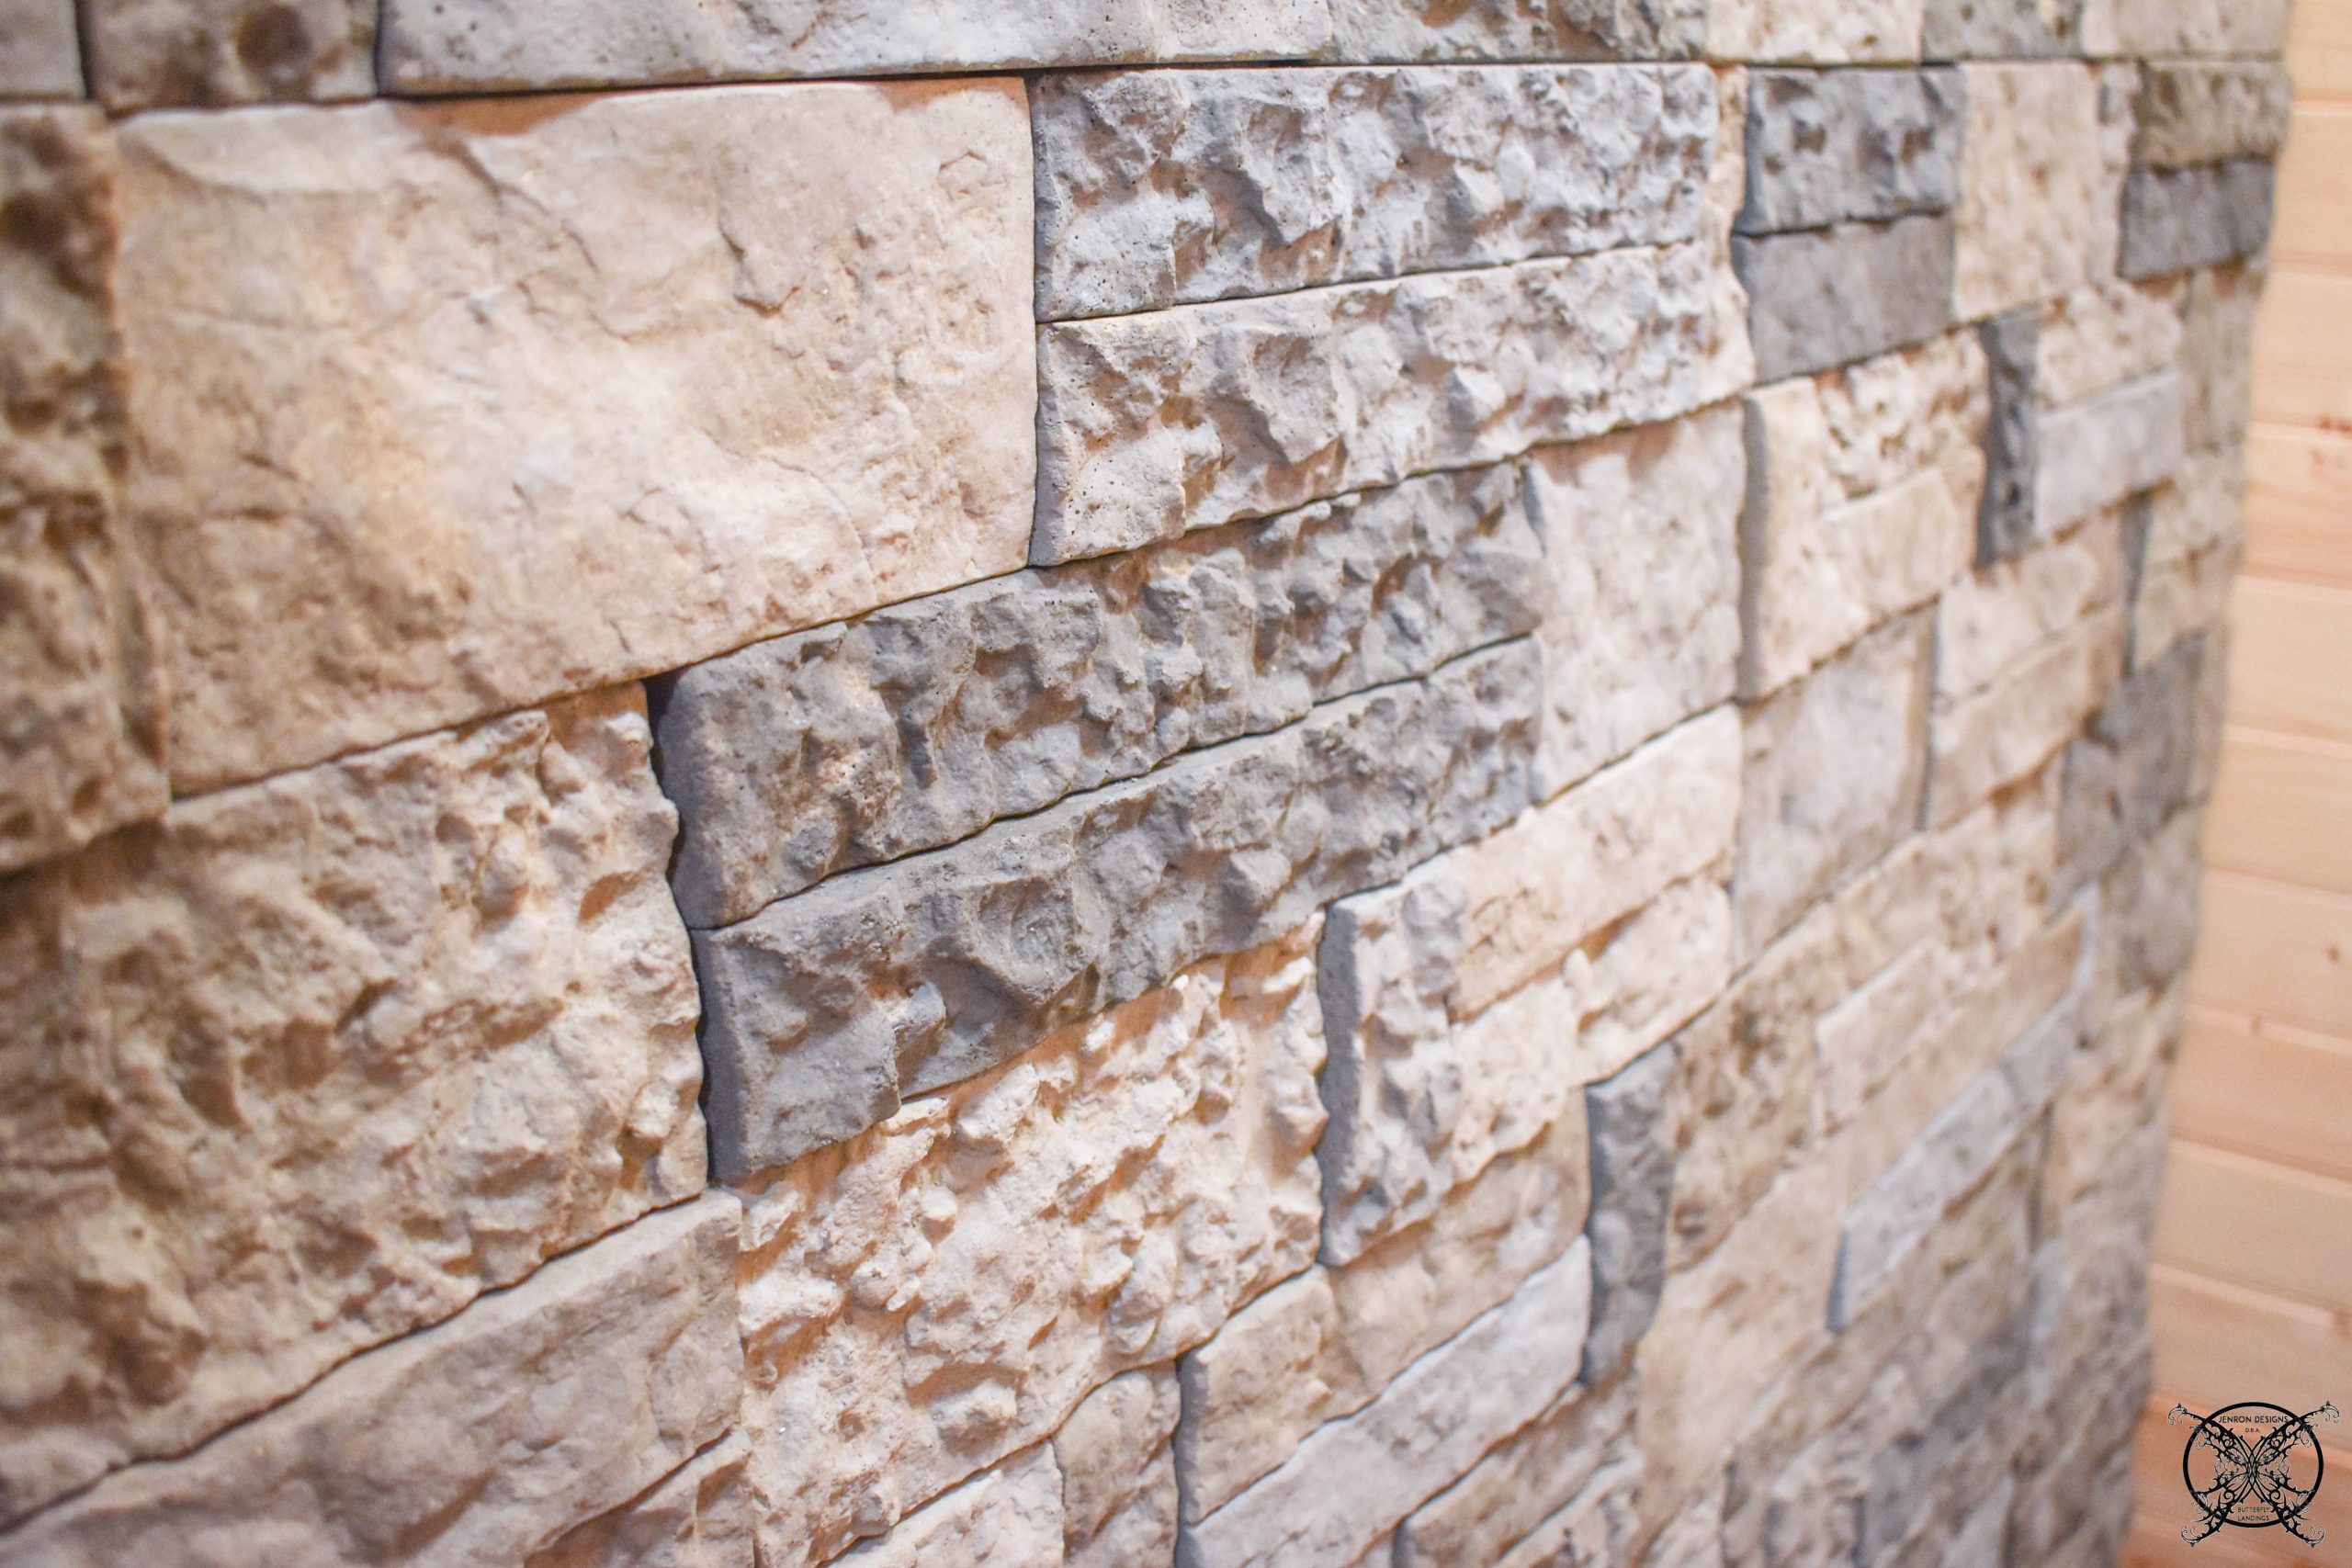
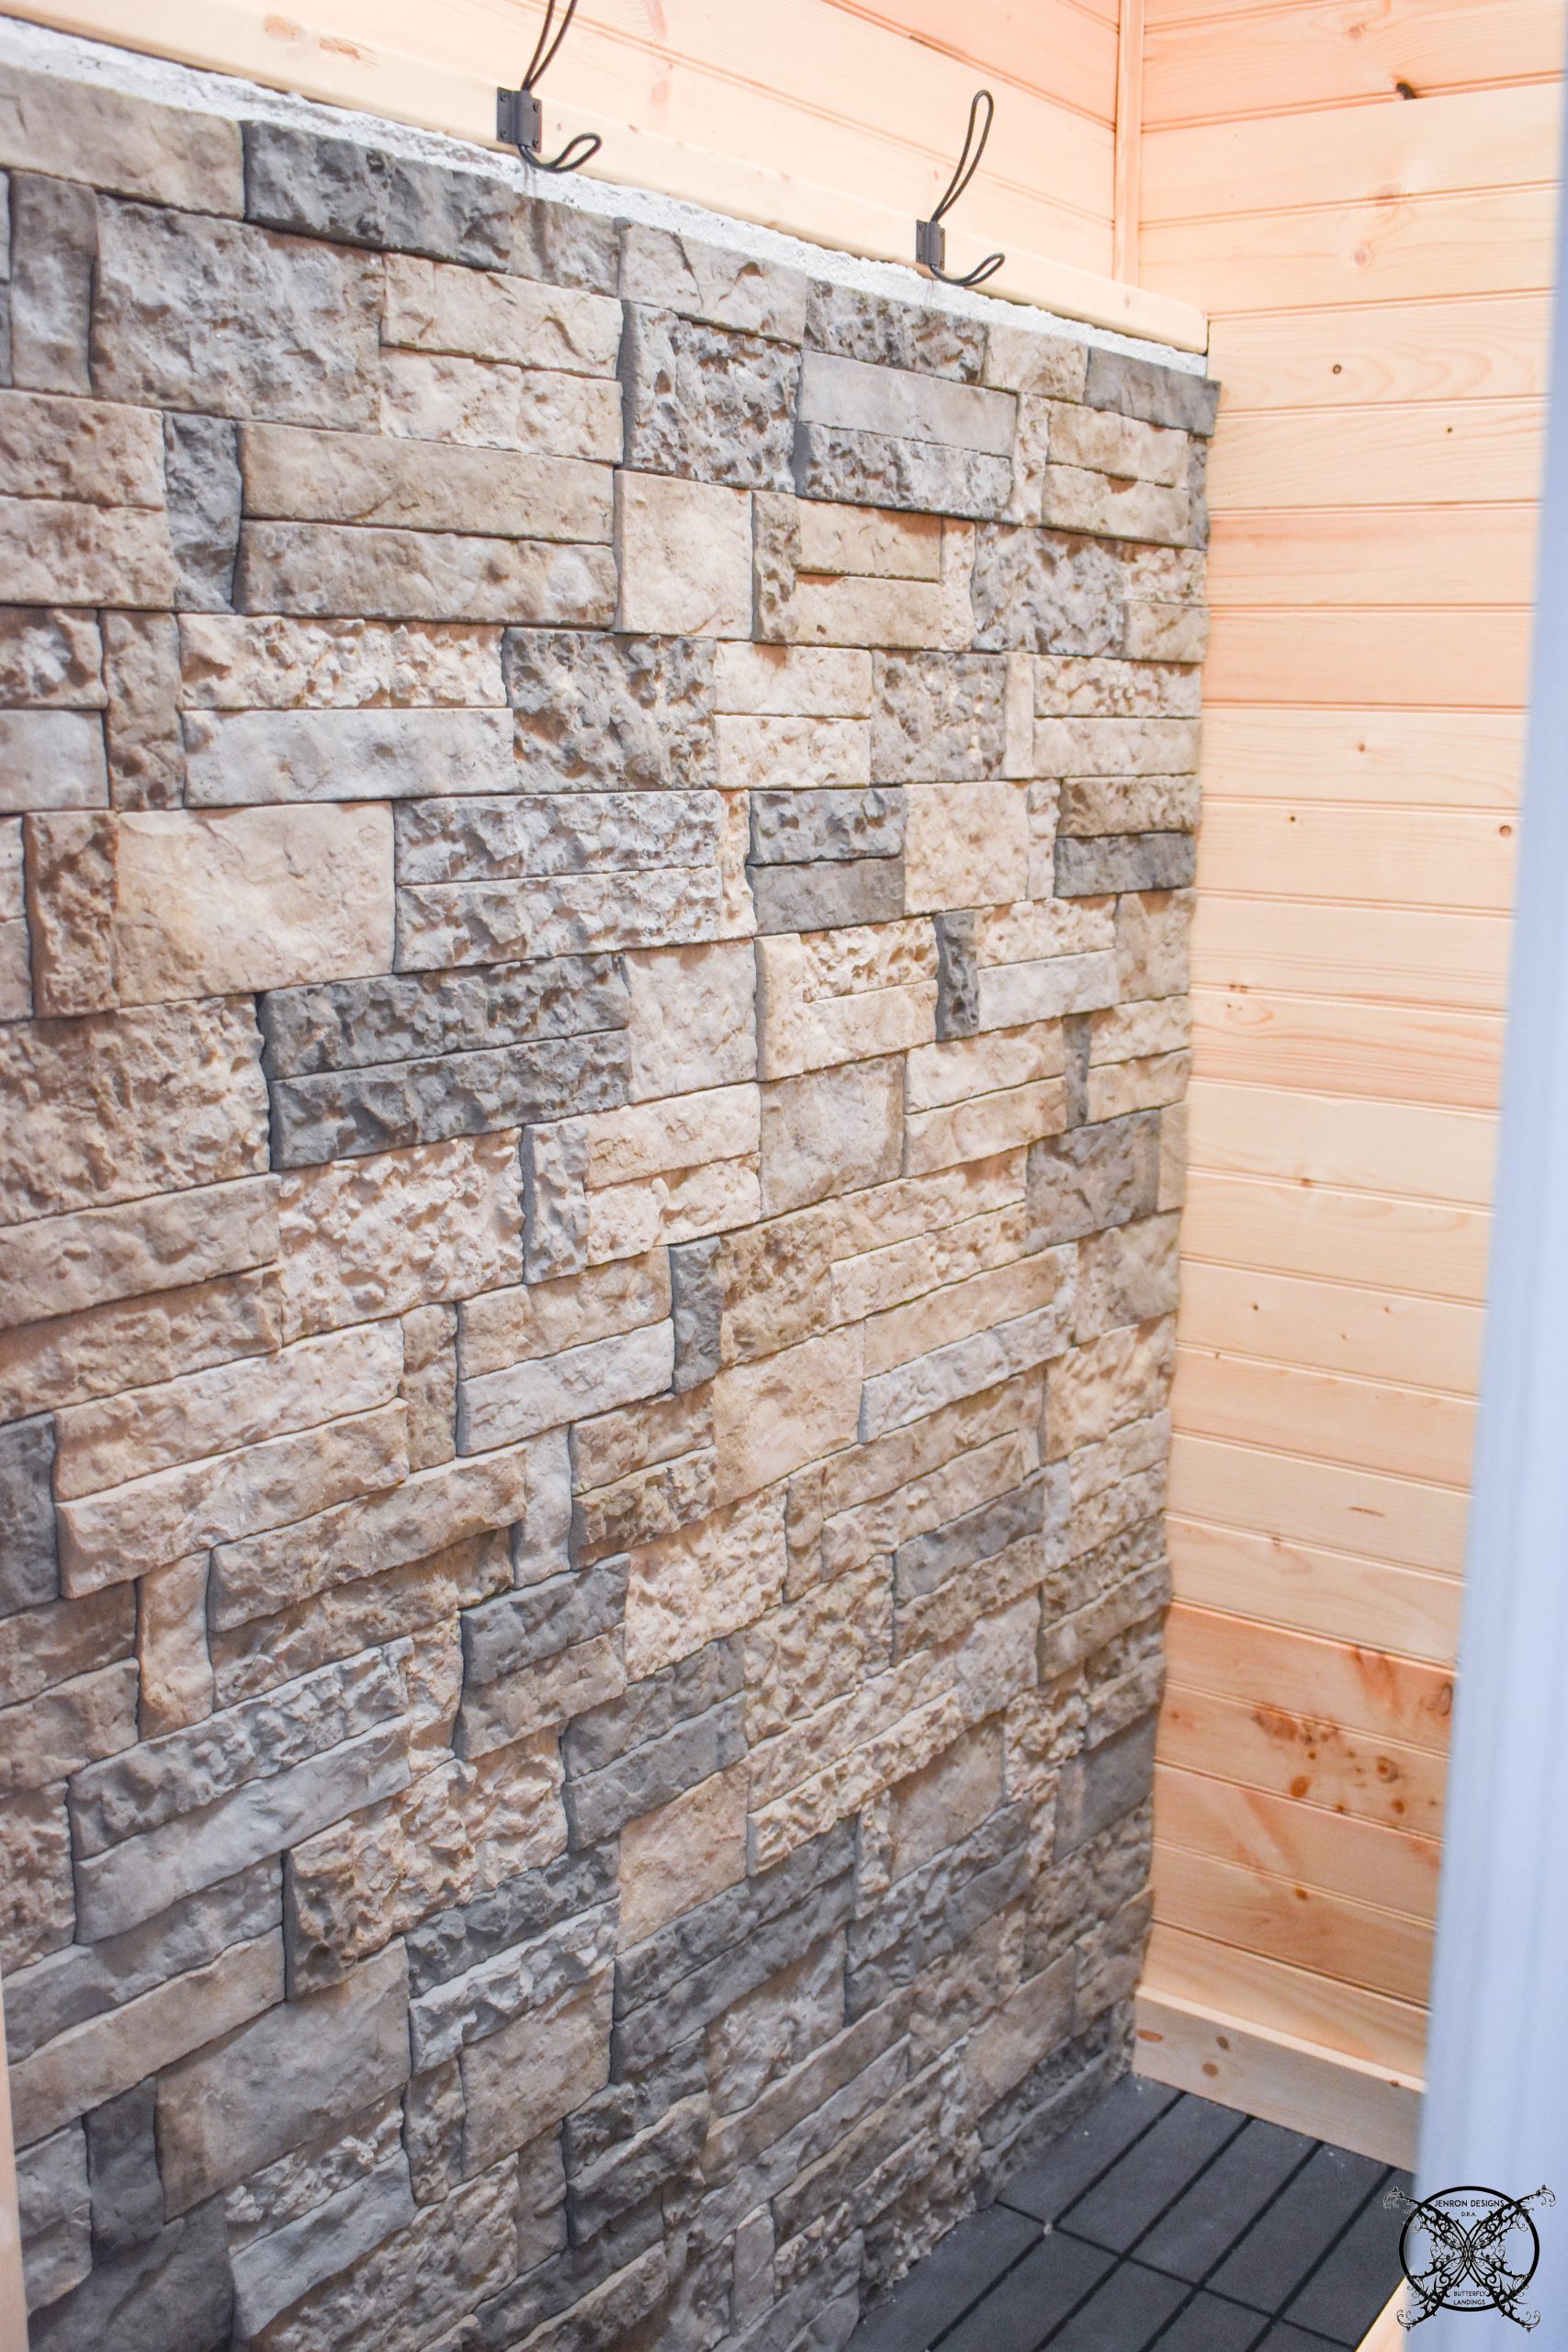
You know how after you spend some time in a space and you look at it and contemplate how to make it better? Well, this is what happened the longer I sat in my sauna and looked at this very basic painted concrete wall. Honestly it is fine, and yes, I could have just left it but the more I looked at it the more I wanted it to be a natural stone. 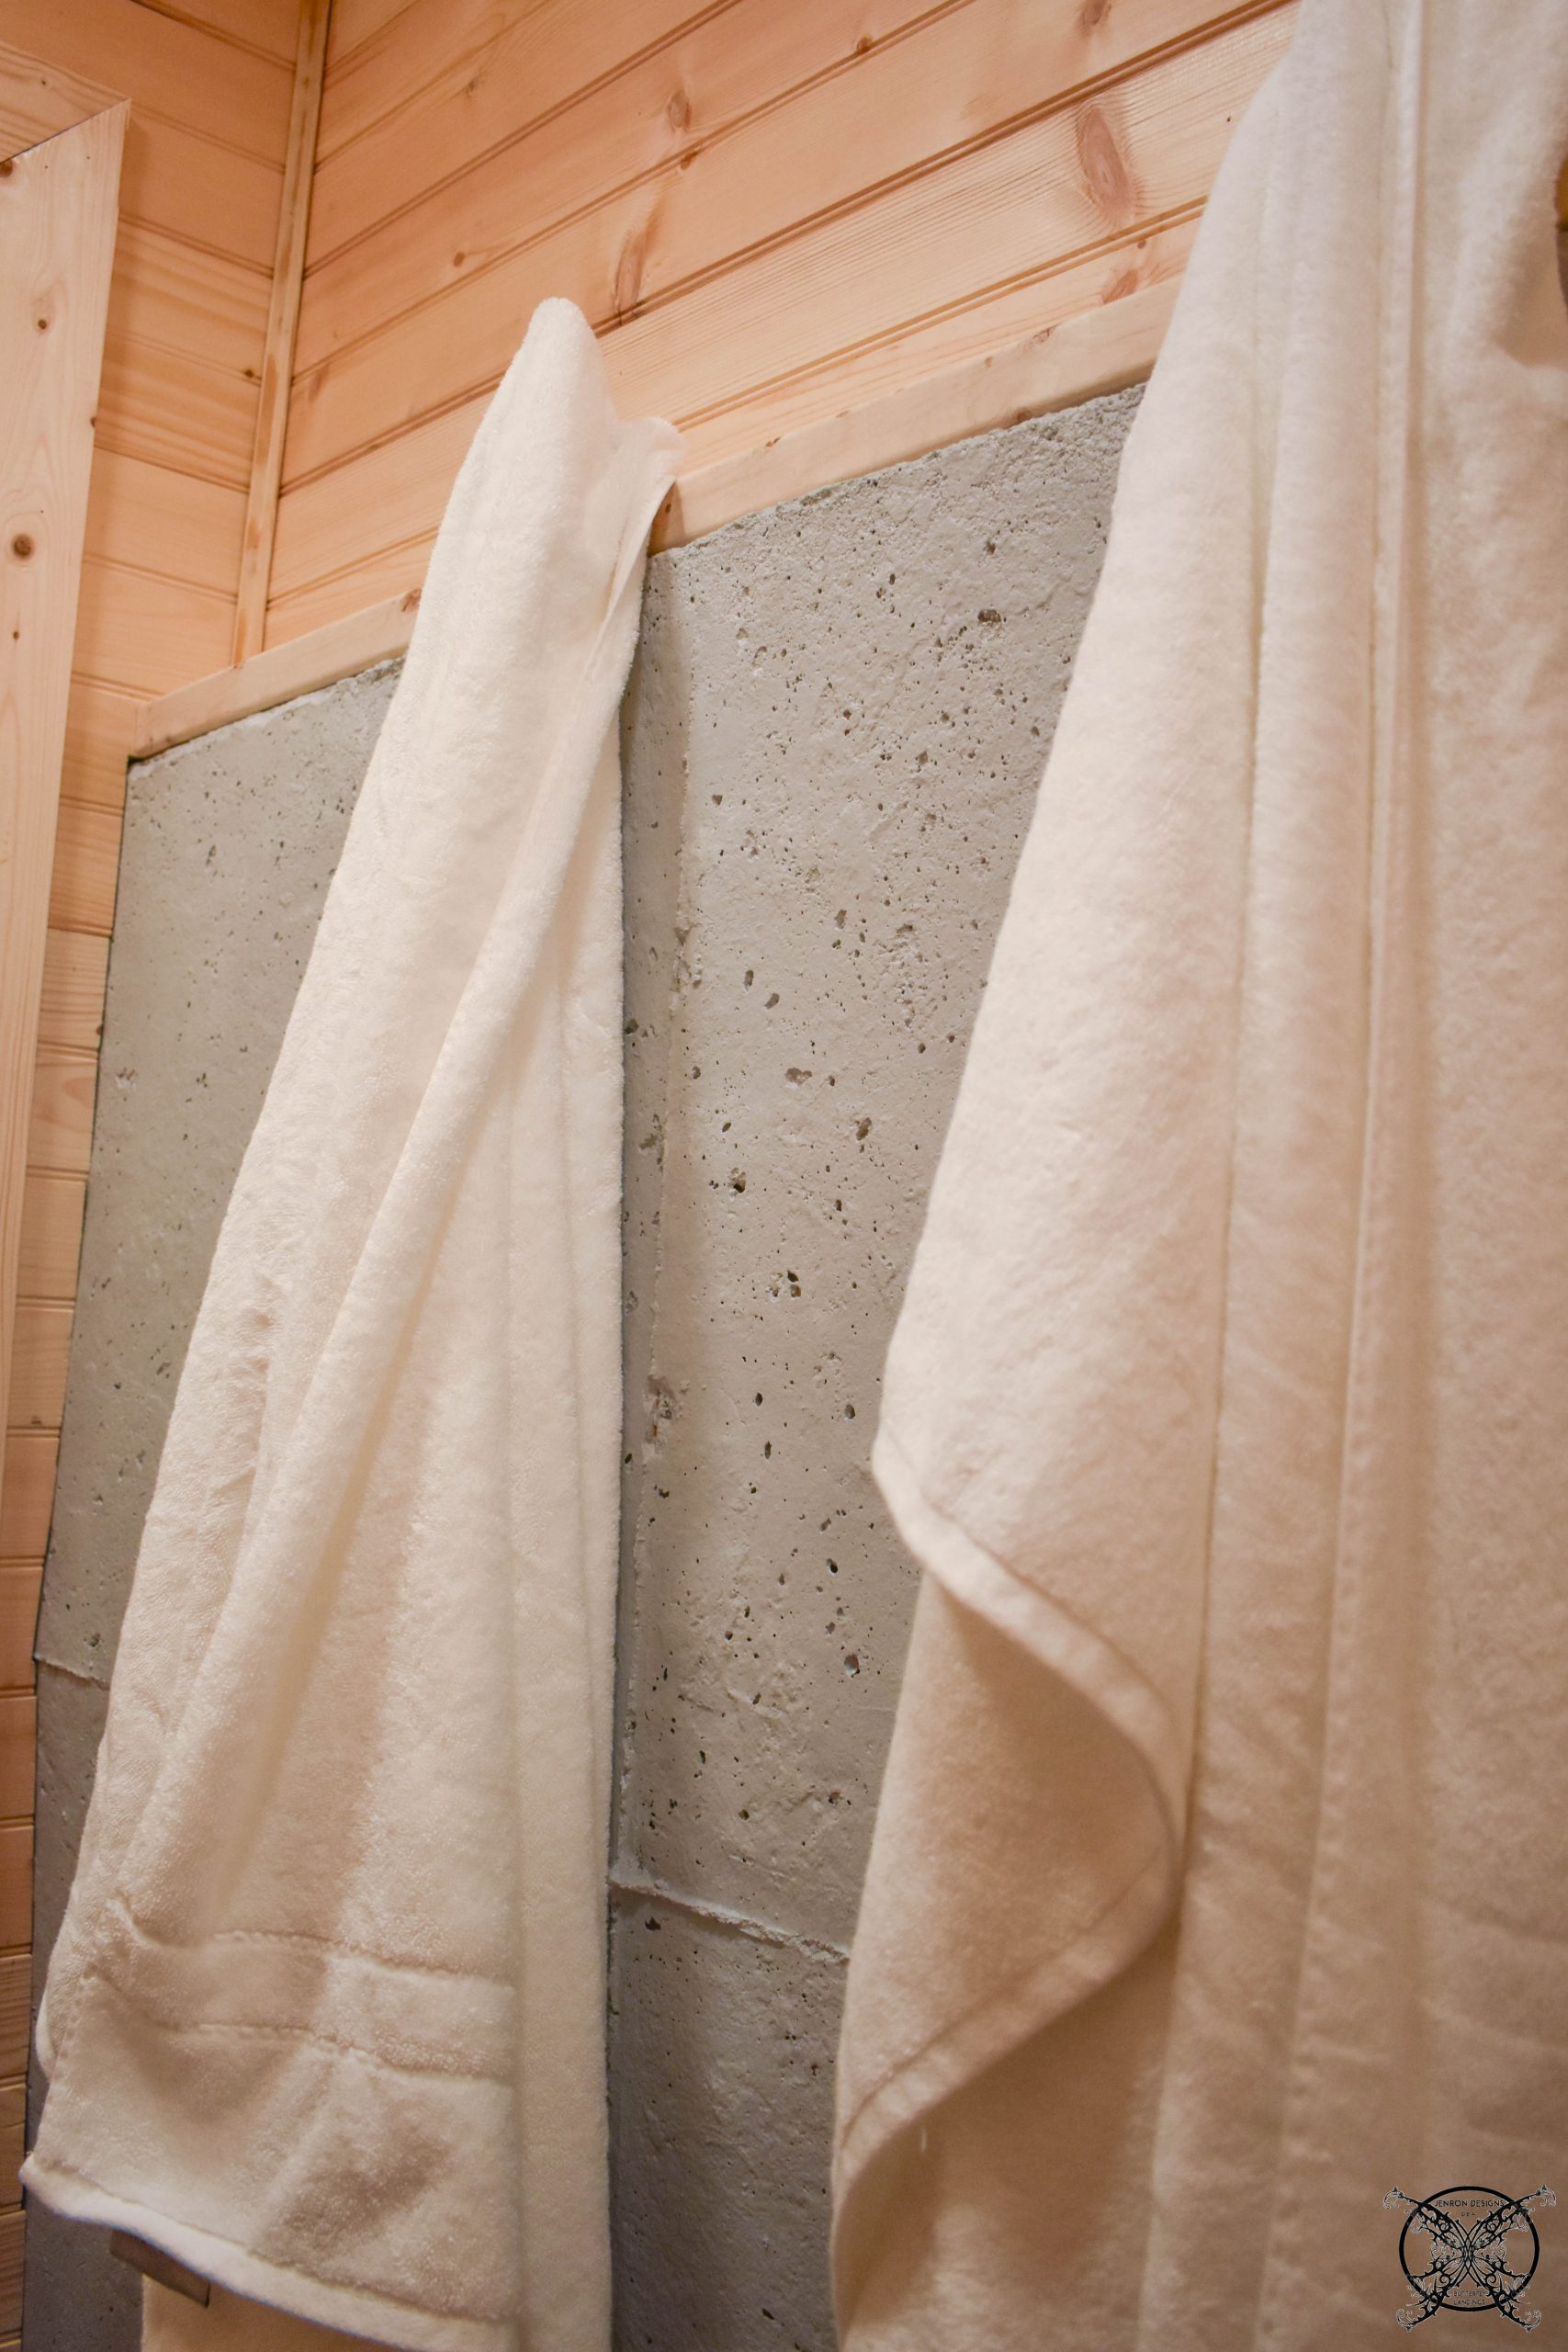 So I decided to pull the trigger on just adding a faux stone wall, similar to how I added a faux stone fireplace hearth in our bedroom a few months ago. I picked an easy glue on version of the Airstone in a Spring Gray that would complement the pine and the space we designed in our home gym next door.
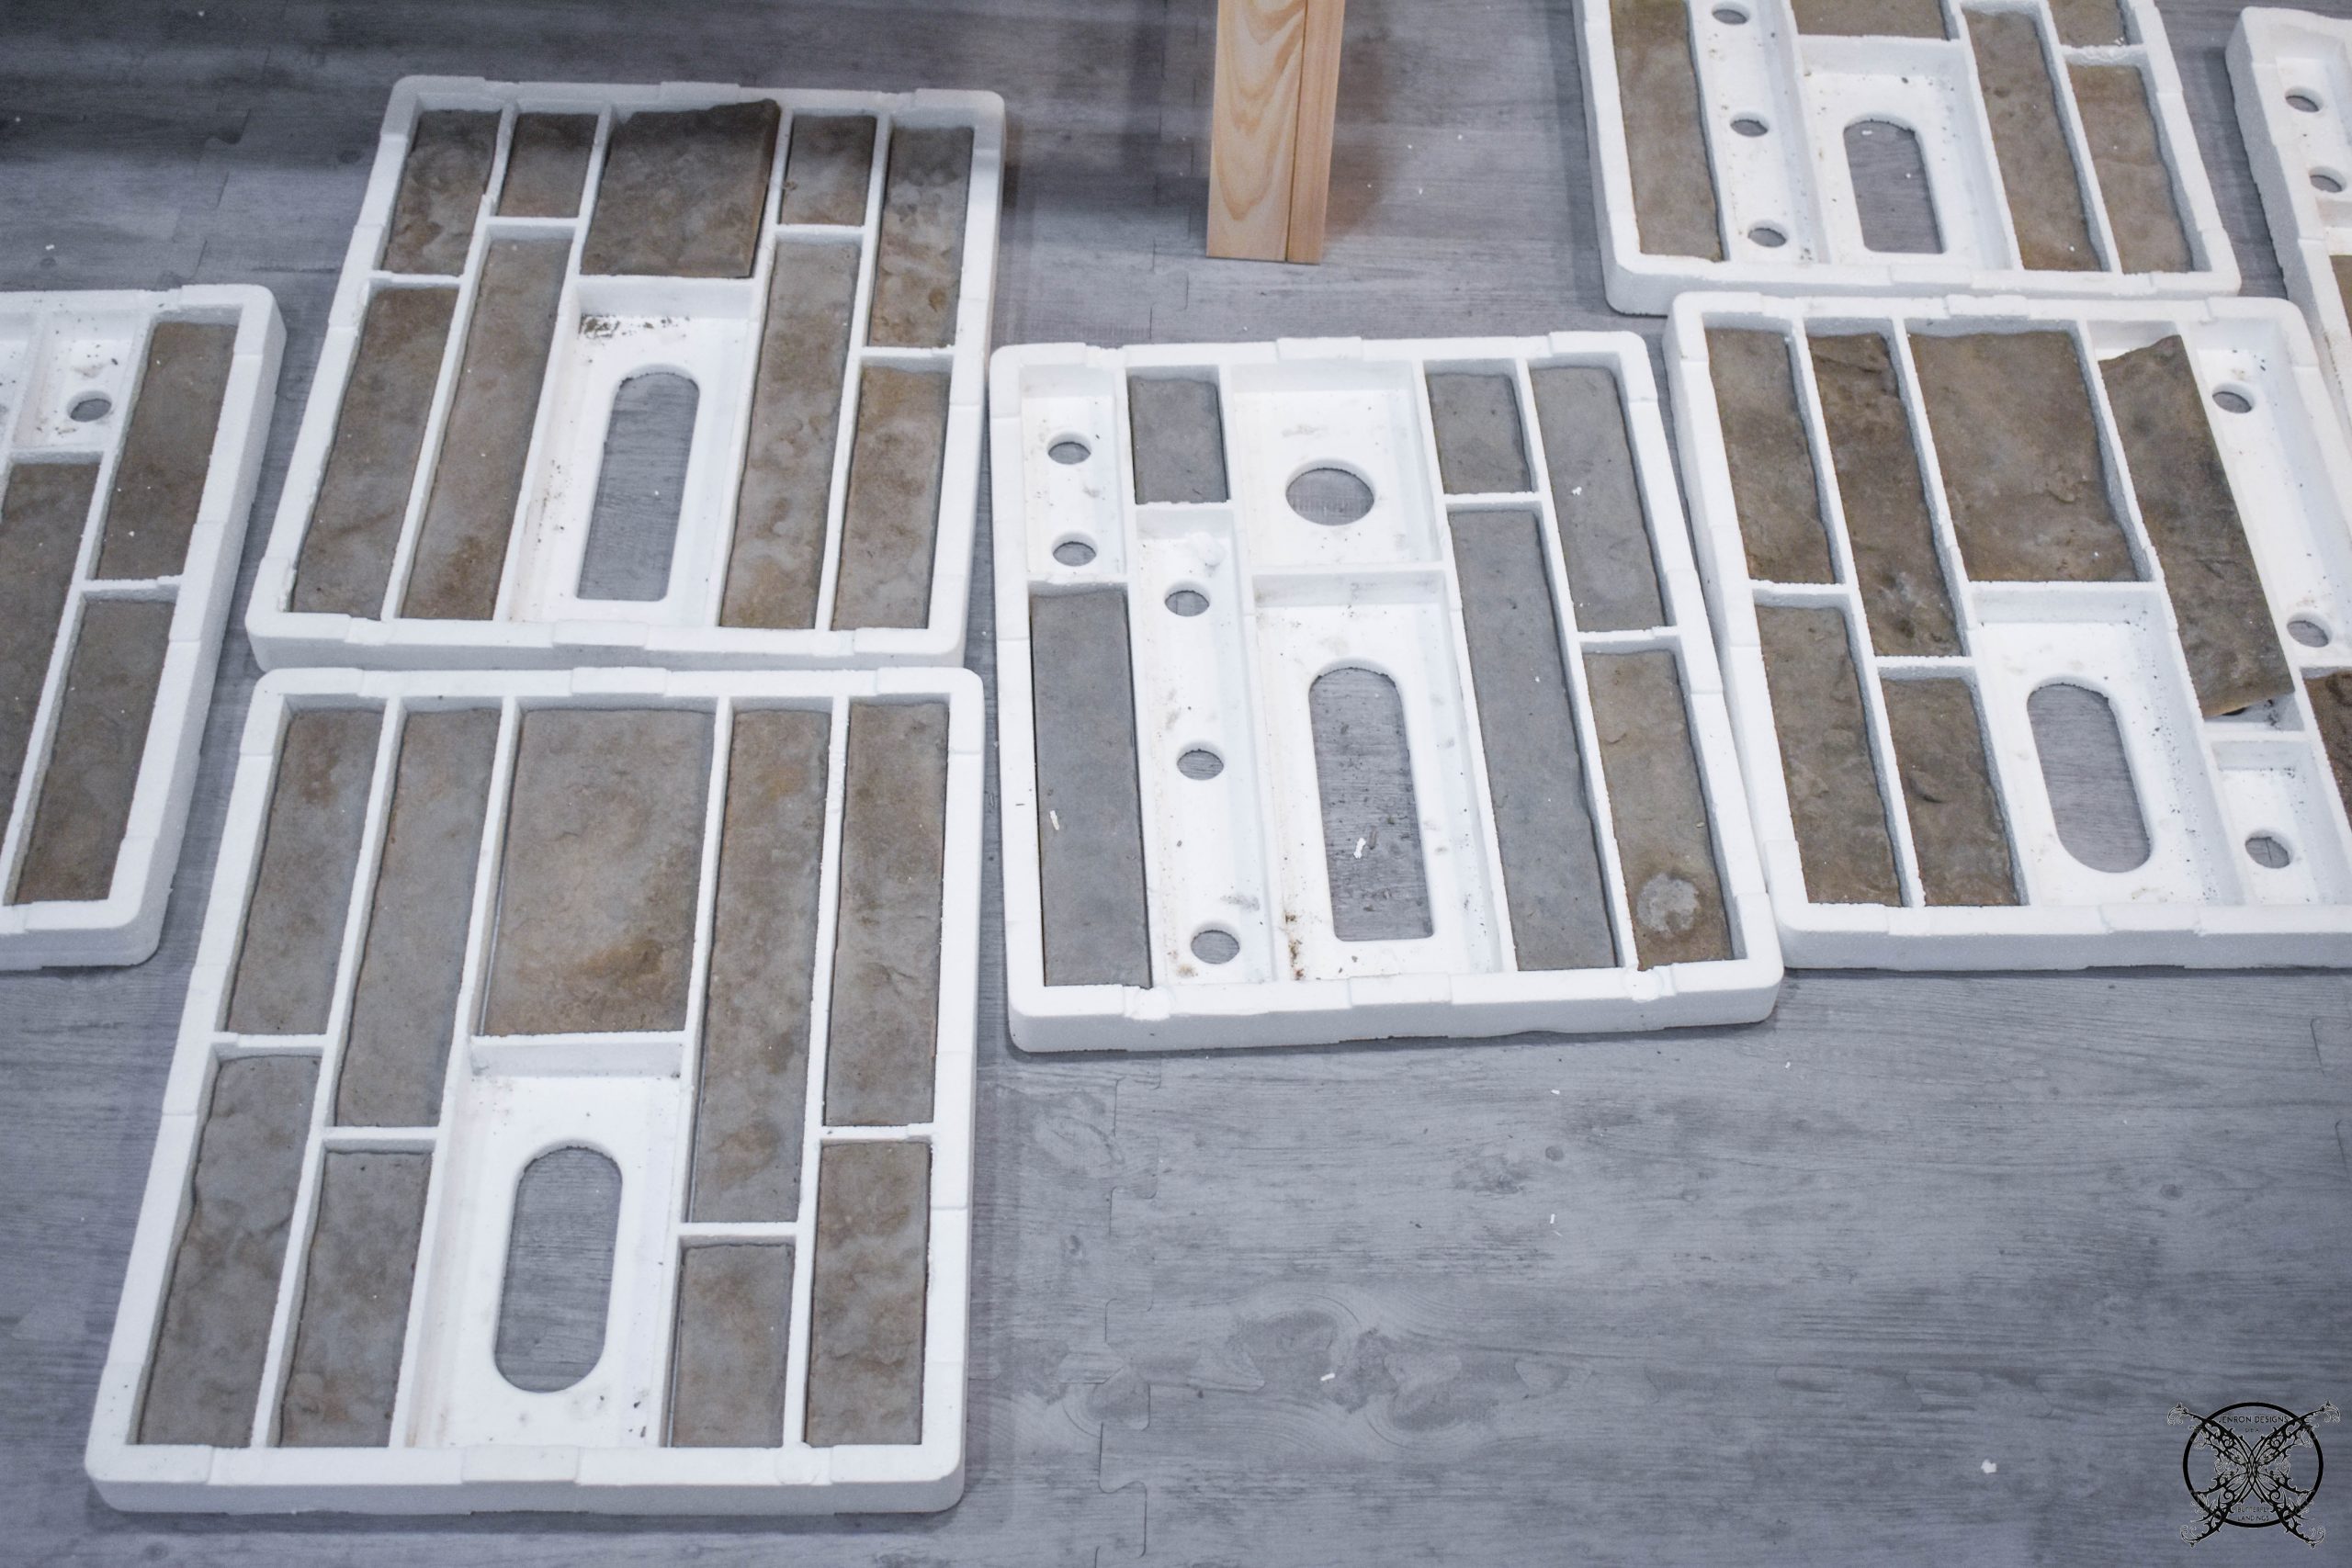 The first step was to lay out all the color trays of the Airstone so I could create a pattern, while making sure the length would fit evenly across the wall. I was very lucky, and we only had to cut a few pieces which can easy be done with a tile saw or any saw with a masonry blade.
  This time we opted to use an all-purpose power grab glue, which bonds to cement in interior and exterior settings. This will hold up to all temperatures and any possible moisture that could occur with the sauna.
 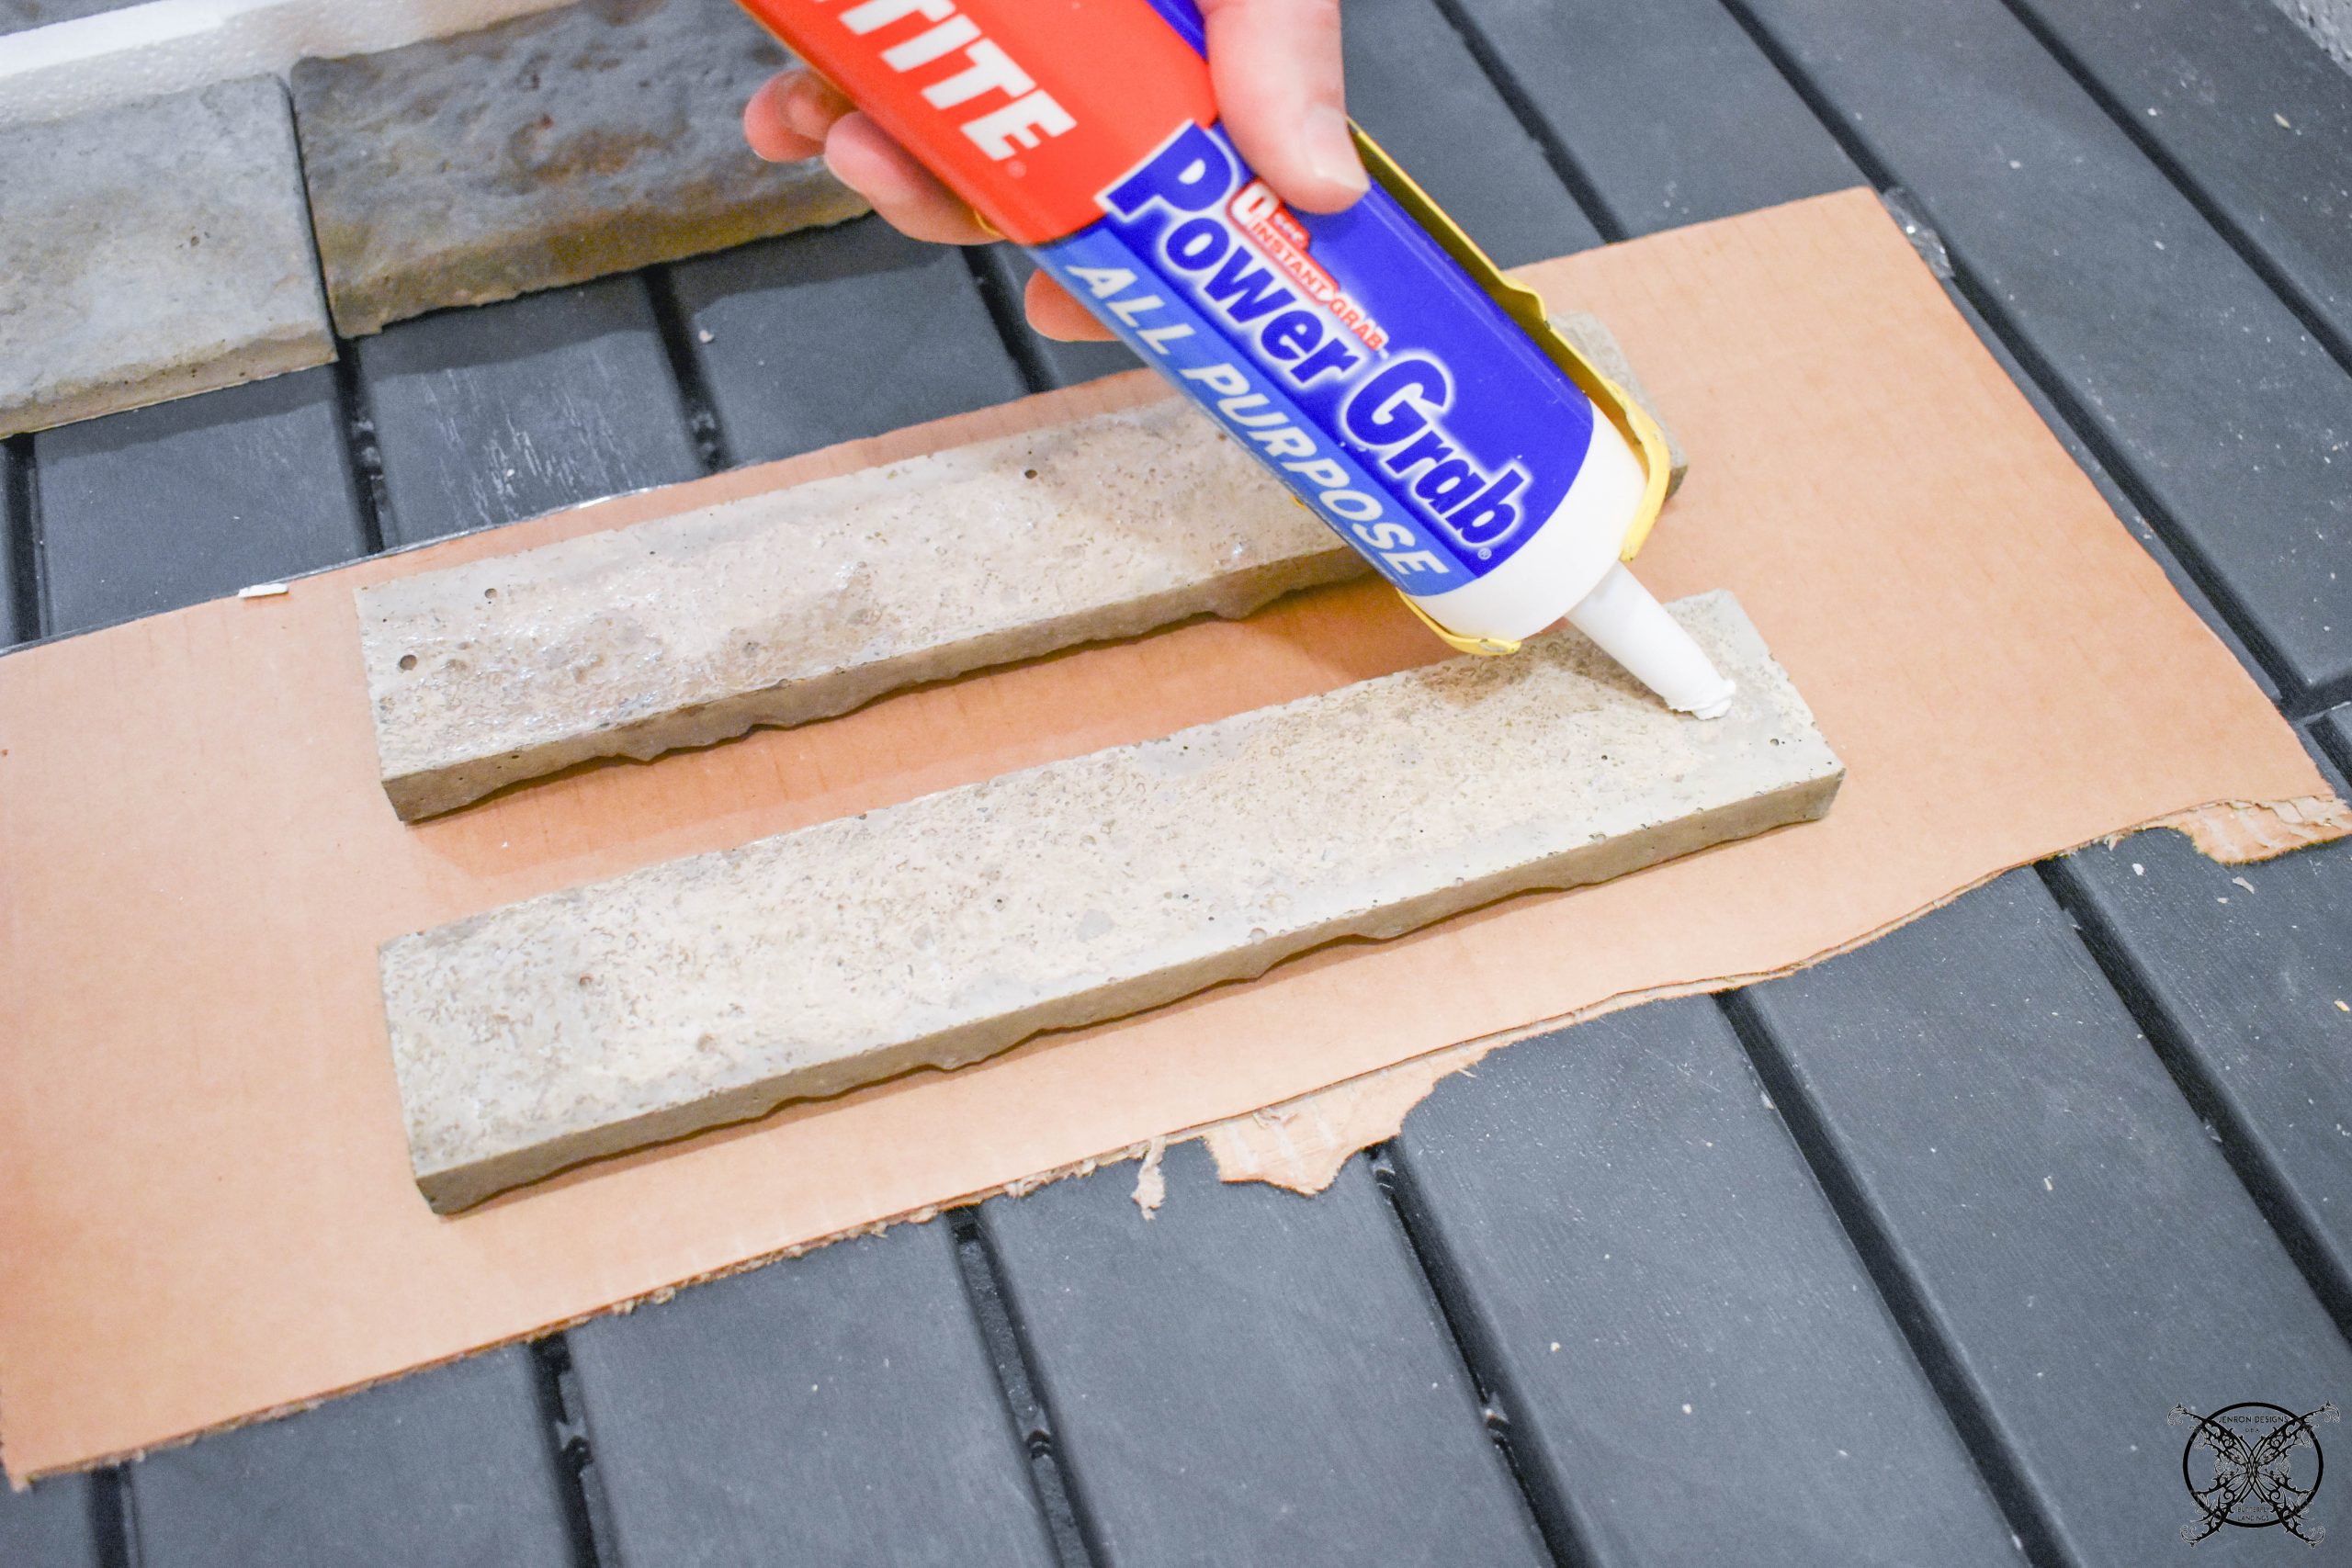 It also has a quicker set time as well, which makes the installation a lot easier. I could literally glue and stick the stone pieces and they would pretty much be set within minutes of them being placed on the wall.
 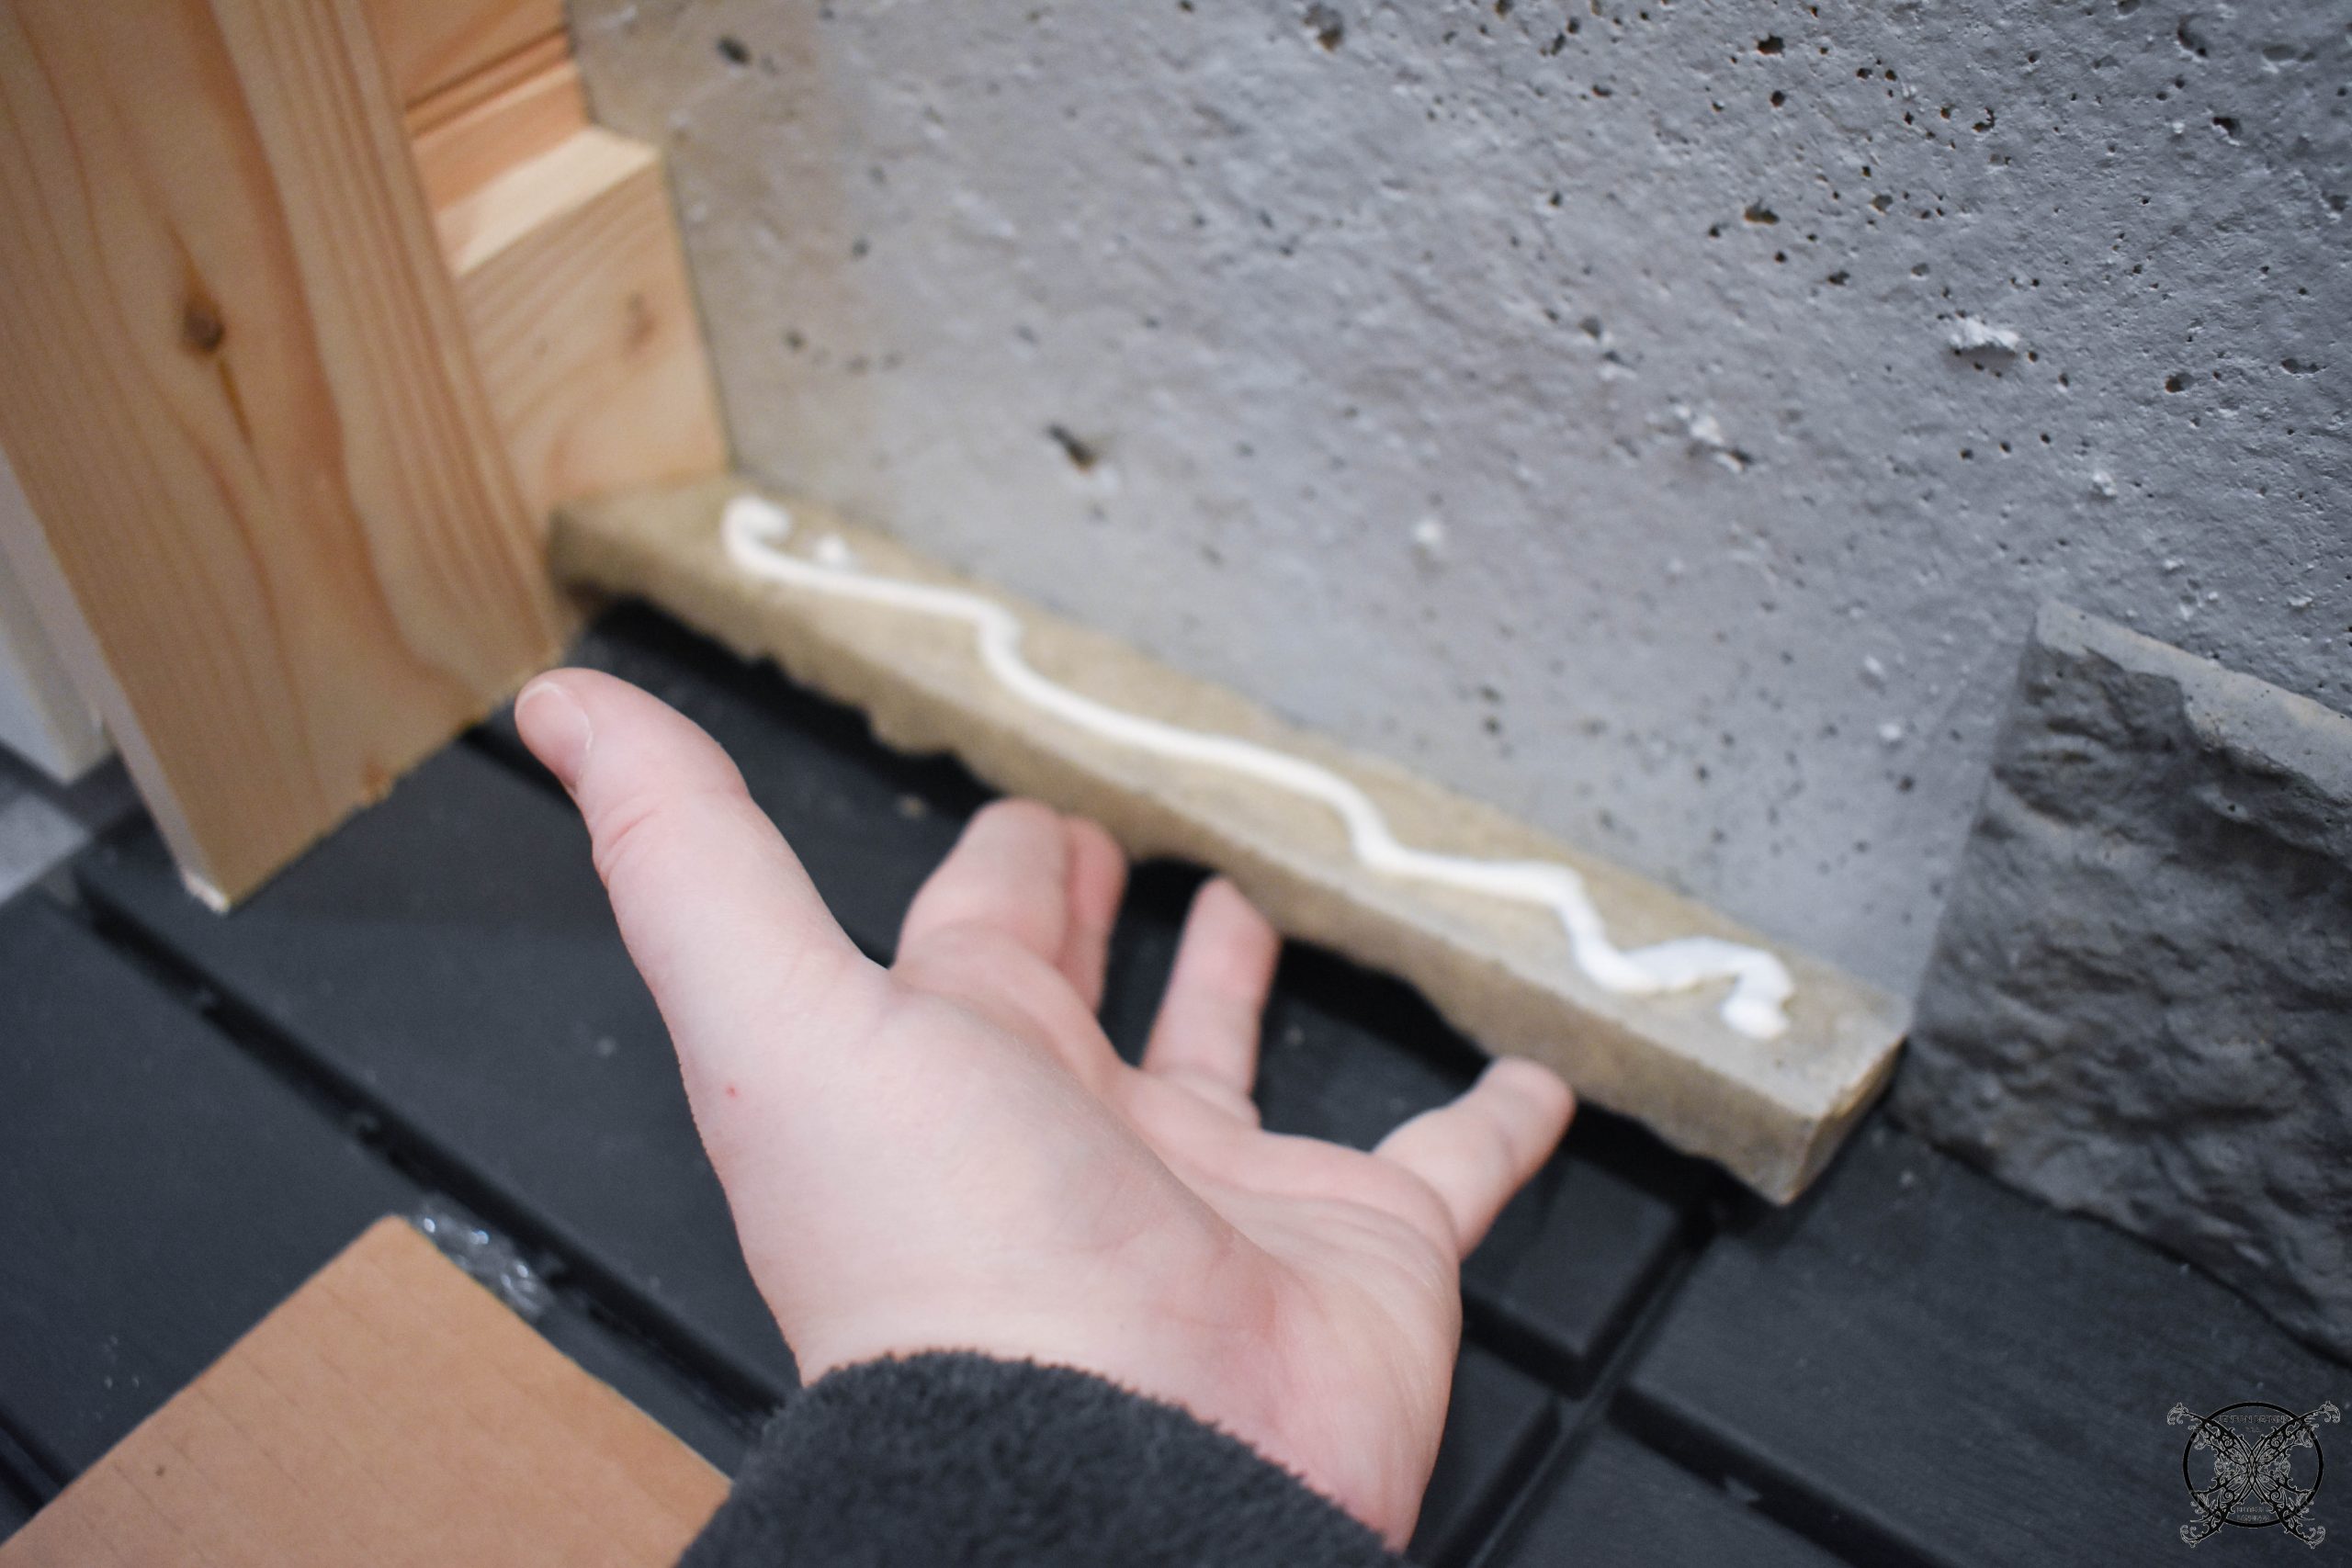 These are the actual Airstone instructions for you own information, which is also available on their website. Please note that we are using the exterior installation, with a premium construction adhesive method as seen below.
 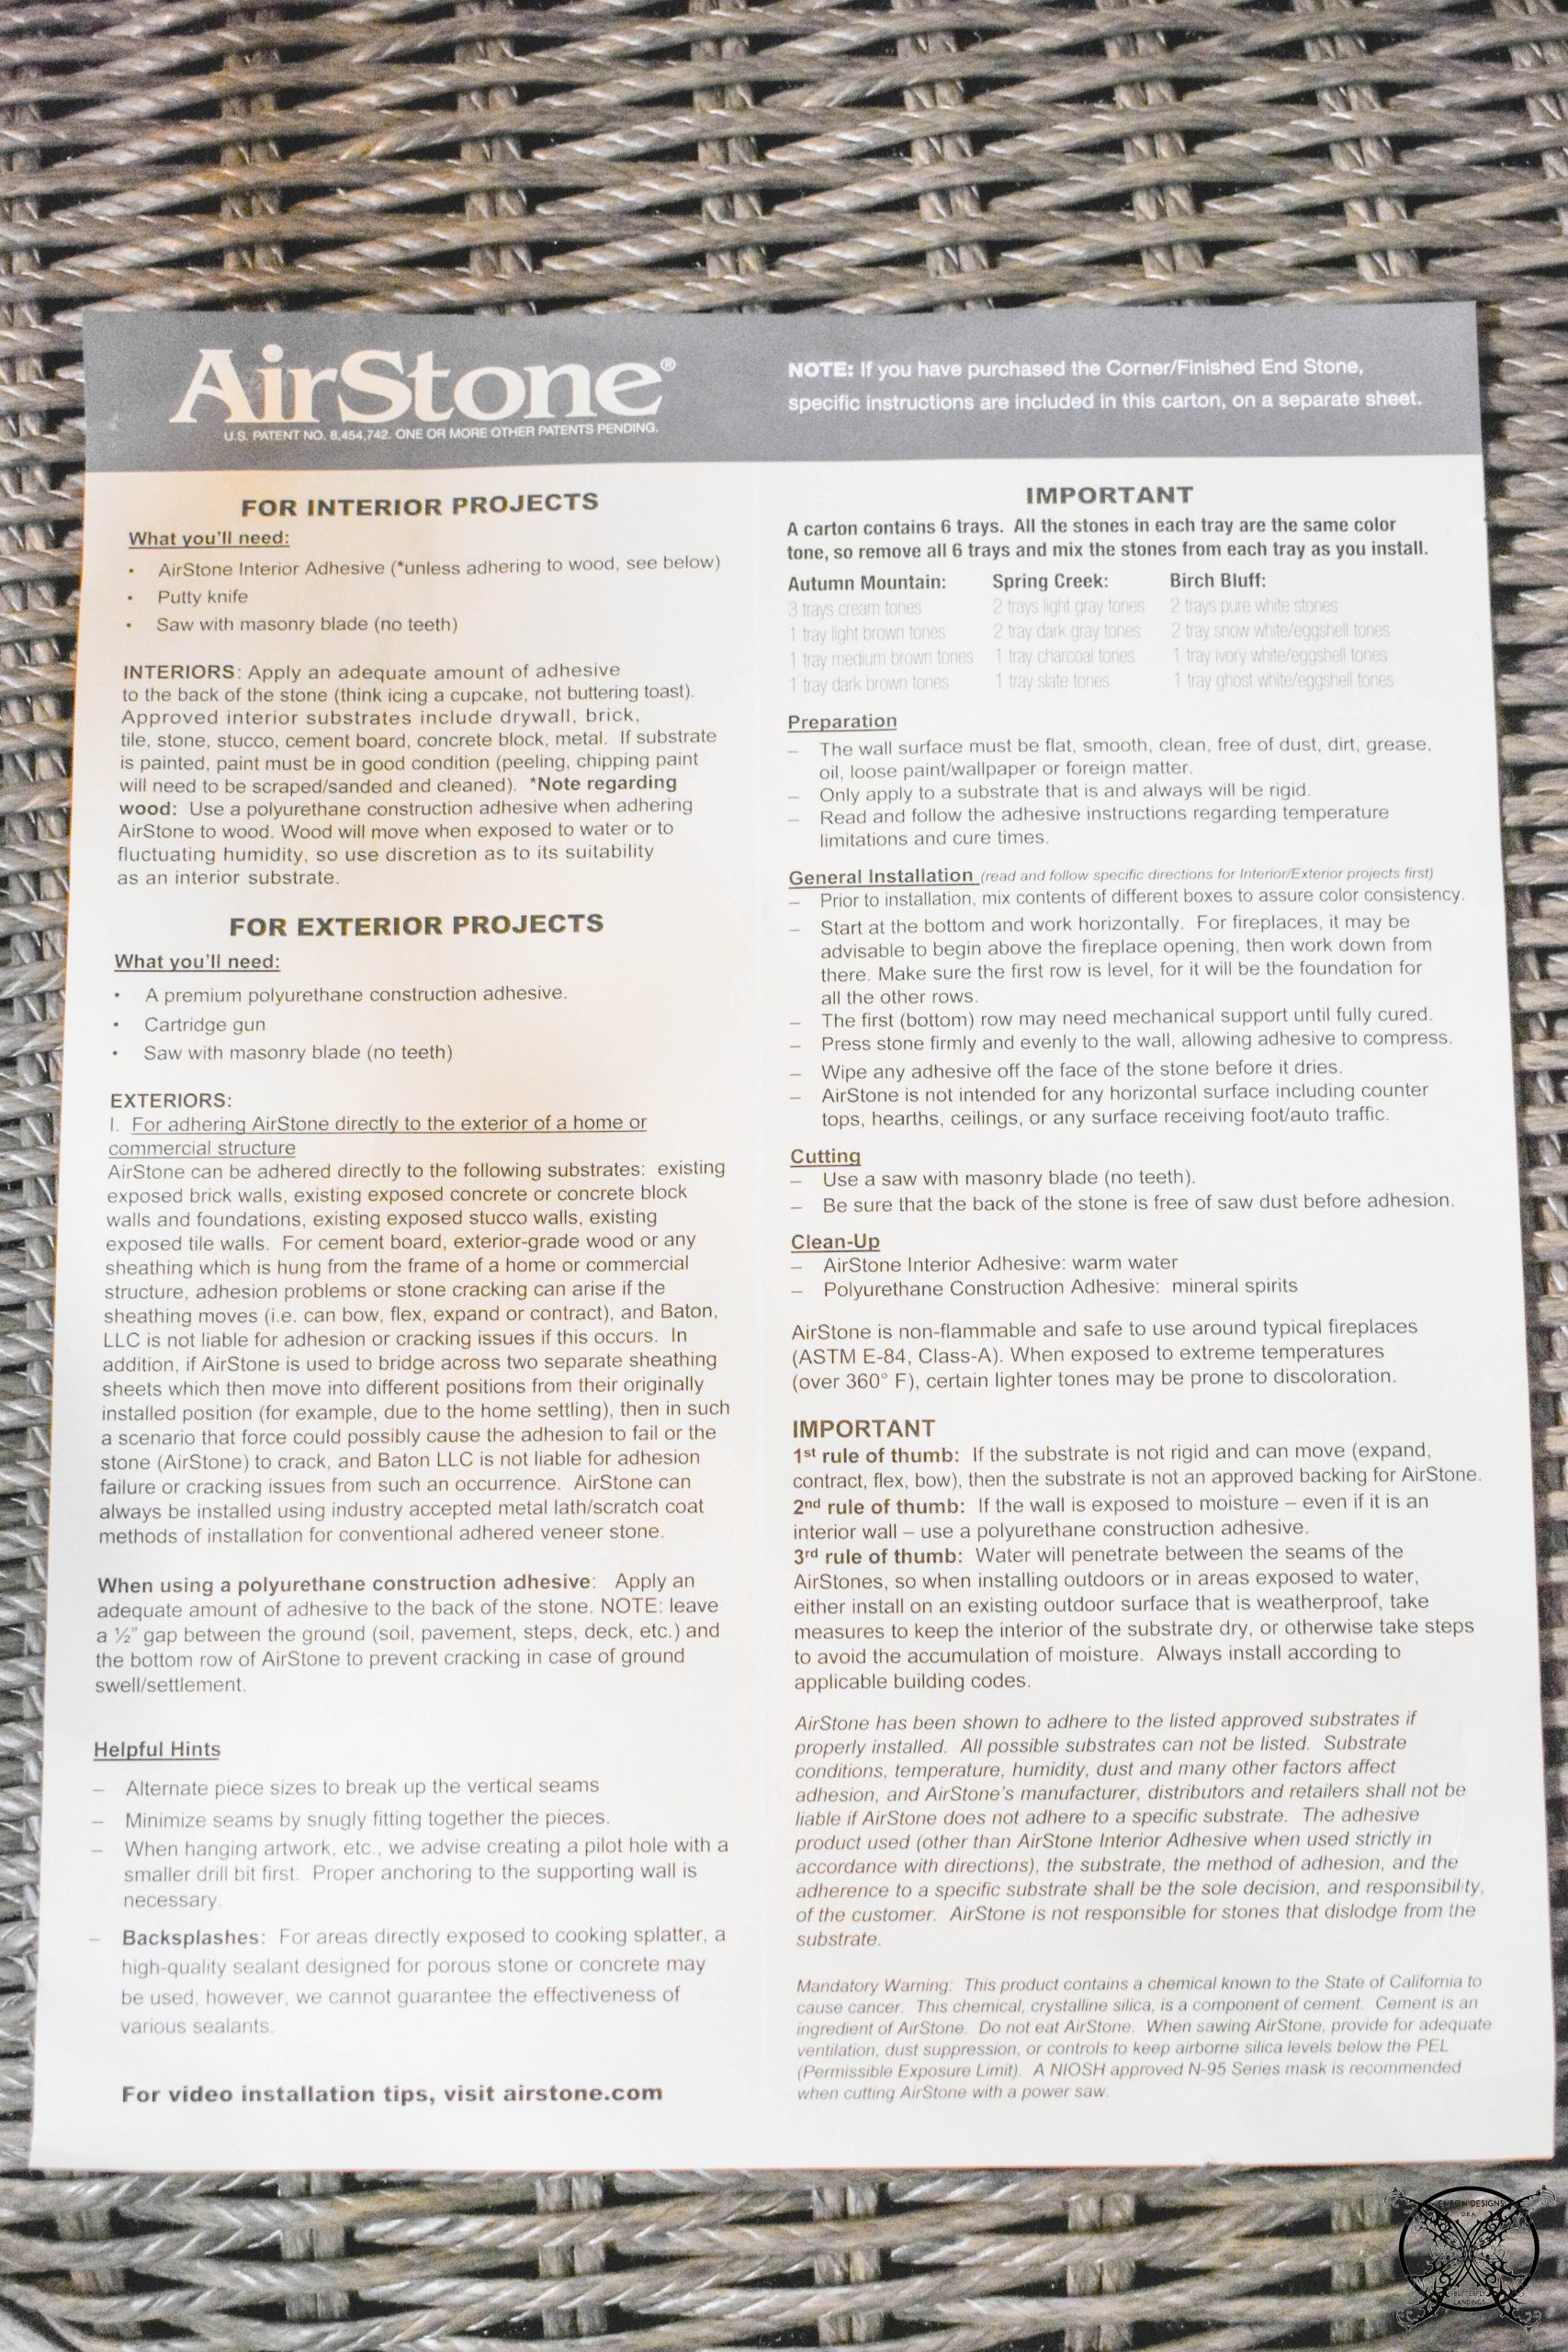 It took about an hour to get halfway up the wall and two boxes for reference, which runs about approximately $65.00 each. So, you are looking at about $120 in stone so far, and $240 for the entire wall.
 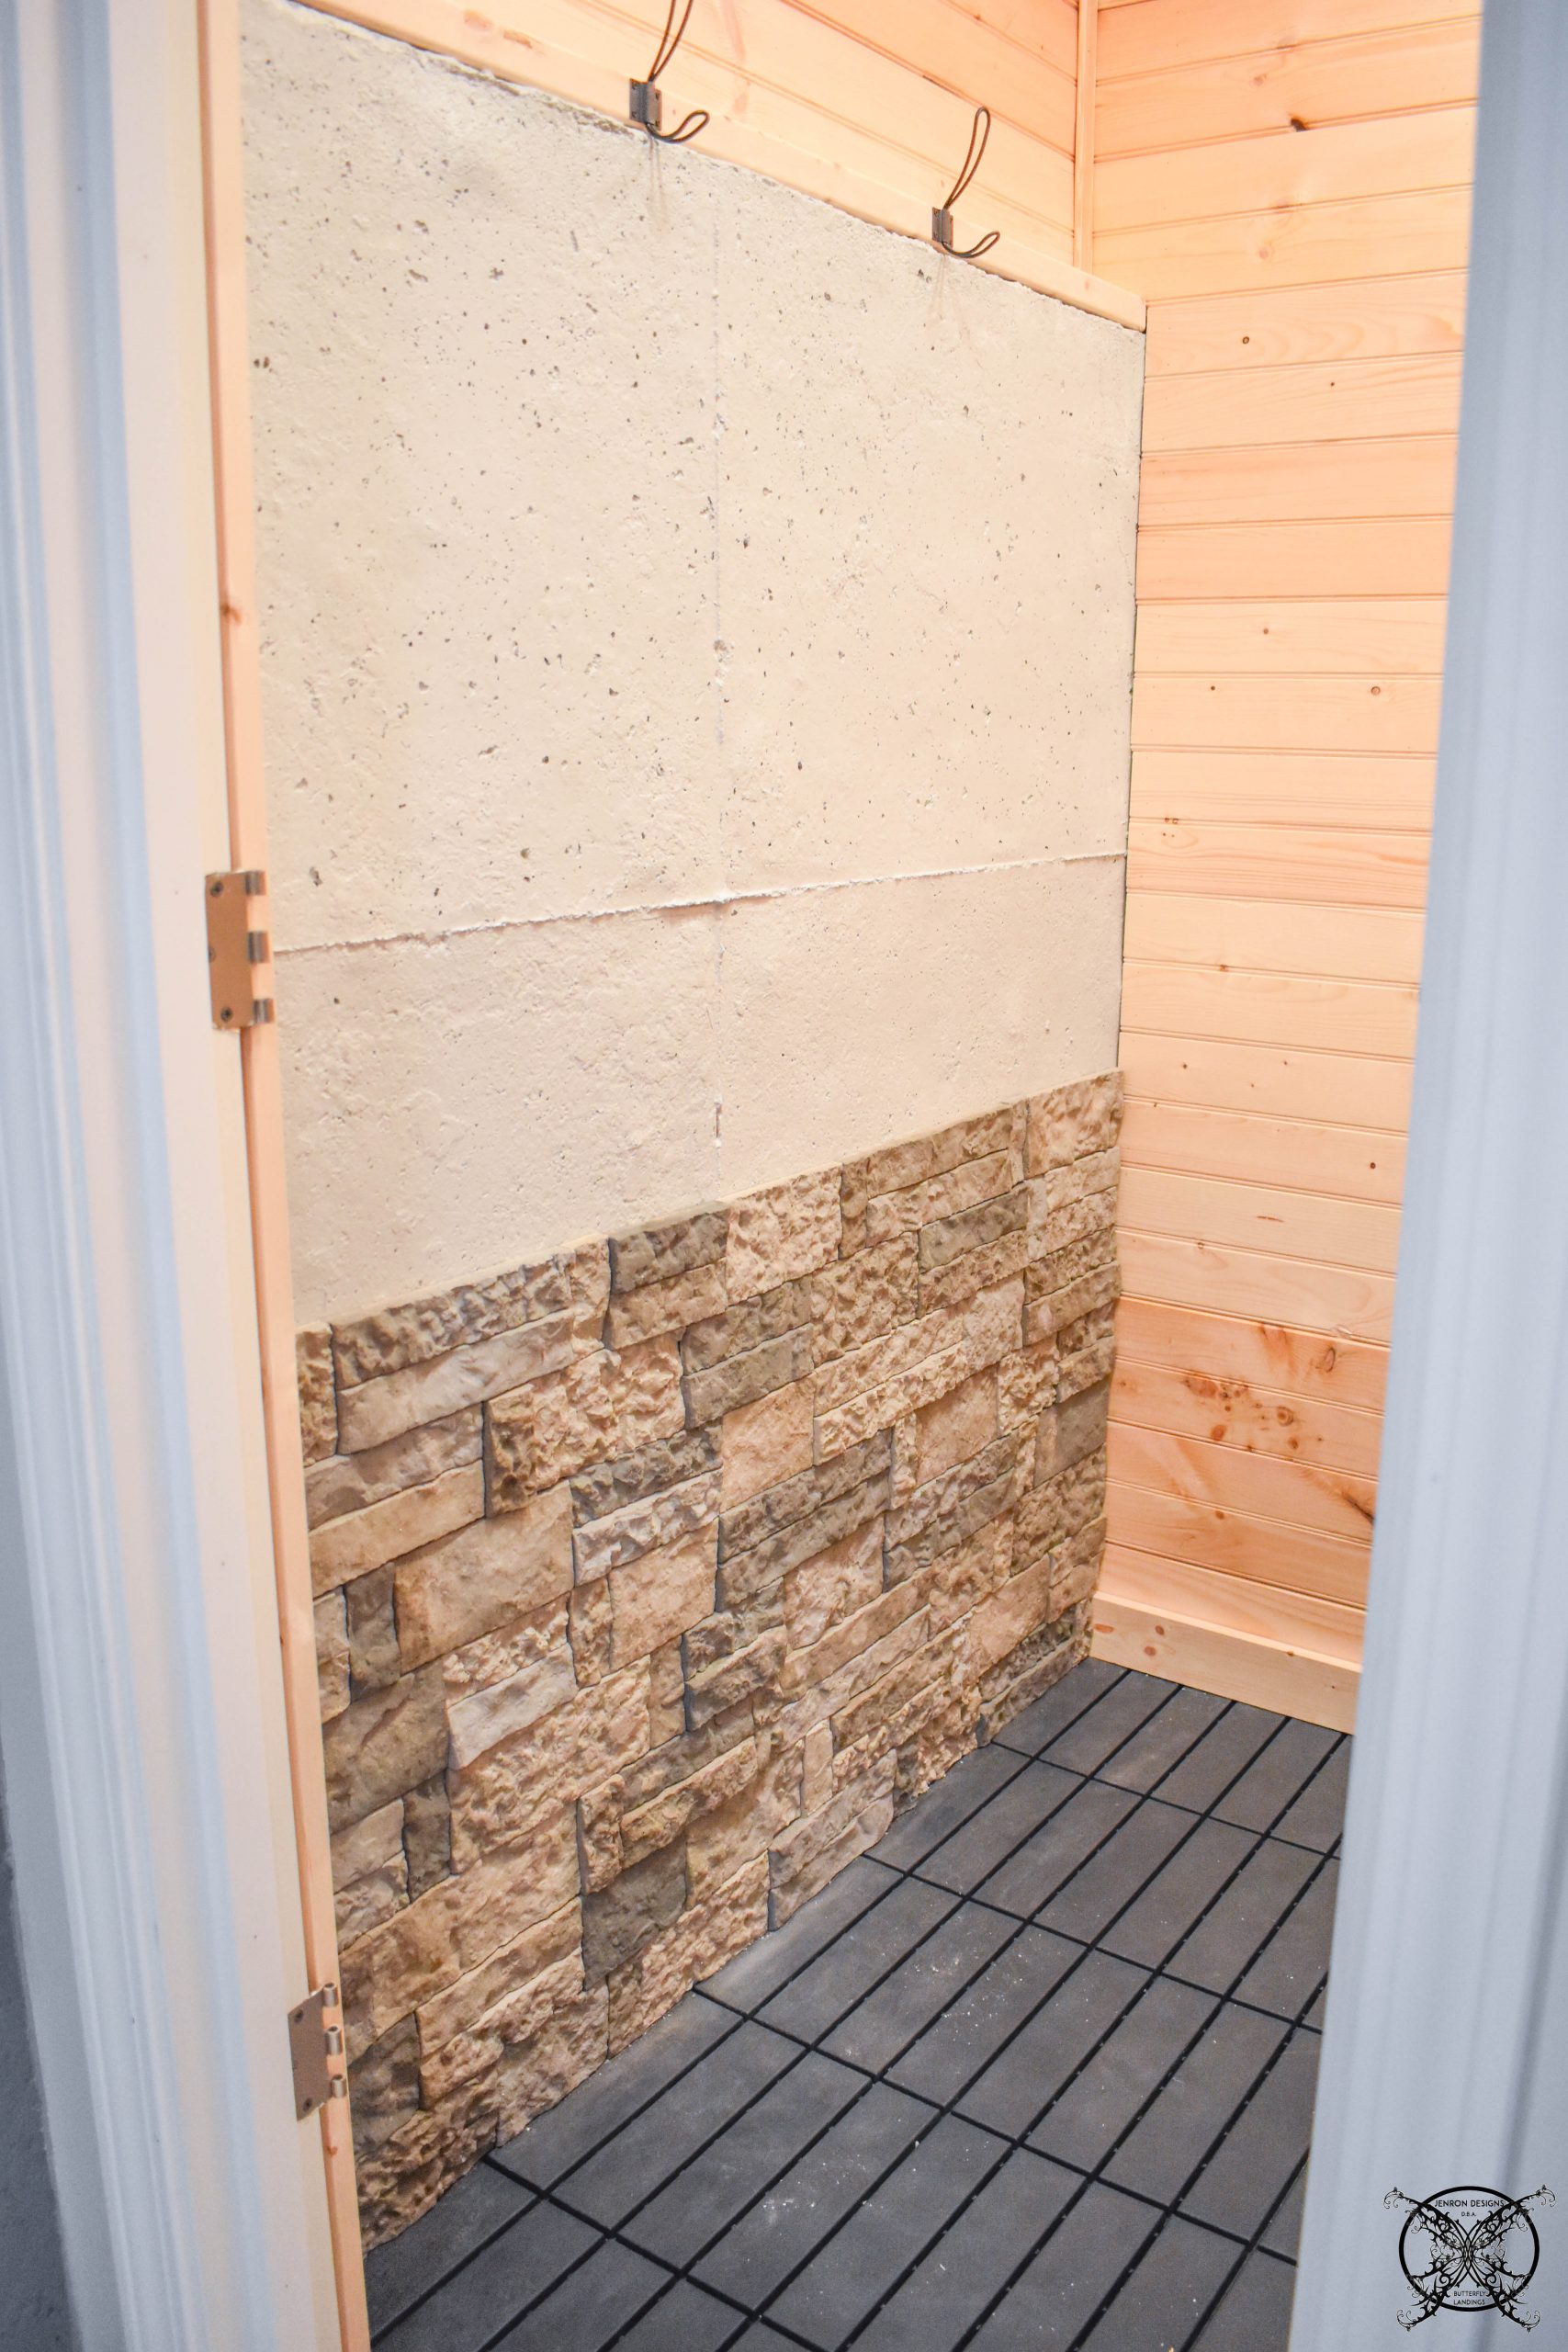 The entire project took about 3 1/2 hours to complete, and I have allowed it sit up overnight prior to using the sauna, just to make sure that the adhesive was completely set and cured.
 I do want to share a funny sauna story, so we ordered a complete sauna kit that came with all of the pieces seen below.
 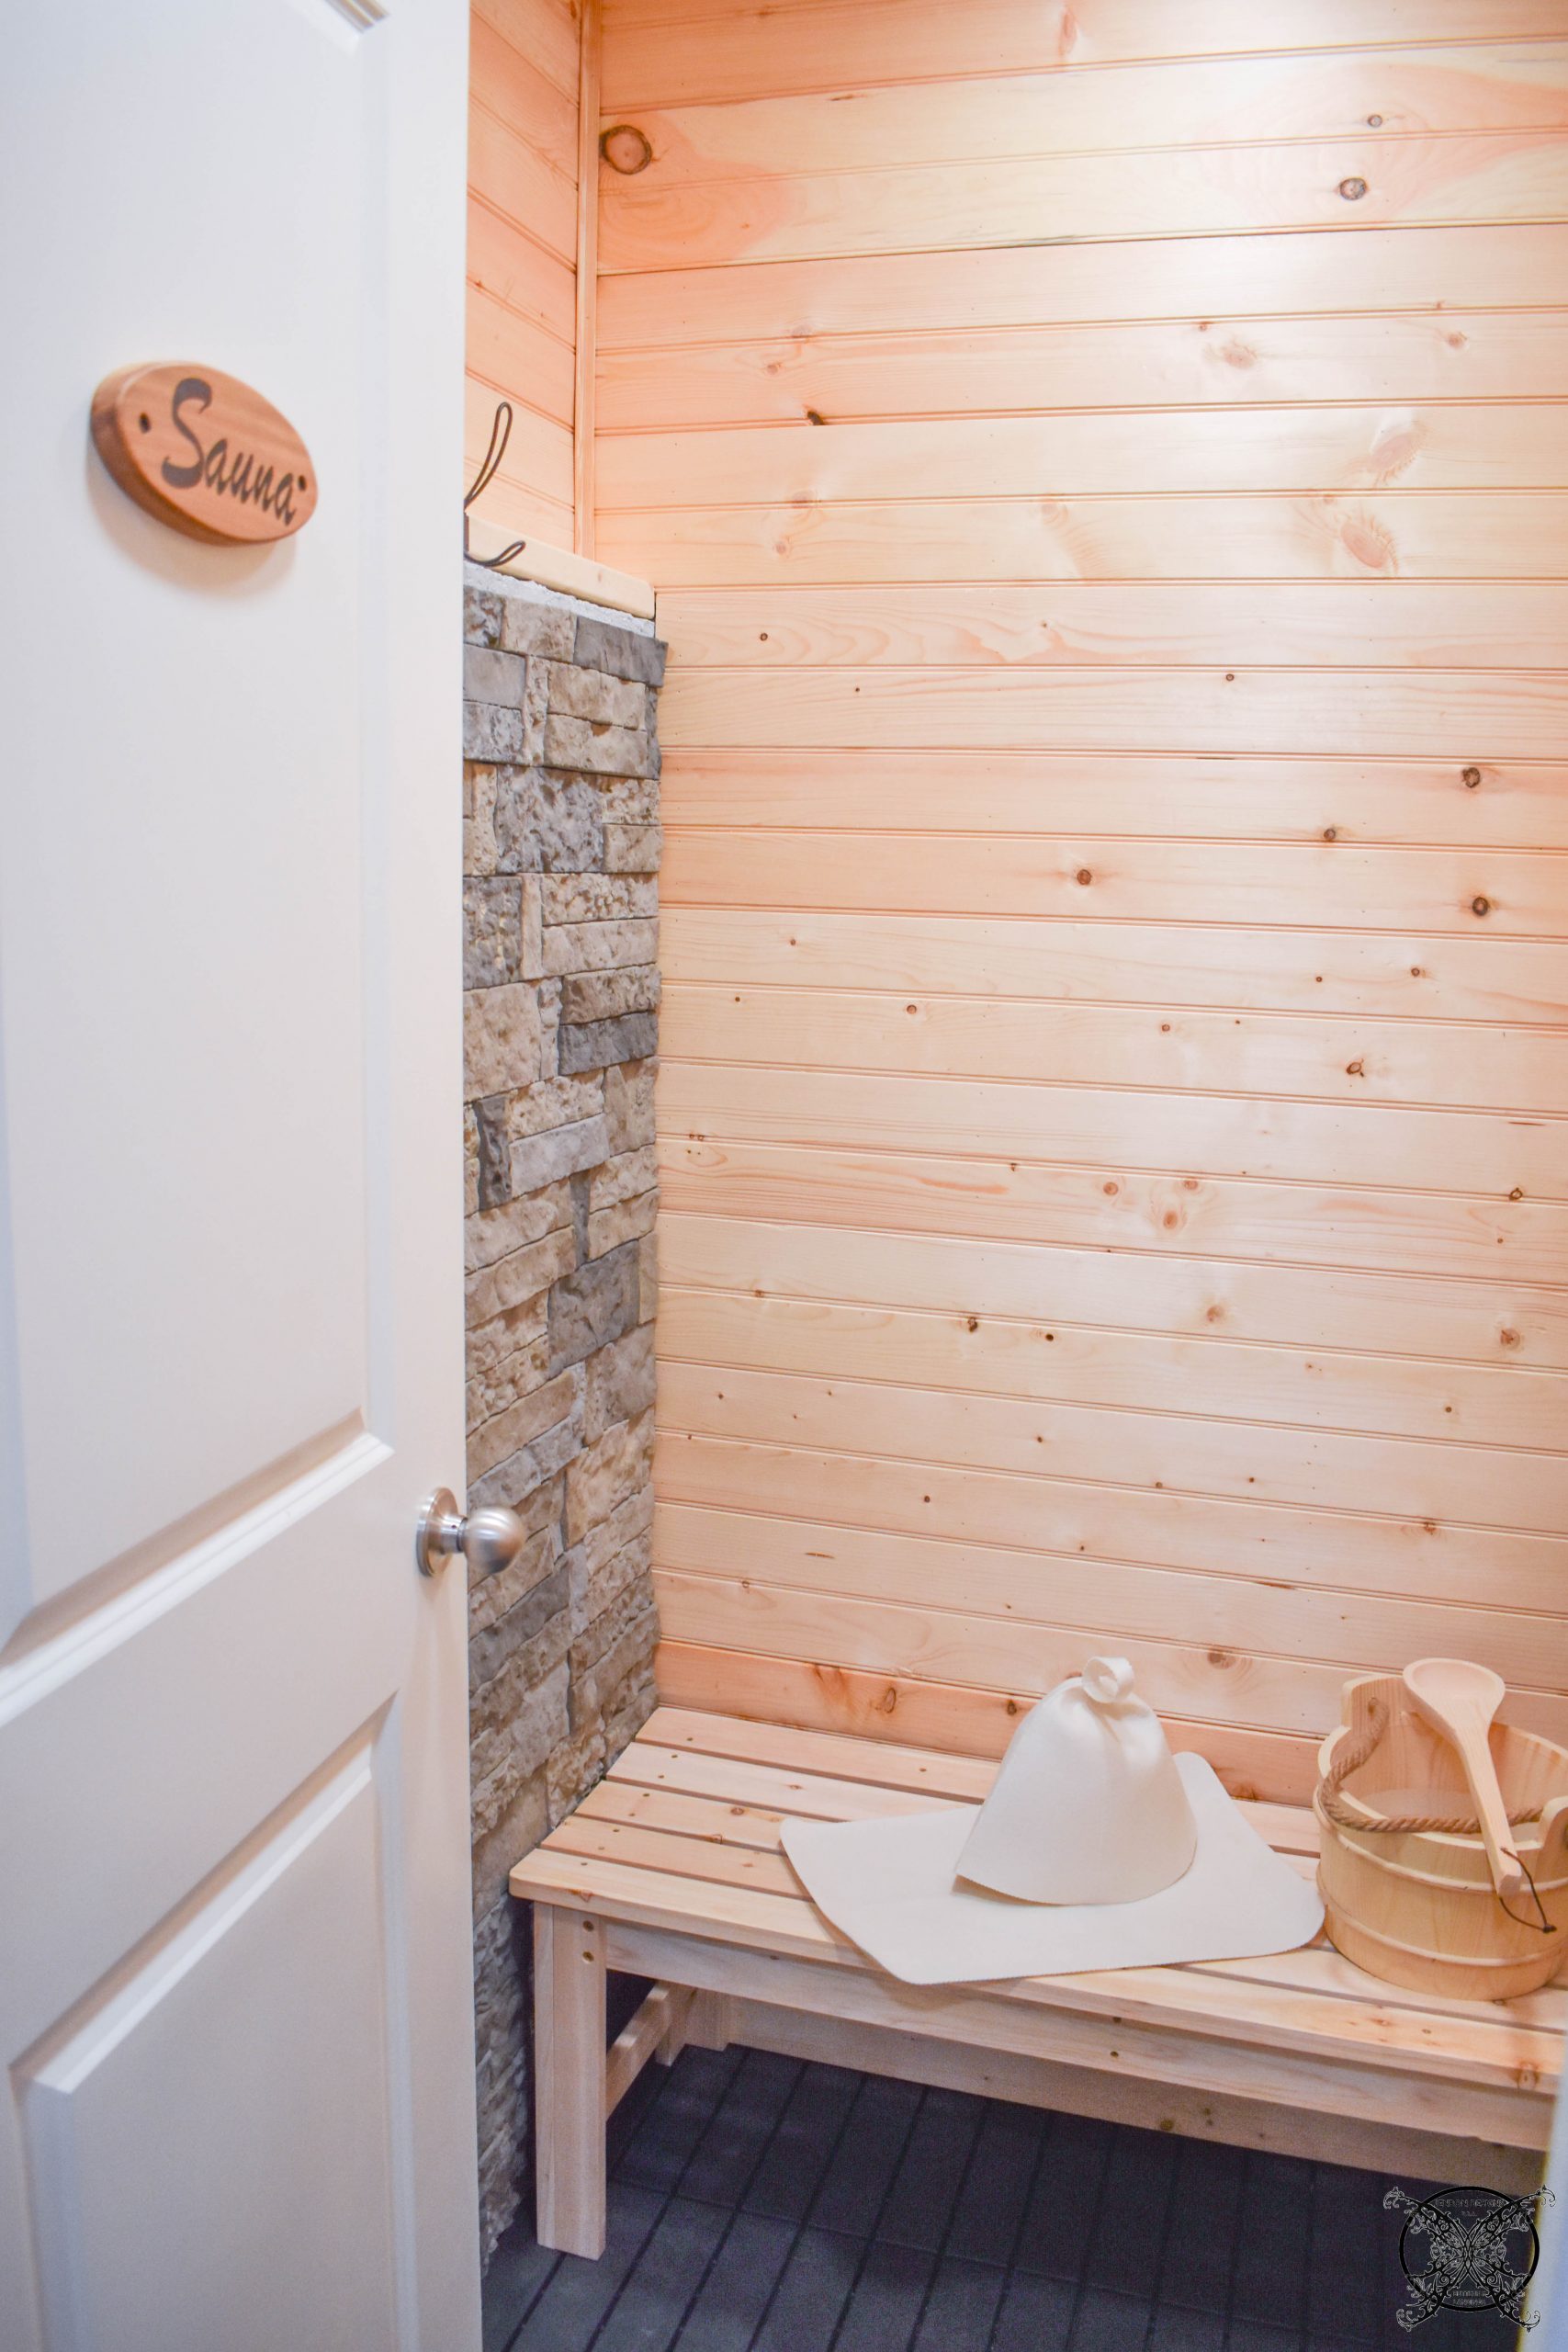 We had no idea what this piece was, in jest we called it a hat. Then I made a funny and said it must have been for my husband, since they only sent one. Yes, ladies I might have suggested it was like a Teepee. You know, like they make for little baby boys, LOL!
 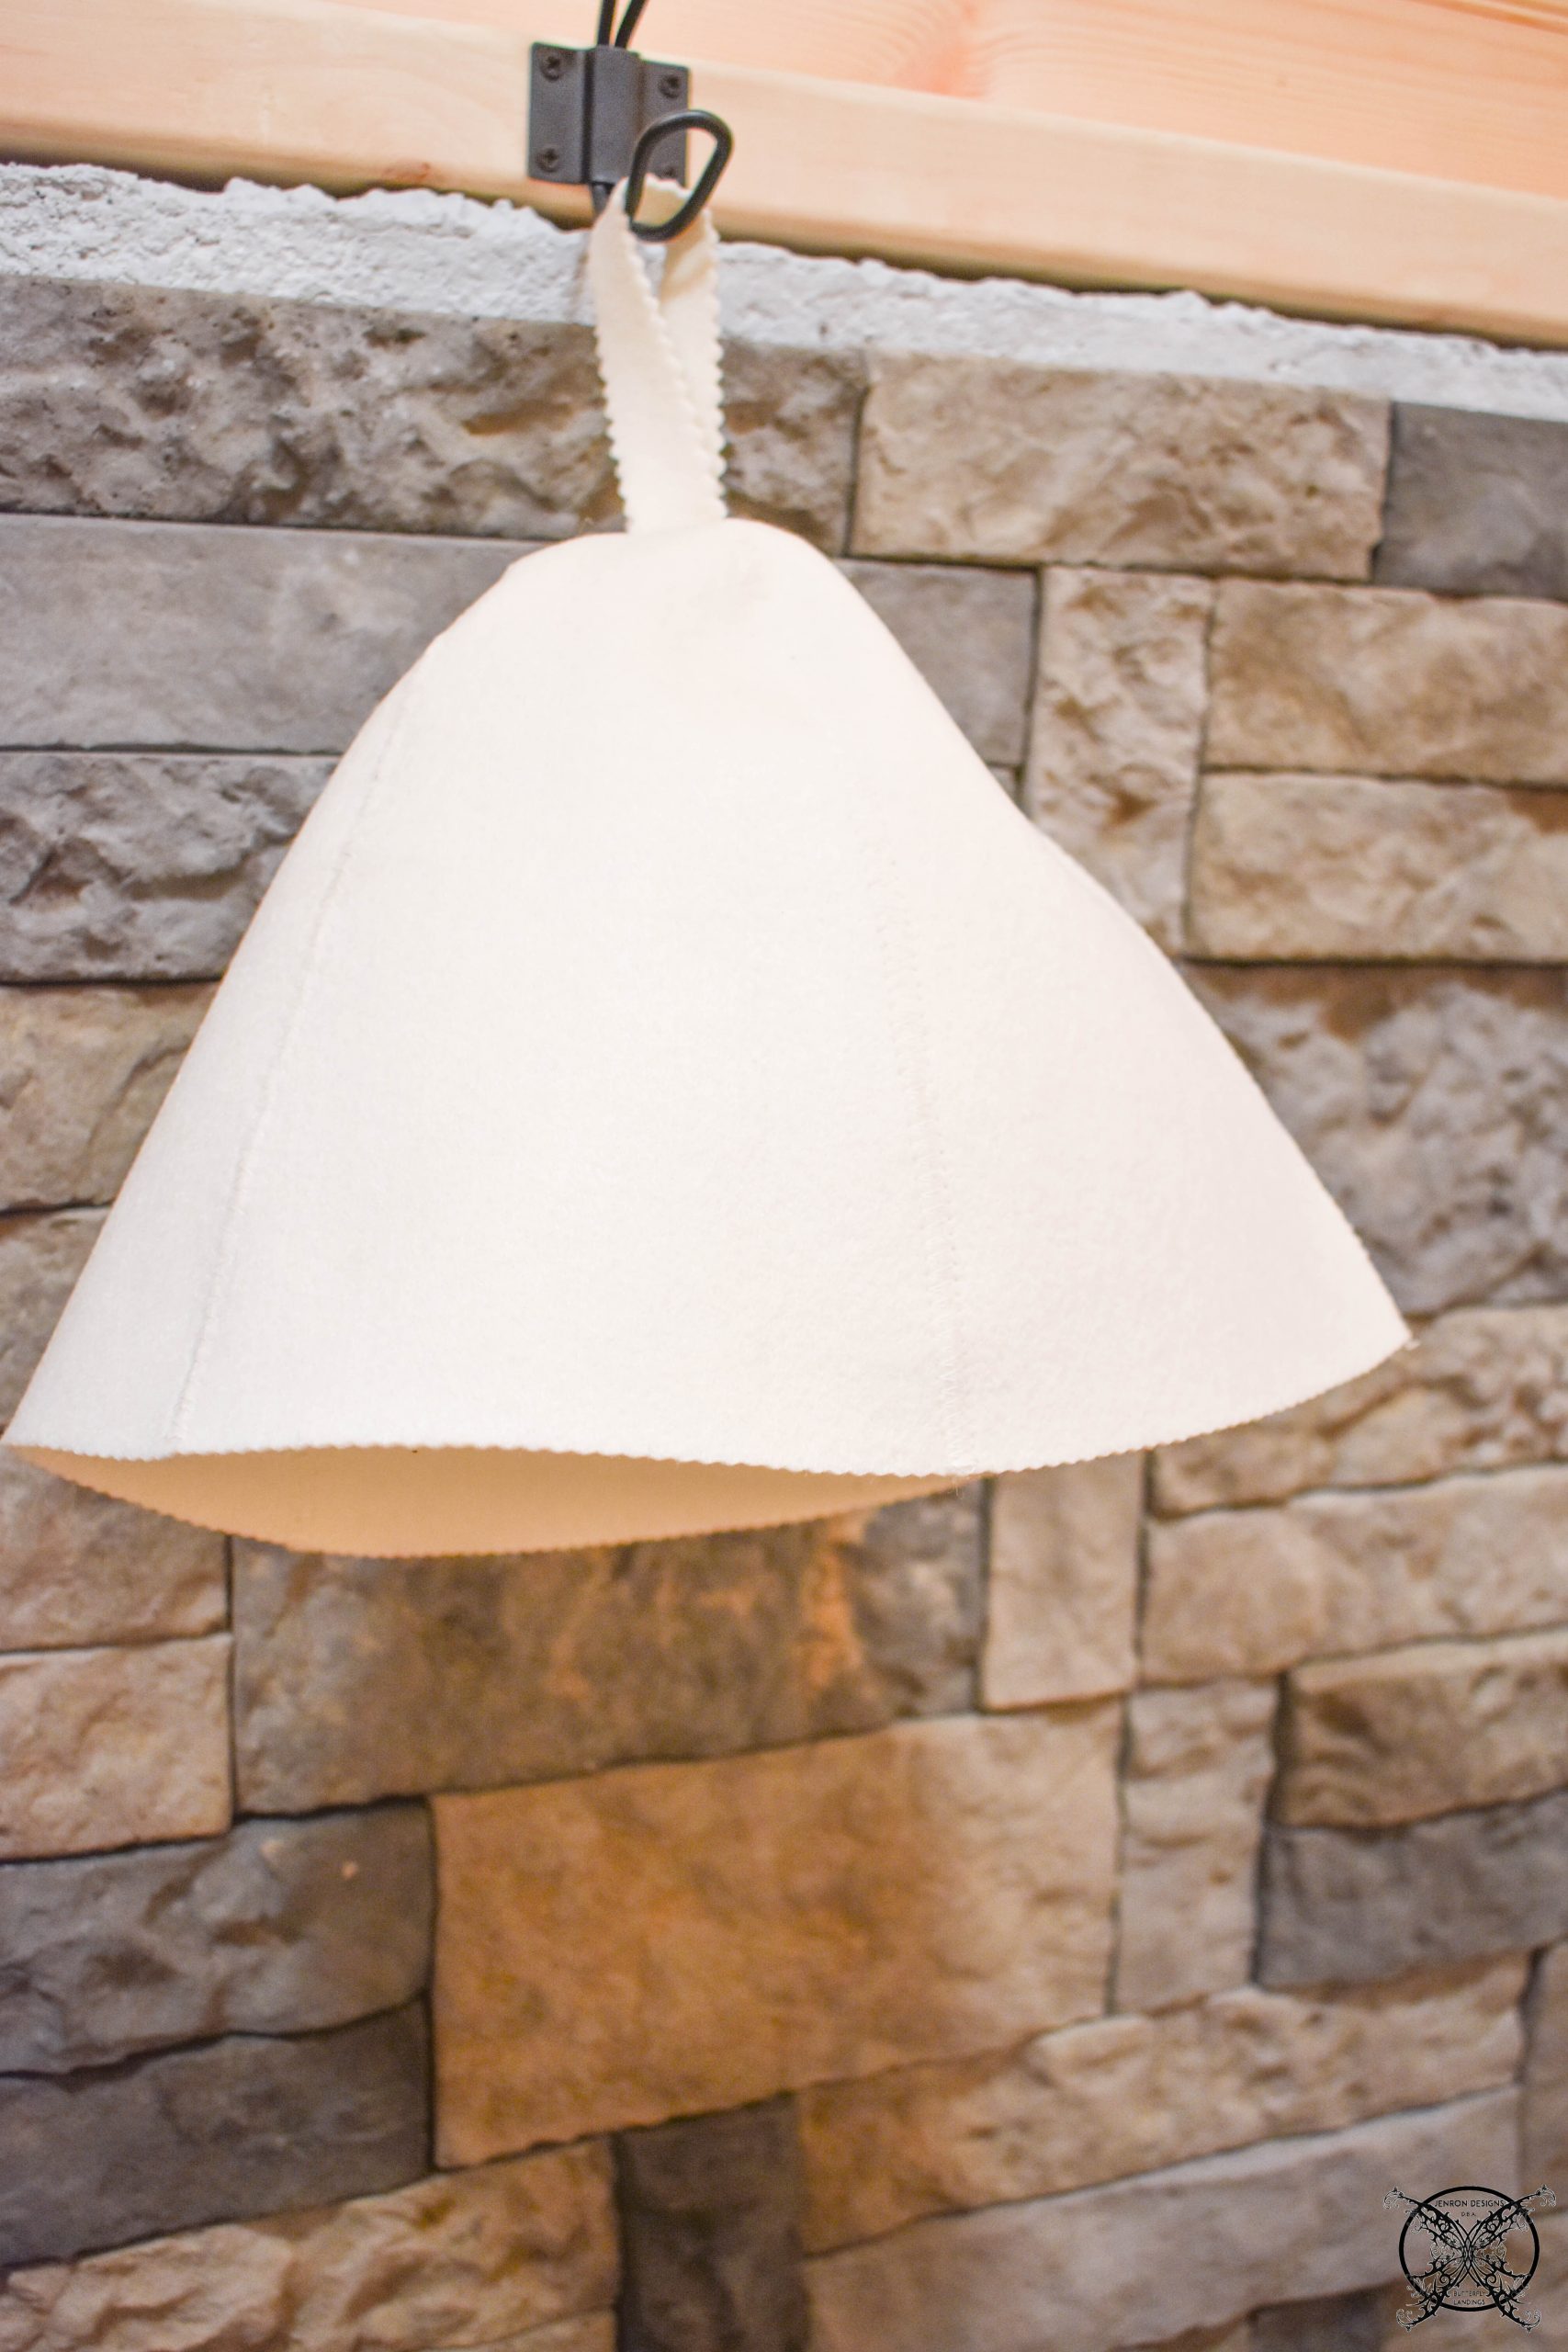 Well jokes on me, after talking to a neighbor, apparently it is indeed a Swedish hat that ladies use to protect their hair from the heat, and I am mortified. He teases me every time I have to put my Teepee on my head and says how adorable I look.
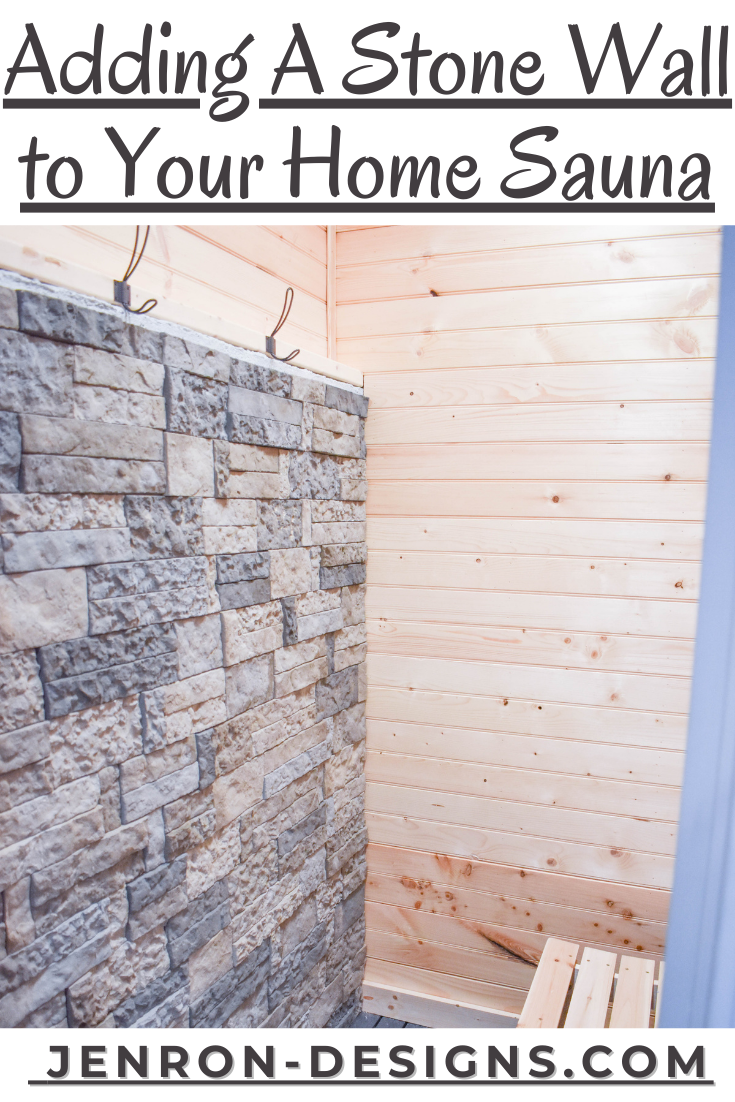
PIN ME for later and be sure to follow us on Pinterest at Jen @ JENRON DESIGNS
I love this so much! It’s similar to what we want to do with our home.
I’m already jelly you have a sauna, now it looks even more beautiful!
A rock wall is the perfect touch for a sauna. Your home sauna is so lovely!
It’s even more beautiful now 😍 I love these types of posts
Your stone wall looks perfect! I love it! Been wishing to have my own home sauna!!
Wow this is such a neat project! I’d love to do something like this in our bathroom!
Charlie, this would be a super easy way to upgrade a bathroom, and can be done exactly the same way we show in the the DIY. That is a perfect application.