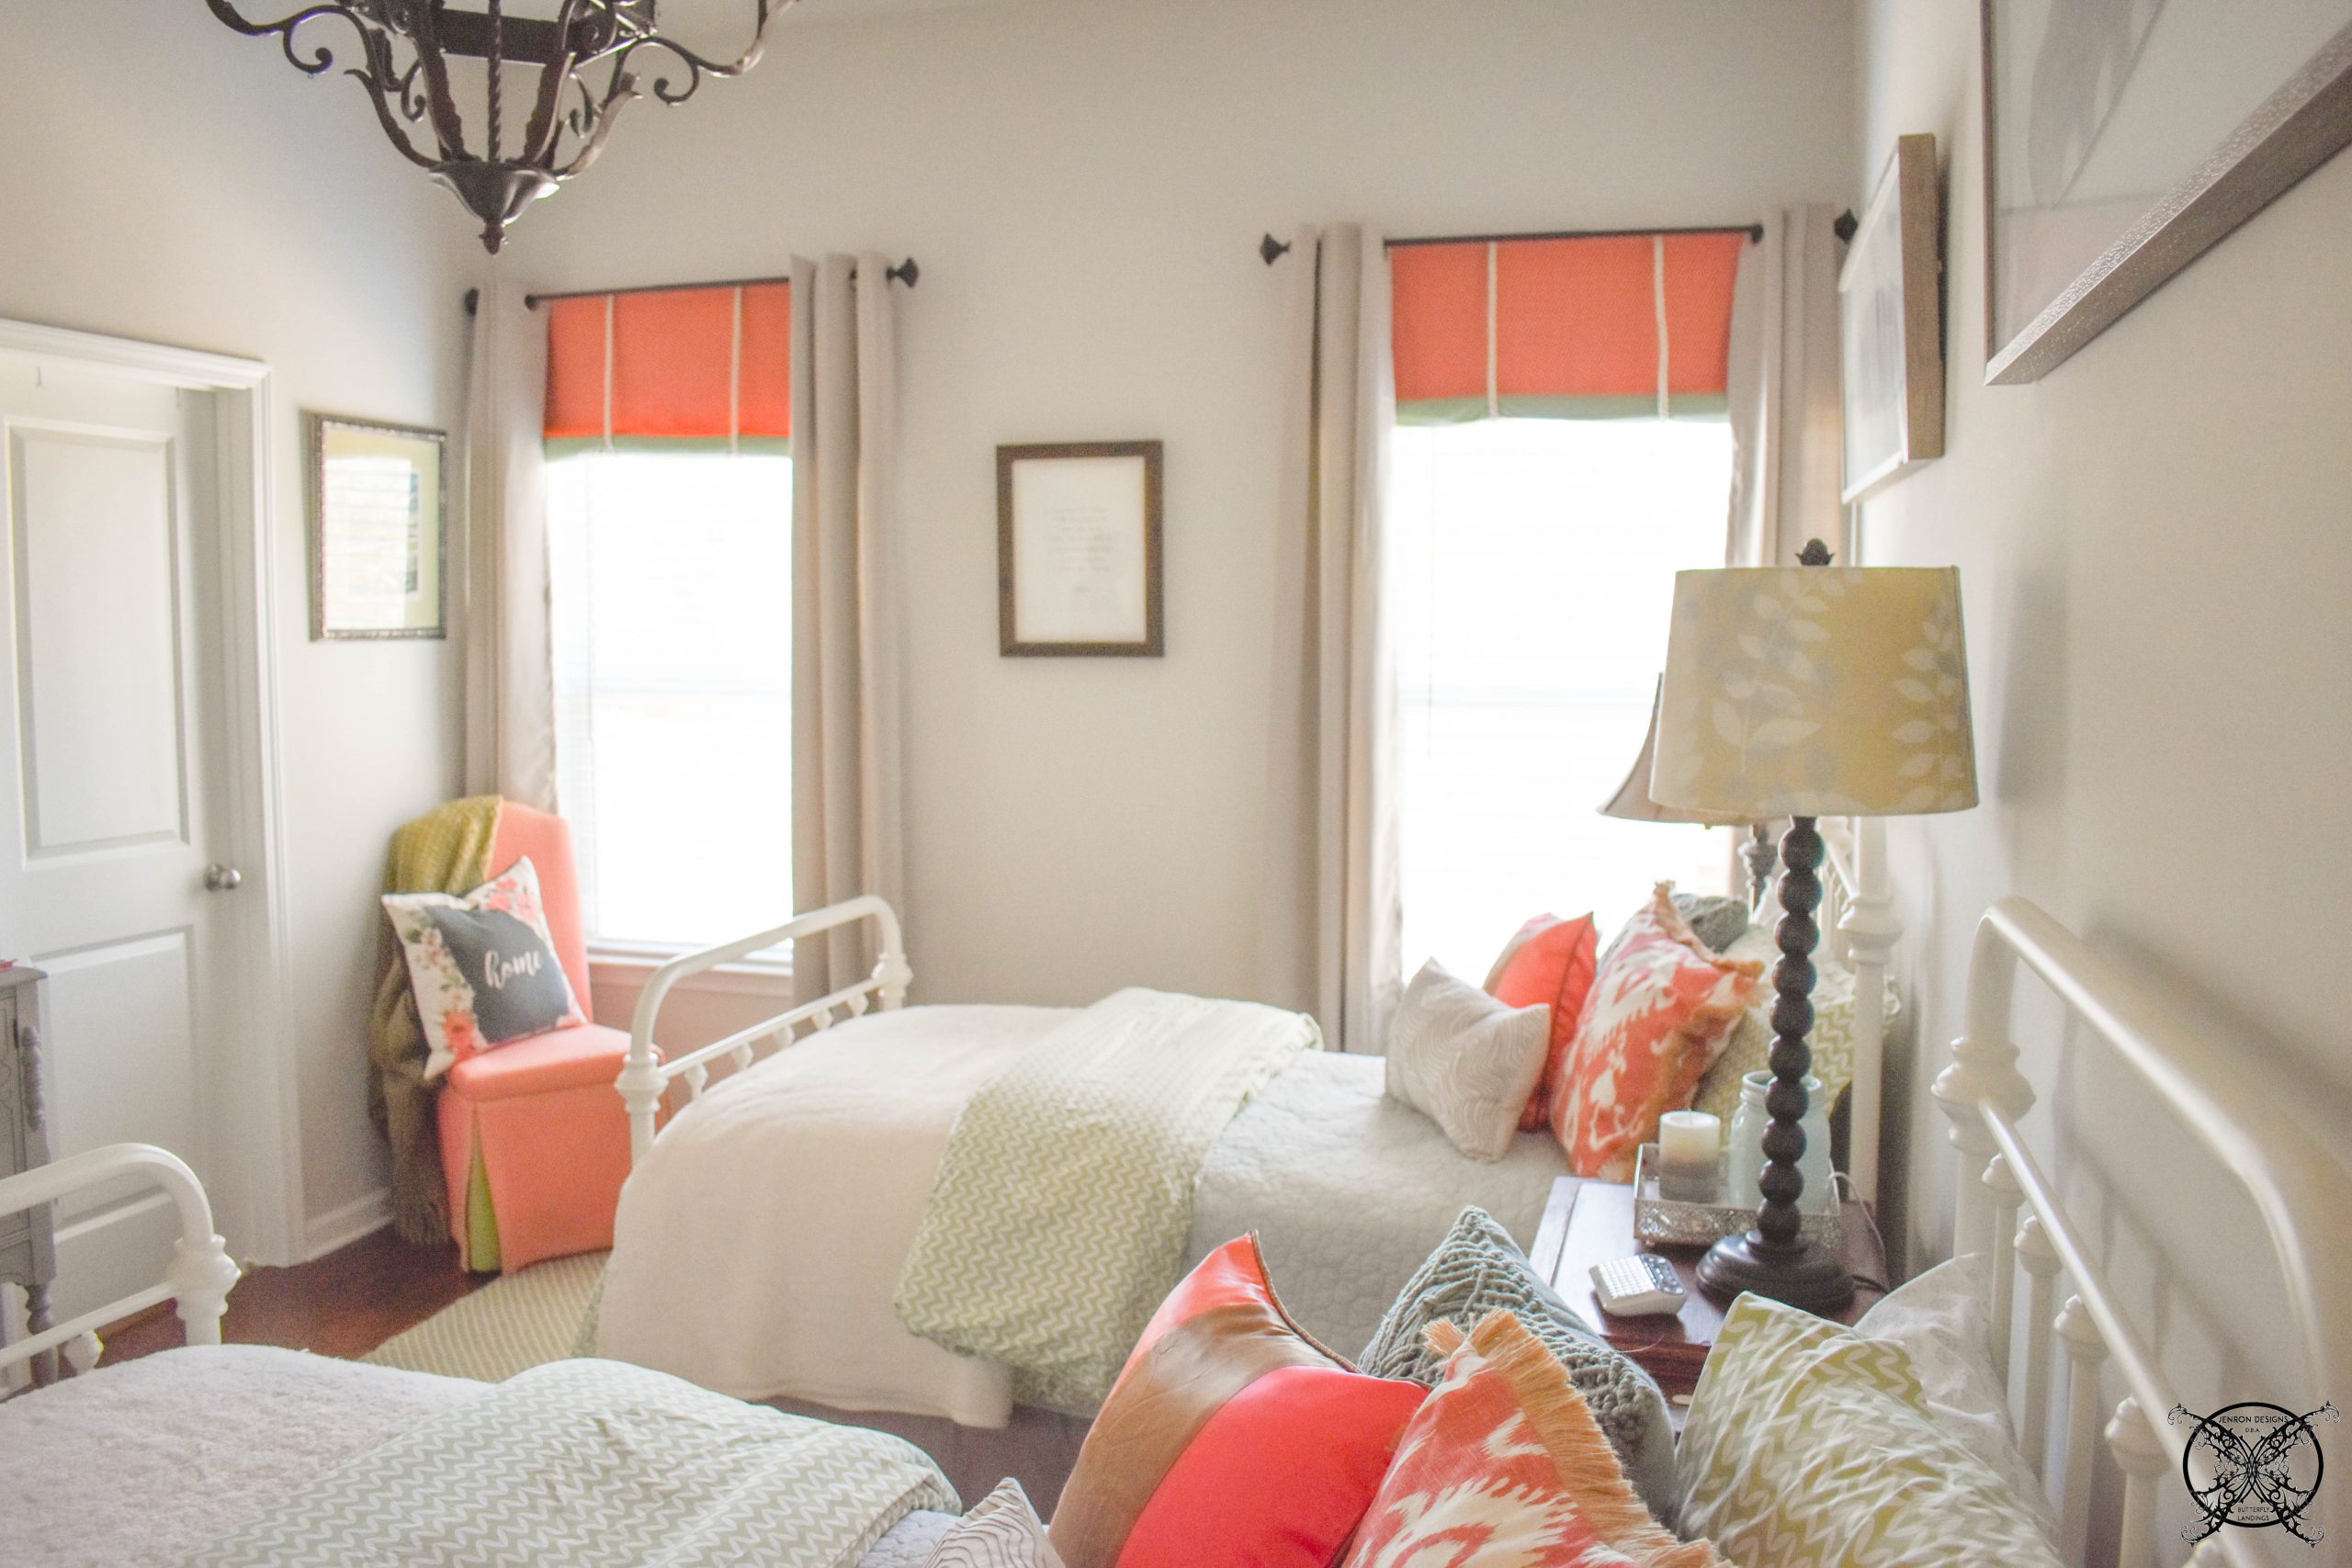
DIY Stagecoach Window Treatments
Hi Everyone today I am sharing my DIY Stagecoach Window Treatments that I made for our twin guest room!
My DIY Stagecoach Window Treatments are super easy to make, which is why I am sharing them today. Let me be the first to tell you, I am not a seamstress by any stretch of the imagination. While yes I can sew a bit, to get by, I would never sew anything for anyone else but myself, LOL! Halloween costumes or simple window treatments, yes I can do those, which is why I want to share this technique with you. As a side note, when I was going to school for interior design, many many years ago, in a land far away, LOL! I had a paid internship with a rather large fabric company, which was a part of Brookhaven Enterprises. Incidentally, Brookhaven Enterprises invented the fabric tables you see today that measure all the large bolts of fabric.
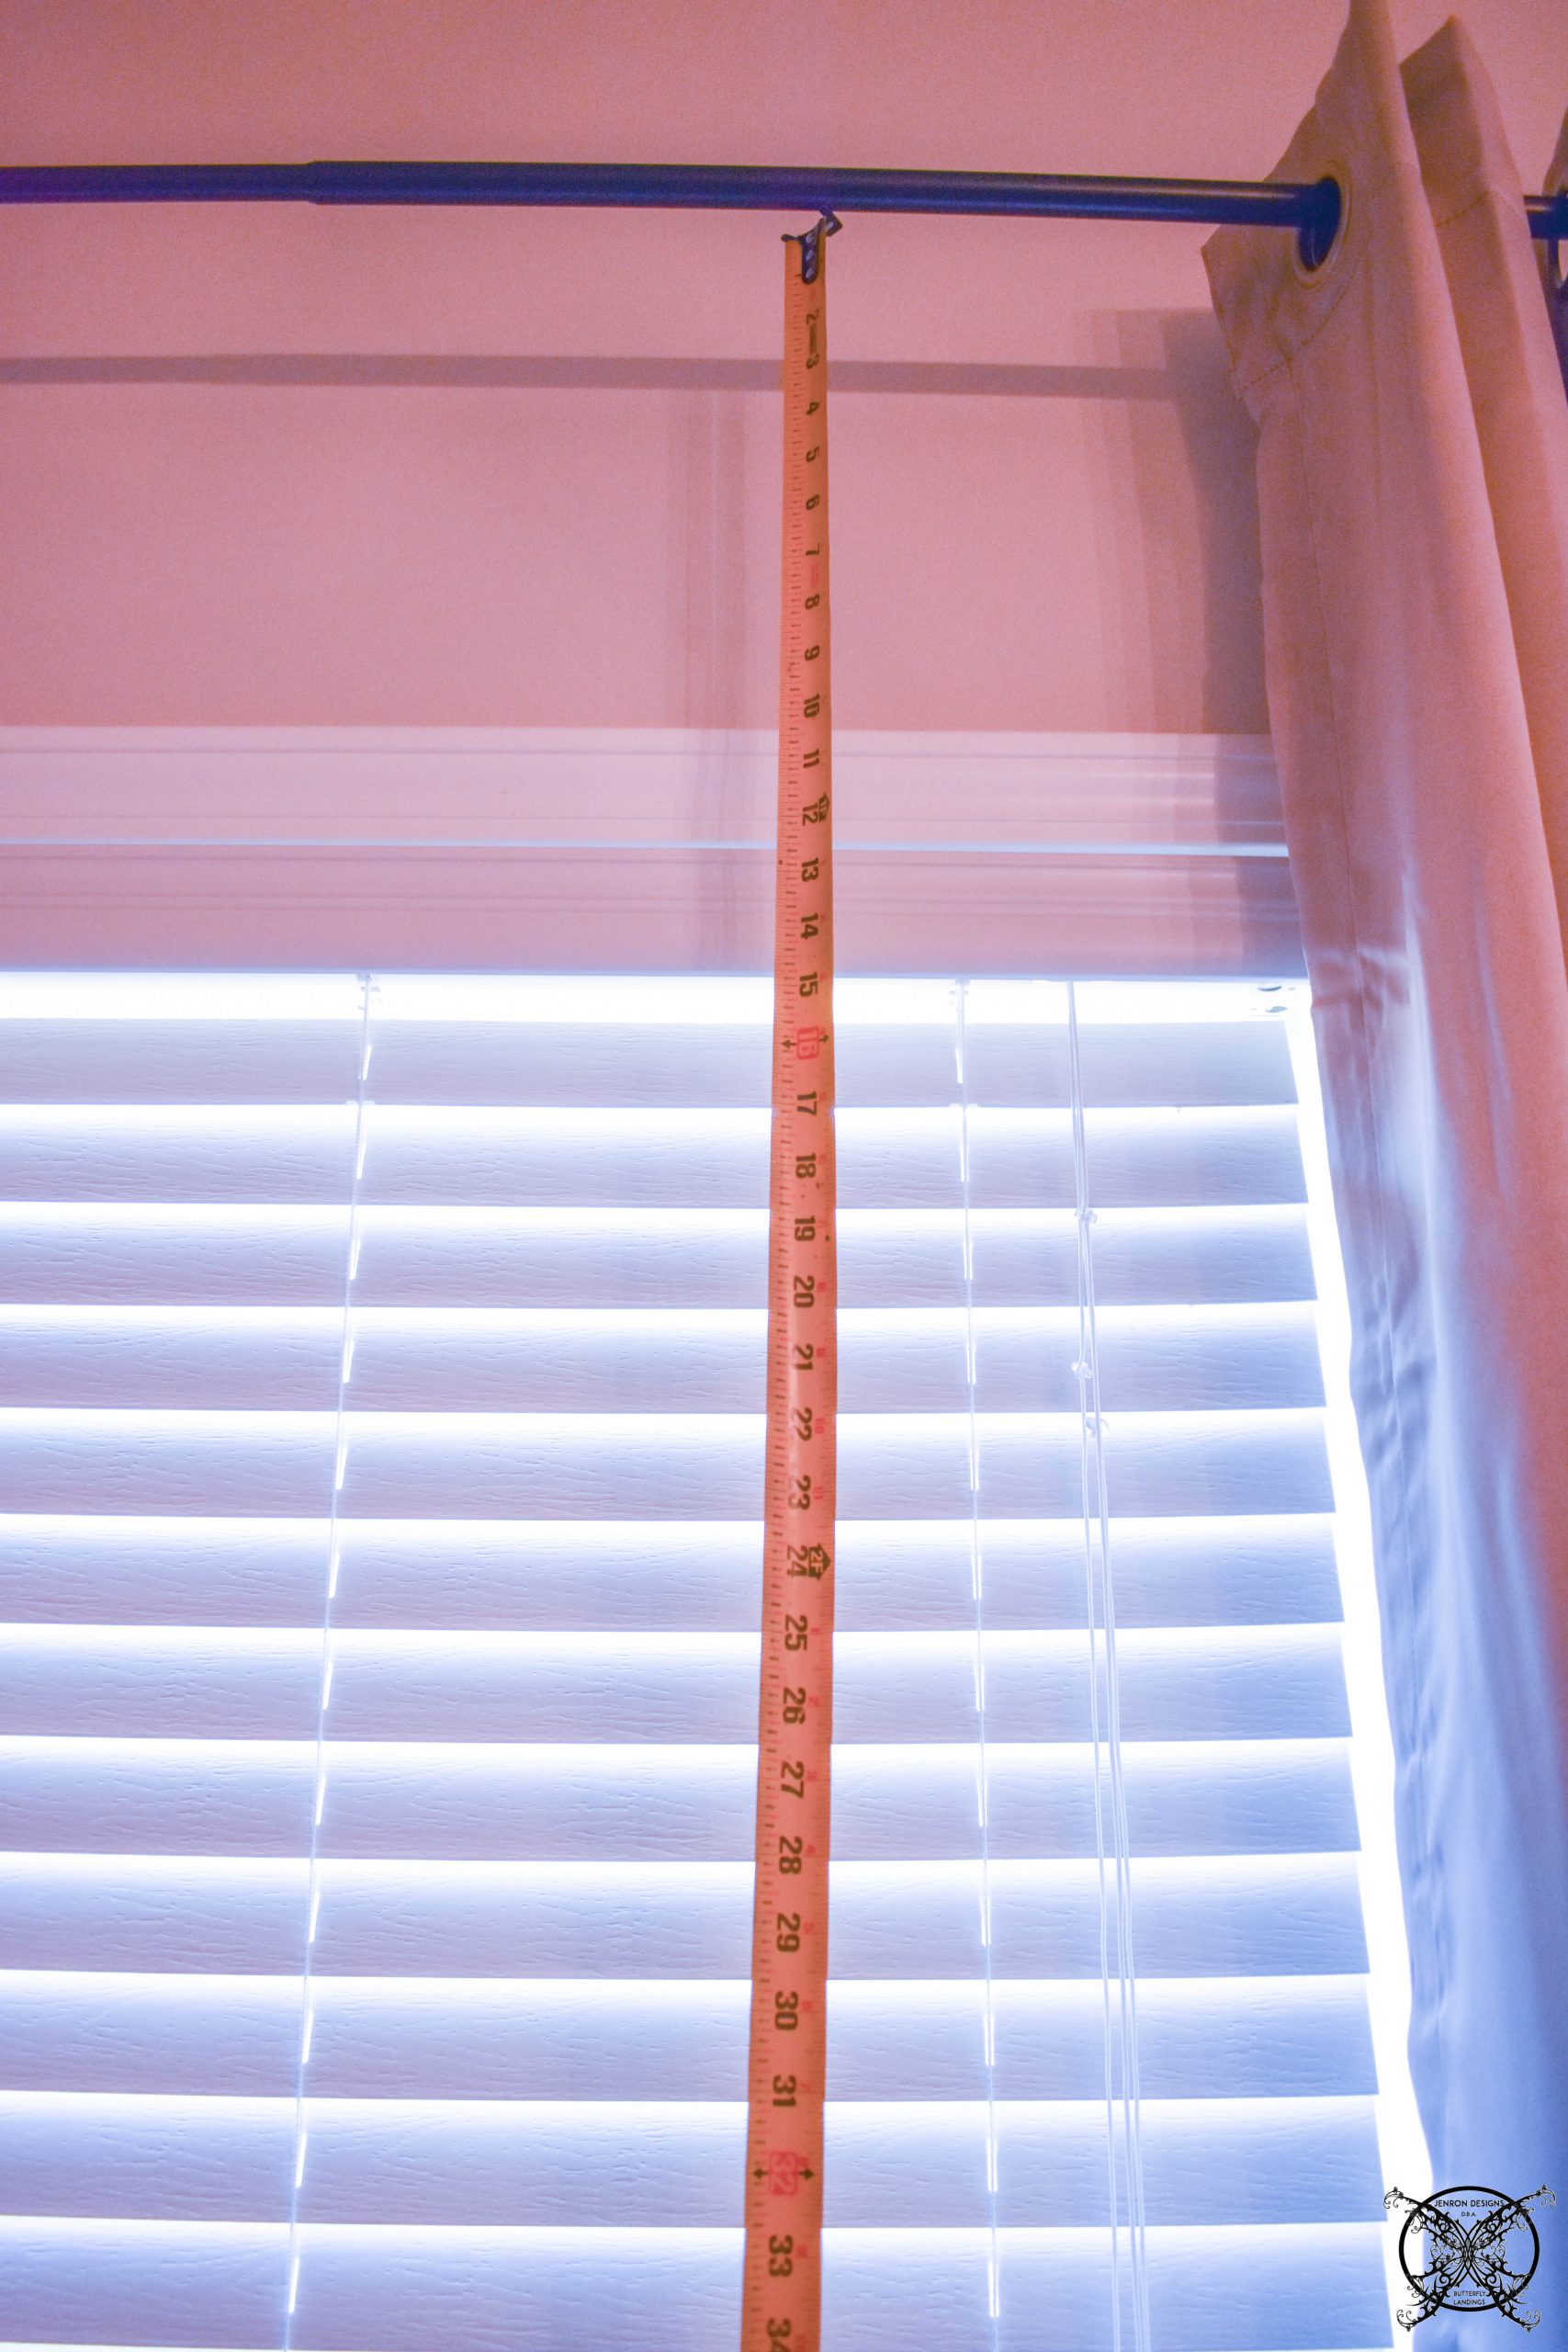 This company also had their own private drapery workroom and upholstery shop here in town that we did tons of custom work for many elite clients all over town. This is where I learned an infinite amount of knowledge on custom work for draperies and upholstery, along with the ins and outs of the textile industry. So how to create a stagecoach valance, which is one of the very simplest of custom designed valances you can make, is completely within my scope, but I will show you the easy self taught way to do it.
 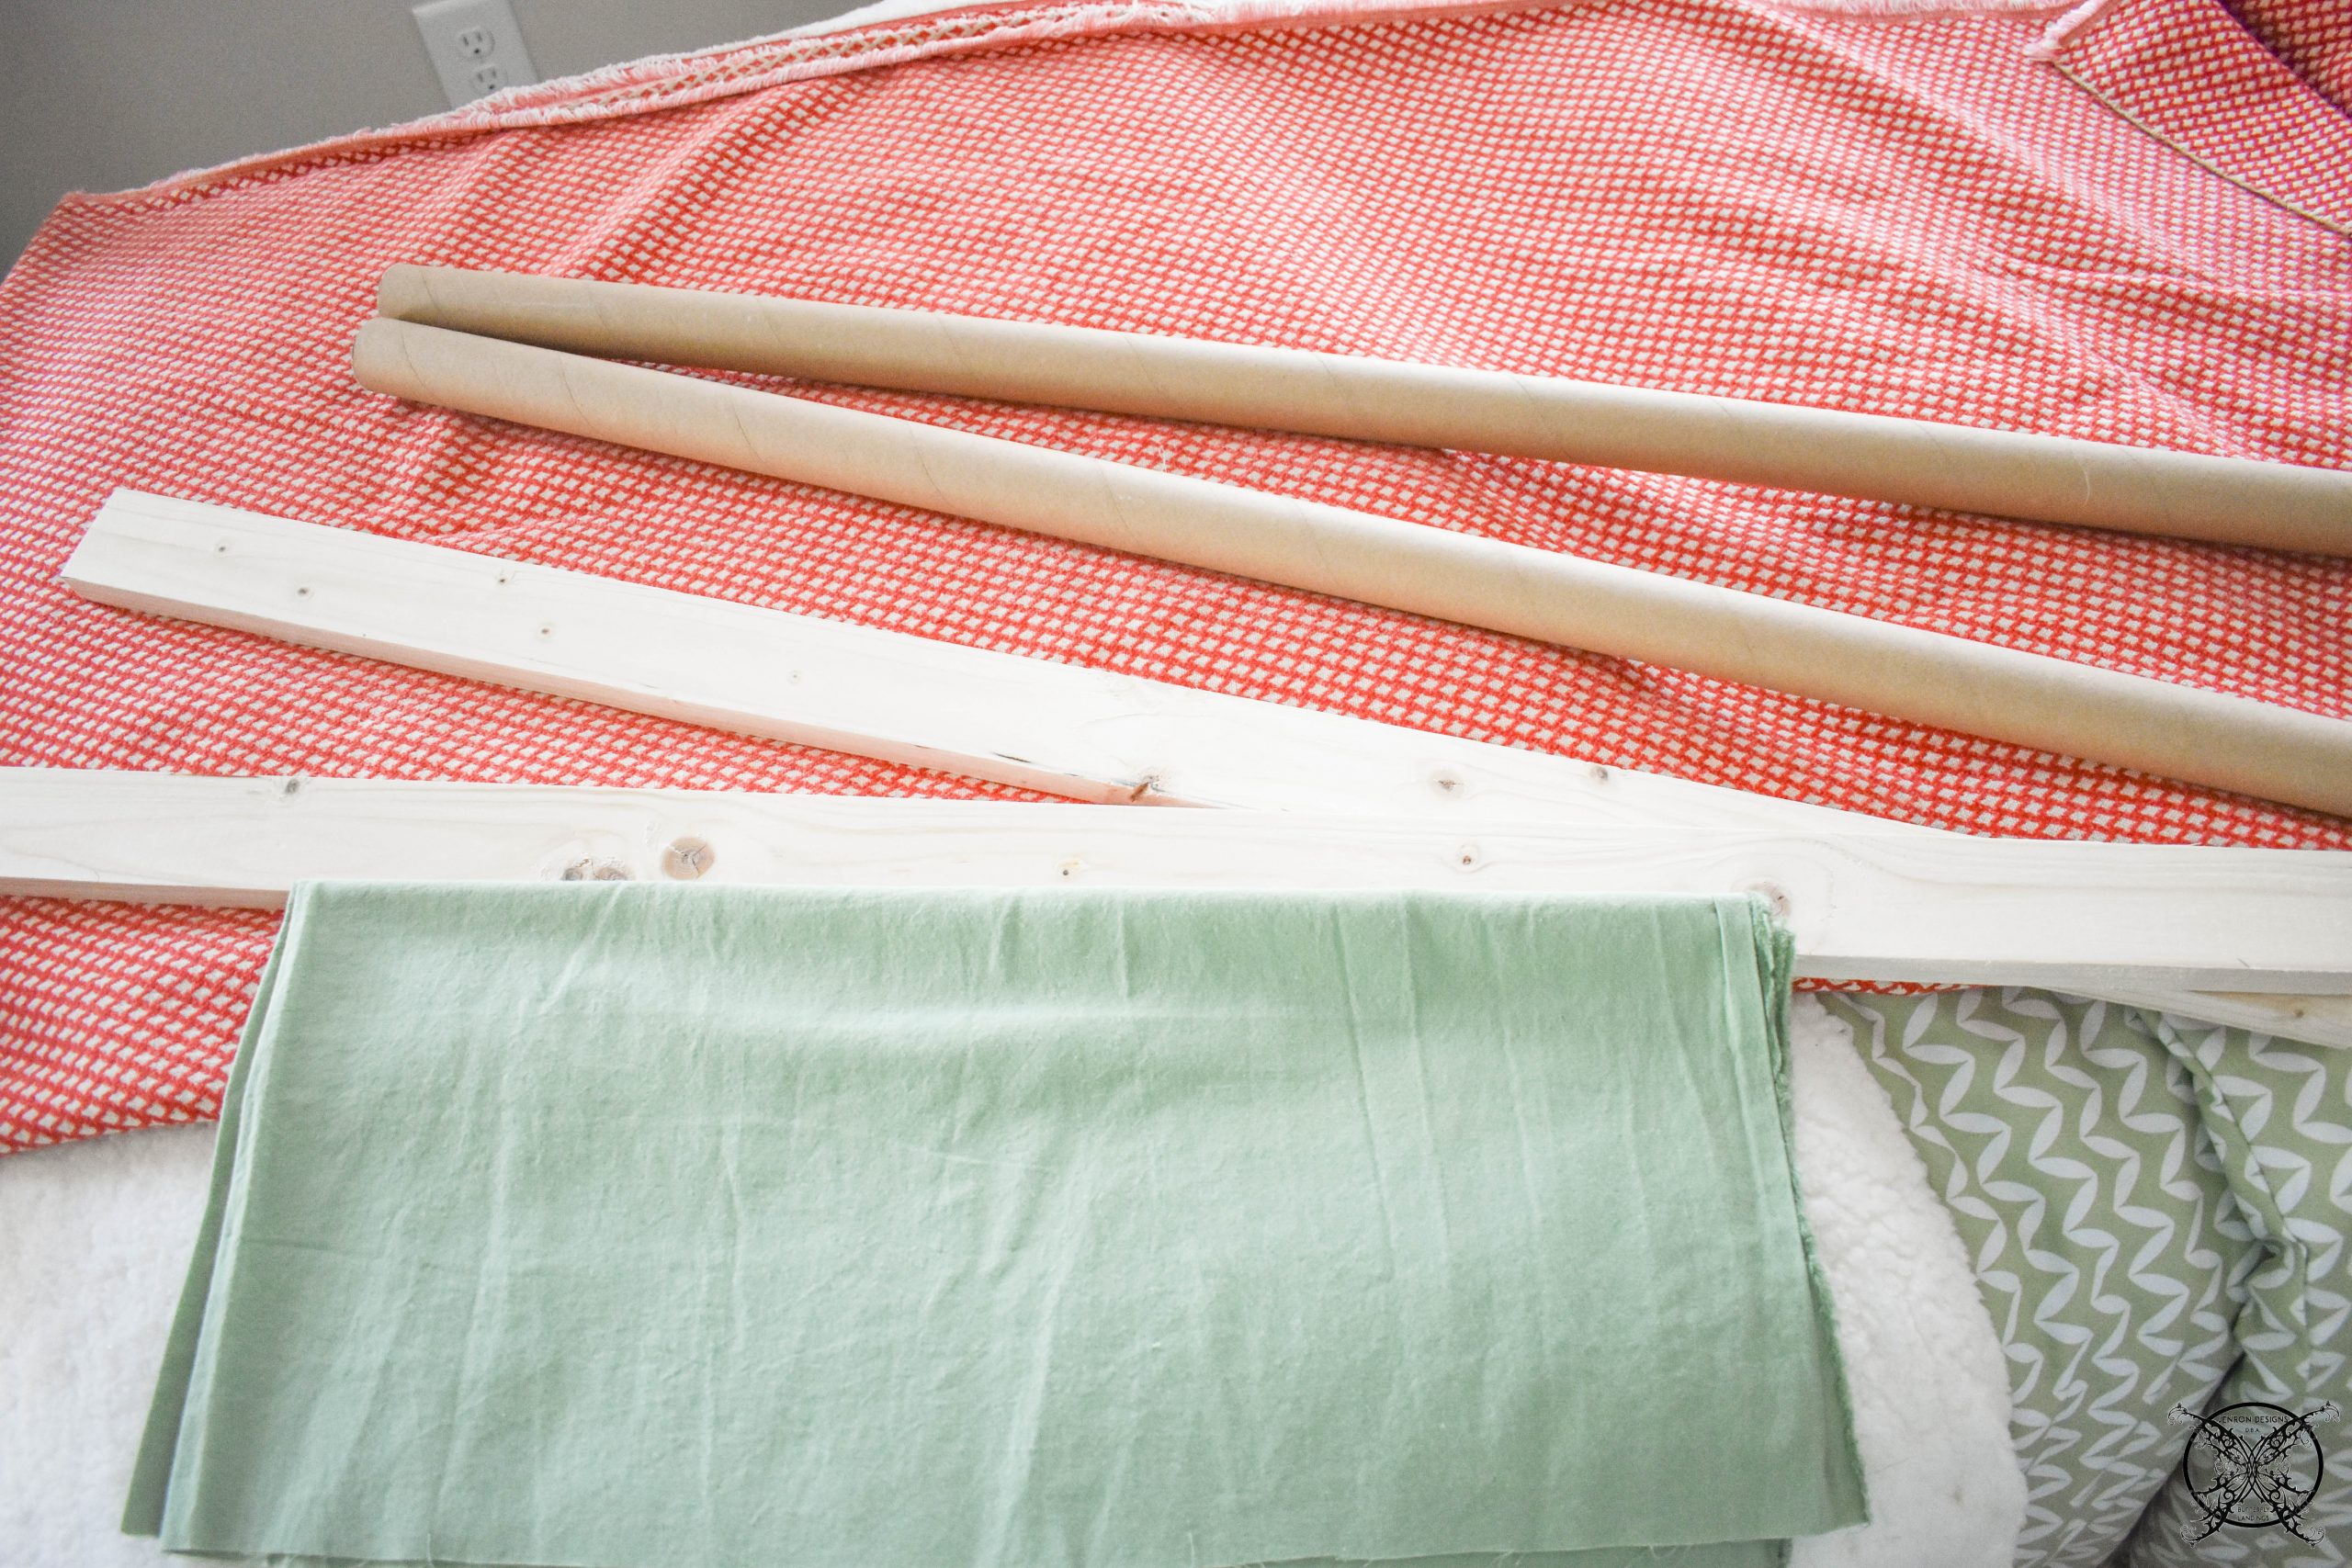 These are a few of the tools of the trade you will need for each window:
- 1/2″ x 2″ board for mounting, in the desired length of window opening
- cardboard tube, in desired window length
- Main Fabric, 54″ width by at least 18″ length, plus an additional 12″ (you may need multiple widths for wide windows)
- Contrast Fabric for Back Roll- Minimum of 12″ length with same amount of widths
- Staple Gun
- Heat Bonding Tape (for the No Sew Method)
- Iron
- Scissors
- (4) 36″ Lengths of Rope or Ribbon for ties
- (2) 2″L brackets w/screws (anchors if your wall needs them)
- Screwdriver
 My window is a single window so the 54″ width are perfect and I will be cutting down the selvage edges to get my final edge of 36″ on all fabric panels. Once that is complete I line up the front and back fabrics to make sure the roll up is going to work before bonding anything together.
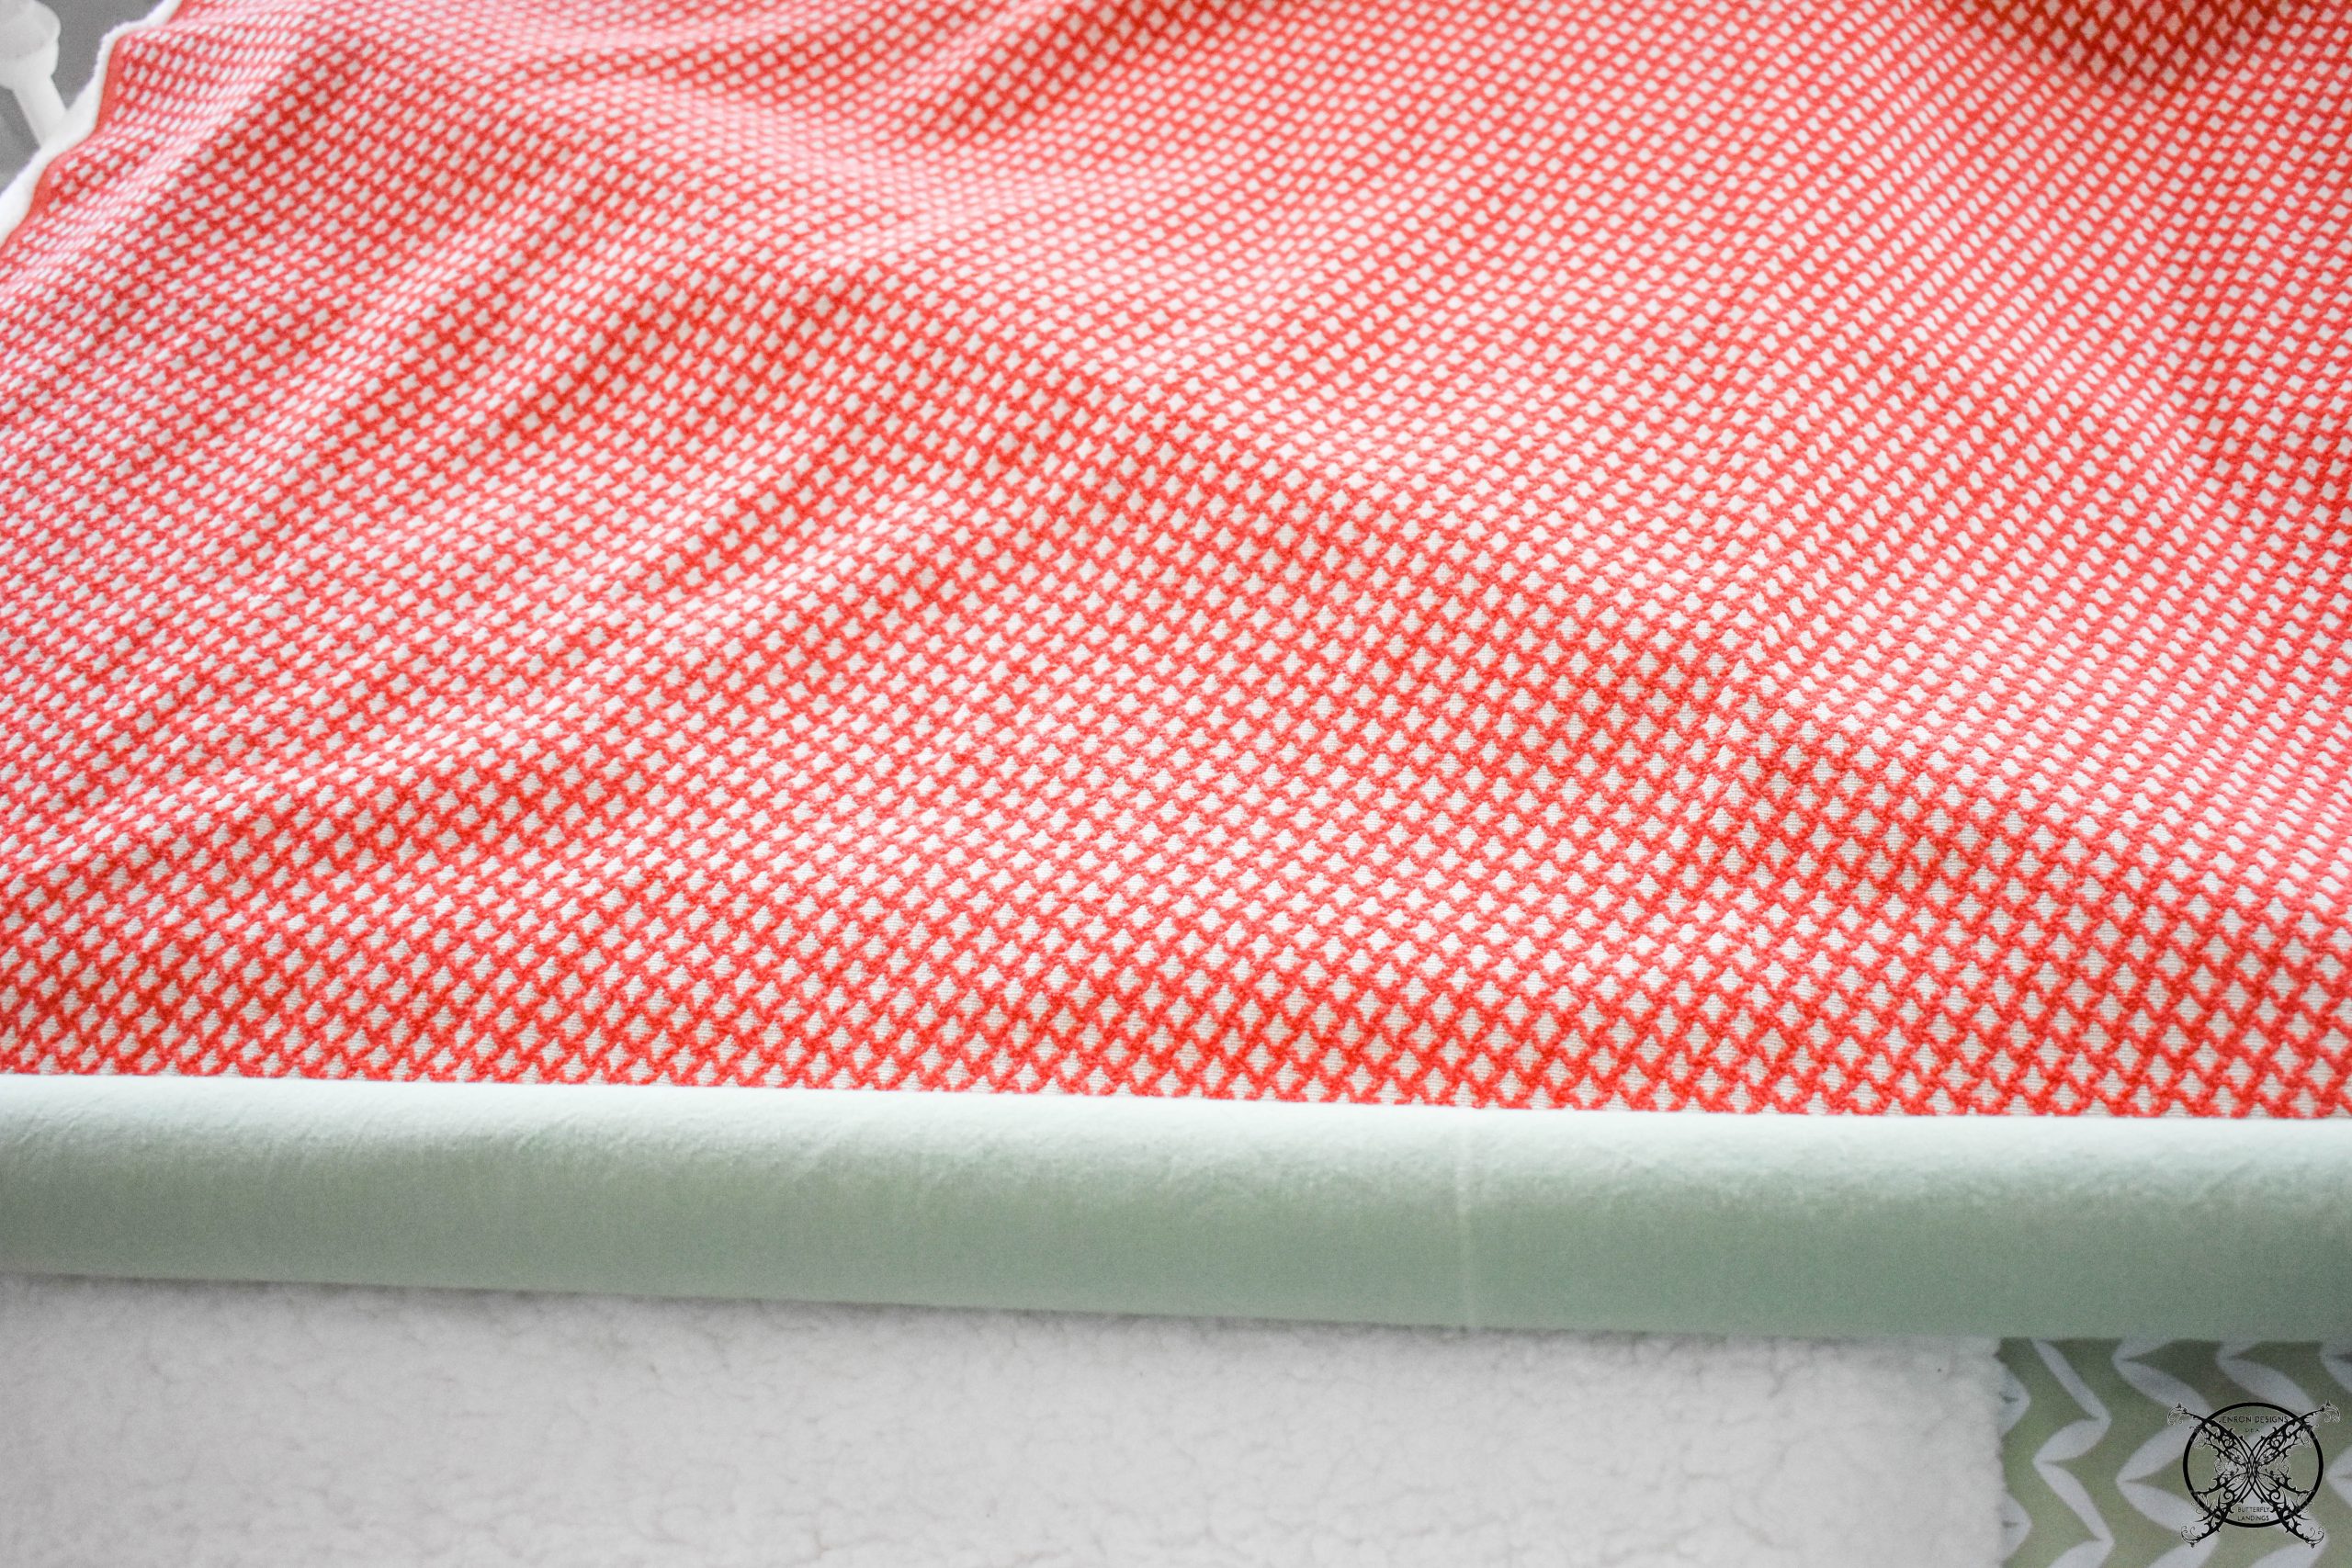
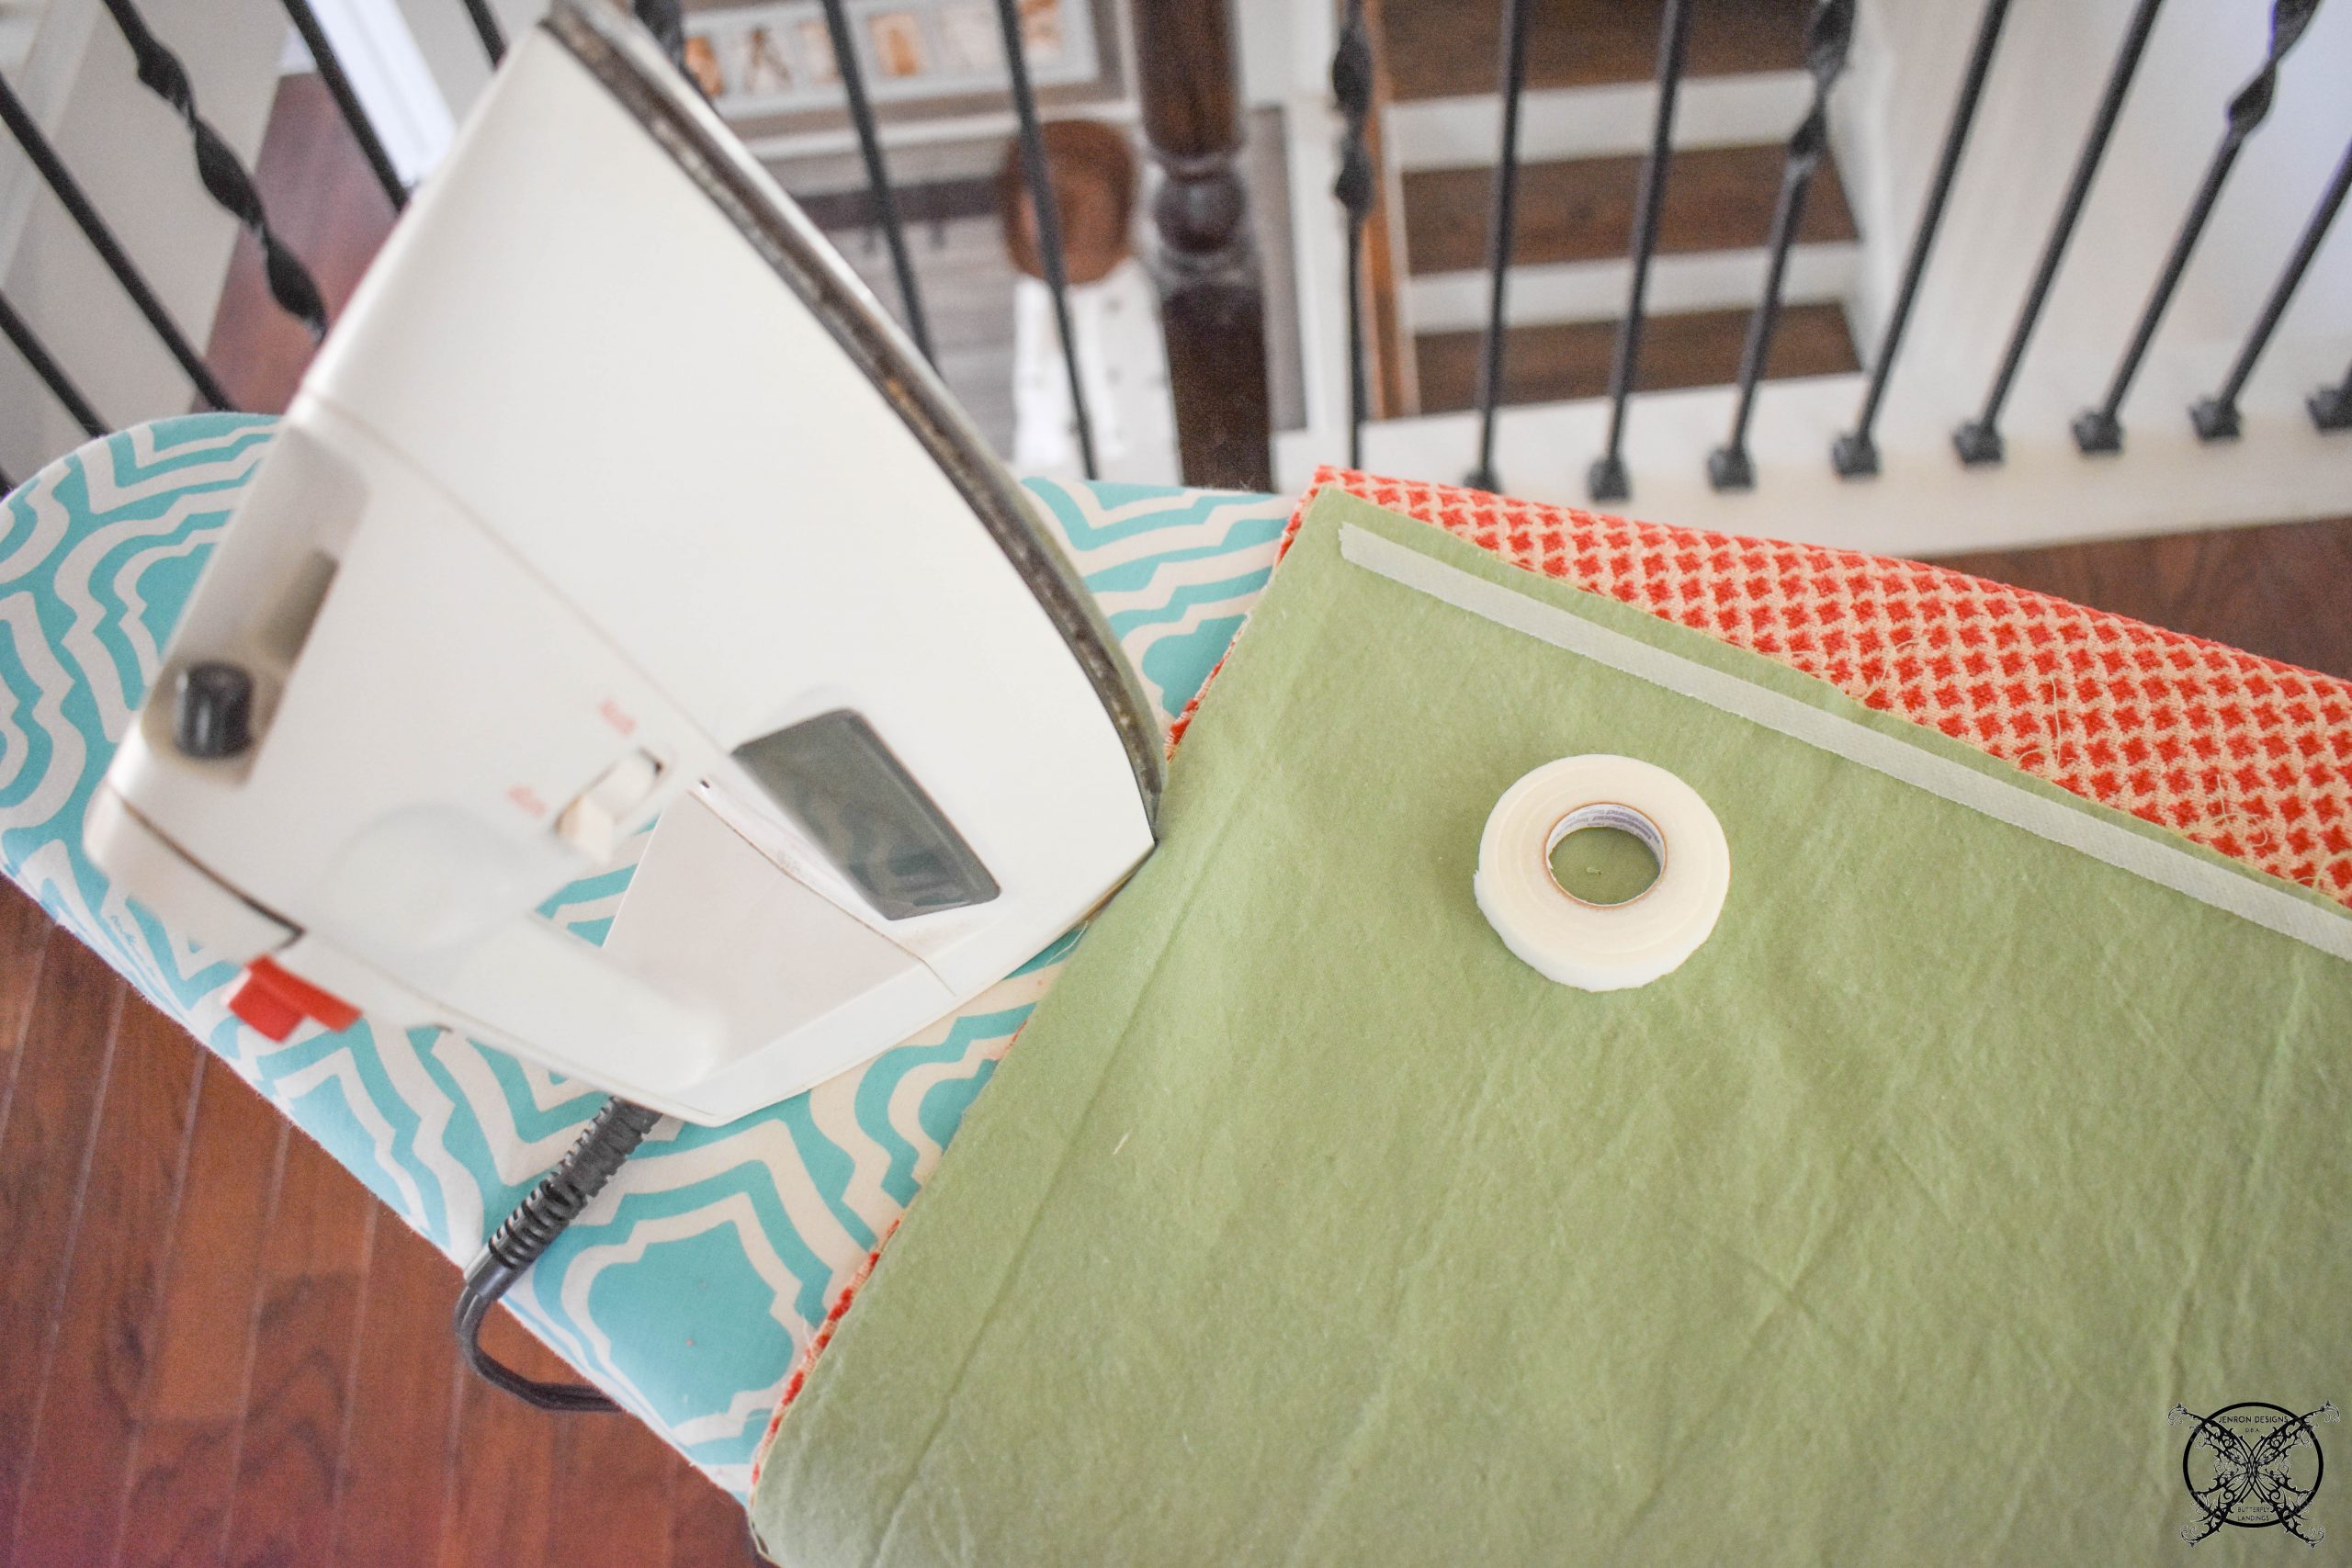 Once you verify that your pieces match up, you can use the bonding tape, just heat to secure the fabrics together to prevent fraying. If you sew you can also sew these pieces together as well, your choice. You should have a square or rectangle when you are done, solid pink on the front with a green panel on the back for the roll up. It should go up to height which will be the ending finished length, meaning you will have added an additional 12″ to the pink front fabric to get the green roll up.
 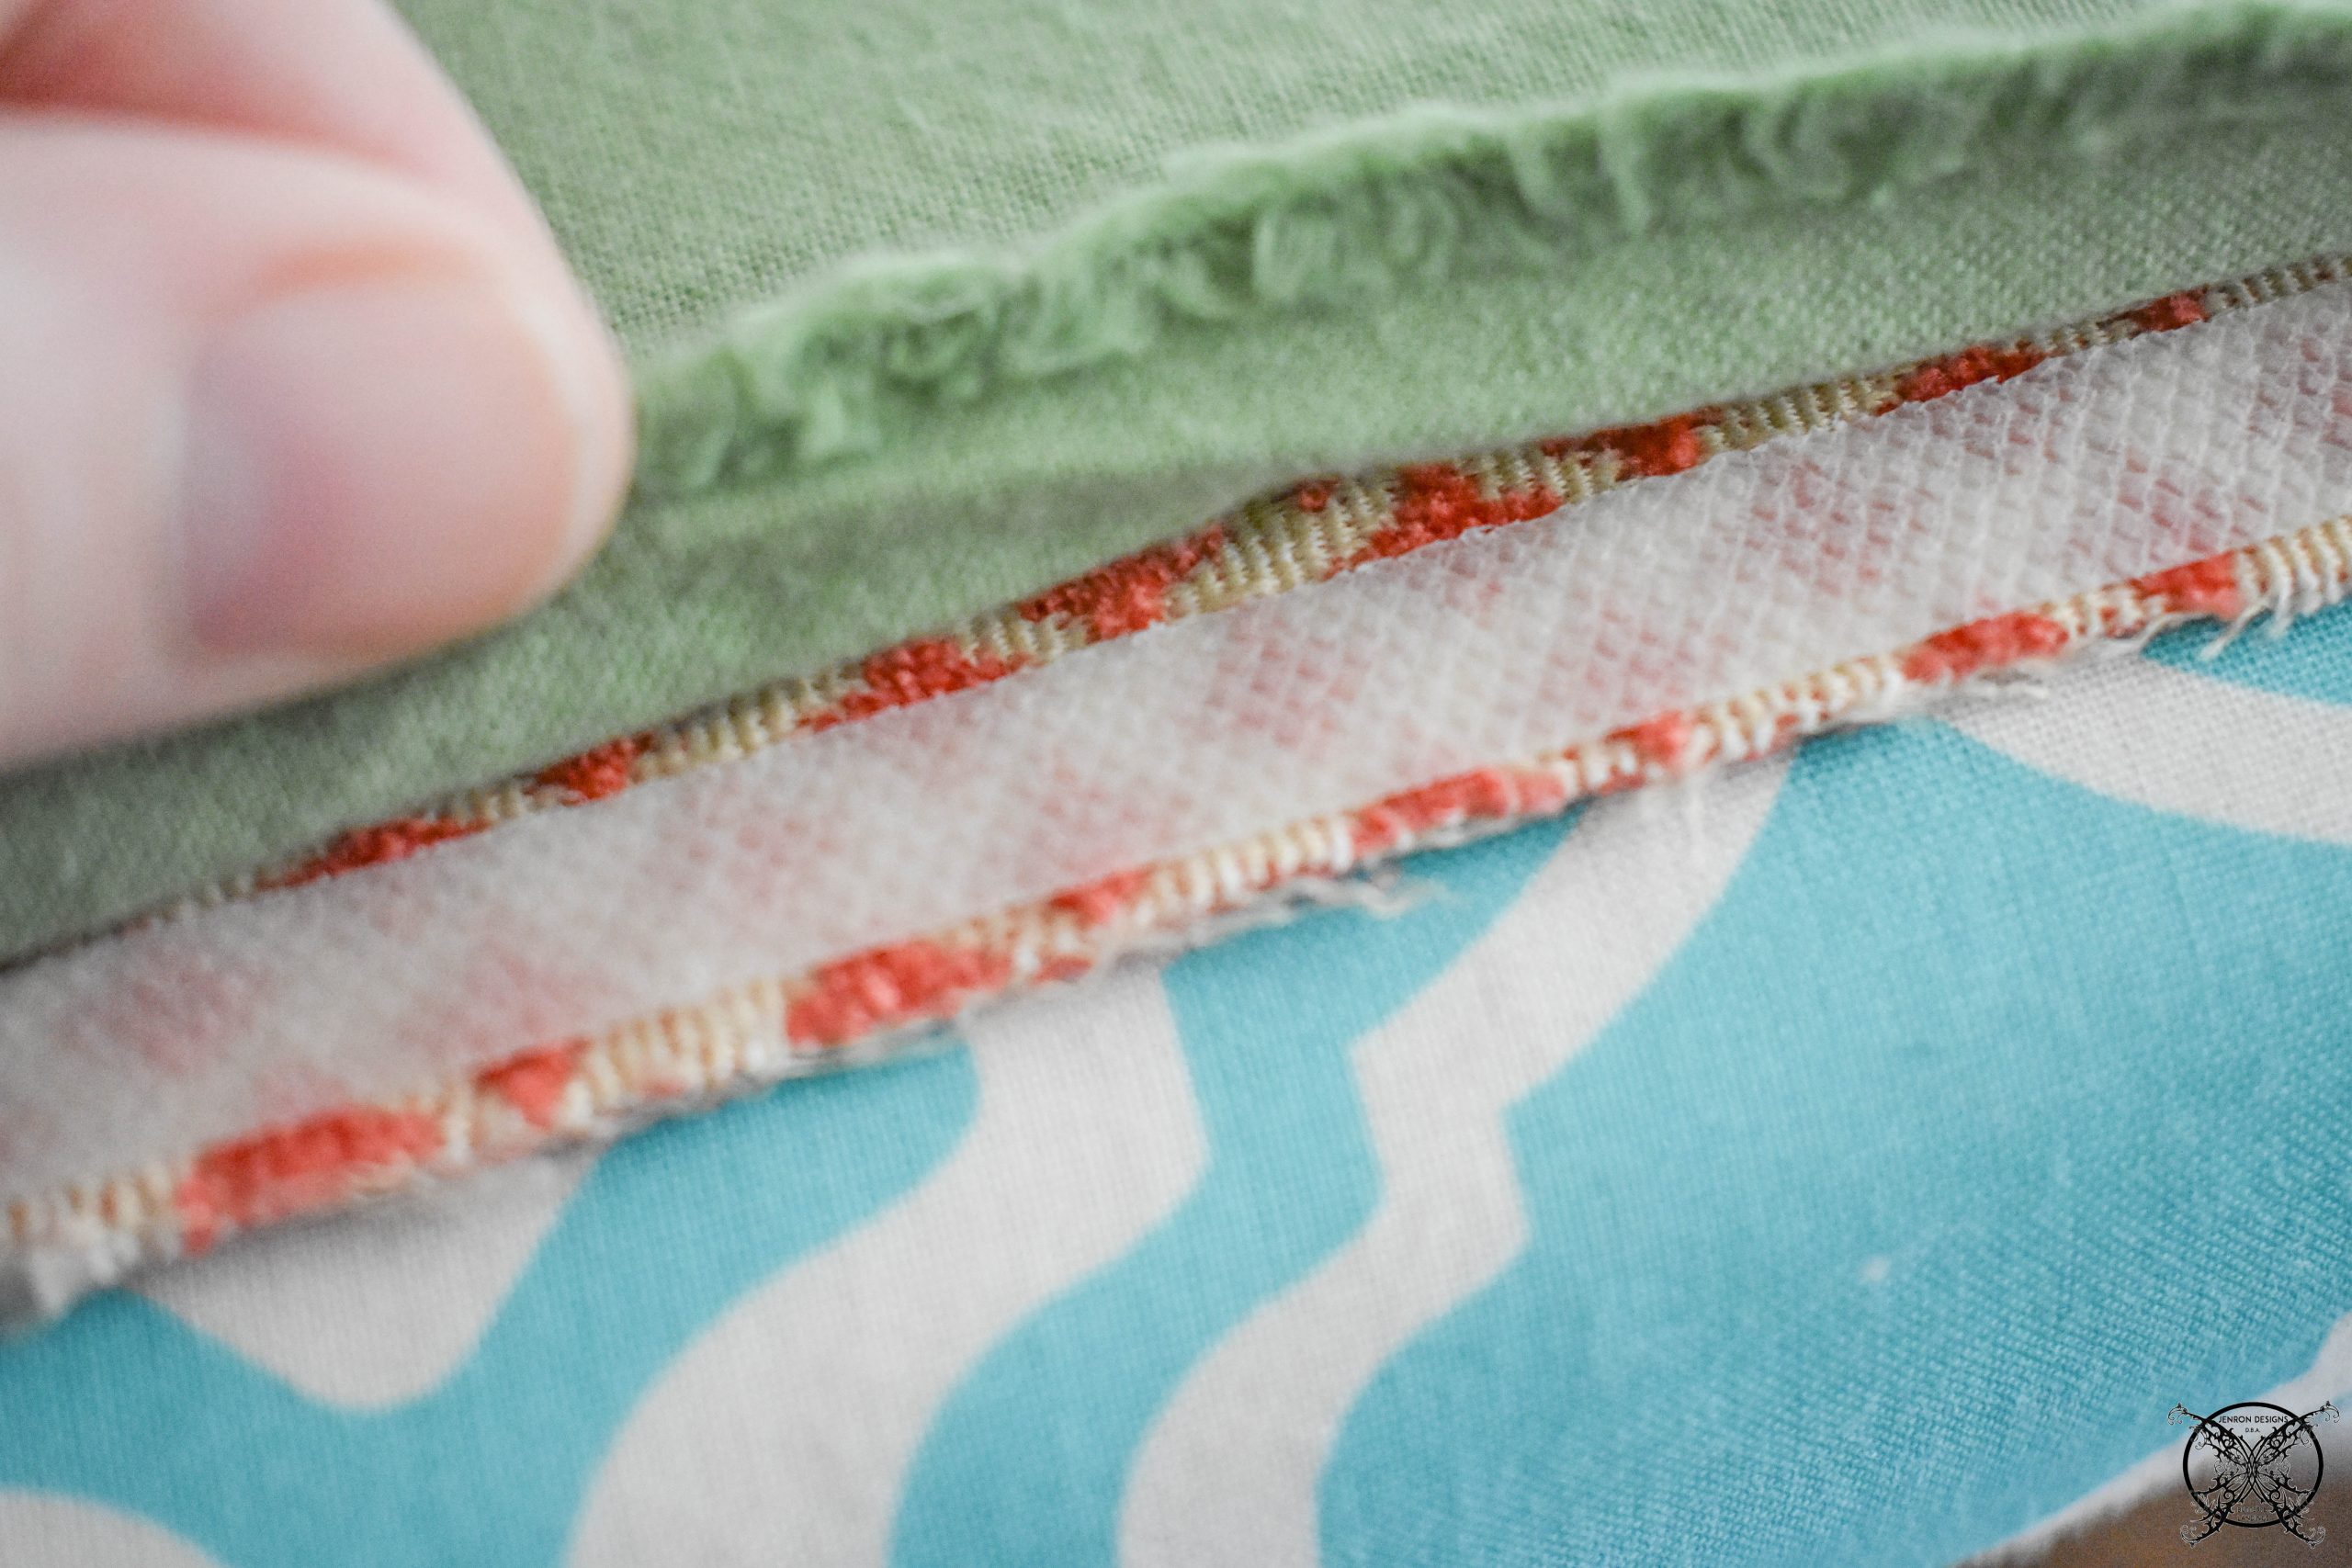 I just prefer the bonding technique as it is so much quicker and the seams are never seen behind the drapes, so to me it doesn’t really matter. I go for the time saver in this case. Once the green backer is attached to bottom third, on the back of your main fabric you can attach the main fabric to your header board with a staple gun.
 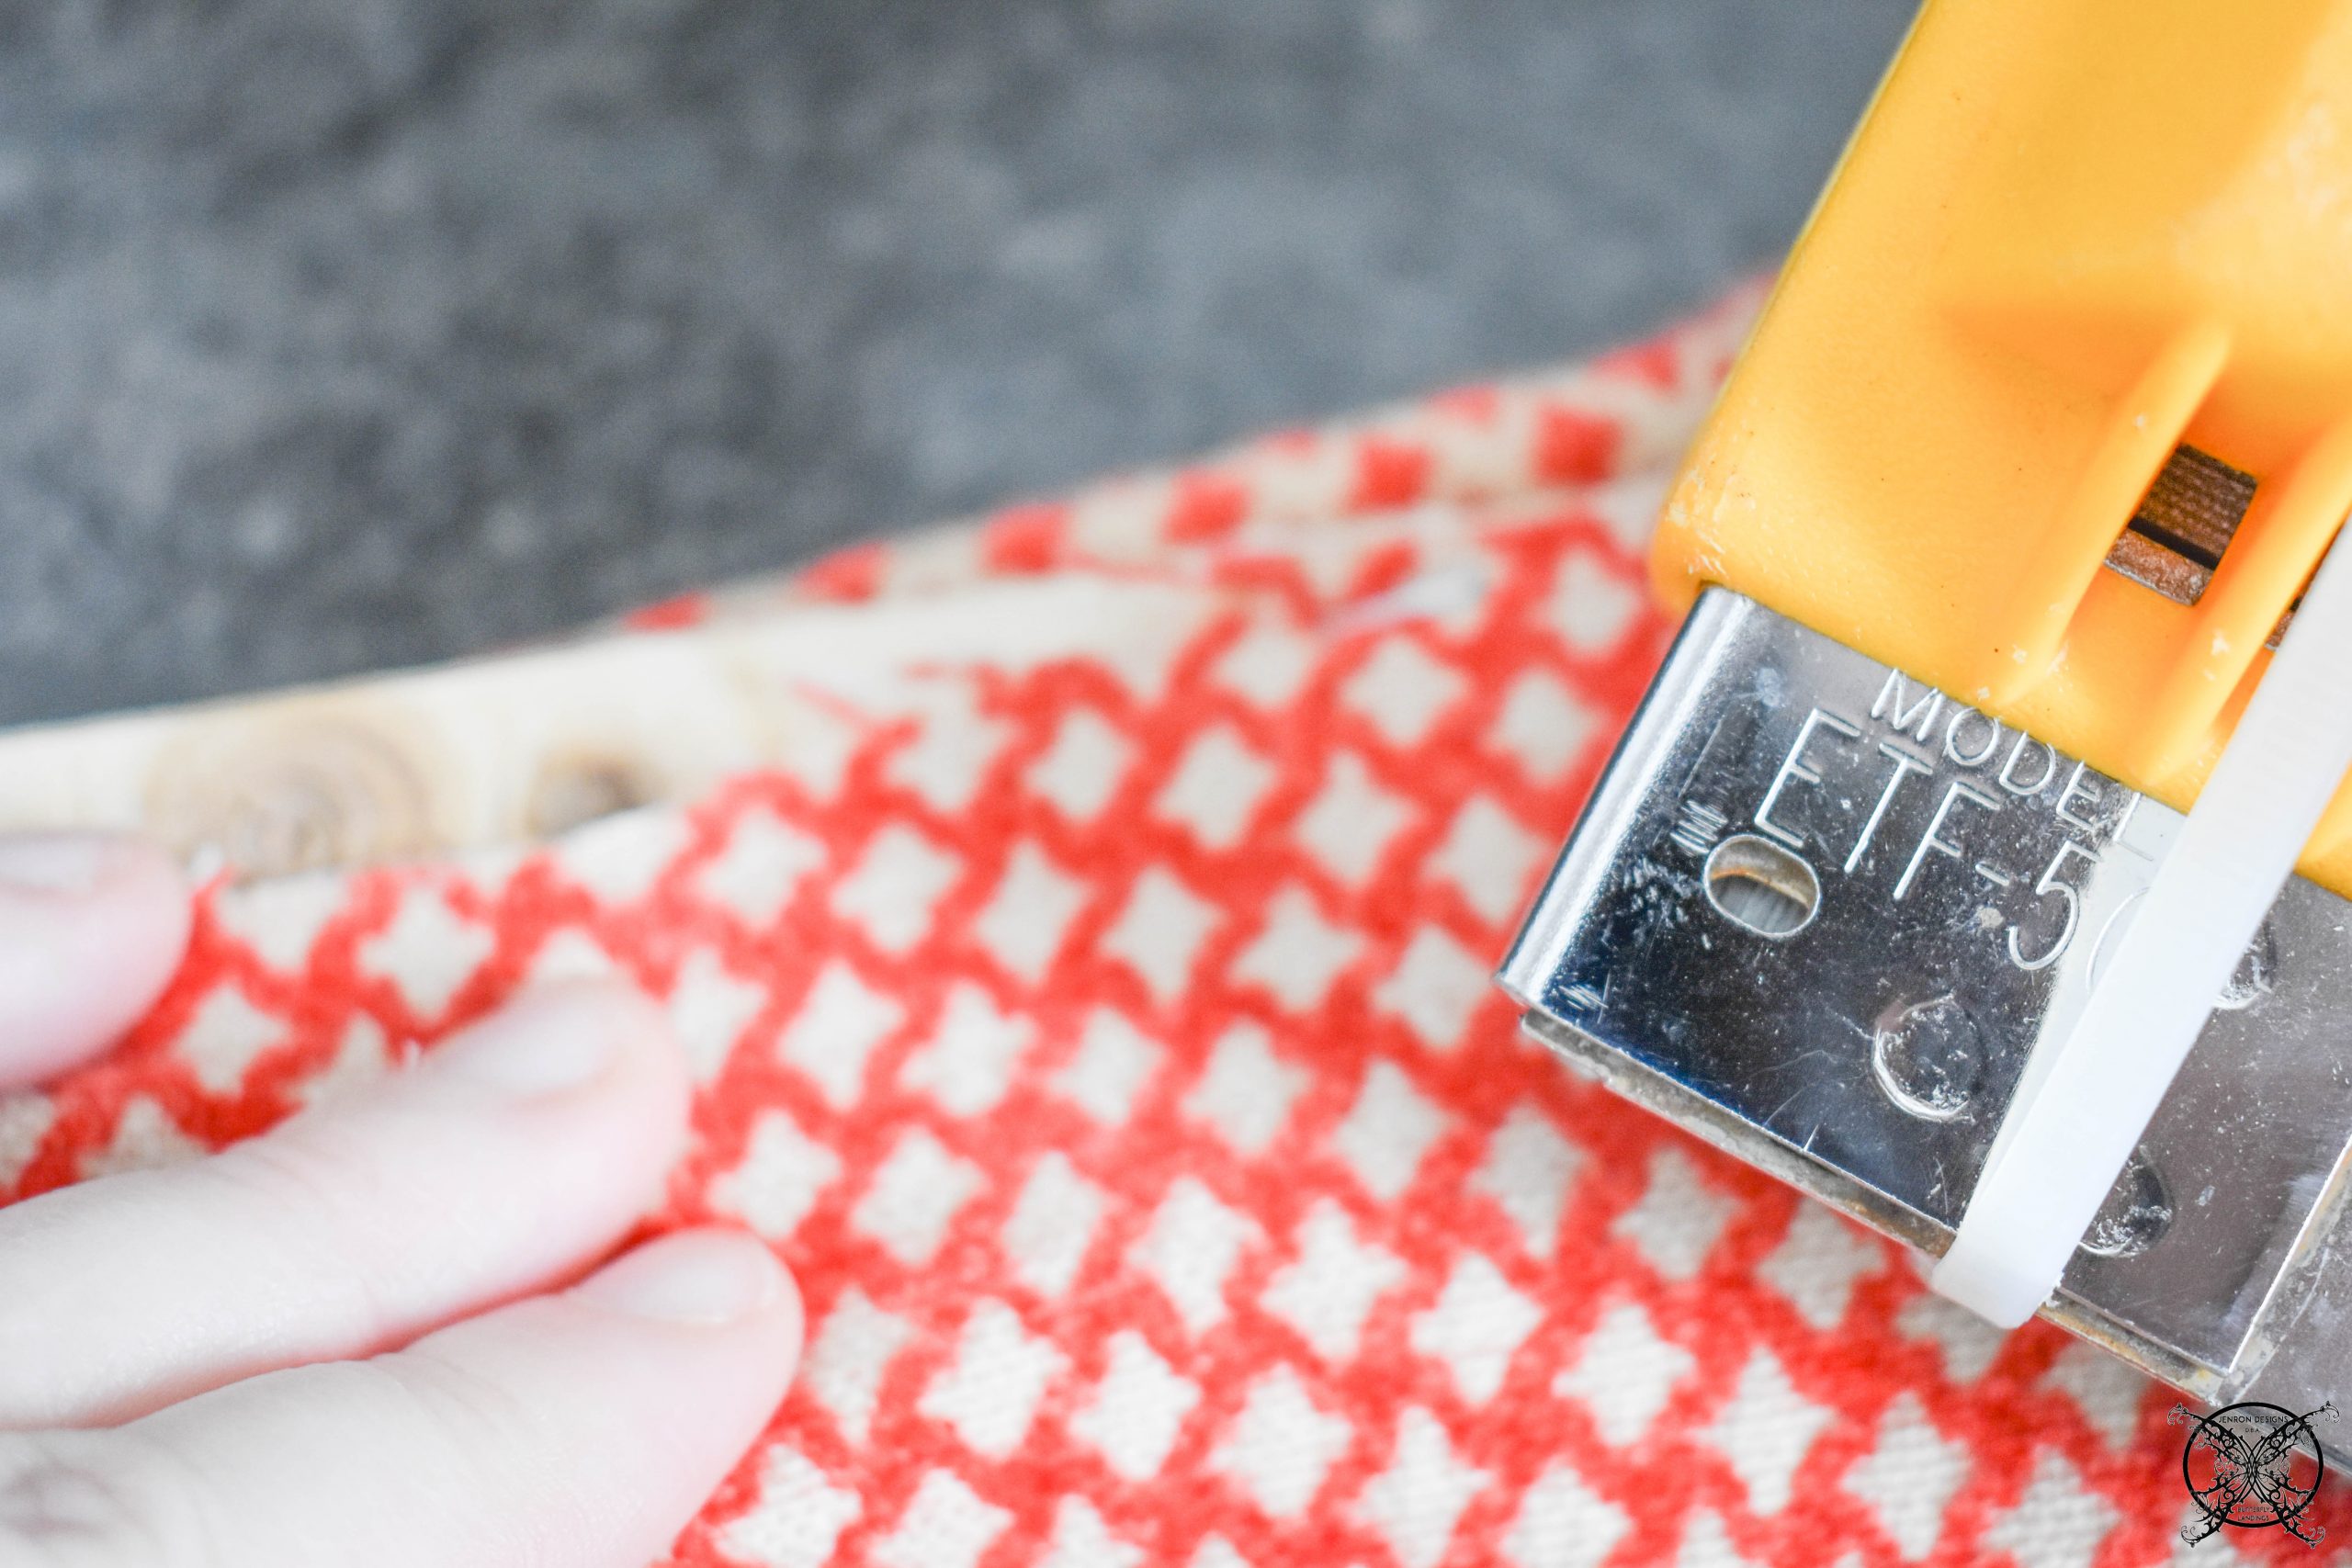 Then attach the cardboard tube to base of window treatment using the staple gun, be careful not to crush the round tube. This is very important! You really want to keep the round shape.
 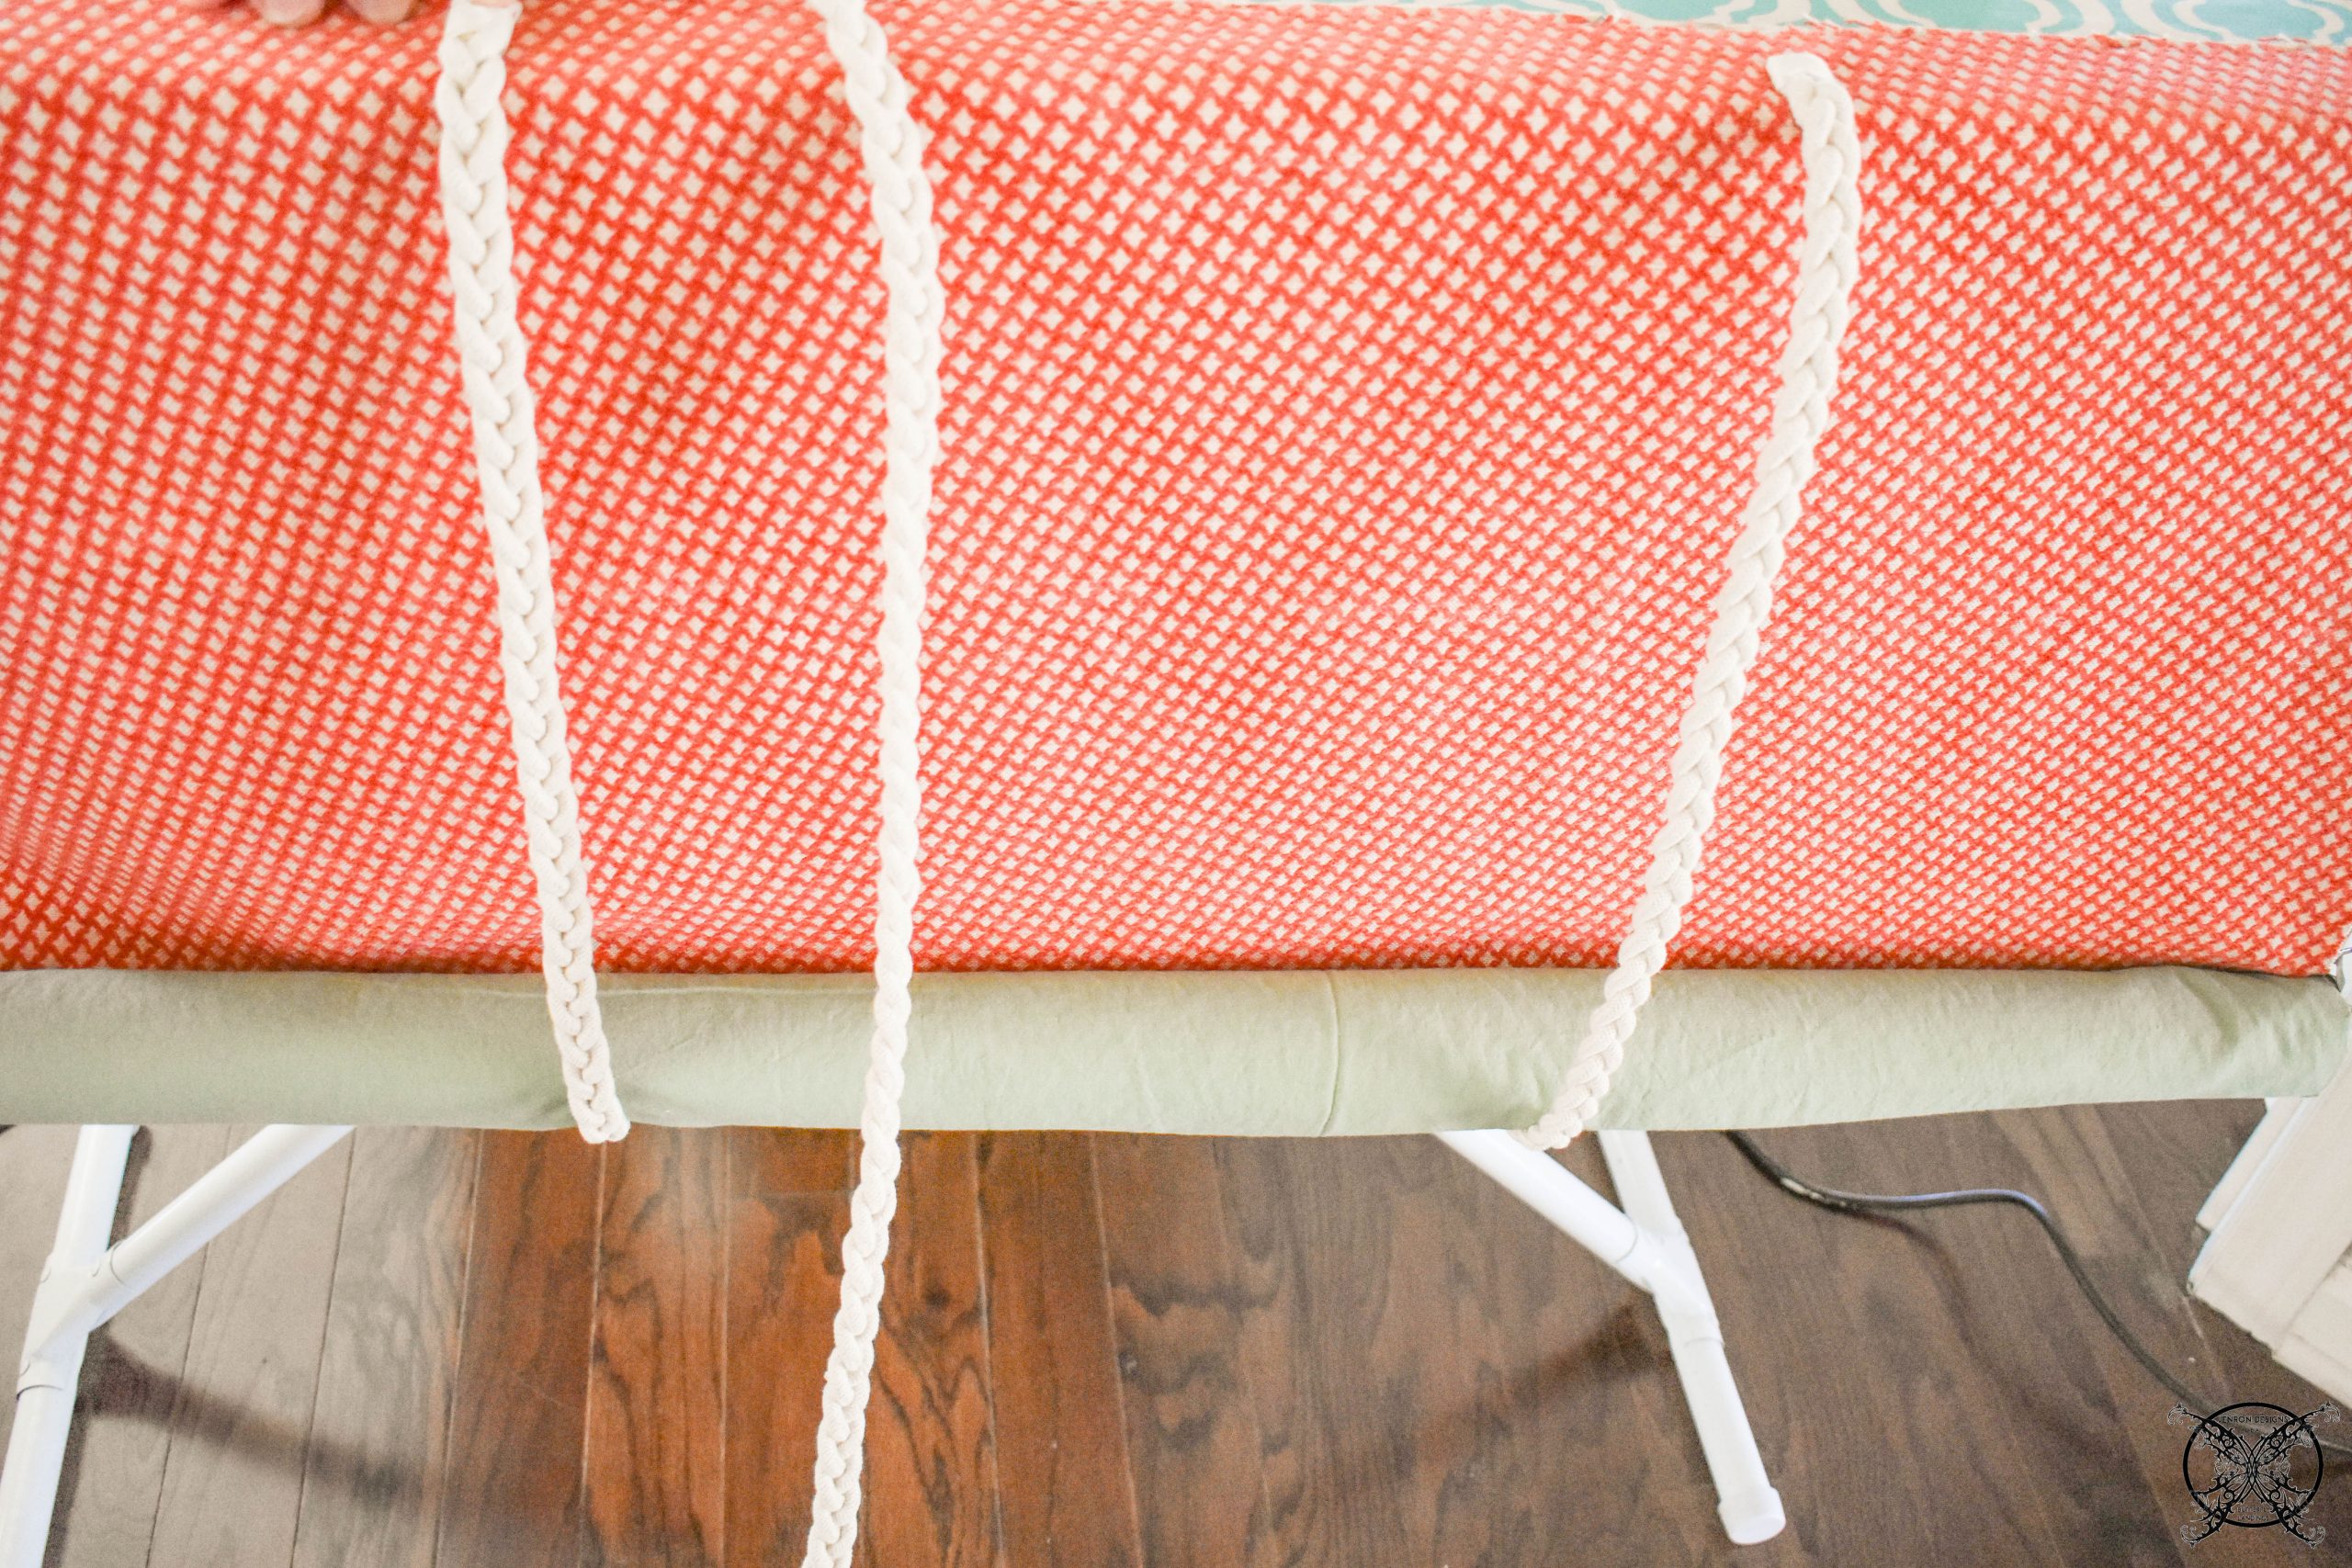 The next part involves rolling up the stagecoach valance to the finished length. This is actually how the valence got its name, since it looks like the enclosures used on actual stagecoach carriages to close up the windows. Which is why you could use leather belts, rope or even ribbon to tie up this part of the valence. I opted for this white rope to match the twin room decor, but in a previous home I used men’s leather belts for a study.
 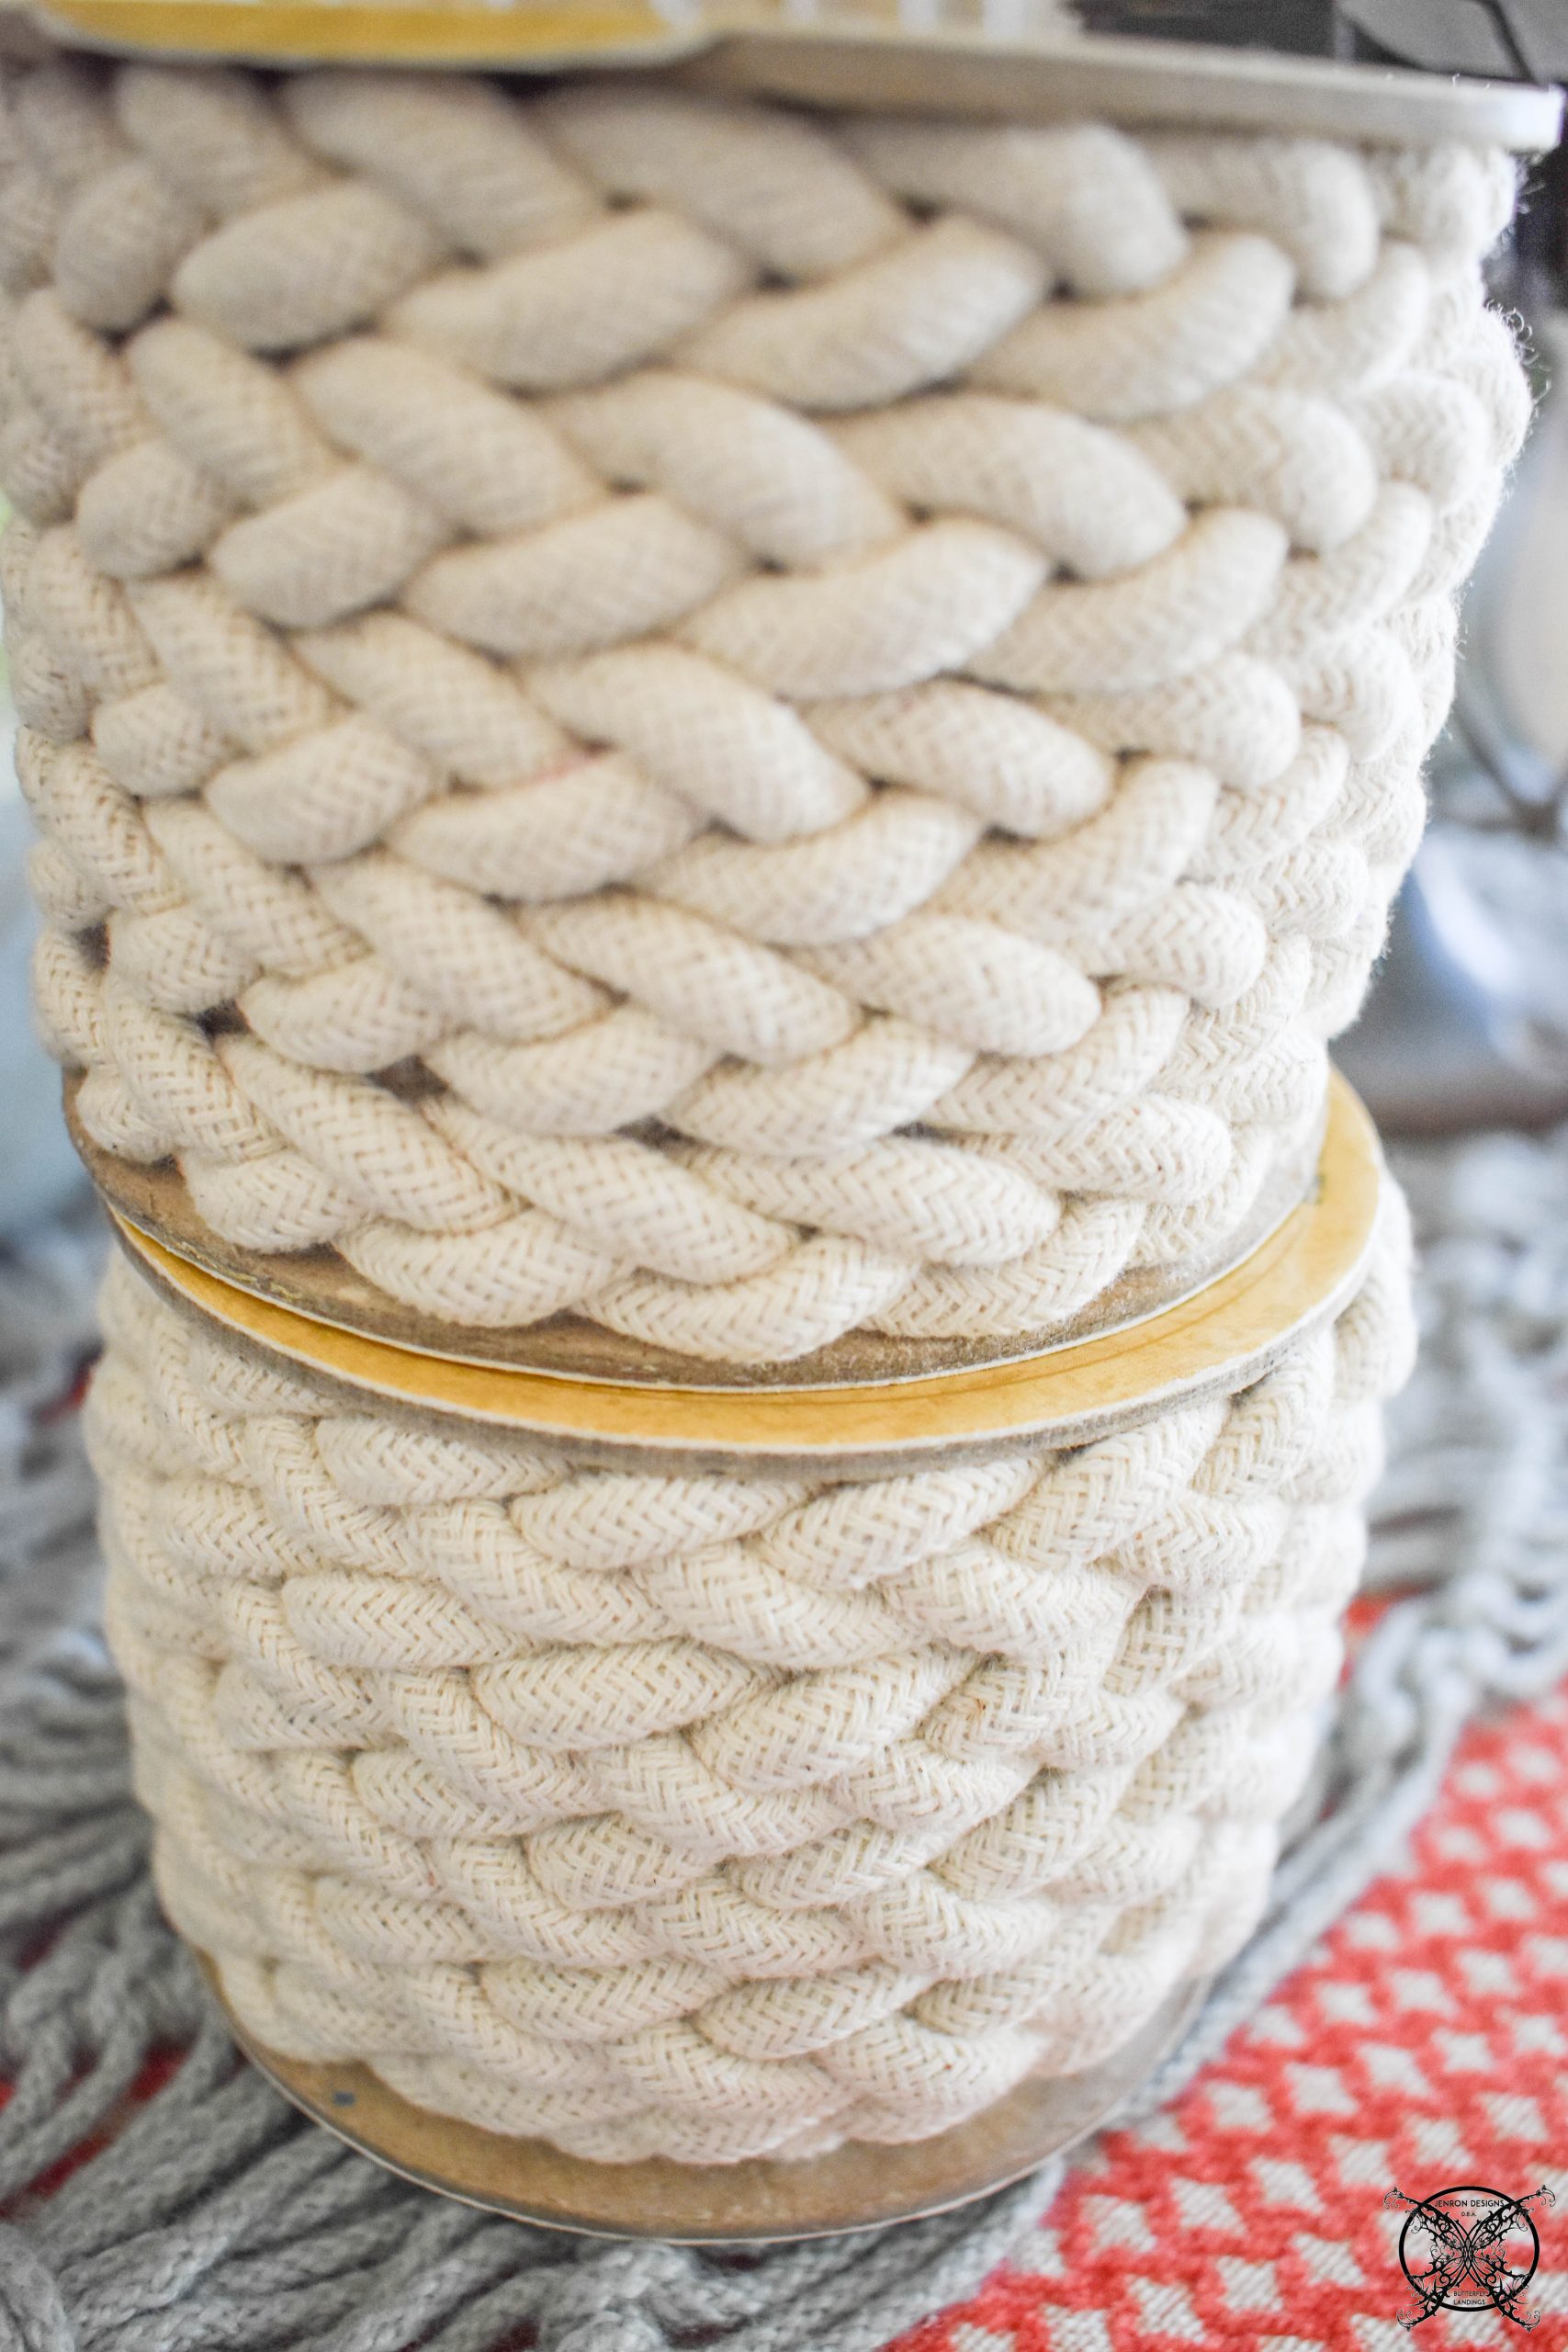 Once you have calculated the finished length for your window you will want to double it, make sure to add allowances for the header board for your rope length. An easy tip is to use a fabric measuring tape to wrap around the valence to get an exact measure for your rope or ties. You will be attaching one side of the tie to the underside of your header board and the top tie on the upper side of the board.
 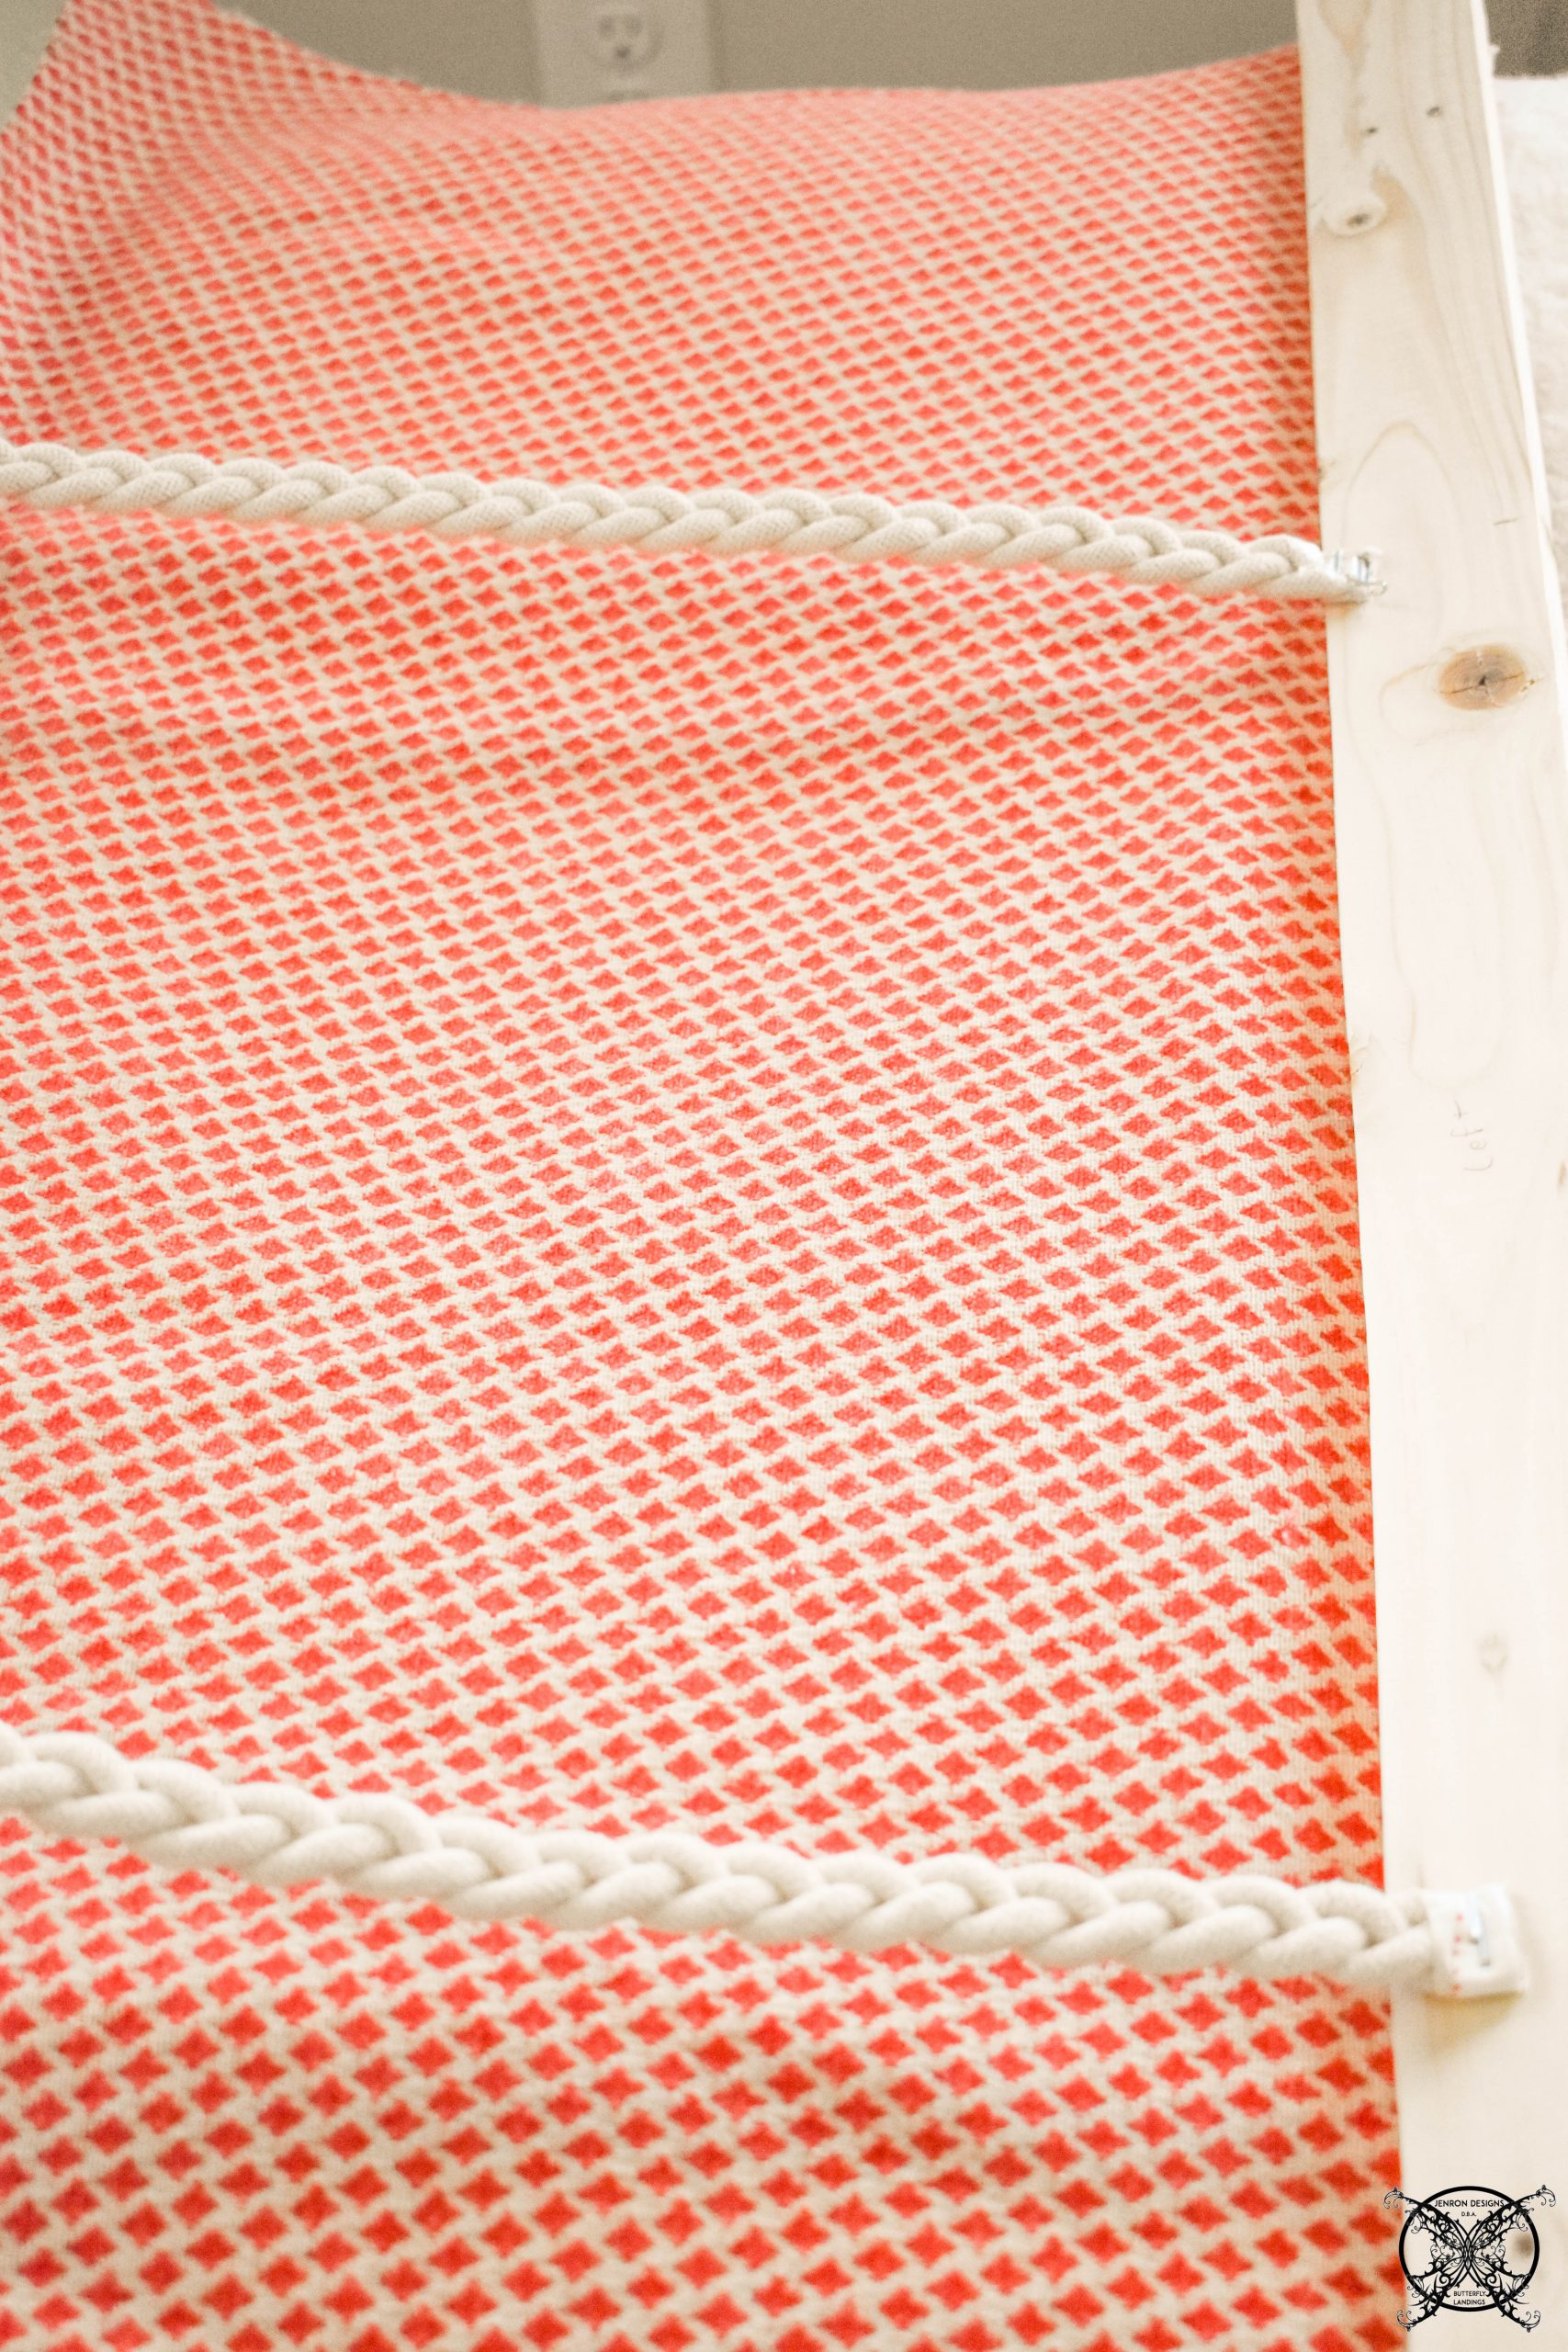 Since mine are not operational this measurement needed to be exact for the two matching windows. However you can see where a belt cut in half with buckles or ties would be handy to get this part level, and how this could easily be made into a roller shade.
 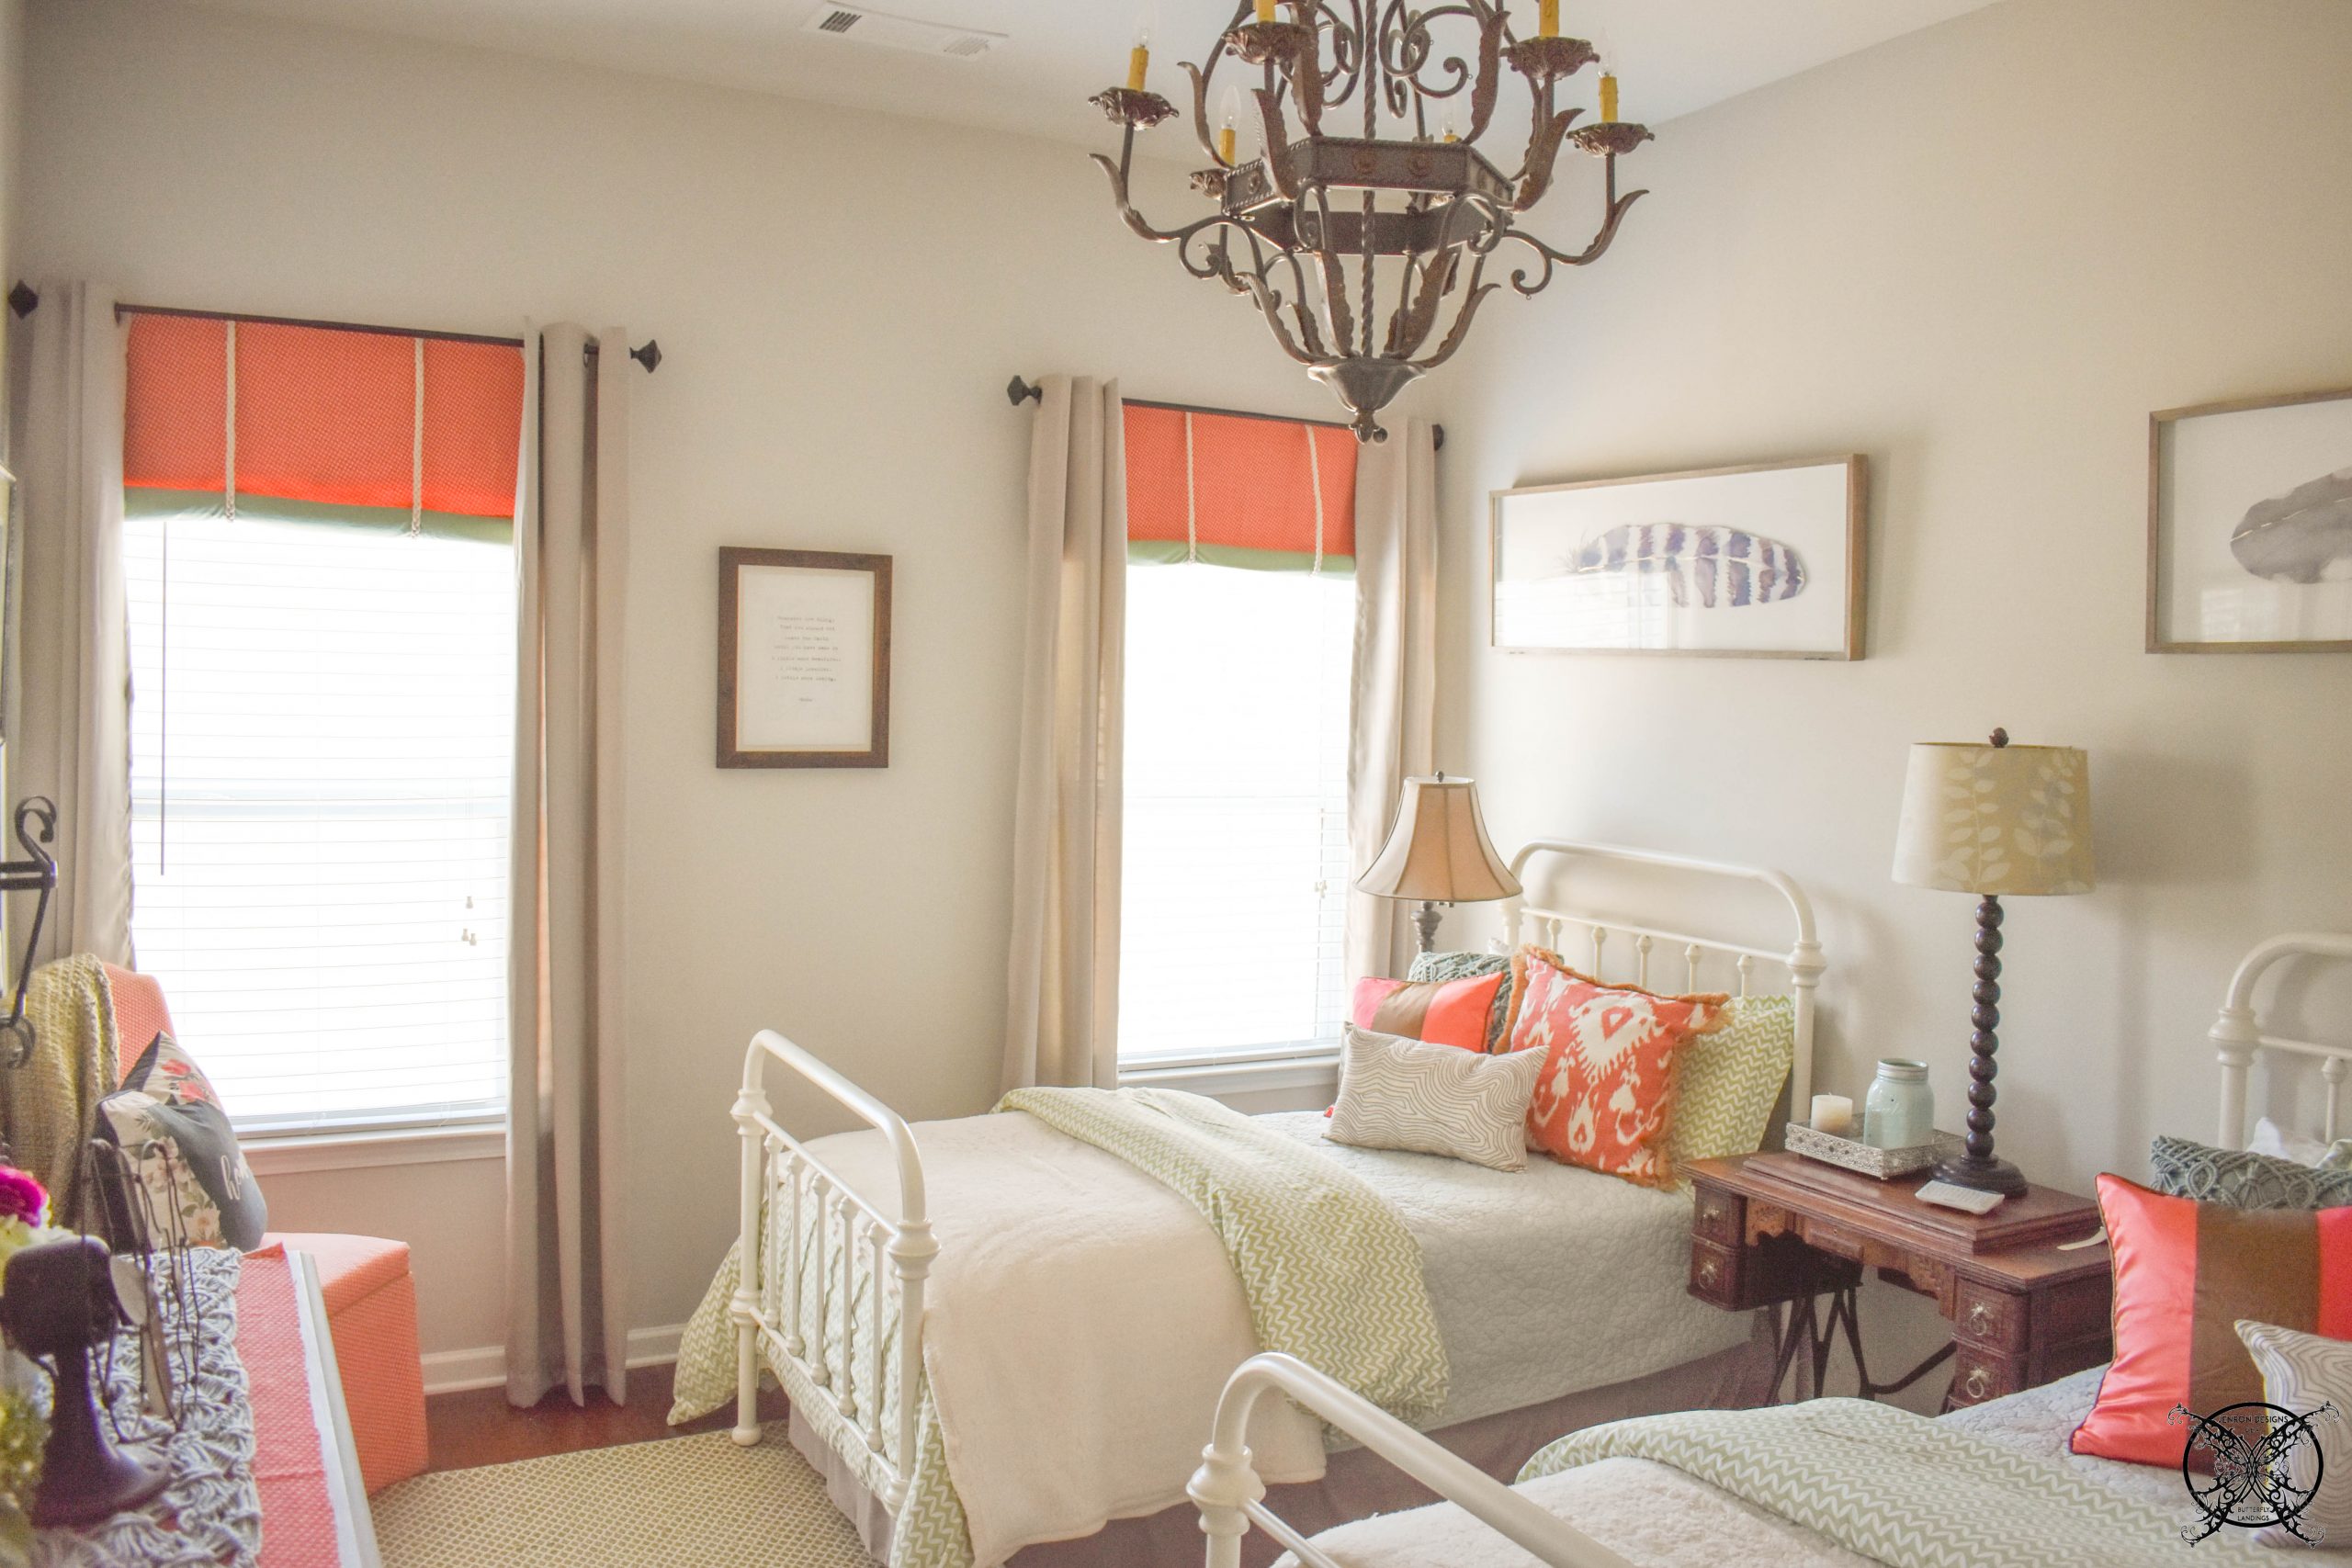 Once you have the two valances made the installation is done with a simple L bracket to the base of your header board then installed onto your wall. Most homes have window headers directly above the frame of a window, which is a large wooden board placed into framing when the homes are built, this is what you should install these brackets into.
 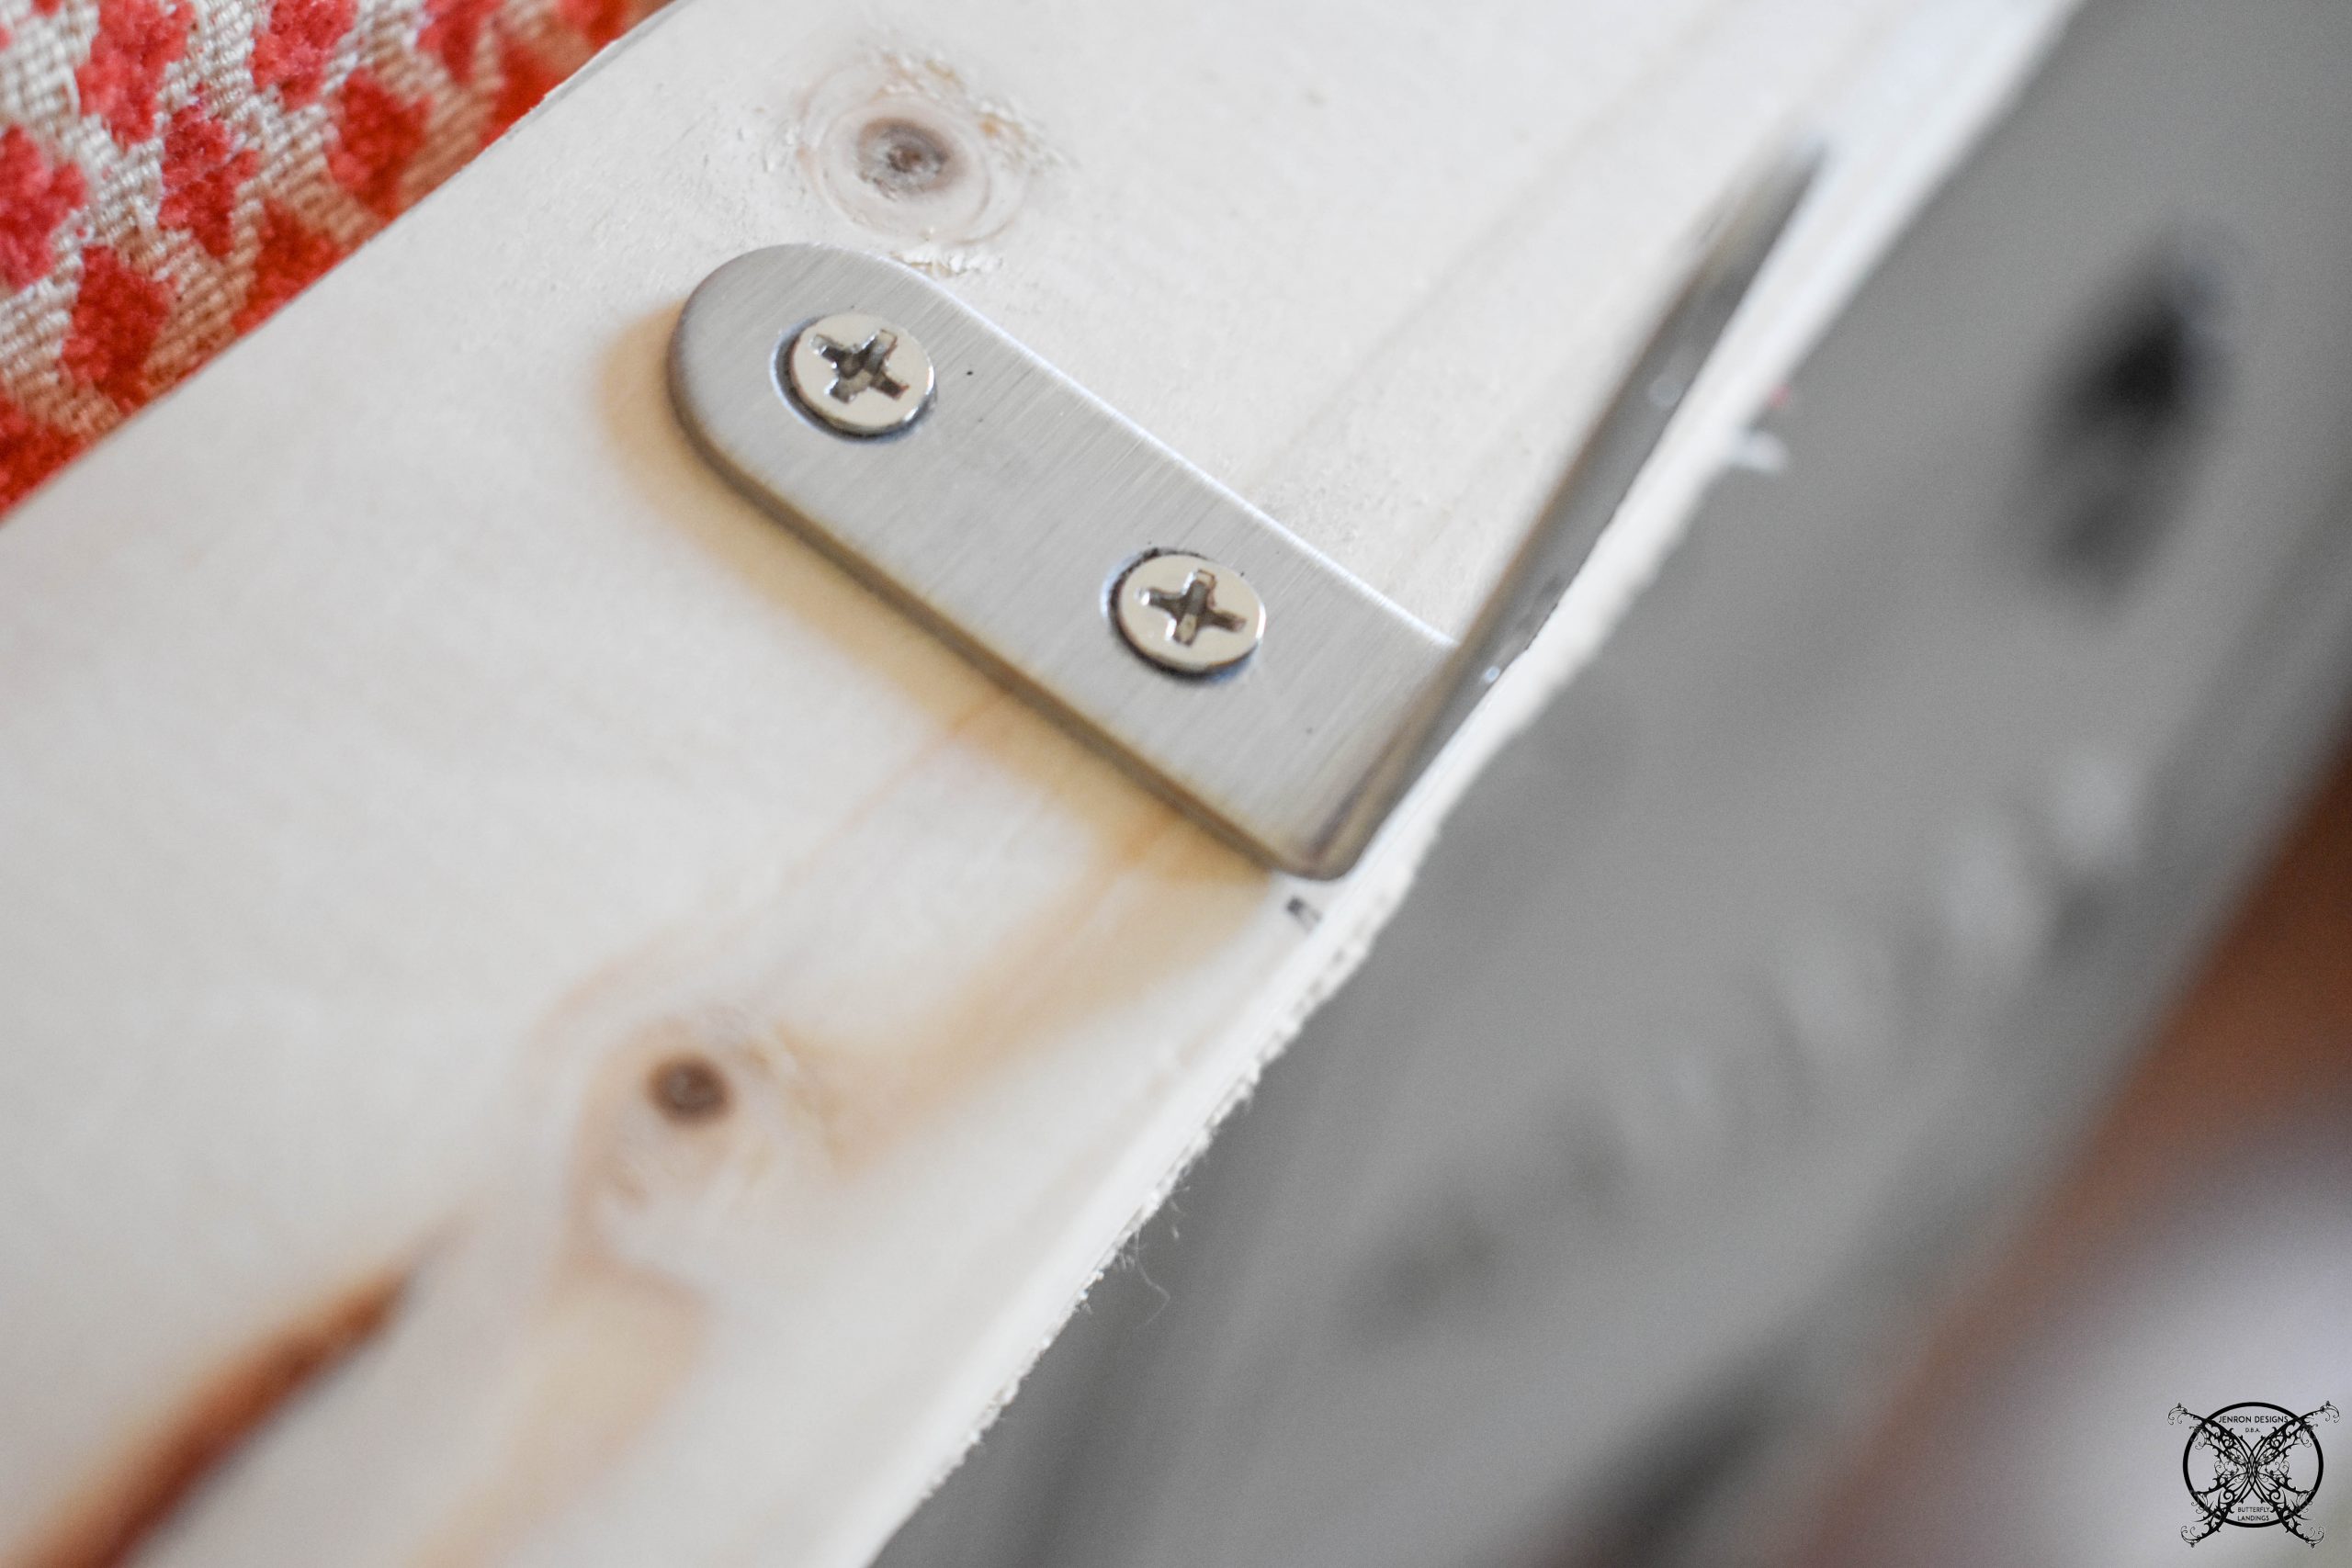 Sadly in a lot of the newer homes, builder today are skimping on this framing feature and are not adding these header plates; believe me I have watched it happen, first hand. If you find yourself in this situation you will probably need to add wall anchors during the installation, just make sure they do not pull out of your wall should they have any unexpected weight put on them.
 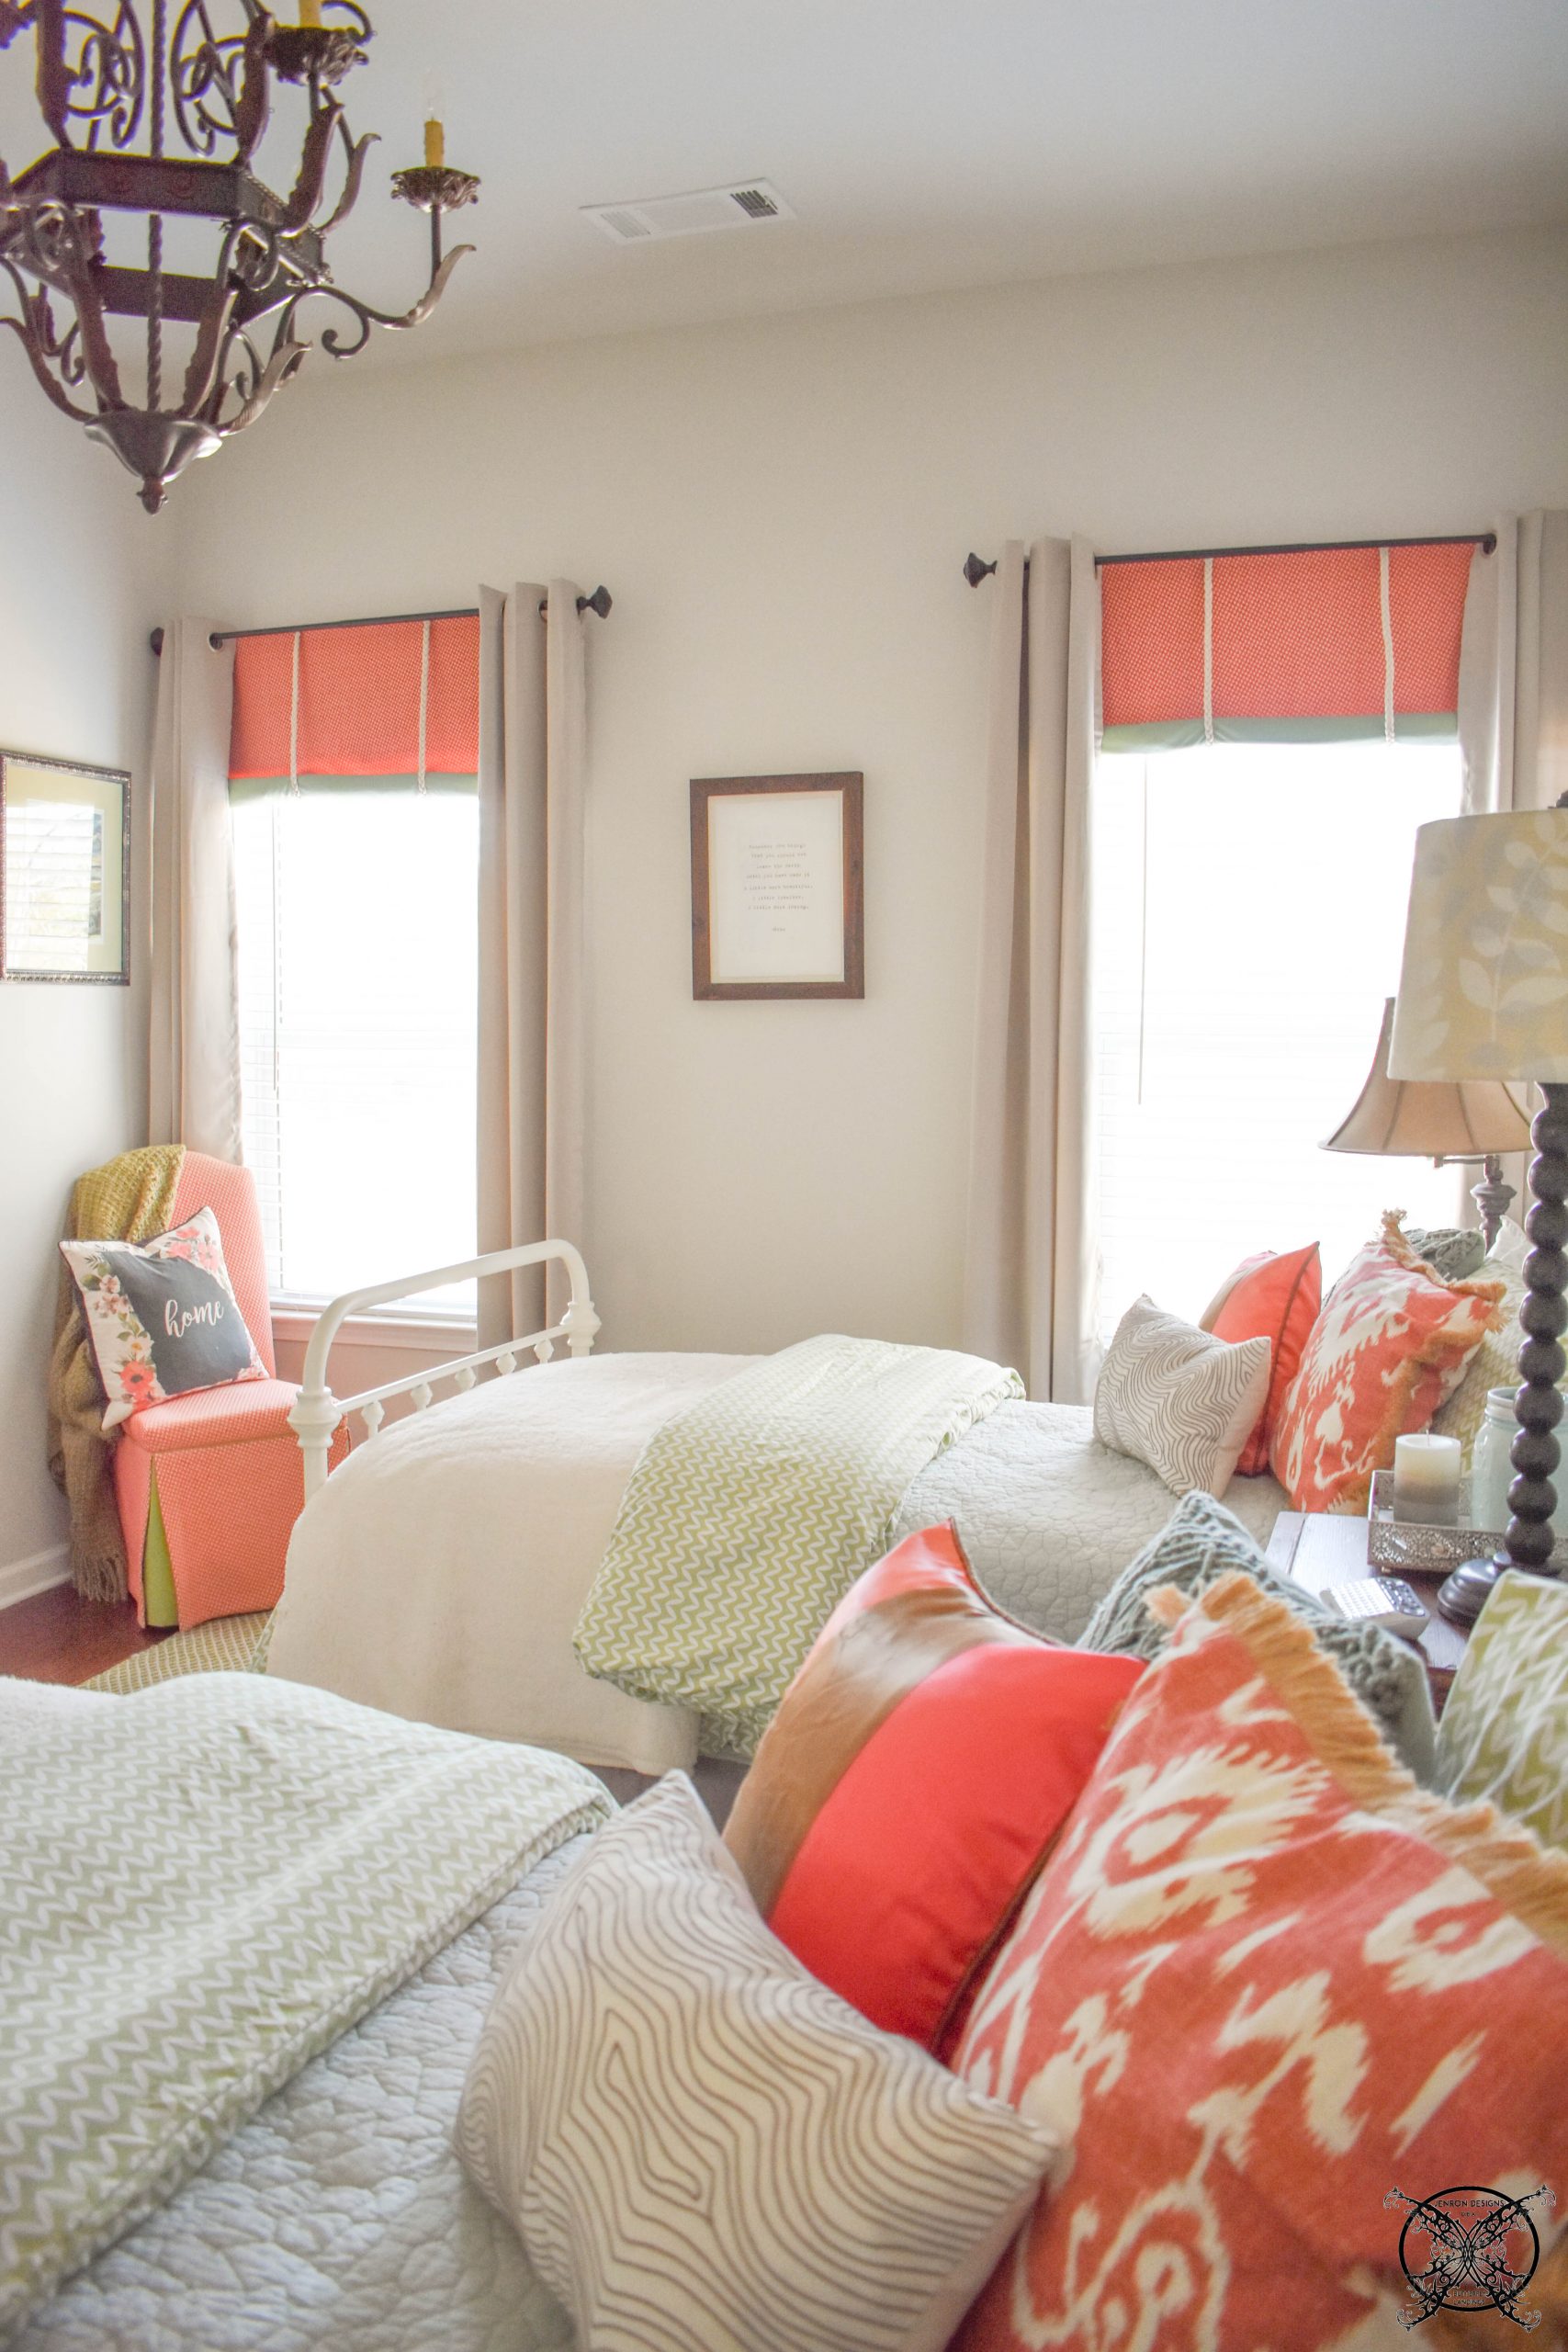 I hope you have enjoyed this easy DIY Stagecoach Window Treatments tutorial and it empowers you to create this fun valence in your home soon. It is a really easy and great way to dress up a space and bring in your focal theme color, without breaking your decorating budget. Plus your really do not even need to know how to sew at all, just the ability to work a staple gun, iron and screwdriver.
PIN ME for later and be sure to follow us on Pinterest at Jen @ JENRON DESIGN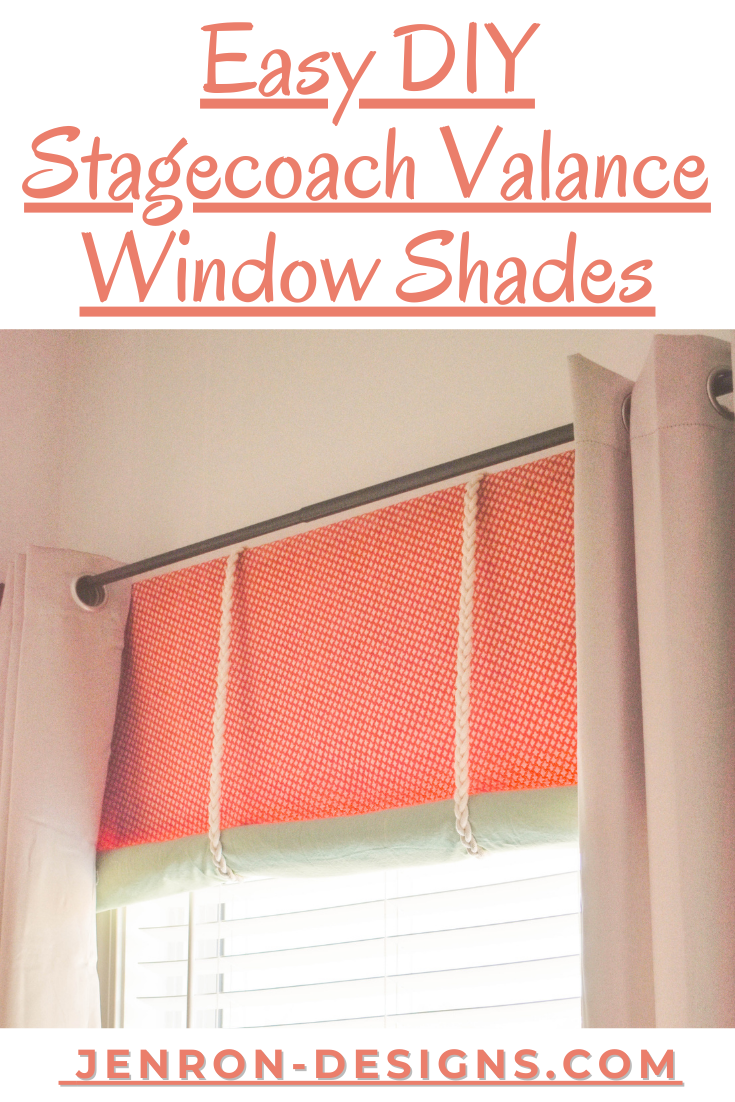
This is lovely bedroom decor. I find it simple and so sweet.
Wow these turned out awesome! I love the color too! It brings such a nice touch to the room.
What a lovely curtain! I’ve been looking to add these to my home and I was so excited to find your DIY project. This came out perfectly.
We’ve been looking for something to do for my youngest daughter’s room. This is absolutely perfect!
Great addition to the room. I must admit thoe beds in the imagery stole my eye … so comfy – I wanted to jump through my screen and dive into one. Stunning work as always
I love how these turned out. I need to do this for sure. Our windows are blah.
Those turned out great! What a great way to get exactly the style/colors you are looking for…DIY!
Such a pretty design and I love how easy they are to make. Thank you for sharing this how-to!
These DIY curtains add such a pretty accent to windows. They seem really easy to make too which is a bonus!
Oh these DIY curtains are so fun, I should totally do this in my house, thanks for sharing this
Affordable draperies are hard to come by these days. Most custom workrooms are deeply overpriced with mark ups from designers and fabric houses, and the stuff you order online is just cheap and does not last. You either have to make it yourself or your are SOL.