DIY Custom Winter Tree Print Project
Hello Everyone and Happy New Year! Today I am sharing a DIY Custom Winter Tree Print Project I decided to embark upon over the holidays.
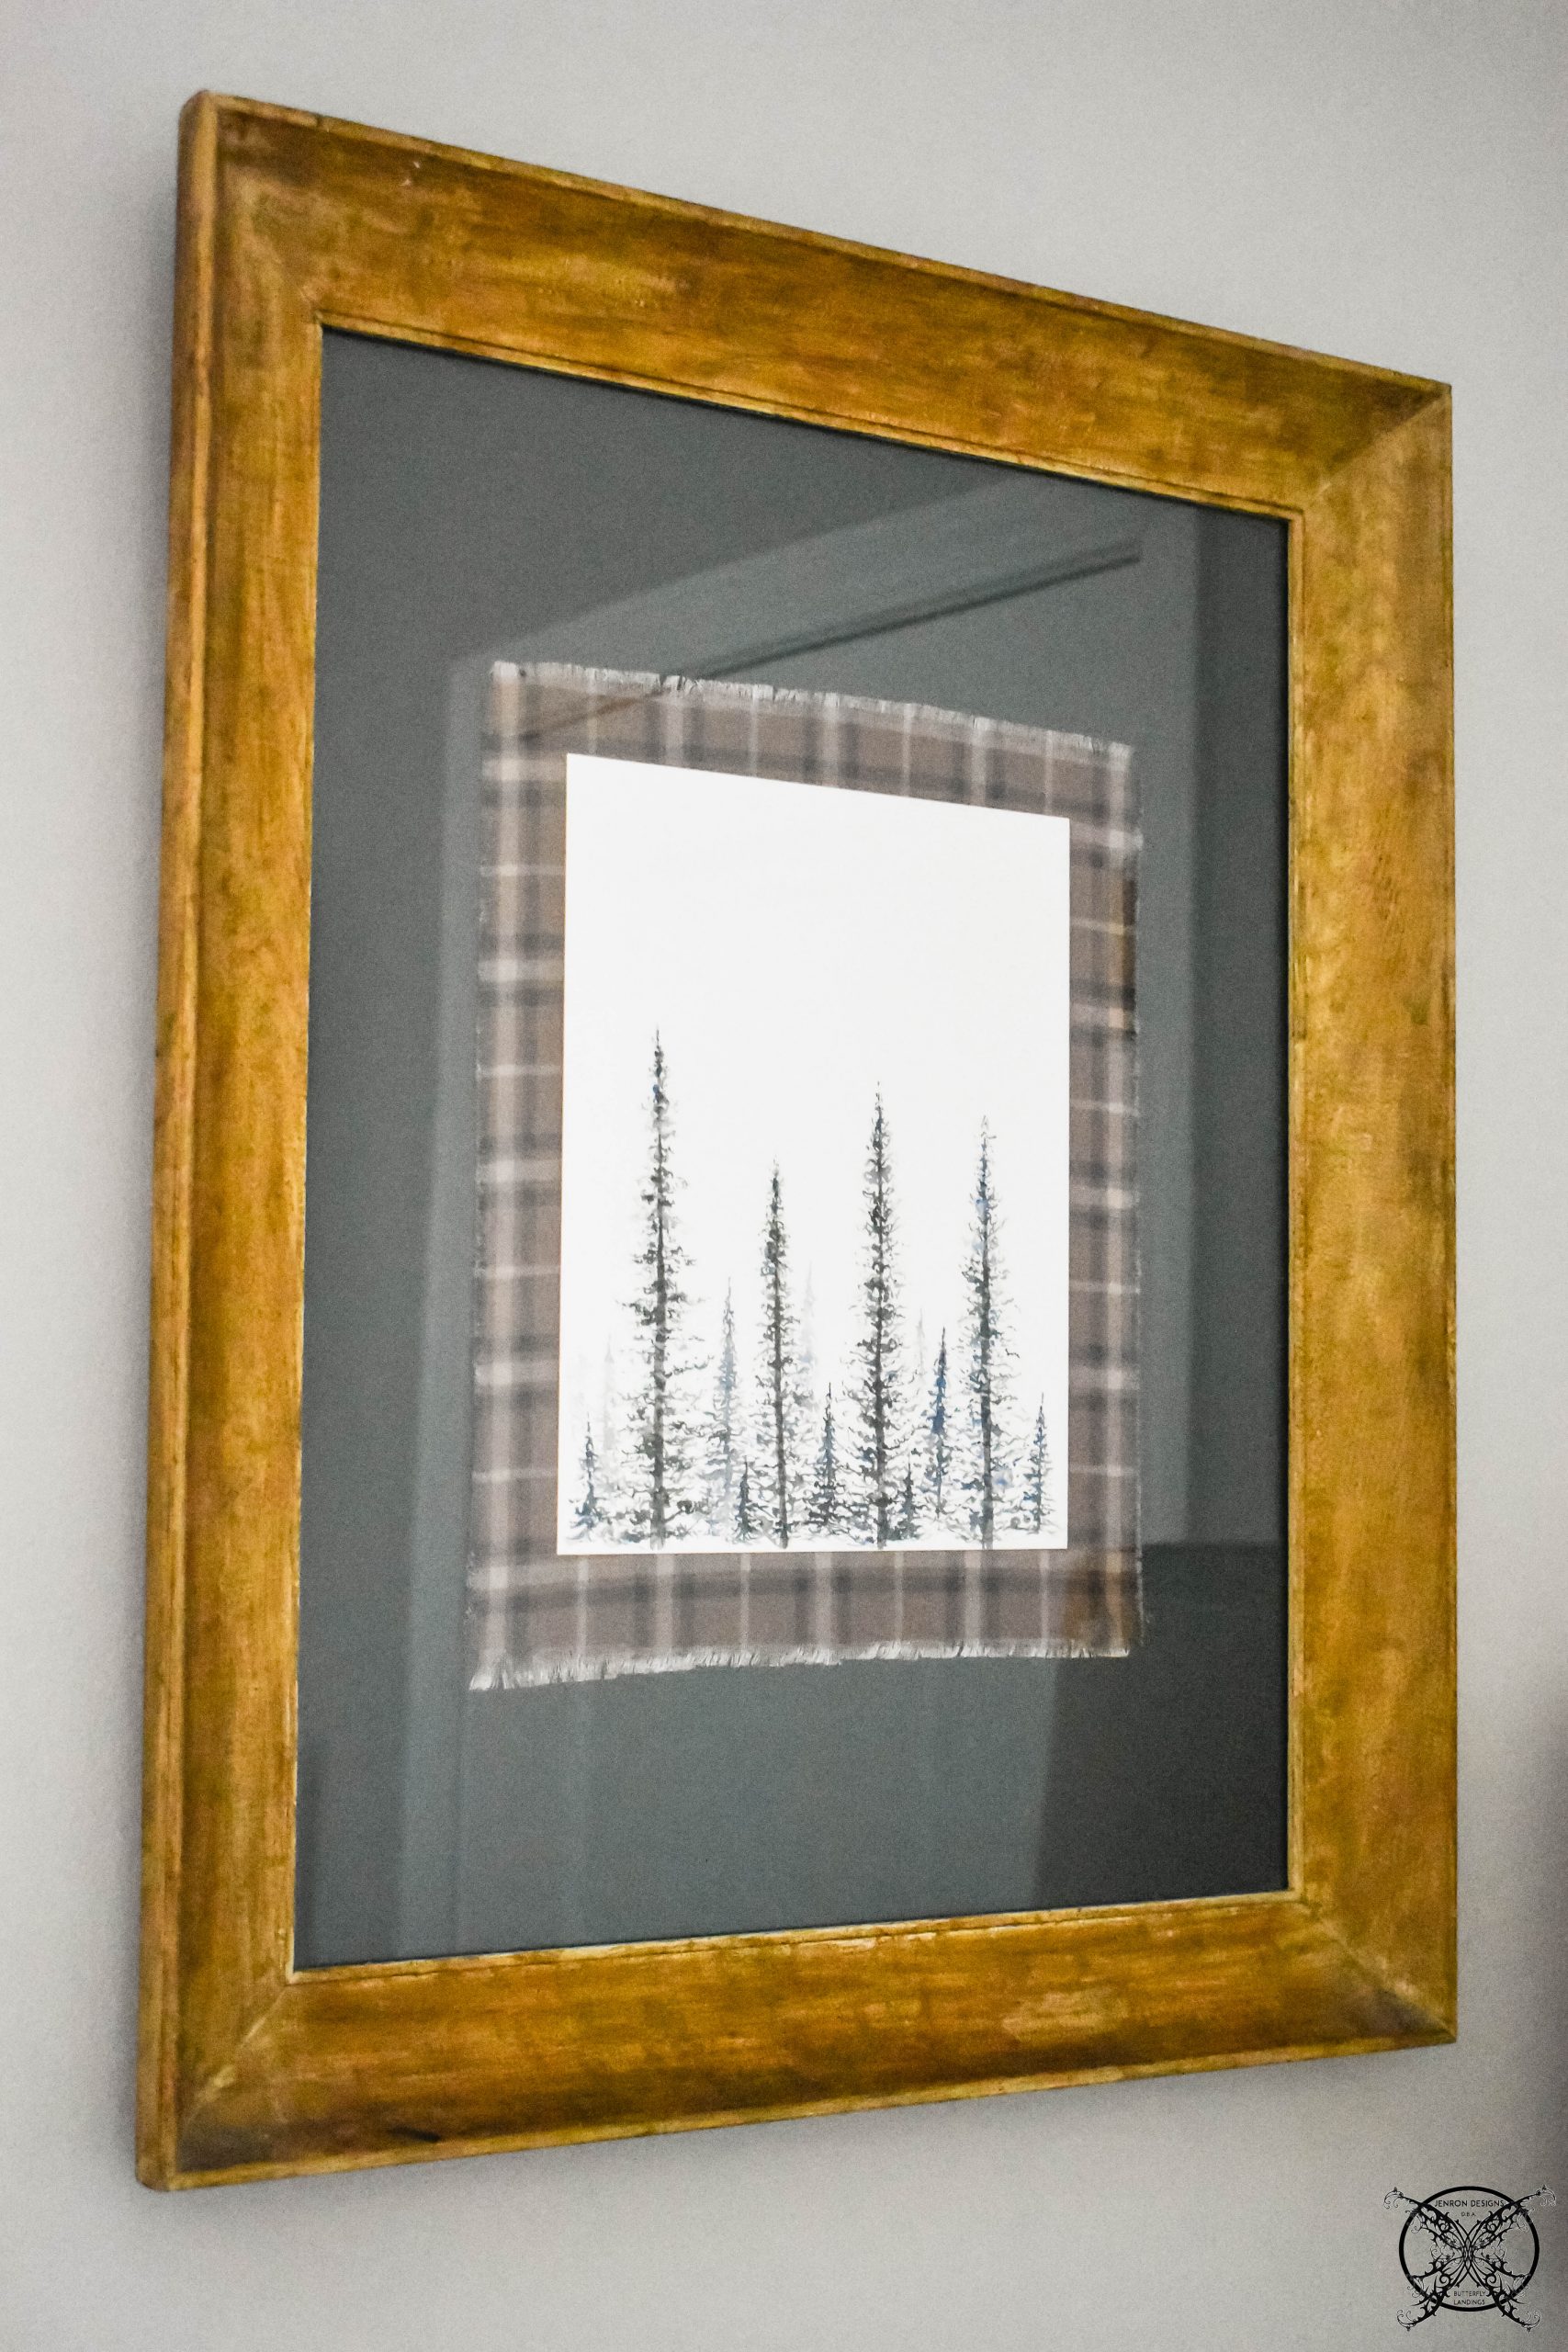
Hello my friends today I am sharing a DIY Custom Winter Tree Print Project. I procured this lovely print from my friend Michelle over @bluebonnet_home a few months ago. I loved this amazing print so much, for our rustic Woodland guest room, but just knew that it would require a very special custom framing technique.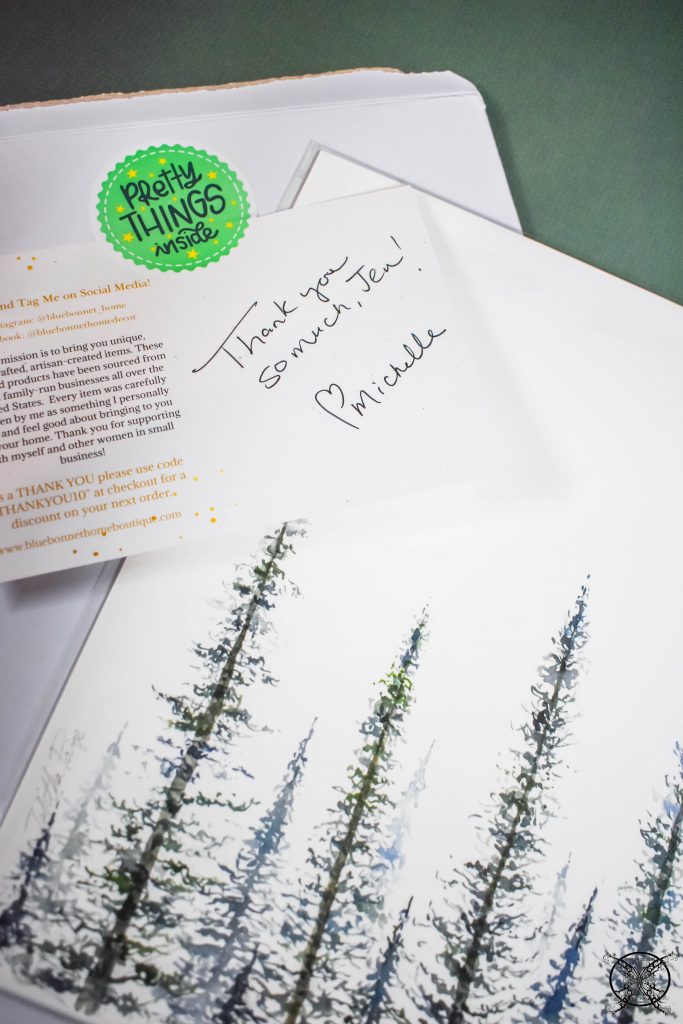 With the holidays right around the corner I did not want to rush this process at all, since this would be a piece that is going to live forever in this space. My vision included bringing out the the pretty greens and mounting the print onto a window pane plaid fabric background for a upgraded artwork feel that you might see in a lodge decorated with Ralph Lauren.
 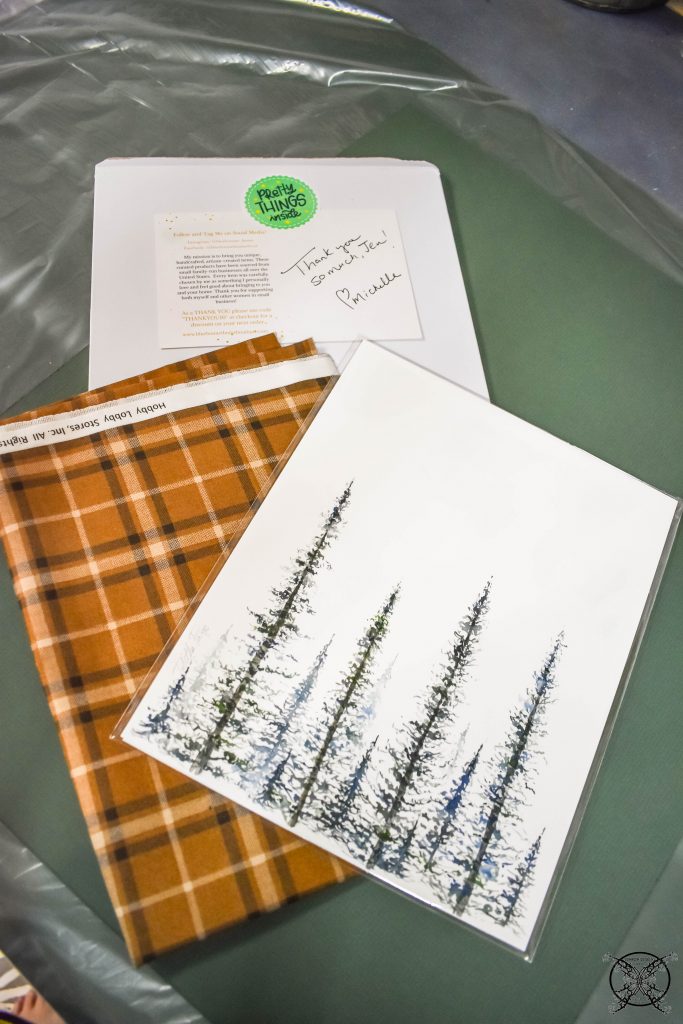 I also knew that I would be repurposing a vintage frame that belonged to my great grandmother, which is probably from the 1930’s to be honest. Which is why this project needed to be done when I had no other distractions or projects spinning.
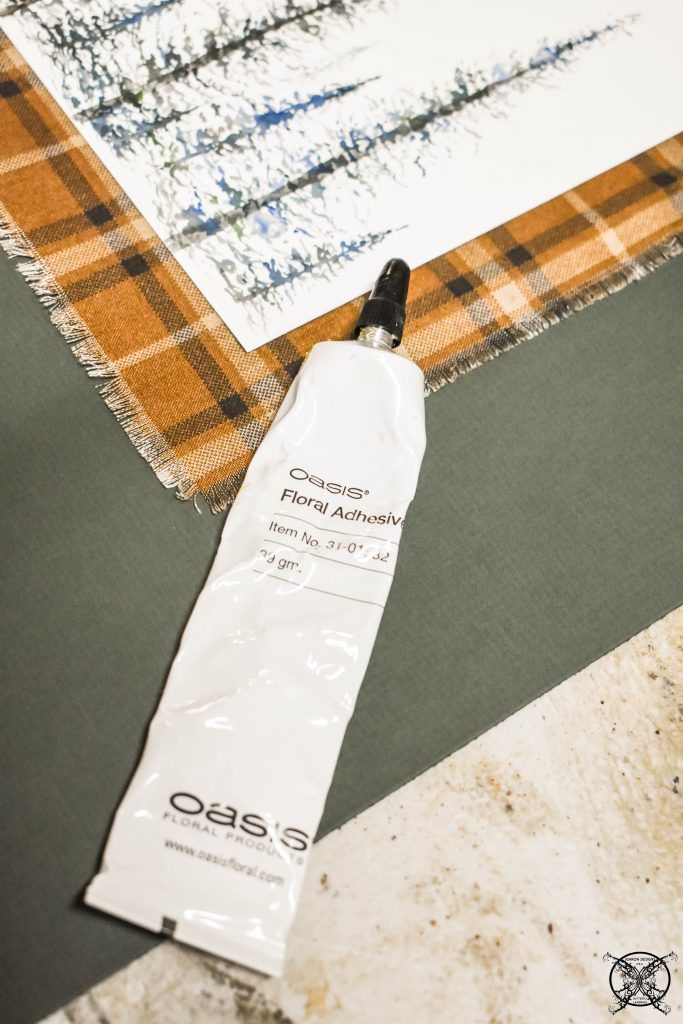
 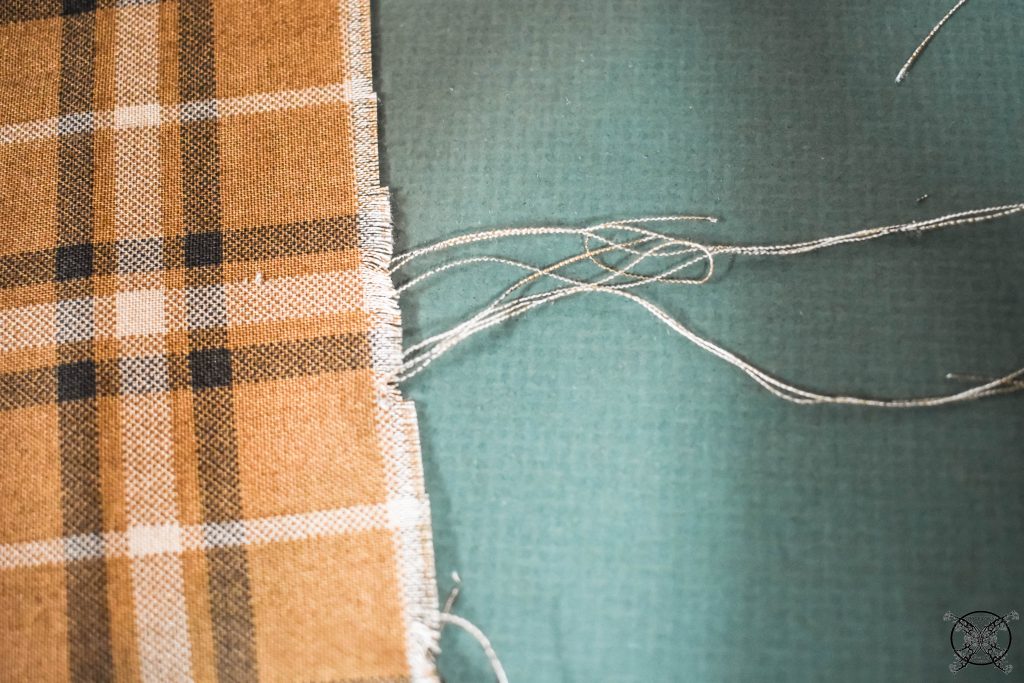 The first step was to cut the fabric 1 1/2″ larger than the actual print. Then To fray the the fabric 1/8″-1/4″ depending on how it looked with the print. I was going for a very rustic look. To fray the fabric I just pulled the loose ends of the stitches until the desired amount fringe was exposed, as seen above.
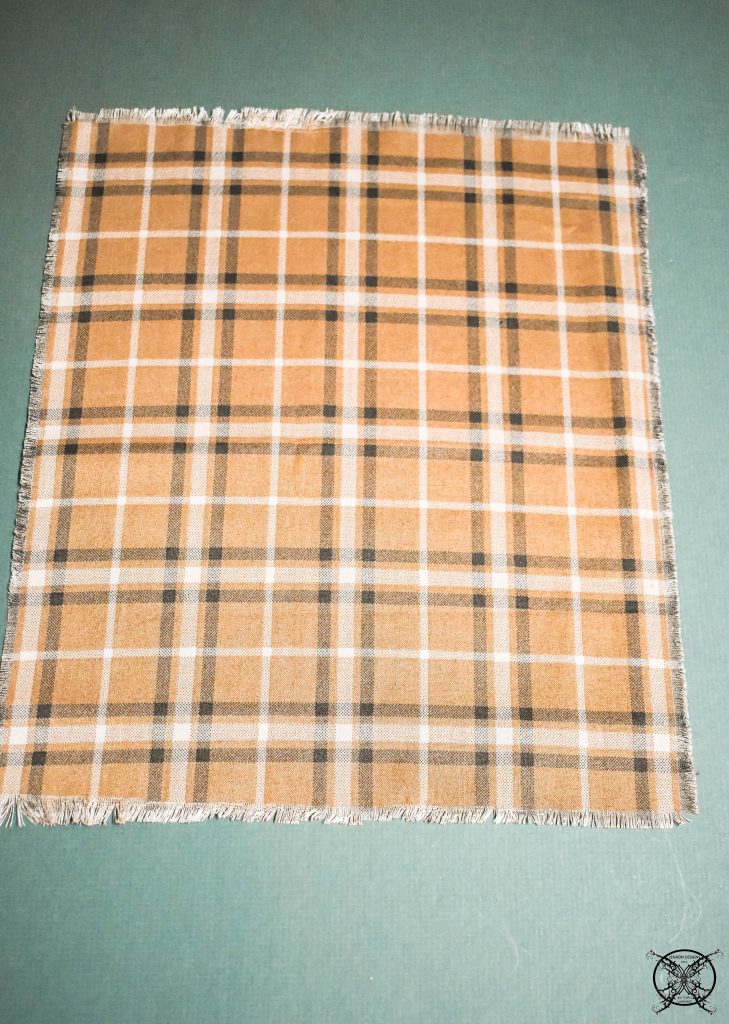 Once the fabric was ready, I centered it onto the matboard and glued it permanently using a floral adhesive, into place. Then I used art mounting, adhesive strips, which can be found in framing departments to attach the print into place directly onto the fabric.
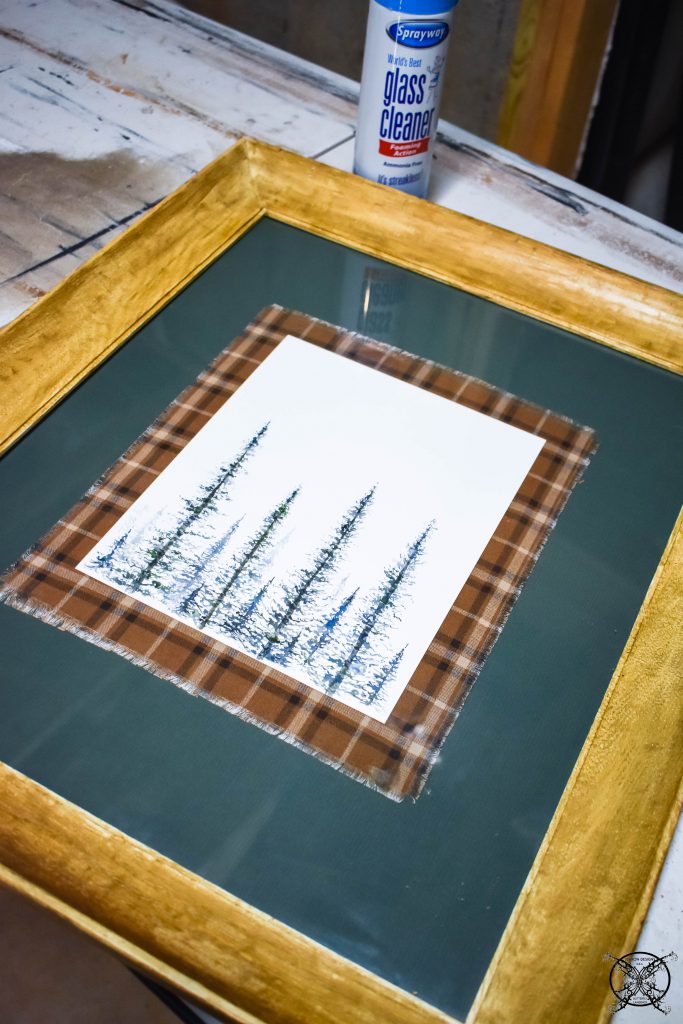
 Next, I quickly did a test to make sure that everything lined up perfectly inside of the frame before the final clean and sealing. I do highly recommend a non ammonia glass cleaner for all artwork and vintage pieces, as well as your windows in your home.
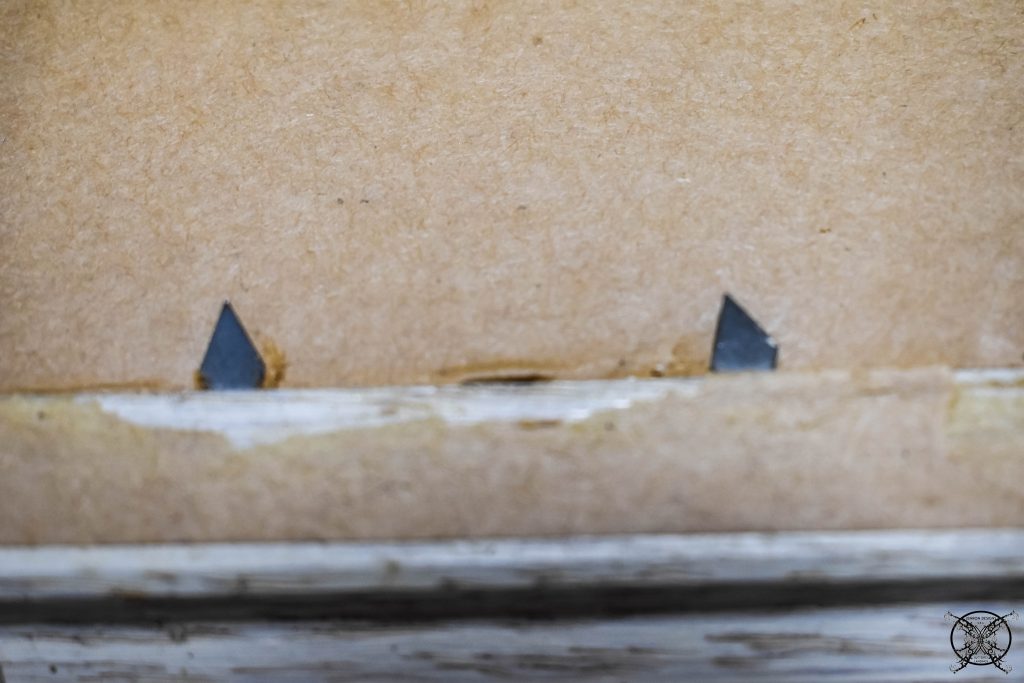
 Once you have everything clean and dry, you are now ready to seal it up. In my case this frame was a bit of challenge since the back prongs are these vintage daggers that fall out even when you touch them. They had to re-glued and are very delicate, not to mention deadly sharp, LOL!
 Once it was all sealed up we added picture hanging hooks and wire to the back, and this project was done. It is ready to hang in it’s new home.
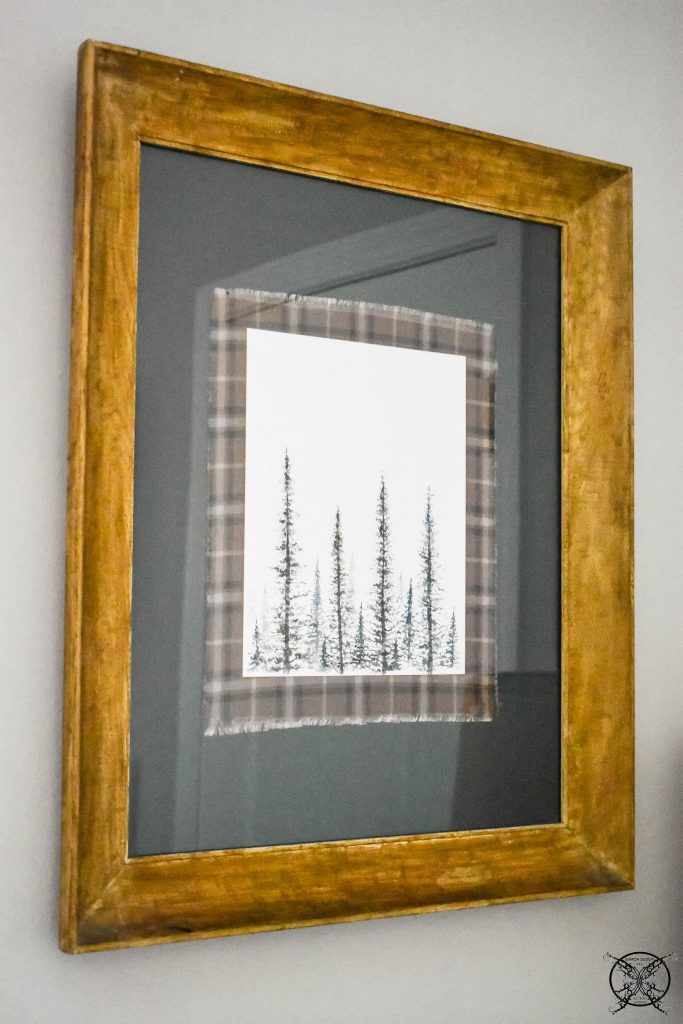 It now hangs proudly in our Woodland Guest room and looks amazing with the rest of the decor. I love that it is all one of kind, which I do prefer to any store bought prints or art, and I always have felt this way. I feel that it adds more personality to a space, and a sense of ownership to your home versus buying “things” simply to fill a void, which lends itself to creating a very sterile environment with no sense of home. Which is one of the biggest differences between decorating and designing. This is why my motto is “good design, never goes out of style”.
Welcome to our fourth month of the “It’s Good to Be Home” blog hop. Where each month I am so blessed to join a fantastic group of bloggers, as we all co-host, and share our seasonal home decor tips and inspirations. We will continue to have many new creators join us as guests each month, so be sure to check them all at the links posted at the bottom of the page or reach out to one of us if you want to join in the fun!
JENRON DESIGNS / Southern Spangled / At Home in the Wildwood
PIN ME for later and be sure to follow us on Pinterest at Jen @ JENRON DESIGNS

That print is so pretty! And I love the way that you mounted it. You are right, a custom unique look is always best!
The print is stunning and I love the frame, such a great idea
What a fun and pretty project. I love that frame, adds so much to the tree print.
I LOVE that fabric behind the print! Such a clever, creative idea.
This is absolutely adorable and such a fun way to add character to a frame! I’m loving the whole woodland theme, in general!
I love this project! I especially love that you were able to incorporate vintage fabric that belonged to your great grandmother! So special!
Happy New Year! What a beautiful project… and that you used a vintage frame from your Grandmother. That’s so special.
This is so awesome! You make it sound easy but it is not. You do have such creative juices flowing
Nice work of art. It’s the simplicity for me.
This is an easy project that just adds a touch of cozy Winter vibes to the home. Great tutorial!
Wow I love the simplicity and the creativity in this! I’ve been inspired!
More and more, I’m interested in repurposing old decoration to make new cool furniture, frames and art at home and that’s actually how I came across your blog. Thank you for giving me a new idea – it looks simple enough for me to start making my own art at home! I’ll keep following your articles for inspiration, thank you!
What a great and unique idea! I would imagine to adjust the project so that it could be even a good fun with children. A family project for long winter nights. Thanks for sharing this creative idea!