Converting a Chandelier into a Outdoor Fixture
Hi friends, today I have a fun DIY that I am sharing on converting a chandelier into movable outdoor fixture.
Today I am sharing how we are converting a chandelier into an outdoor fixture, that is also movable. We have a basic chandelier that would normally be hardwired into a standard electrical box for a dining room or foyer.  Since I have a flare for the dramatic when decorating and hosting dinner parties, I love the concept of converting a chandelier into a moveable outdoor fixture that can be plugged into various spaces for outdoor festivities, making it a moveable shandy, for all your possible occasions.
 Again, as an event planner, and wedding florist I find having an item like this priceless, and it has come in handy at a moments notice, from inside of arbors or gazebos to hanging above a simple outdoor table for ambient lighting. So when I found this beautiful chandelier at a local tent sale I knew I had to scoop it up for future use.
 So I am sharing this DIY on how you too can be a pro at converting a standard hardwired chandelier into movable outdoor fixture, which can now be plugged into any extension cord for unlimited outdoor usage. First we started by taking the fixture apart to get to the basic wiring in order to waterproof everything and seal it up properly.

*Please note that I was graciously compensated for this post. This post may contain affiliate links for your convenience. These links involve no extra cost to you. You can view my full advertising disclosure statement here.
We added heat shrink tape, using our Wagner heat gun, to all the interior wiring connections to make the connections completely waterproof. Then sealed the interior of the wire ring with waterproof silicon to keep any water from getting inside of the fixture, in case it should be outside during rain or light weather. The next step was to hard wire a plug into the end of the actual wire. This is a simple step that can be done by purchasing a replacement plug for normal household appliances. Therefore you can add this plug to the end of any basic light fixture wiring and convert it to a plug in fixture very easily.
  This is what the inside of the plug looks like, and how you would attach your wires inside. Since there are no specific white (neutral) or black (hot) wires associated with this fixture, the only thing you must make sure is attached to the correct spot is your ground wire, or the copper wire which goes on the green ground screw terminal. If you had as color scheme in the fixture wiring, the white wire would be connected to the light colored screw terminal and the black wire would be connected to the dark (brass) color screw terminal.
 We also used the the same shrink tape to seal up where we hardwired from the fixture to the new plug to make it waterproof as well. Which gives us an actual plug for our light.
  Then next step for us was adding to our outdoor dining area as a focal piece. Since this fixture can now easily be moved, we decided it would also be nice to have permanently installed globe string lights as well, in addition to the chandelier.
  Since we recently upgraded to the Trex decking, which you can see here, to our grilling deck above, we also painted the existing cross beams below so they would be completely ready for this project. Now all we have to do is drill some pilot holes.
 Add in the teacup hooks for the globe lights to hang from in the pattern we previously laid out below. A good tip for quickly installing teacup hooks is to use a screwdriver to twist them in like a ratchet, as seen above.
 String up your lights and add the Edison globes for ambient glow for anytime of the day. These are really a game changer for any porch or patio, and add so much ambient lighting and enhance your outdoor living spaces.
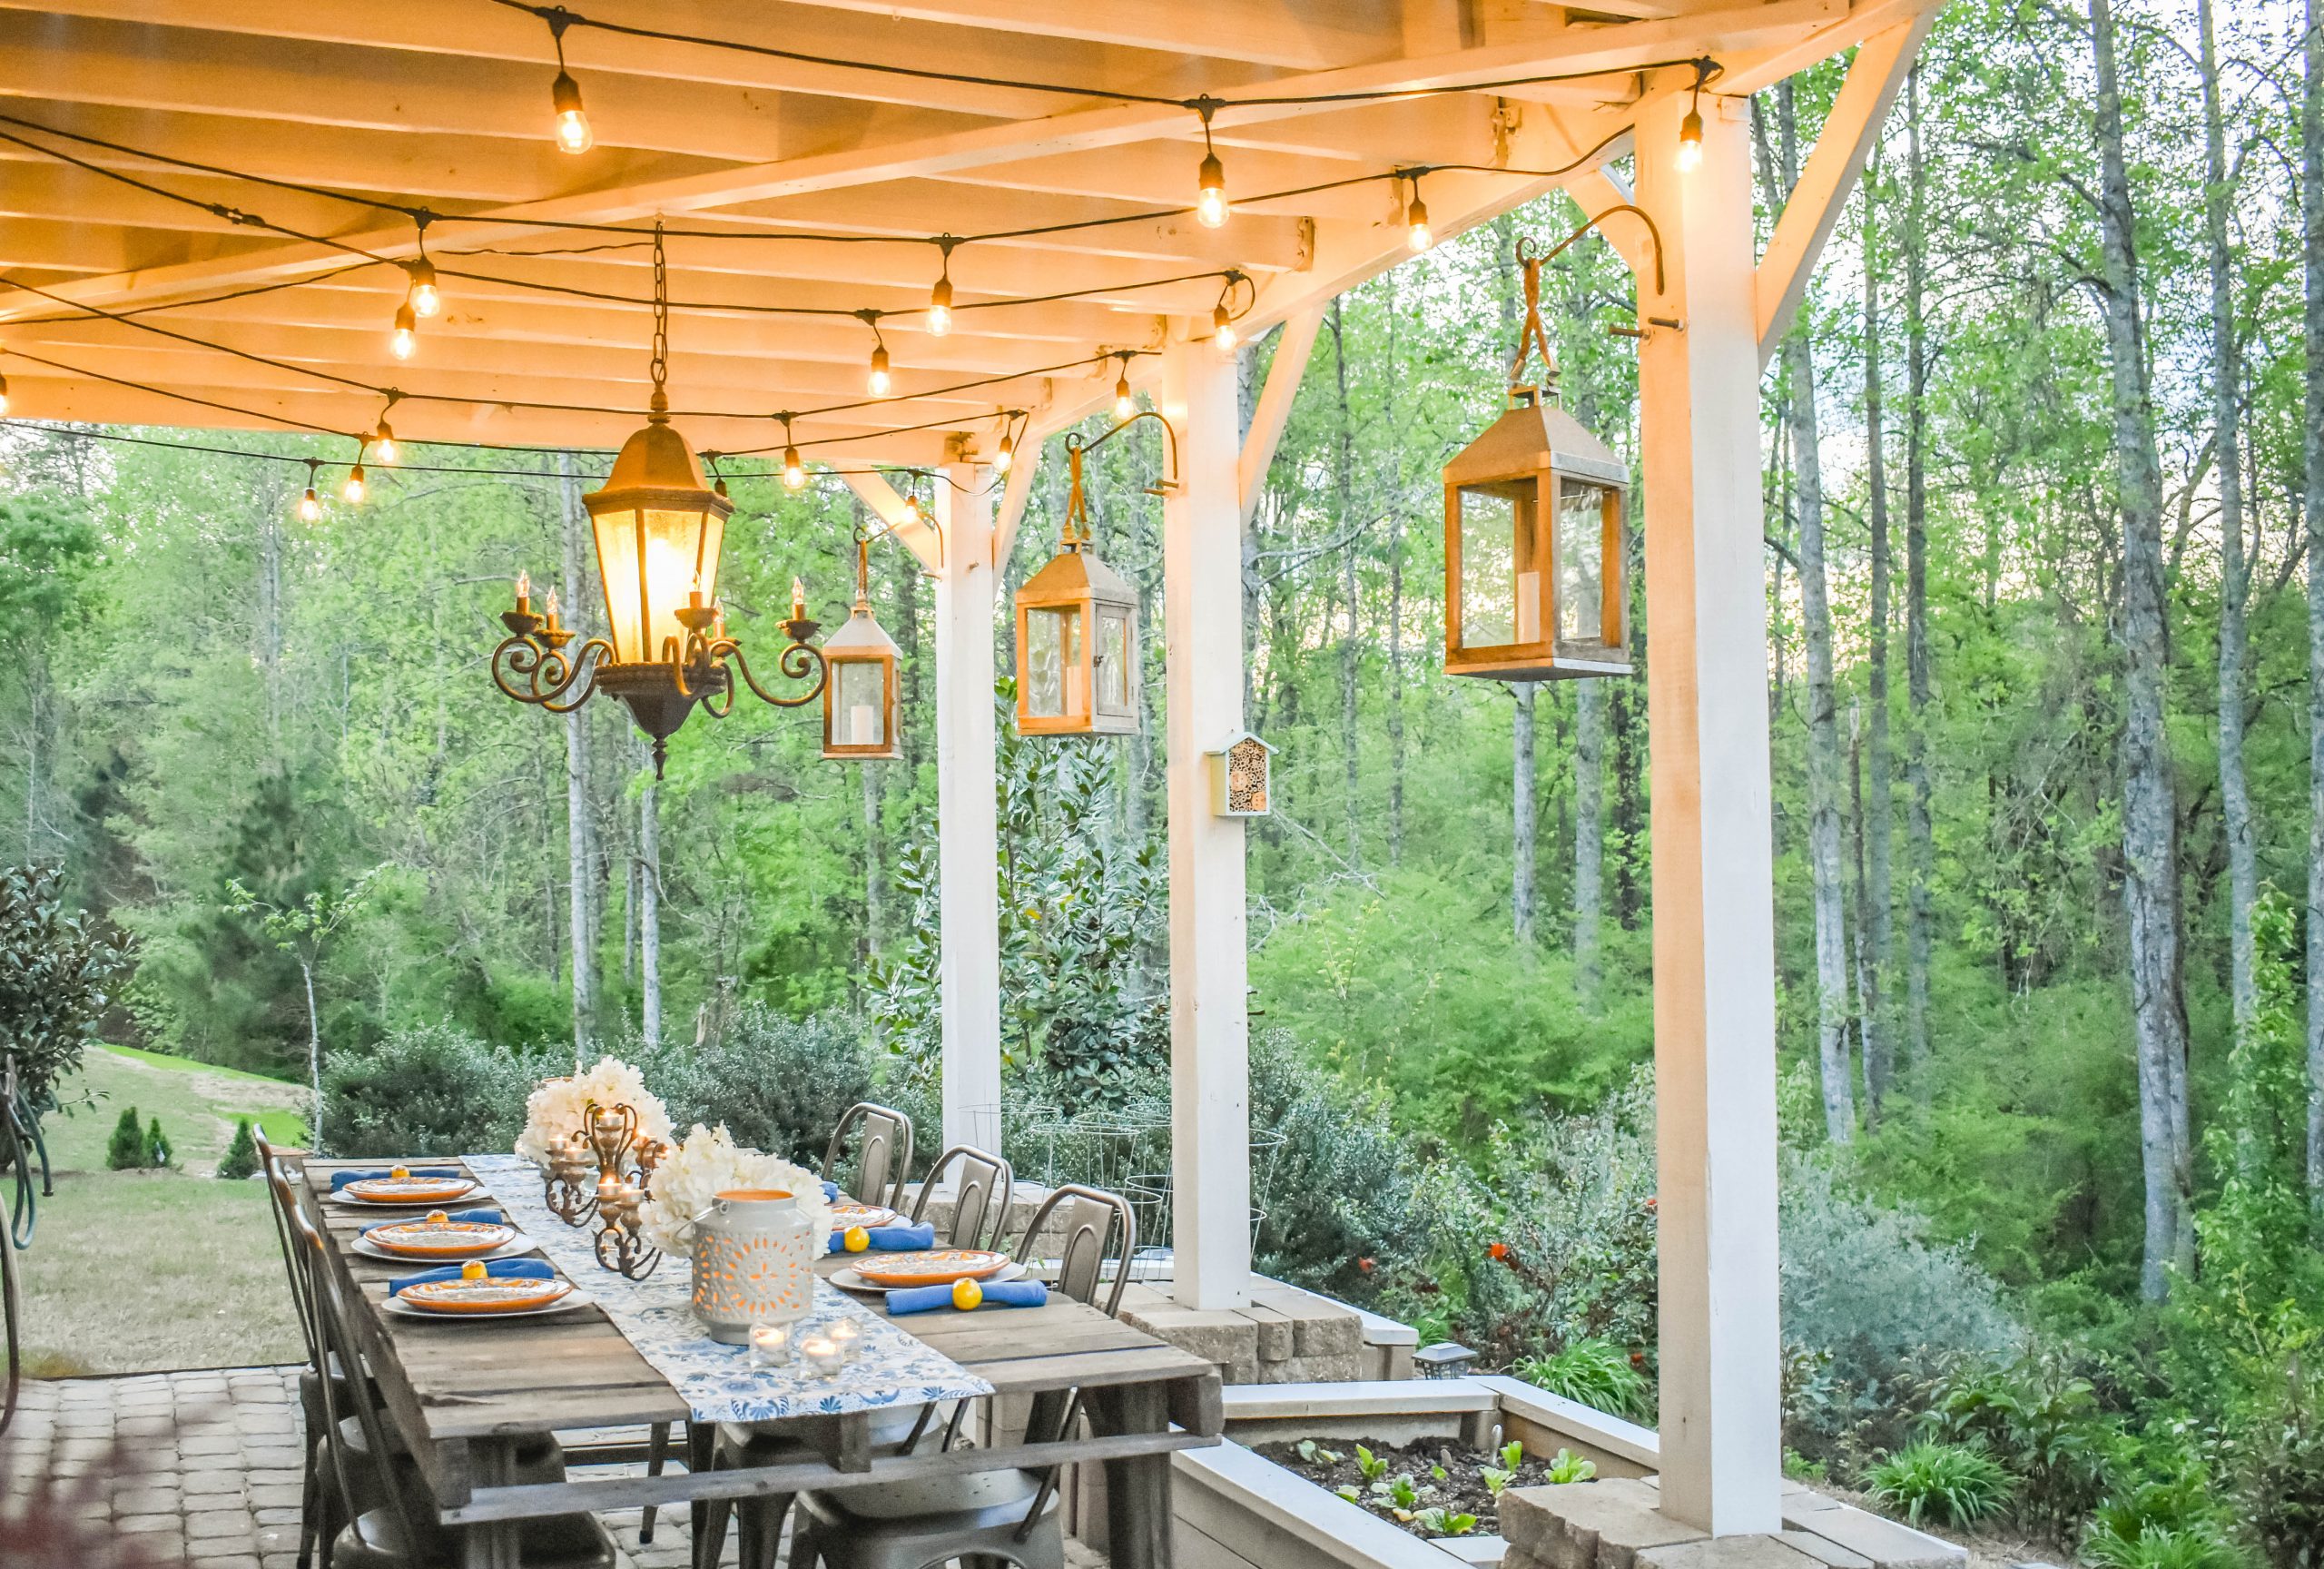
 We did decide to add flicker bulbs to the outer ring of our chandelier just for a fun realistic candle effect. In my opinion, I like the more ambient glow it gave the fixture rather than the bright glow of the open light bulbs, which were a little to pedestrian for the garden.
  Plus, now with the addition of the 96 ft of Edison lights we have a lot more lighting and glow. Also the the white beams help to reflect a lot of light as well, so we actually have a nice amount of light under this large 16×20 deck even after dark.
  Still you can always add candles to your tablescape, which in my opinion, always creates an amazing feeling for any outdoor dining experience. Since it is outdoors and there is plenty of fresh air, a fun scented candle can be ideal and bring a hint of Gardenia, Magnolia or Jasmine to the party. Normally I am not a fan of scented candles for a dinner party but in a outdoor capacity I am fine with it.
 However, don’t forget about “the golden hour”, try and take advantage of dining during the peak hours of sunset to take advantage of those precious rays of sunshine to create the magic for you and your guest. Then as the sun sets your lighting can do the rest of the heavy lifting as the evening draws to a close.
 You can see how I made this fantastic Vertical Herb Garden post, seen above, which I recently just upgraded this year. I spray paint the silver rings copper and lime washing the clay pots for a a more Tuscan vibe. See we are always upgrading our DIY’s, so sign up for our newsletter to stay in the know~ to see what the Gainer’s are up too next!
See More Great Garden Ideas Here:
Creating a Four Seasons Garden
DIY Antique Garden Window Project
DIY a Sleeping Porch Fireplace

It looks so good! I wish I had an outdoor space to make all pretty like this
Stunning!! Thank you for sharing all the steps to converting a chandelier for outdoor settings. I appreciate the fact that you point out safety instructions on how to waterproof the wires. This is so important!
This is a brilliant idea. Sometimes, this patio lights are forgotten but you give them a new meaning and purpose.
Lovely photos of a cozy looking dining place! Very interesting… I feel inspired.
Wow, this project turned out great! It looks amazing and it’s so creative. I never would have thought to try this.
wow just amazing love it !!
This is beautiful! Love all your DIY ideas with your experience and background
You always have the best ideas albeit, this one scared me a little. This project feels just a bit too much outside of my comfort zone but heck…it looks amazing!!
This is gorgeous! Is see chandeliers at the Re’Store all the time and haven’t thought about this!
So charming and classy! Will do this in my home also.
Great ideas. Thanks for sharing.😊
Absolutely stunning, wish I had the DIY skills you possess.
Oh wow! This is really stunning! I super love the outcome of this chandelier.
OH MY this is so stunning. Such a beautiful outdoor space.
Oh my goodness! I love this so much! I need to add something like this on my back porch. How cute!
Nice I really enjoyed reading your blogs. Keep on posting. Thanks
Thank you for sharing indeed great looking!
Nice I really enjoyed reading your blogs. Keep on posting. Thanks
This is a great idea. I really like how pretty this fixture is and now it can used for exterior lighting in a garden setting, which is so very enchanting. Honestly anything in the garden is just magical IMHO. Please keep writing the world needs articles like these.