Upgrading Decking for an Existing Porch
This spring instead of staining our deck for the thousandth time, we decided upgrading decking for our an existing porch was a better choice for the long haul.
Okay so I am almost embarrassed to show the before picture of my deck, just because of how awful it looks, but I am so excited to be upgrading the decking for our existing porch. I will say this is 5 1/2 years of wear, and yes it was stained and sealed right out of the gate with Thompson’s Water Sealer and really looked great in its original state, as you will see in the next picture below.
 However, we quickly learned that we had to reapply the water sealer every 6 months in order to keep a proper seal on the deck. The picture above shows the deck due for staining after previously being stained in October of the last year, almost 6 months on the nose. The daily hot Georgia sun, rain, and fast growing mold that comes from a north facing exposure just was too much for these deck boards. Heck even our high end exterior paint has a hard time keeping up on the rails.
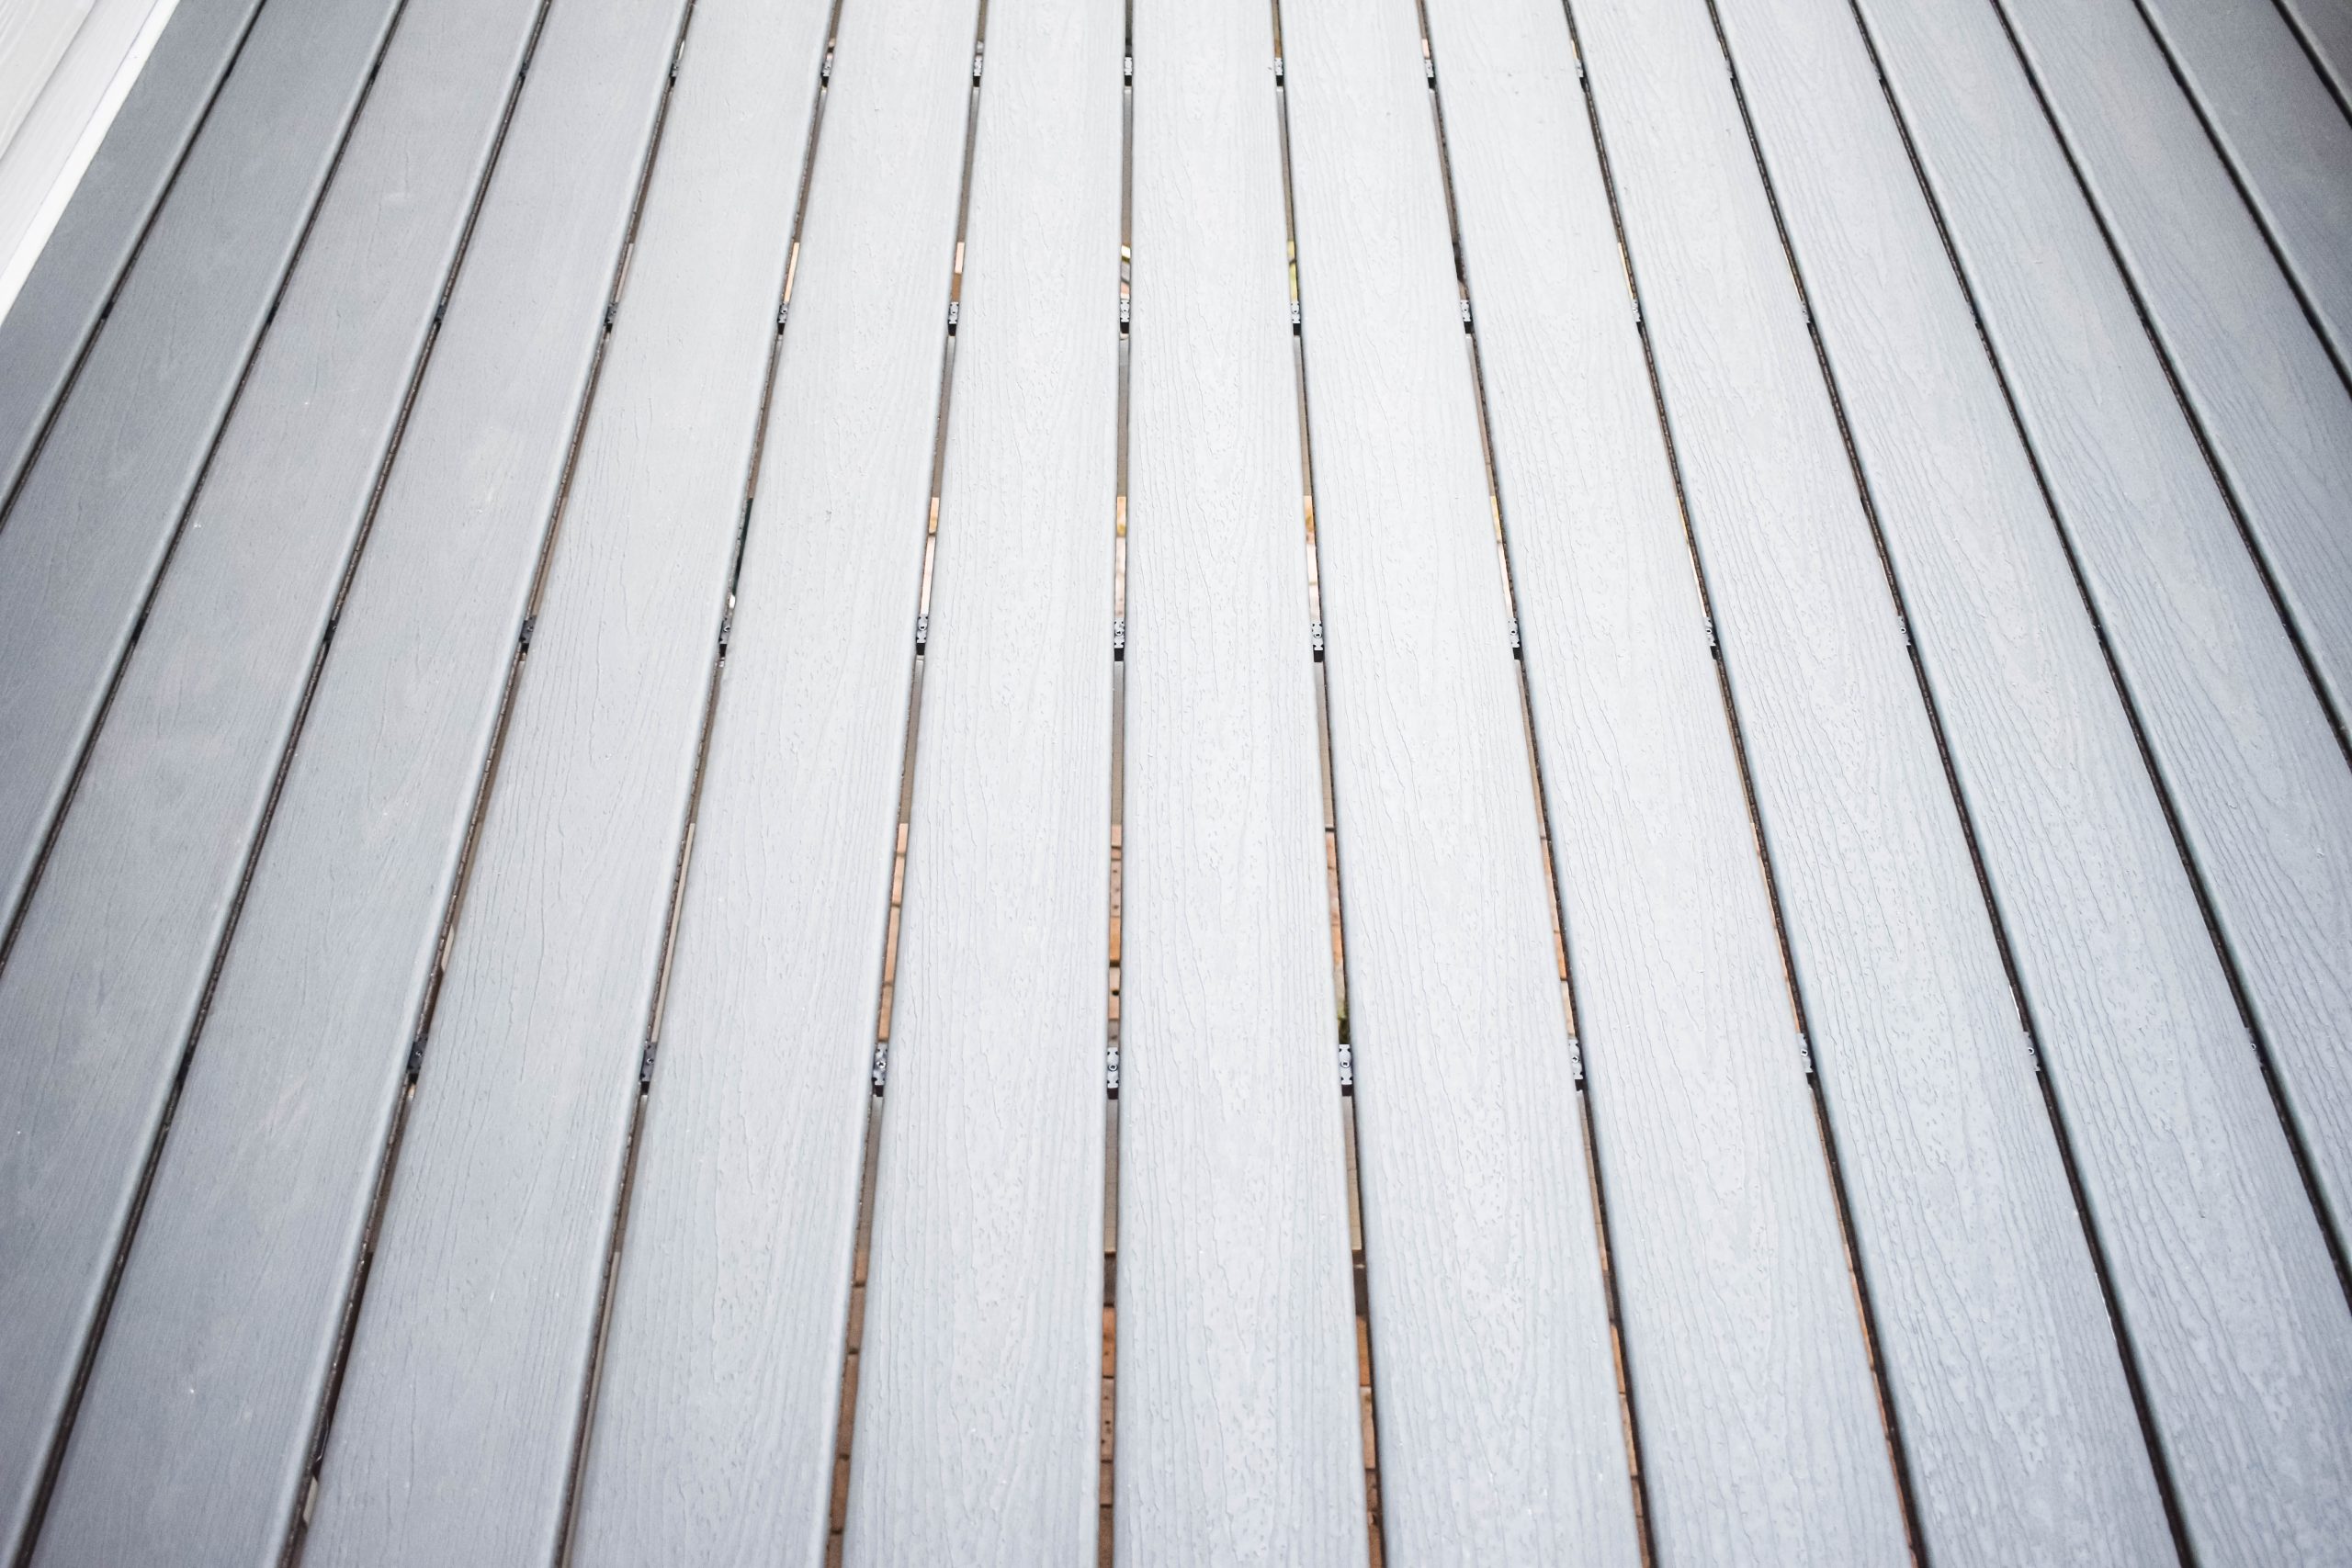
 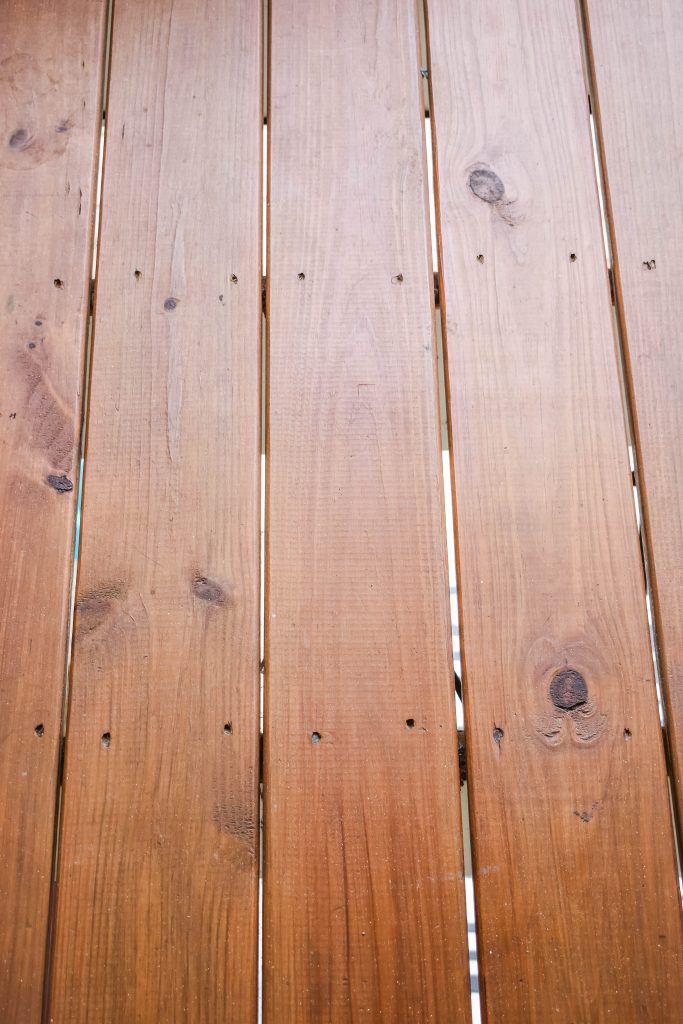 Knowing that we no longer wanted to be trapped in this maintenance nightmare, we started to look at sustainable low maintenance options like Trex decking. We found a lovely Clam Shell Gray Trex composite board and had it was delivered right to our door in 16 foot lengths, for approximately $28 a board. This is very reasonable, considering the latest hike in pressure treated lumber and for never having to replace or stain these boards again. Our deck is a 12 x 20 size, so we were looking at just under $730 for the boards only, not including the installation hardware.
 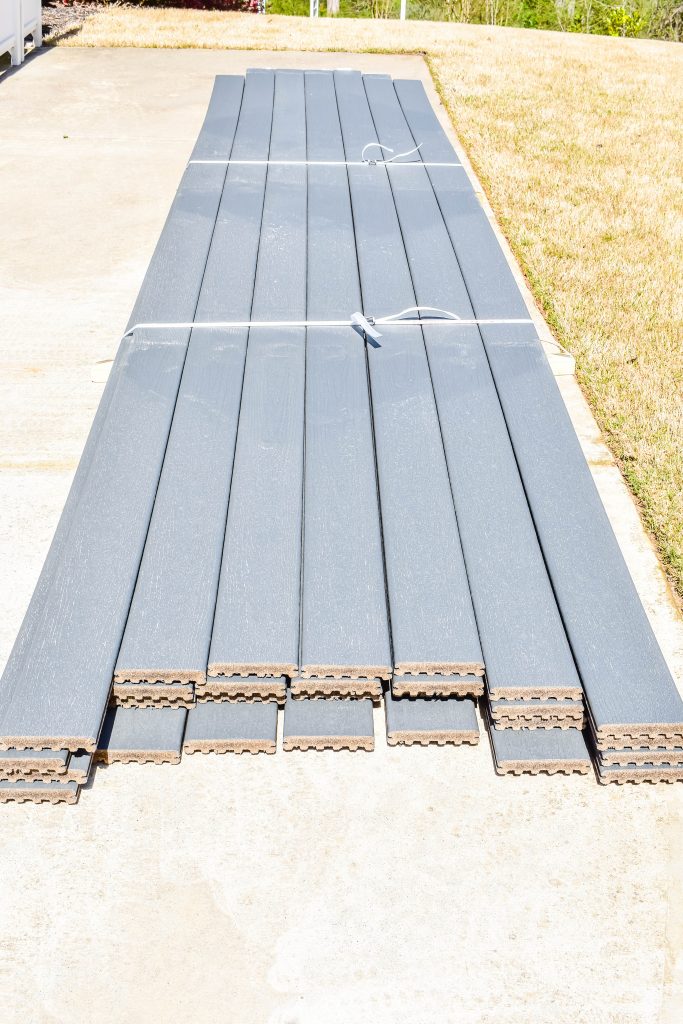 The installation hardware we opted to use was the Trex hidden universal fasteners. This Trex Hideaway hardware runs approximately $35 a container, and we ordered 4 to be safe, but only used 3 total.
 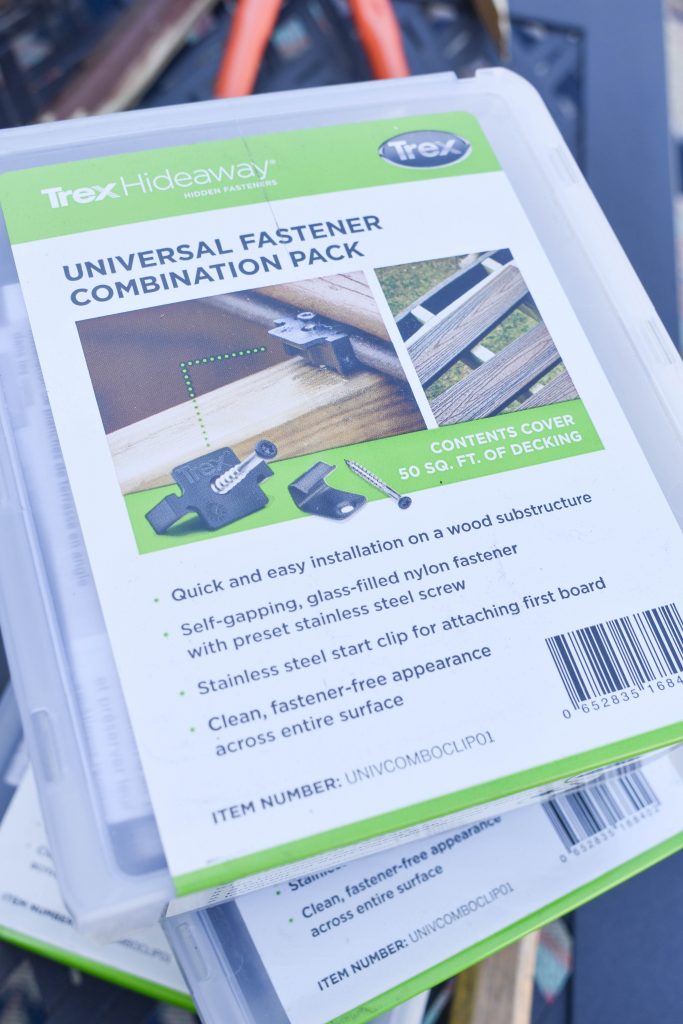 Also as a tip, before we started the project we decided to paint the underside of the joist with our current trim paint color. Since we are not keeping the old deck boards there would be no reason to be careful in painting them, so now would be time to do this project, before adding our new Trex decking.
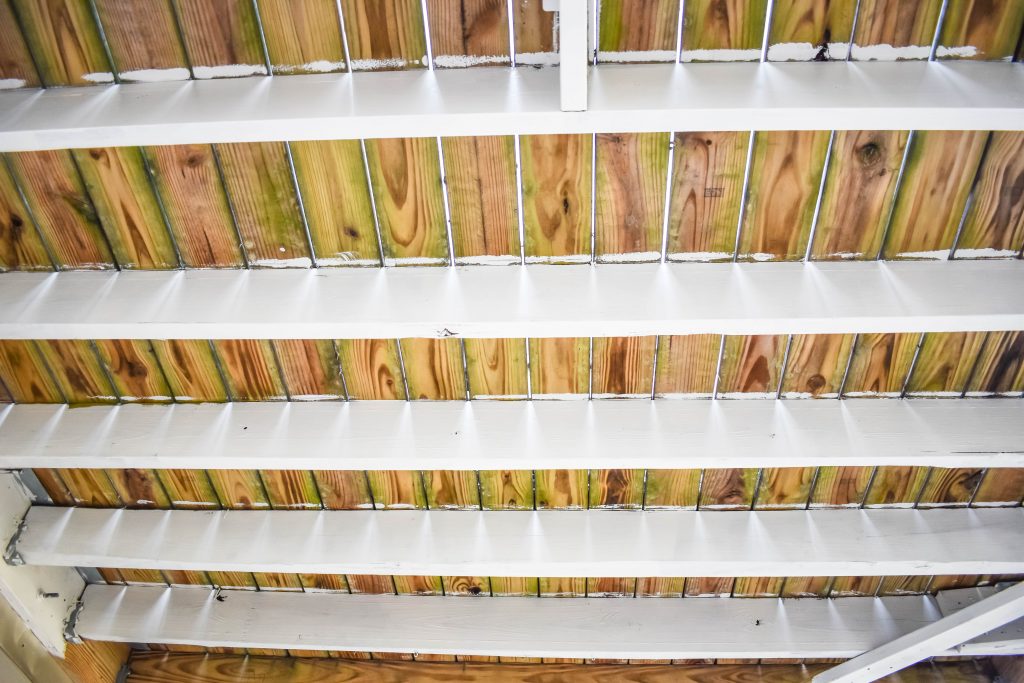 Another installation tip is that we decided to replace only a few boards at a time, and work our way across the deck. This method would allow us to keep all of our large heavy furniture on the deck while we replaced the boards, which would turn out to be a real time saver.
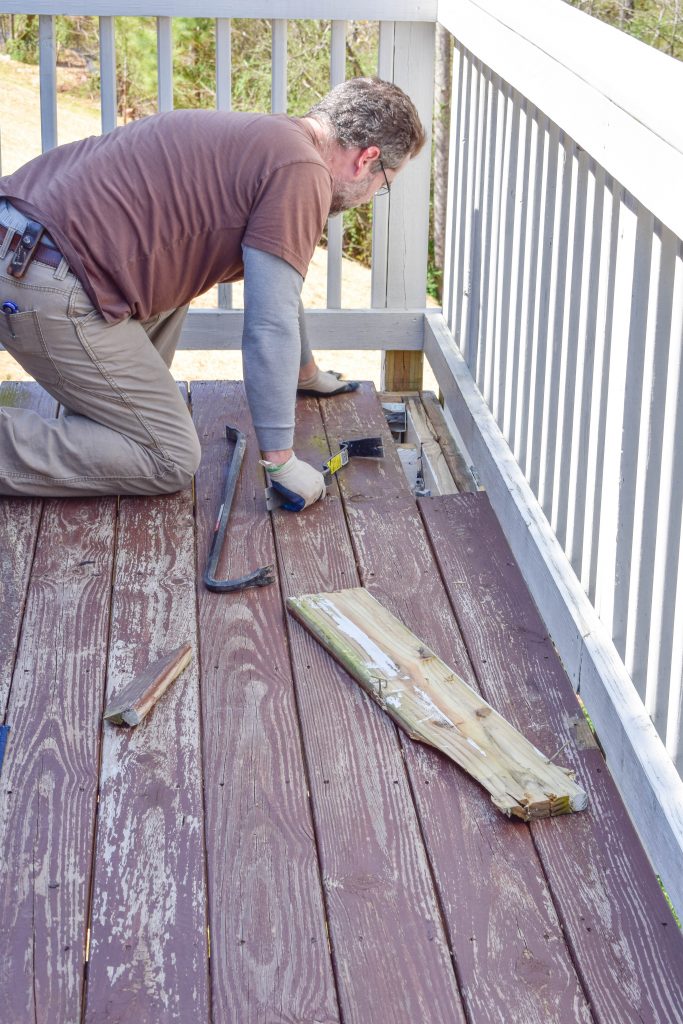 Since the boards are relatively rotten at this point, Ron used a wonder bar and wrecking bar to pry up the boards. This was the easy way to remove them without harming the main deck joist, which were still in good shape since they were covered and pressure treated.
 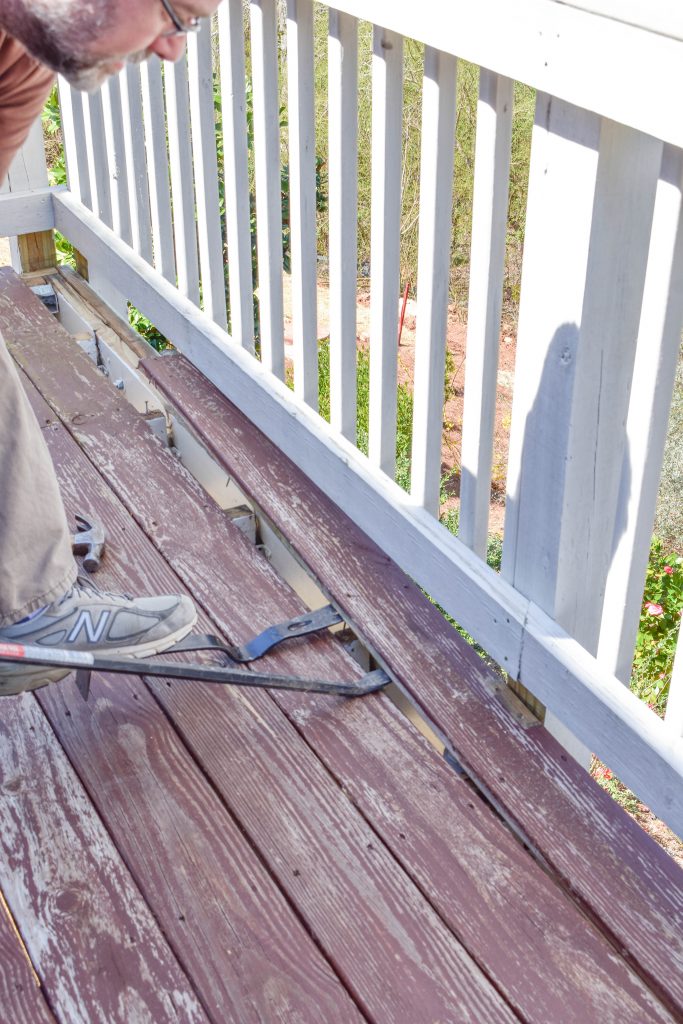 We decided that removing two complete runs was the way to go, which allowed some work space for adding in the hardware. It also allowed Ron to have some cutting space as well. Since our deck is 20 foot in length, the 16 foot boards needed to be feathered with 4 foot pieces, alternating on opposite ends to make it look nice. Which is the same pattern as the original deck installation.
 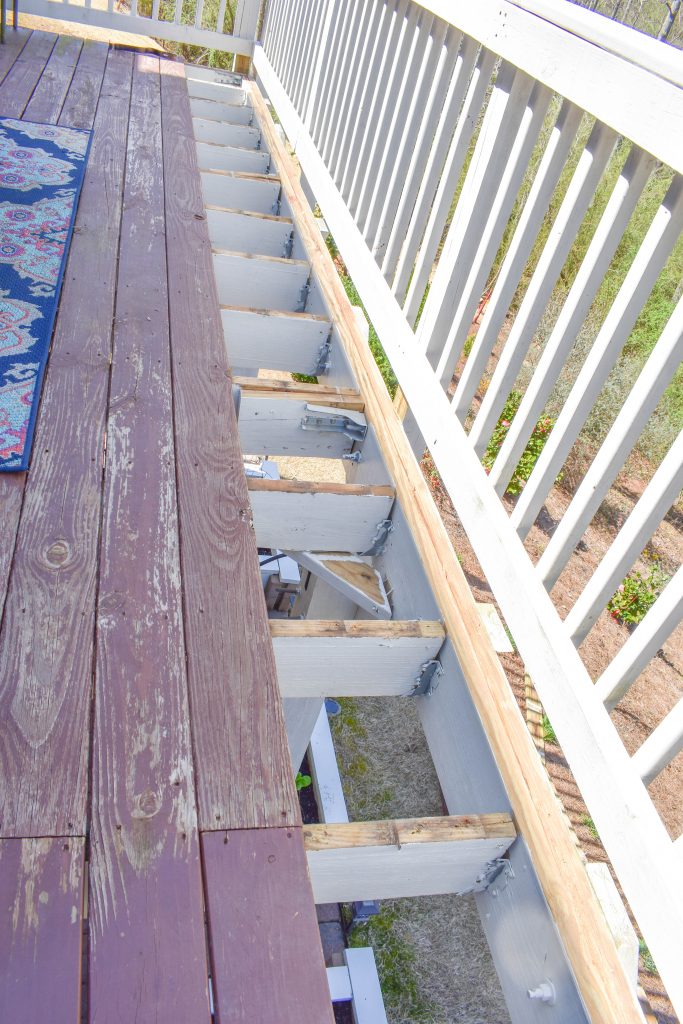 To make the cuts so that the boards landed on the centerline of the support joist, Ron used a speed square to make the cutting line.
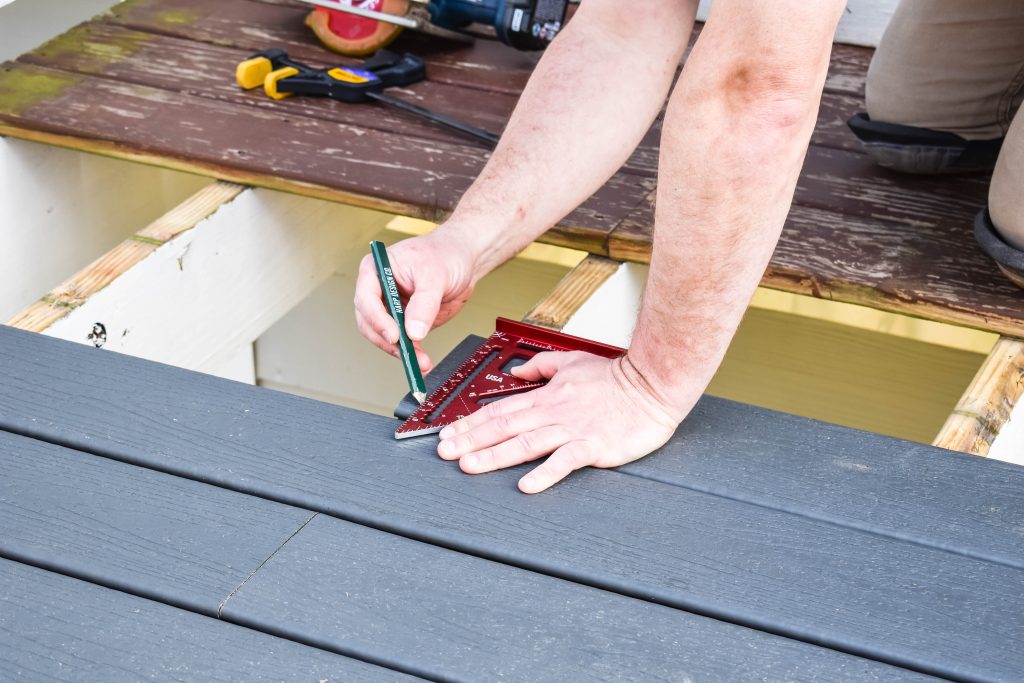 Then he pre-measured the width of his saw to the cut line, then using his speed square again as a guide for creating a straight cut line.
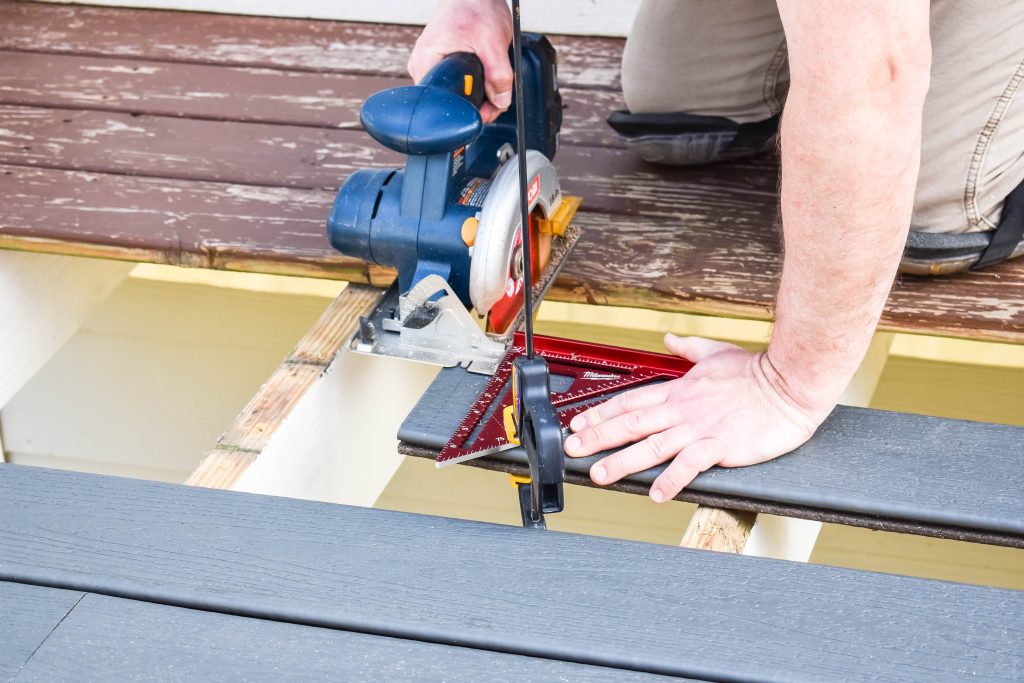
 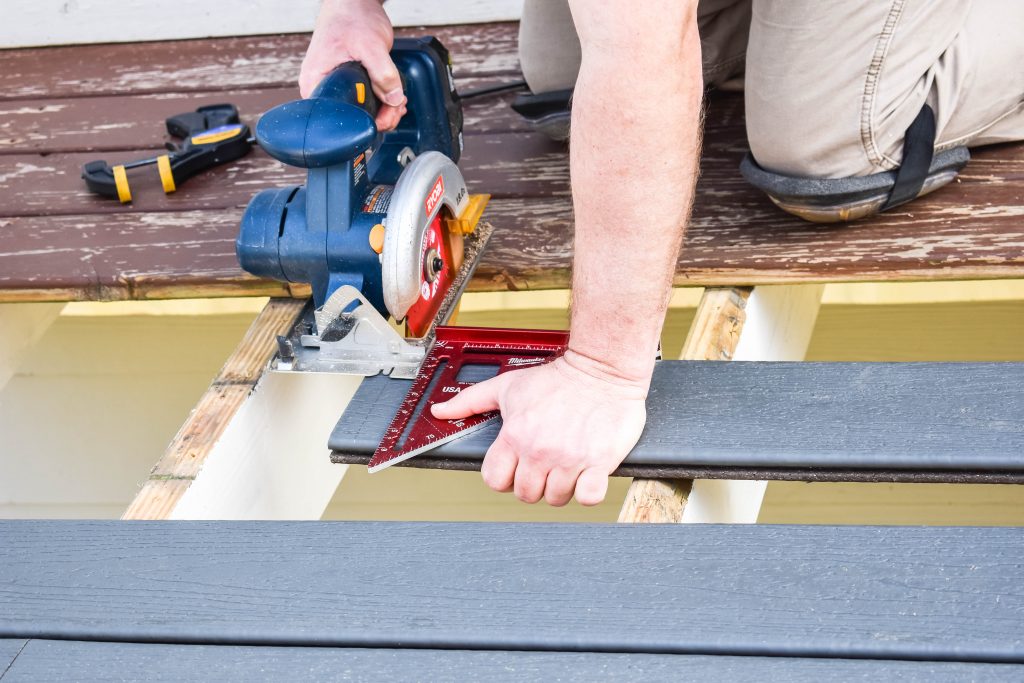 At this point he used clamps to hold the speed square securely in place, which gave him a straight line to do a freehand cut along with his saw. This was all done in the open air sections on the deck, allowing the scrapes to drop below for easy clean up, and the deck board went right into place. Work smarter not harder.
 We used the hidden hardware on each of the joist to tighten down each of the deck boards once they were square and in place. Then it was on to the next piece, and so on, and so on.
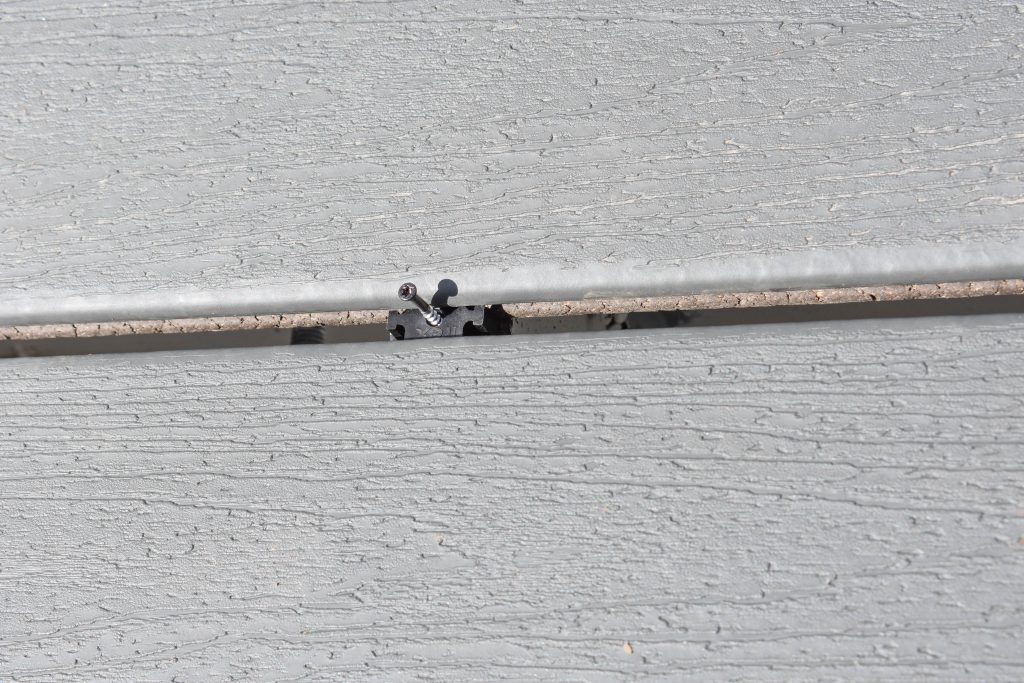 We continued across the deck board by board, it took a day to do half the deck and we finished the the second half on the following day. So this projects took 2 full days, but keep in mind we took our time, and where not really busting it out.
 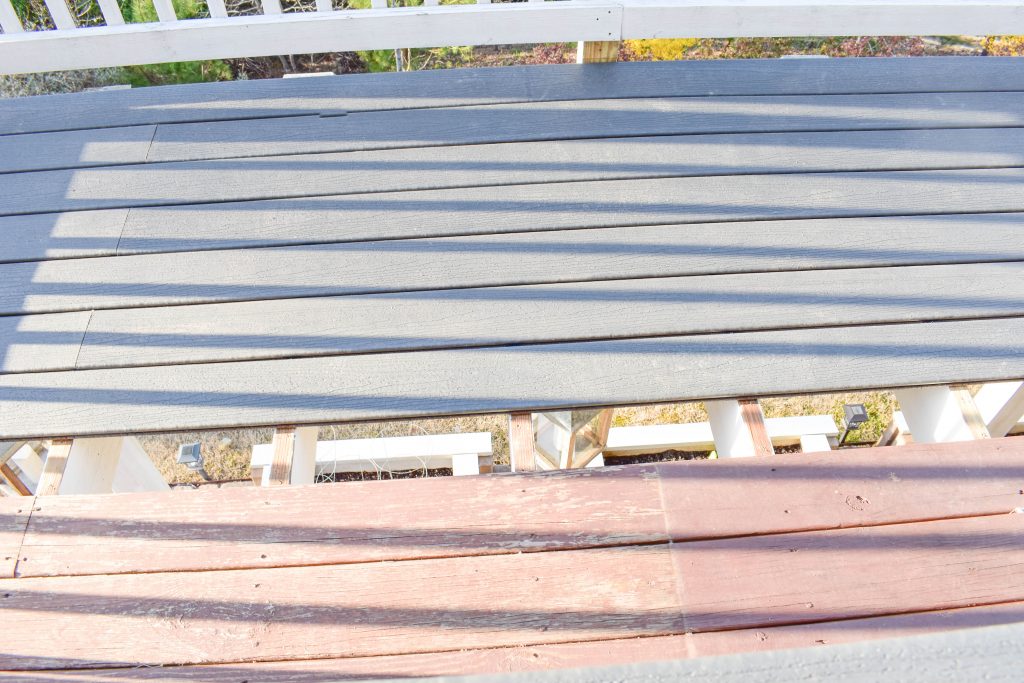 Once we got the first half done, we moved all the deck furniture and the BIG Green Egg over to the other side of the deck to finish up the following day.
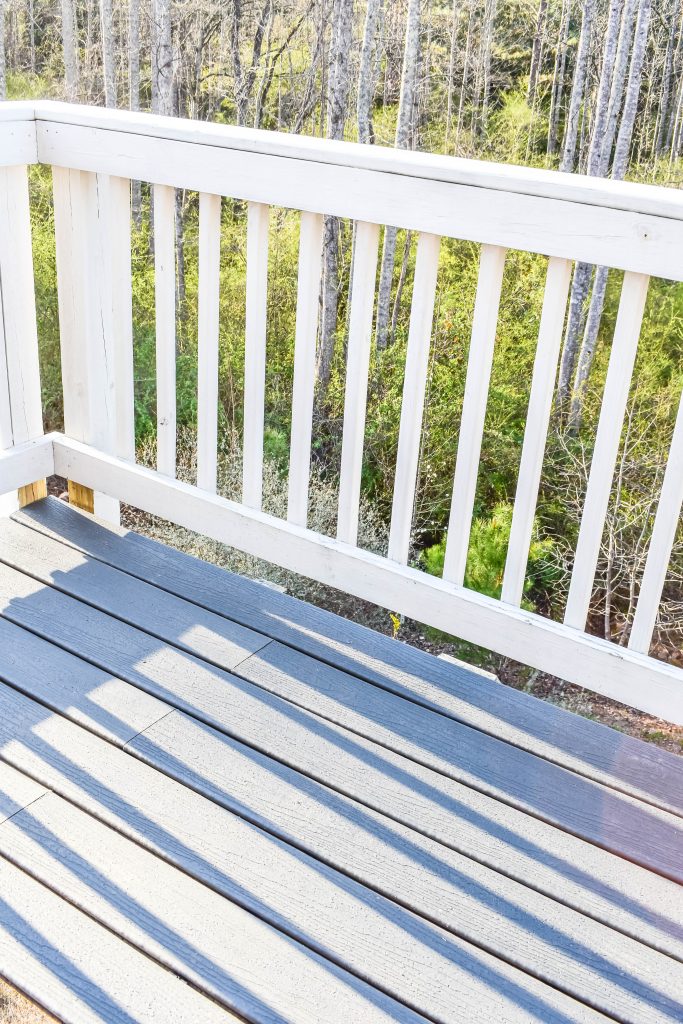 You will encounter some tricky cuts as you get closer to your home. For example, we had to rip two boards completely in half to fit up against our house since the spacing was not a full board. For this just take several measurements and create your line that needs to be cut.
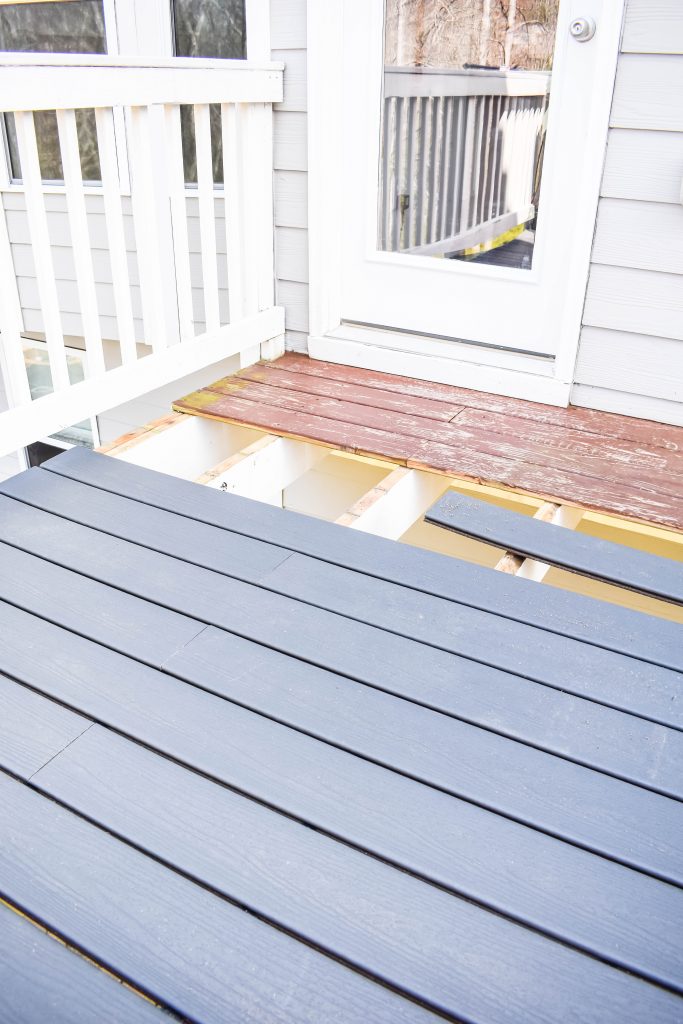 You can see it fits perfectly up against the house no gaps. We were concerned this might be a hard cut, so we ordered a few extra boards just in case. However, my superstar husband made the cut first time out of the gate, woohoo! So now we can return 3 extra boards we did not need, for a refund of $75 and a $35 box of hardware.
 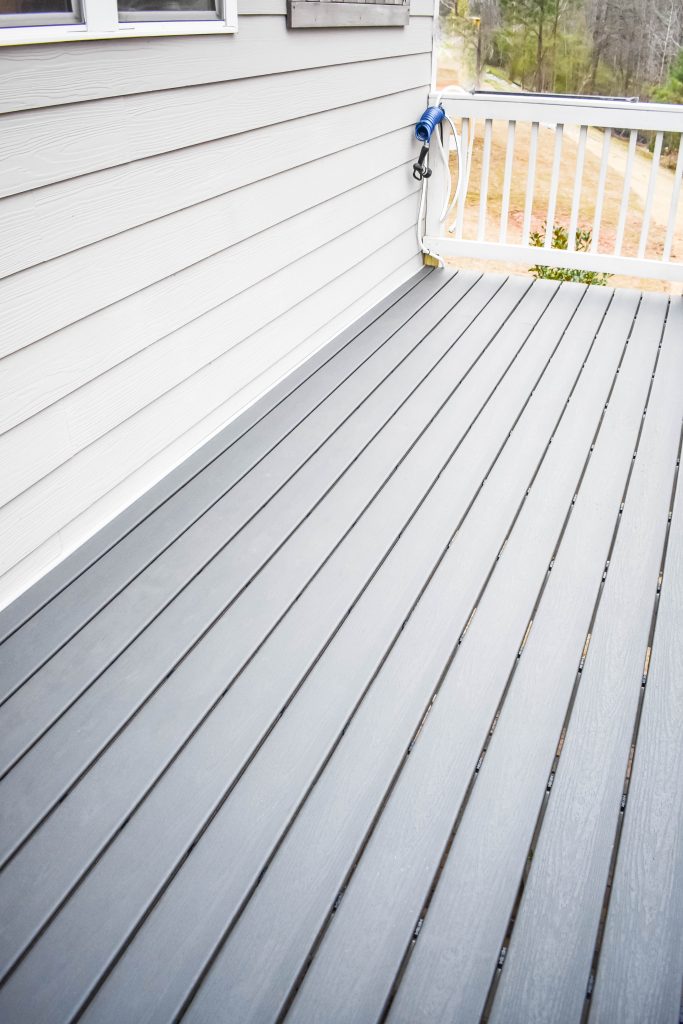 So for under $800 we were able to install a weatherproof option that will last us at least 15-20 years per the warranty. Not to mention that wood prices right now are running around similar prices and will not last nearly as long even if they are stained. We consider this to be a good investment on our property value.
PIN ME for later and be sure to follow us on Pinterest at Jen @ JENRON DESIGNS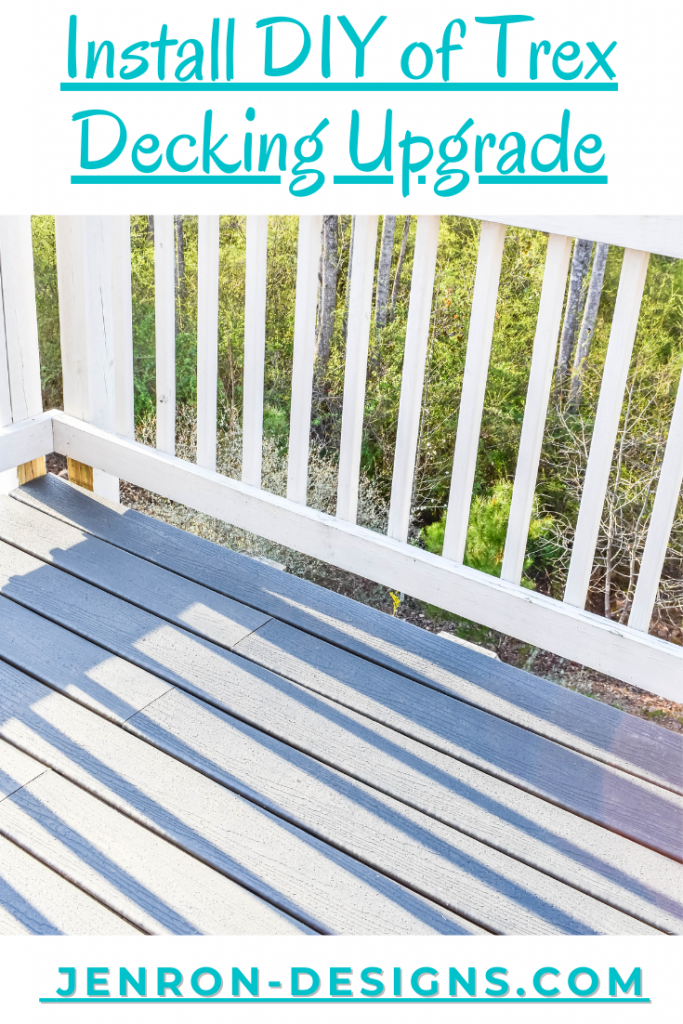
Great choice and good work! It looks amazing!
I often read your blog articles and find that your DIY tips are so helpful with detailed photos and easy instructions. Thanks!
The transformation is amazing. I actually love the colour.
My parents have been meaning to upgrade their patio area so got some ideas for them. Thanks!
Wow! This is such a good transformation on this deck. I’m loving the new grey finish. Looks very pretty!
Oh what a great project. The deck looks so great after this makeover. What a difference.
Wow what an amazing transformation, the deck looks so so good, I have to re finish mine this summer!
Such a good change, it looks beautiful!
The new decking looks great! What a sigh of relief to know it will last long & strong!
You definitely made a good decision. It looks great!
This article discusses upgrading an existing porch to decking. Are you considering a similar project for your own porch, or is there something specific you’d like to explore or discuss about this topic?