Sealing Concrete Walls
Hello my friends, welcome to week 2 the Spring 2021 ORC: Sealing Concrete Walls. This week we will be sealing up the basement with insulation, along with making those concrete wall pretty.
Welcome to week 2 of the 2021 spring season of the ORC: Sealing Concrete Walls. This season we will be designing our Home Gym located in our basement, that we have been finishing out over the past year. So, this will be a fun room for the next 8 weeks as we build walls, and see this room take shape literally from the start to the finish line.
WEEKS AT A GLANCE:
WEEK 1 WEEK 2 WEEK 3 WEEK 4 WEEK 5
WEEK 6 WEEK 7
REVEAL

Just in case you maybe wondering exactly what The One Room Challenge is, here is the link, and the scoop. This event was originally started by Linda Weinstein @ Calling It Home. It is currently hosted twice a year, in May and October for the past 17 seasons. The ORC has hosted over 600 interior designers & home decor bloggers, that have joined together in this challenge to makeover one room in their own homes. The participants have a total of six weeks, from start to finish, to complete a full room transformation. Over 5,000 rooms have been transformed through the One Room Challenge to date, and many spaces have been recognized and featured by several prestigious sites, like Better Homes and Gardens the hosting media site this season.
*Please note that I was graciously compensated for this post. This post may contain affiliate links for your convenience. These links involve no extra cost to you. You can view my full advertising disclosure statement here.
Inspiration Board: The Home Gym

PIN ME for later and be sure to follow us on Pinterest at Jen @ JENRON DESIGNS
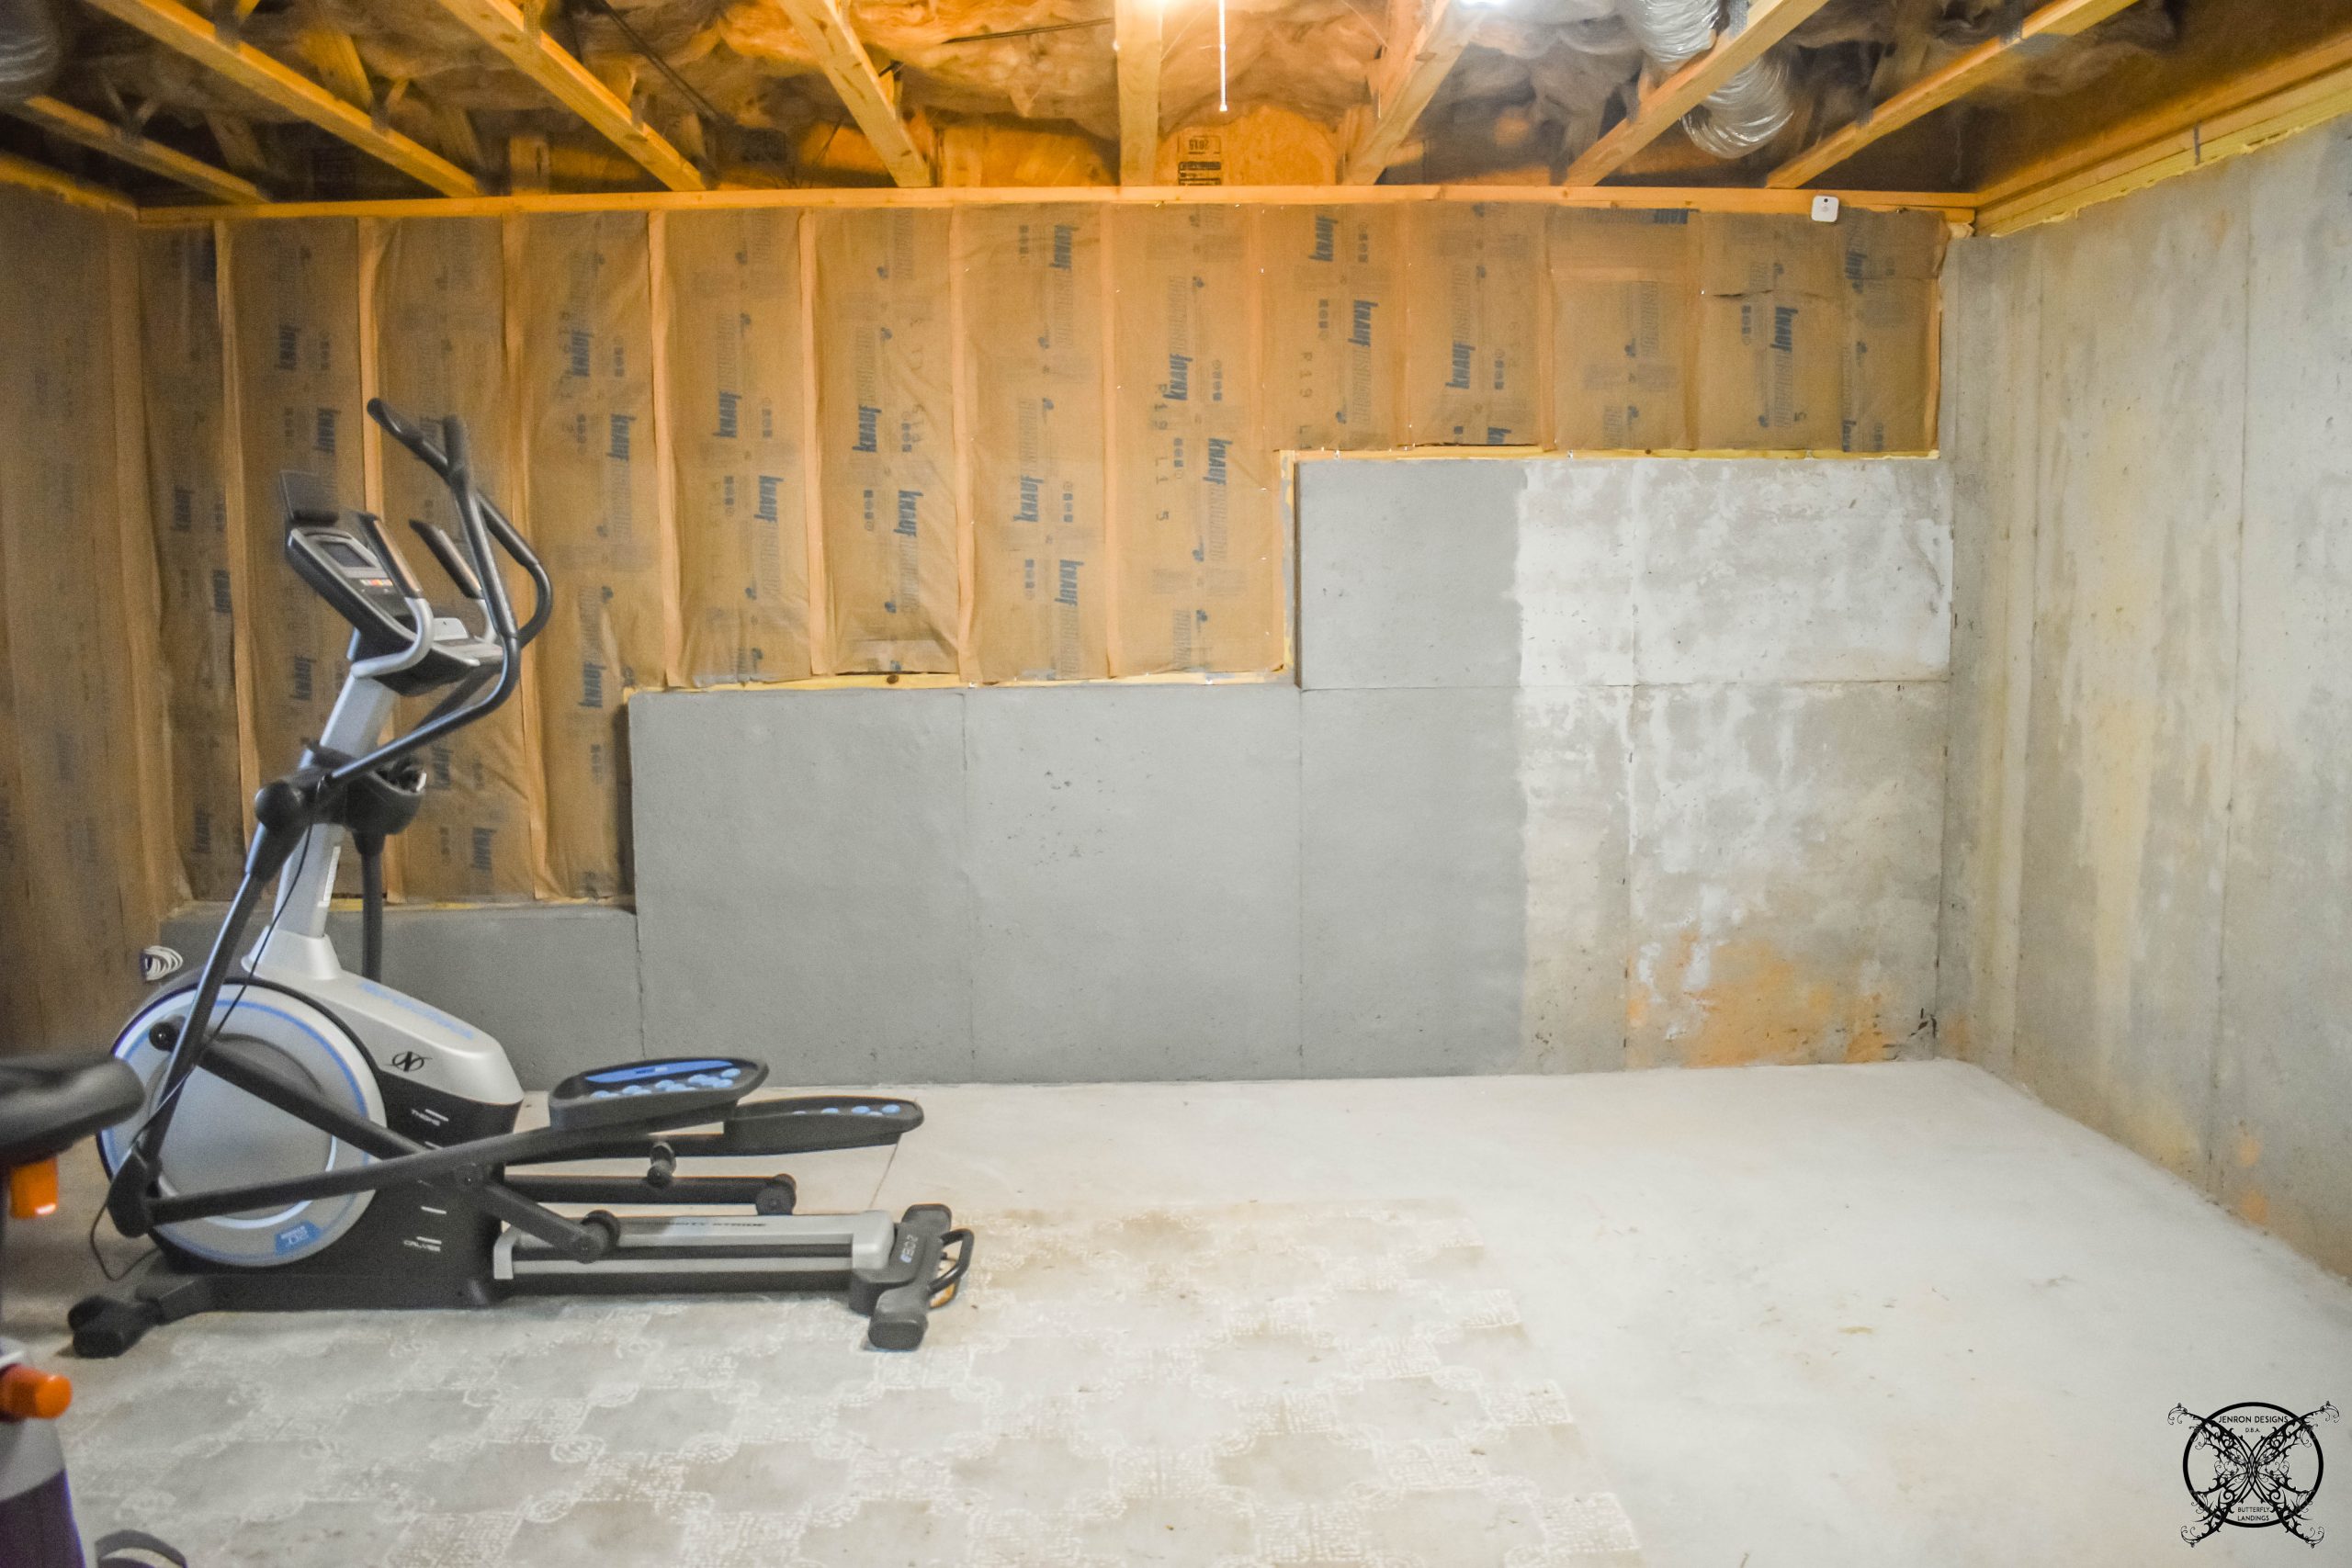
THE BASEMENT BEFORE PICTURES:
This week I will sealing up the basement by adding insulation and addressing the concrete walls which I plan to leave sealed raw concrete for a modern industrial look. Then I realized that we needed to pull wire…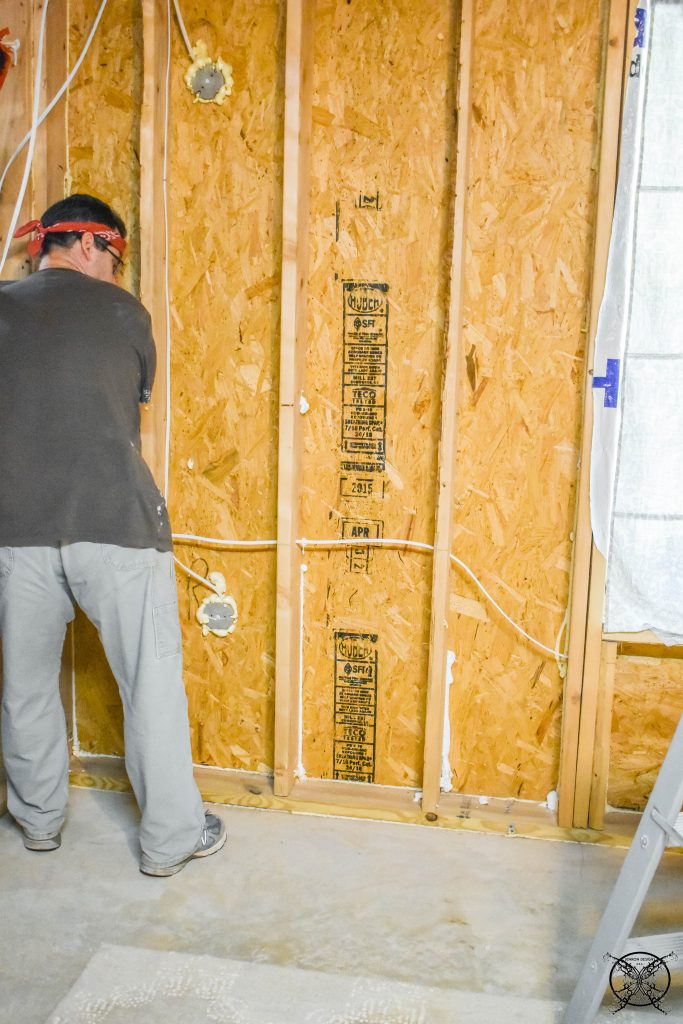 So I did not realize that Ron needed to pull the electrical wire prior to us putting up all the insulation, LOL! So I may messed up a bit on my scheduling below, but I will mark that off. However, in my defense the actual electrical boxes and industrial conduit bars are not going in until after all the insulation is up, so I guess technically we were both right?
 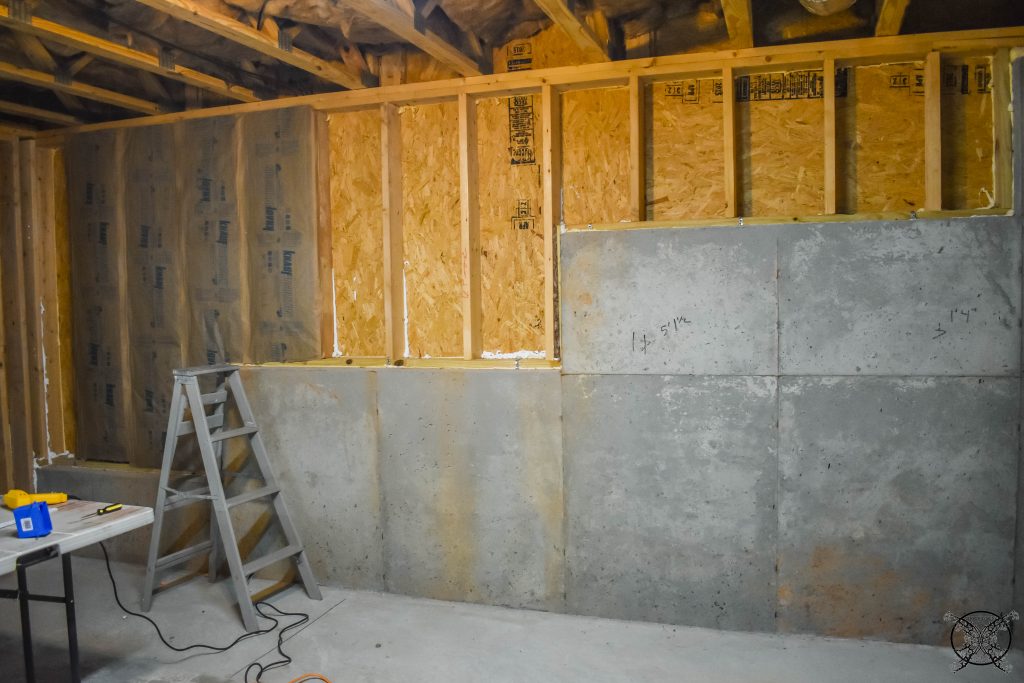 First we lined all the walls with R-19 pre-cut paper backed insulation. While this is a little more expensive, we found for a DIYer it is so worth it. First it goes up so quick and easy, in pre-cut sections which is a big time saver. Second the paperbacker saves you from the loose bits of insulation getting everywhere and making a huge mess.
 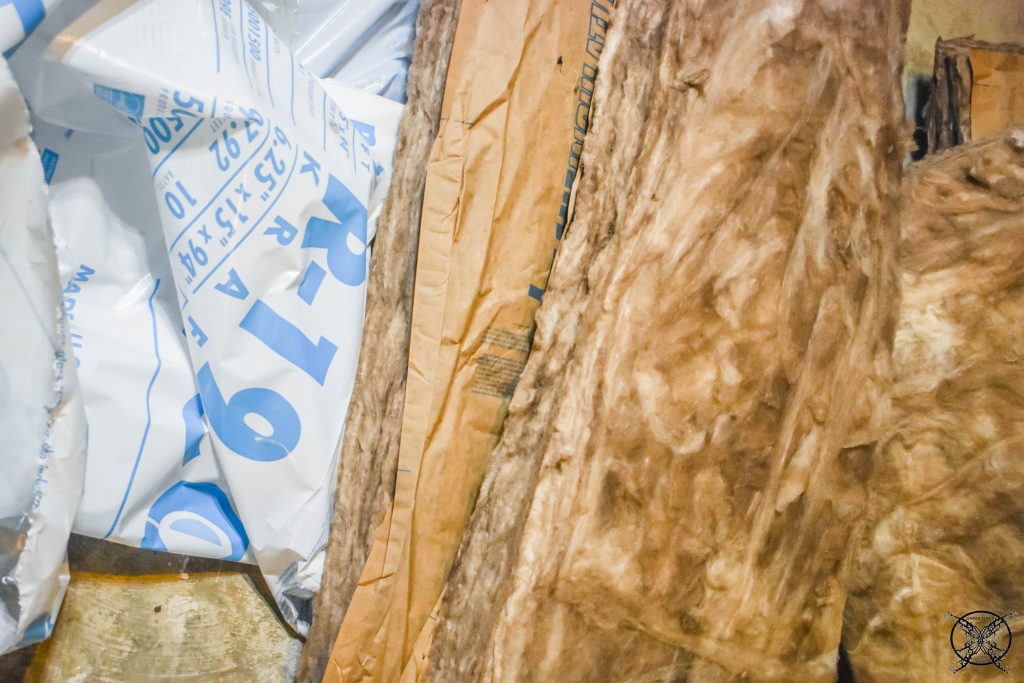 I know normally I am trying to save you money, but trust me, on this type of project it is not worth the itching or getting the fiberglass in your skin, hair or eyes. So spend the money, it’s only a few extra dollars anyways.
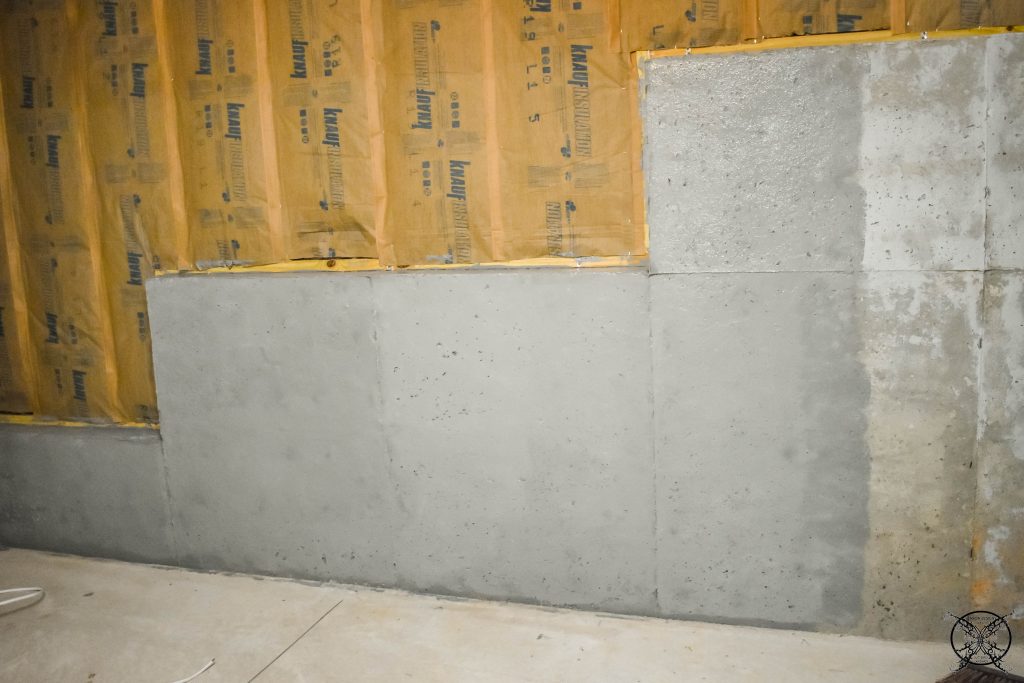 Once all the insulation was installed, I painted the concrete paint onto the walls. Below you can see the the first coat of paint, it did take three coats to get a nice full coverage since this is a very raw, heavily pockeled concrete. It reminded me of Leo of the Scorpions, aka “Crater Face”, from Grease, LOL!
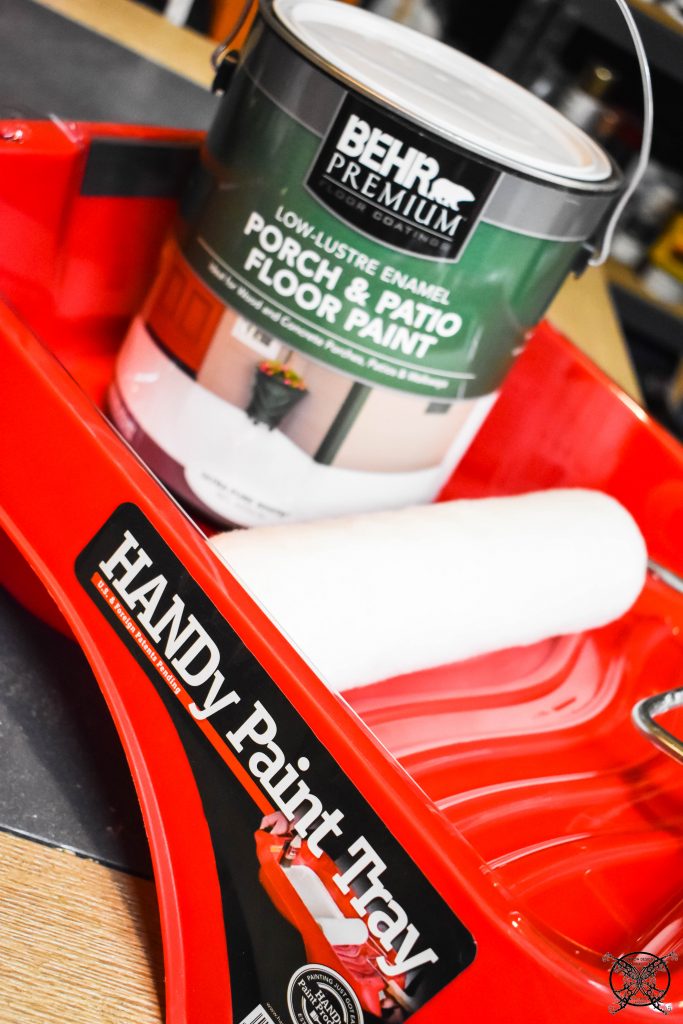
*Please note that I was graciously compensated for this post. This post may contain affiliate links for your convenience. These links involve no extra cost to you. You can view my full advertising disclosure statement here.
No painting project would be complete would out my HANDy paint tray, which we love HANDy products and use on every painting project! I used the very same brand of concrete paint as we did to paint our concrete floors. The beauty of this paint is that it can be tinted to any color your wish so custom colors are completely achievable so you can match flooring or other finishes that you plan to use. Also since this is a Home Depot brand you can use the custom color match machine if you need to match another color not in the color records, wink wink.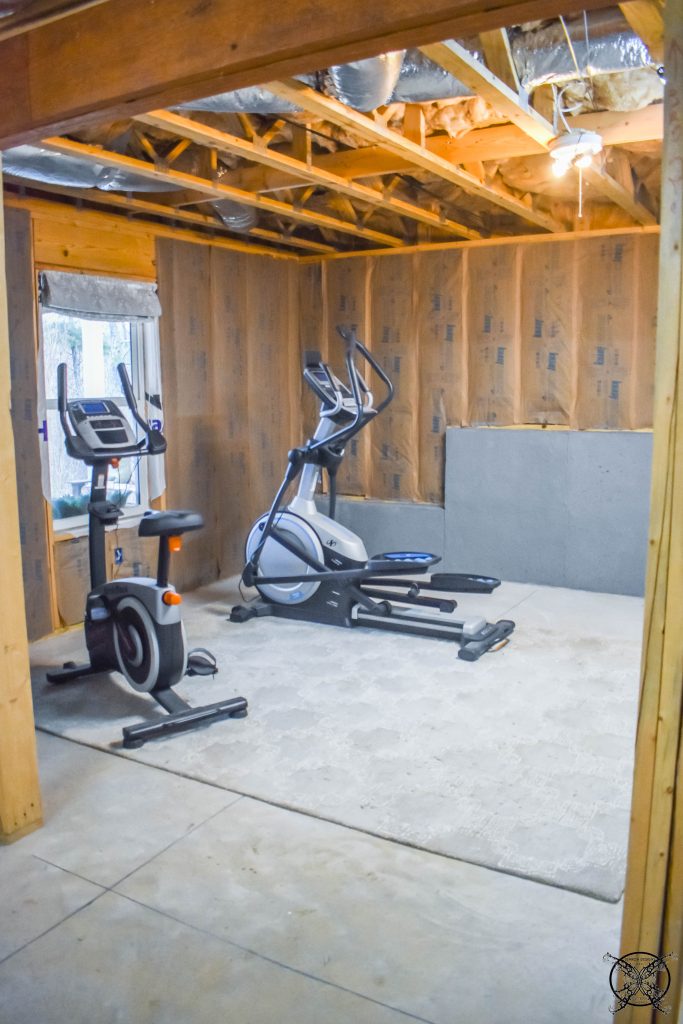 As you can see above we do already have a majority the large work out equipment, so we tested out some of the spacing in the area to make sure of the room layout and wall locations prior to the actual build out for next week.
THE PROPOSED SCHEDULE:
WEEK 1: Introduction & Inspirations
WEEK 2: Insulate Walls & Paint/Seal Concrete Walls
WEEK 3: Build Out Walls for Bathroom & Sauna
WEEK 4: Run Electrical, Set Light Boxes, & HVAC ducts
WEEK 5: Add Brick Walls & Sheetrock
WEEK 6: Vintage Locker Build Out Project
WEEK 7: Set Faux Wood Padded Floor Squares for Workout Space
WEEK 8: REVEAL
This project looks awesome. Thanks for sharing 😊
So far it looks so good! I can’t wait to see the final result
Oh nice, it is looking so good! I’ve never tried to do this before.
Ahh I love behind the scenes DIY projects! I can’t wait to follow along!
We won’t be doing major work like this, but, I miss a little DIY here and there.
Looking good, Jenn. Great plans and progress.
How interesting to find a guide on how to actually do such a thing! It looks simple… I’d love to DIY!
That’s some serious work, and the payoff is going to be SO good!!
Oh wow, that’s intense! I wish I was handy enough to do anything like this. I suppose I can learn! I need to redo our walls.
I can’t wait to see the reveal. Intense and very detailed post.
I love how you always have some sort of project going on! Keeps you active!
This is interesting as I am considering a complete home renovation.
I love these week by week reveals. You’ve such a talent for making a room spectacular – can’t wait to see what you do with this one (and I’m loving that fridge) that’s going in – looks like you’ve thought of everything.
Thanks for sharing. Love the concrete wall!