Installing A Murphy Bed for A Guest Room
Have you ever needed extra space for an overnight guests? Have you ever thought about Installing A Murphy Bed for A Guest Room?
We recently upgraded my husband’s office space by installing a Murphy bed for a guest room area. This was such a simple upgrade and it provided him with a great new workstation for his office that easily converts into a queen size bed in a moment’s notice. I have to say we really love the functionality of the Lori Murphy bed and the ability to customize this piece of furniture to your needs. I also have to say if you are now considering working from home on regular basis this may be the perfect option for you to turn a guest room into a office space as well.
*Please note that I was graciously compensated for this post. This post may contain affiliate links for your convenience. These links involve no extra cost to you. You can view my full advertising disclosure statement here.
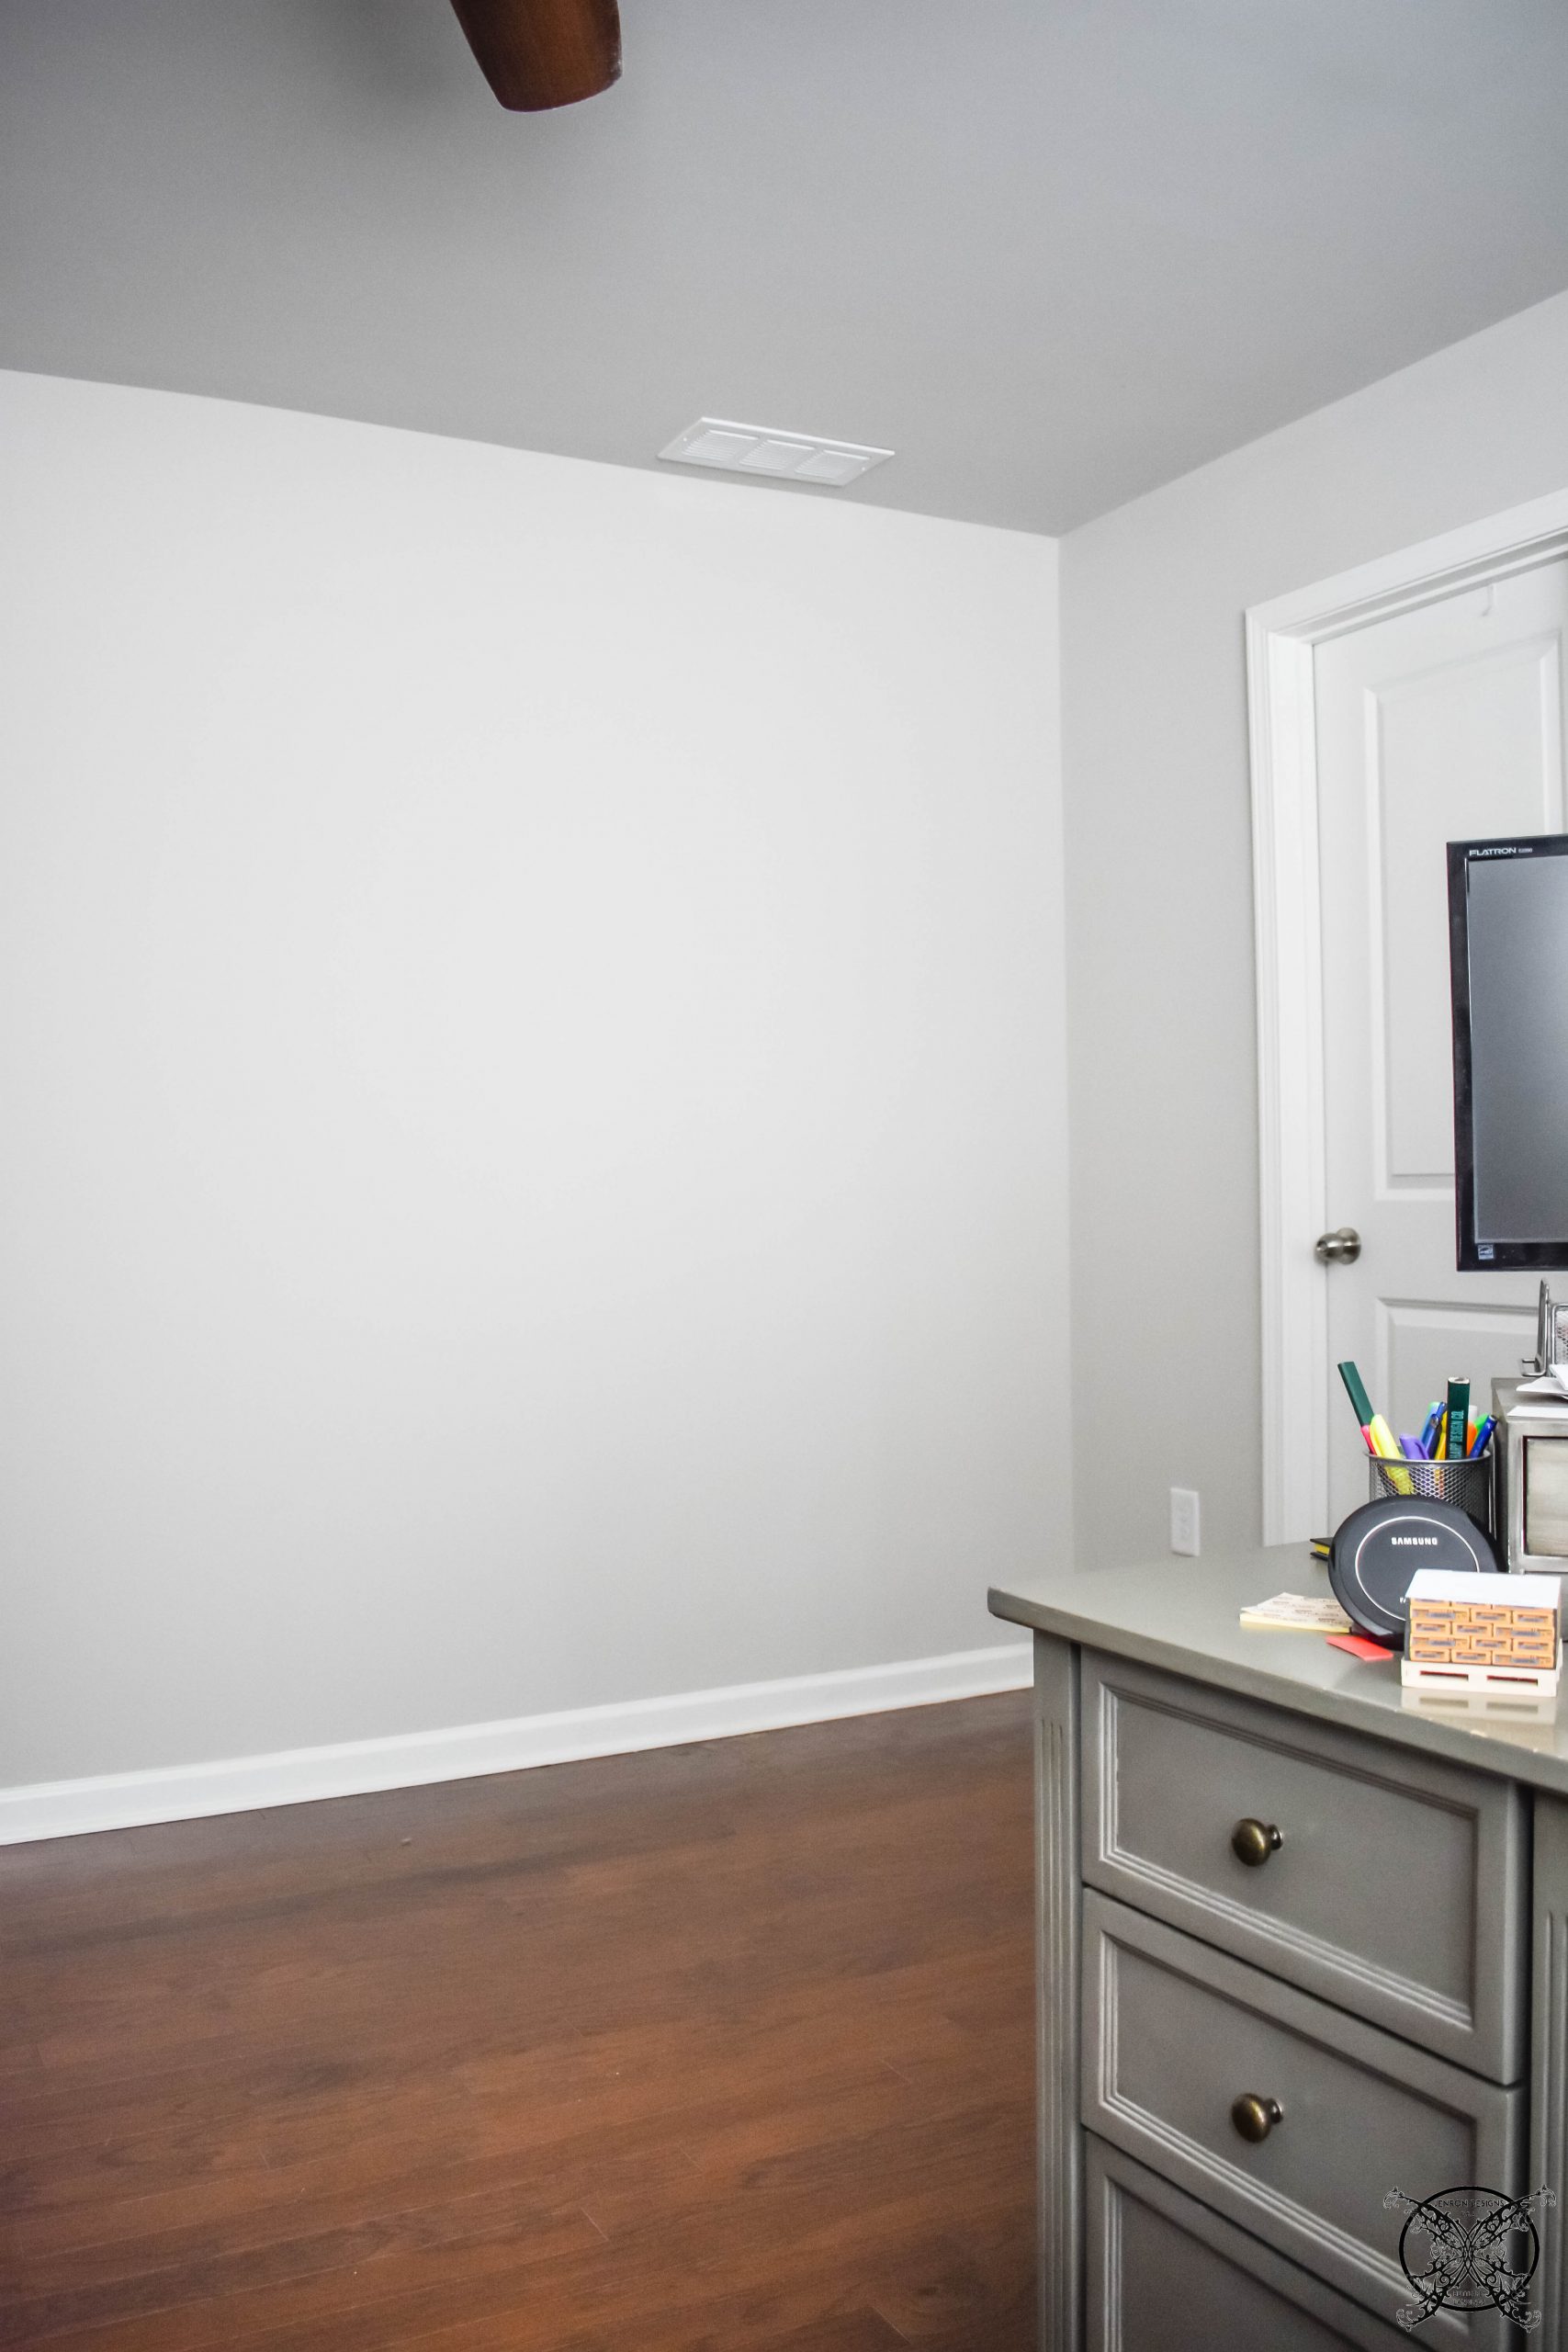 So this is the wall that we decided to put the Murphy bed on in Ron’s home office. As you can see it is a large wall so we were able to go with a queen size bed in a horizontal orientation, which would allow us to create a workstation when the bed was not in use, verses a bookcase which would be a vertical orientation.
 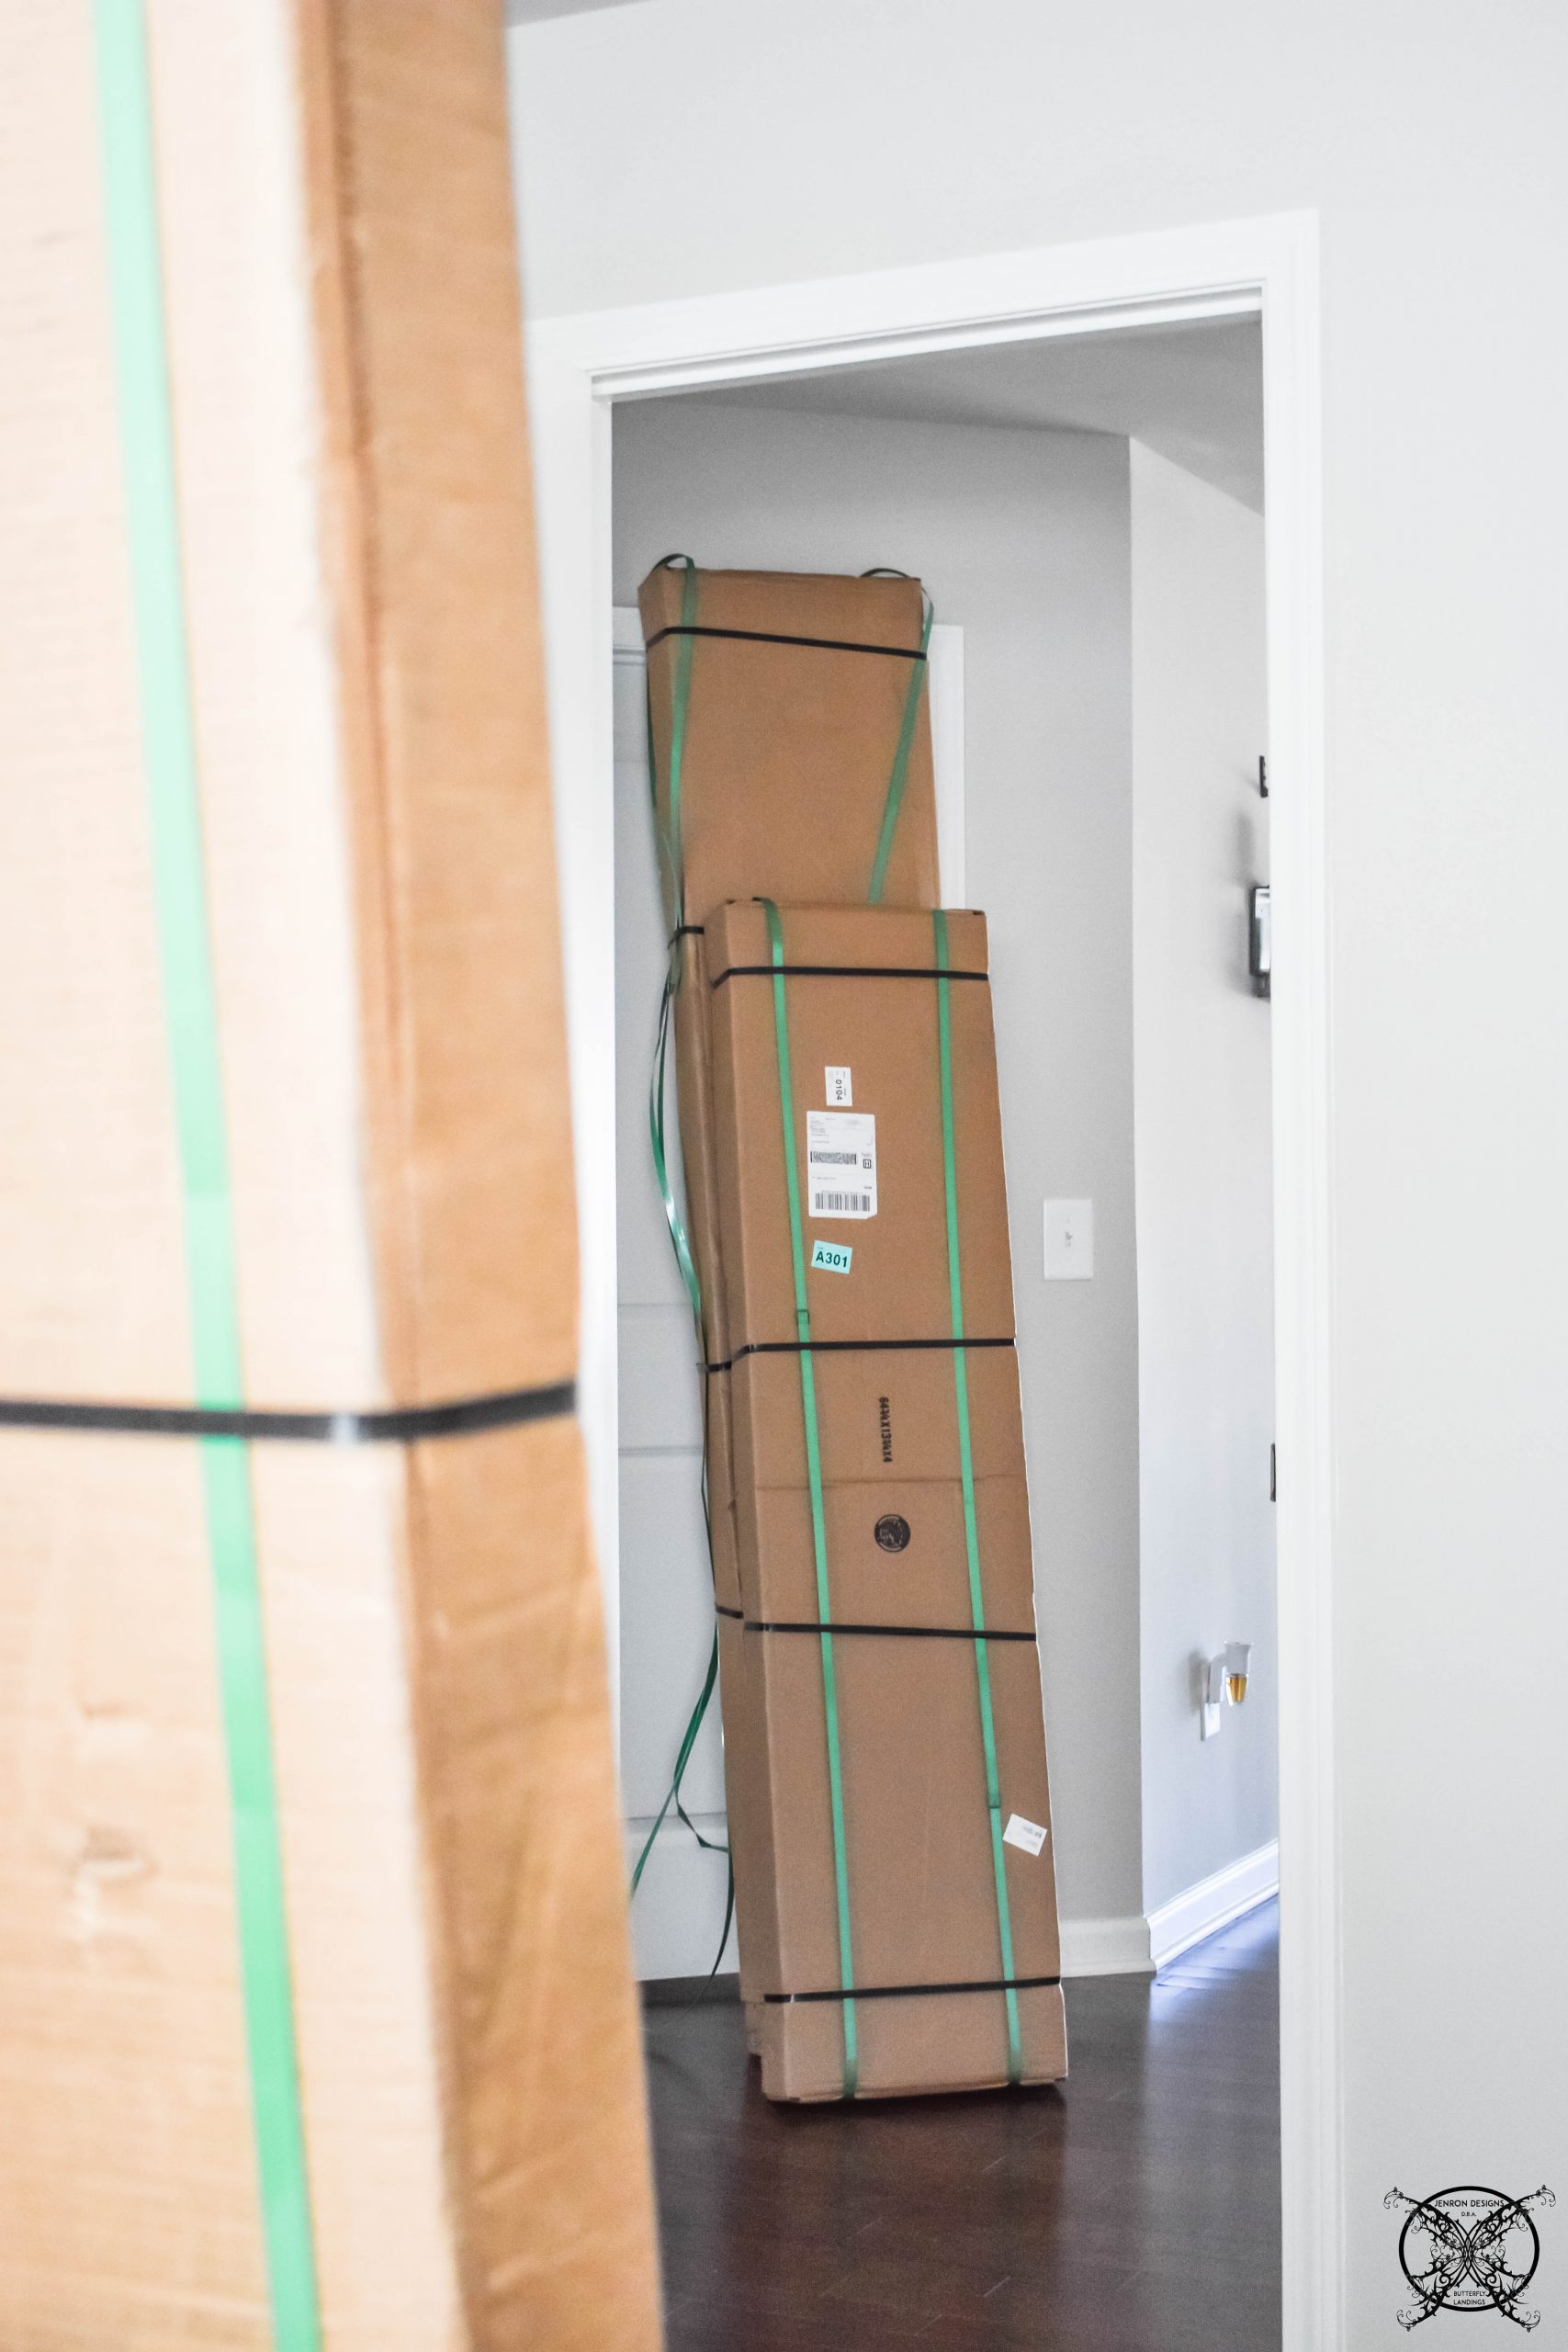 The bed is shipped in 3 large boxes which could easily be moved by two people, or one strong guy, lol. They arrive within a week of my confirmation, since they were being shipped from Tennessee, which is very close for us.
 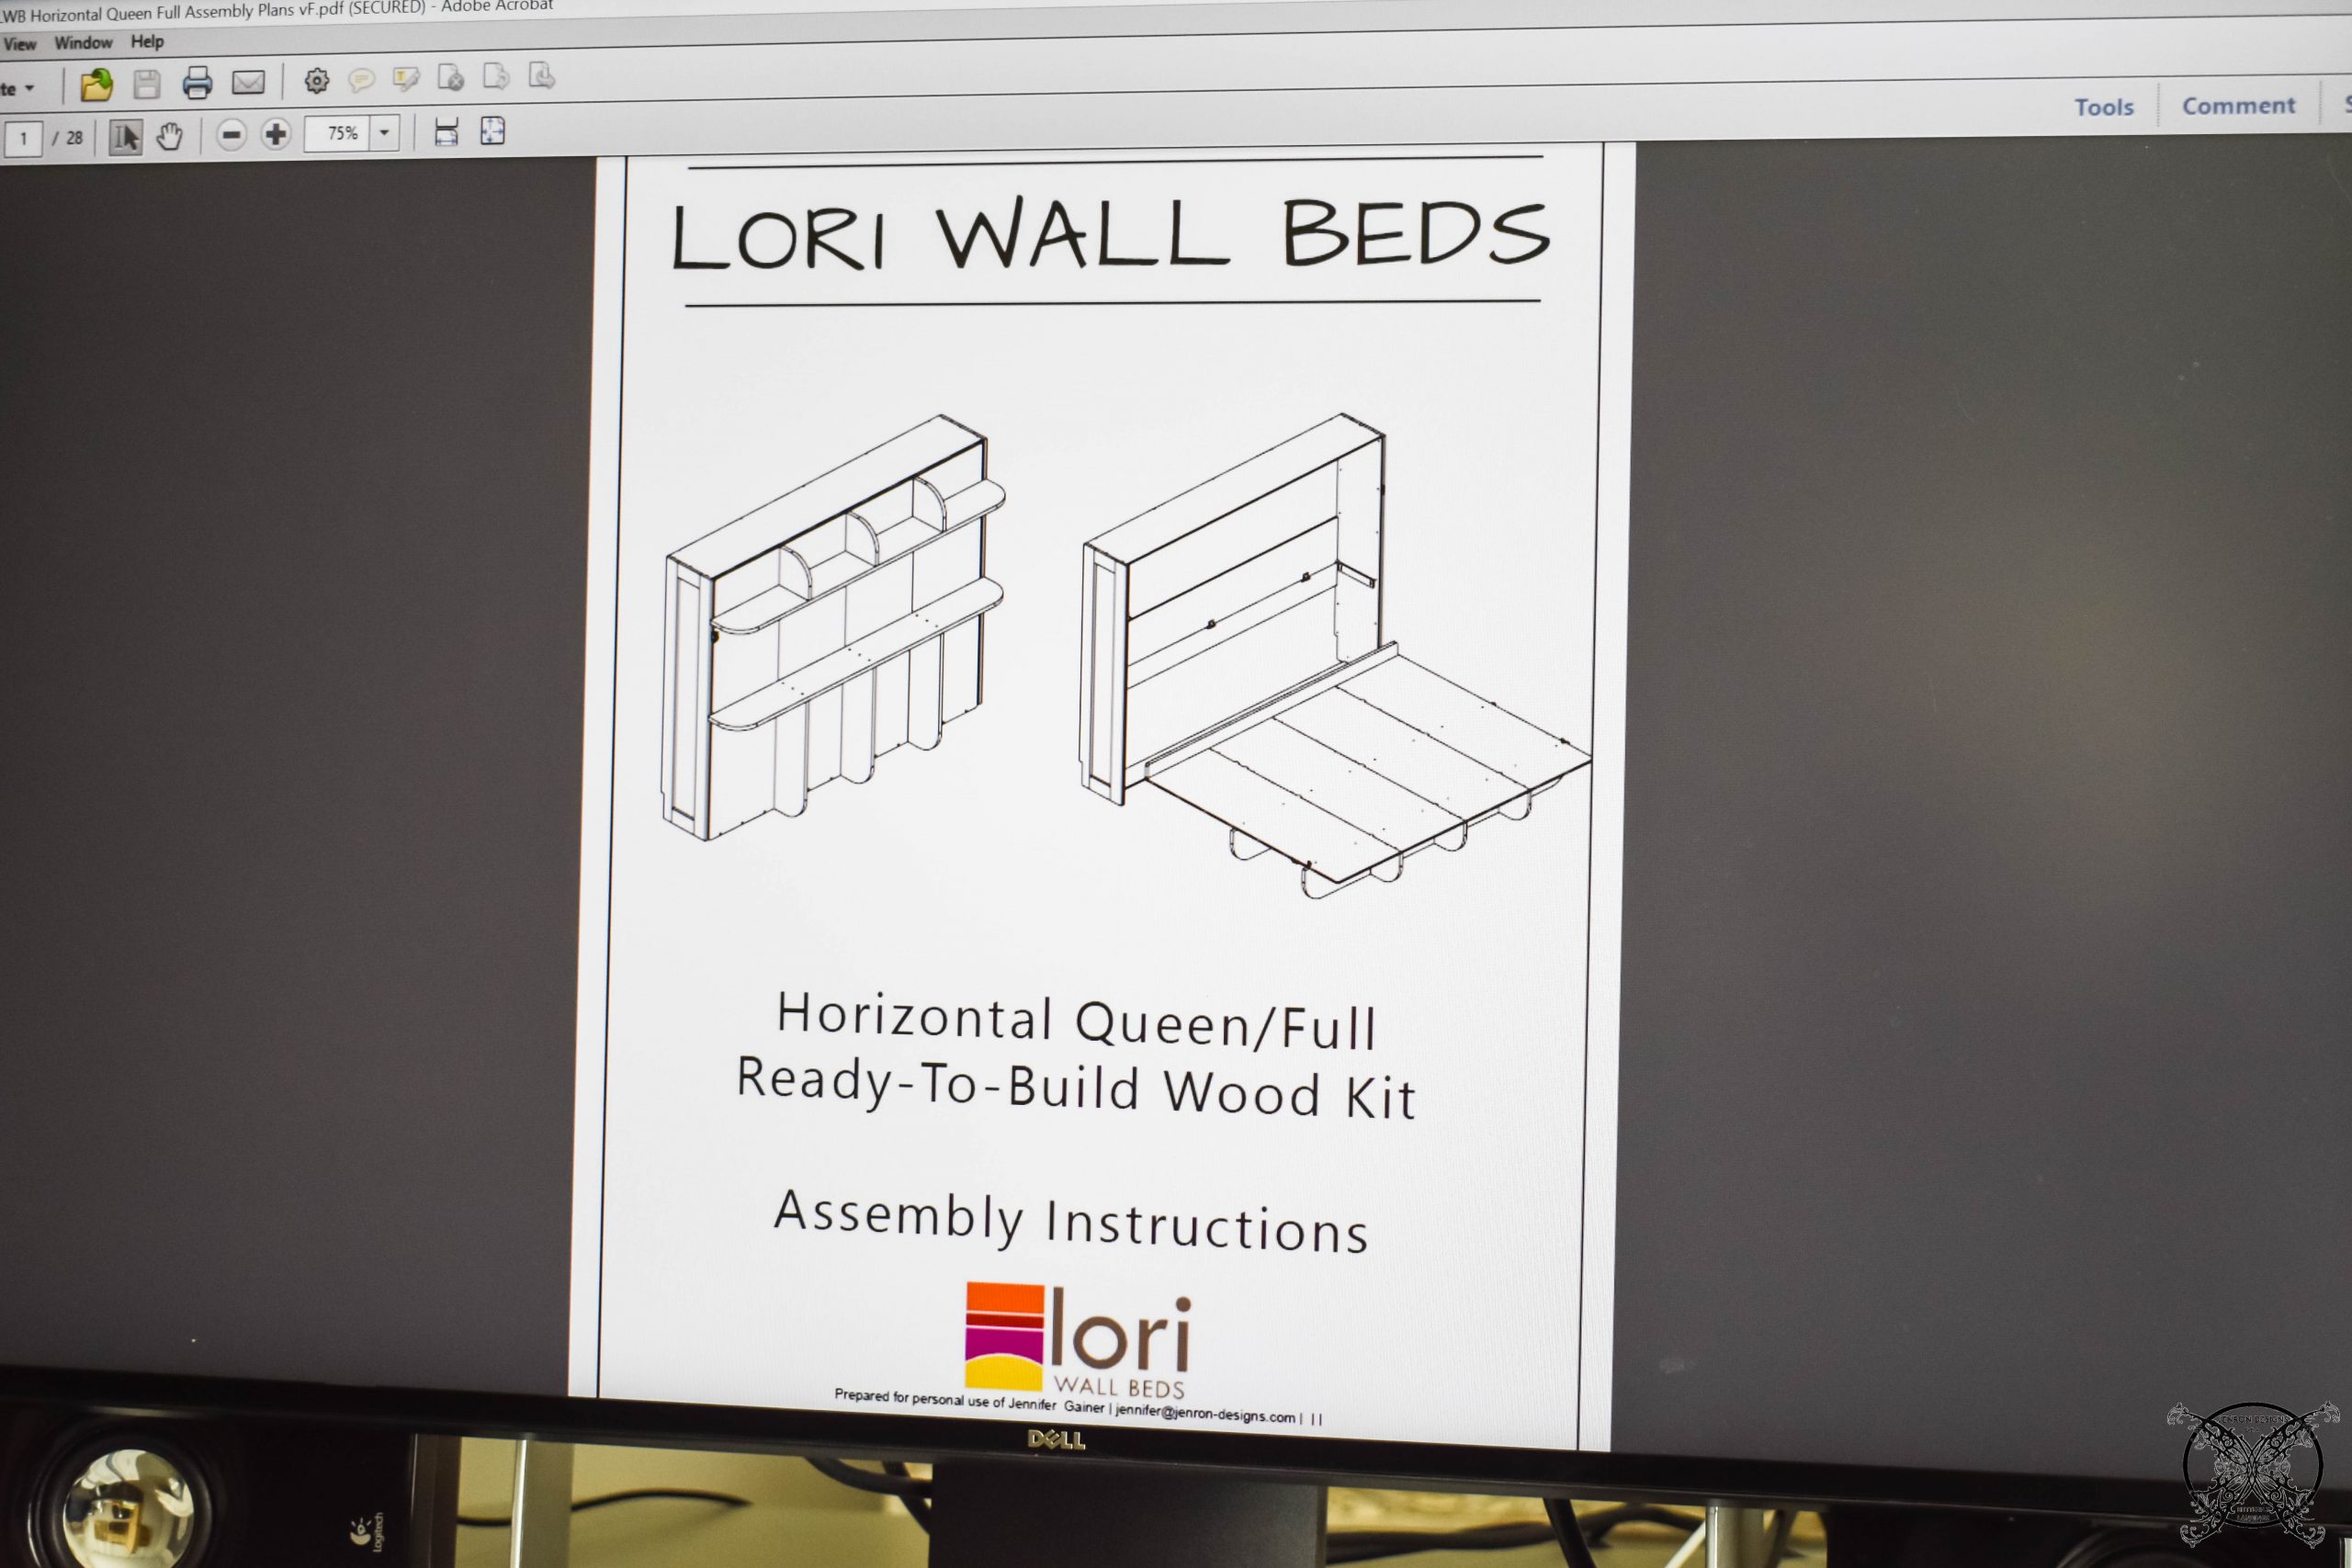 All the instructions came online along with an easy DIY video on how to build and install all the pieces, so it was a total breeze to put together. It comes with everything you need, but you will need a few basic tools like a drill, screw driver, stud finder and a rubber mallet.
 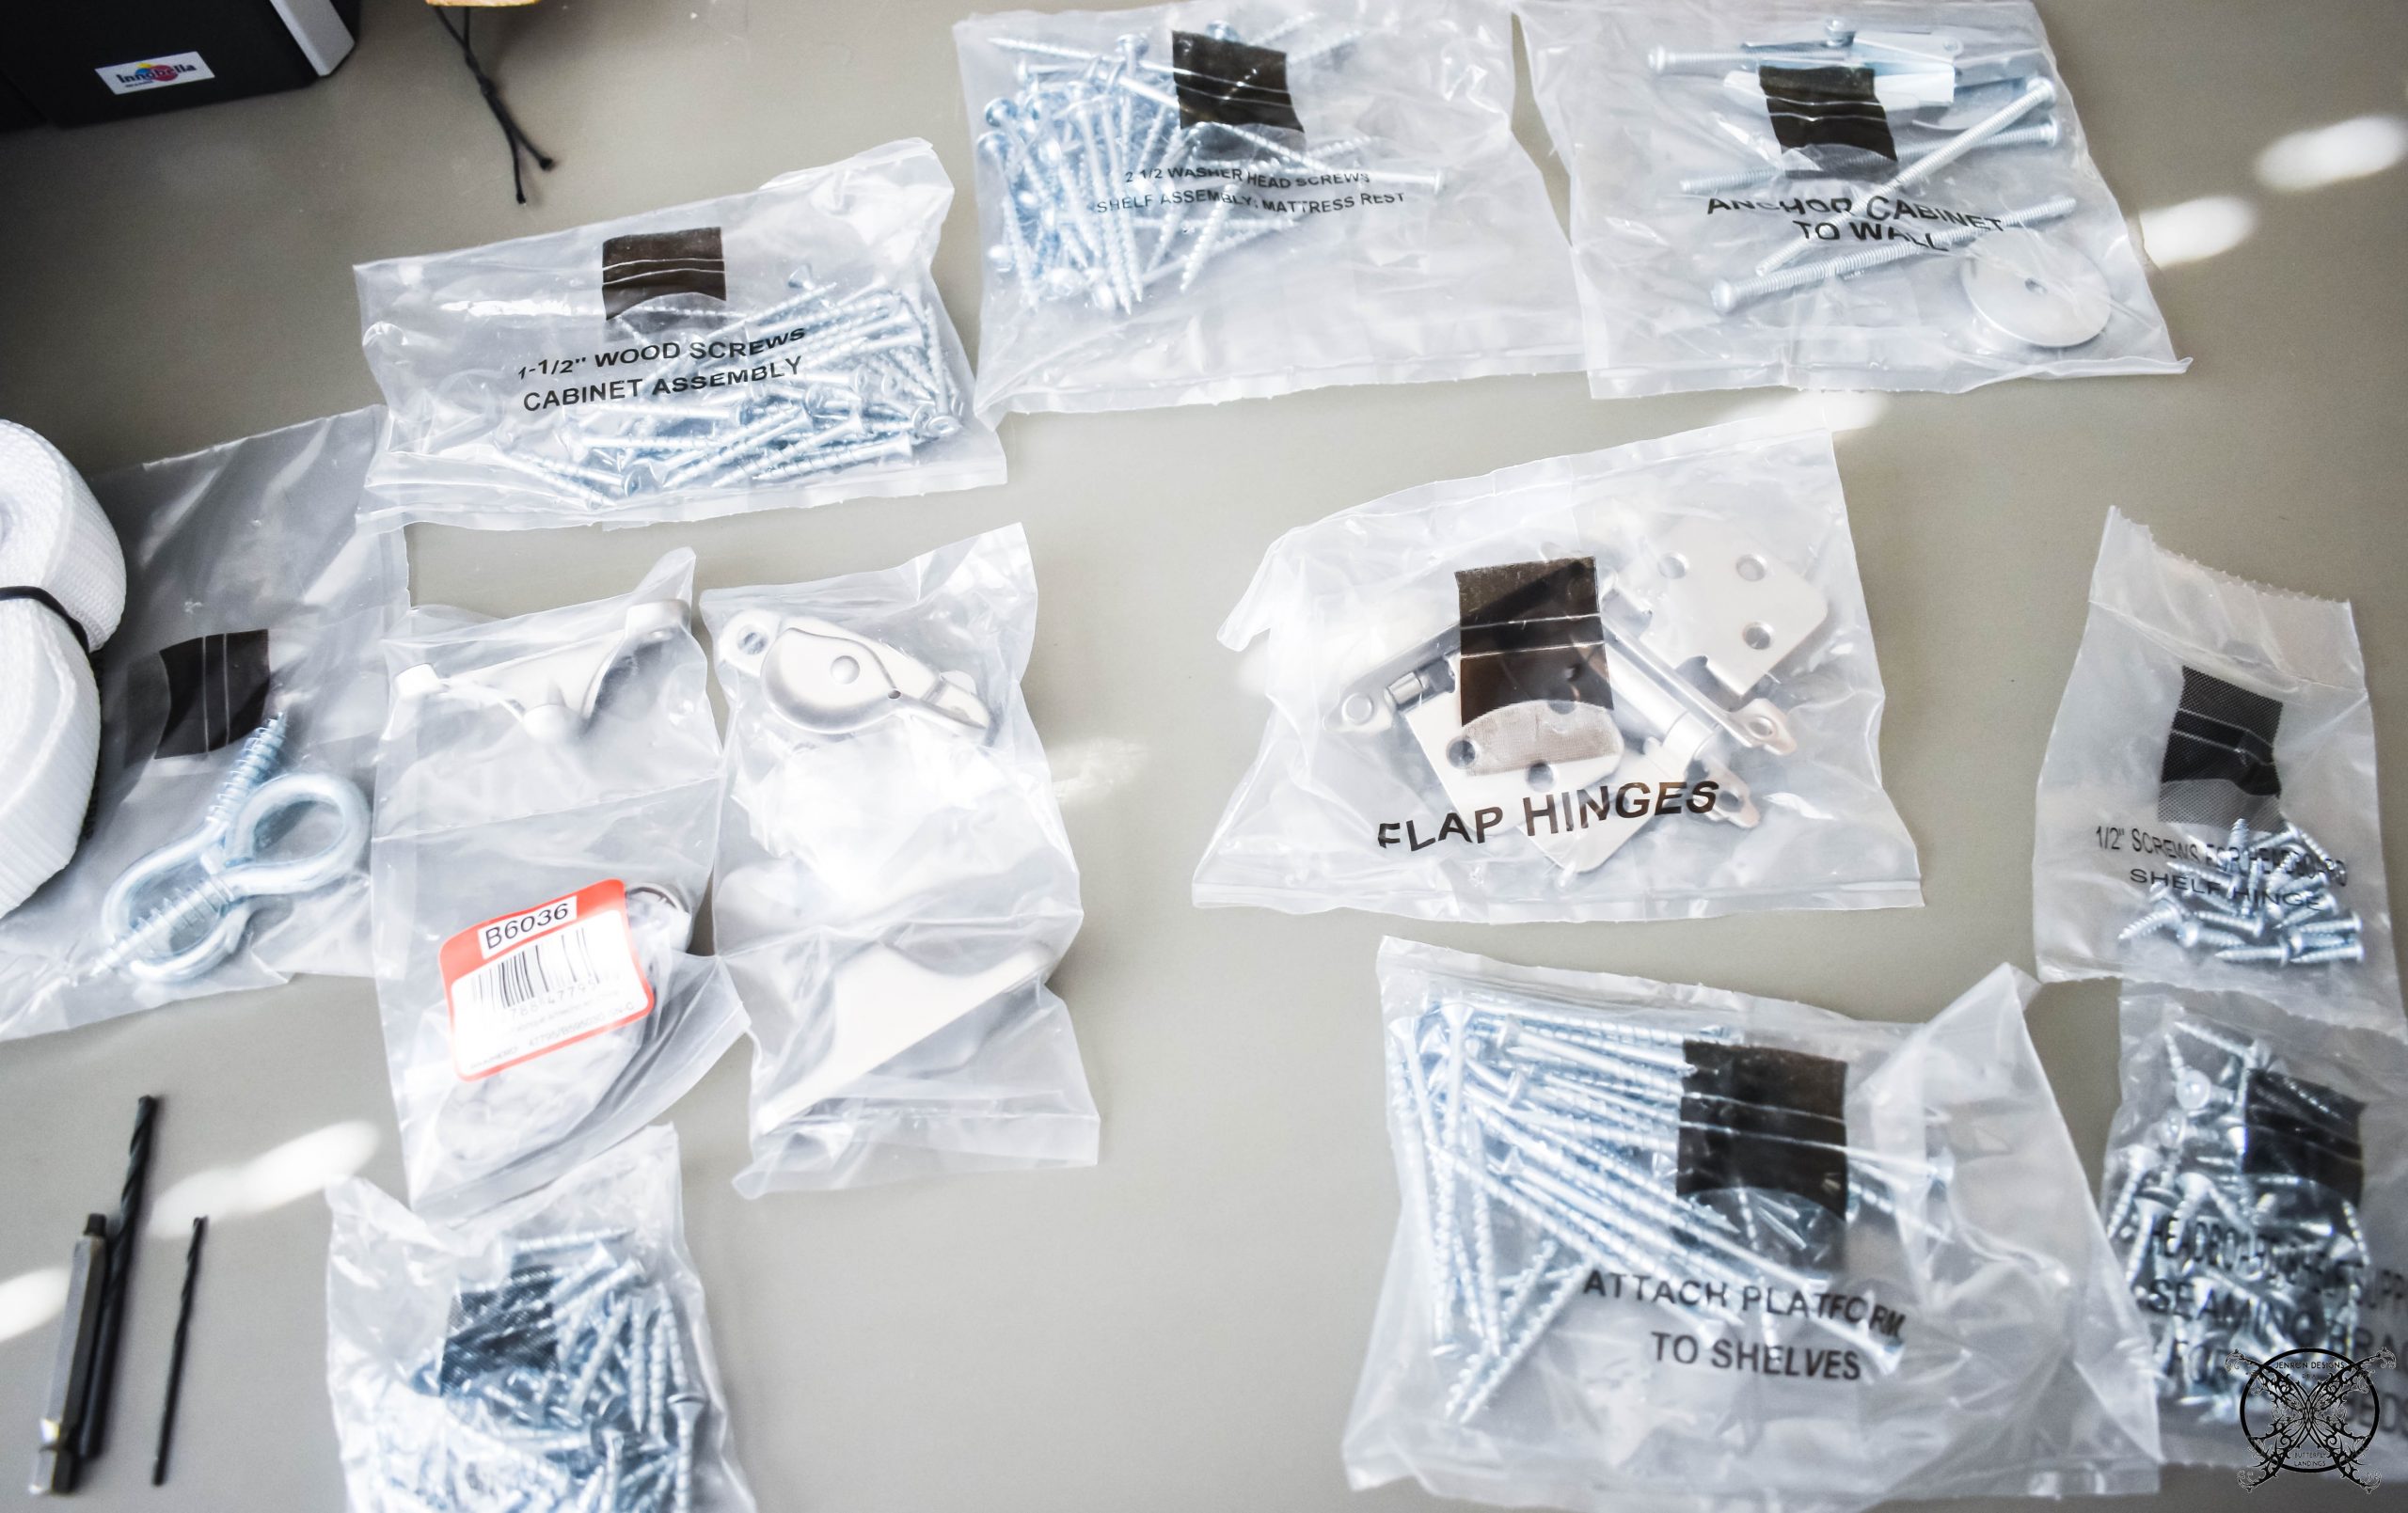 Everything is labeled and the hardware has a few extra pieces in case you drop one or two. The bags match up perfectly to the instructions and videos. So whether you prefer to read instructions or visually watch the videos Lori Beds has you covered.
 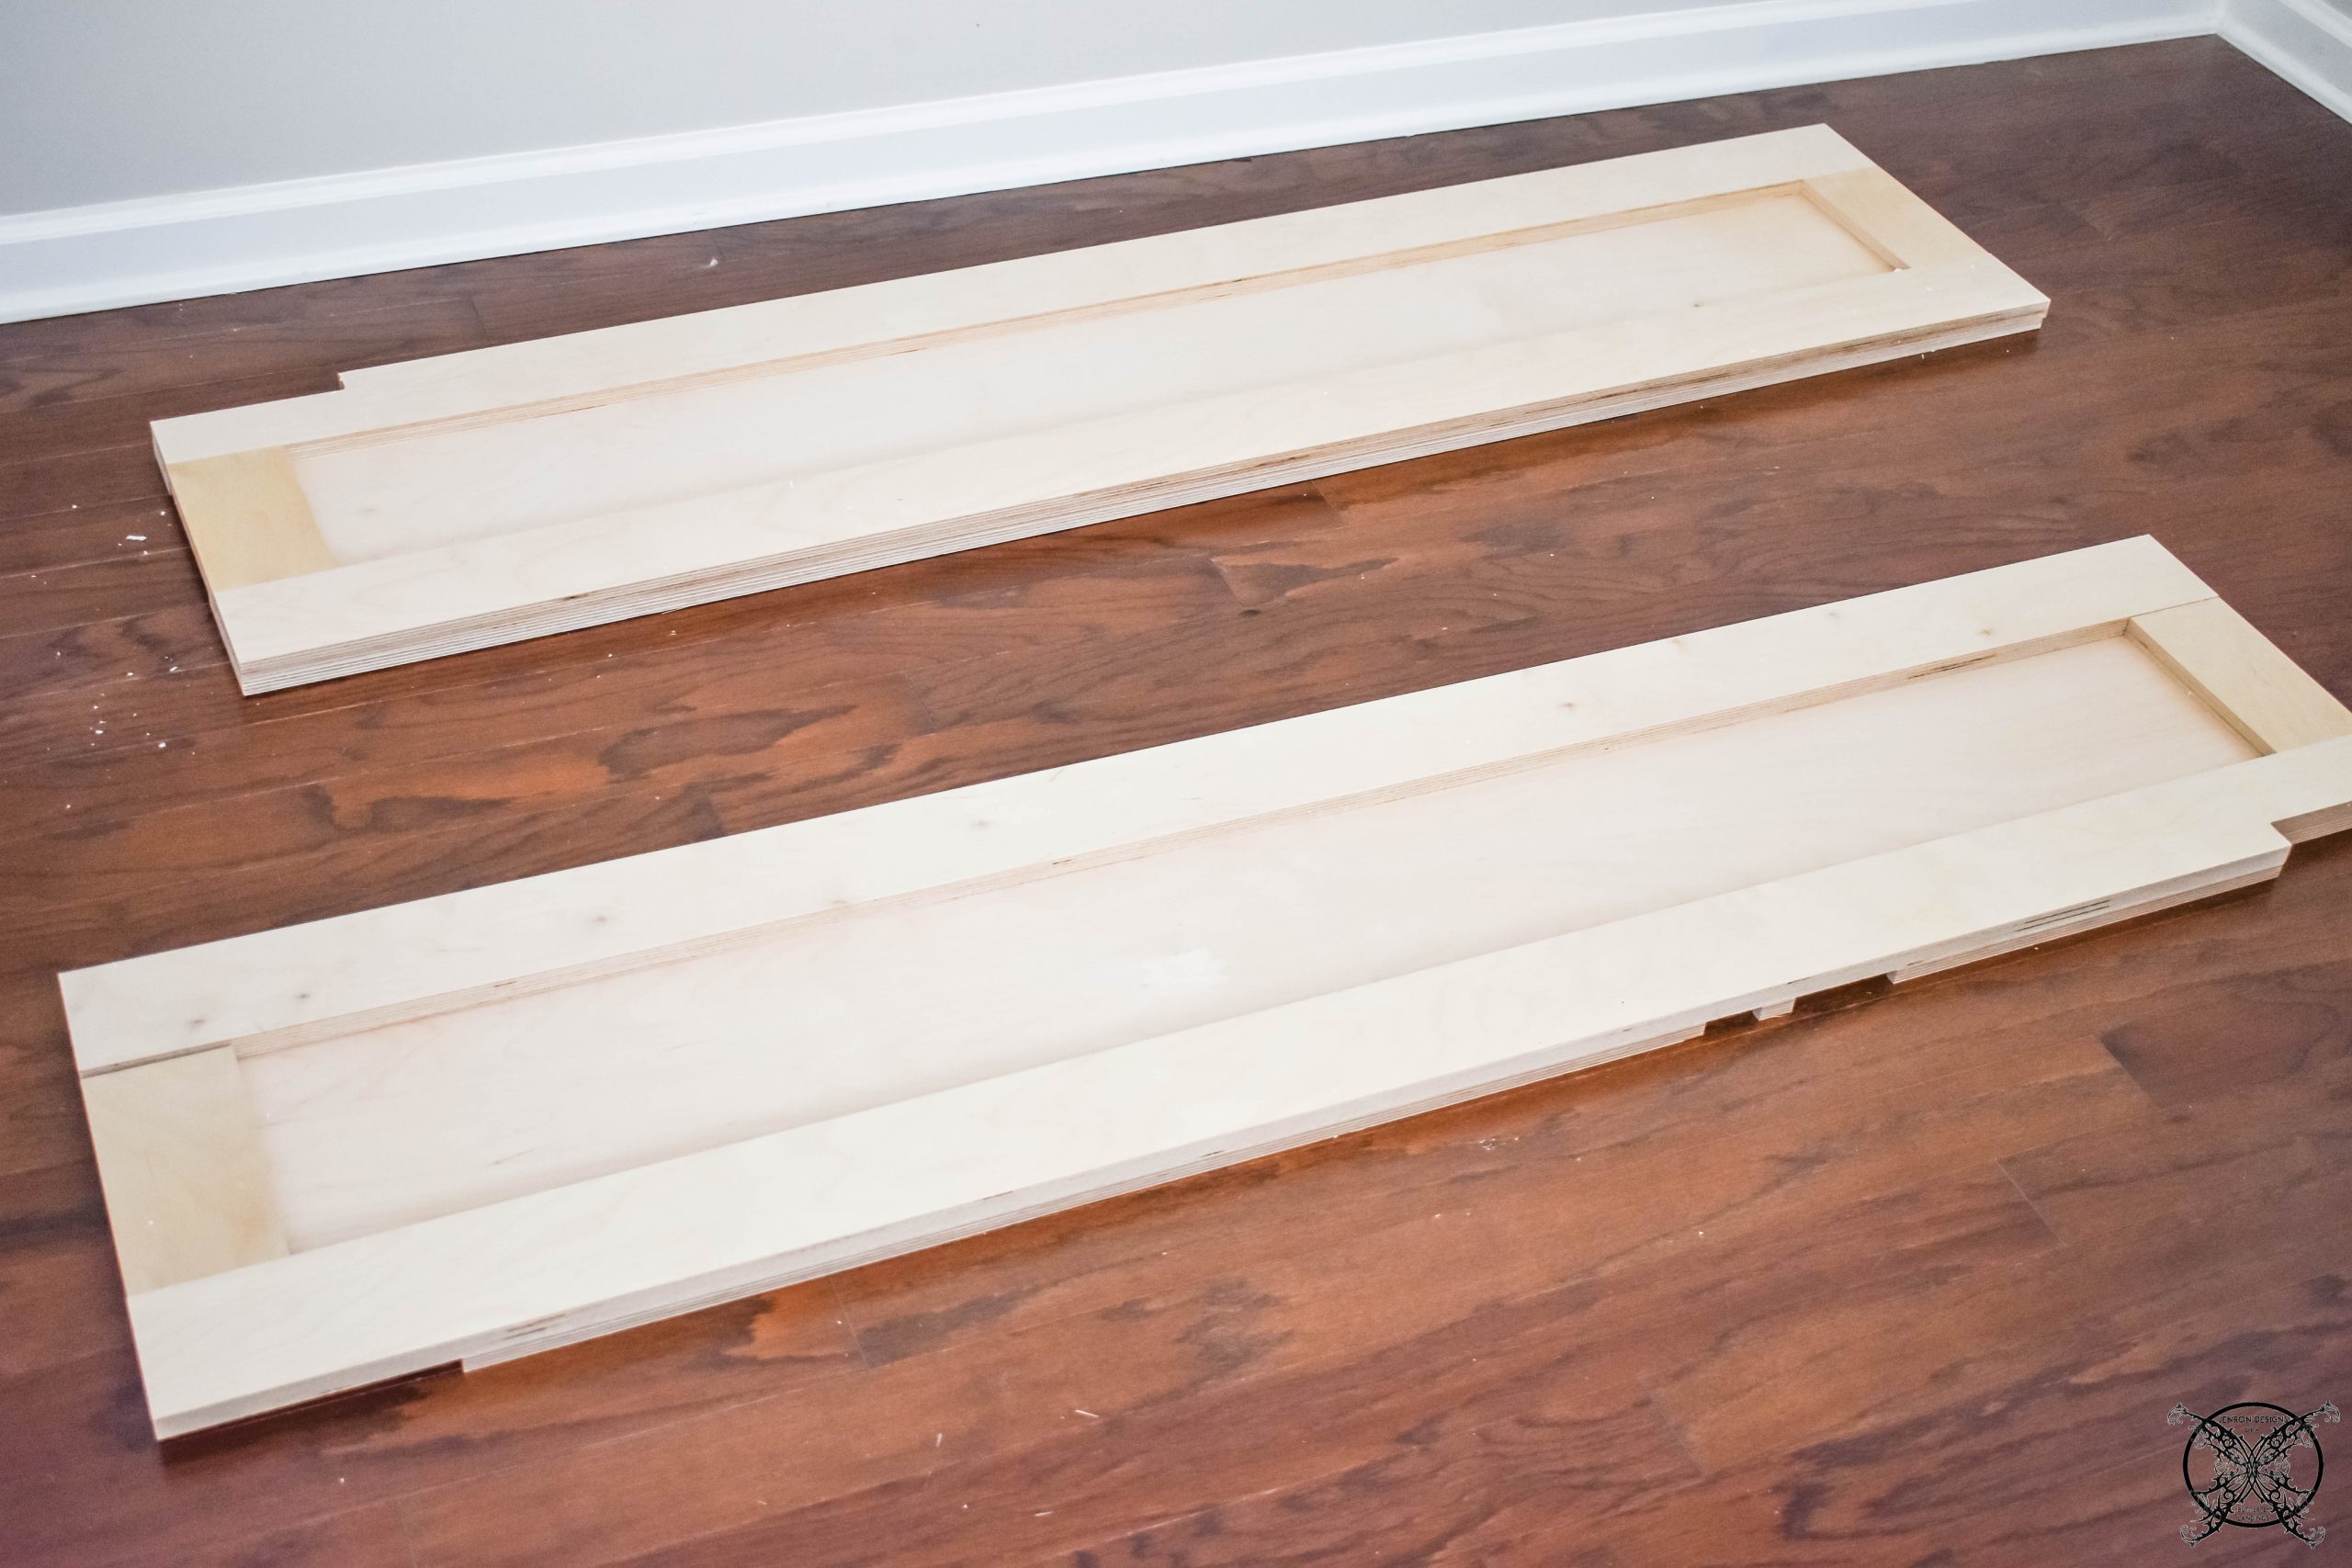 The headboard or in our case the side board went together in no time flat. Ron preferred to predrill a few of the holes as recommended in the videos just so insure there were no accidental splits or screw throughs, since the boards are thin and delicate for a few of the pieces, like the shelves.
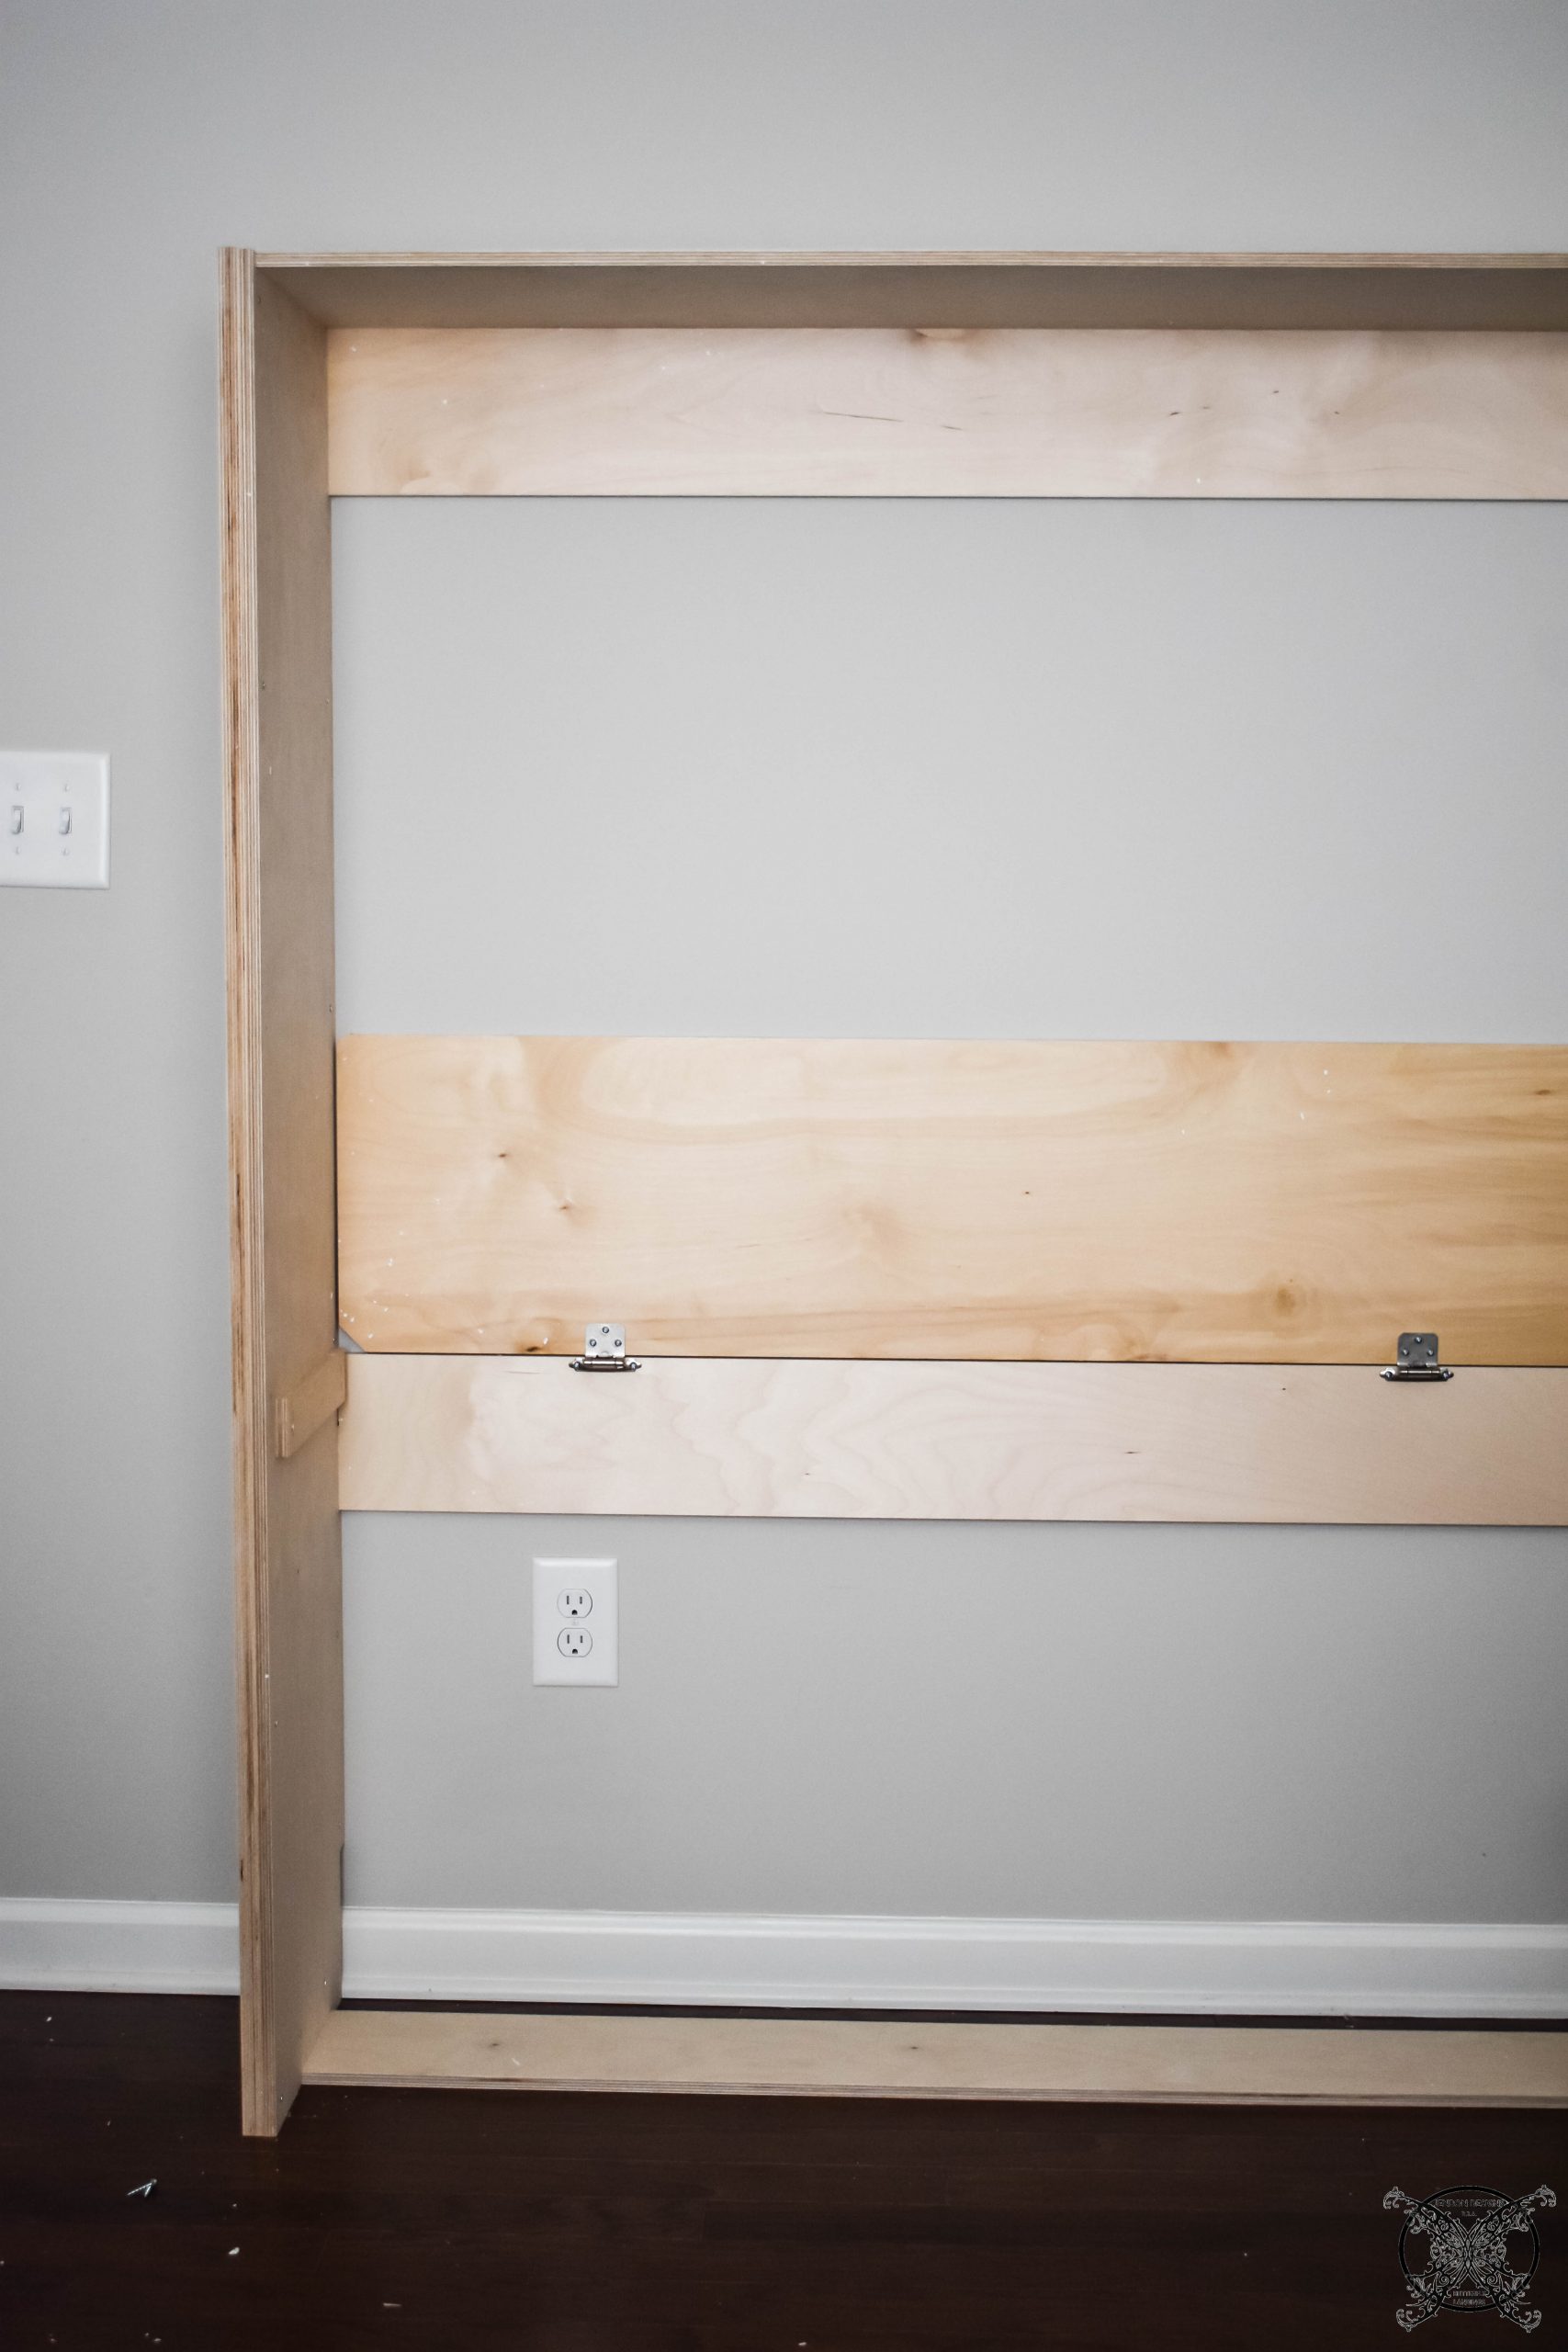
 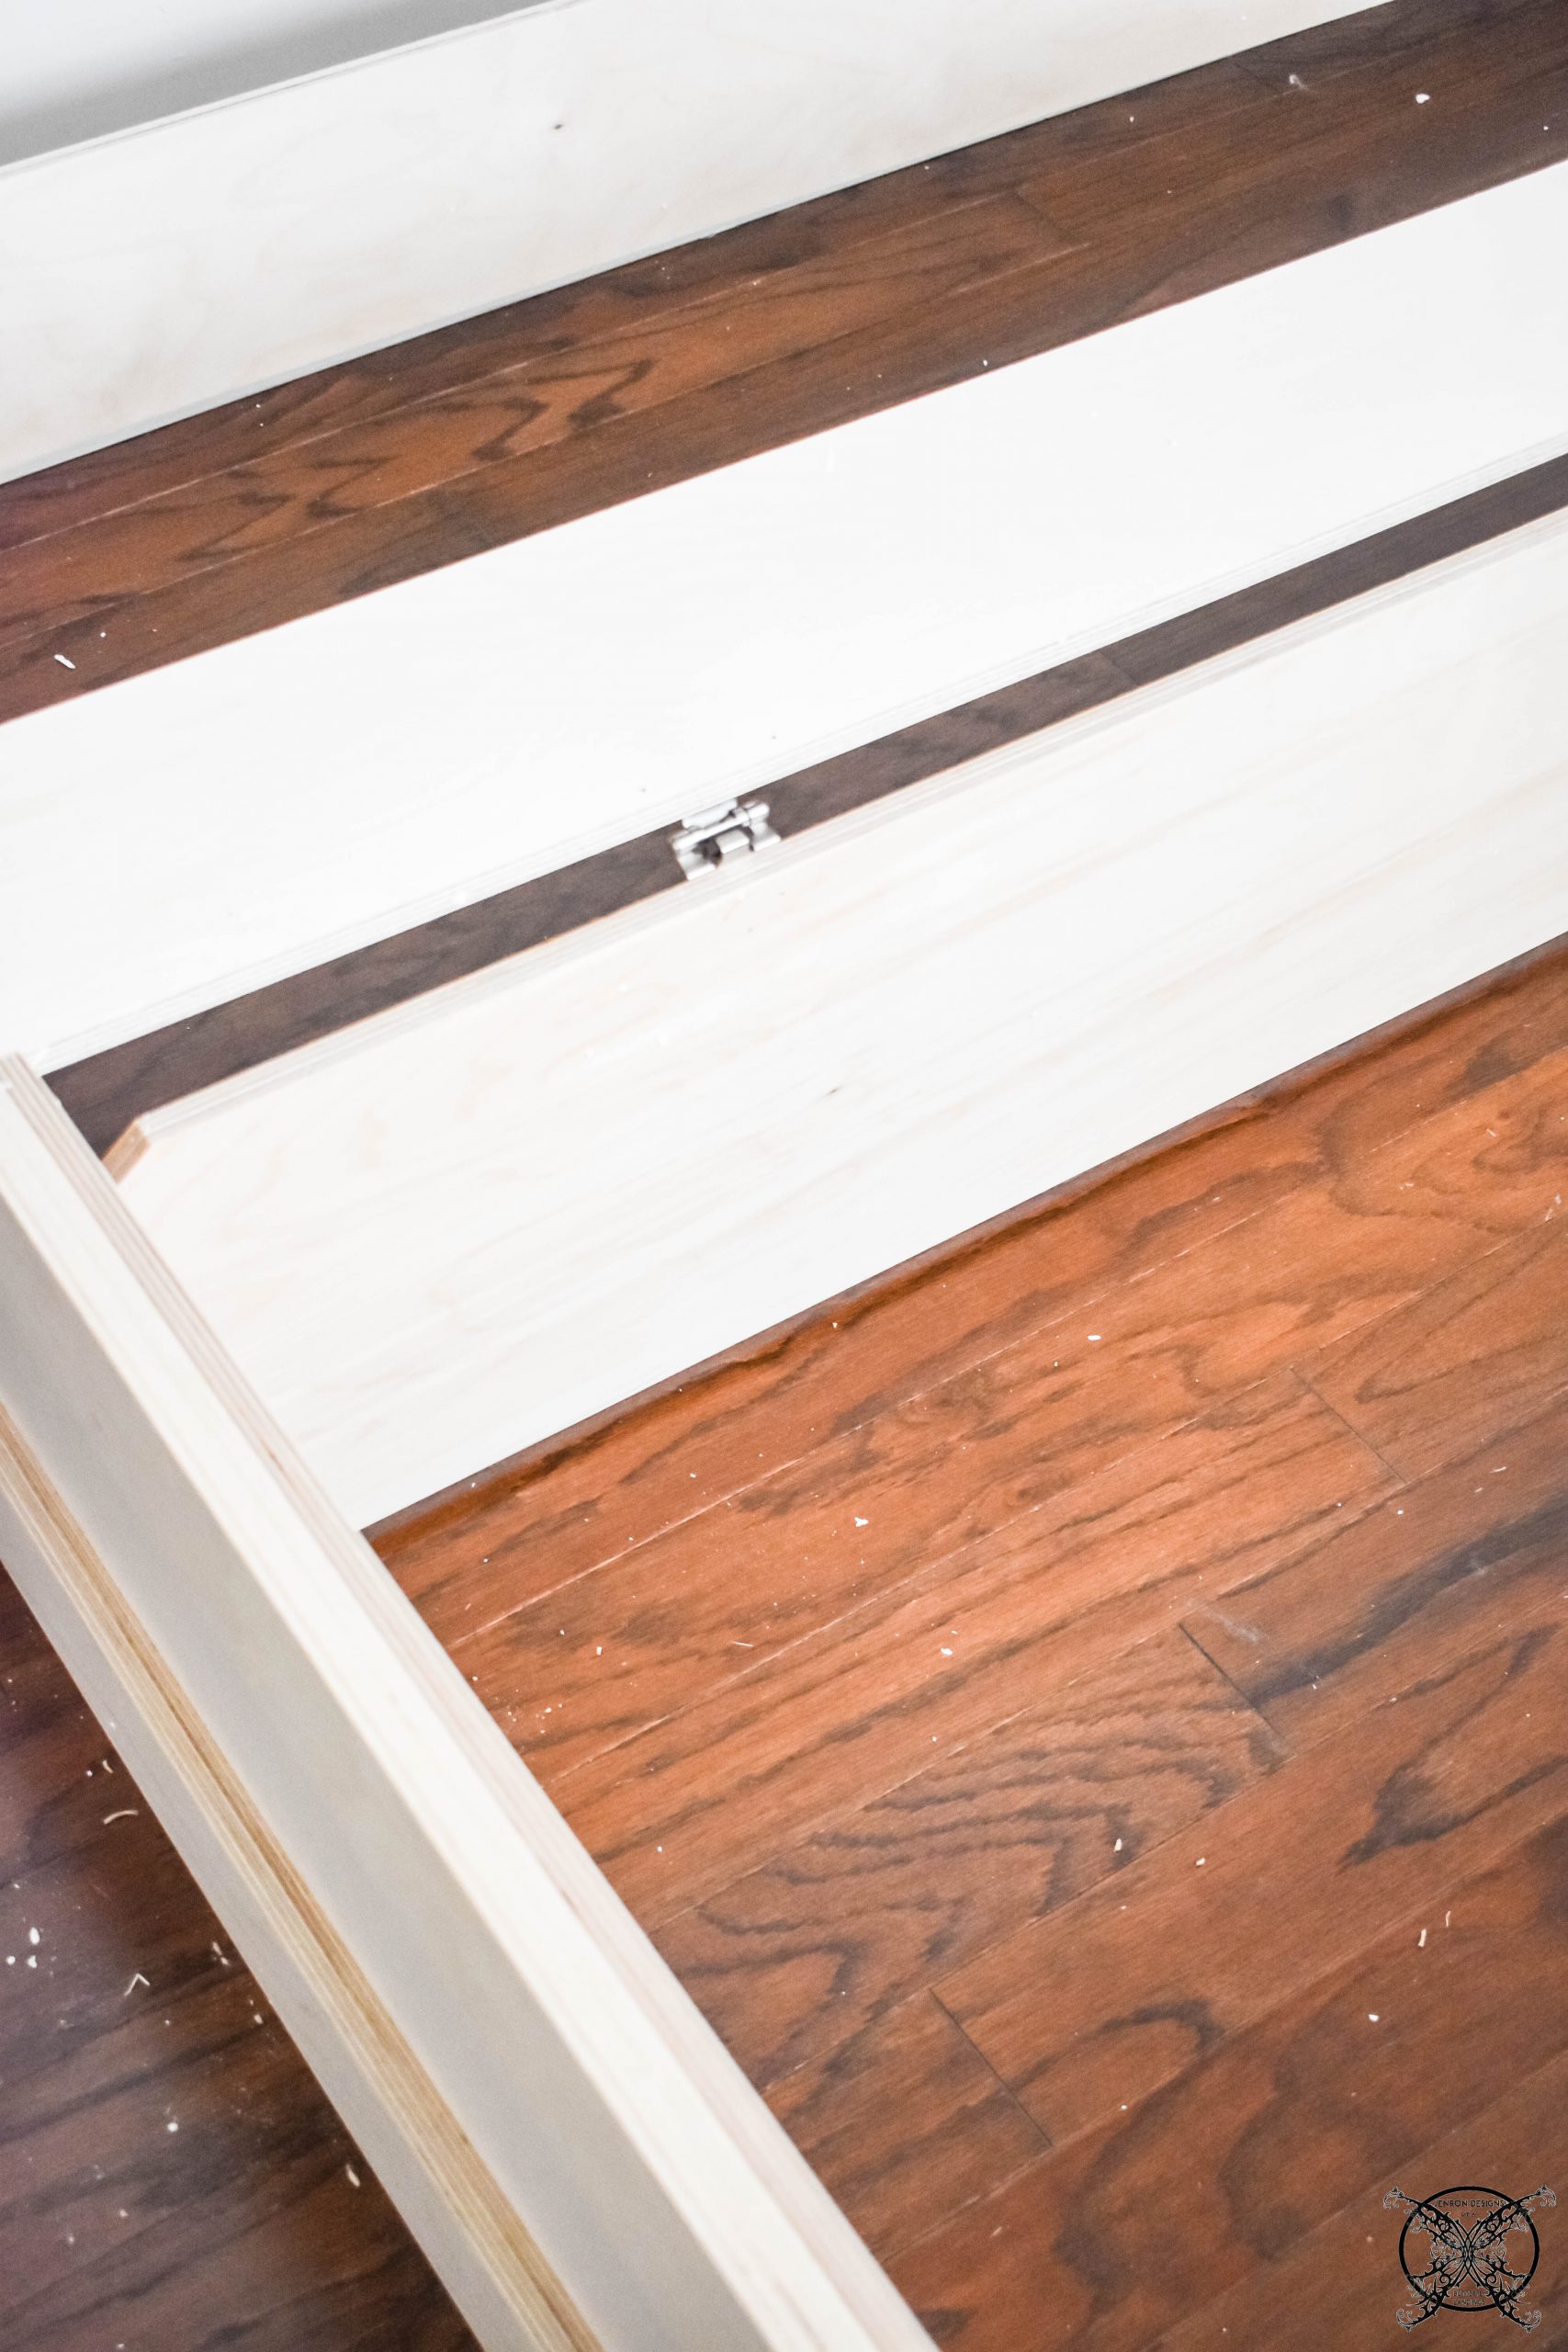 Then it was time to mount the cabinet to the wall with the anchor bolts. For this step you will absolutely want a stud finder, or in our case we had pictures of the wall before sheetrock. This is an important step since this will provide the stability for the entire bed, and will keep it from turning over.
*The wall picture tip for us was a total lifesaver since this wall had a large gas pipe that runs to our attic for the heating unit. Which you would not want to accidentally drill through a gas pipe in your home. First of all you would probably ruin your bit since they are steel, but second if you did by some chance nick the pipe it would be a issue to fix. What you really have to watch for is the PVC or pex pipe since you can drill through those easily.
 You may notice in the pictures that we actually did not secure ours yet, but that is because we are painting our piece and wanted to be able to pull it away from the wall to do so. The next main step was building the platform for the bed,which is where the mattress will live.
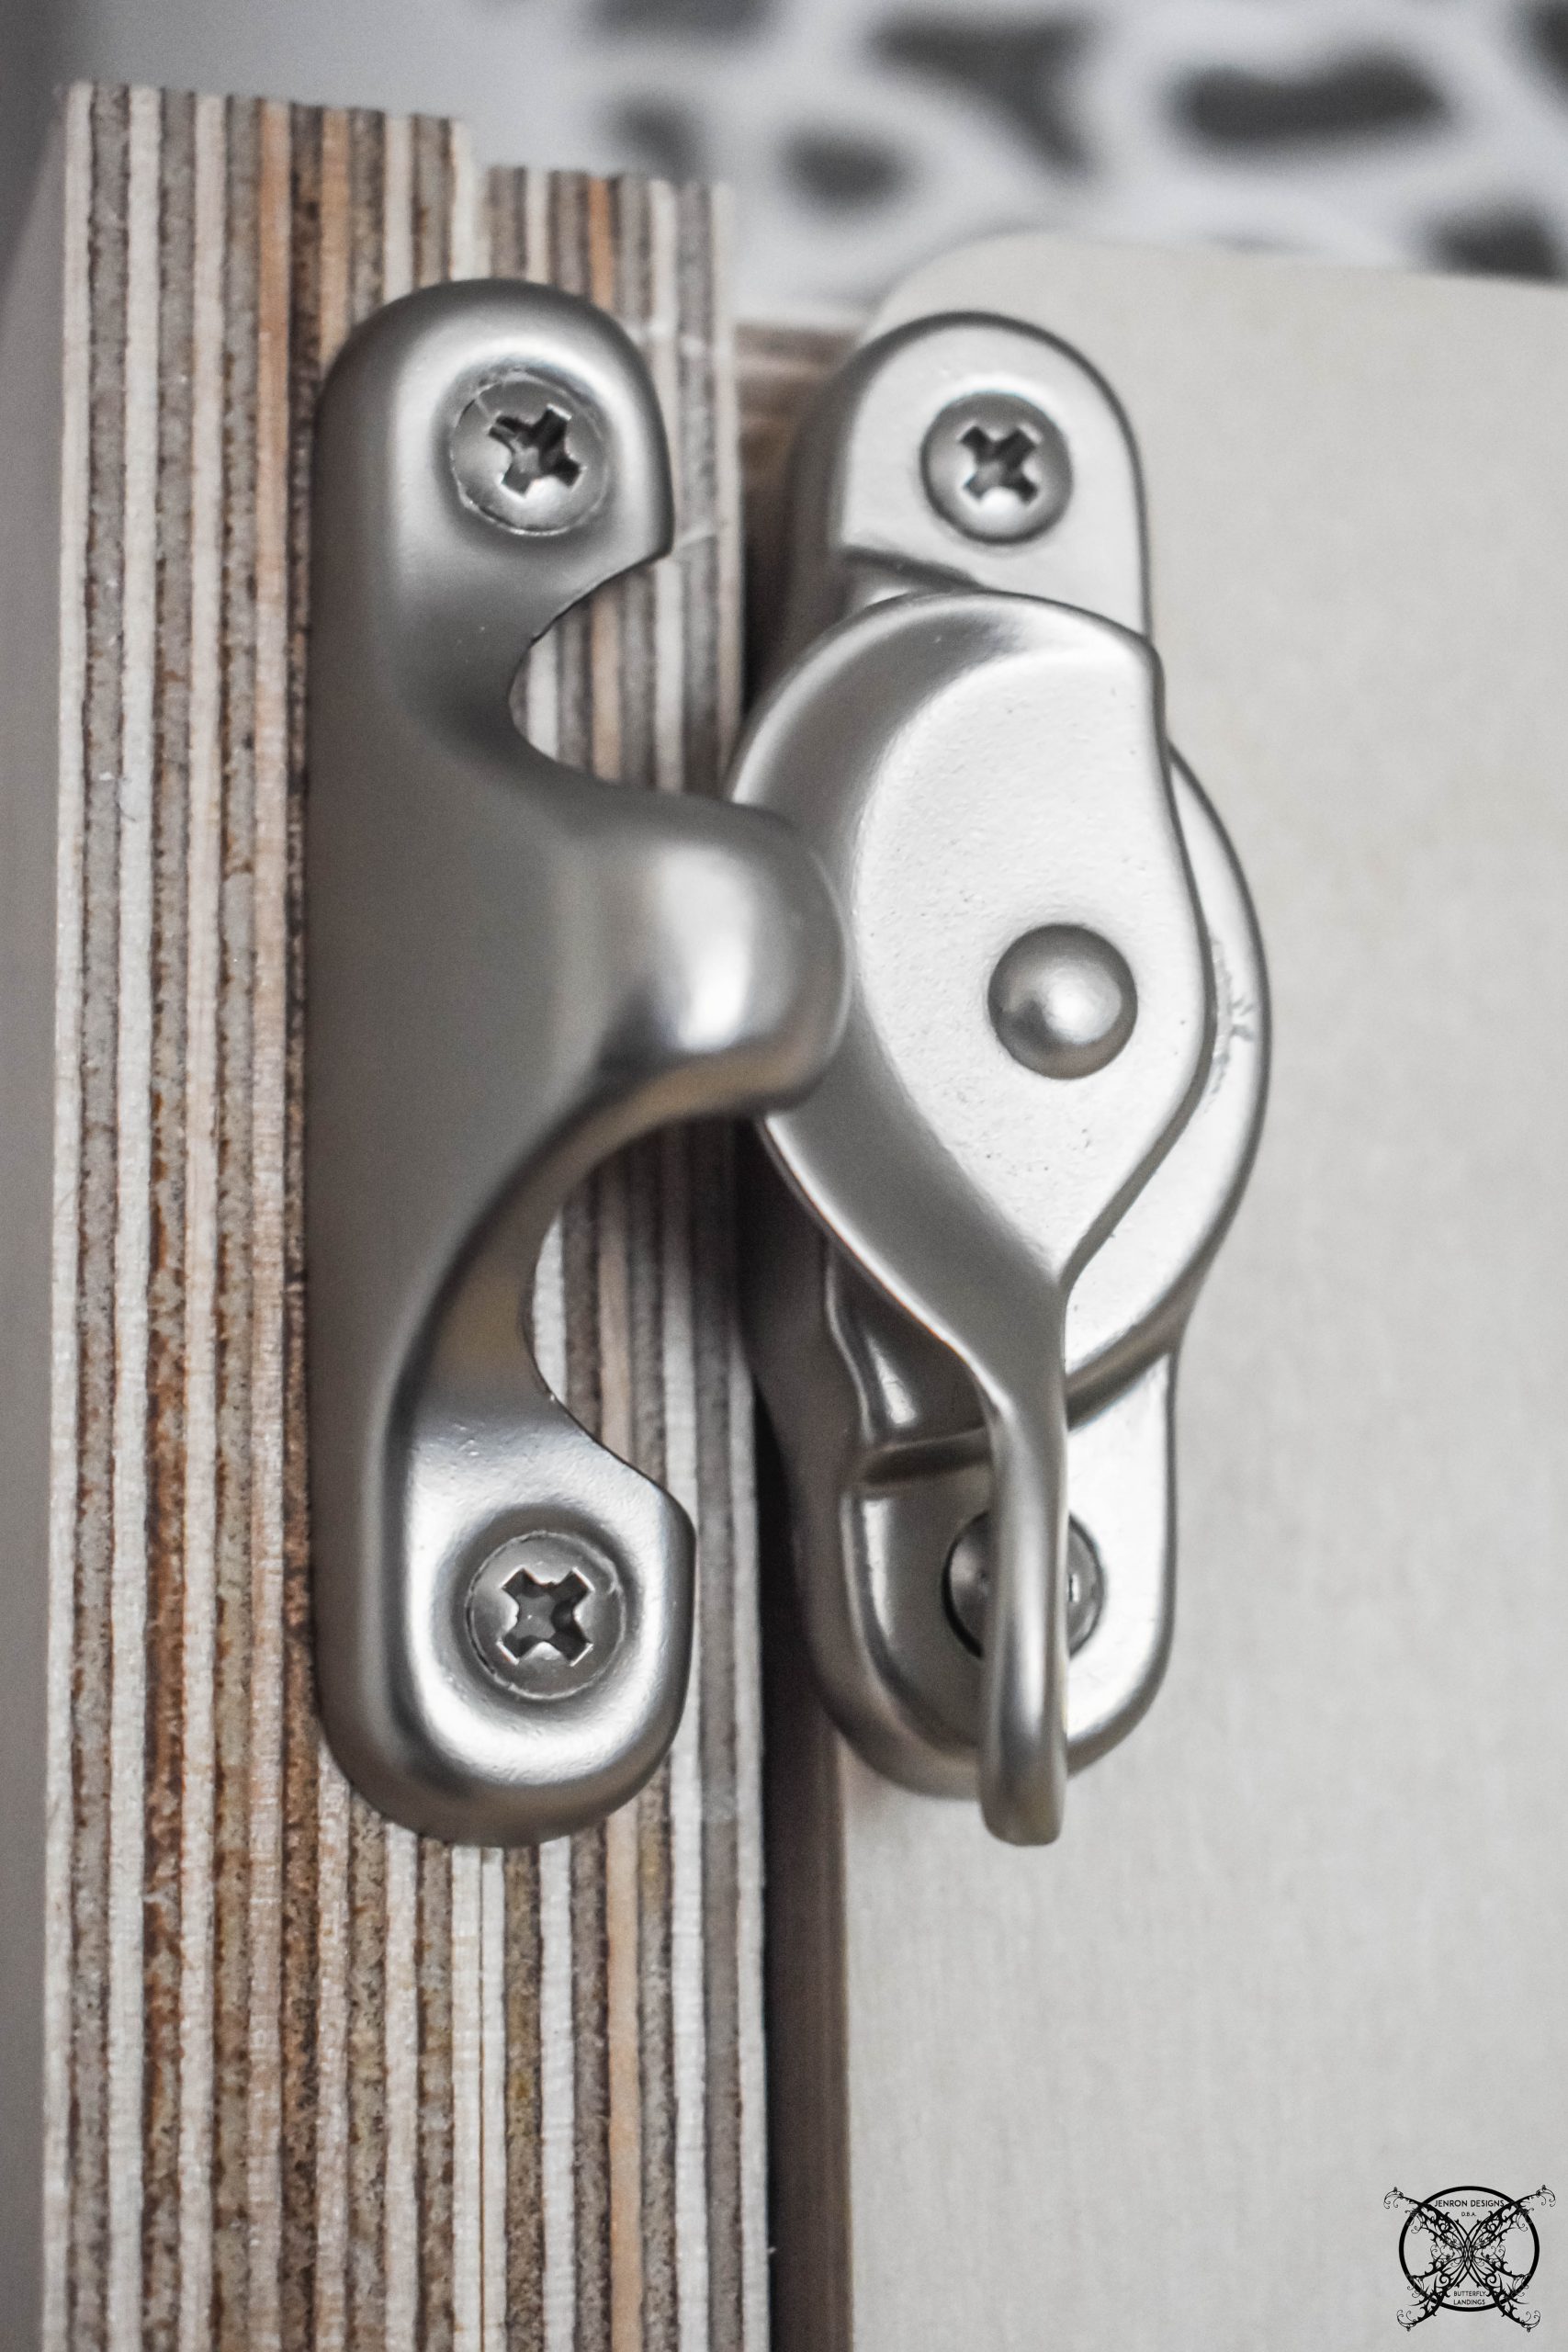
 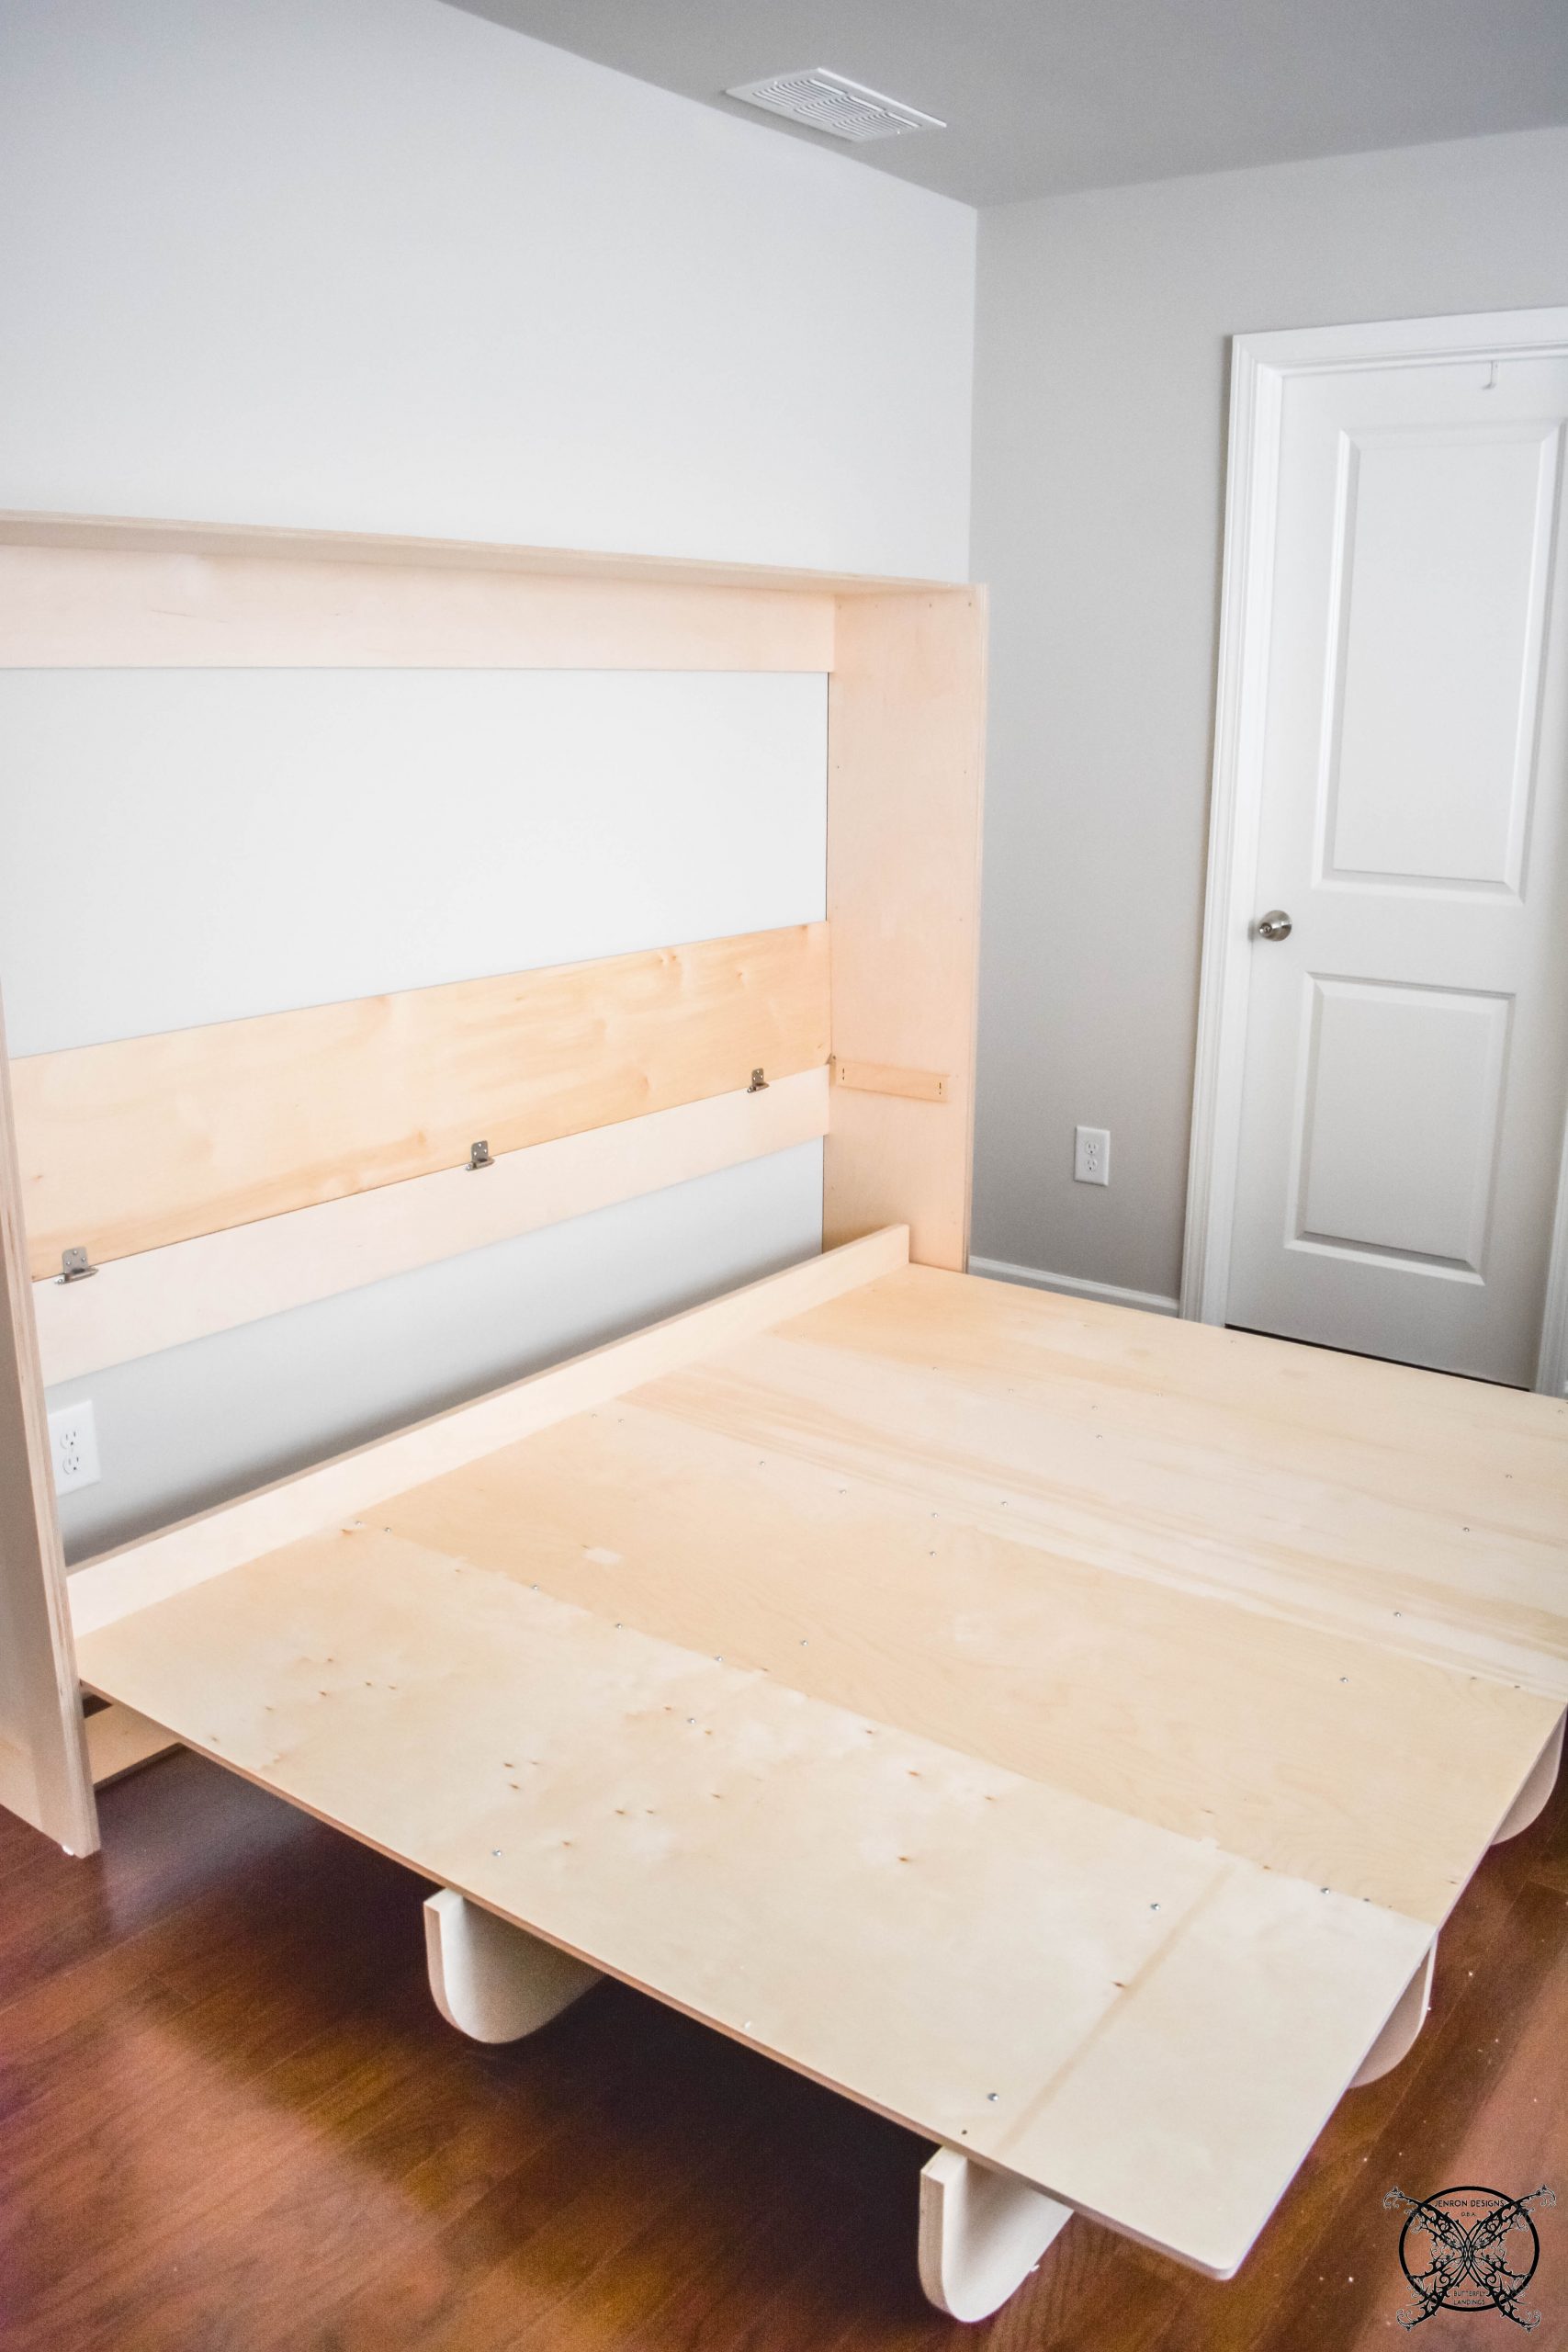 Once this piece is built you can test the unit and see how it will look closed. You will also be installing the locking brackets which keeps the bed closed at all times. Again this is another important safety piece.
 This is the point I decided I wanted to stain the entire piece a pretty gray color. I liked the idea of it matching my husband gray desks but I did not want to paint the wood and lose the pretty pattern of the wood. We used the Minwax Classic Gray which was a very pretty color over the natural wood.
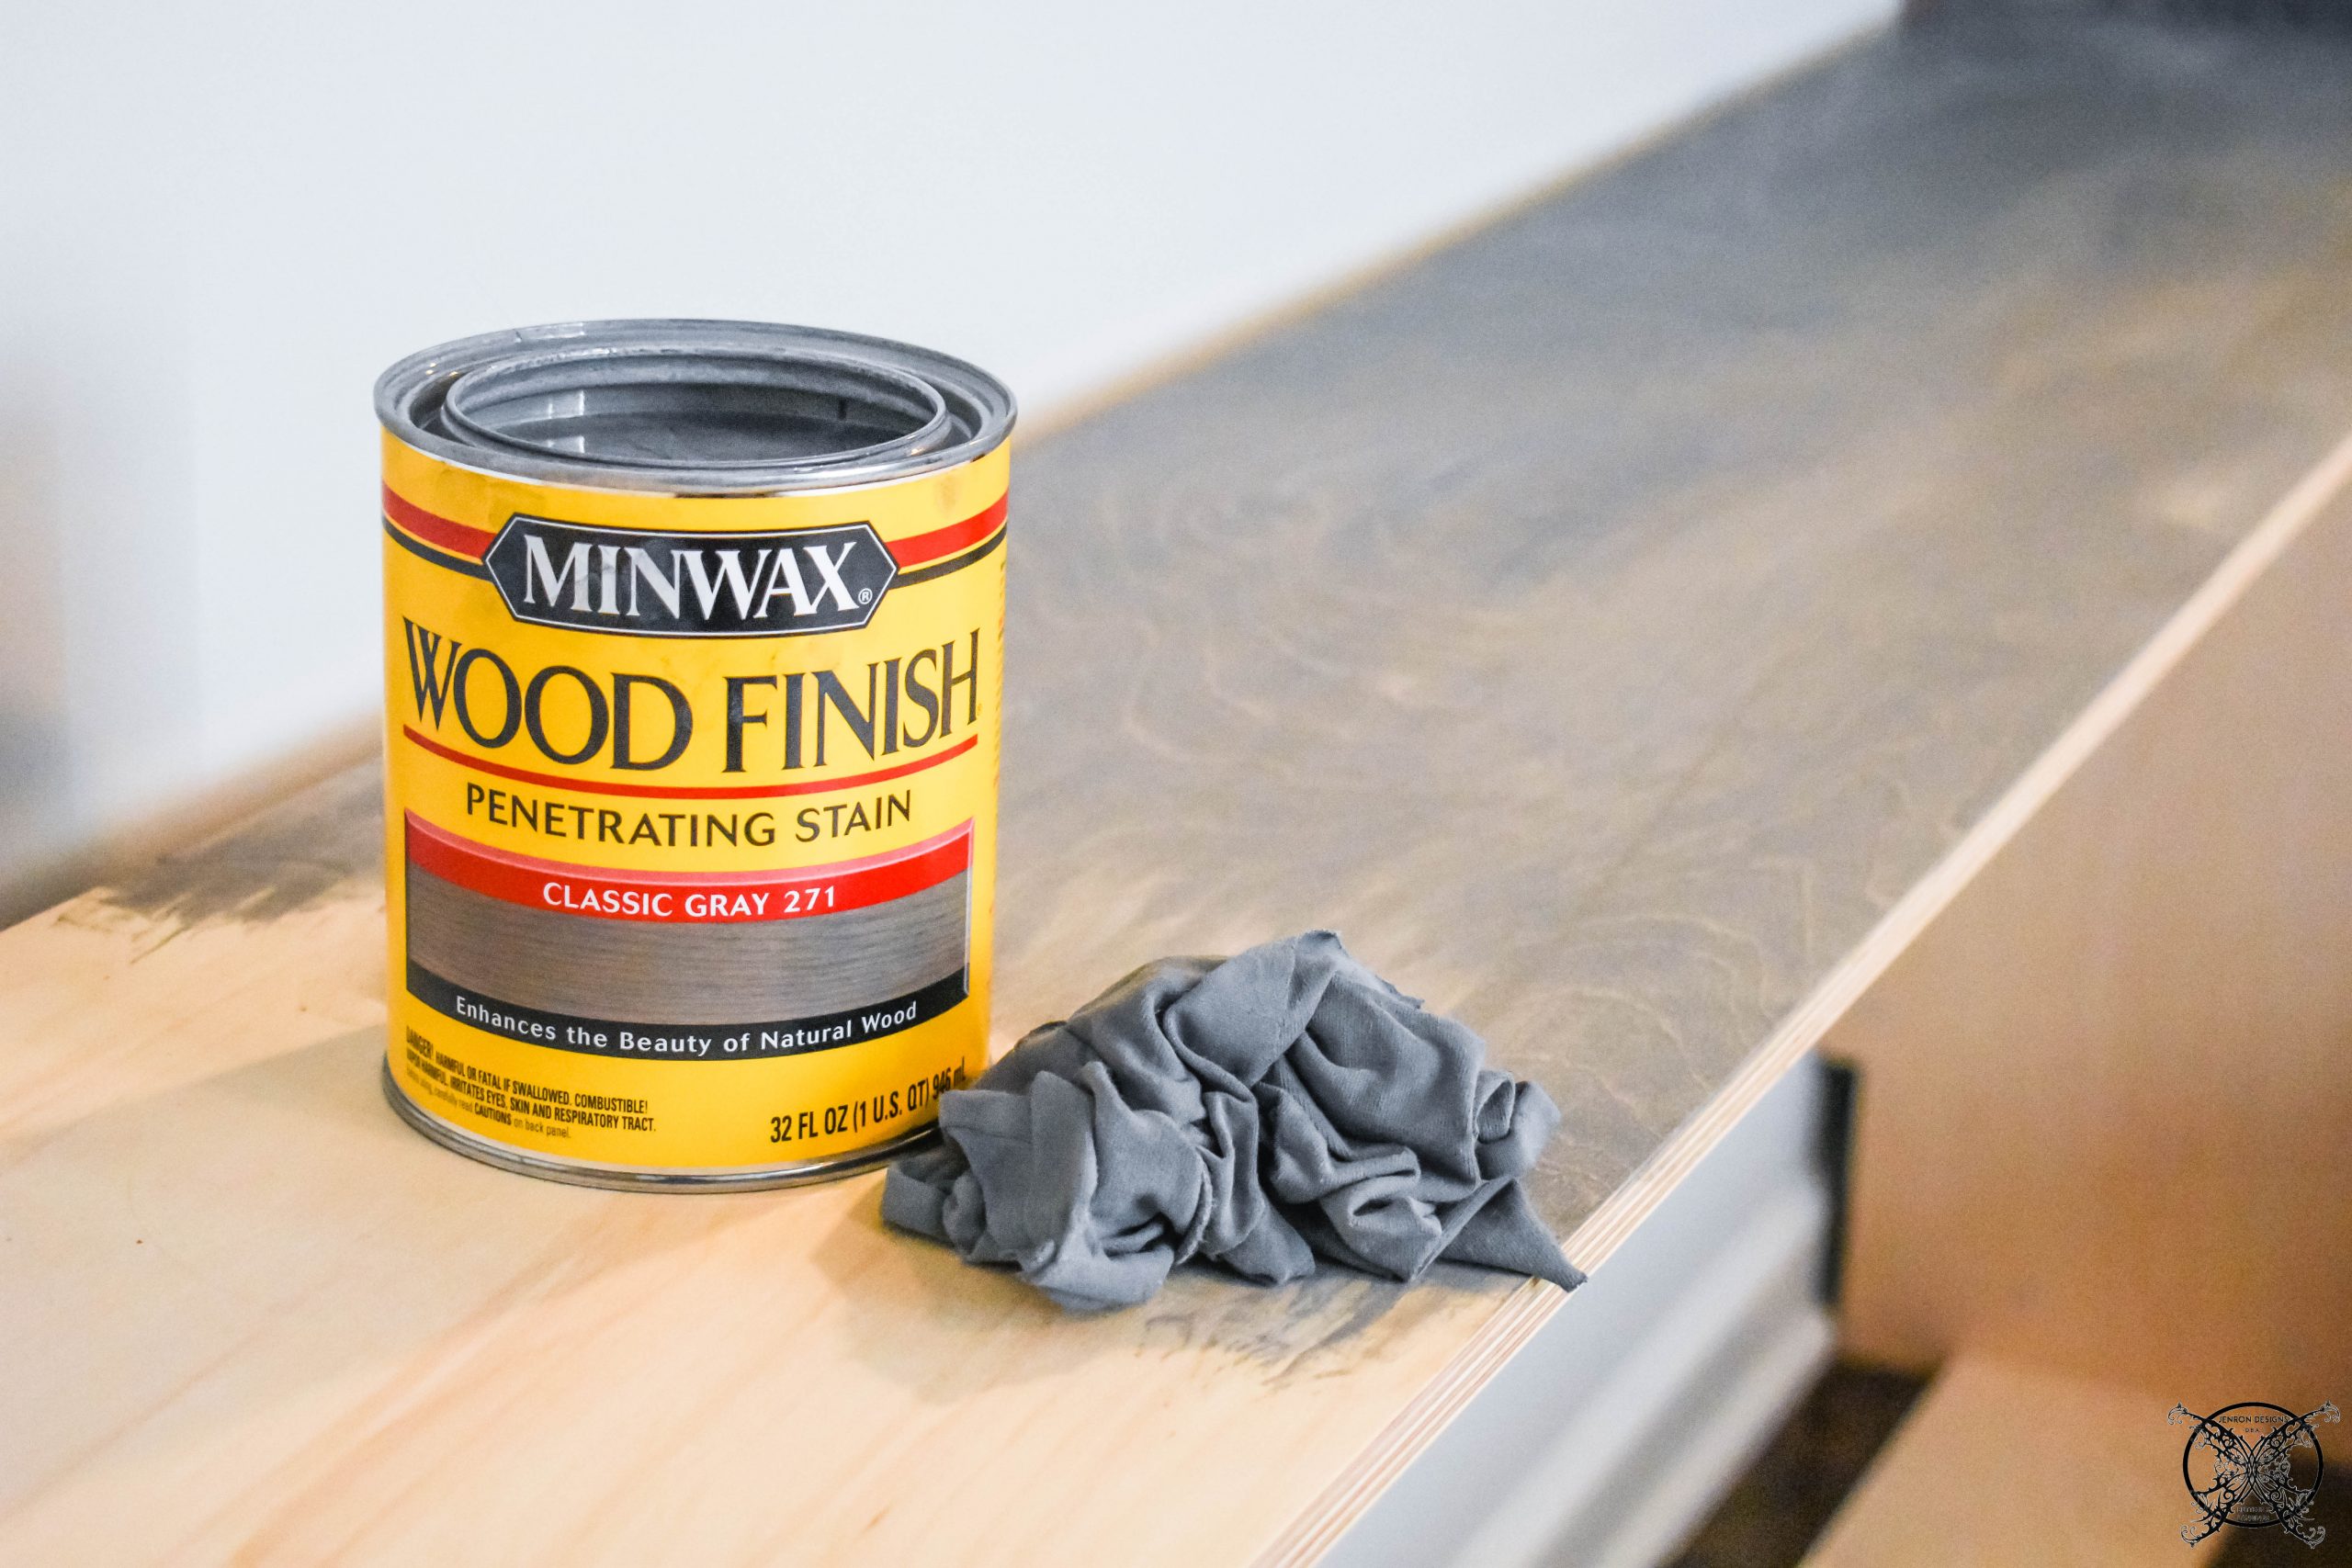 Here is a look at the unit after we completed the stain. You can also see that we now have the wall anchors installed and the piece is permanently located in its final home.
 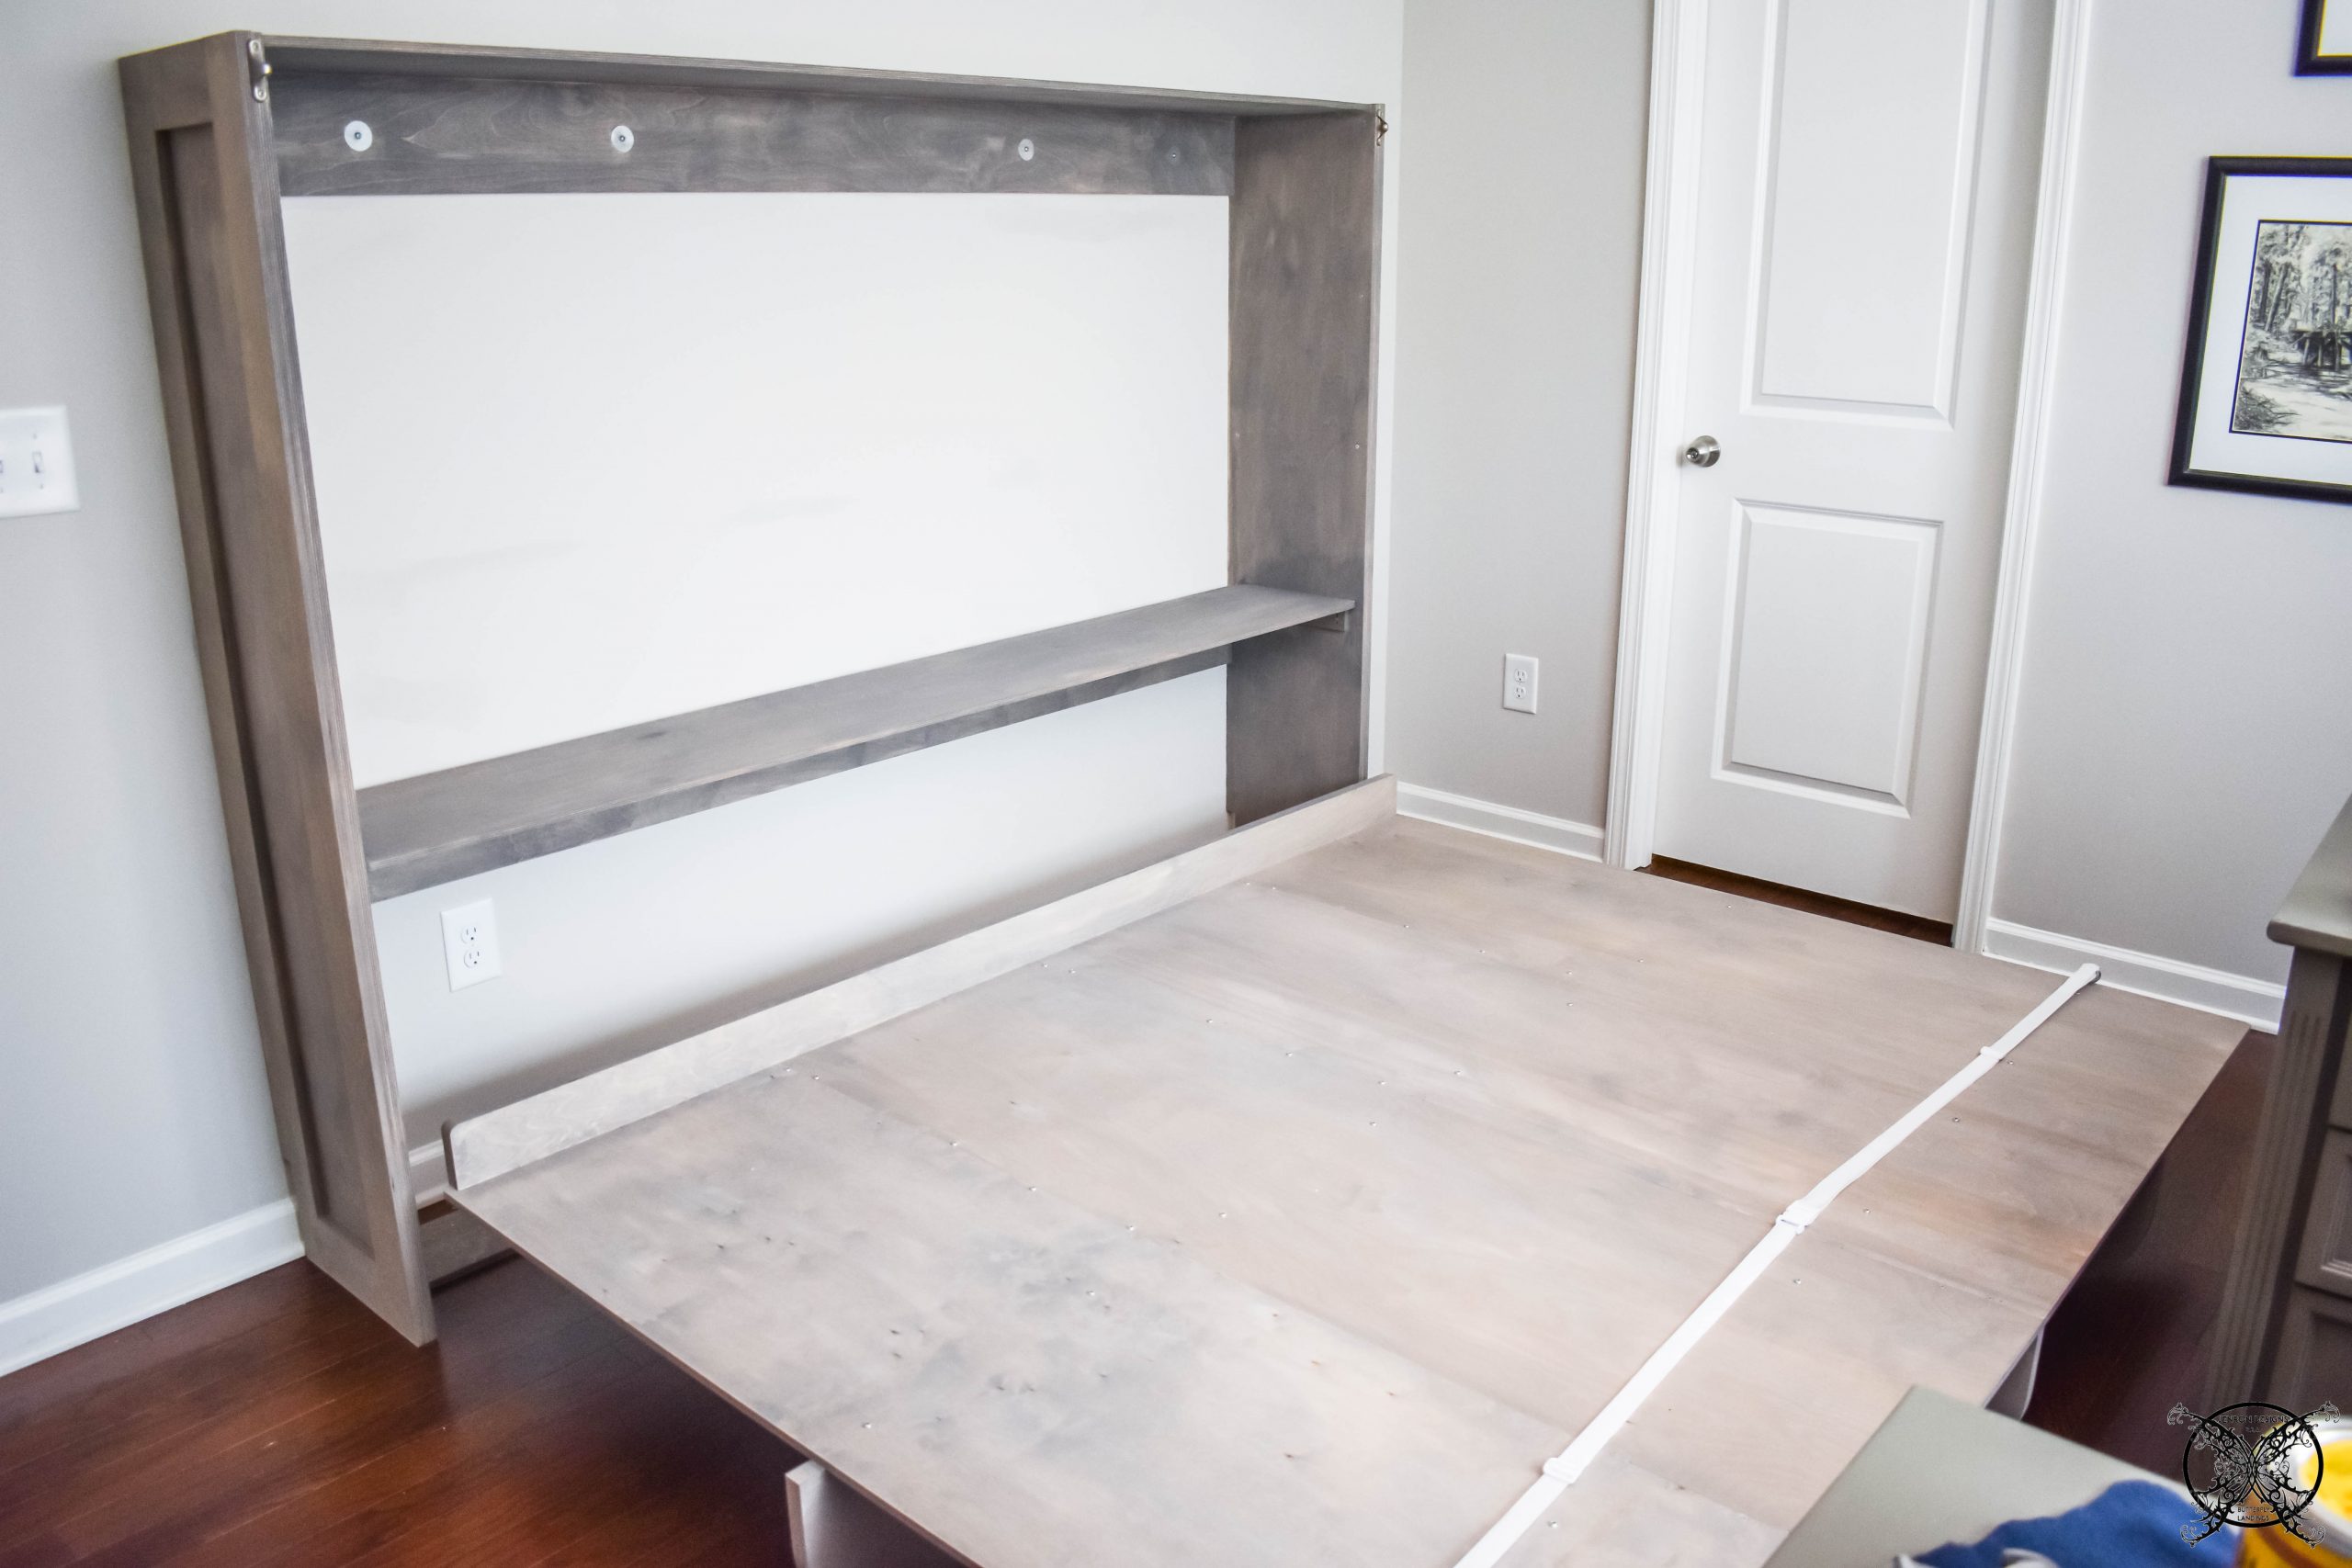 This is a look at how the workstation looks with the bed in a the upright position. Which I really think could be so handy in small rooms, kids room, cabins, or even RV units. Honestly, there has been such a movement towards tiny homes these days, that a functional furniture piece like this would be such a game changer in any of these applications.
 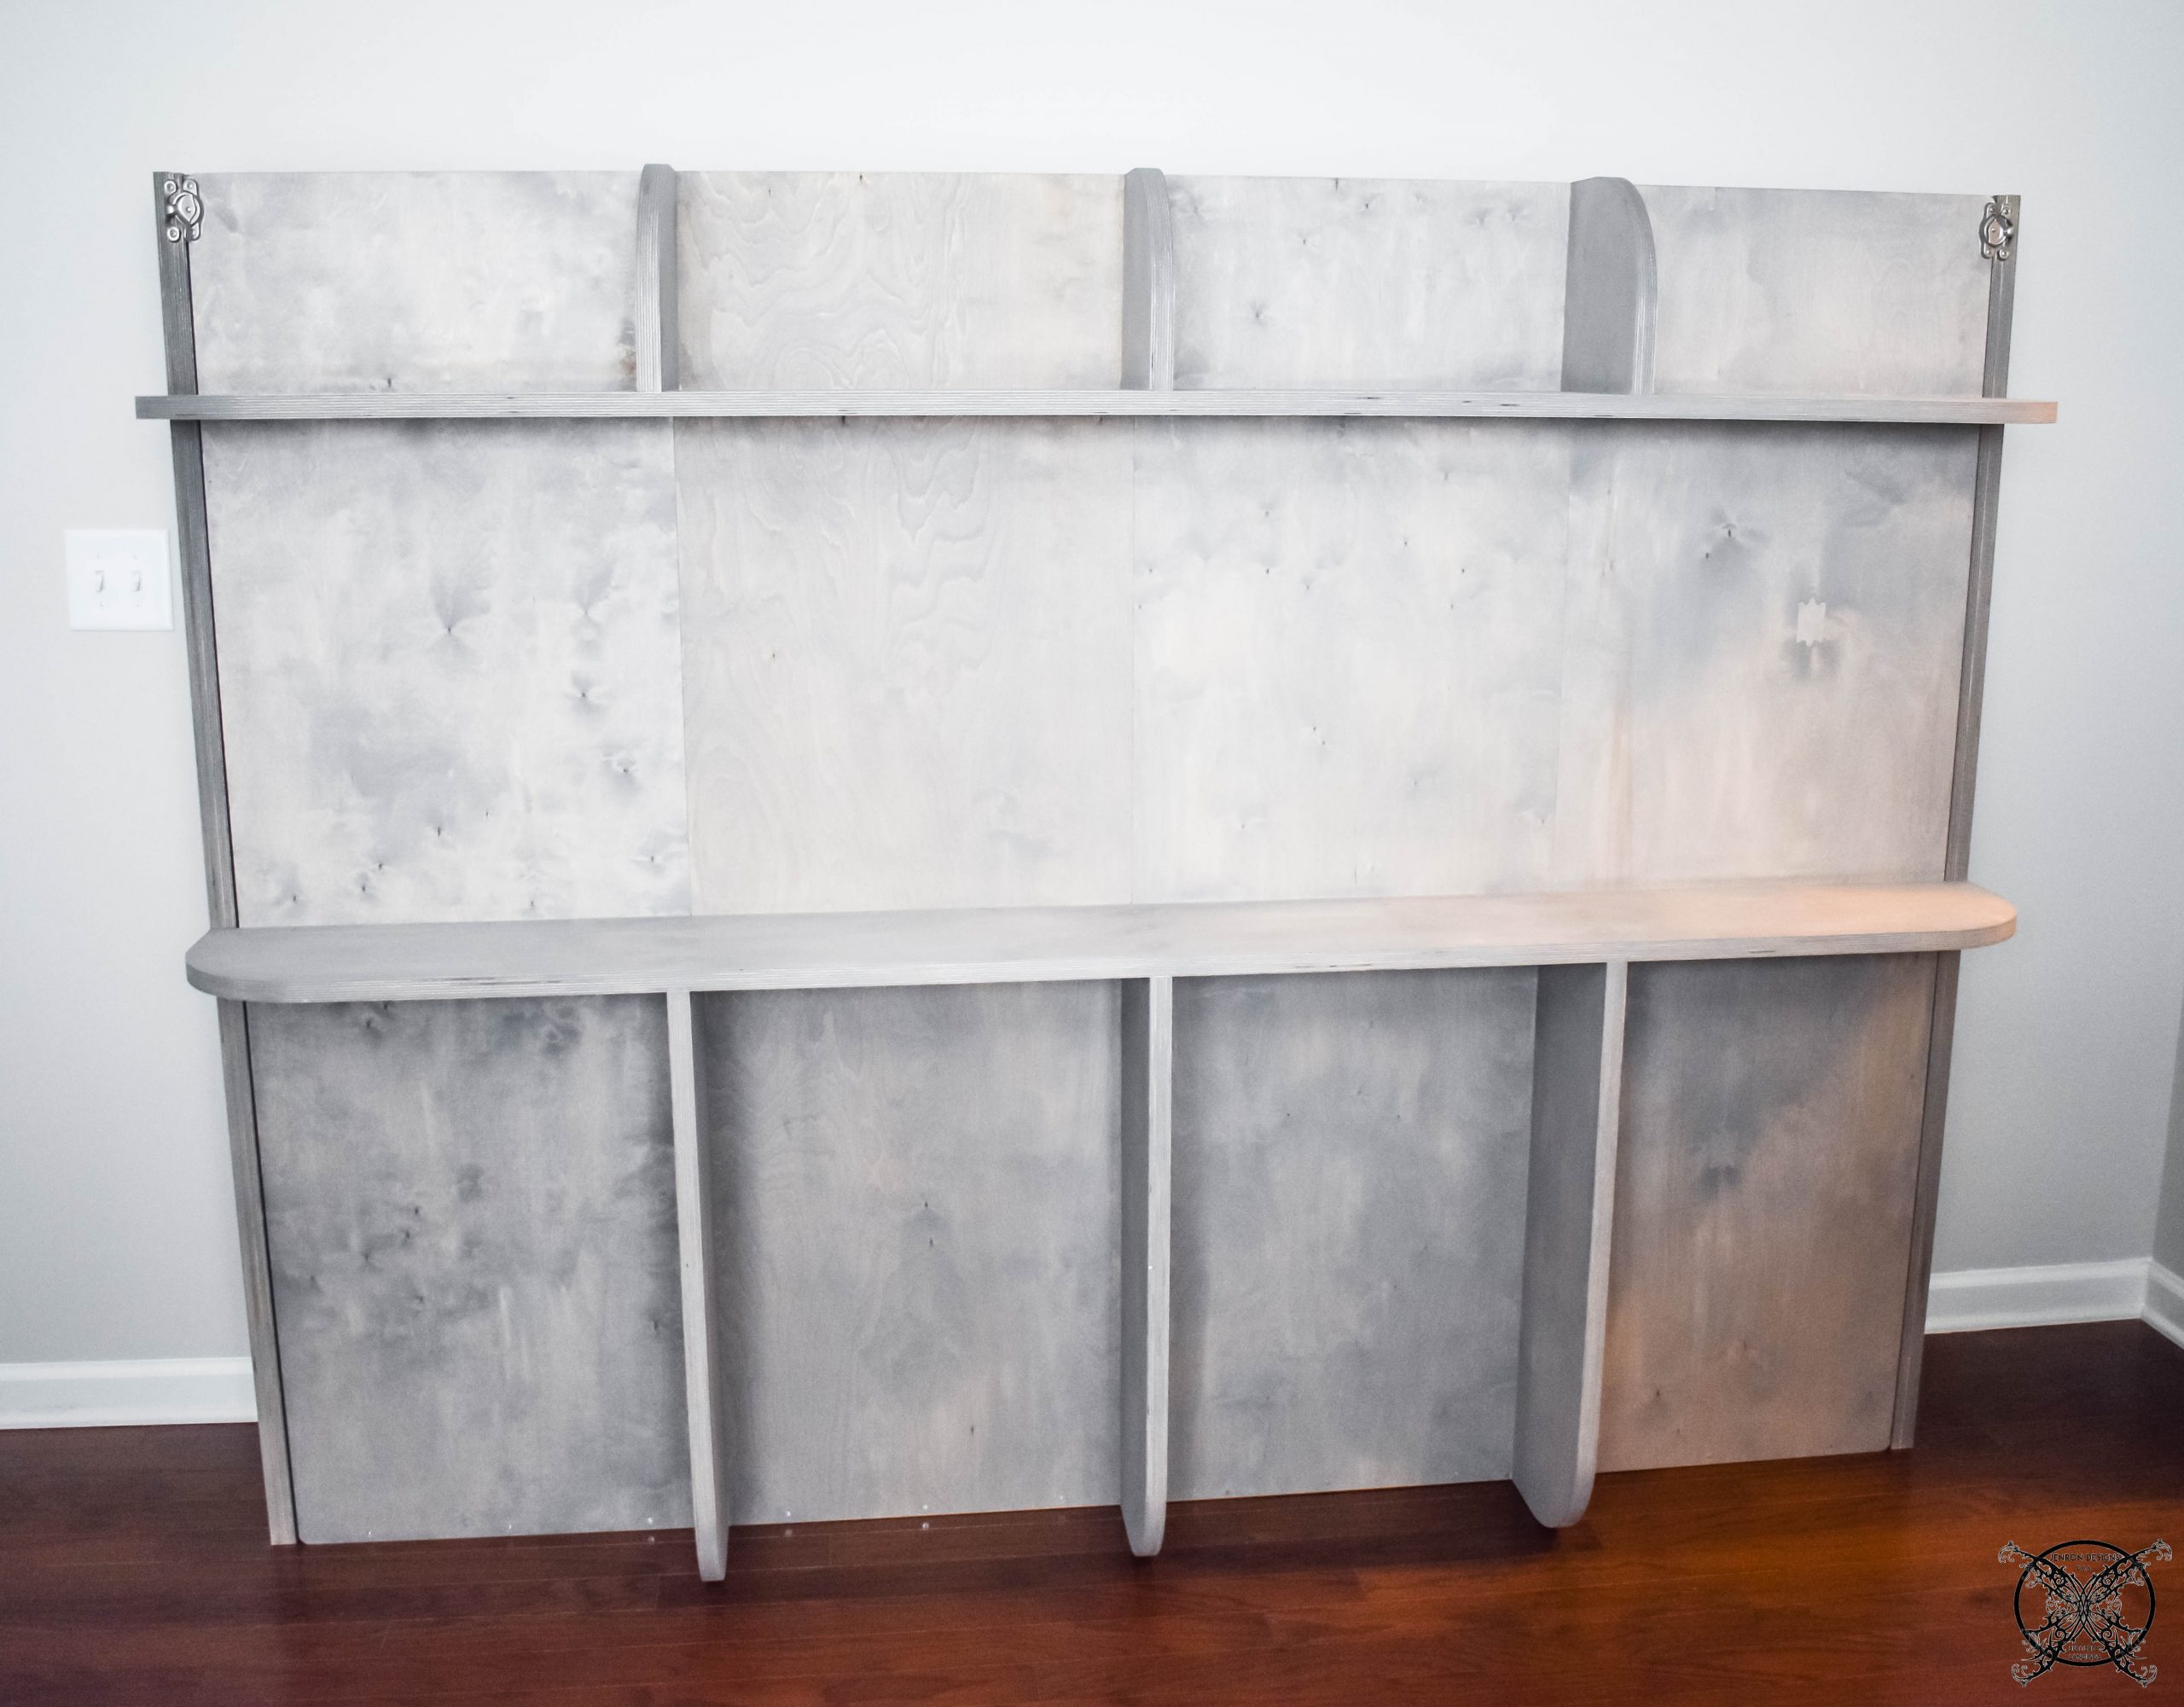 Here is a look at how I decorated the workstation by adding in some lamps that would double as night lights, along with a few of my husbands framed degrees and diplomas. The diplomas are placed on top of my father’s antique drafting board, from the 1950’s, which he gave to my husband upon learning he was going to school to be a draftsman.
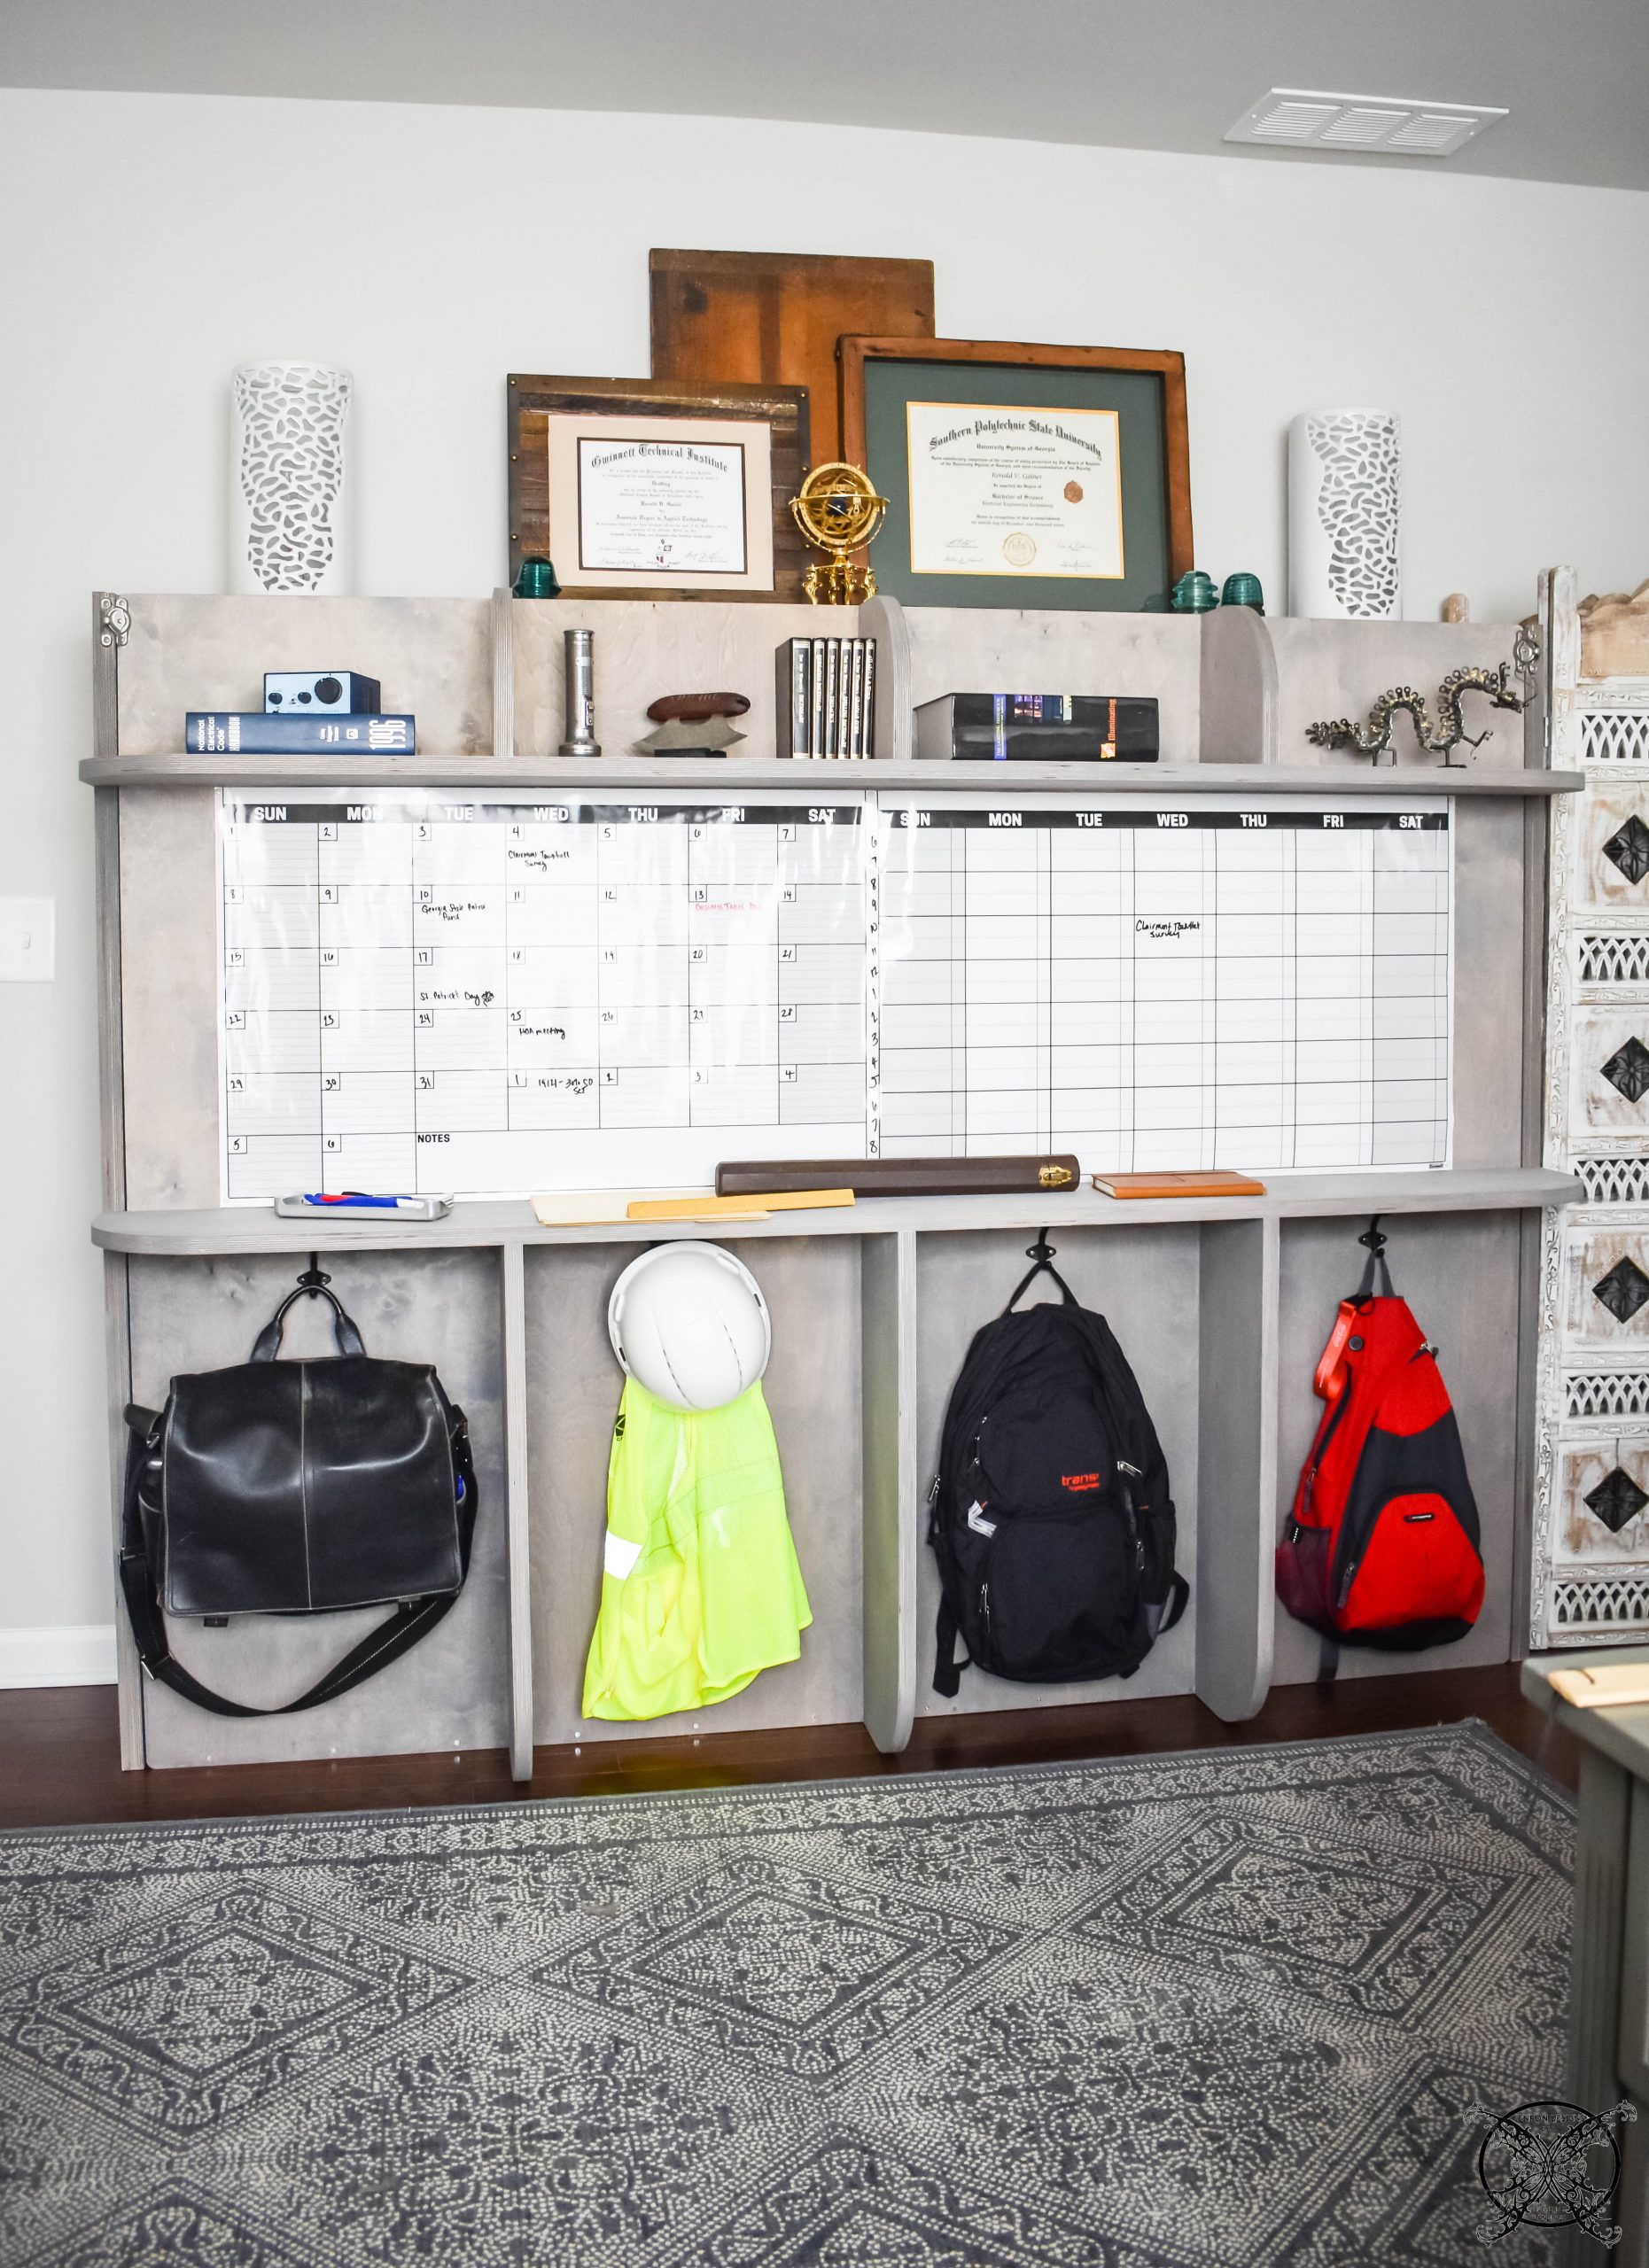 We also added these dry erase calendars to increase the functionality of this workstation. This allows my husband to look at his month and week in a single glance to see all the upcoming projects on the board. Plus they are permanently affixed to the unit so they will just be hidden away when the bed is opened.
 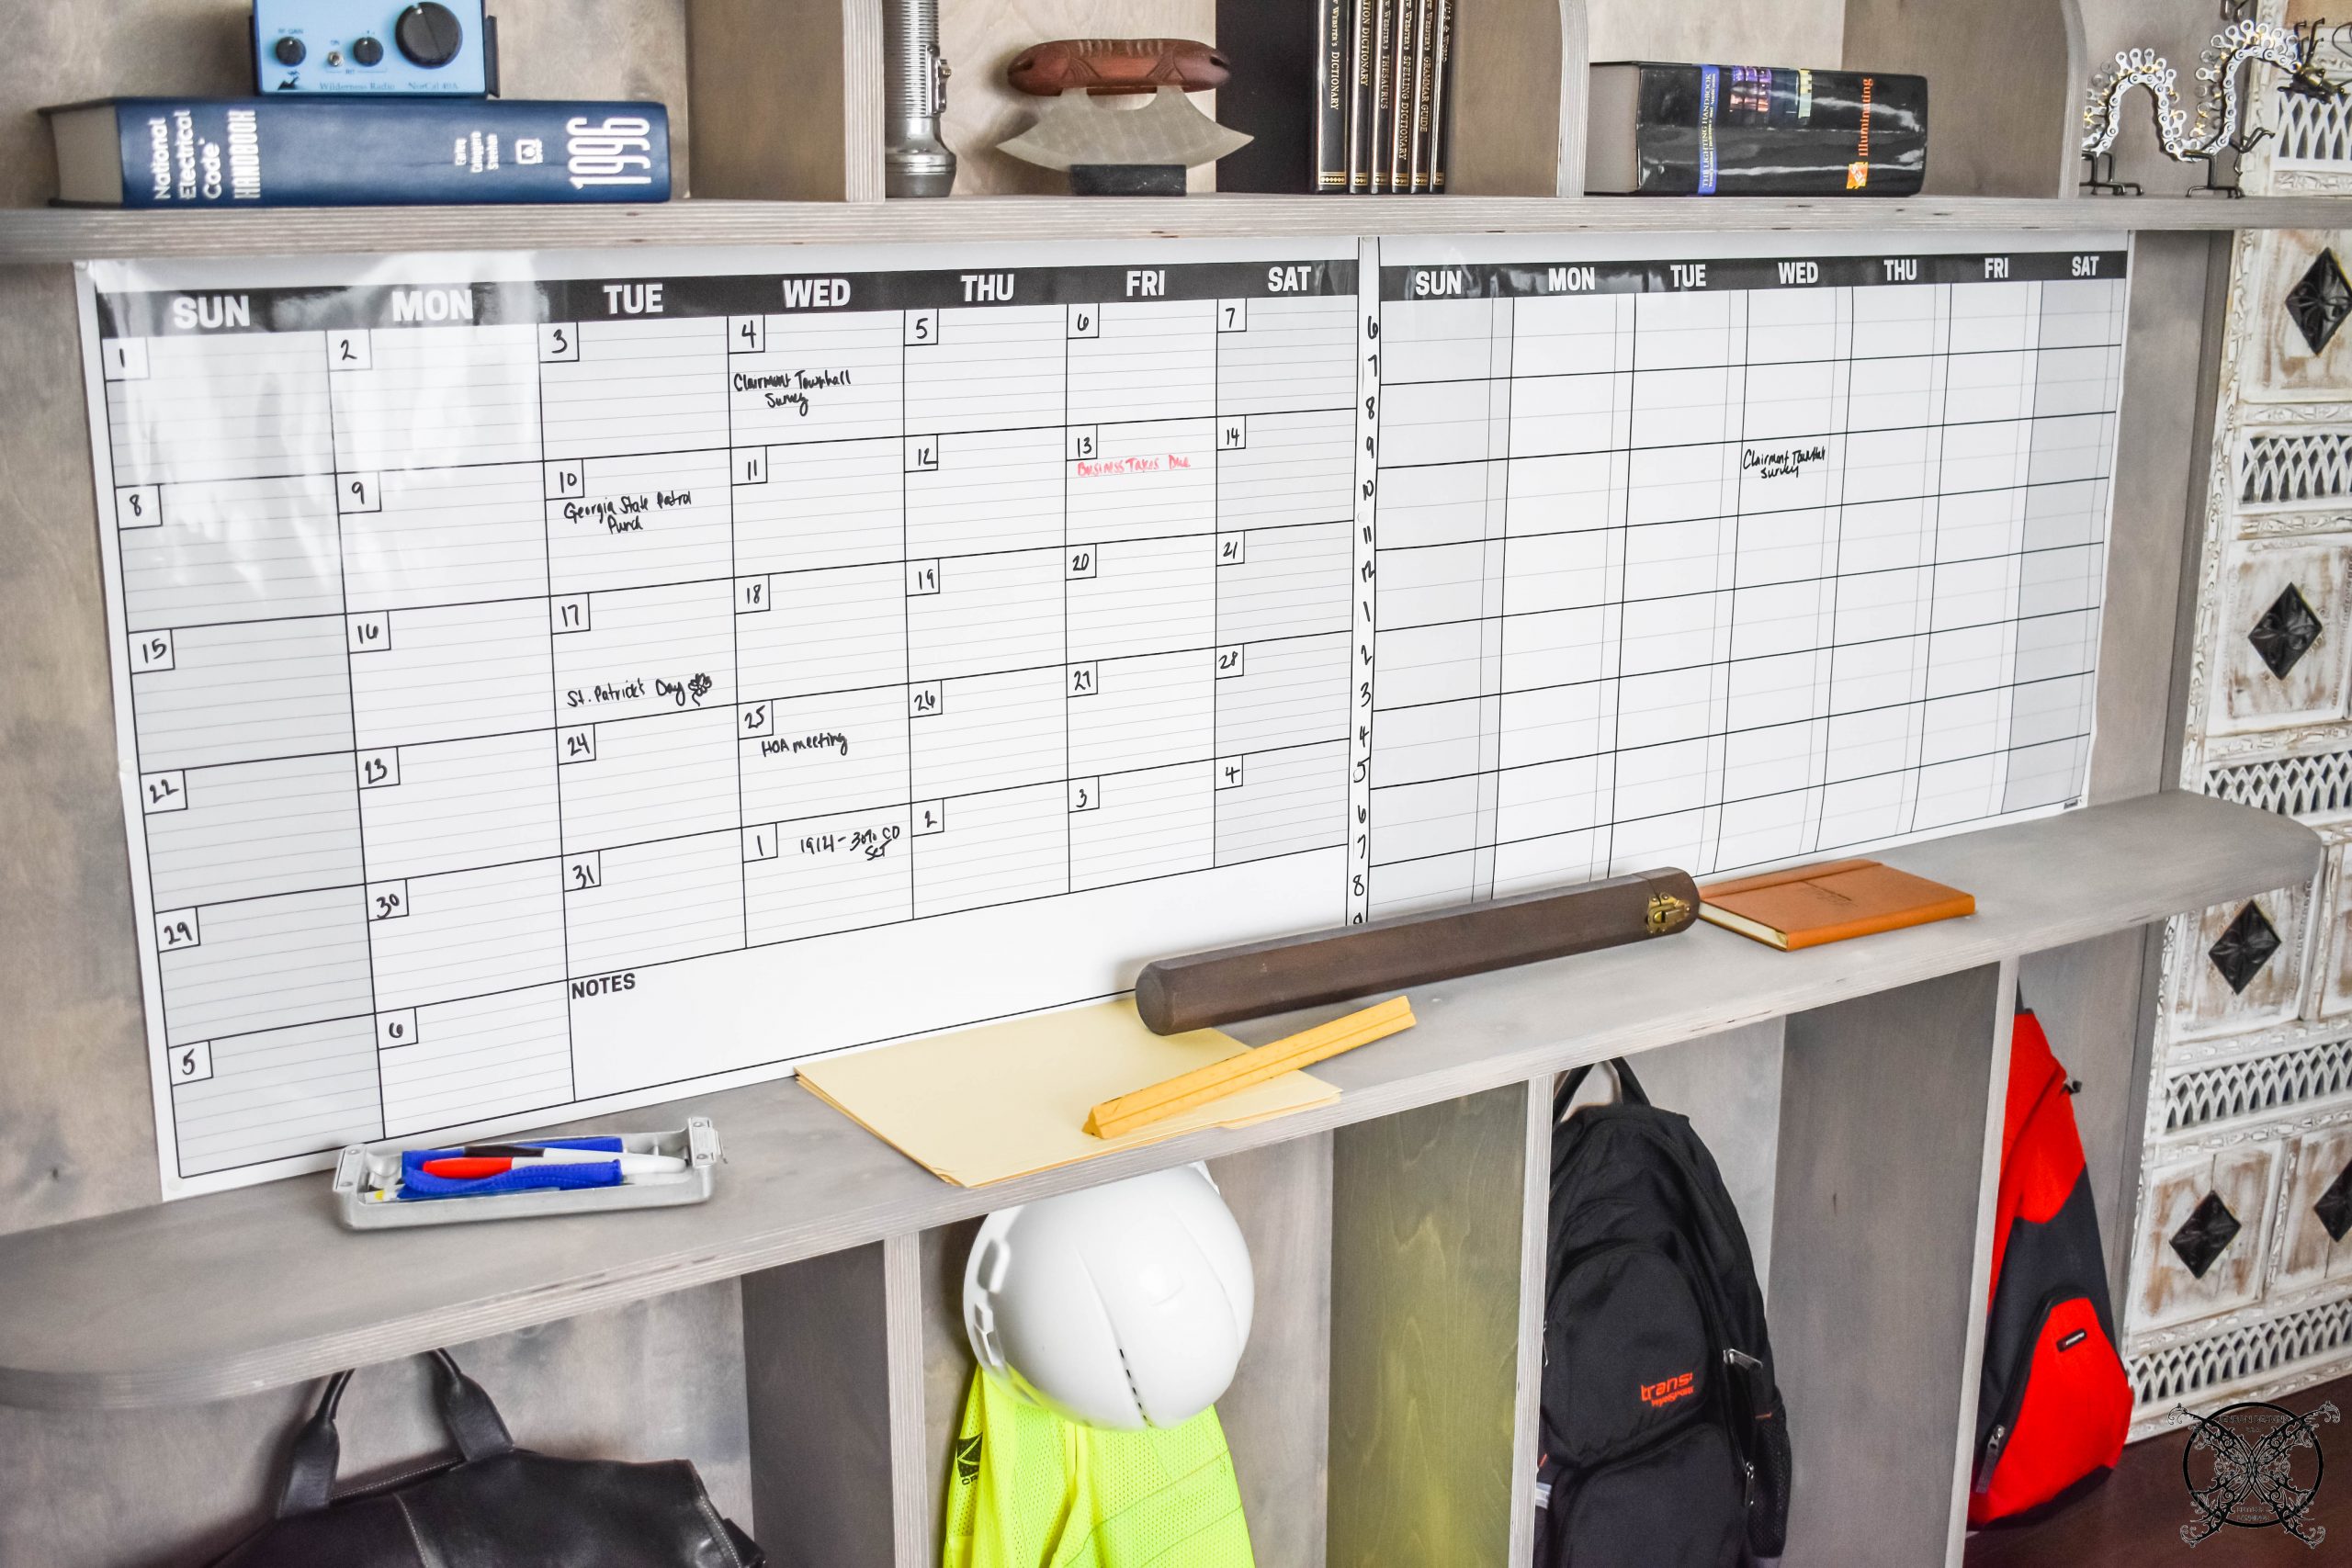 We also added a few permanent hooks for his various meeting bags, and construction planning bags depending on where he is going and what tools he needs for each meeting. Which he knows based on the calendar above. For example, is he is doing a site visit he may need his hard hat and vest, along with his punch bag and marking tools; where as if it is a project launch meeting he would need his computer bag.
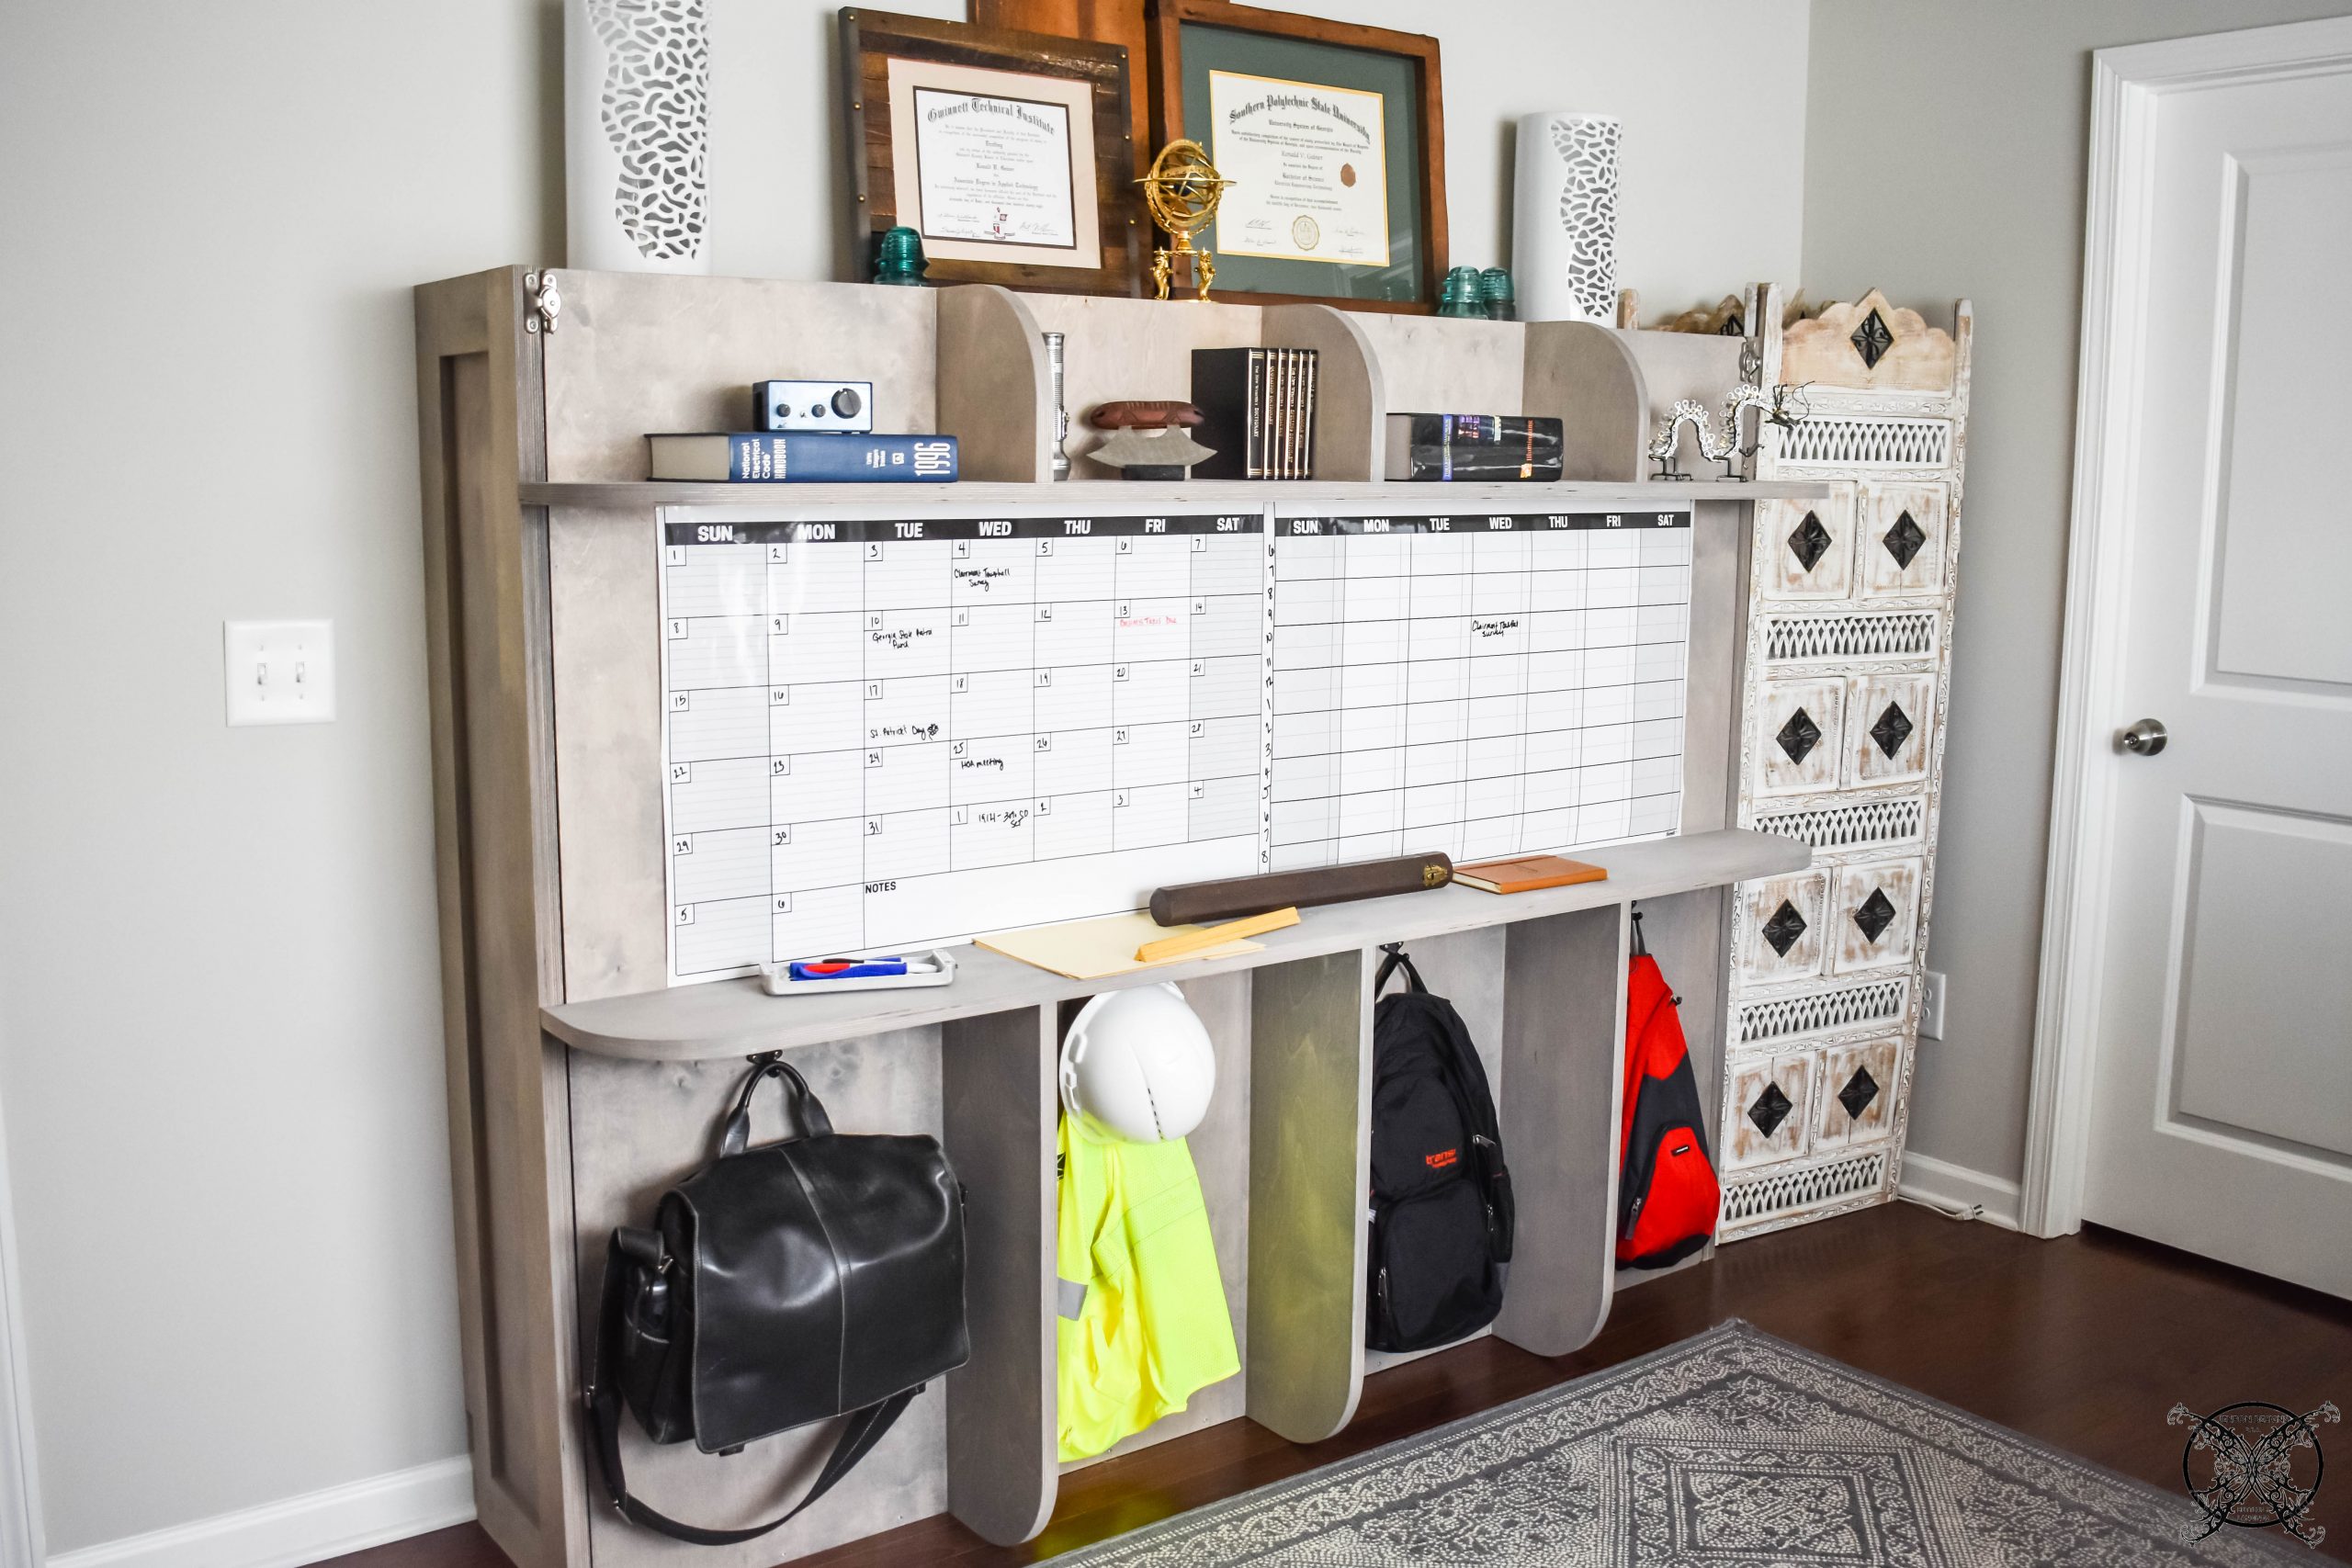 I did want to see how the bed laid out and try on the basic bedding I have for this space. I decided it would be easy to store all the pieces in this linen bag for easy bed making for guests. Which will be stowed away in the closet on the top shelf.
 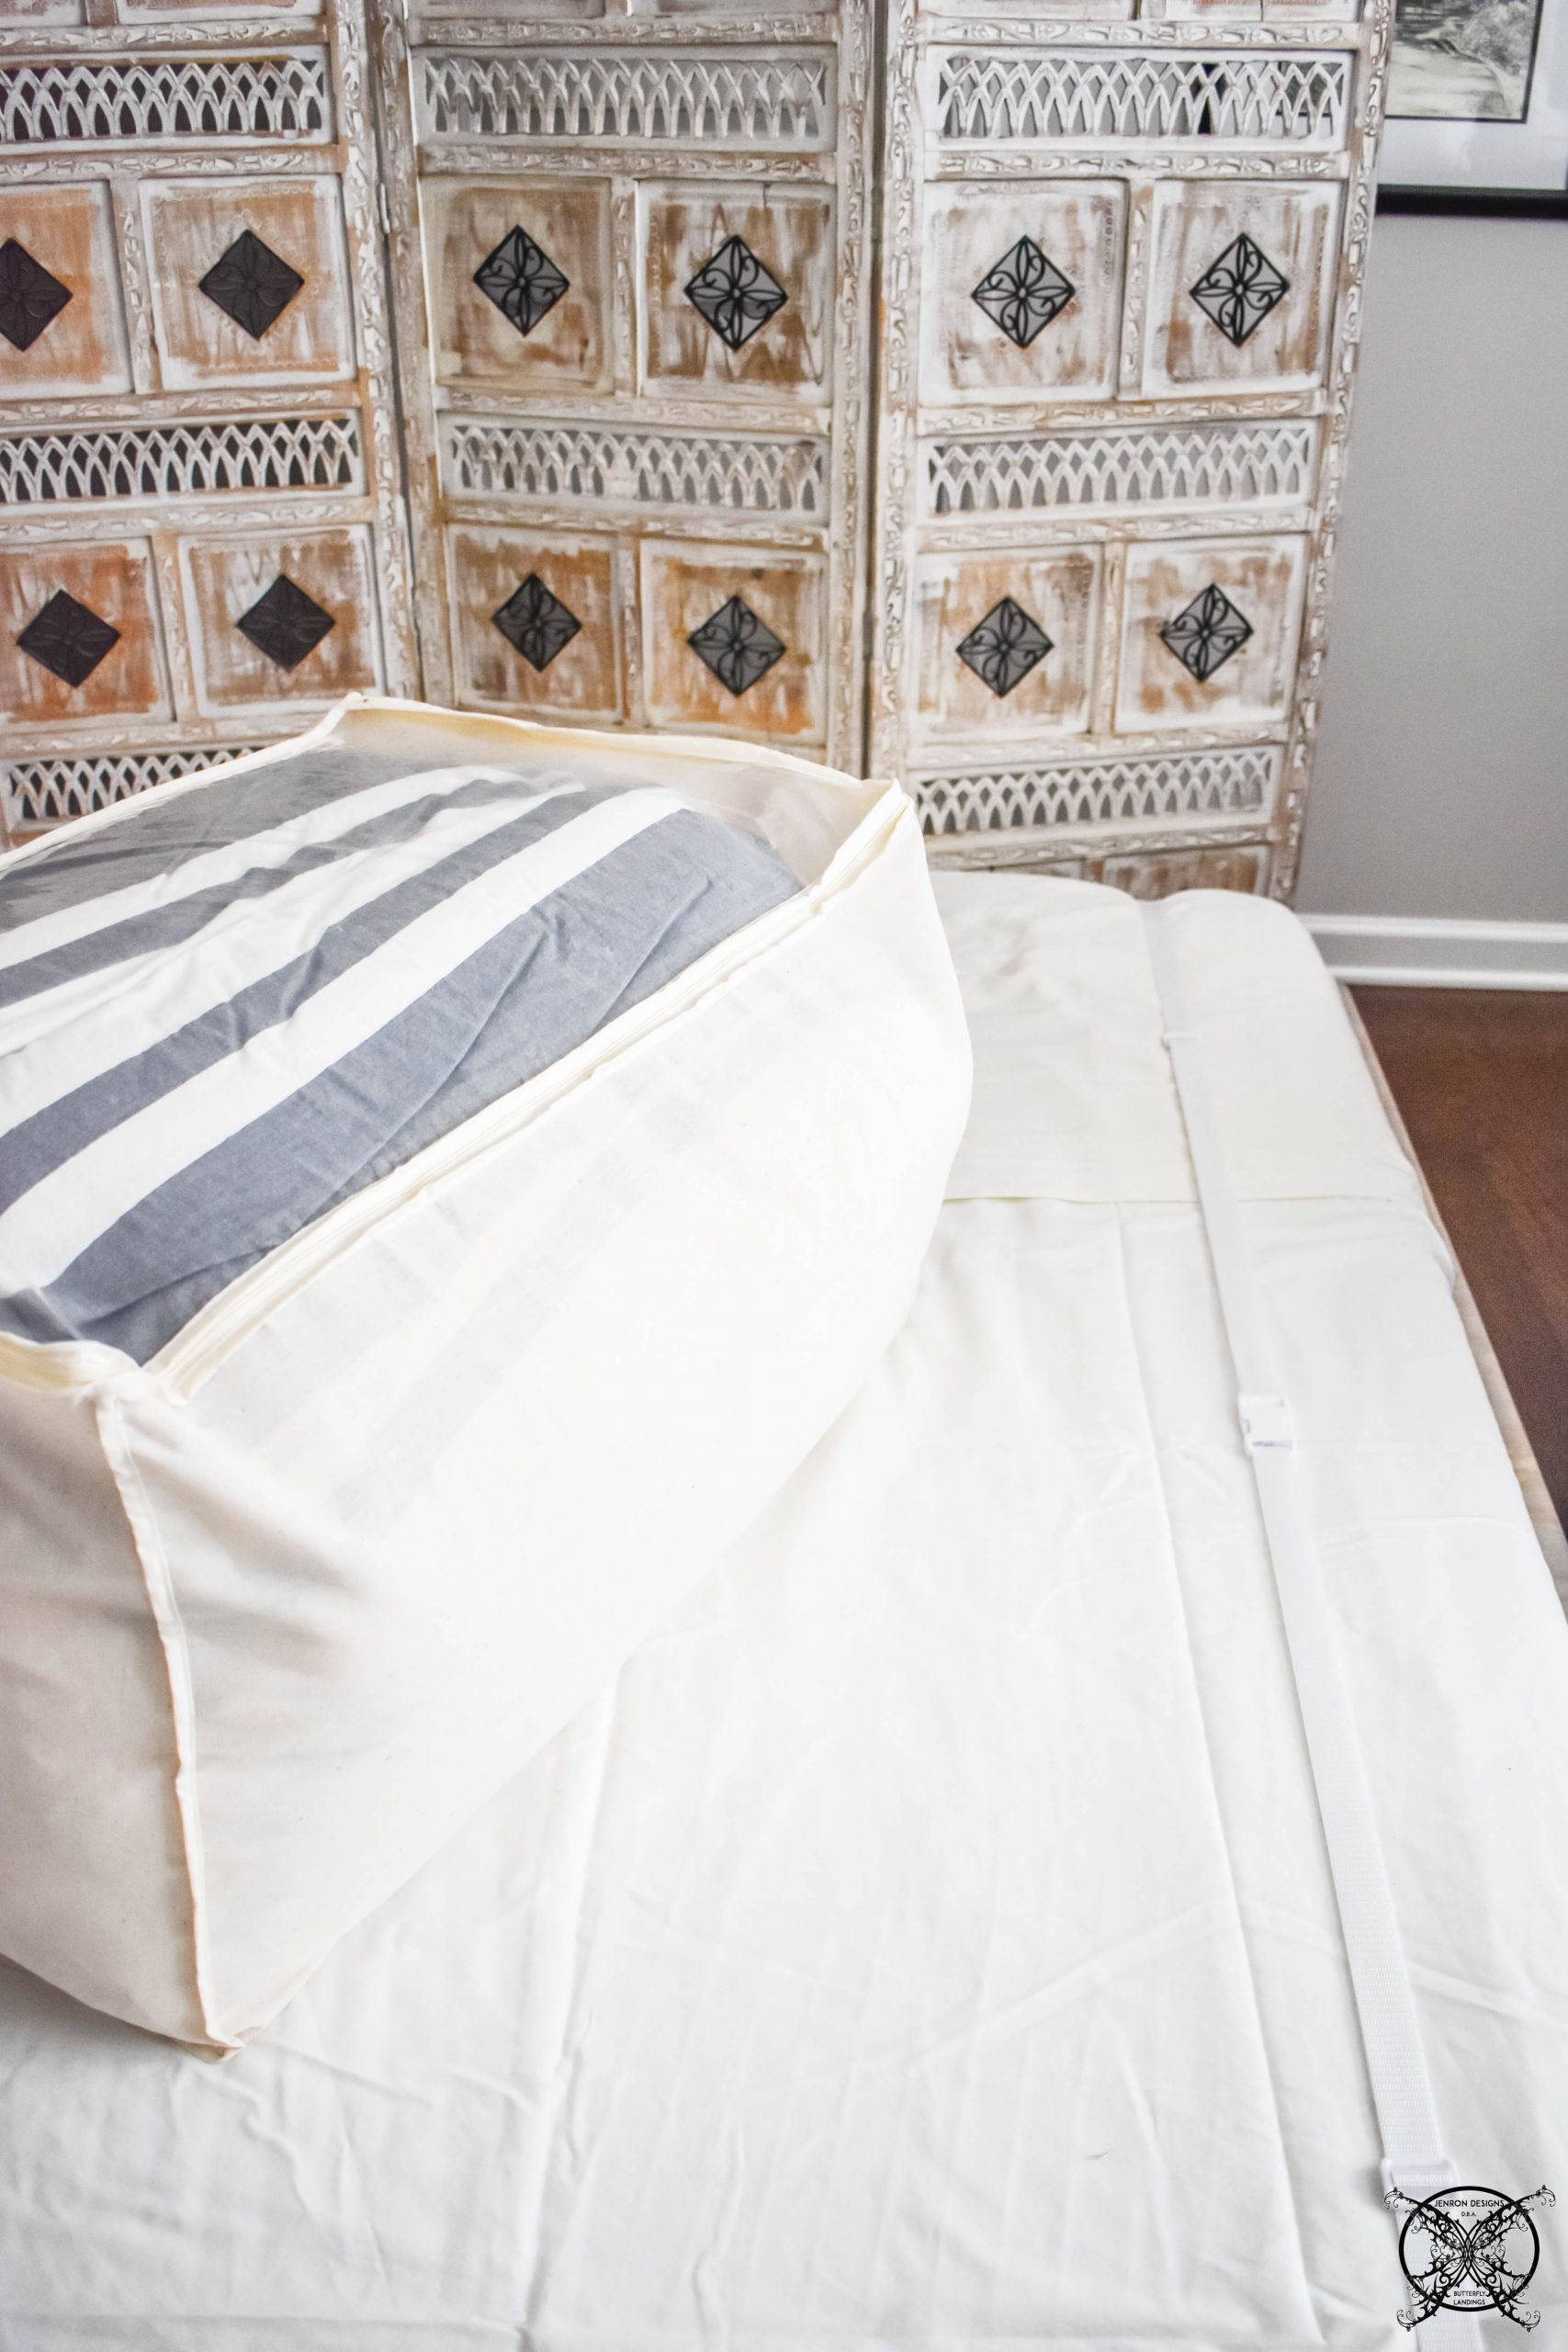 I used this moroccan screen as a makeshift headboard that easily shifts from the corner of the room to the back of the bed. This creates a visual headboard for the horizontal style murphy bed.
 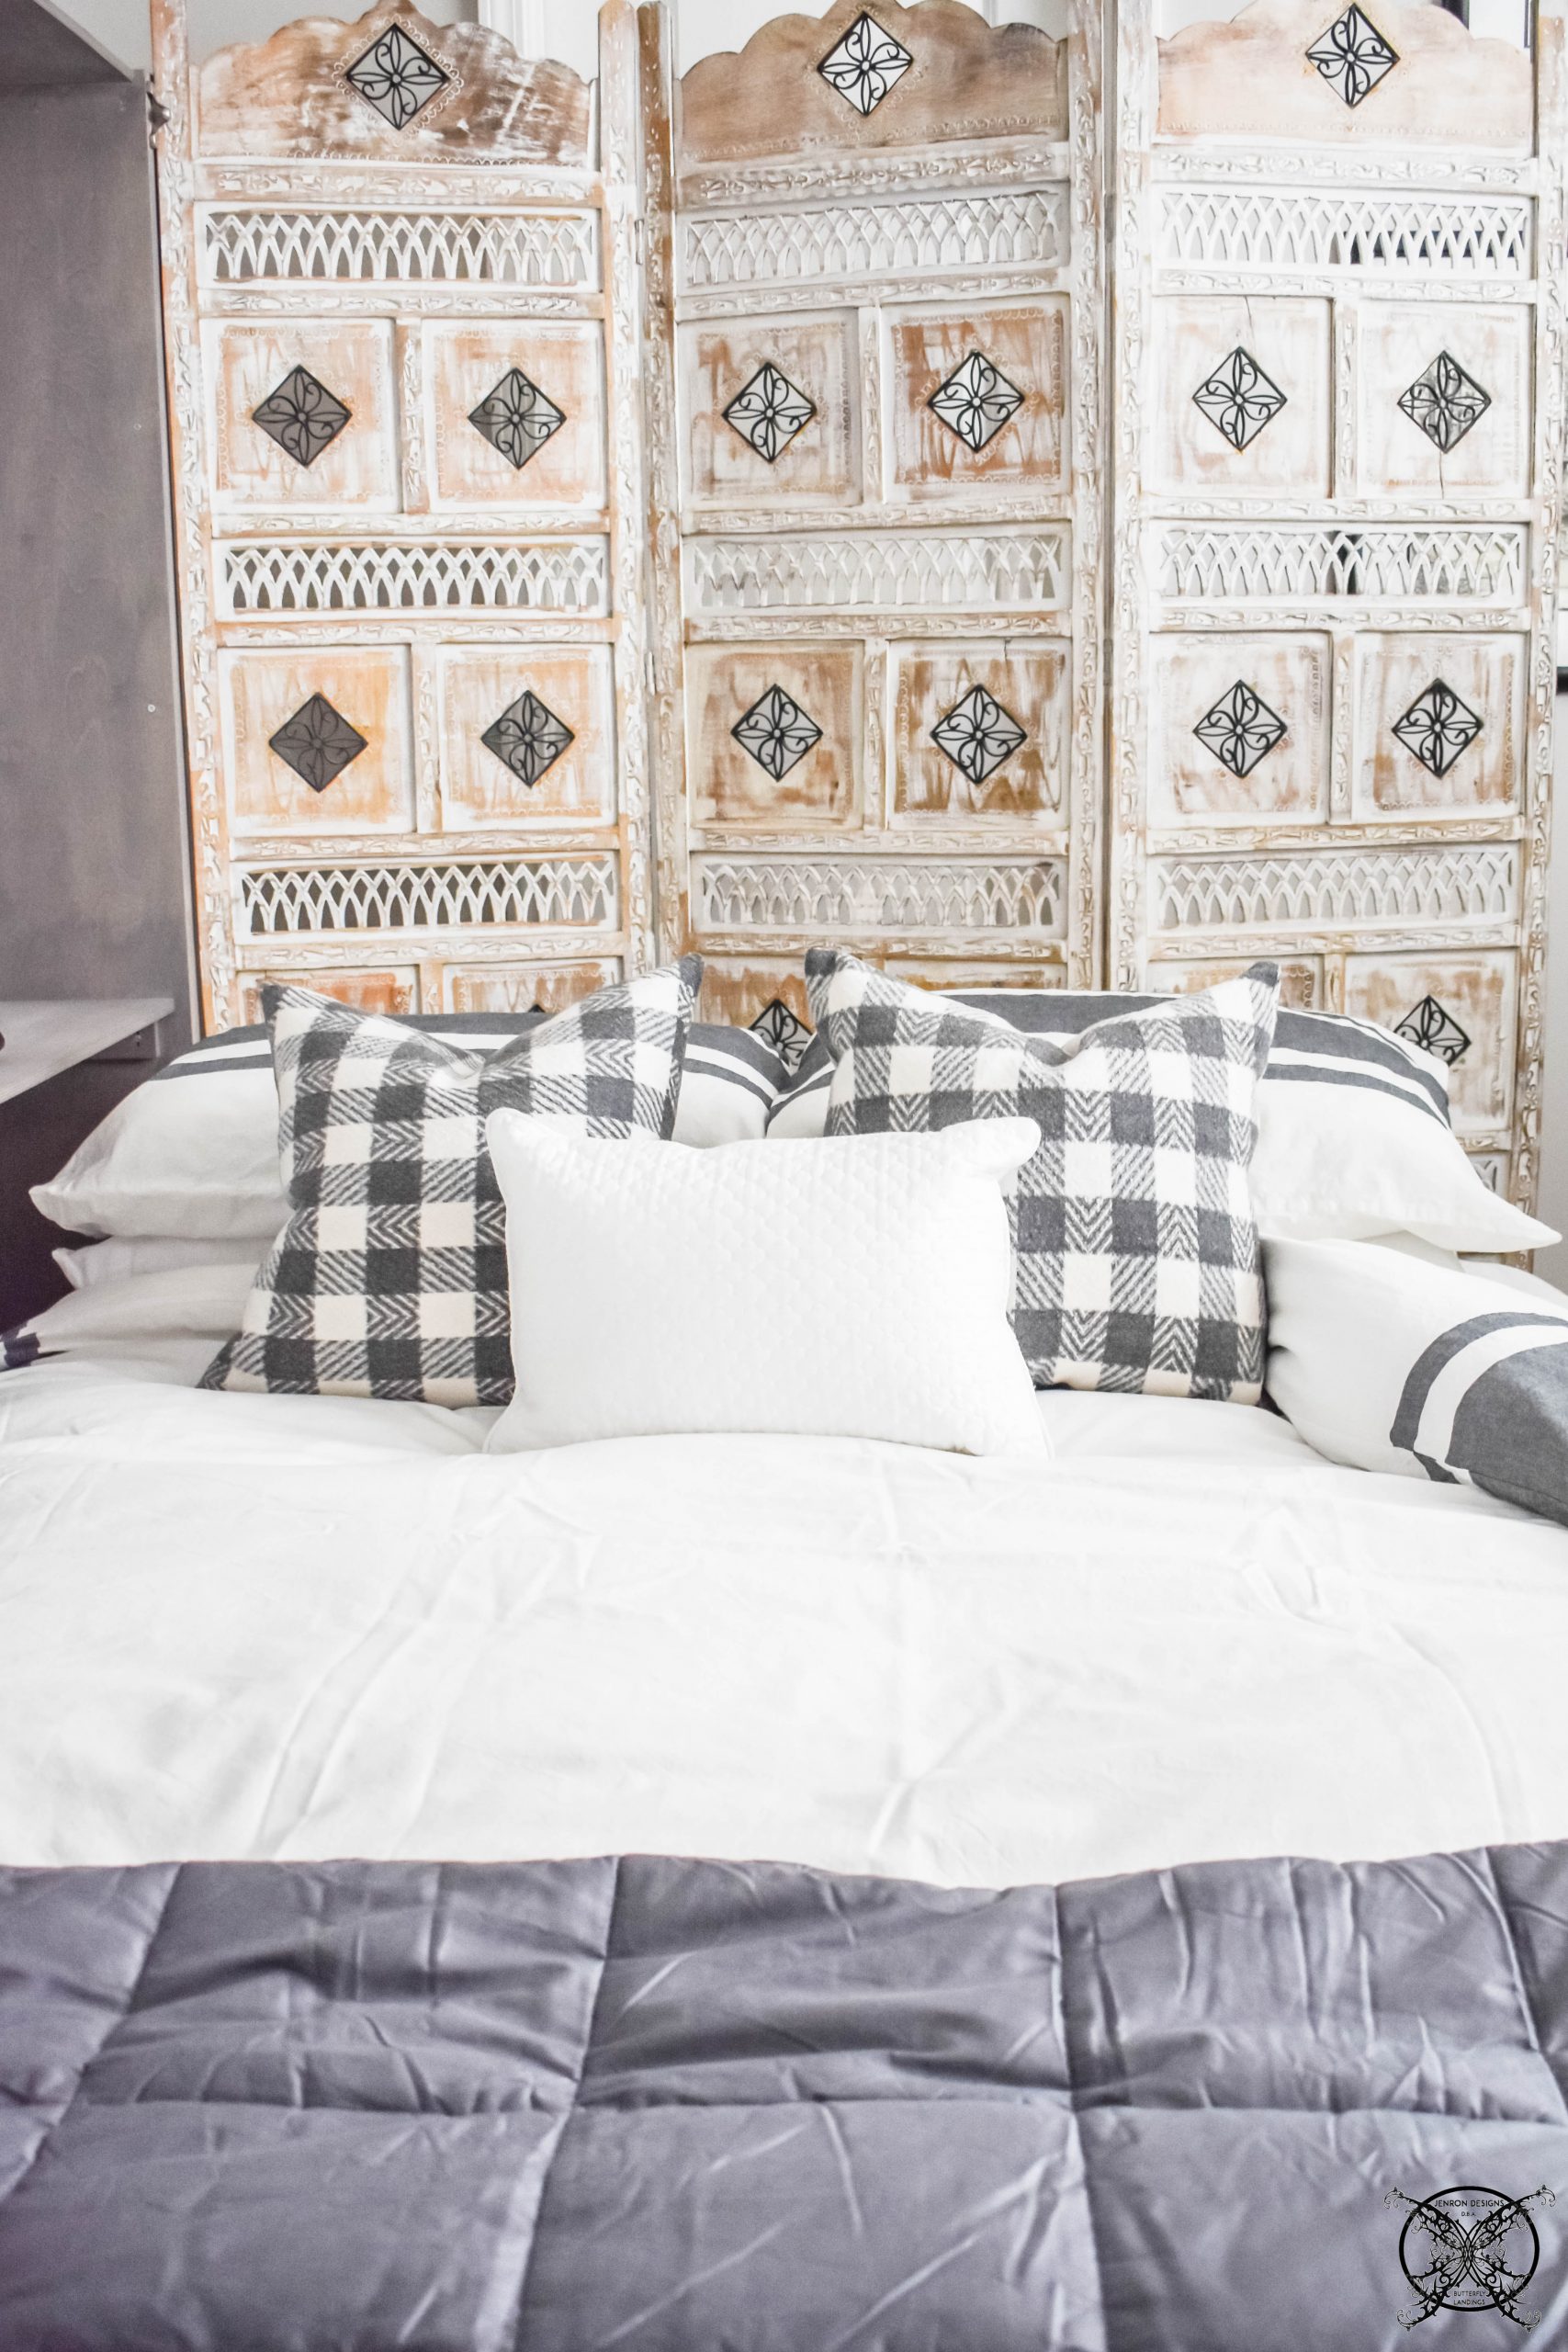 Another thing we added was a dataport receptacle to the wall for easy charging. When the bed is open there is a shelf for your guests storage, since most people use their phones as alarm clocks and even tv’s these days it made since to install a usb plug so any lighting cable could easily plug right in, just a thought.
 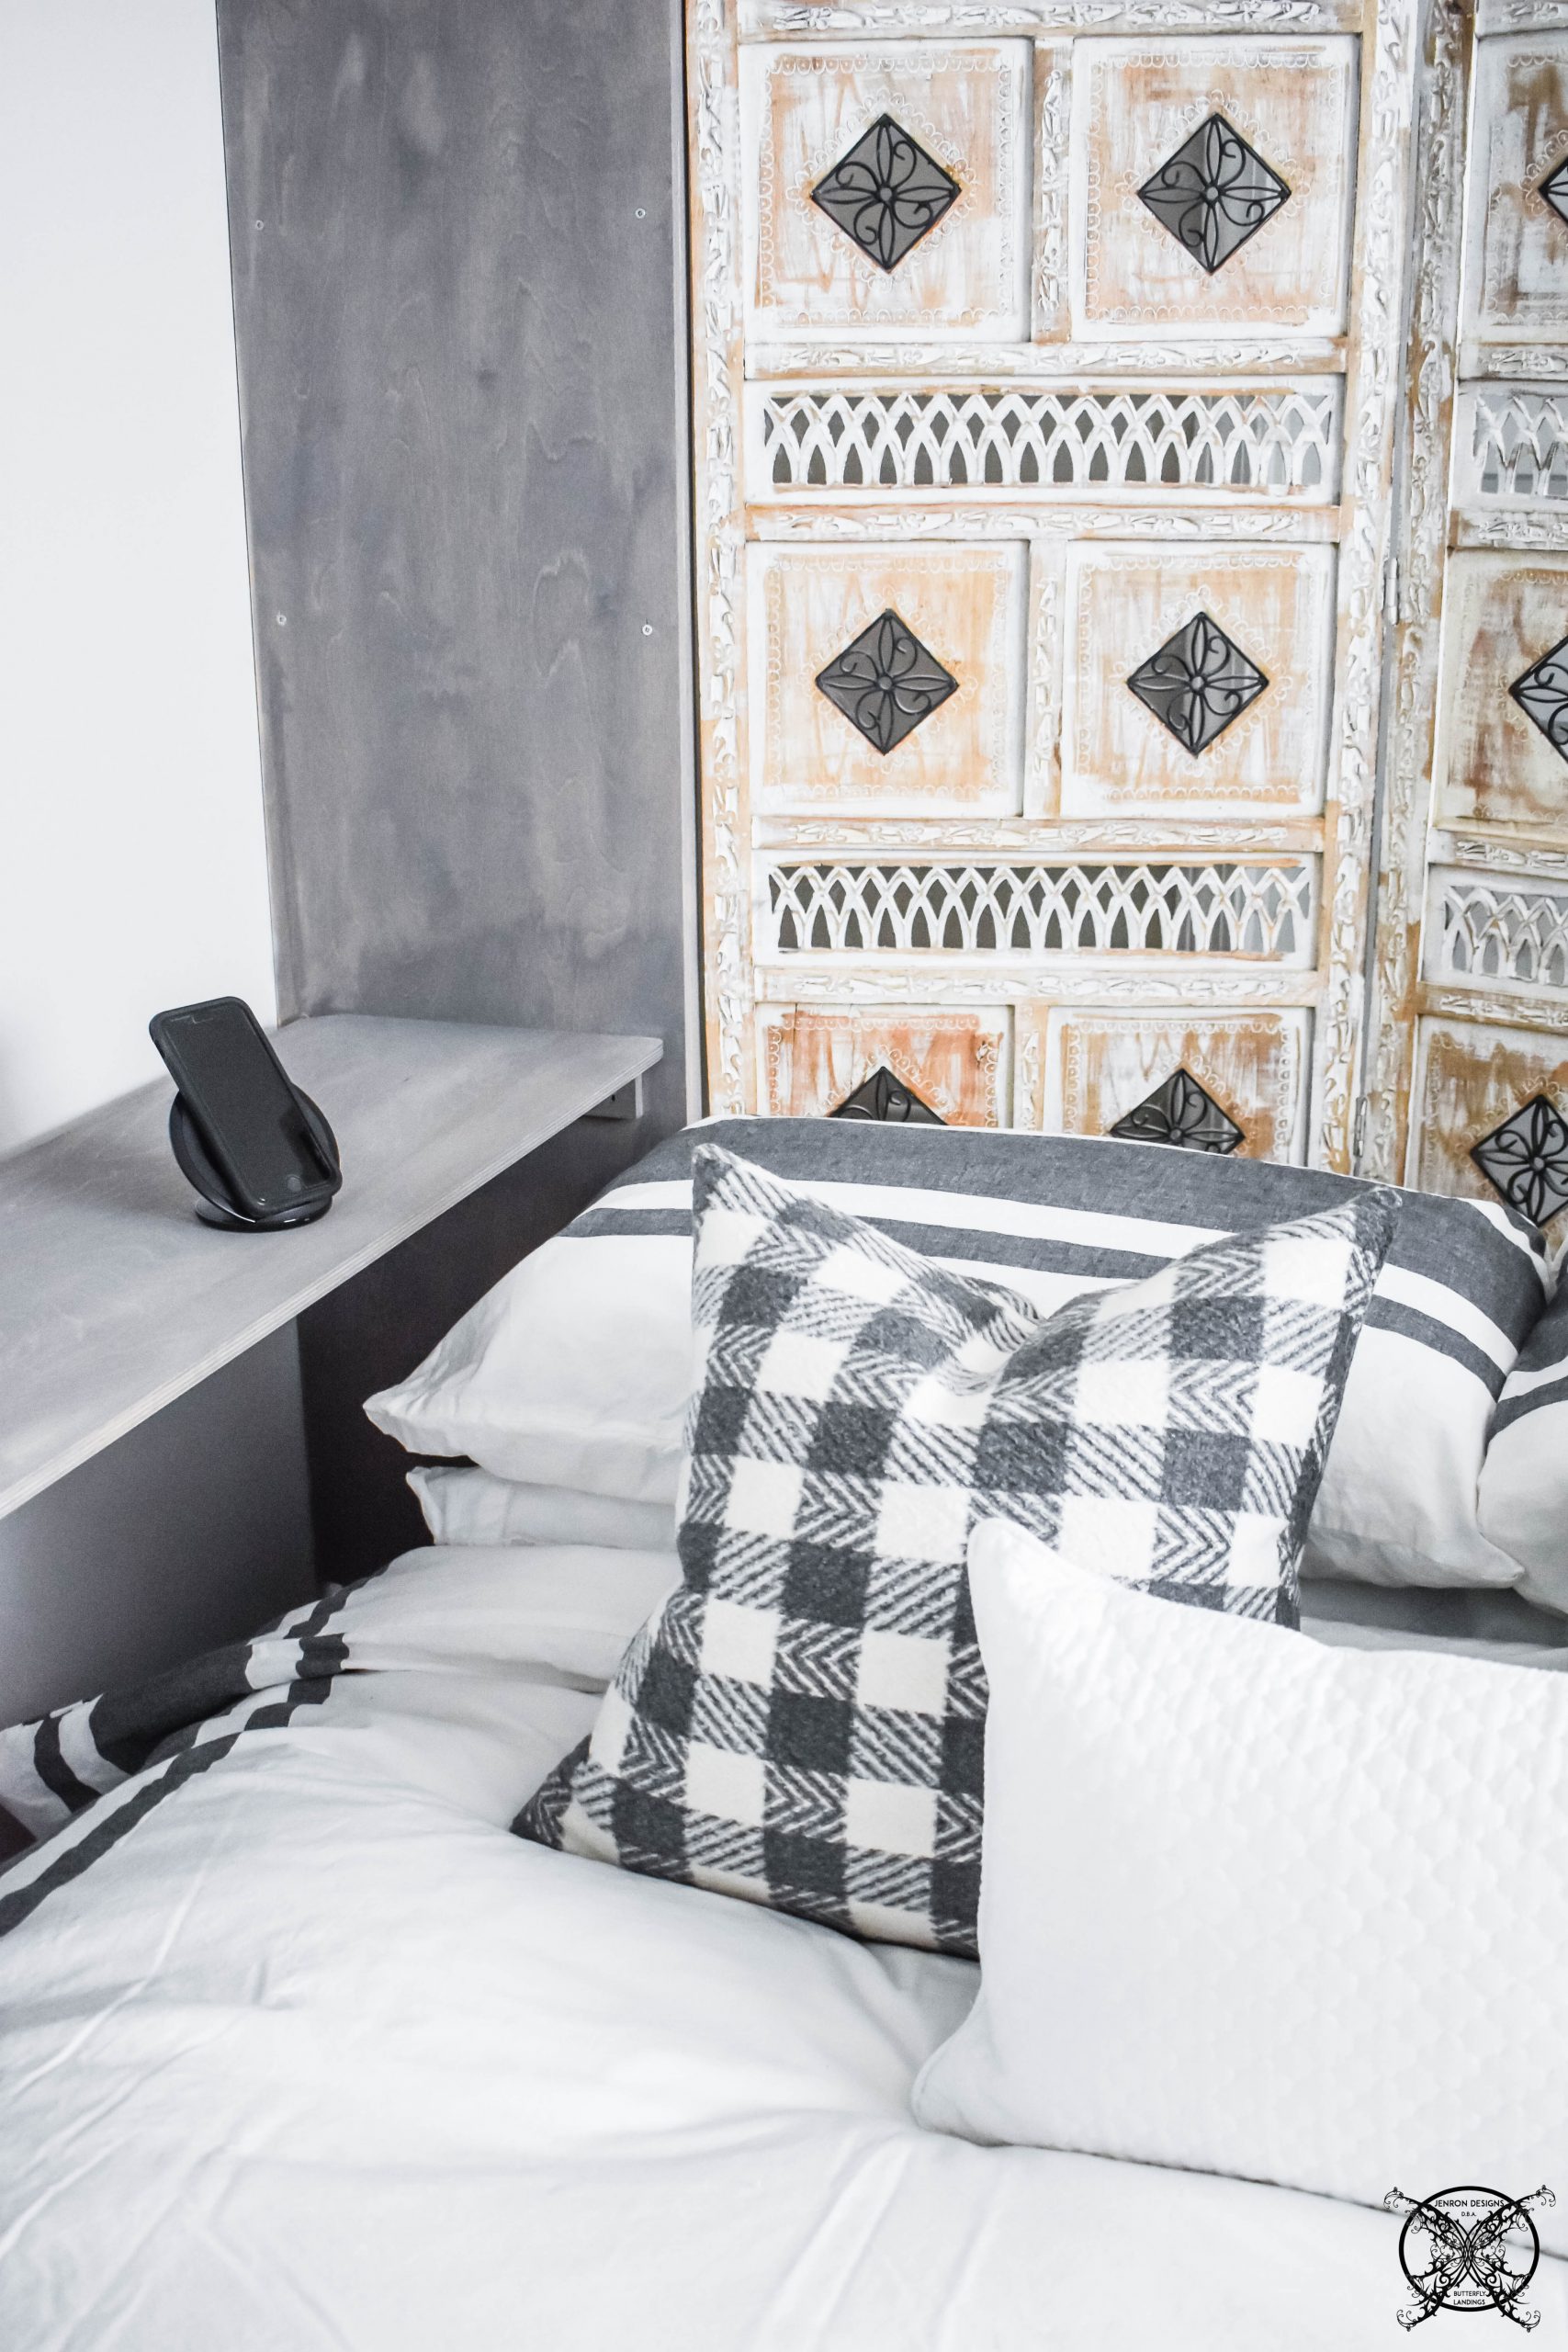 Again you can see that this unit does not take up much space but it does allow an extra space for overnight guest in a room that can still be fully functional the rest of the time. My husband decided he would actually sleep on the bed to try it out and he said it is really nice, it is a firm base, very stable, and the gel top mattress we chose did a nice job supporting his body weight. So it was not bad at all, way better than a pull out sofa bed.
 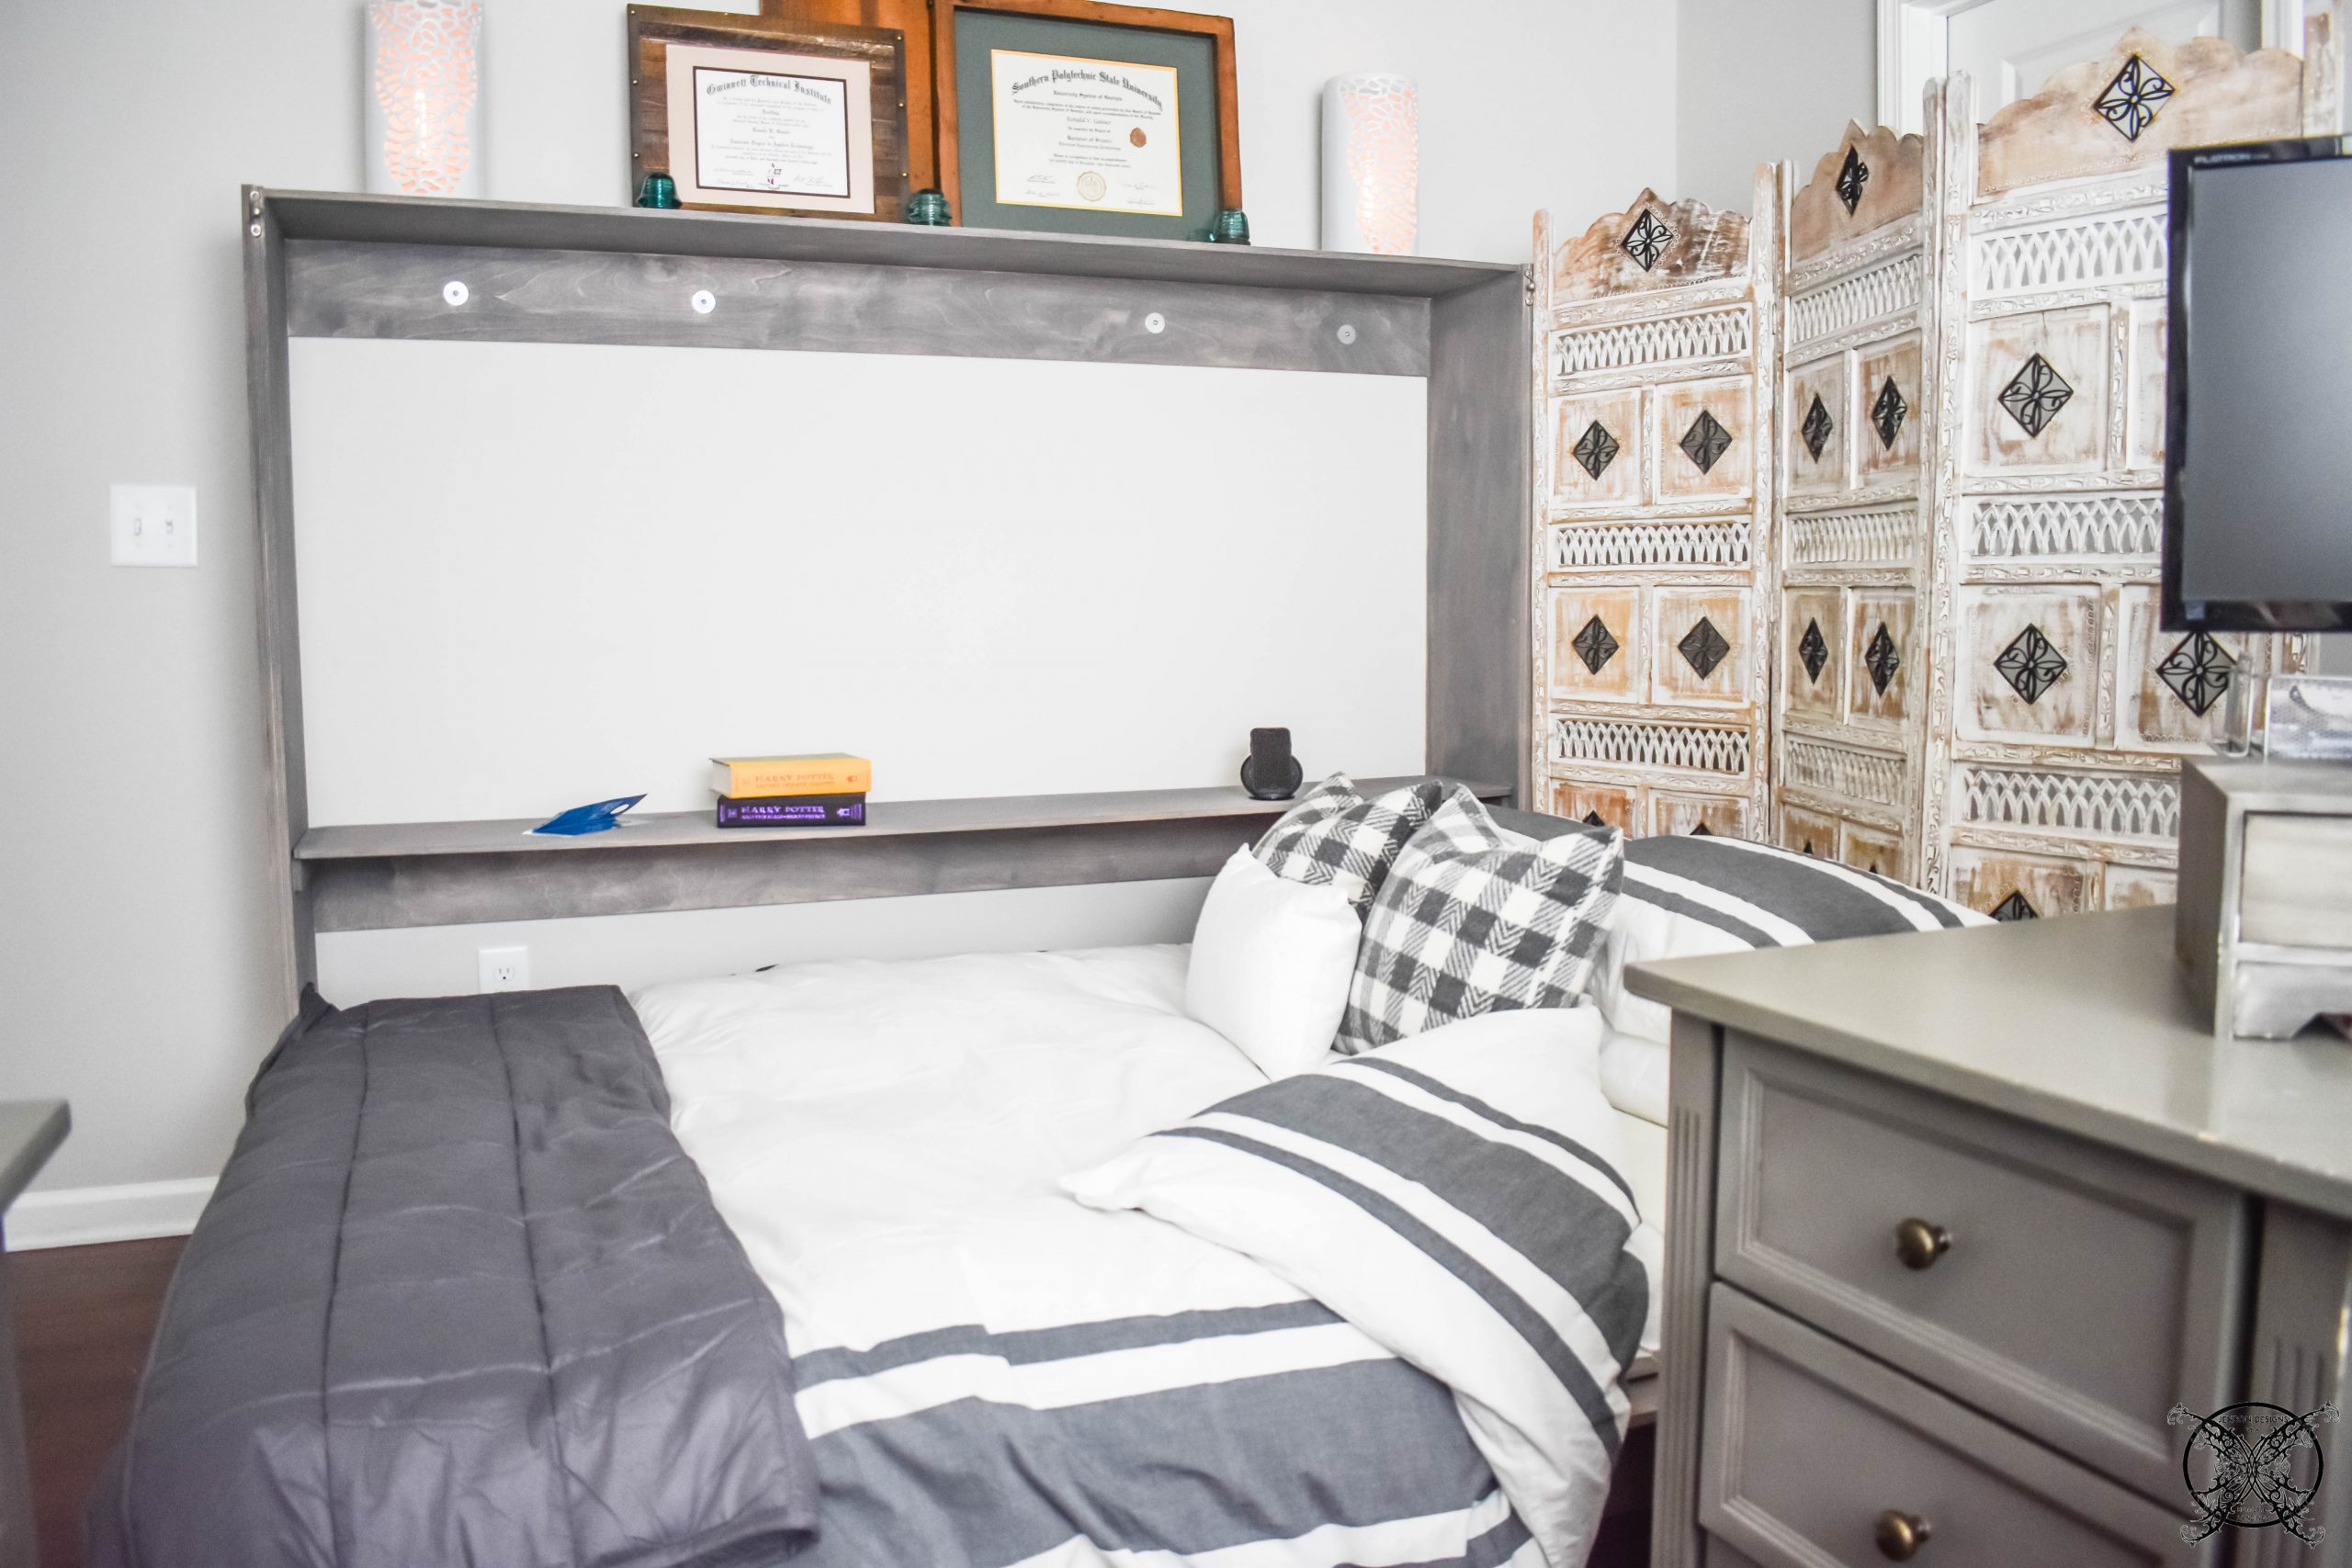 The best part is I can offer you the ability to save some money off this bed. If you are interested in a Murphy Bed be sure to use my promo code here, to save some money: JENRON100 at loriwallbeds.com This code will save $100 off any size or type of Lori Wall Bed of your choice.
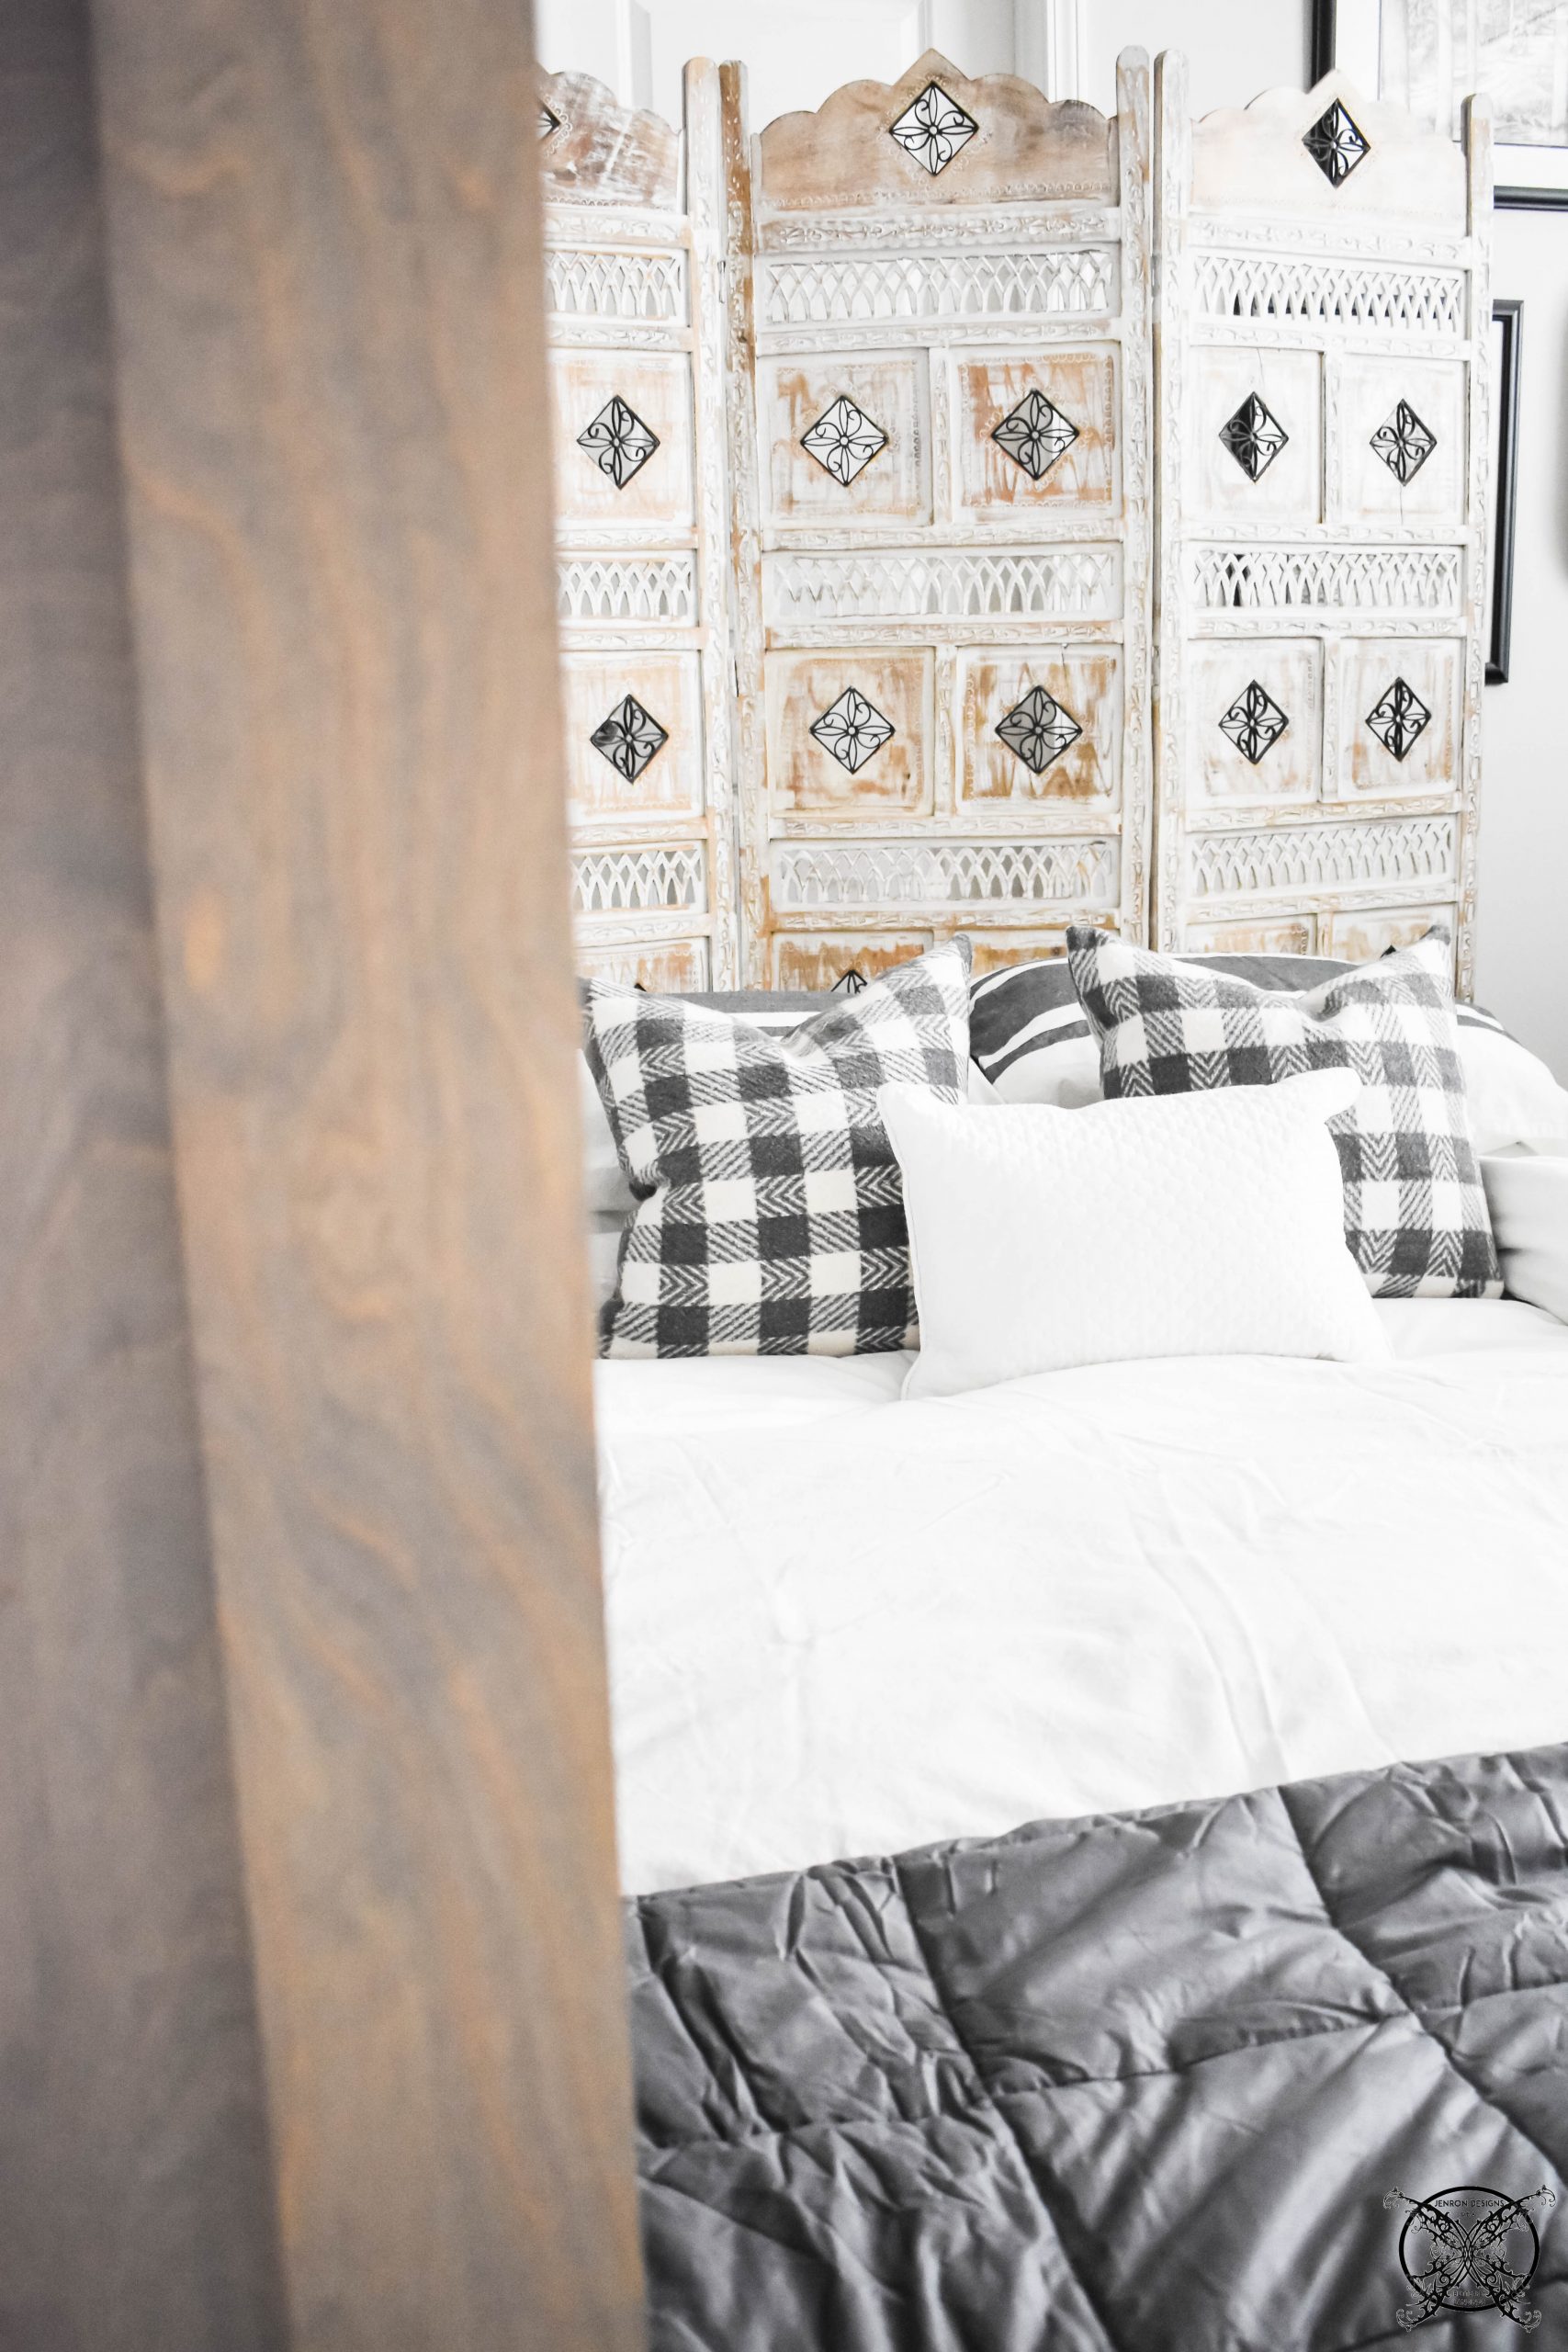
PIN ME for later and be sure to follow us on Pinterest at Jen @ JENRON DESIGNS

LOVE this space-saving option for a bed. What a neat project!
I always love your designs, detailed, well planned and stunning. They always make me so wishful. Moroccan screen is beautiful.
I fell madly in love with your guest room and I think I will steal ideas for mine. It is so comfortable and elegant.
Great ideas for saving space. I love the instructions they are clear and easy to understand. It actually gave me some great ideas on my next project. Thank you so much for sharing! Stunning outcome! Love this!
I love this idea! We have two spare bedrooms, but one is tiny! This is a really nice fix. And that screen – love it!
I love this idea! The different ways you can utilize it for storage is amazing & of course, so convenient!!
-Madi xo |
Beautiful Guest room I loved this post.
This is so helpful and makes it look easy. There is something so fun about a murphy bed too. I want to try this
Wowowowow a master ! I would never do that! Hahaha i love the idea ! Thanks for sharing 💯💯💯💯💯💯💯💯💯💯💯💯💯💯💯💕❤️
This is such a great use of small room with a functional bed. You have used space and added decos so well. You are an amazing interior designer!
My hubby and I were just talking about this idea last week – a way to turn our home office into an extra guest room. Thanks for the inspiration – this looks brilliant!
Very nice idea for smaller spaced room, looking forward to more small space recommendations
Wow, what a unique idea. This is the best idea to arrange things in a limited space.
Very nice post, thanks for sharing this information.
Interested in your murphy bed plans.. prices?