DIY Christmas Recipe Ornament Keepsakes
Hello my friends this month for Home for Holidays, I am sharing a great DIY Christmas Recipe Ornament Keepsakes, perfect for your kitchen decor or tree.
JUMP TO RECIPE
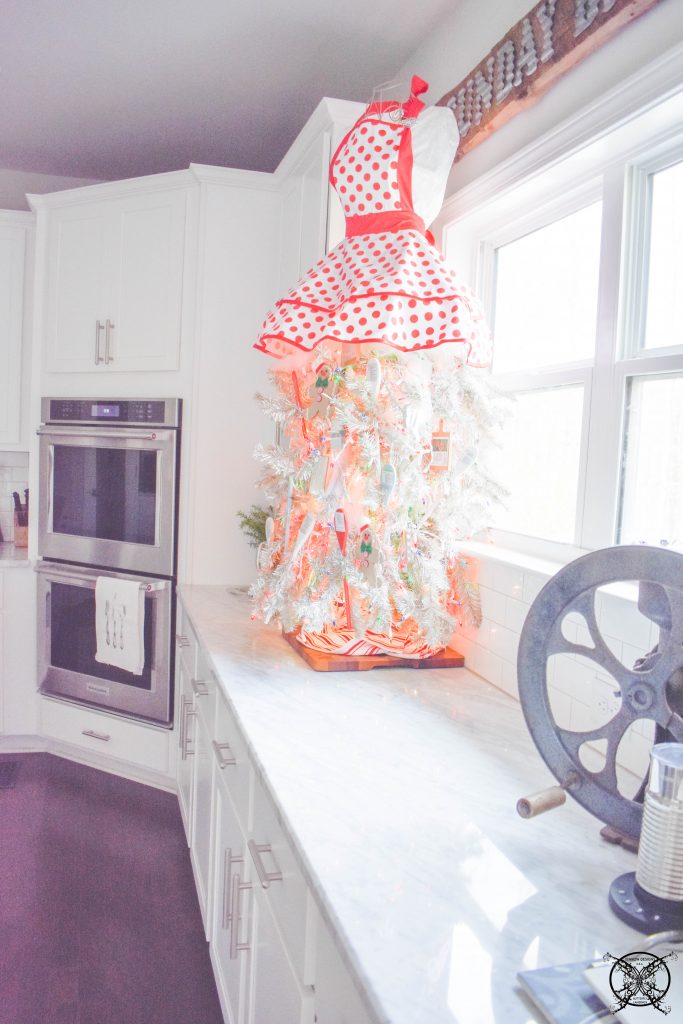
This year, if you have seen my entire Christmas Holiday Home Tour, you know that all my trees were themed on favorite childhood toys from Christmas. My kitchen tree was inspired by my Easy Bake Oven, and all of those creations I concocted inside and feed to my father. Can you say diabetus? 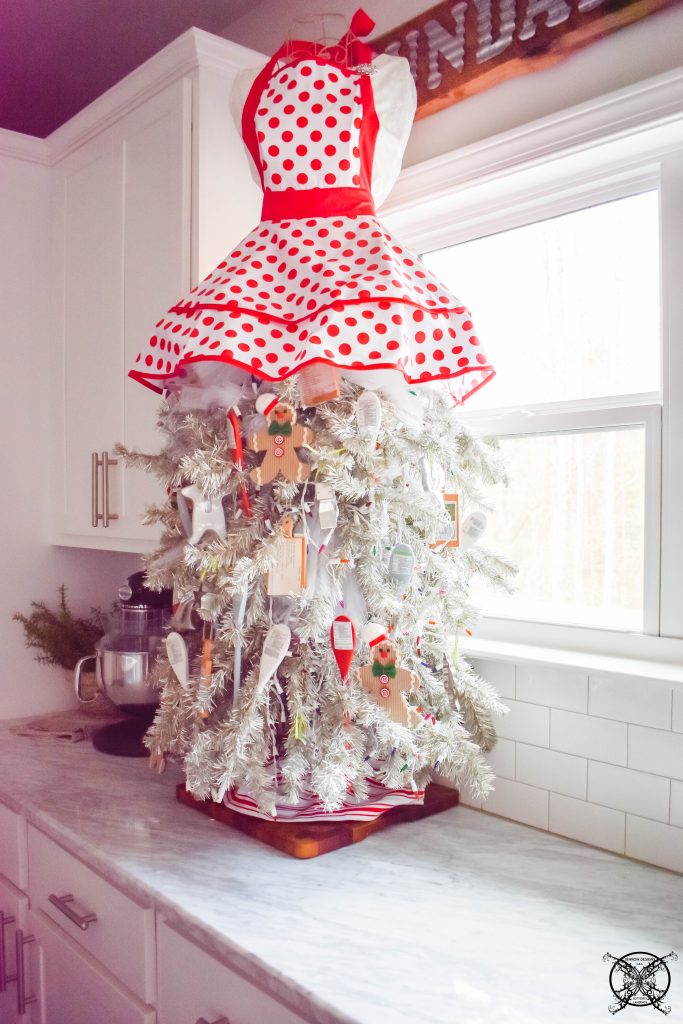 Well here is my interpretation of Ms. Betty Crocker herself, adorned with my mama’s vintage cookie cutters, circa 1960. While I do still use them, I thought it was so much fun to pay homage to all the fantastic memories we all created with them over the years and seeing them all season was the best way to do so.
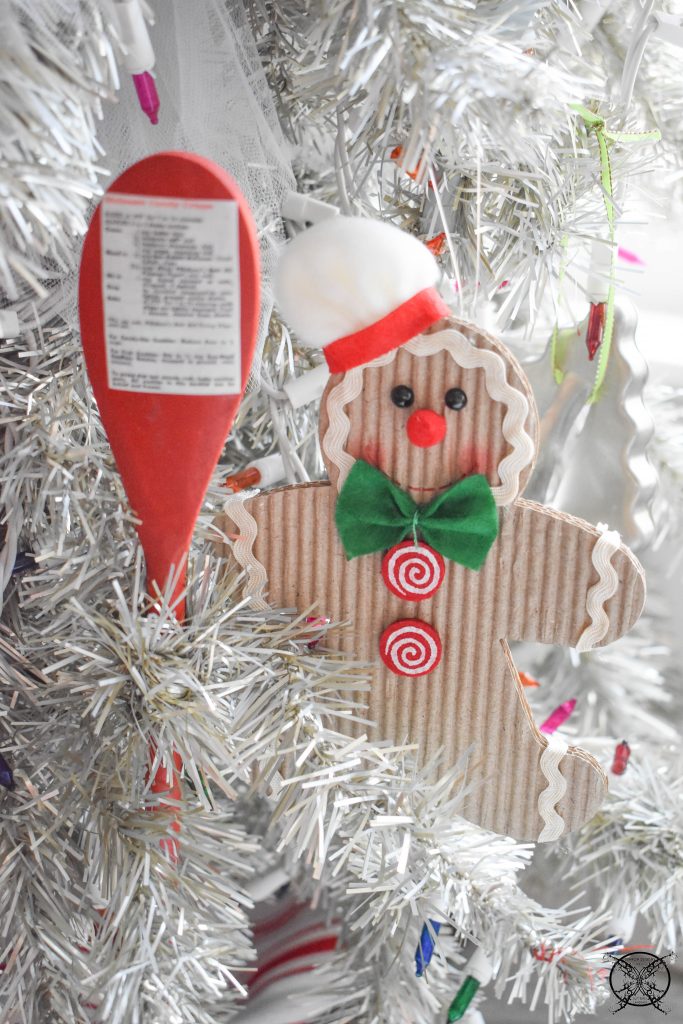
Here is my families soft Gingerbread Cookie recipe to share:
Soft Gingerbread Cookies
Equipment
- Kitchen Aid Bowl Mixer
- Measuring Spoons
- Measuring Cups
- Flour Sifter
- Cookie Sheet
Ingredients
- 3/4 cup Butter soften
- 1 cup Sugar
- 1/4 cup Dark Molasses
- 1 Egg
- 2 1/4 cups All Purpose Flour Sifted
- 1 tsp Baking Soda
- 2 tsp Ground Ginger
- 3/4 tsp Ground Cinnamon
- 1/2 tsp Ground Cloves
- 1/4 tsp Himalayan Salt
- Sugars or Frosting Decorating at End- Optional
Instructions
- In a mixer cream together butter and sugar until until it is light yellow and fluffy.
- Add in egg and molasses, continue to mix at low speed.
- Combine the sifted flour, ginger, baking soda, cinnamon, cloves and salt; slowly add into the mixture at low speed and mix well.
- Bake at 350° until lightly browned, approximately 10-12 minutes. Remove and allow to cool on wire racks.
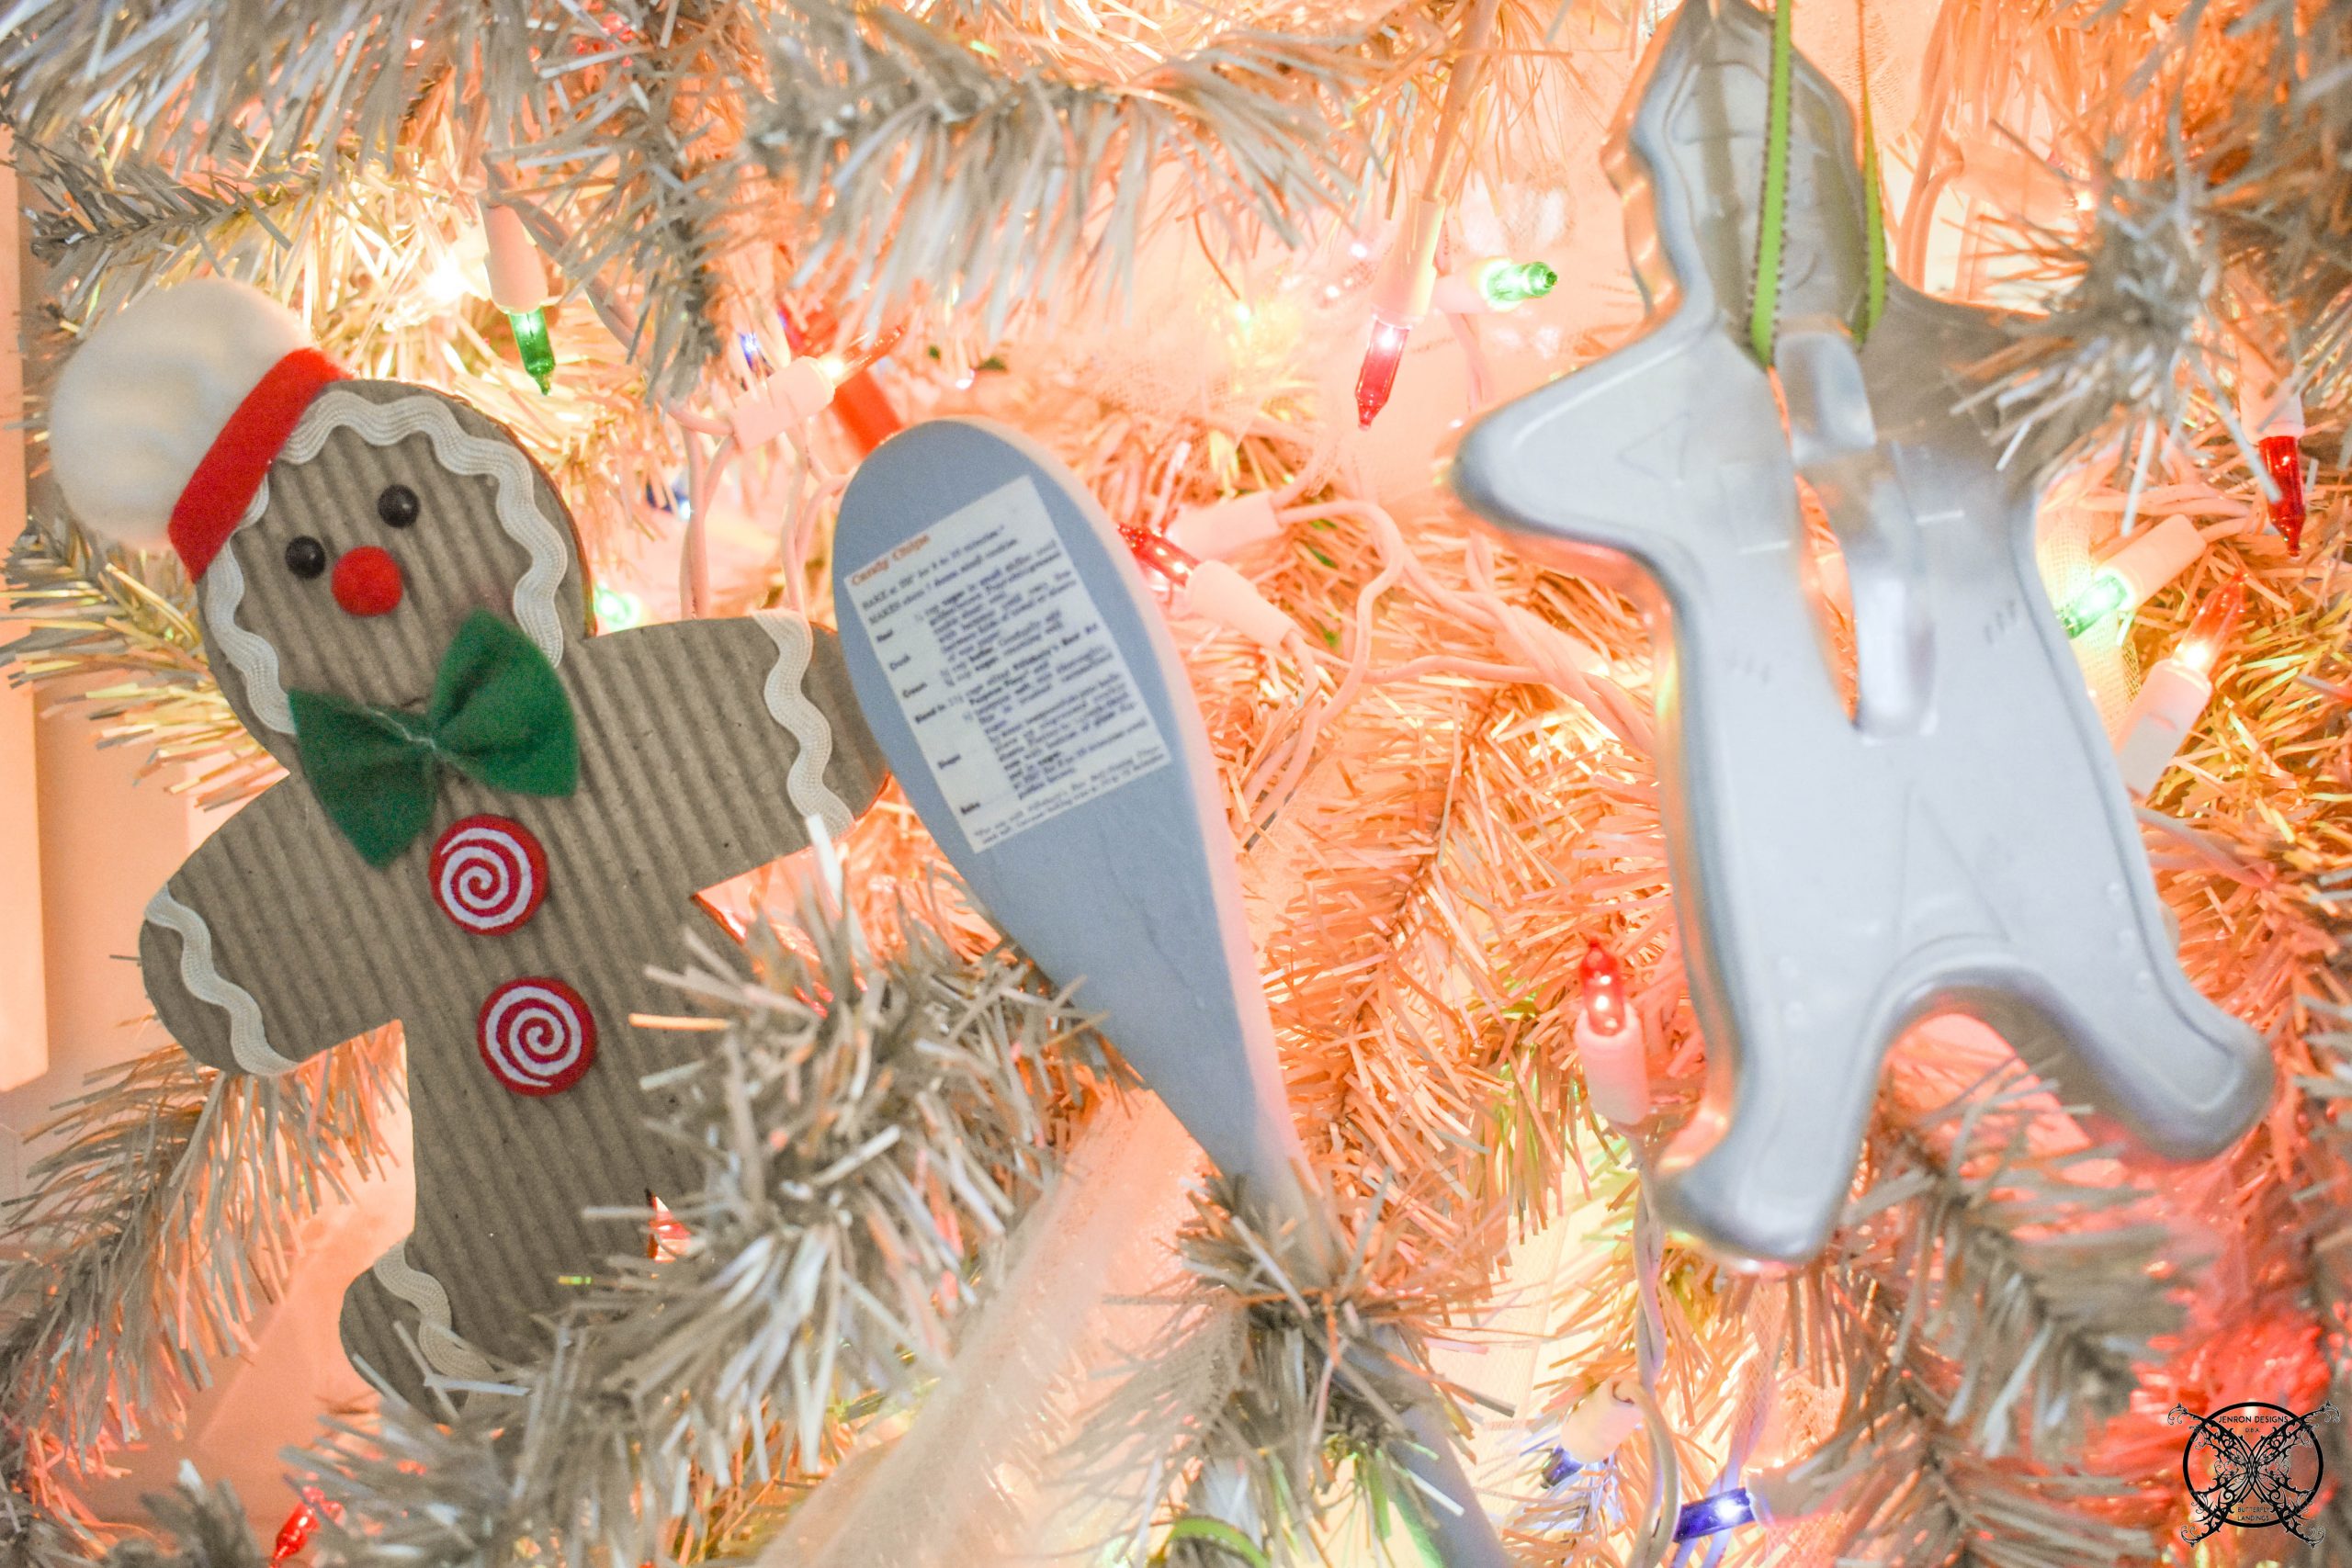
I also thought it would be really cute to add in some of our favorite retro cookie recipes and few of the special dessert pies as well to this tree. I decided to order up a set of wooden spoons to create these sweet little DIY Christmas Recipe Ornament Keepsakes. I also found a few pre-made cutting board decorations at Hobby Lobby, which worked great for the larger recipes I wanted to keep on the original cards.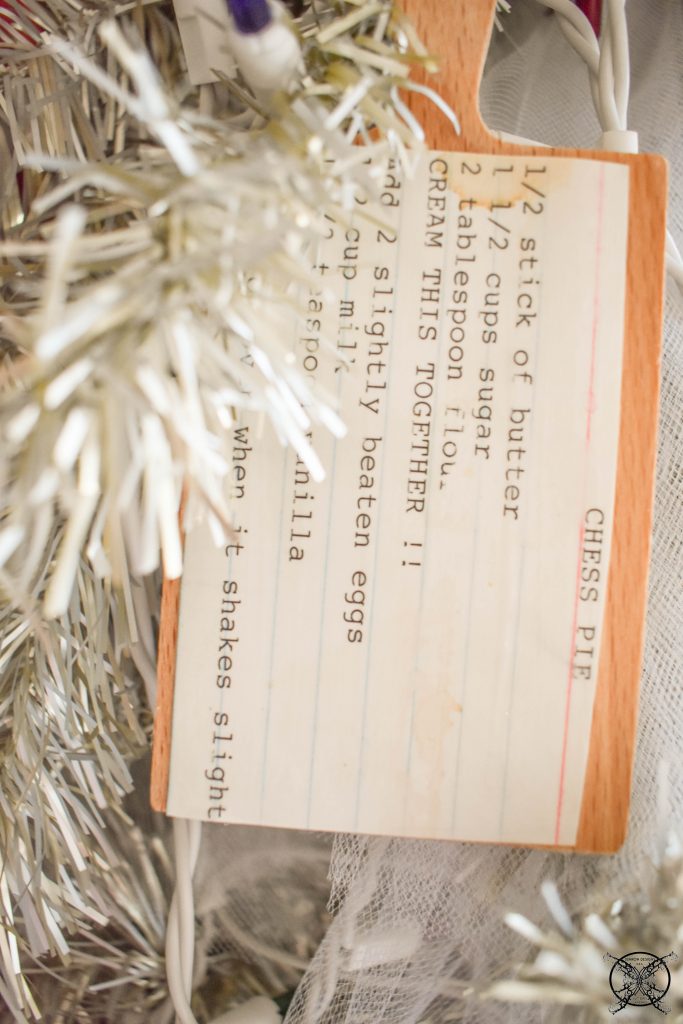 EASY DIY STEPS FOR SPOON ORNAMENTS:
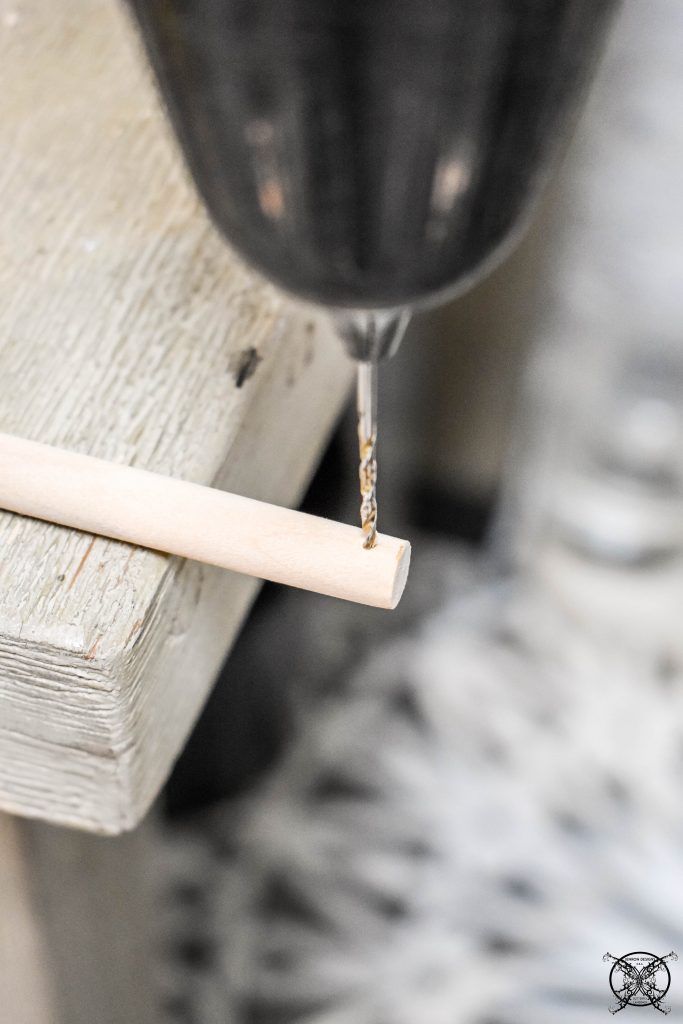
To make the ornaments, first order you a bulk set of plain wooden spoon like these from Amazon, 2 day prime gets them here in no time! I also found these cute little cutting board decorations at Hobby Lobby this season, which were perfect for this DIY. 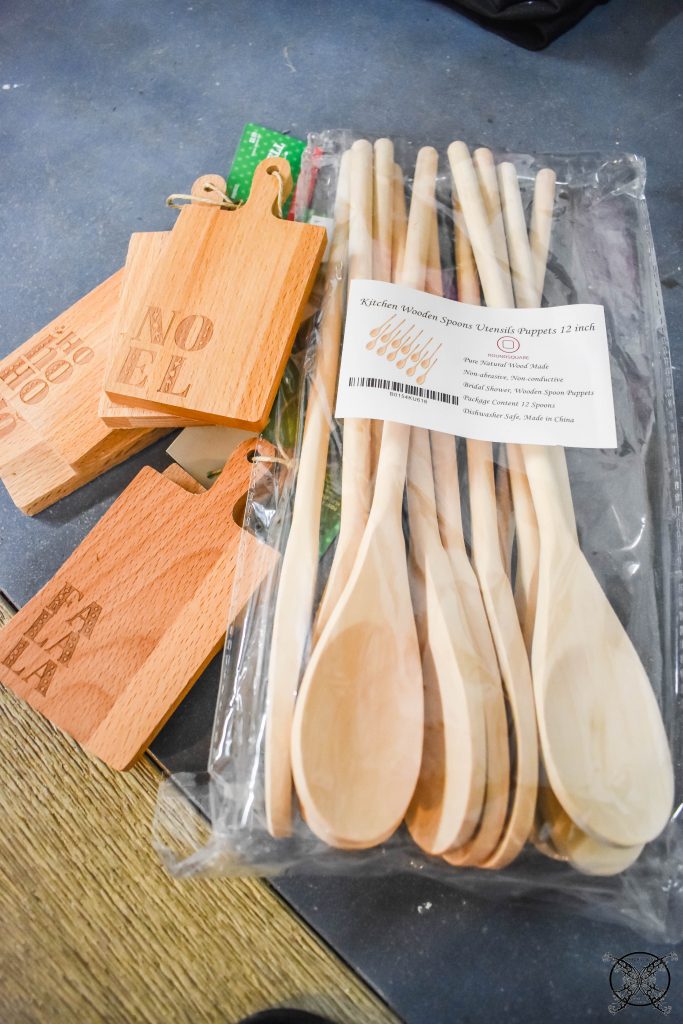 Drill a small hole into the end of the spoon if you plan on hanging them. I ended up twisting them into the branches, but they are cute either way.
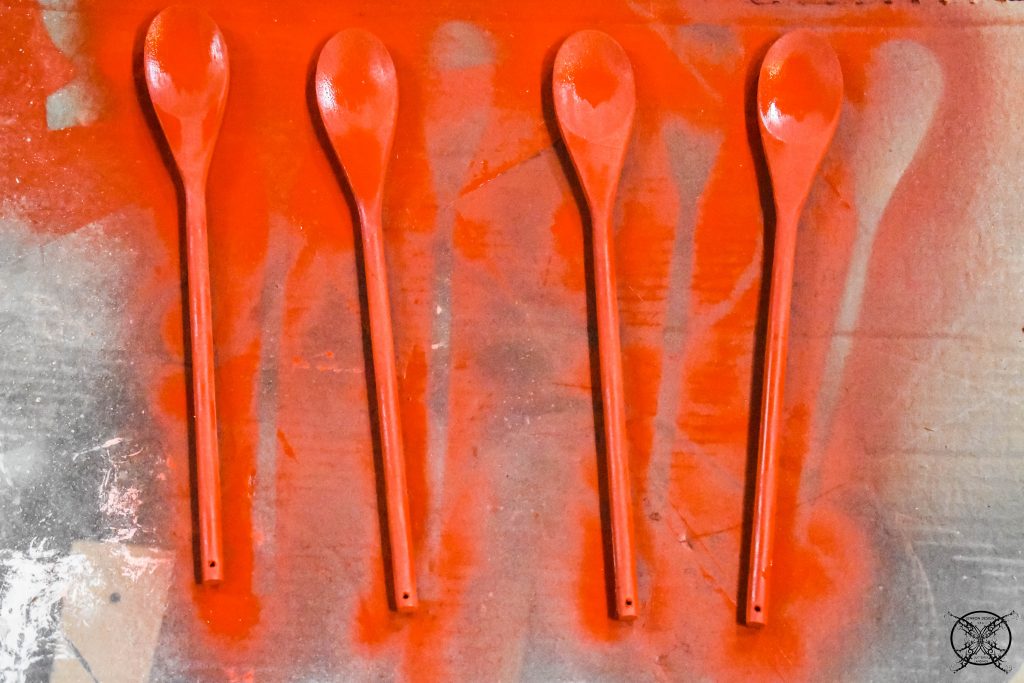
  Next, paint your spoons with the paint color or your choice. I ended up choosing 3 colors for a holiday variation of white, red, and icy farmhouse blue.
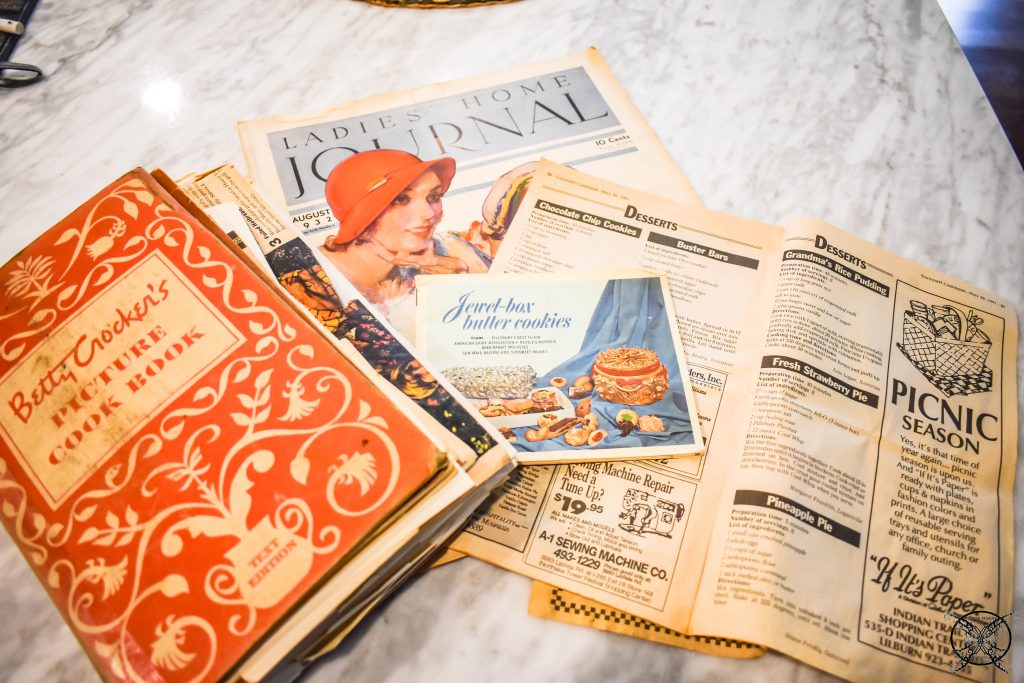
  While your paint is drying, go ahead and gather your vintage recipes and shrink them down to size using a copy machine. This will allow you to fit them onto spoons and boards without destroying the originals.
  I cut out all the cookie recipes for the spoons, particularly the drop style cookies since you would use a spoon. I thought that was just a cute idea. They all fit perfectly as you see, just a little rounding of the corners and trimming.
 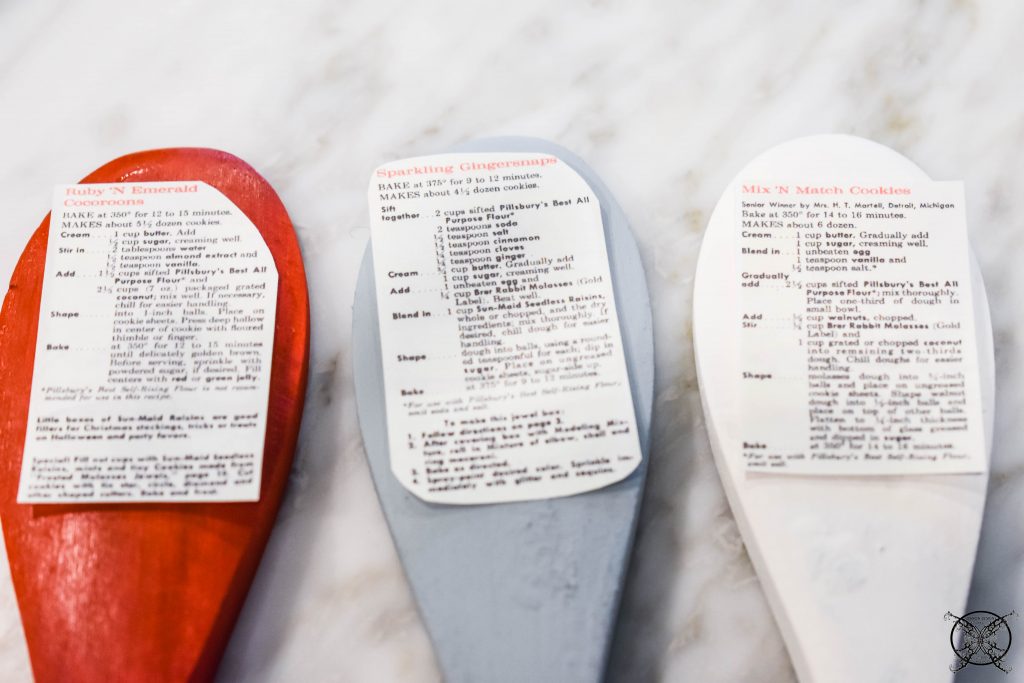 Then I coated all the recipes with two coats of Mod Podge and allowed them to dry. I used the more elaborate recipes for desserts and pies on the cutting boards, since some had pictures that went with the recipes.
 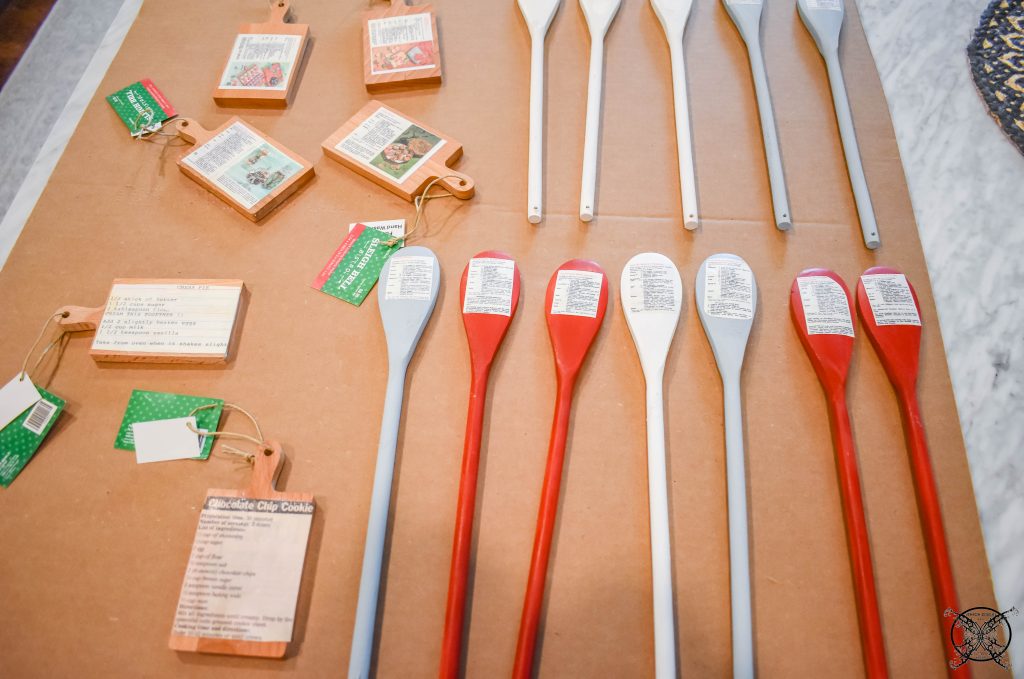 I even used one of our family favorites, which we always make for Christmas, the famous Chess Pie which was my Grandma’s recipe. While this is not the original recipe, which is on an envelope written by my grandma, that one is under glass in a shadow box. This one is another well-worn copy I typed up years ago, so I did not feel bad about cutting it up.
 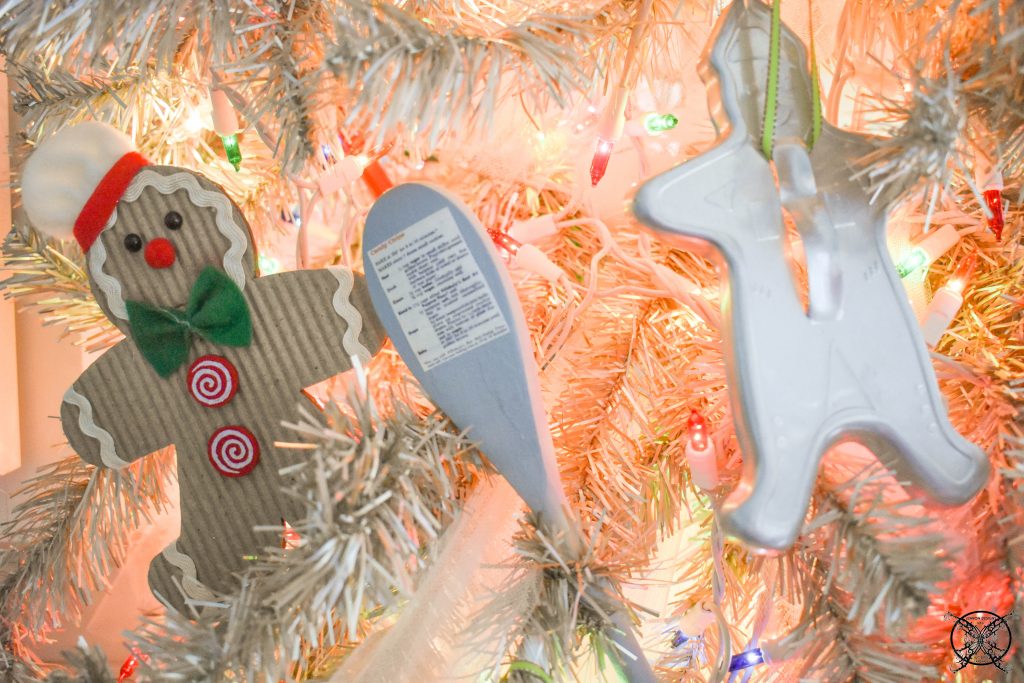 To finish off this tree I added in my mom’s vintage cookie cutters from the 1960’s. These always remind me of creating holiday memories in the kitchen with my mom, as we made cookies for Santa. I just tied them up with a shoestring ribbon and they were the perfect ornament add on. You could even add in some varnished gingerbread cookies that you made yourself fresh for the season too.
Welcome to our third month of the “It’s Good to Be Home” blog hop. Where each month I am so blessed to join a fantastic group of bloggers, as we all co-host, and share our seasonal home decor tips and inspirations. We will continue to have many new creators join us as guests each month, so be sure to check them all at the links posted at the bottom of the page or reach out to one of us if you want to join in the fun!

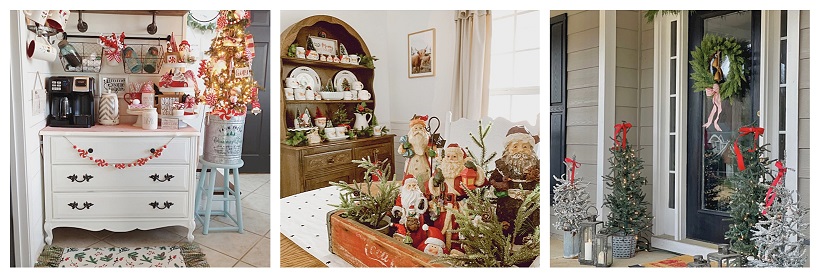 Southern Spangled / At Home In The Wildwood / The Frugal Homemaker
 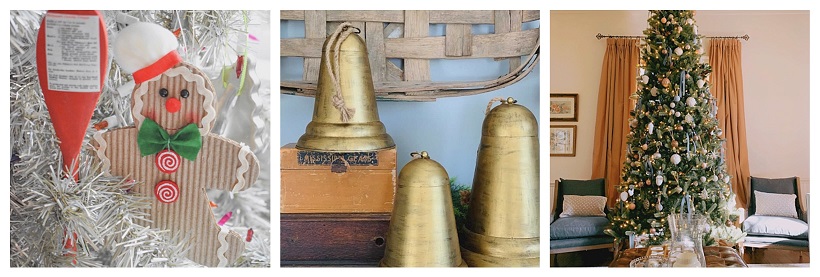 JENRON DESIGNS / My Weathered Home / Robyn’s Southern Nest
PIN ME for later and be sure to follow us on Pinterest at Jen @ JENRON DESIGNS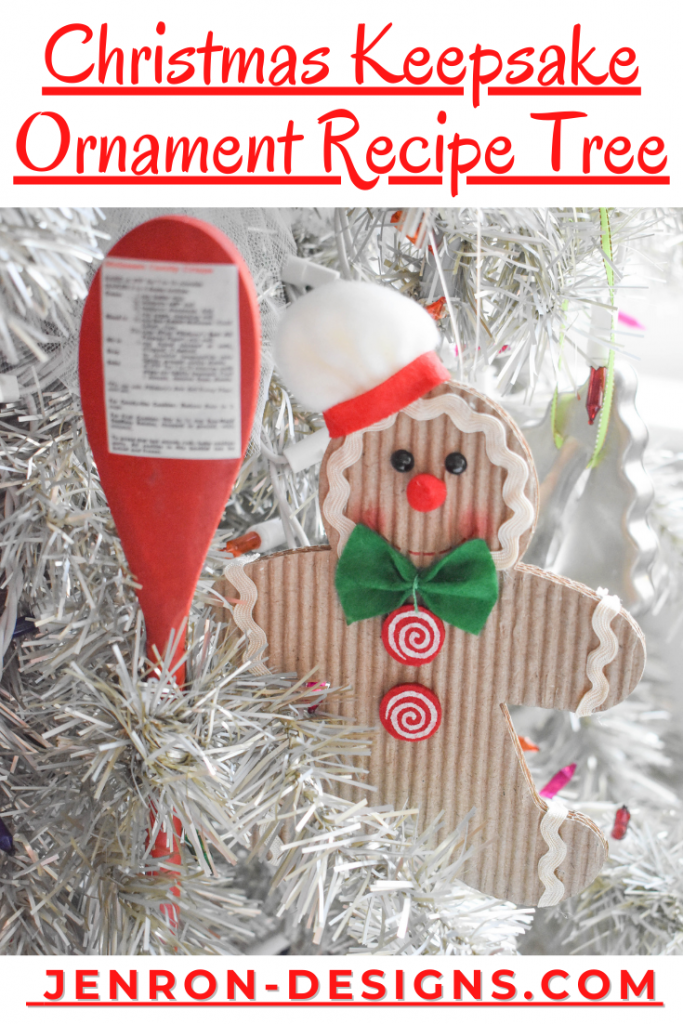

This is such a charming tree – I love all of the details that you put into it – the wooden spoons were brilliant! Thanks for sharing!
This is the cutest idea, Jen! I love me some gingerbread men 🥰
Jen this is such an adorable tree! I have a kitchen themed tree, and now I really want to add some of those spoons!
Jen this is such a cute idea for Christmas!
OMG these look so cute! The little gingerbread man is adorable
Oh my goodness this is so cute. What a great way to remember recipes from years past as the years go on!
What a wonderful DIY gift! I love that it’s a great way to also hand down recipes.
I love this idea so much! Great gift for the holidays!
It’s stunning and your recipe so mouth watering! Happy holidays to you and yours!
This DIY Christmas idea is awesome. I am going to try making this for myself this year.
I enjoyed your article with interesting photos! The DIY idea is original and creative… definitely not a common thing to have for Christmas.
Wonderful. You create magic in every moment. Love these ornaments.
Great idea – not only for home but also at schools with children. Happy Holidays to you!