$100 Room Challenge: Staircase Landing
We are almost done, we have made it to week 4 of the $100 Room Challenge: Staircase Landing wood floor installation.
Welcome to week 4, of the $100 Room Challenge: Staircase Landing Wood Floor. If this is your first time seeing the $100 Room Challenge, let me give you some background, it is a bi-annual challenge sponsored by my friend Erin, from Lemons, Lavender, & Laundry. What is the $100 Room Challenge all about? This challenge takes place twice a year, January and September. Erin invites us to redo a room in our home using a budget of only $100. As you can see the premise of this challenge is real simple: one month, one space, and $100. If you want to know more about the $100 Room Challenge, check out Erin’s post to see how the concept was inspired, and it’s colossal growth since she decided to start it!
Weeks at a Glance:
WEEK 1 WEEK 2 WEEK 3 WEEK 4 REVEAL
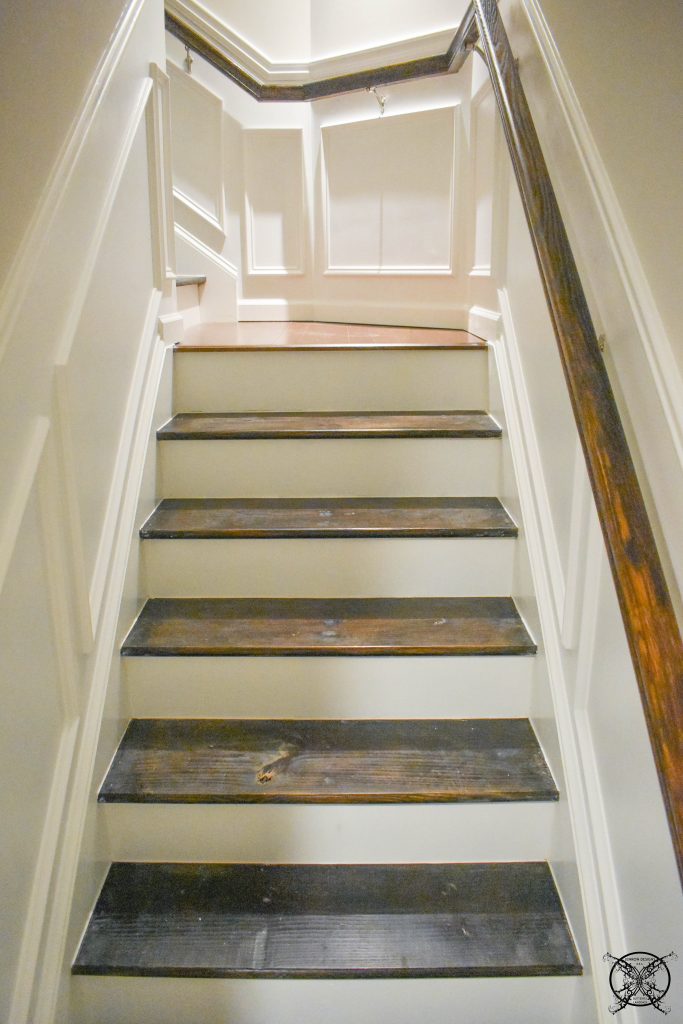
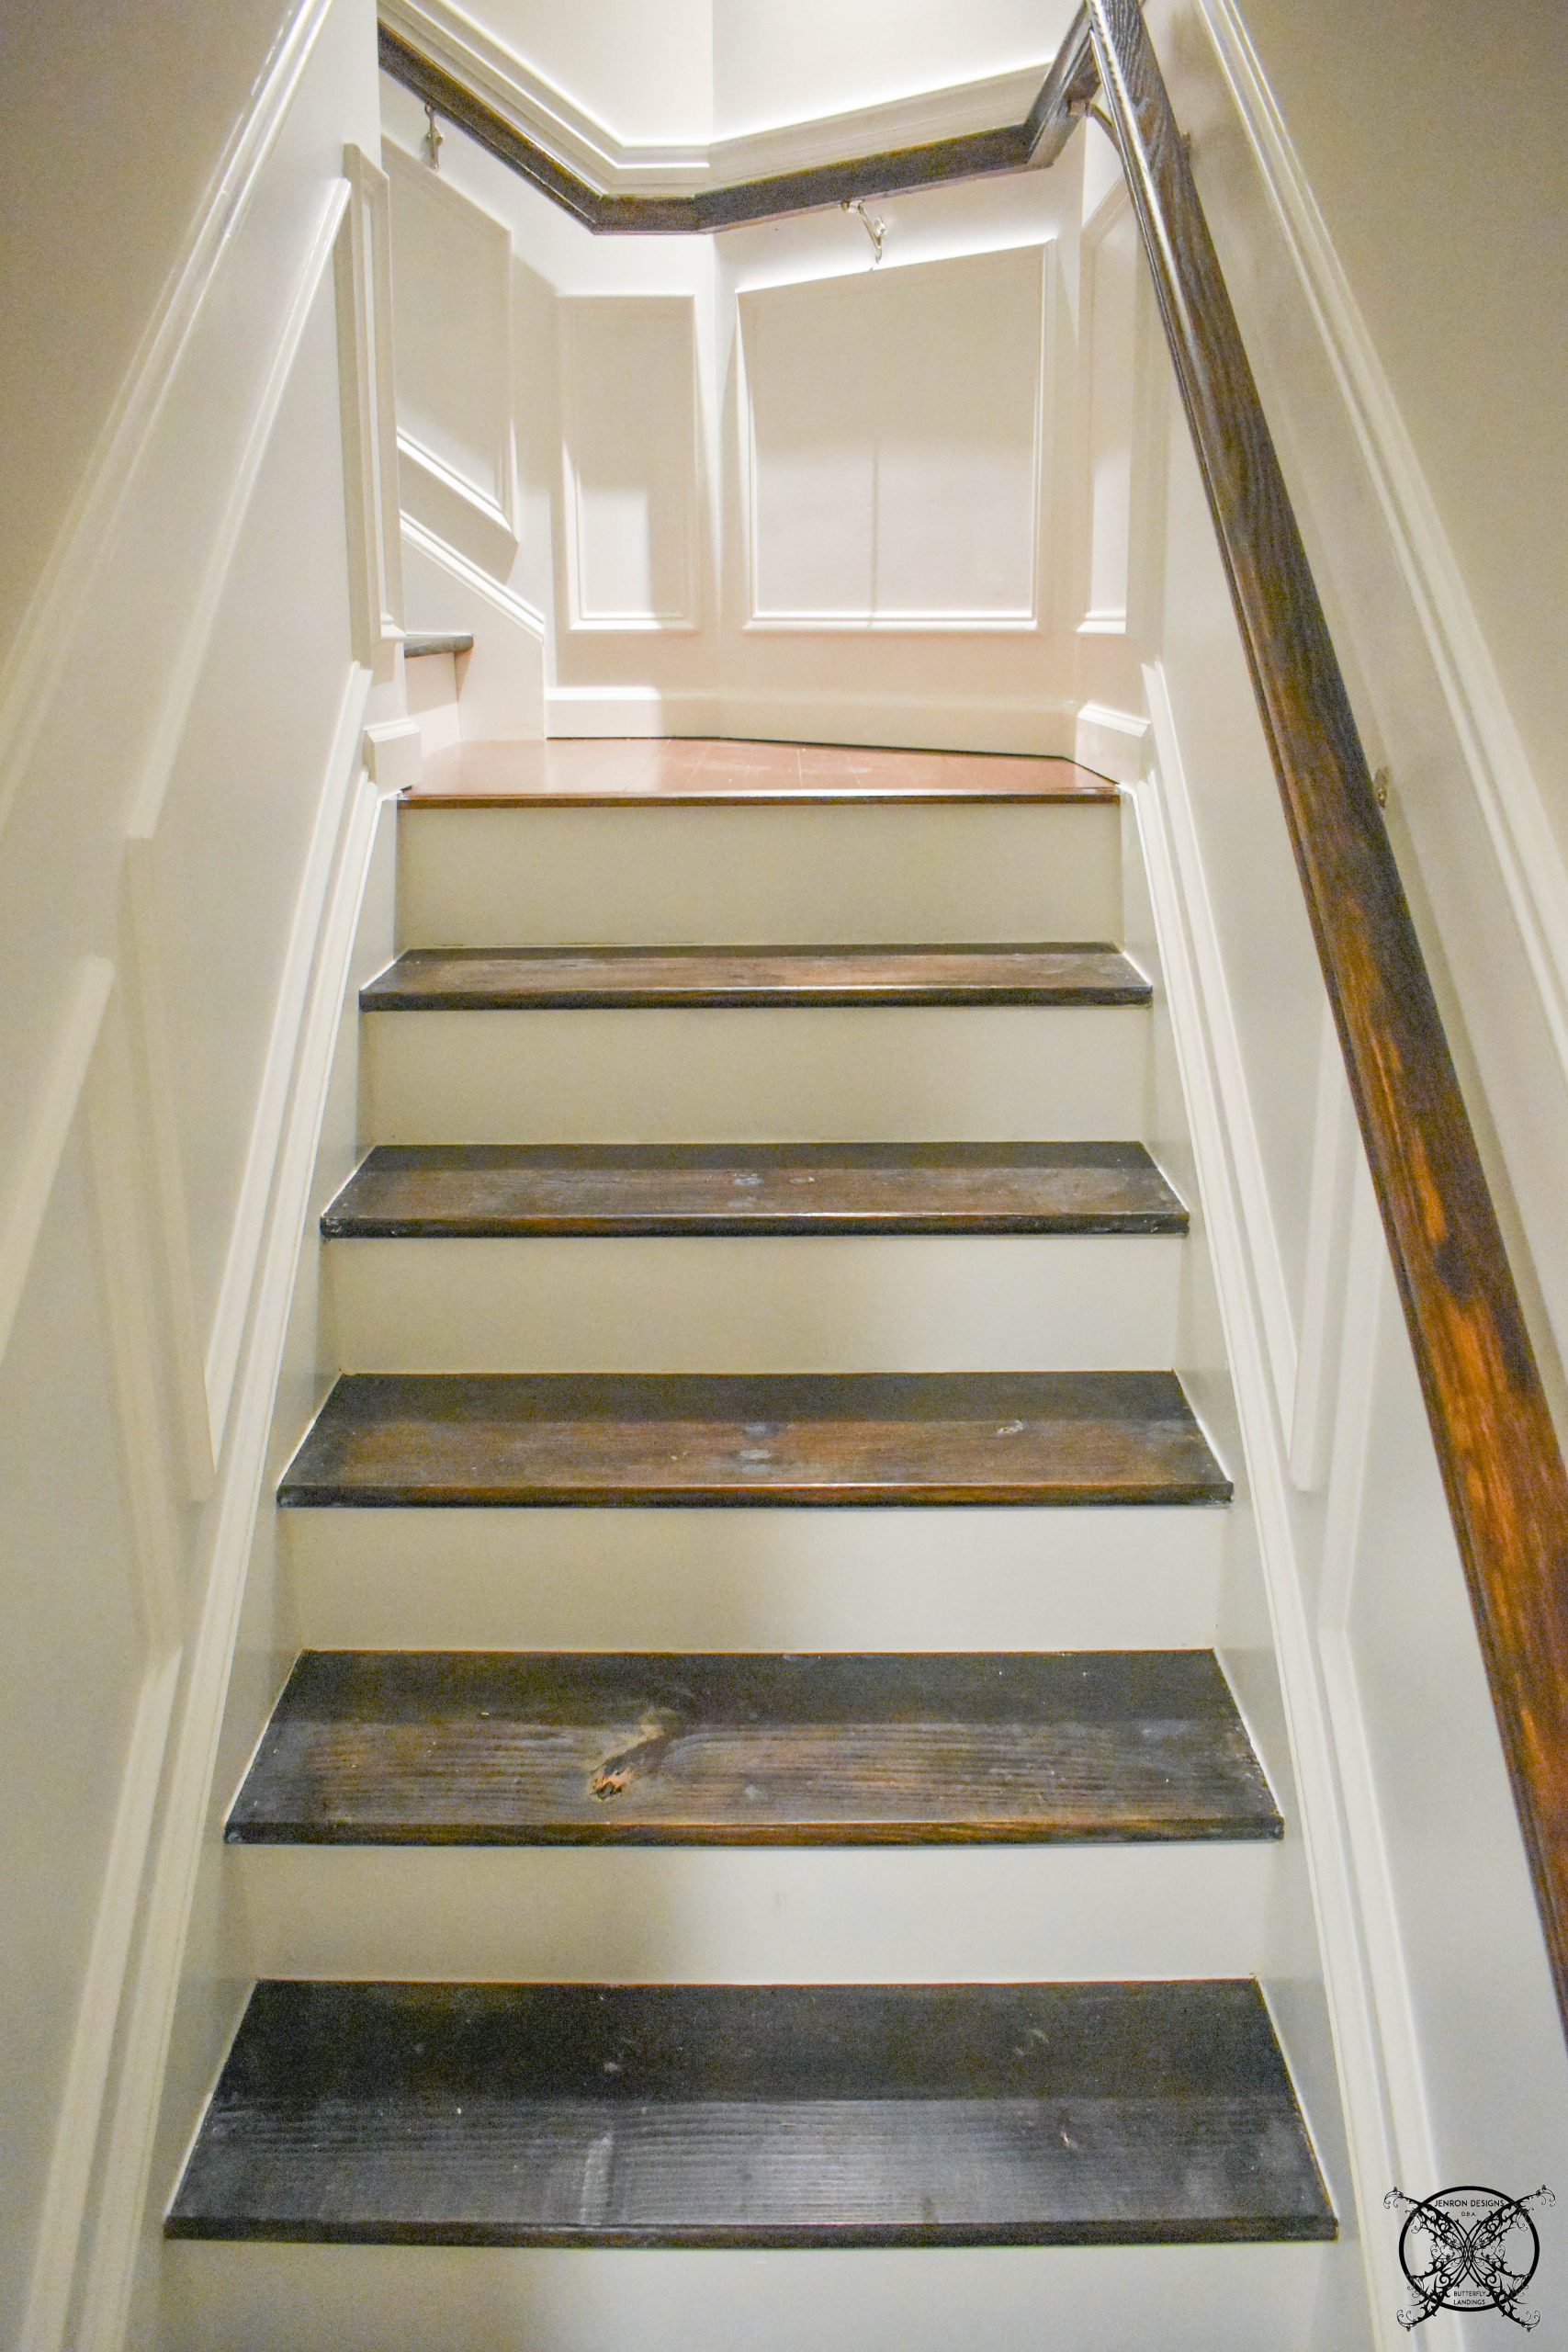
This week we are so excited to be adding the final piece of the puzzle which is the hardwood floor landing. We are currently in last DIY week of the $100 Room Challenge: Basement Landing Wood Floor. So this is our before look at the landing and the steps we have been working on the last few weeks and where we started and how far we have come.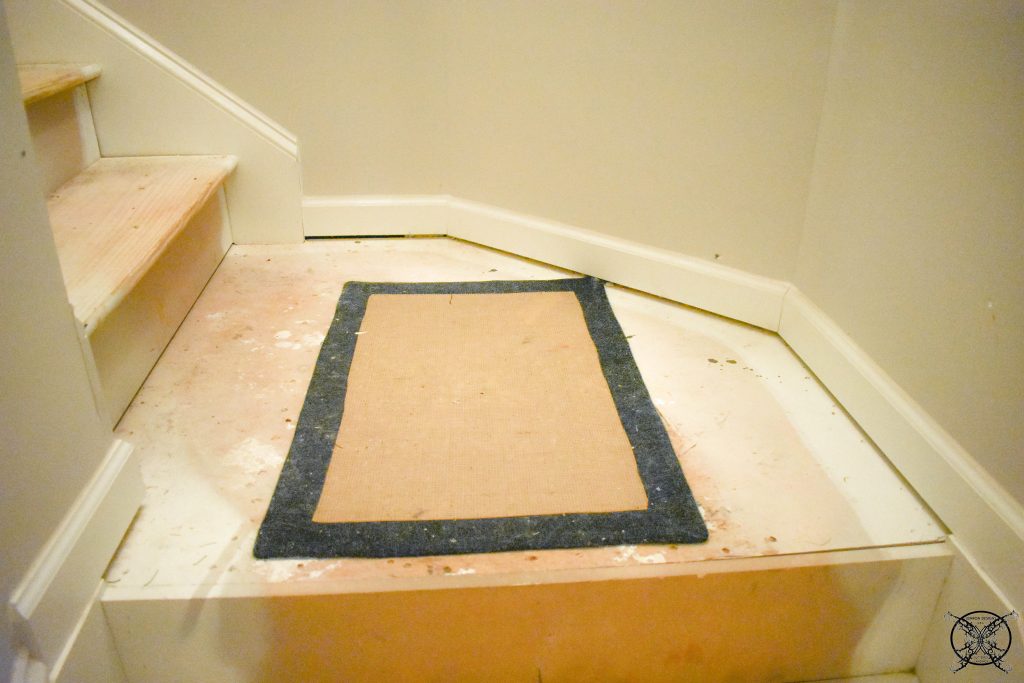
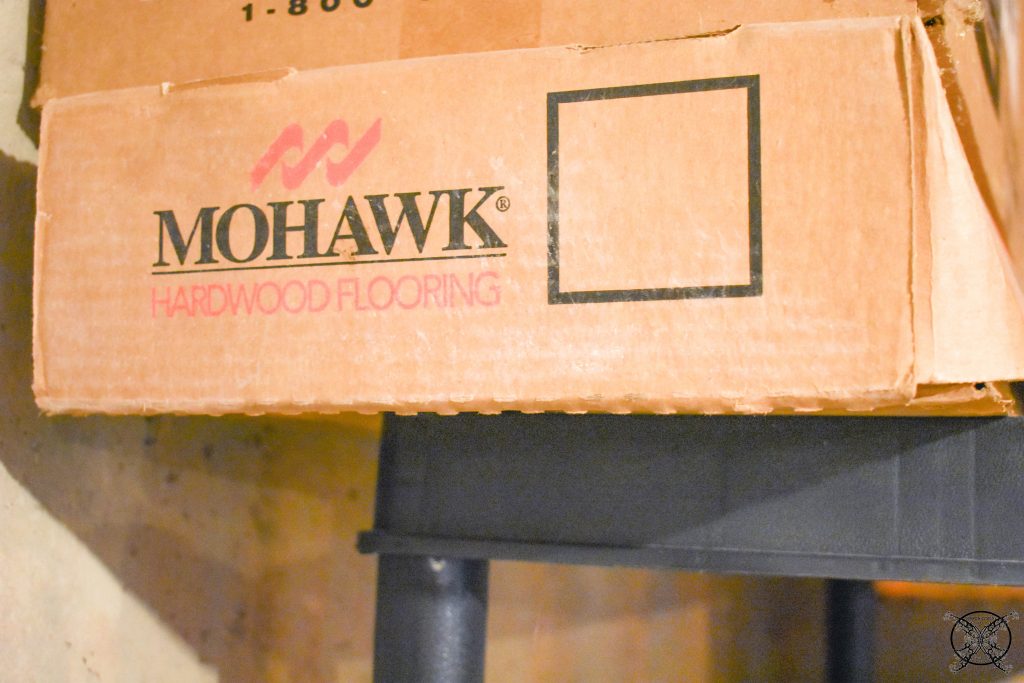
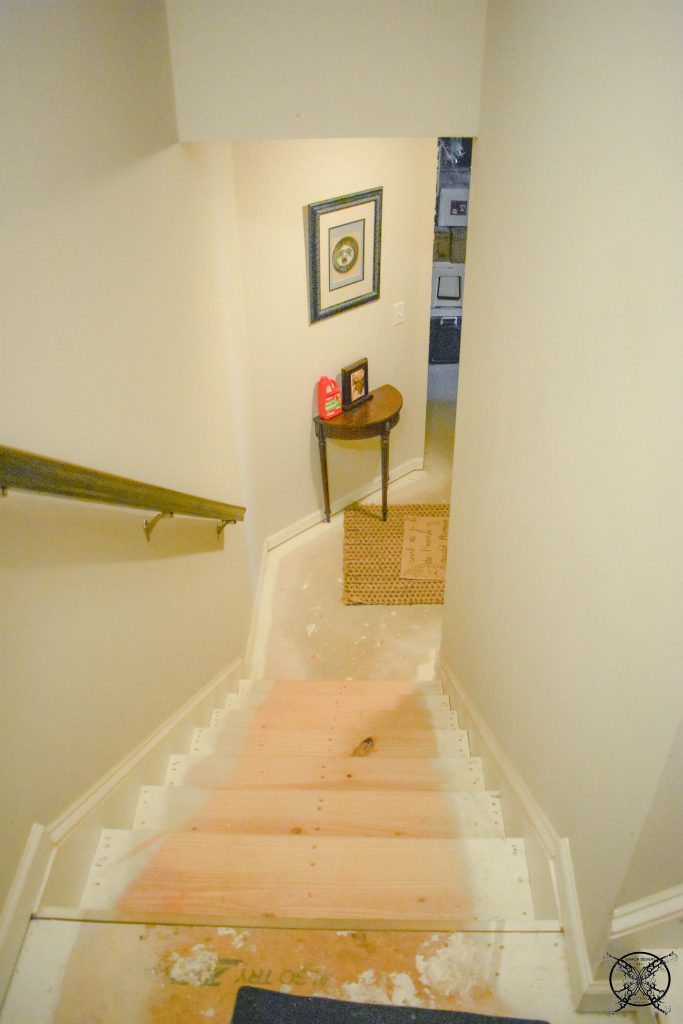 This week we added about a half box of hardwood flooring that was left in our attic by our builder as extra replacement pieces. Since we have 3 boxes total we figured using the small amount to do the landing for this staircase would be okay and we would still have plenty incase we need to do any repairs, plus it is free wood floor.
 I knew the color would not be an exact match to the pine wood steps which did take the stain a bit darker than the oak steps upstairs, even though I did use the exact same colors that are in the rest of of my home, to continue the continuity of the home and the existing finishes. Especially since you can see the landing from the family room which is the exact same wood floor. However, you will notice that it does match the existing handrail, which is the exact color of the rest of the trim in my home, so I am fine with the difference in color.
 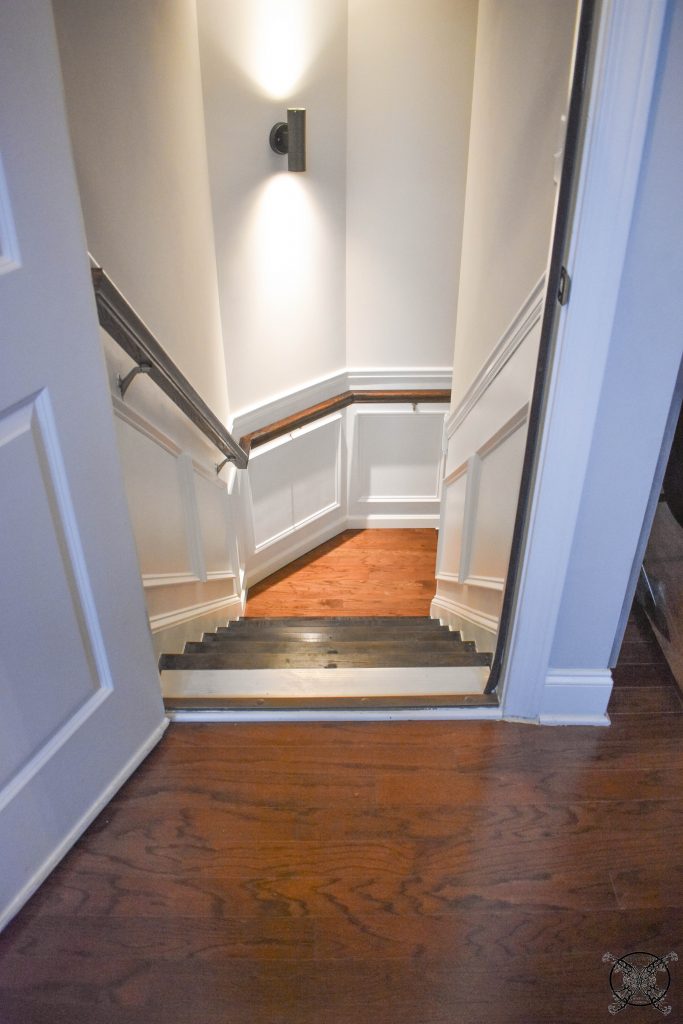 To start this part of the project we determined that since the rest of flooring upstairs runs east to west, that it made sense to keep that run pattern on the landing. Again continuity in the details will make the add on project not seems as if they were added on or even a DIY.
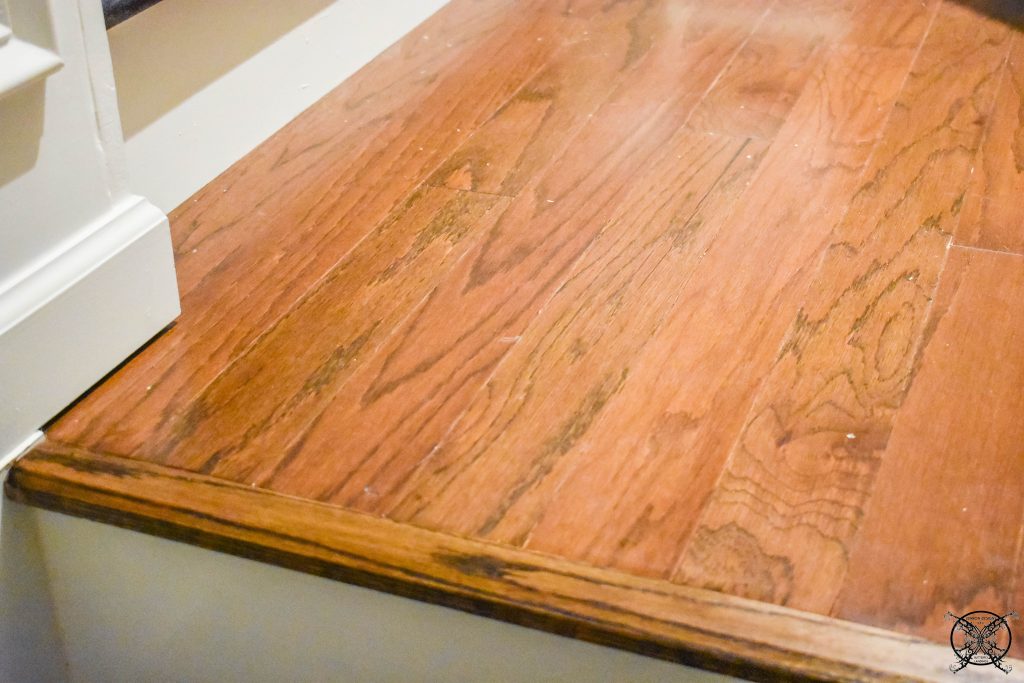
 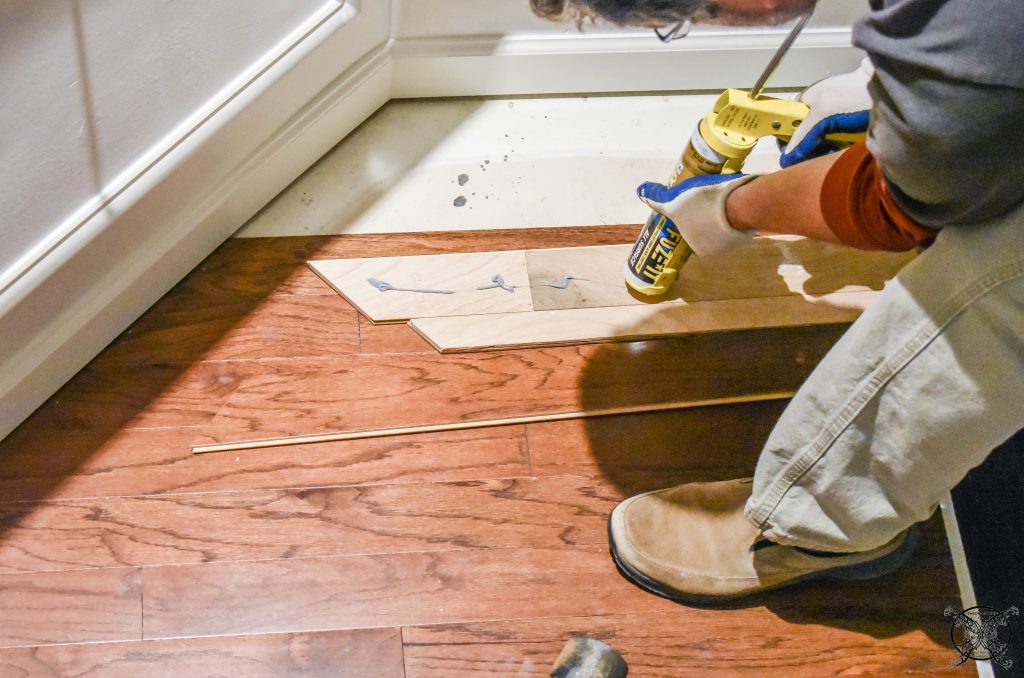 We also needed to make sure we created a lay pattern to the plank runs as well. This was easily done by cutting one single plank where we needed the pattern of the seam to occur and reversing the ends. The one additional piece that we needed to purchase for the this project was the stair tread nosing which we were able to find at Lumber Liquidators for $7.99 in an unfinished stair nosing wood, so I could stain it match the floor and steps with the same Jacobean stain.
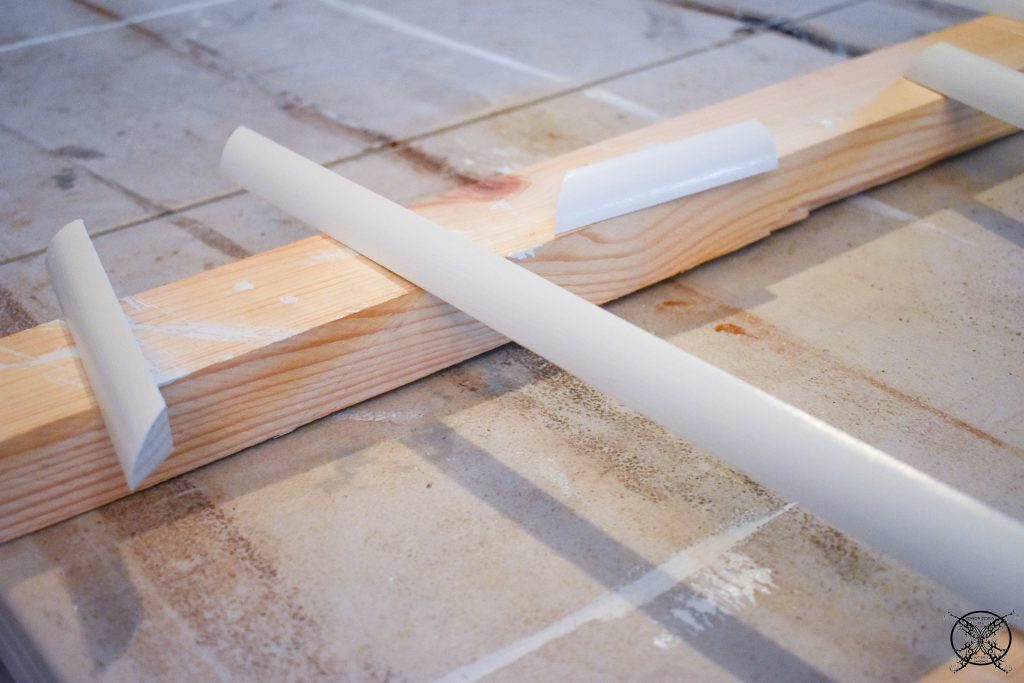
  We realized that the landing did need a small amount of quarter round to complete the edging of the the floor as well. I will say Floor & Decor had the best price on primed quarter round at 61 cents for 16 feet. We had to go get those last minute pieces, so you will not be able to see the the quarter round installation until the final reveal next week.
 However as a tip we did pre-cut and pre-paint those pieces so we would not make a mess on our newly installed flooring. So now we wait for it to dry and we will install it for the reveal next week.
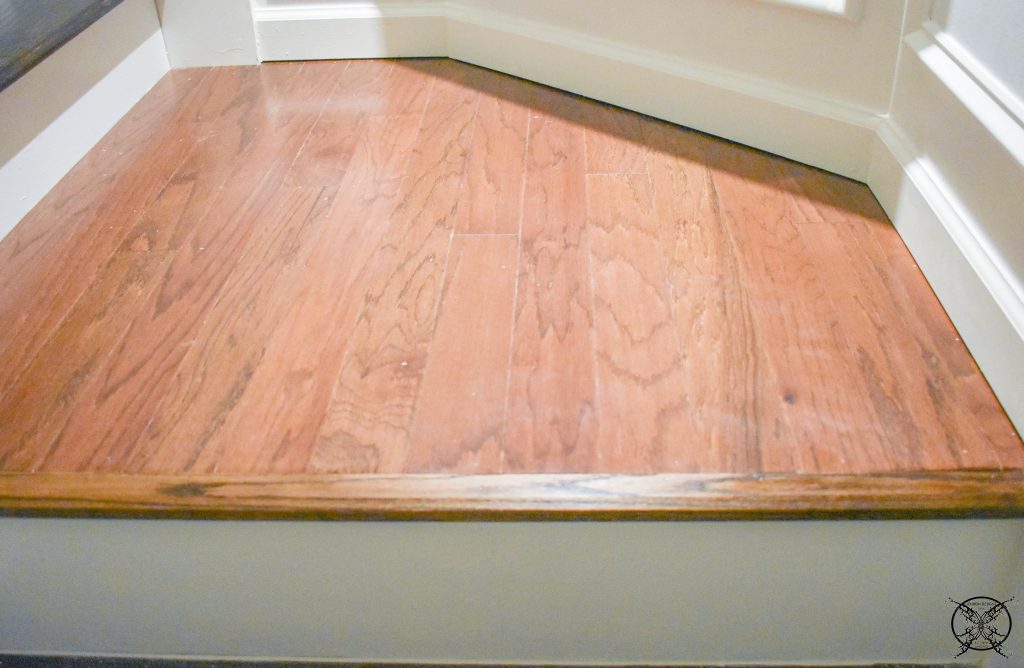
  So this is what the landing now looks like to finish off this hallway. I can not wait until the reveal, I have a few little staging things I have shopped from my home that I need to add in, and of course the final cleaning of the steps. Plus the final piece of quarter round is going to make the landing look finished.
  The Proposed Schedule:
Week 1: The Plan
Week 2: Clean/Prep Steps Remove Over Spray Paint, Sand Treads, Putty Nail Holes/ Stain to Match upstairs steps
Week 3: Wainscot Chair Rail & Re Paint/ Touch up Walls, Add New Light (fixtures we already own, gathering dust for 3 years for another project)
Week 4: Install matching Hardwood on Landing (Leftover boxes found in attic from Building) Maybe Add Artwork?
Week 5: REVEAL
BUDGET:
Week 1: $0
Week 2: $3.68 Stainable Wood Putty
Week 3: 8- 8′ Chair Rail Pieces $7.02/ea= $56.16, 4- 8′ Wainscot Trim $6.84/ea= $27.36
Week 4: Stair Nosing $7.99, Liquid Nails Construction Adhesive $2.48 Quarter Round $1.22
THIS WEEK’S TOTAL: $ 11.69
PROJECT TOTAL: $98.89 Whew, and I Think I Am DONE!

This is so good! I have to go shop my home this week also. I am looking forward to your reveal. They never disappoint.
That is impressive all under 100.00 Great job with your challenge! It looks amazing.
I cannot tell you how much I love the stairs, walls – well everything. It looks fabulous!
Wow, that is so professional looking and you have given us so many ideas on an area that I think many of us overlook. Love the tips about the direction of the flooring. I would never have thought of that one.
It looks so great Jen. I can’t wait to see it with all of your beautiful touches that I know we will see. Great makeover!
These challenges are always so impressive! I’ve obsessed.
The transformation is stunning. Congratulations on all your hard work!
This is so lovely. To think that the whole thing wasn’t up to 100 dollars. Great job!
Wow I need to go to Floor and Decor because that is an amazing price for quarter round!!! Can’t wait to see it all come together next week – it’s looking amazing.
I love following this $100 room challenge! Your stairs are beautiful. I cant believe you are making it look this amazing for so little.
I love the stairs, the walls; everything is beautiful and inviting. How I wish I could participate in this challenge.
So many great tips to keep in mind when redoing an area like this. I wouldn’t have thought of most of them. Great job for under $100!
This is sooo good, and fits in just perfectly by matching that flooring.
Thank you so much for the shout out!