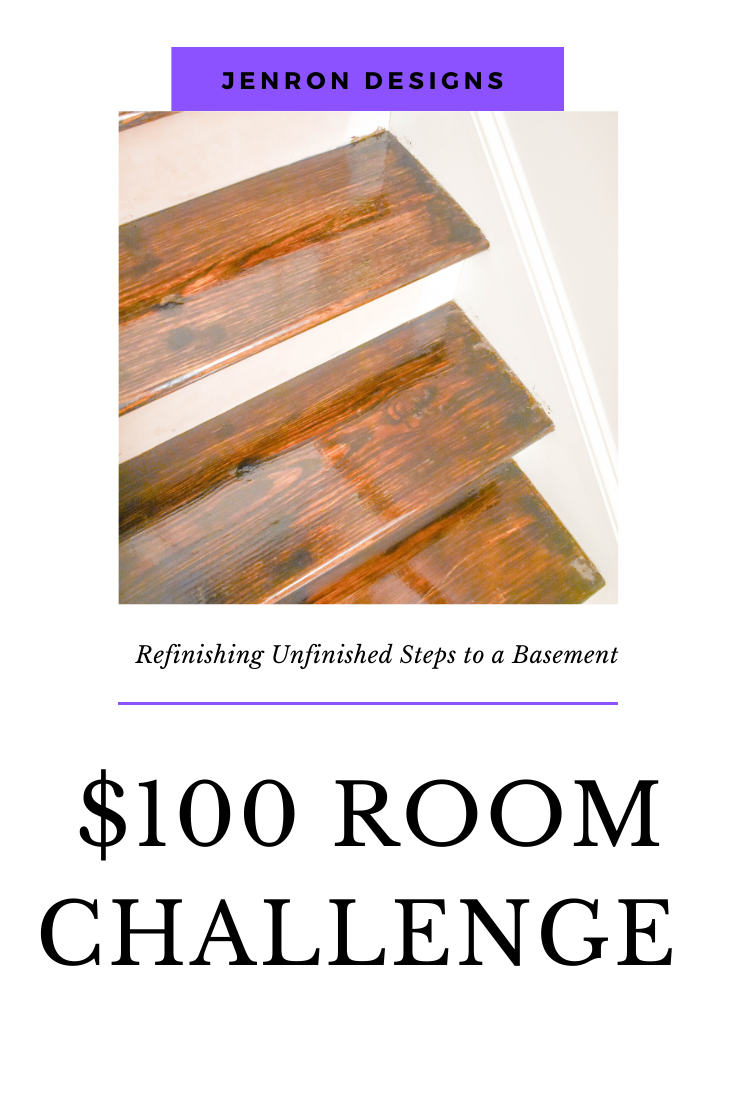
$100 Room Challenge: Basement Step Prep
Welcome to week 2 of the $100 Room Challenge: Basement Step Prep.
Welcome to week 2 of the $100 Room Challenge: Basement Step Prep. If this is your first time seeing the $100 Room Challenge, let me give you some background, it is a bi-annual challenge sponsored by my friend Erin, from Lemons, Lavender, & Laundry. What is the $100 Room Challenge all about? This challenge takes place twice a year, January and September. Erin invites us to redo a room in our home using a budget of only $100. As you can see the premise of this challenge is real simple: one month, one space, and $100. If you want to know more about the $100 Room Challenge, check out Erin’s post to see how the concept was inspired, and it’s colossal growth since she decided to start it!
Weeks at a Glance:
WEEK 1 WEEK 2 WEEK 3 WEEK 4 REVEAL

This season we are excited to be starting week 2 with $100 Room Challenge: Basement Step Prep and working my way forward into the space. So this is our before look at the steps and staircase to the basement as we start all the prep work to get ready for the transformation of the stair treads. 
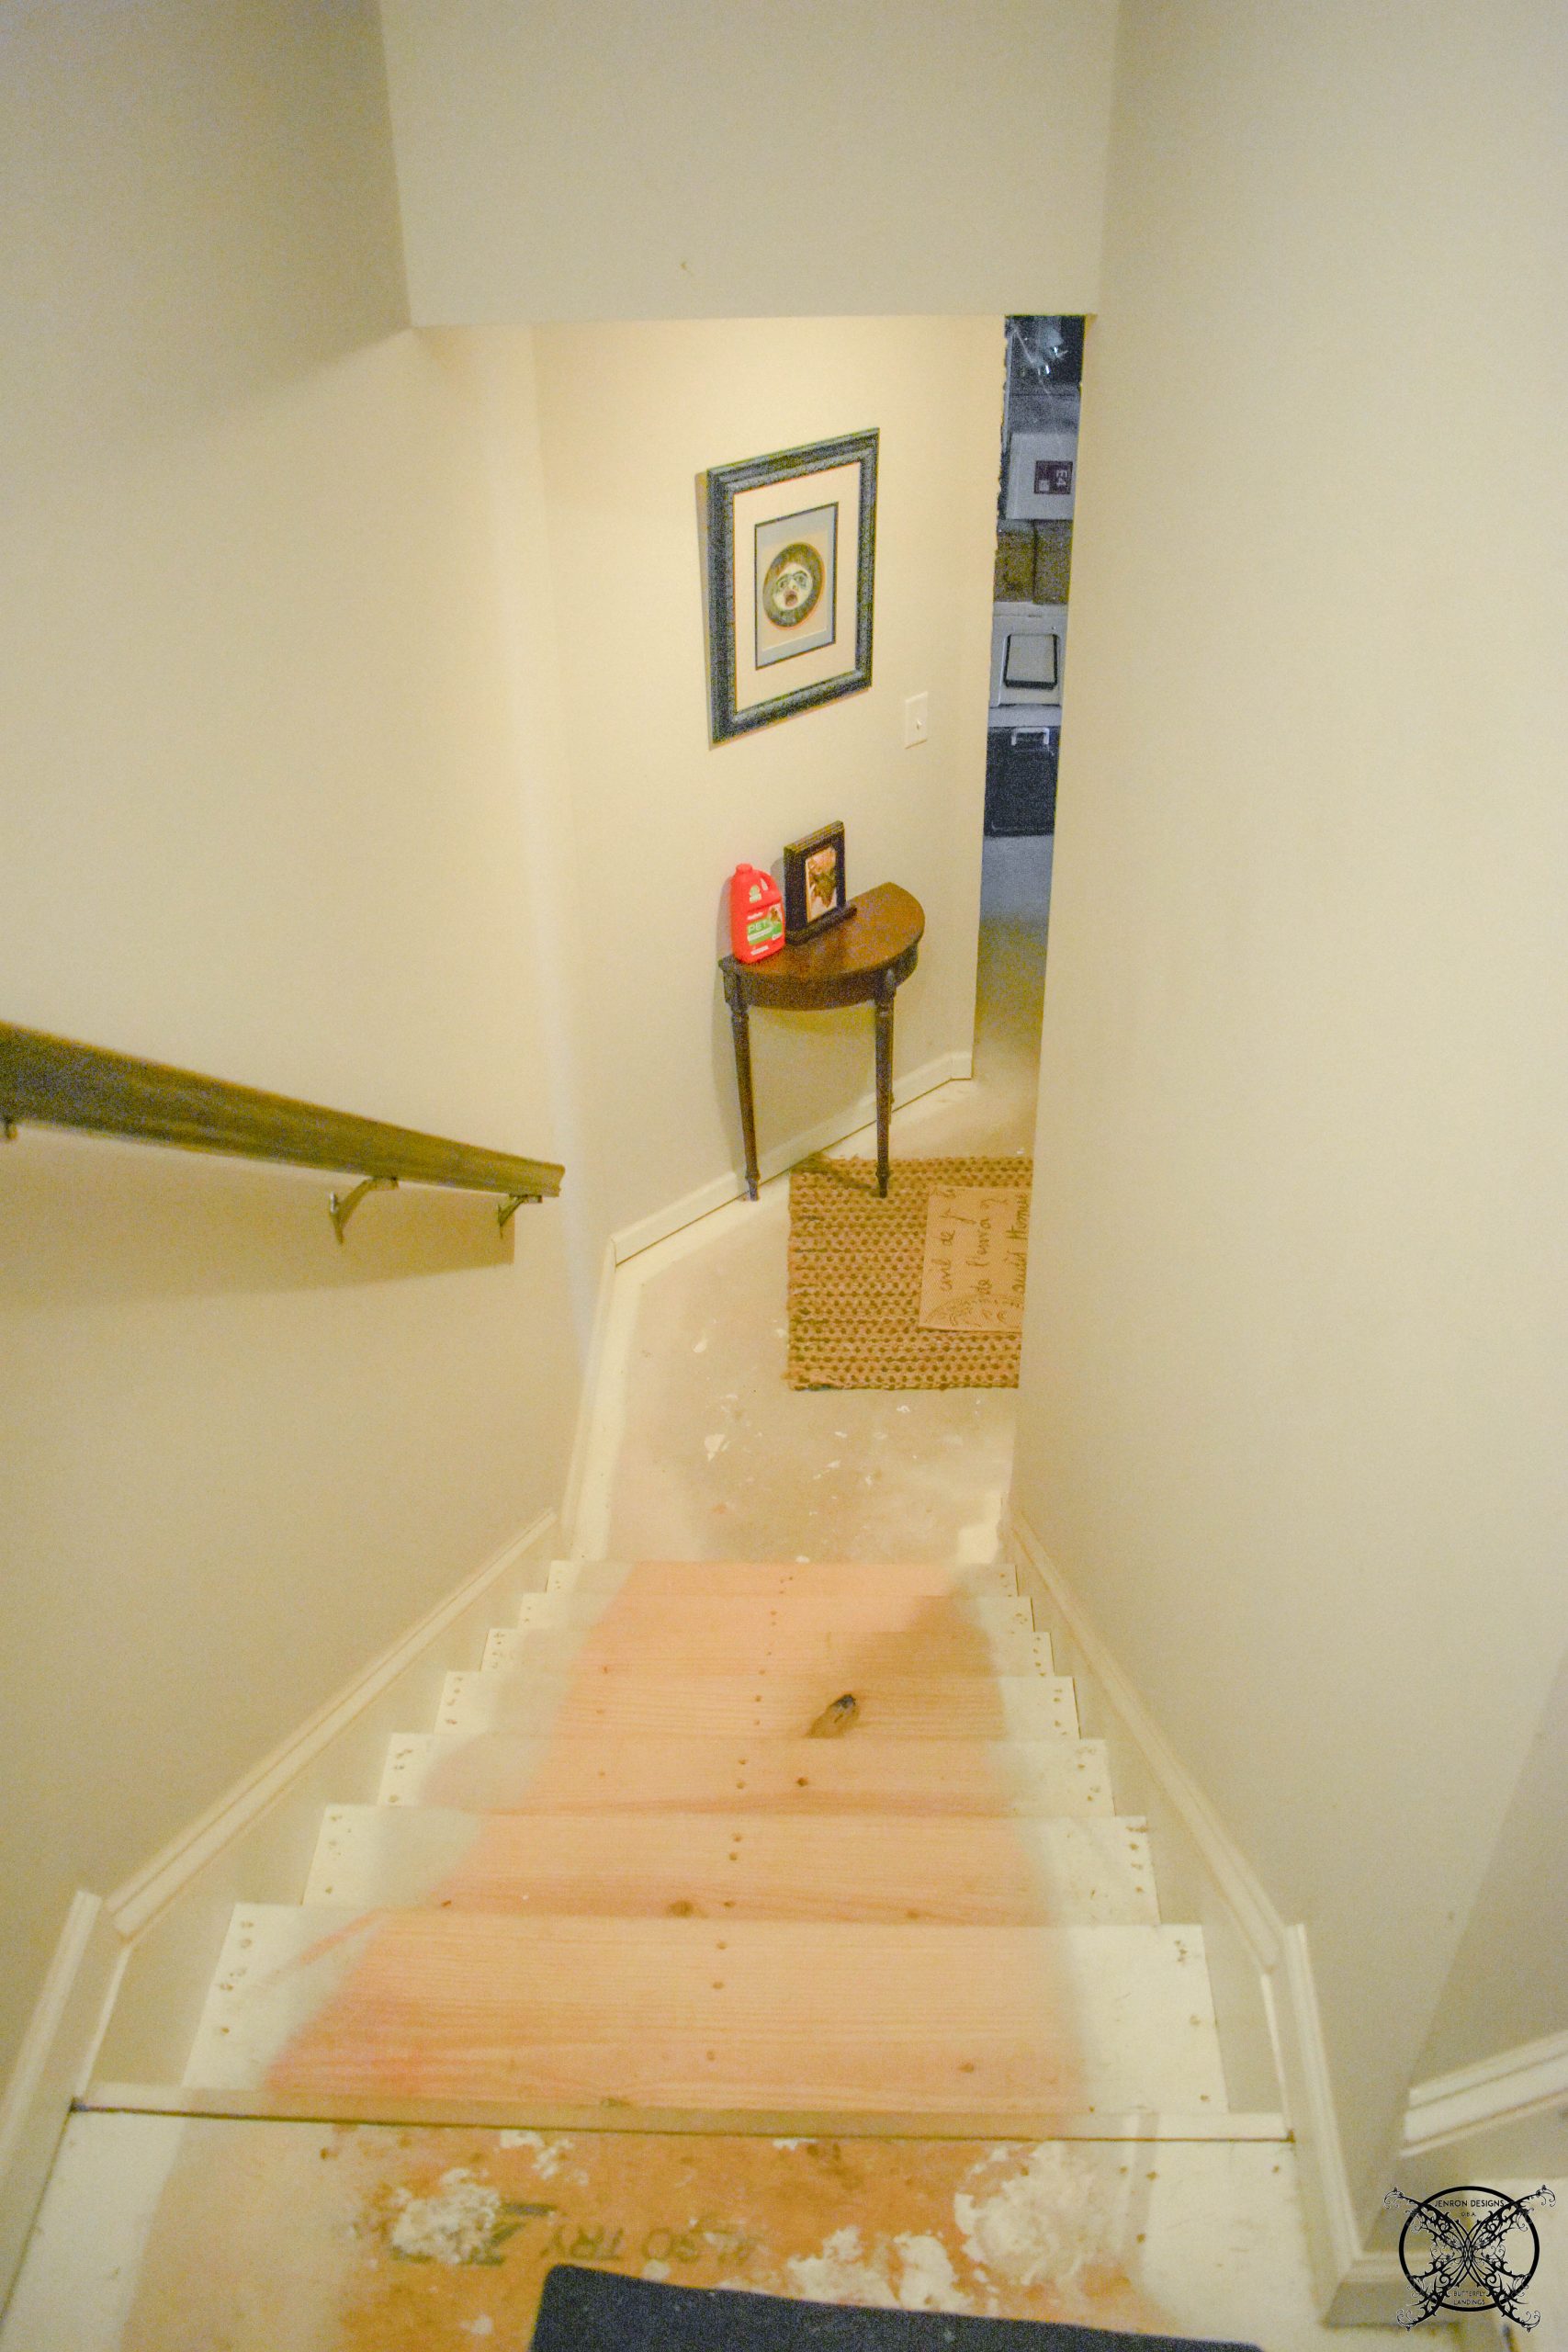 This week we decided to take on the basic sanding and over spray removal of paint, which I will say was more time consuming than it was expensive. Plus in this tight little hallway, I can say this holiday season that i may have endured a bit of a “Goof Off” contact high, and giggling was high on my agenda about half way through this project.
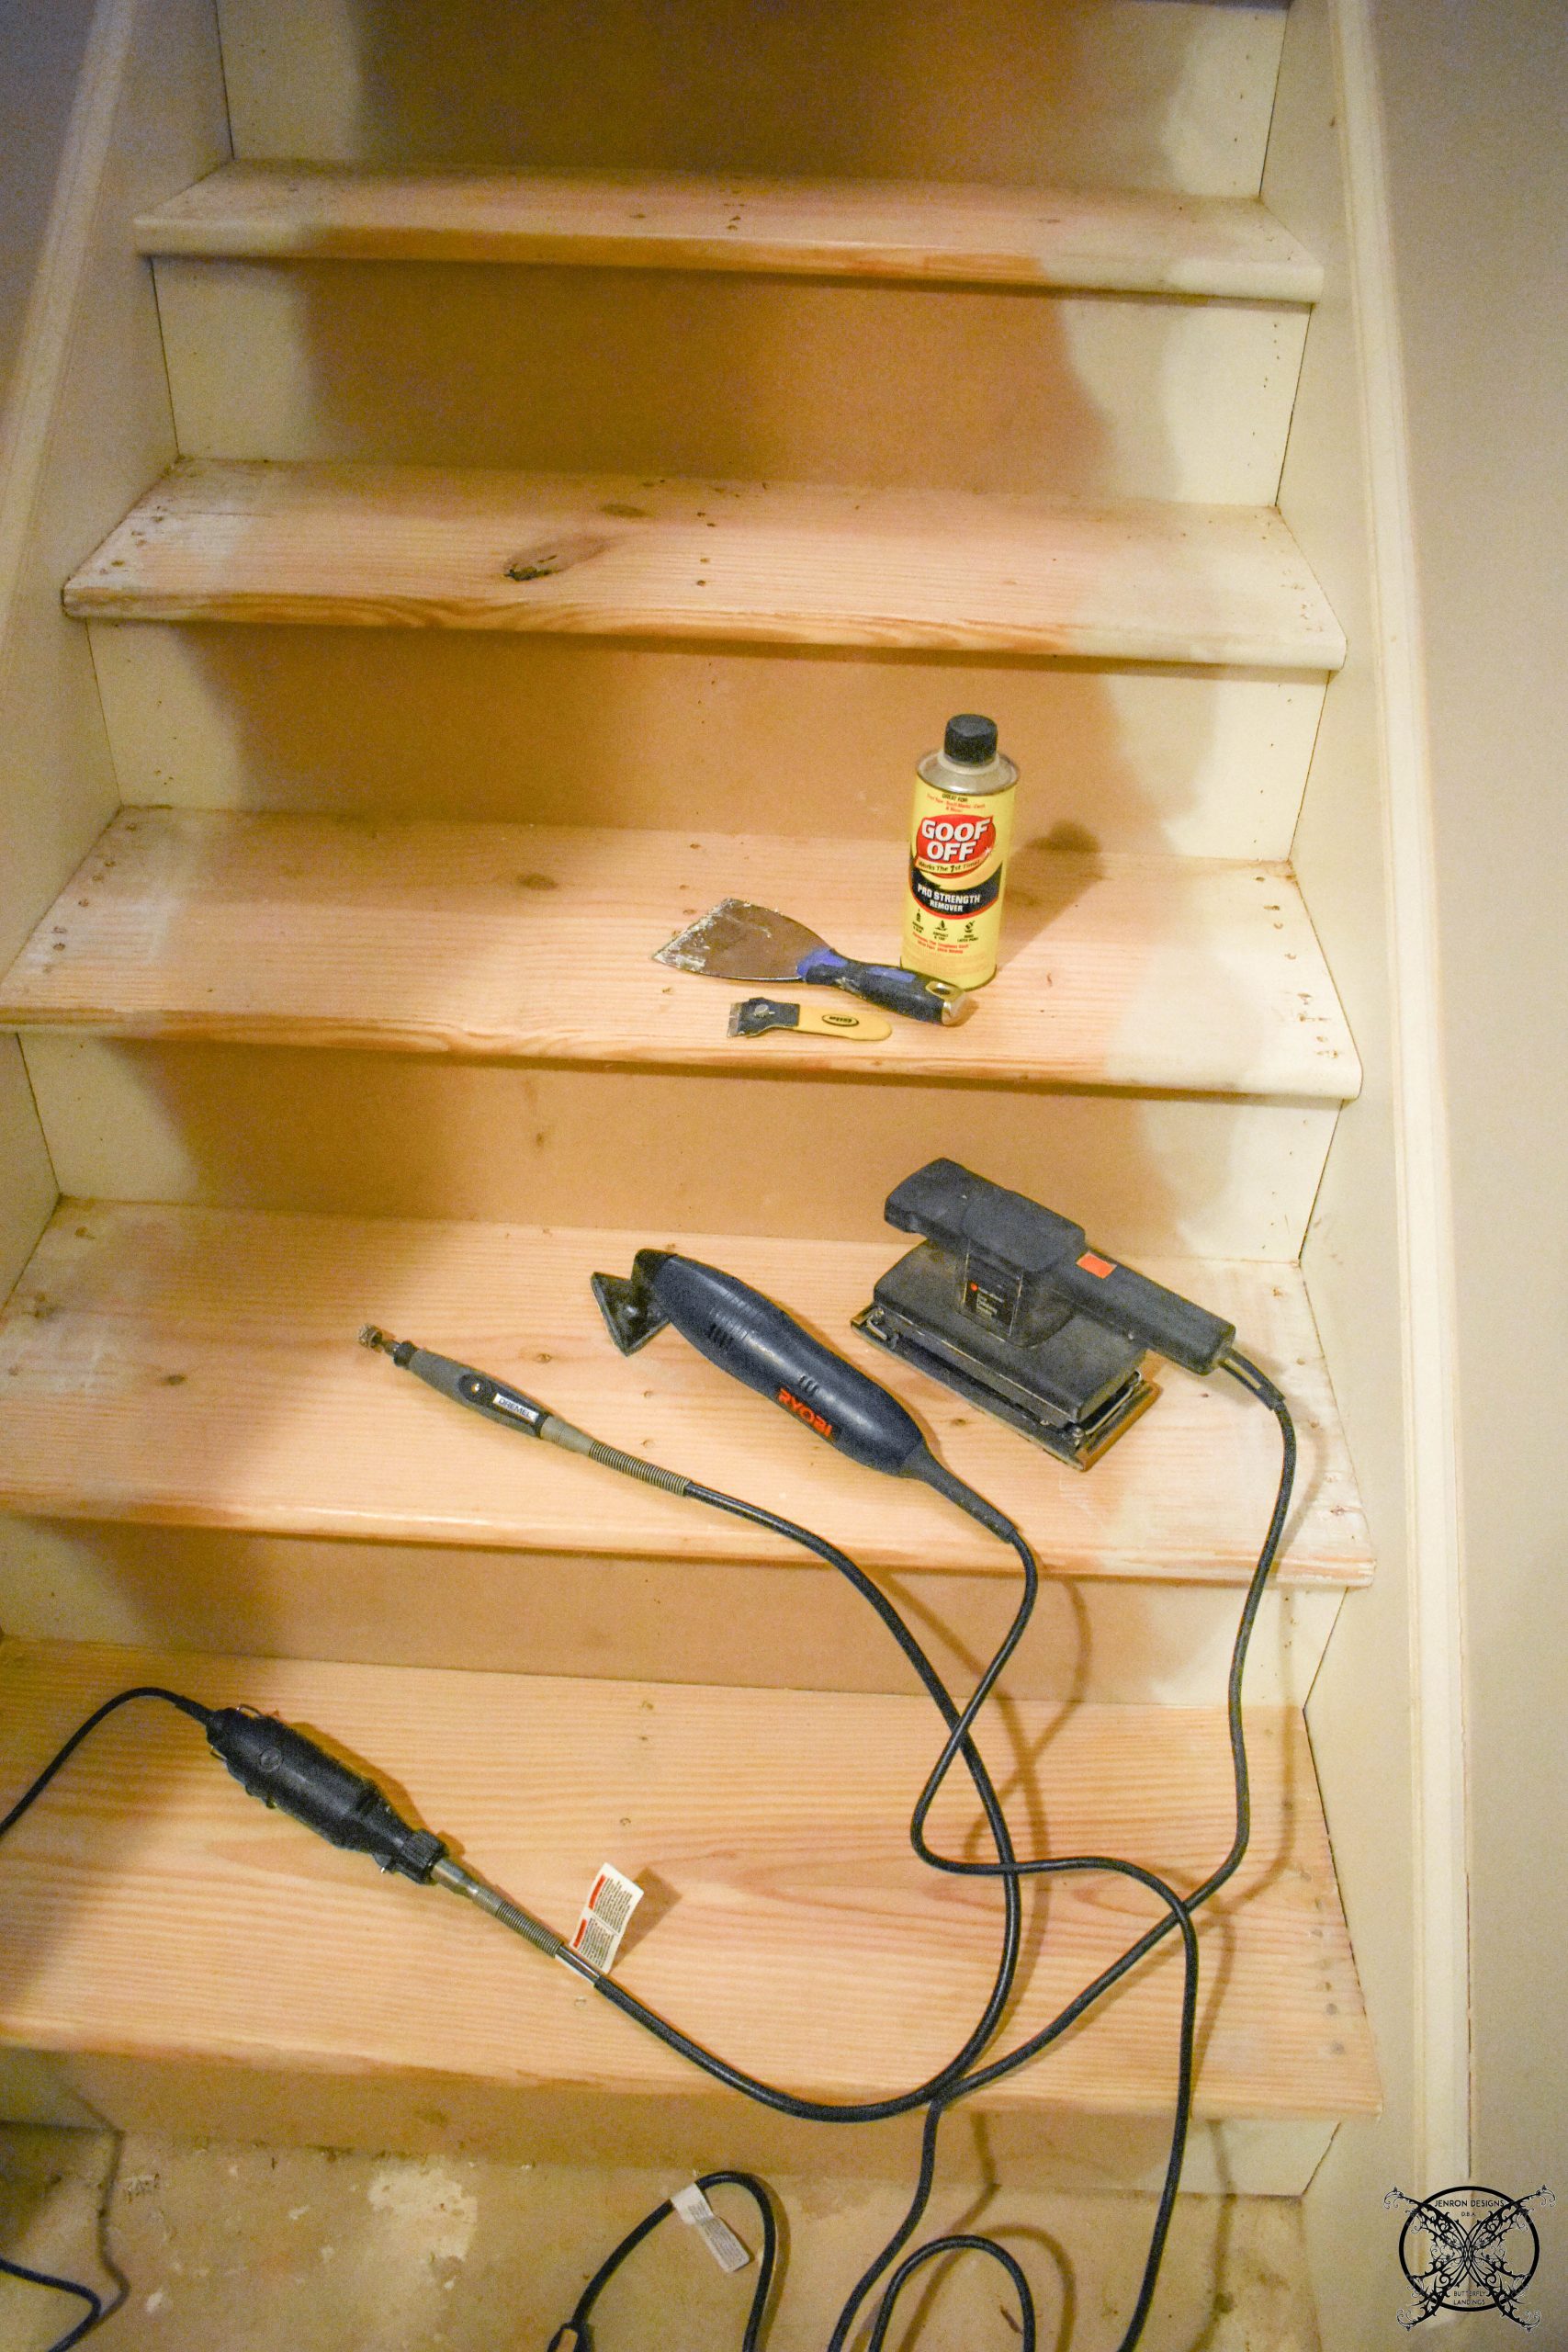 It only took a half a day to to remove the paint and then My husband sanded the the steps and removed the remaining bits of primer or paint with his dremel tool.
 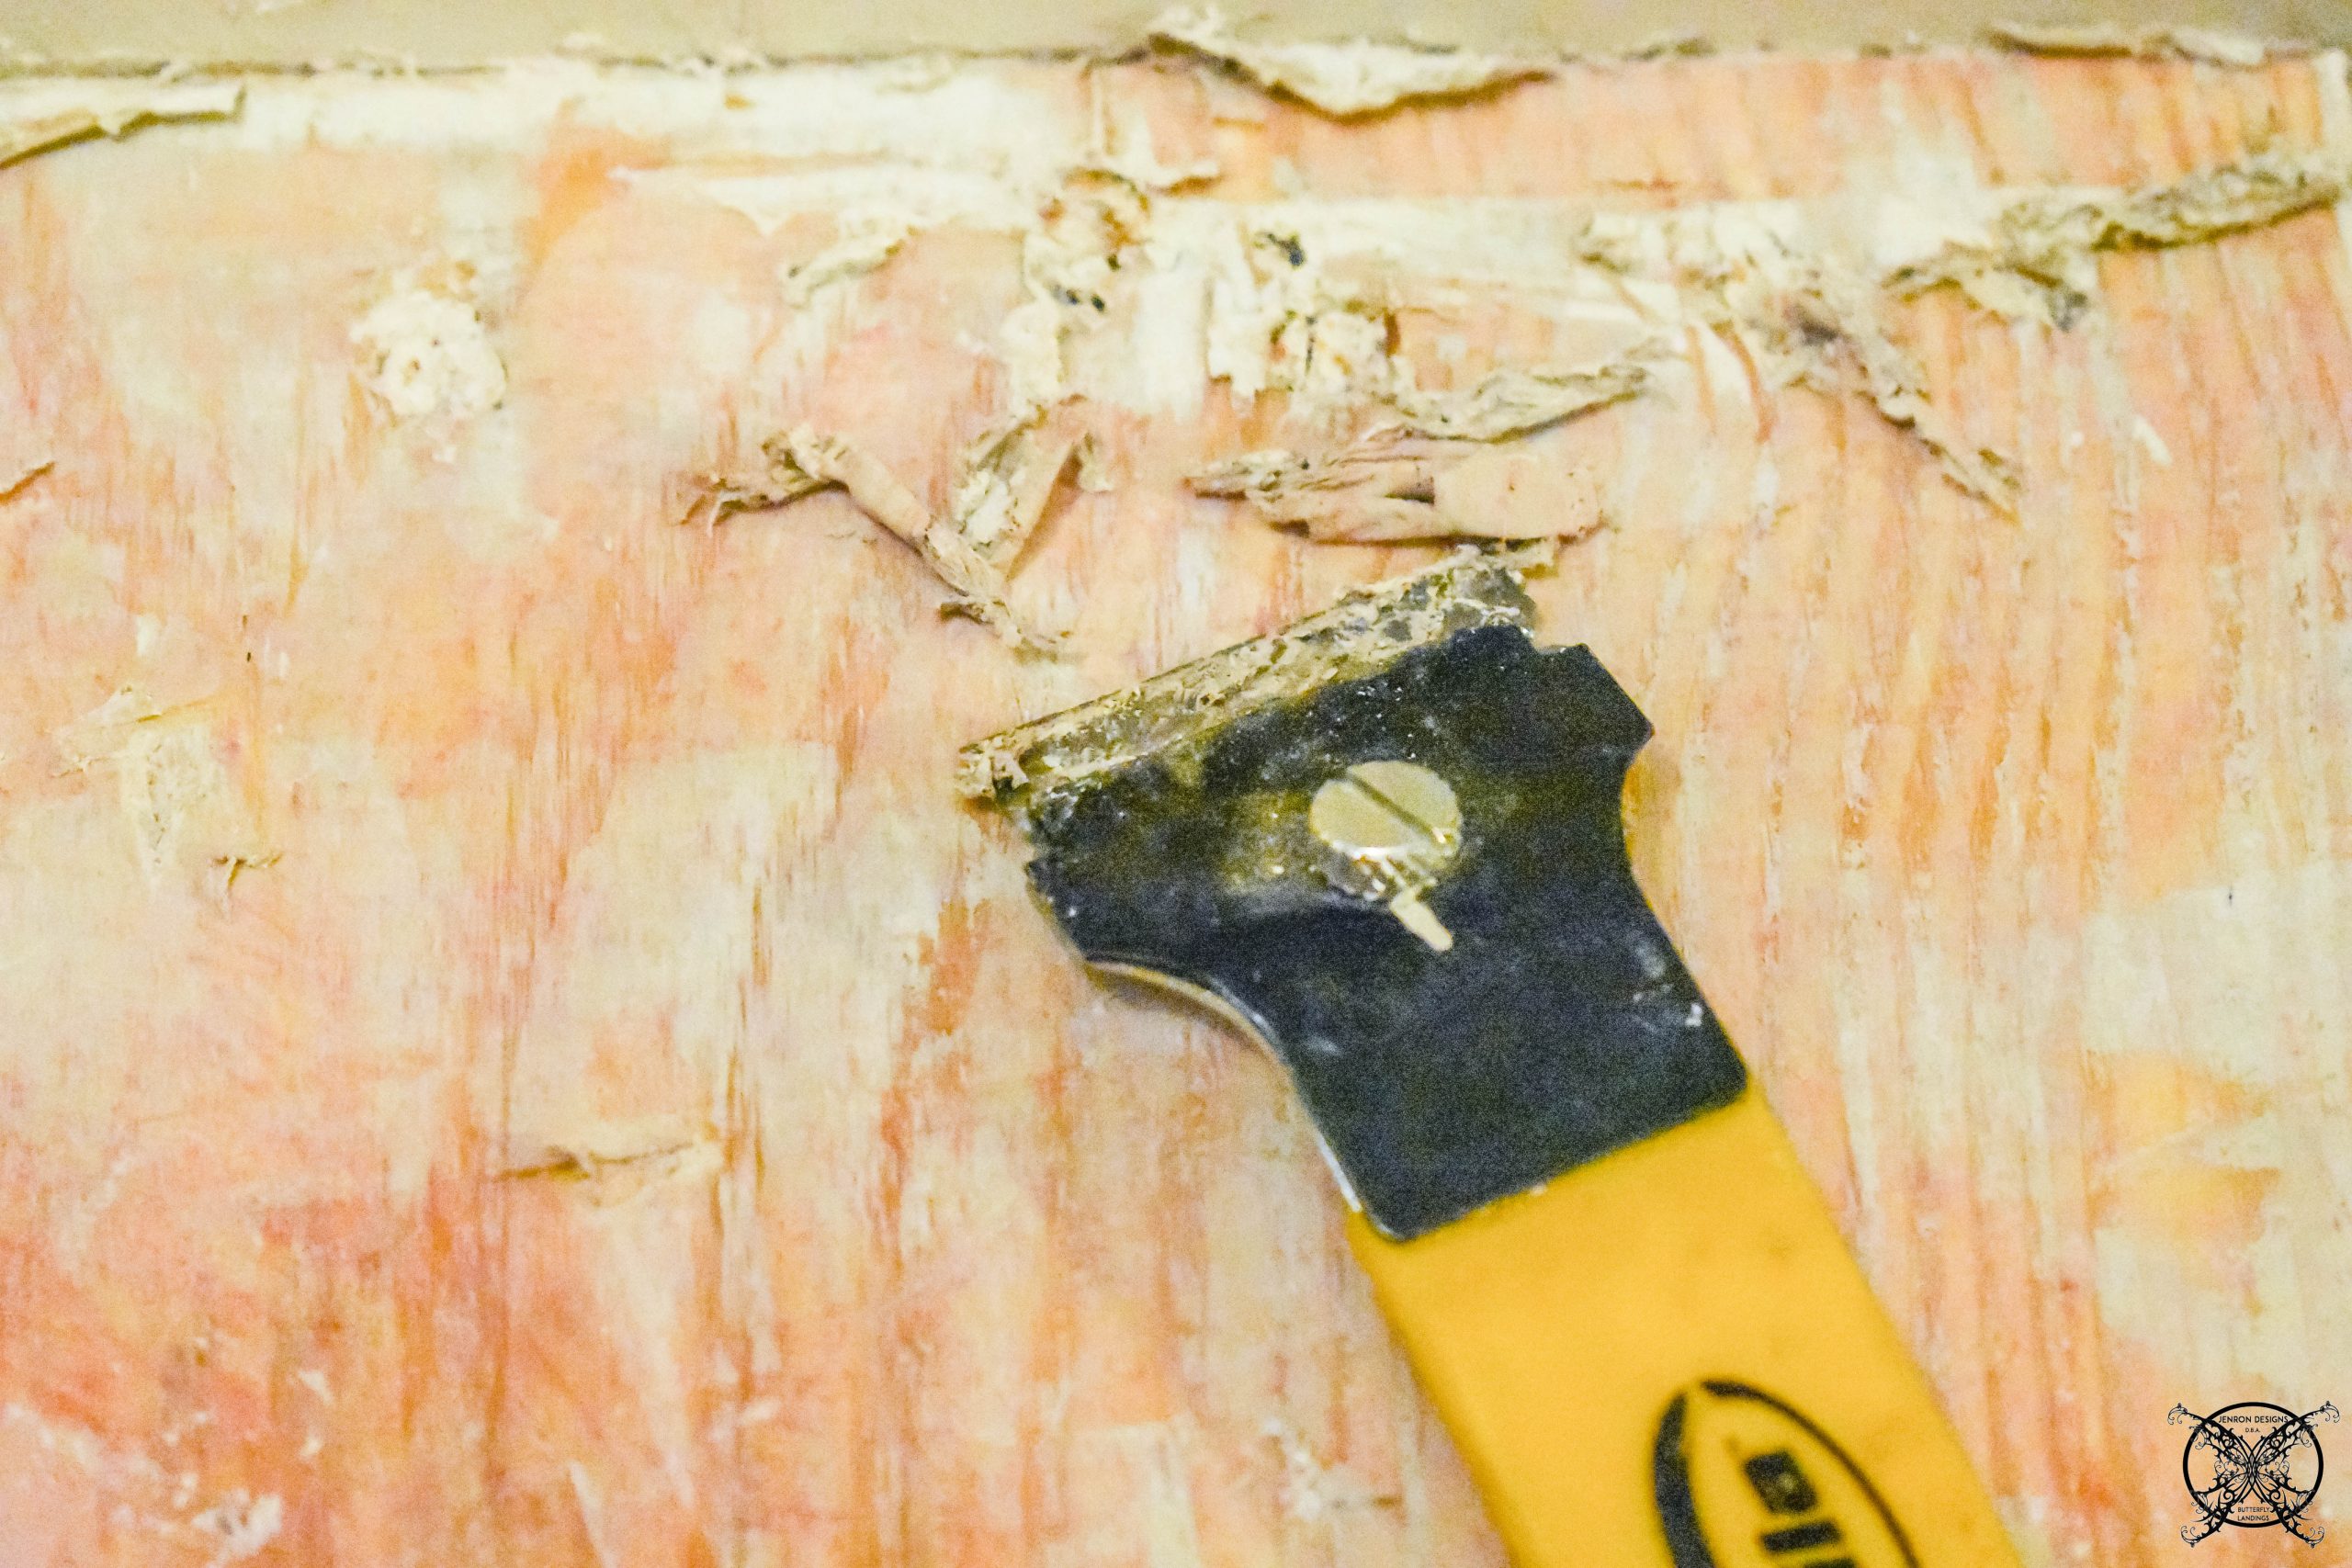 He also needed to grind down a few of of the nails that could not be hammered into the treads due to being nailed incorrectly the first time, which is unfortunate, but fixable.
  Once this part was done we filled all the holes and divots with stainable wood putty on the treads and risers. Then allowed it to set up and cure overnight, so we could sand the putty flush to the treads and stain. The entire prep portion of the project took two days, allowing for drying time between each step.
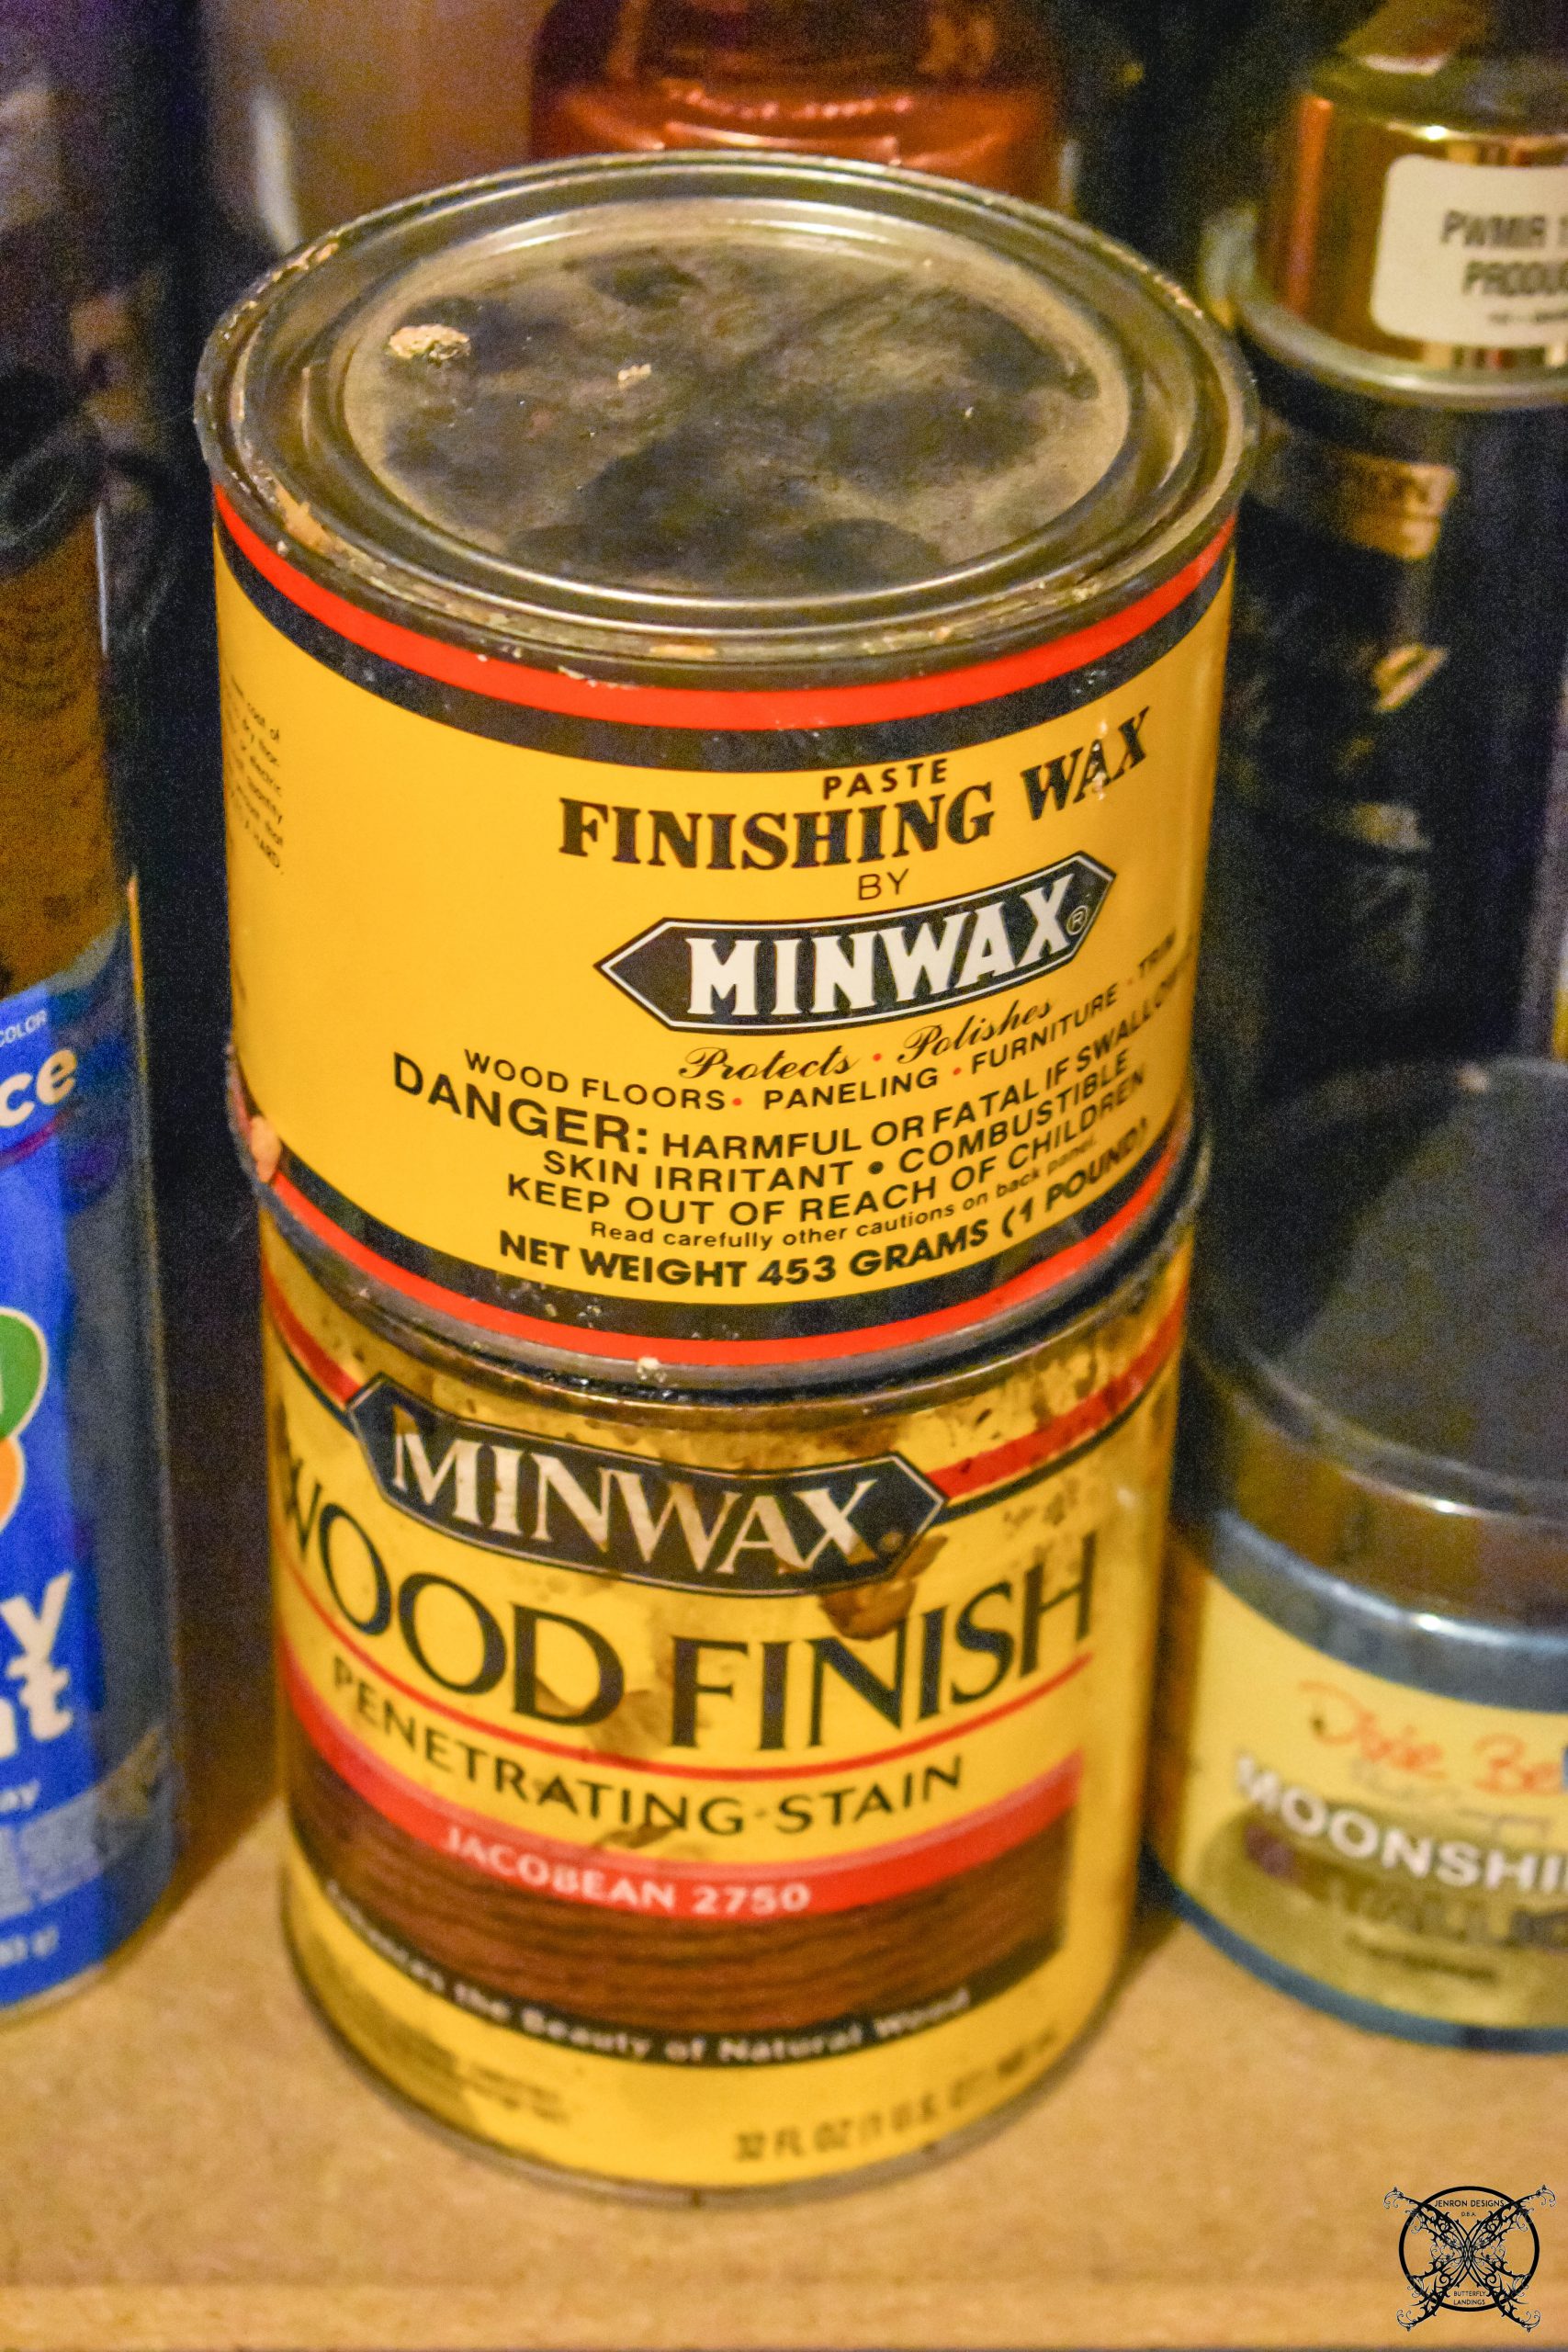
 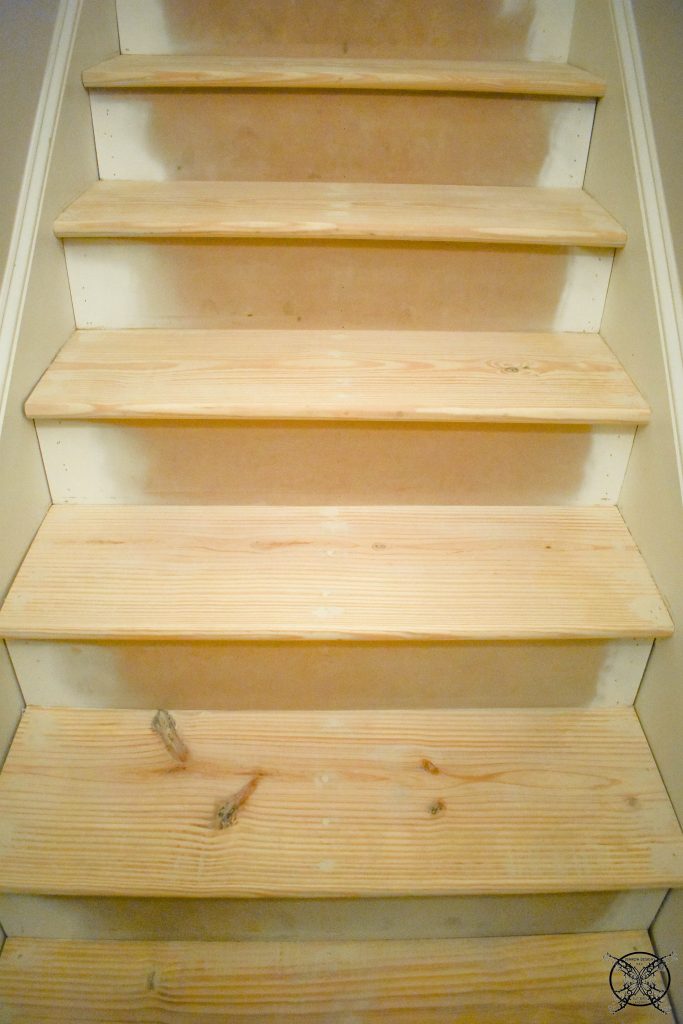 After a good cleaning it was time for me to stain the treads. I wanted the treads to match our steps from the main level to the second level, which are stained with Minwax Jacobean.
 I still have over a half a can of this stain left from touching up our front door over the last few years, since it is just regular maintenance, which is great, no cost.
 I put the stain on thick since these were less expensive pine wood treads. The stain wanted to go on slightly lighter than on the oak wood treads we have on the main floor. However several thin coats will eventually achieve a similar color value, again it is just more time and work.
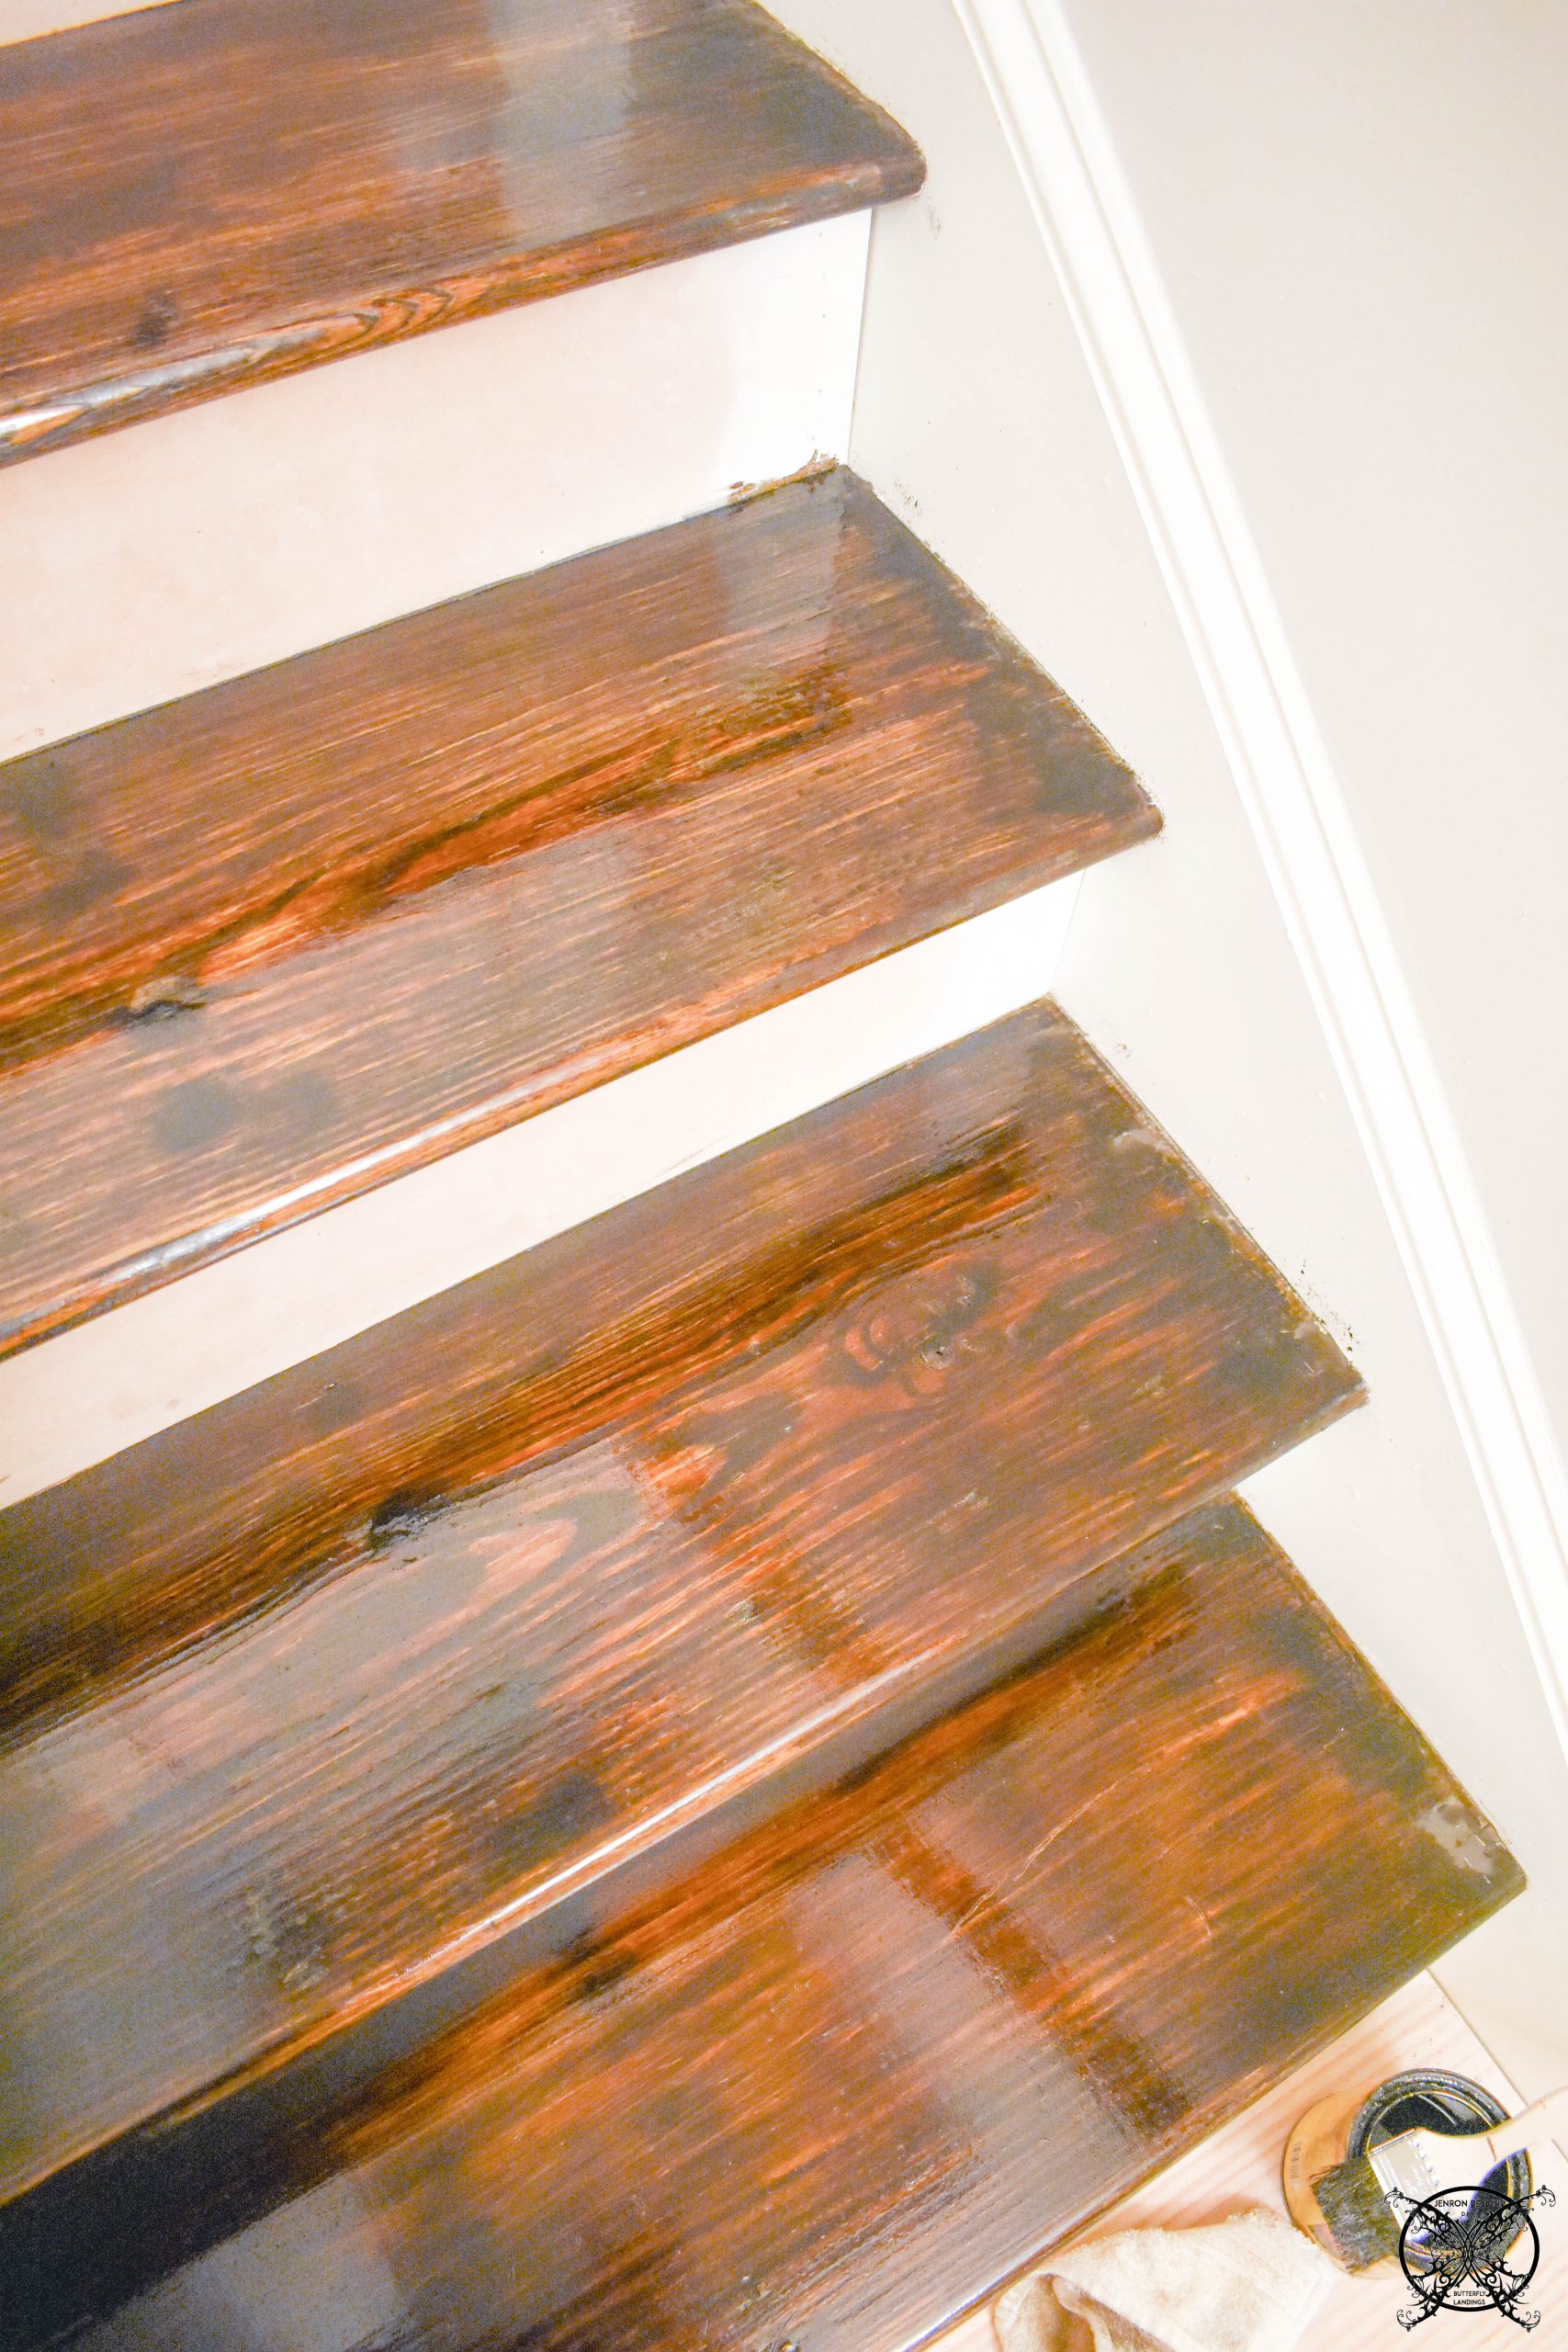 After allowing to completely dry for 48 hours. I used a flooring finishing wax, rather than a polyurethane to coat the steps. I did this because 1. I already had it on hand, but 2. I remembered that was what the flooring guys used on the steps originally upstairs. This is actually why I had it on hand, because I had purchased some several years ago incase I ever needed to do some touch ups, which I never have, because it is that good.
 Designer Tip: A really great tip, is if you site visit while your home is being built and find out what finishes are being used, you can later touch up or replicate the look.
Once the wax had dried, in 15 minutes, we buffed to a nice satin finish shine and where all ready to get the first coat of white trim paint onto the back risers of the steps. 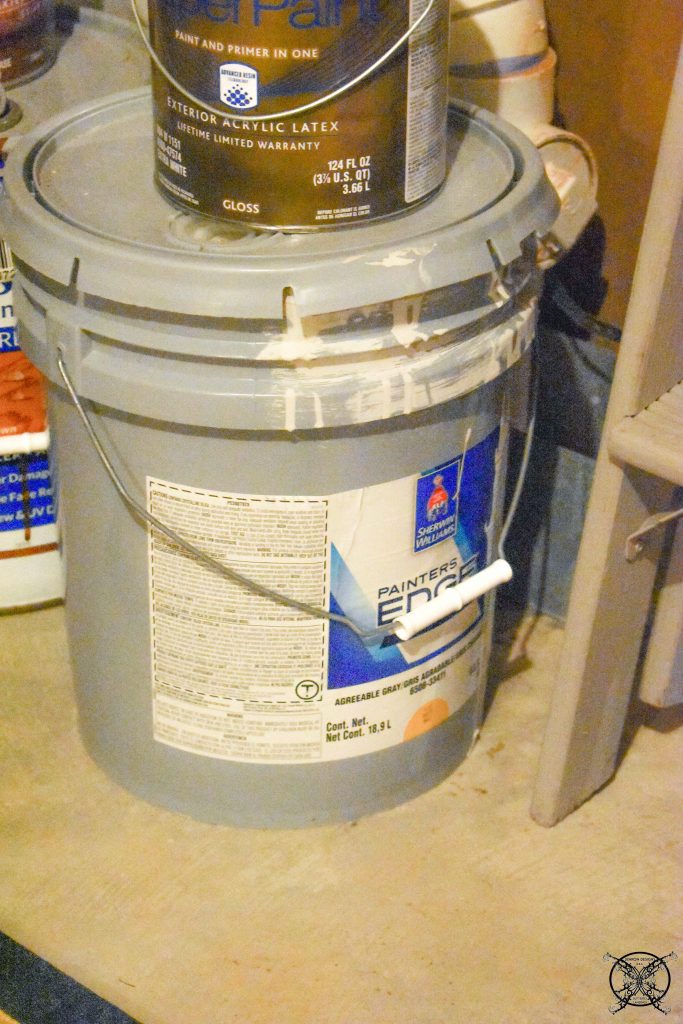 The next step was to paint the raiser treads with a base coat of white paint. Again we own a ton of this paint already from the One Room Challenge Closet project last fall, so we still had plenty to pull from at no charge for this part of the project.
 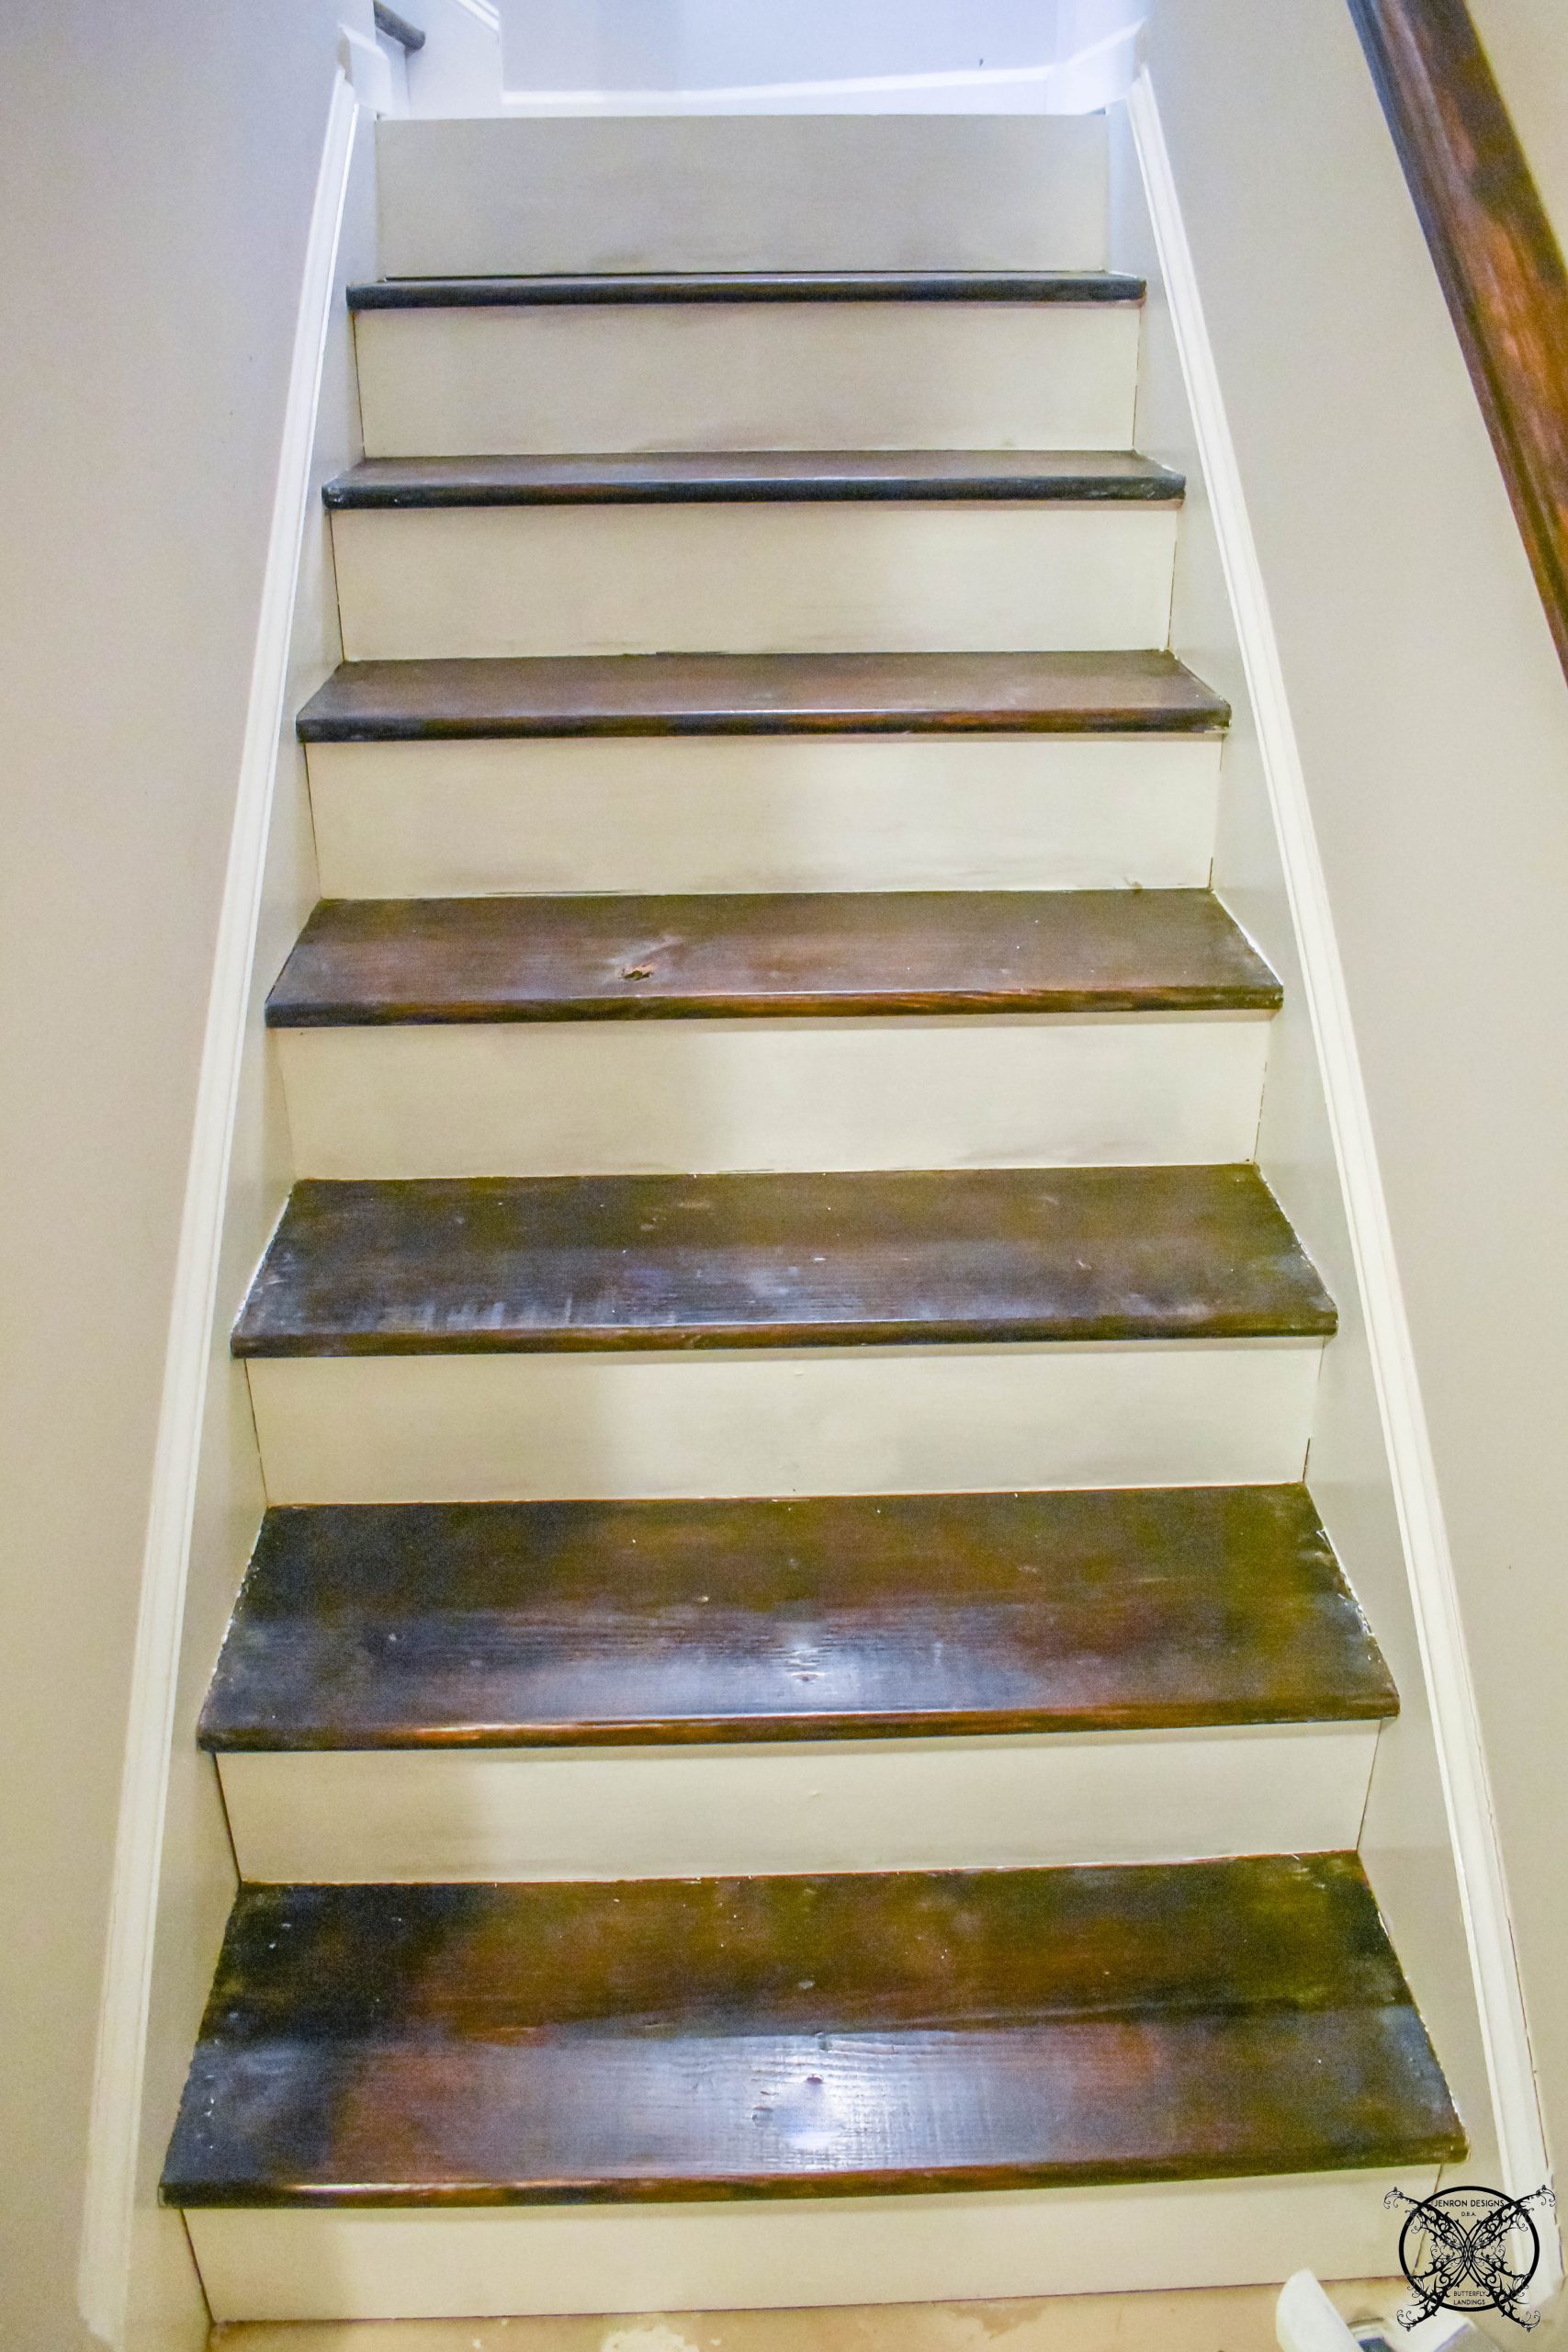 This is only the first coat and we will need to do a second coat but we figured it could be done when we start painting the Wainscot panels that will be installed next week. This was all about preserving our work and clean up since these steps get a lot of traffic still. Plus we need to get Christmas taken down this week too, so the steps are going to get a lot more traffic than usual.
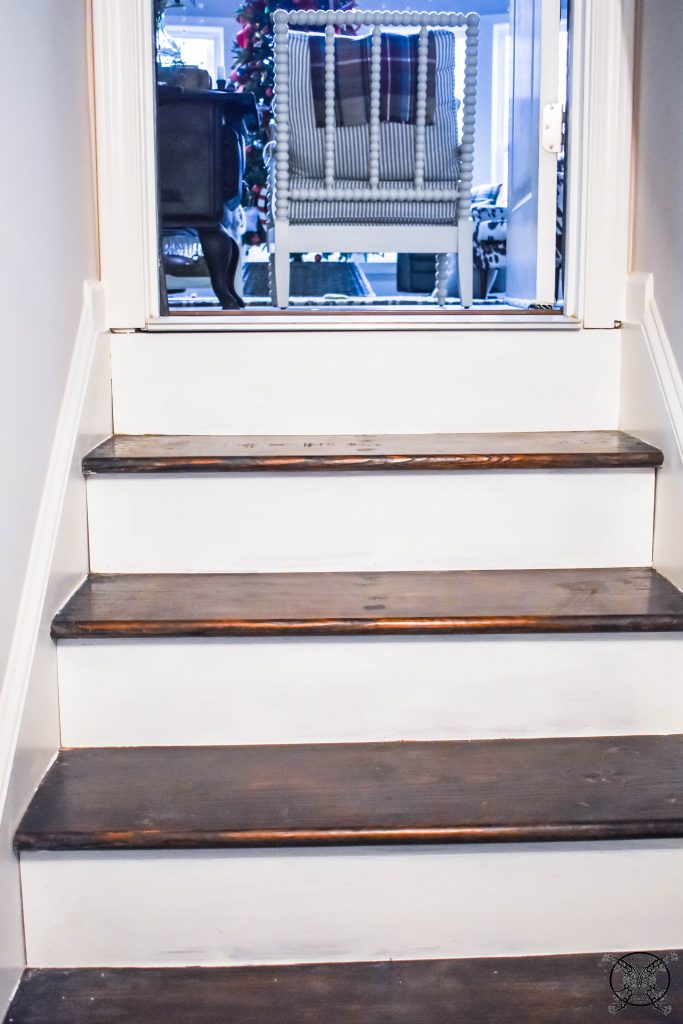
The Proposed Schedule:
Week 1: The Plan
Week 2: Clean/Prep Steps Remove Over Spray Paint, Sand Treads, Putty Nail Holes/ Stain to Match upstairs steps
Week 3: Wainscot Chair Rail & Re Paint/ Touch up Walls, Add New Light (fixtures we already own, gathering dust for 3 years for another project)
Week 4: Install matching Hardwood on Landing (Leftover boxes found in attic from Building) Maybe Add Artwork?
Week 5: REVEAL
BUDGET:
Week 1: $0
Week 2: $3.68 Stainable Wood Putty
So far I have only used $3.68 of our budget for the stainable wood putty the only thing I did not have. We owned all the other paint supplies, cleaning supplies, sand paper, stain, paint and wax.
PIN ME for later and be sure to follow us on Pinterest at Jen @ JENRON DESIGNS
Jen, it’s looking good. That’s a lot of hard work that is definitely going to pay off in the long run.
Wow, that was a lot of work but what a beautiful transformation so far. What a great start!
Those stairs look amazing already. Prep work is always a bear but the look after it is worth it. I can’t wait to see the progress next week. Looking good Jen
This looks great! I really wish I had it in me to do renovations. We need to waterproof our basement and create a workout corner. Our basement is unfinished and being we have a ranch, it is long, lots of room for junk and I am just too lazy to complete it UGH! I admire you for all that you do!
Amazing. Love the new basement look. Great job.
Ahhh it’s coming together great! Super progress.
OMG WOW – I’m blown away by this transformation!! Great job! This is actually inspiring me to do this! haha
Oh man that is a GIANT job!!!! Good for you for tackling it. So impressed by how great they look now!
Wow! They really look great. Scraping and sanding are miserable! I tried to get three layers of paint off an old door and finally just gave up and bought a new one.
The stairs looks amazing ! I really love how you mention the budget needed for every project! Your posts are a great inspiration, especially for someone who likes to do their home decor by themselves ! thanks for sharing ! very helpful!
Oh my gosh…your diligent work and elbow grease have worked some magic! The stairway looks so beautiful and professionally done. Can’t wait to see more!
Its looking so good & you are killing it on the budget so far! Awesome job!
Wow! The steps look amazing! They look like have were done by a professional. Looking forward to seeing this space come together!
While that seems like a lot of work, it made a HUGE difference! These stairs are going to look absolutely stunning when this challenge is over! I’m also curious about the floor finishing wax… do you only use it on wood flooring? I have not heard of this product before, so thanks for sharing!
Yes I saw my builder using it on the floors, specifically the steps to keep them from being to slick, and prevent slipping which could occur with a polyurethane. So I thought I would give it try.
What I love the most about your blog is how you explain the budget for wood and supplies. Very helpful information. Thank you so much.