Organize Your Desk & Cord Management
One Room Challenge: Home Office Week 4. We have the desk assembly this week along with how to Organize Your Desk & Cord Management!
What a fun week not only am I getting my brand new desk but I will be showing you how to Organize Your Desk & Cord Management. We will address the proper cord management for a floating desk which can be tricky. I also have a fabulous DIY for all my office supplies you are going to love.

Just to recap this One Room Challenge: Home Office Week 4. The ORC happens twice a year, April/ October, the designers only have six weeks, from start to finish in order to complete a full room transformation. Each week the guest designer’s will link their progress to the host page, Calling It Home, and share their room’s progress. The best part is you will be able to follow along step by step with all the participants progress including JENRON DESIGNS and just by clicking the ORC Spring 2018 post.
WEEKS AT A GLANCE:
WEEK 1 WEEK 2 WEEK 3 WEEK 4 WEEK 5 REVEAL
Desk Assembly & Cord Management:
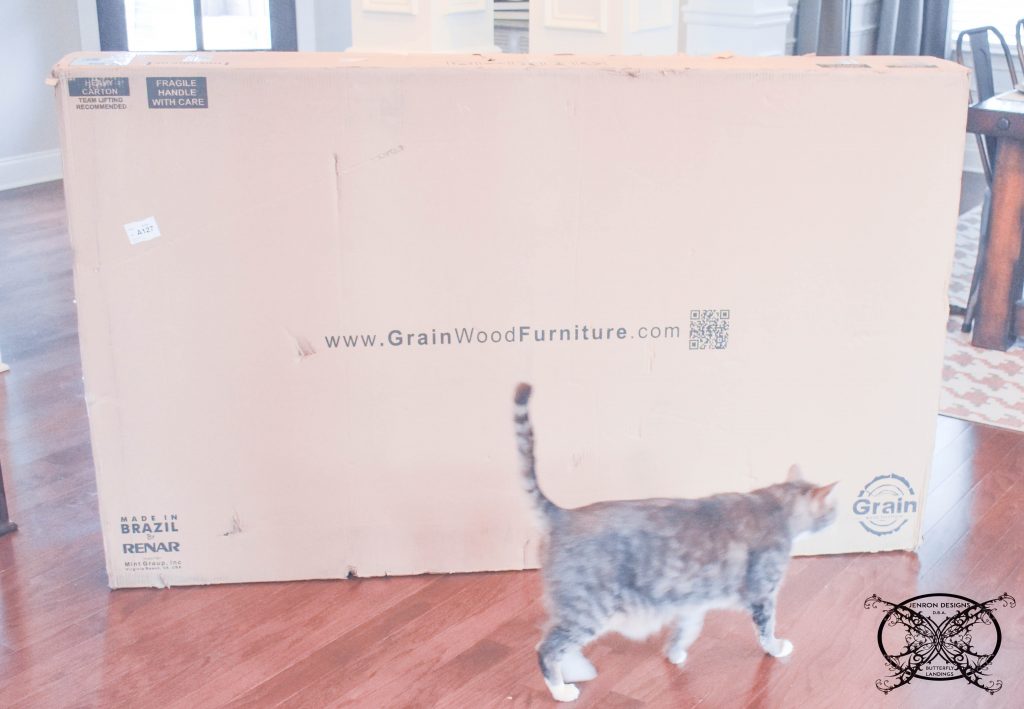
Yay, the desk came in and it seems like everyone approves. It is so nice to have my own personal package inspectors, it really does save me a lot of time. LOL I must say I was so impressed with how quickly Wayfair shipped my desk. We actually received it al the end of last week which put me way ahead of schedule. As many of my blogger friends already know, you can’t just take your entire desk and computer down for a week. So, we had to make sure the transition was seamless and completed in a single day, and my sweet Ralphy was all about supervising.
 As for the assembly portion for the desk it was very easy and went perfectly. No extra pieces left over or stripped screws. Wayfair also included easy to read instructions which I am pretty sure my husband did not even bother to read since I found them still folded up in the box, lol.
 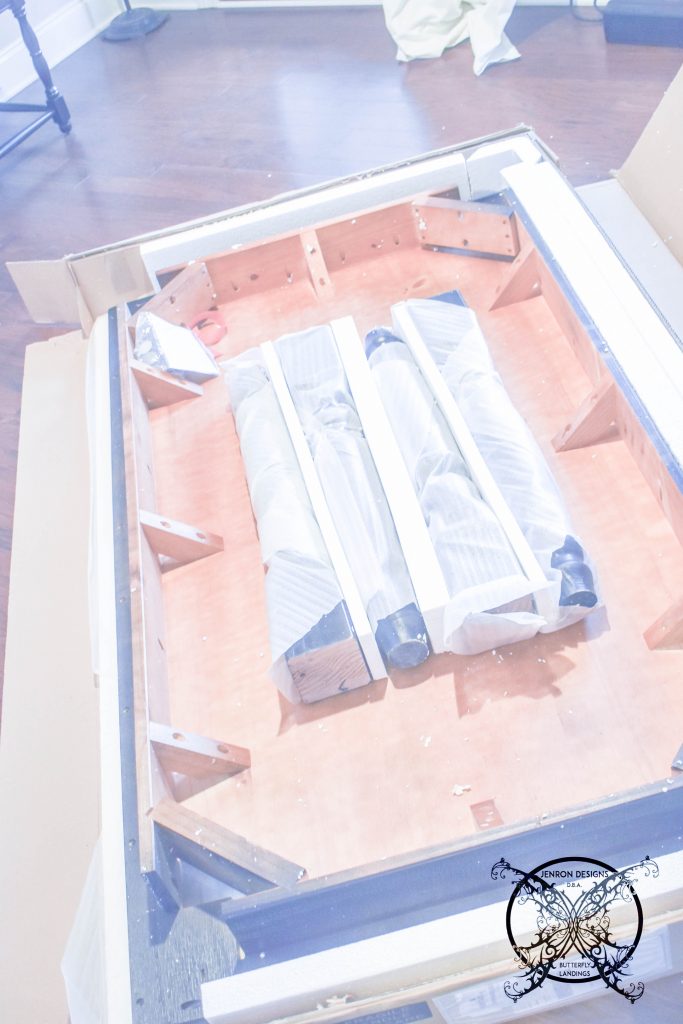 As you may remember in Week 1 as I was going over my wish list for this room I pointed out the ugly cords and cables that protruded from the back of my computer. I decide that this would be a major focus for me, since I wanted it to look pretty all the time and my OCD could not take another day of looking at those ugly cords. This is the part where some of you might want to look away.
 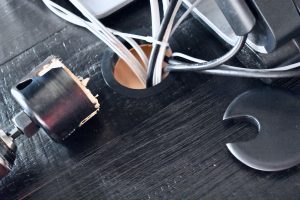 To make those cords disappear they had to be ran underneath the desk. Which required drilling a media port directly through the brand new desk. I know, I can hear you all now, “I can not believe you drilled a hole through the top of your brand new desk!” Well, we did, and here is why, I only plan to use this table for a desk. It will hide the cords permanently, and honestly the desk was not that expensive in the grand scheme of things. Plus, I decided to keep the wood plug incase I ever want to pop it back in, sand and repaint it.
 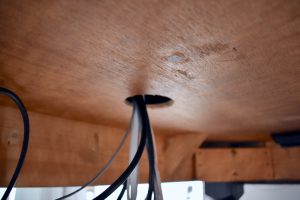 So now all my cords go directly from my computer down under the desk. Next issue since it is an open base on my dining table/desk the cords needed to plug in and be secured. Easy Peasy, Ron just installed a surge protector to the underside of the table, and used a cable bag to secure the rest of the additional cording. Now all we have to do is run the surge cord and cable hook up down one of the back legs and secure them with cable ties.
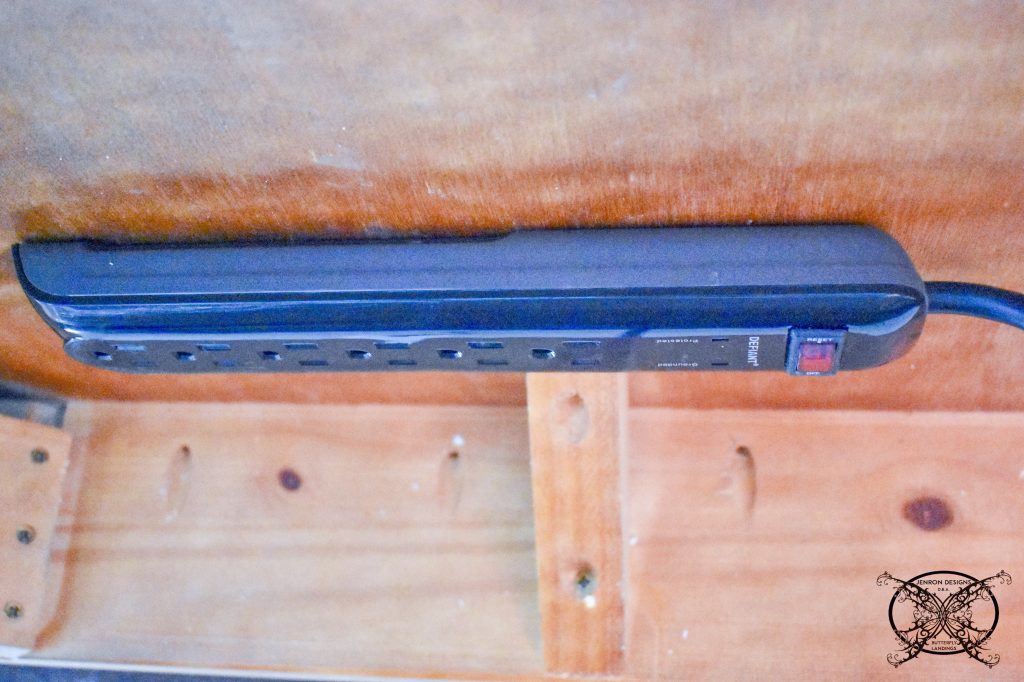 As you see below this keeps all the cables virtually hidden from site. Then we placed the subwoofer speaker, and backup power supply box in a decorative basket at the base. This will generally be covered with a cute throw blanket I use since my office gets really cold.
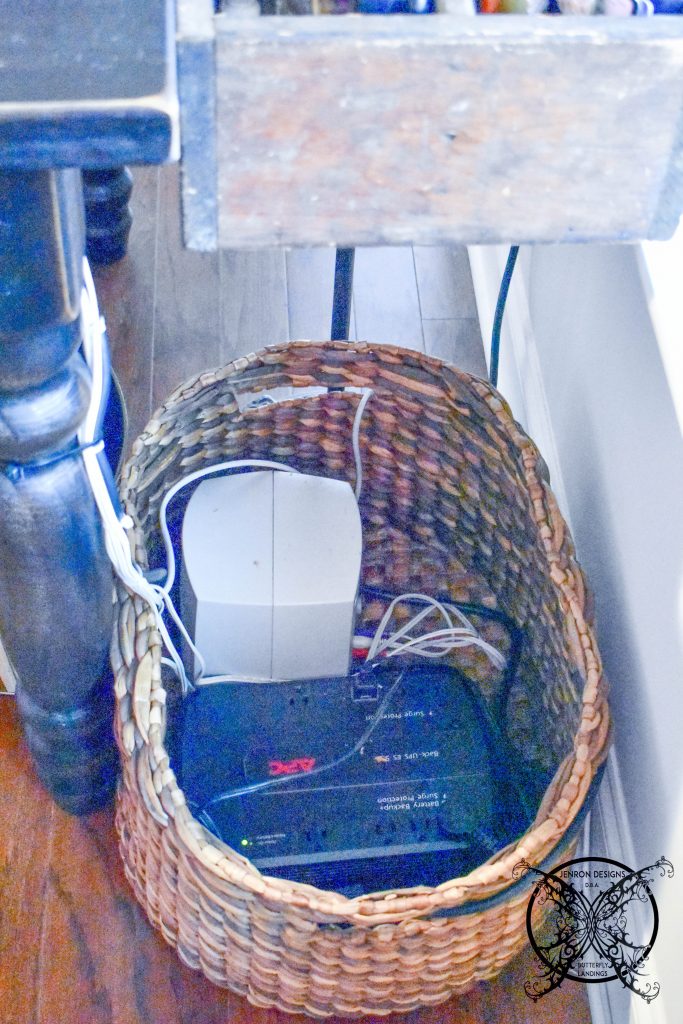 The remaining cable cord that needs to run over to my cable outlet box, was tacked down to the base board and will be painted with trim paint so it completely disappears. I also have a great organizational post on Proper Cord Management that also covers a lot great ways to hide cords in your home, check it out for more helpful decorating tips!
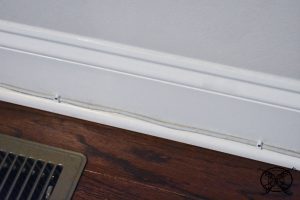
The Desk Organizer DIY:
This is a DIY that I absolutely love. Nothing makes me feel better than repurposing things that I love and making something new and useful out of them. You may remember these two pieces from my original week 1 post. These were both already located in this space.
 I just love this old antique tool box but since I relocated the lamp to my desk I would have no use for it just sitting in the corner. It would make a great organizer for all my office supplies, but it just took up too much space on my new larger desktop.
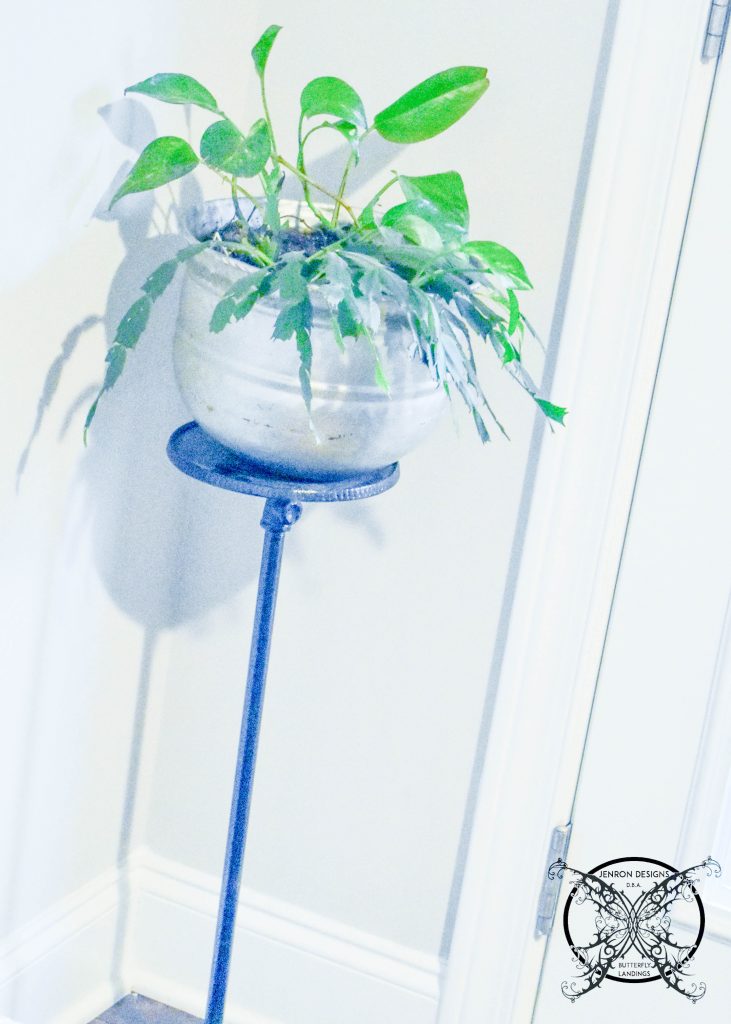 I also had this antique plant stand in the corner by the door to my screened porch. Now that the weather is getting warmer the plant will go back outside. So, the idea hit us maybe we can attach the tool box to the top of the plant stand.
 As you can see the plant stand already had pre drilled holes for holding a pot or planter. So, we did not have to drill through the metal. We simply aligned the box to the top of the plant stand.
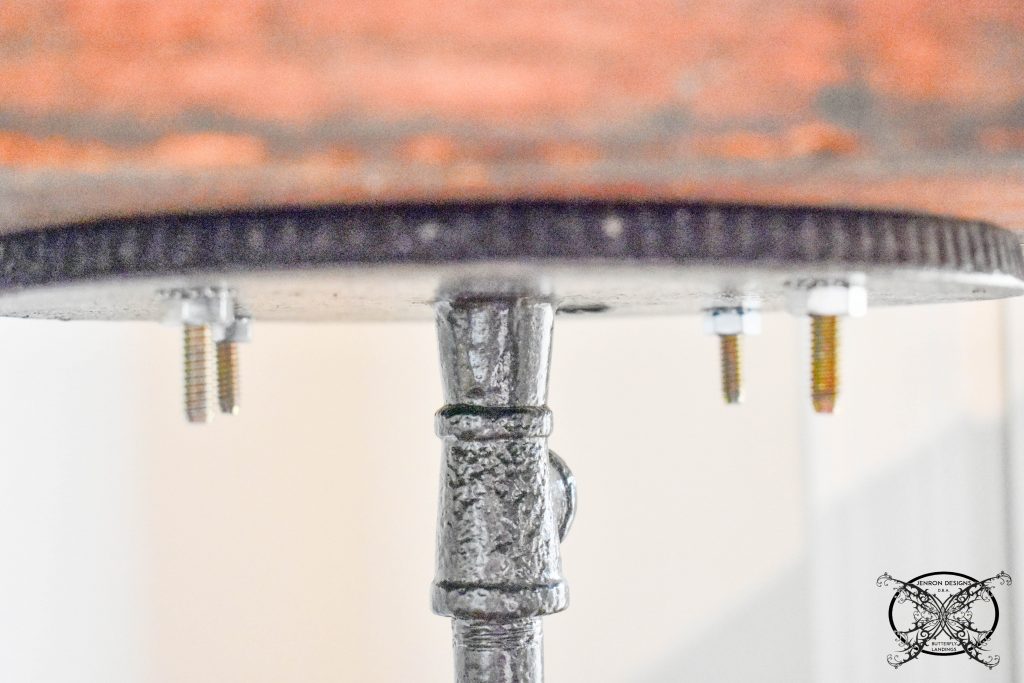 We secured the antique tool box with regular nuts and bolts.
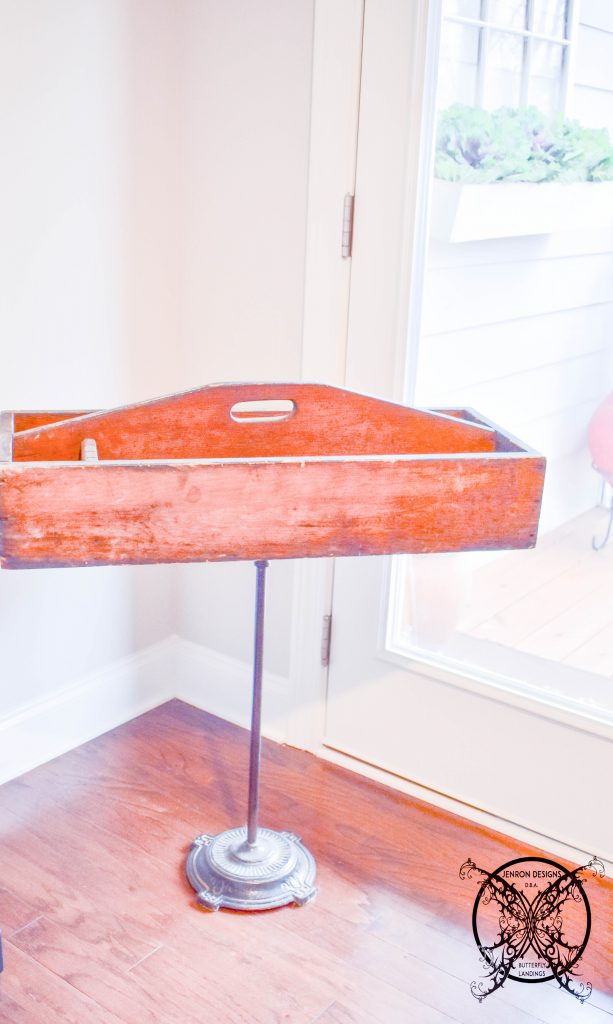 It looks great just sitting on its own but I want to secure it to the desk just to be safe. So we ran two additional long bolt thought the side of the desk.
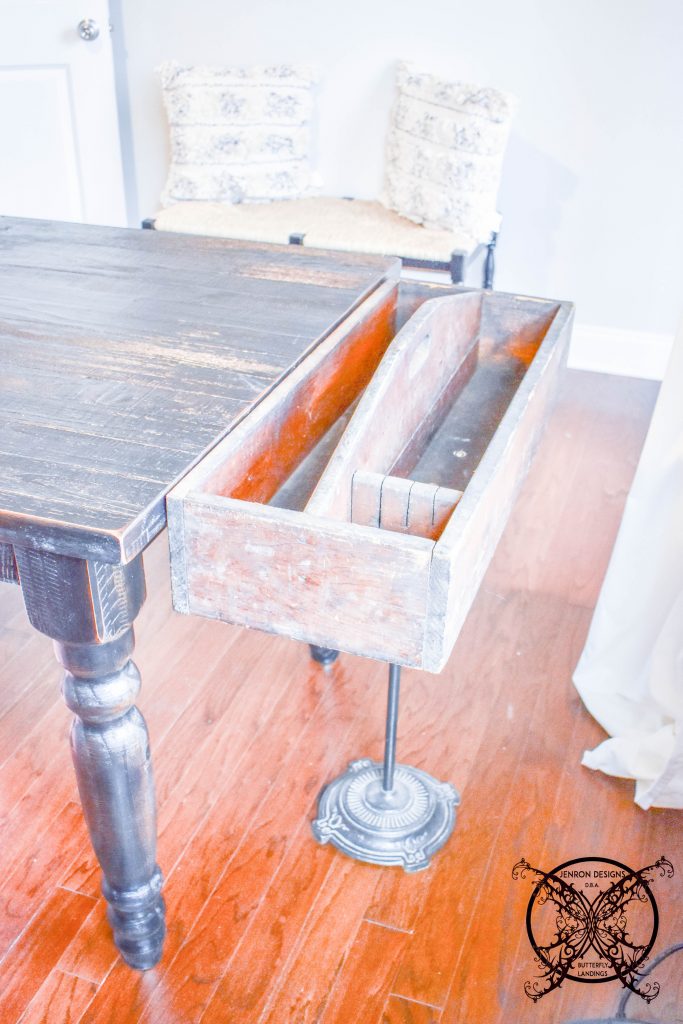 On a lucky note the height of the plant stand with the tool box on top is perfect with the height of the desk. I decided it would be perfect for file folders pens and even a charging station for my iPad and phone.
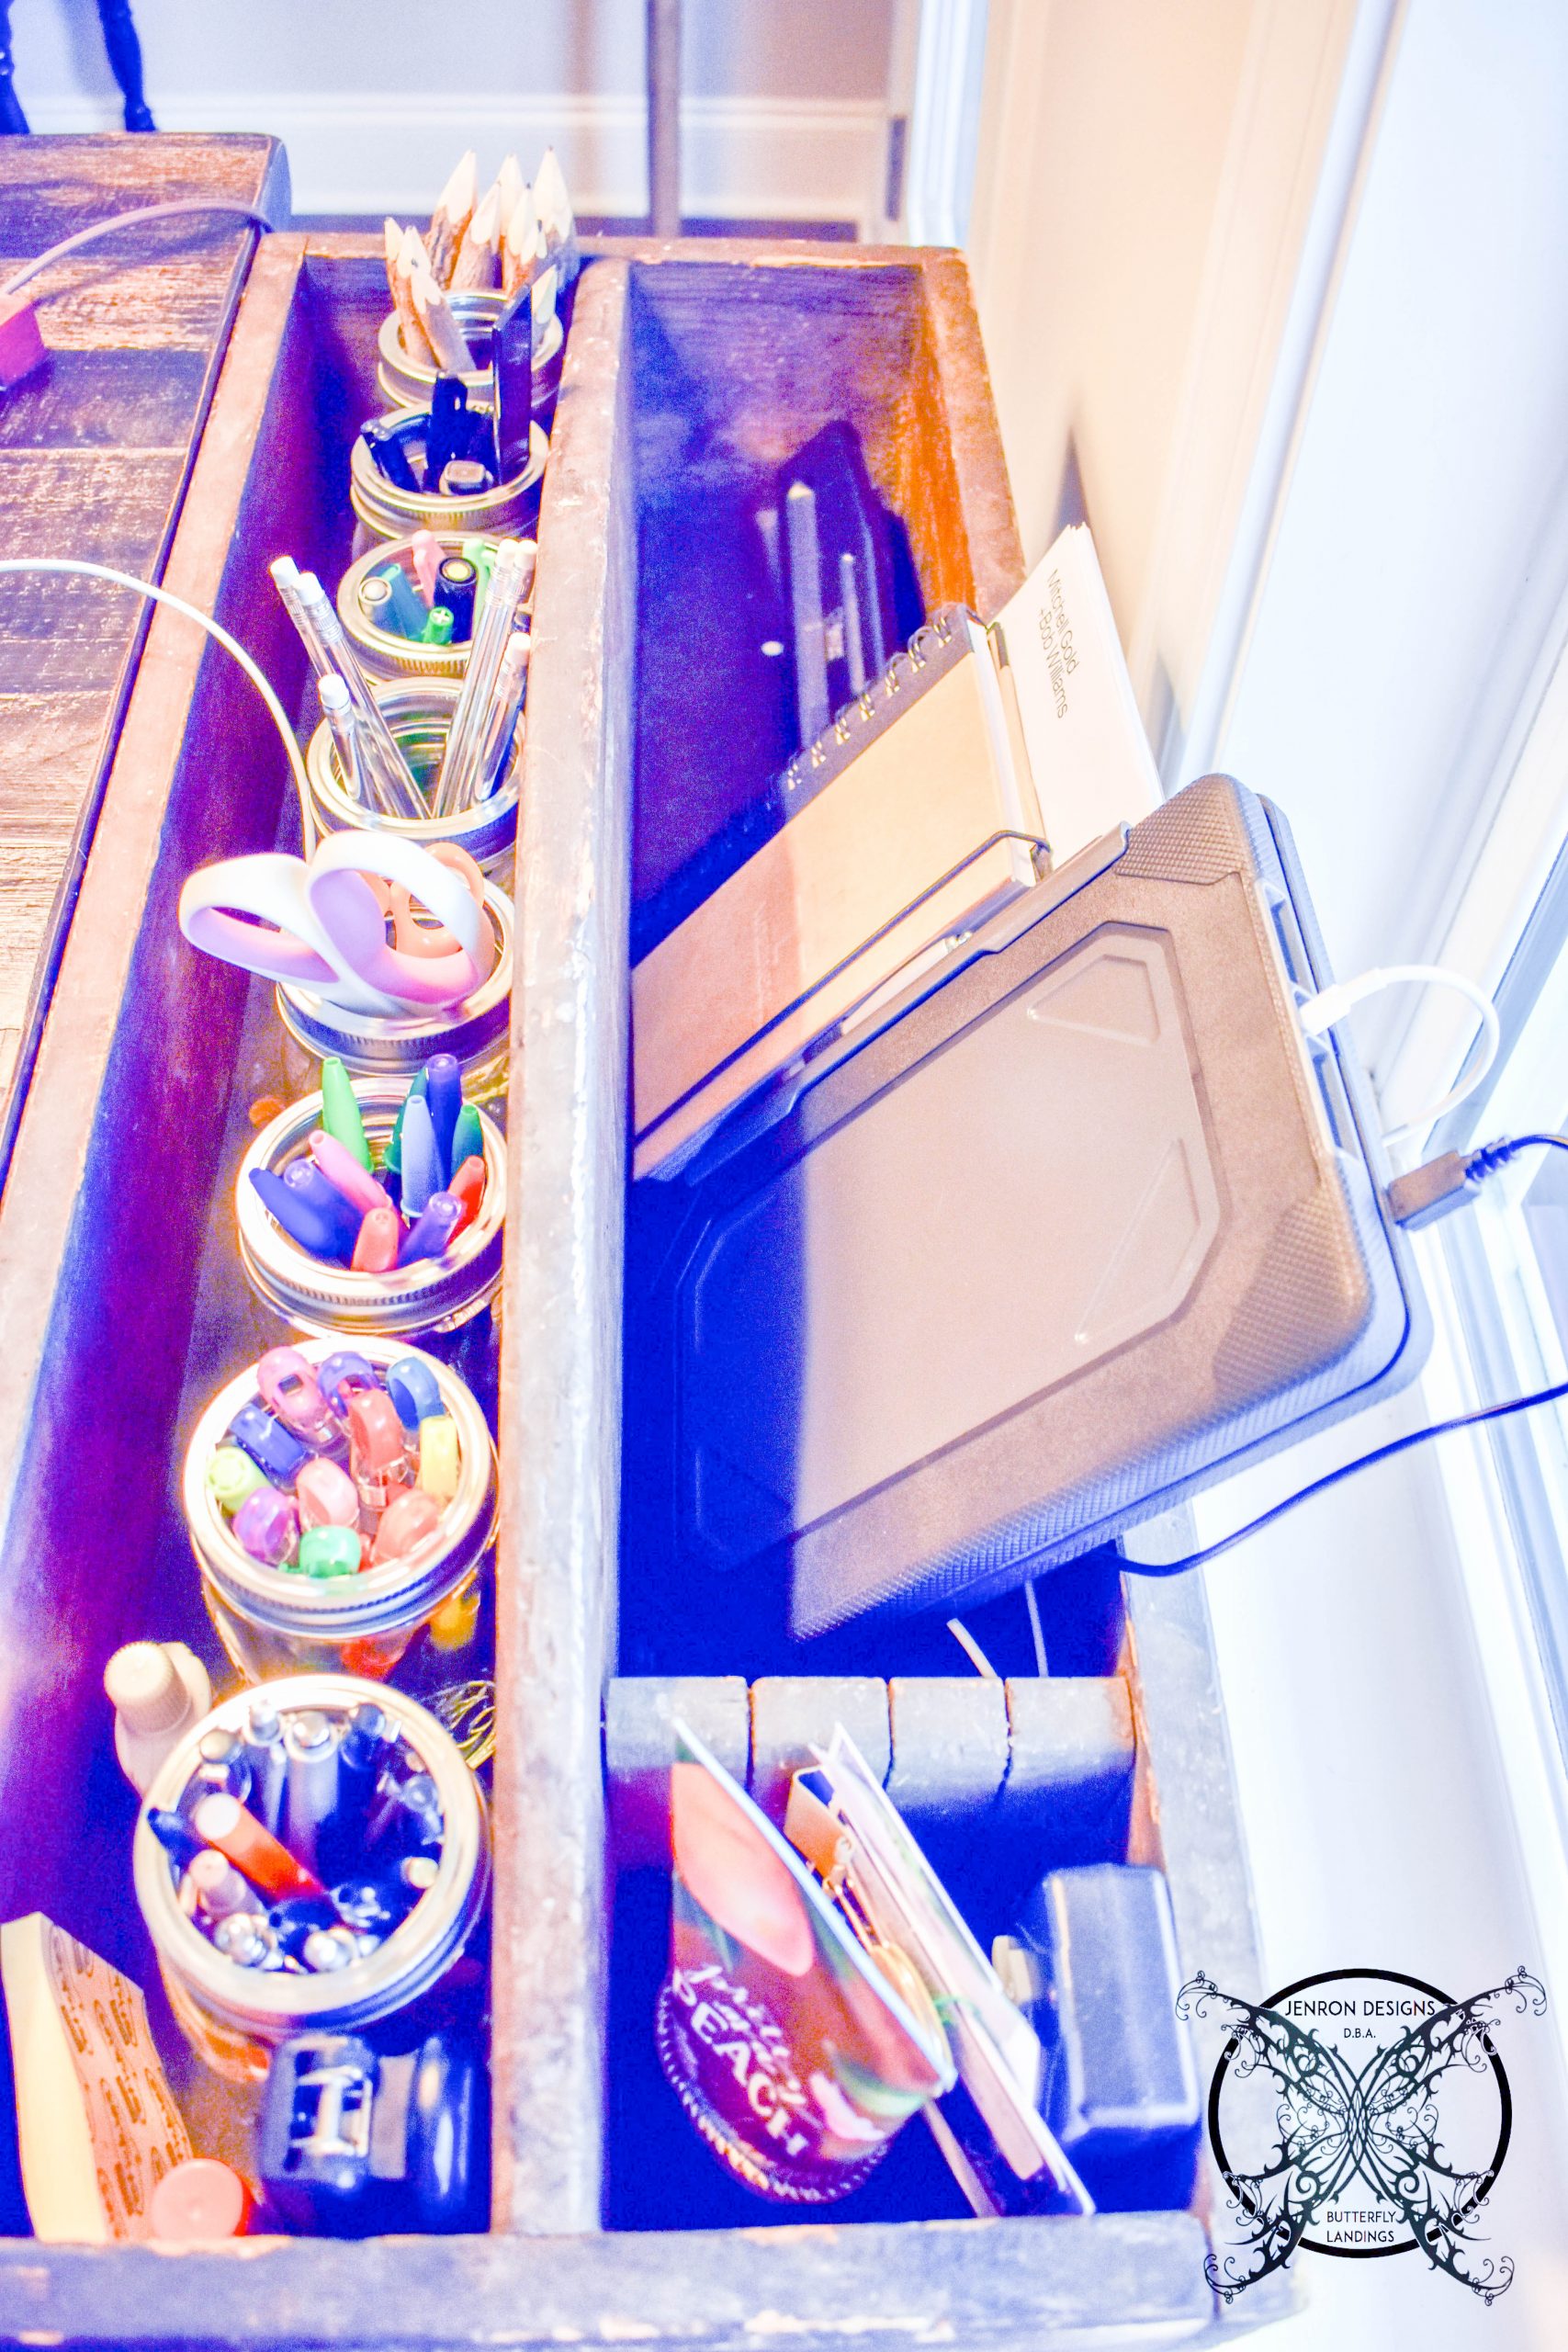
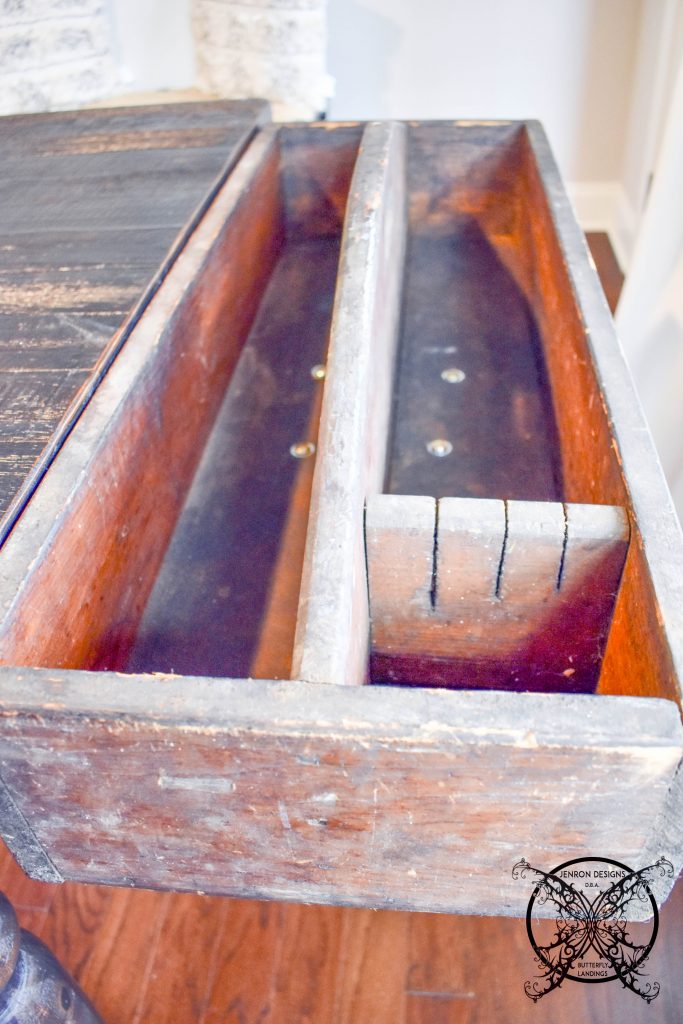 So we drilled more holes into the base of the tool box to accommodate those cords without being seen, just like were had done for the desk.I added in some ball mason jars, just removed the canning lid and left the ring for a rustic look. This allowed me to sort out my pins, pencils , markers, highlighters and scissors. Then files and notepads in the back section along with any current files that I might be working on at the time.
 This is one of those DIYs that comes from in the moment inspiration. I am pretty sure that I would not have ever dreamed this idea up on my own, but having these great pieces that I loved and wanted to keep them in the room was all the inspiration I needed.
The Check List:
Week 1- Introduction & Inspiration Board
Week 2- Place all orders for Custom furniture and online pieces
Week 3- DIY open wall shelves, stain & install
Week 4- DIY build custom cornice board, paint to match trim & install (MOVED TO WEEK 5)
Week 5- Assemble and place all furniture, art and accessories.
Week 6- Stage the room for The Big Reveal
OH the dreaded desk and all the cording. Always a big job getting that put together, but how clever to hide all the hardeware. Your accessories are adorable. Love those pillows. Can’t wait to see the finish… ~~ Susie from The Chelsea Project
Yes! Why can’t everything be cordless 🙂 Nice tips here
So great that you could things you already have to make a perfectly organized space!
Love all of the organization you have and brilliant to put a hole in the desk!
Jen, this DIY is my jam! I love the vintage aspect to it and it looks absolutely fabulous!!!
What a great repurpose of that old toolbox!! And I love how you hid all of your cords…I hate cords, a necessary evil, but they sure are unsightly. I can’t wait to see next week!!
Thanks, this great information and a beautiful tutorial!
thank you for share! congratulations, I loved.
Thanks Susanne, I know the cords always drive me nuts, I have to hide them always, LOL!
Oh thank you Lidia your the best!
Thank you for the support Ruthie 🙂 I figured most people would think I Was absolutely crazy to drill into my brand new desk but it had to be done.
This was a great way to hide all those cords. Love the organization the tool box allows. Great job
So smart drilling the hole for cords!! And I love your desk caddy stand.
What a clever marriage of loved items, so brilliant! I am looking forward to the final reveal – it’s going to be fabulous!
I love to have a neat desk but same me can keep a neat desk for too long aagrrrh 😀
I really need to upgrade my office and yours is so pretty I love the old tool box that is a neat idea.
Love this idea so much a what a great find! I think my grandpa had an old tool box like that one i should look for it.
Cords always drive me nuts too, I love that you showed how to hide them away…yay for the OCD club!
This looks great Jen I love the chair and desk, I am in the process doing my office too.
Jen I love this old tool box and how you converted to be an office caddy for your desk. Your ideas are always so inventive and fresh which inspire me so much girl!
Oh for the love of cords, they do drive me nuts too! I can absolutely appreciate getting them up and out of the way under the desk like that, especially for the sake of the Roomba, it eats everything in sight…ha ha ha.