DIY Summer Hoop Door Wreath, 2 Ways
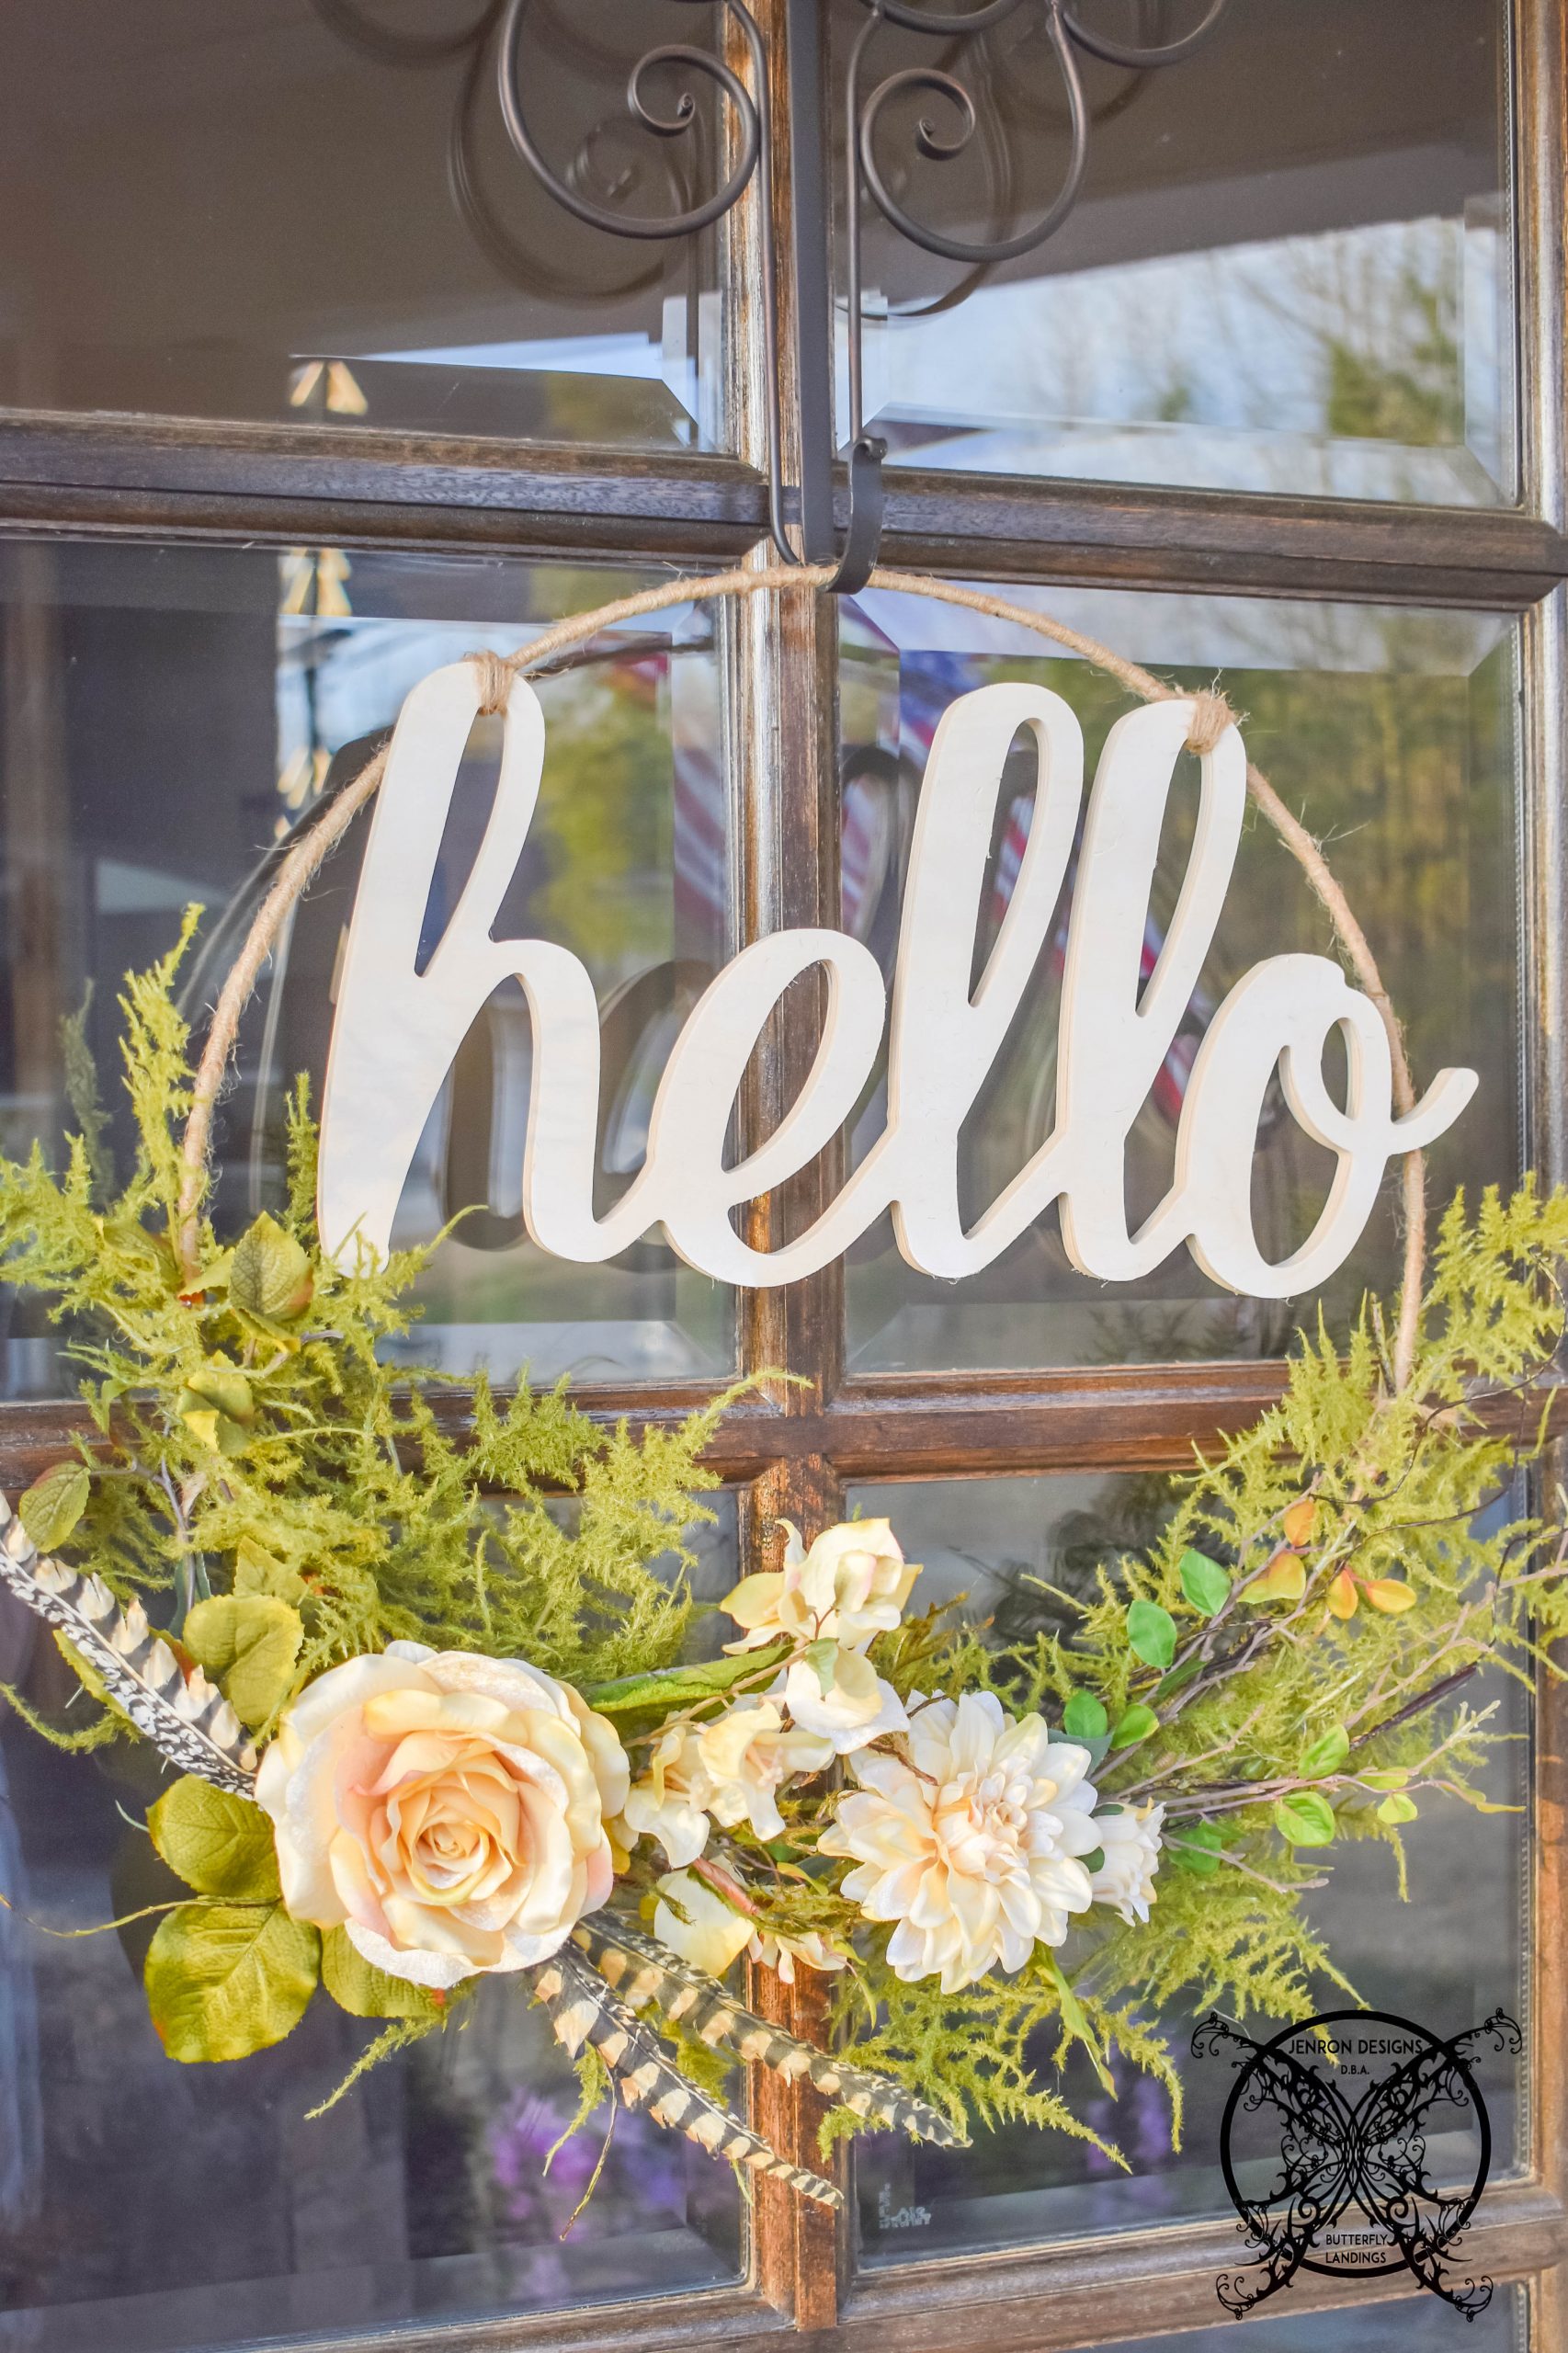
This easy DIY Summer Hoop Door Wreath is the perfect way to welcome the warmer months and guest to your home. After all, you front door is you first impression. See how I styled it 2 ways for your summer porch!
Many of my Instagram followers may remember where I created a poll a few months ago asking who wanted a DIY Summer Hoop Door Wreath for your doors. Let me say thank you for all those that participated and by an overwhelming majority you all wanted to see the magic behind the door wreath.
 So here is what you need to get started, these are a few of the supplies you will need:
- 1- 24″ metal embroidery hoop
- 1- 10ft bolt of twine
- 1- tube of floral glue- no hot glue will not work
- 1 binder clip
- 3- branches of greenery
- 1- floral spray or 4-5 floral picks
- Wooden “Hello” 18-20″ long
- Paint & Brush (optional for painting lettering)
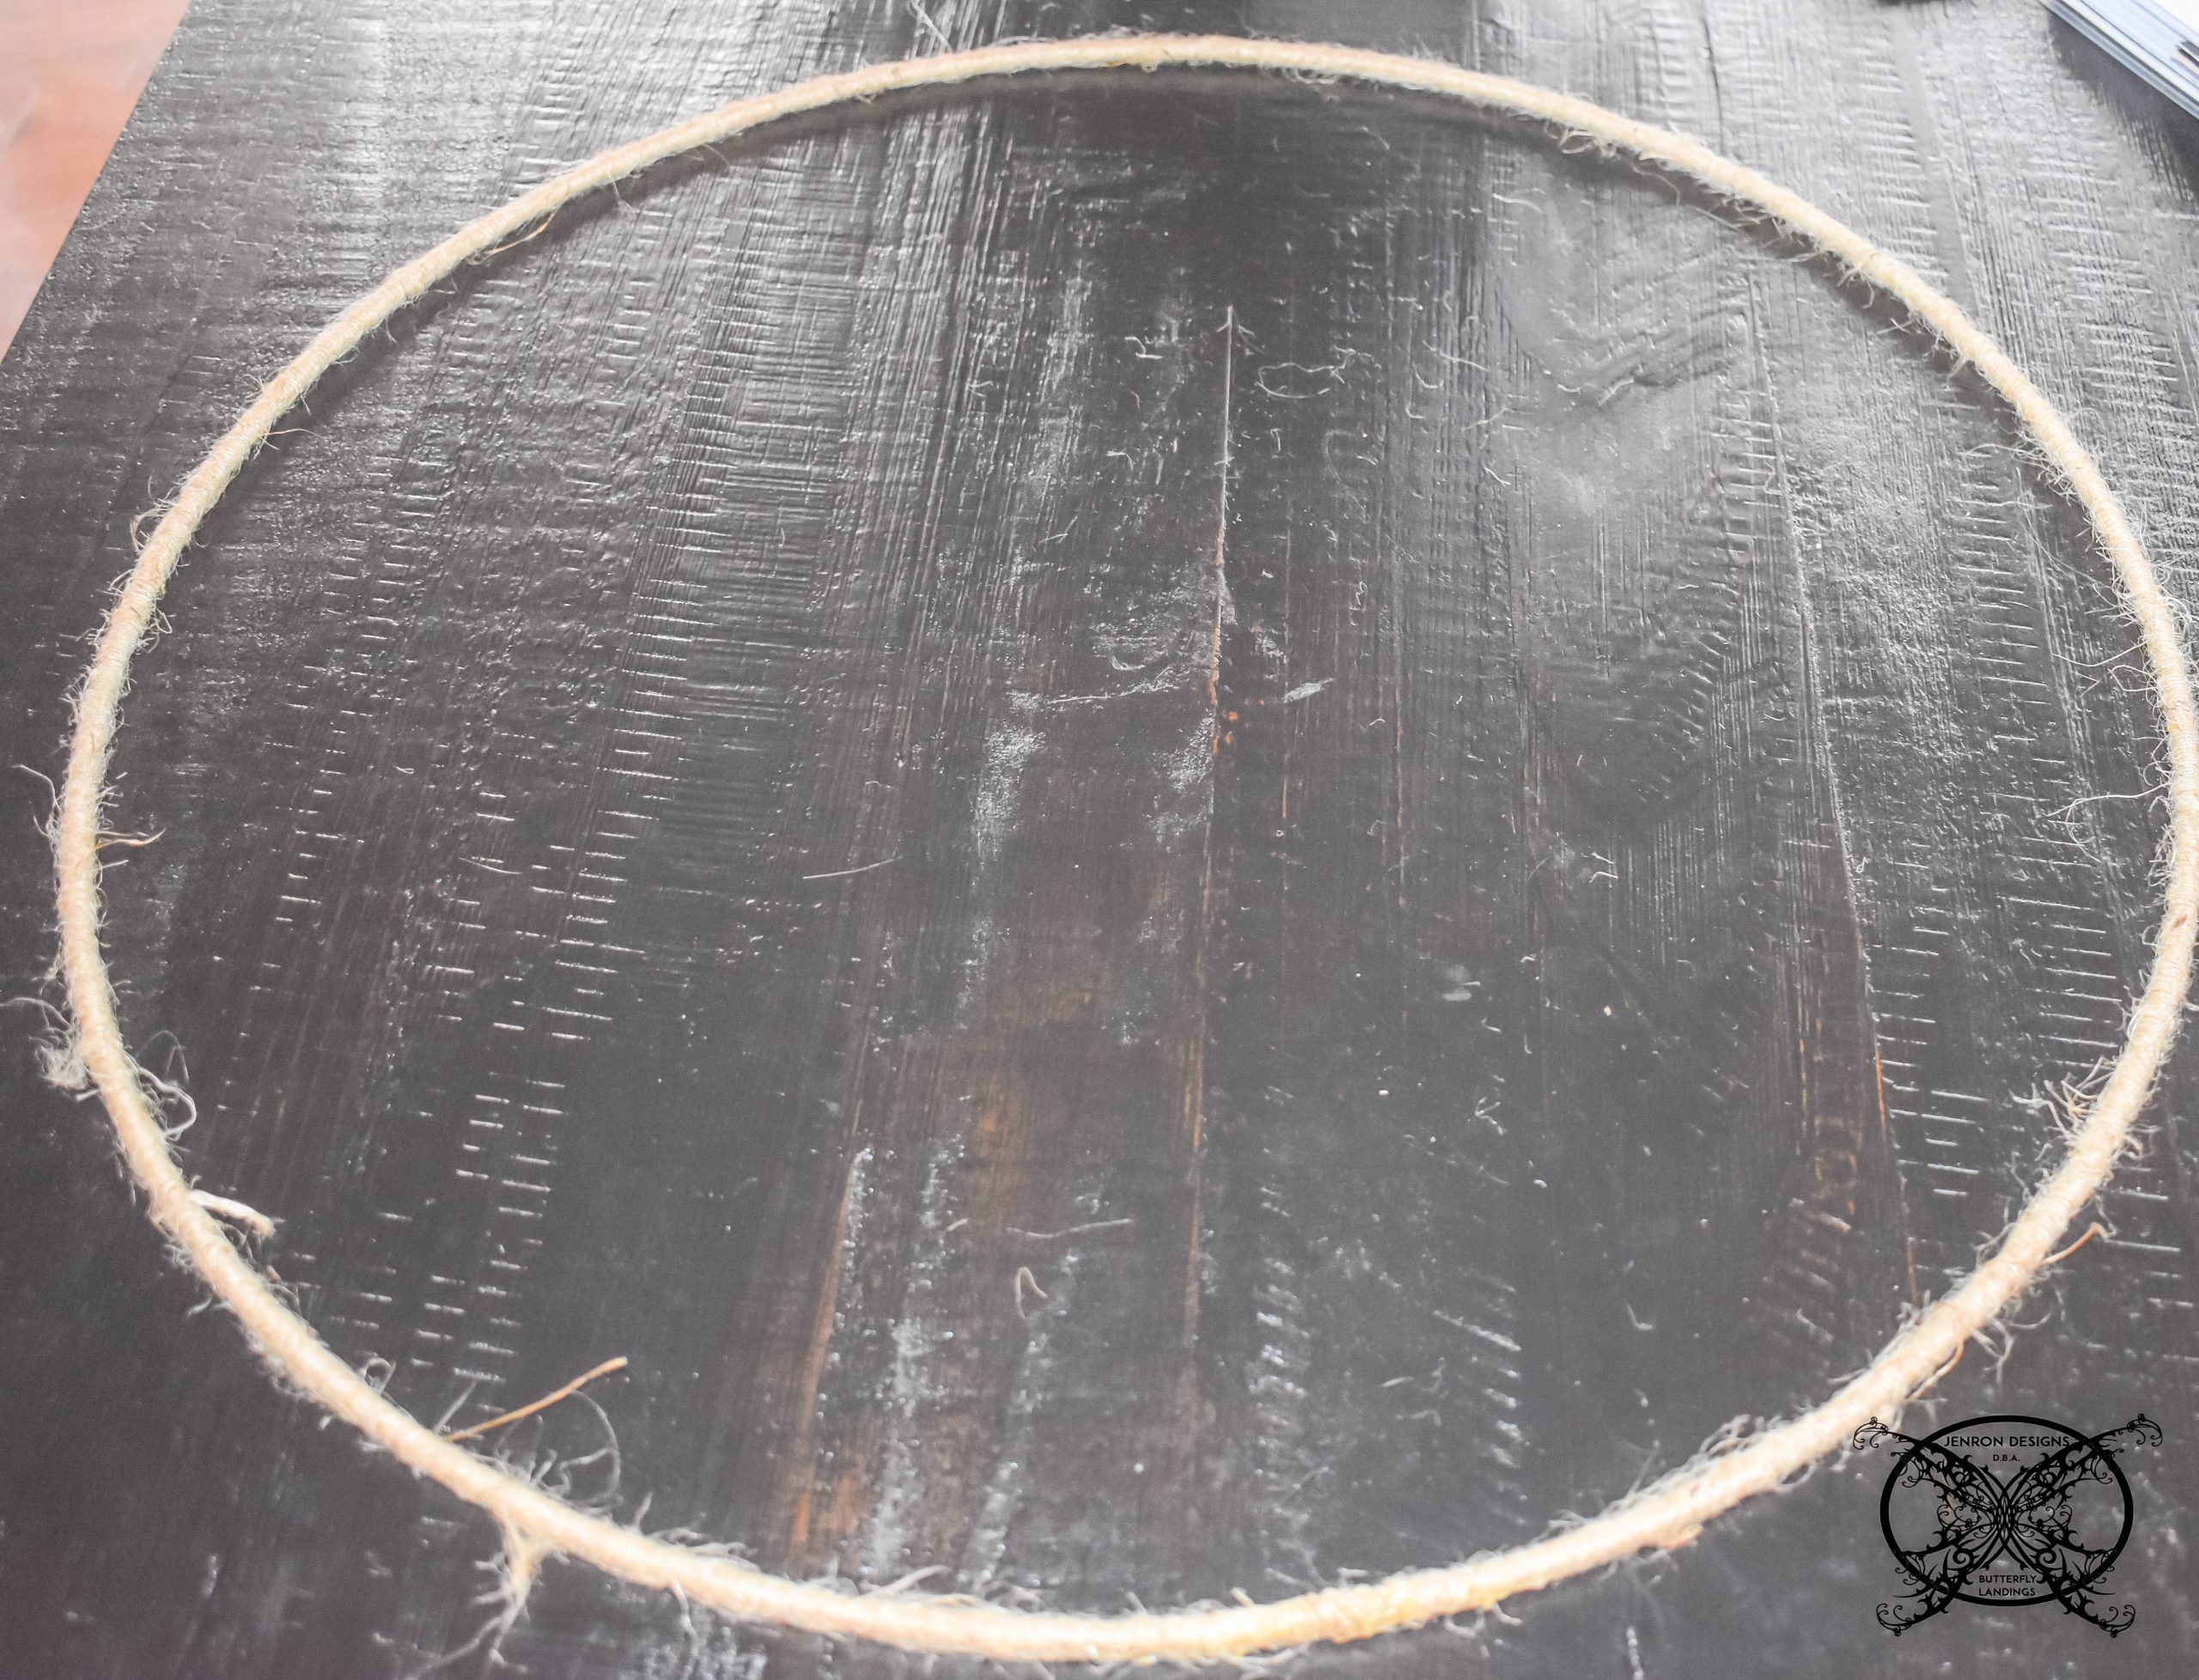
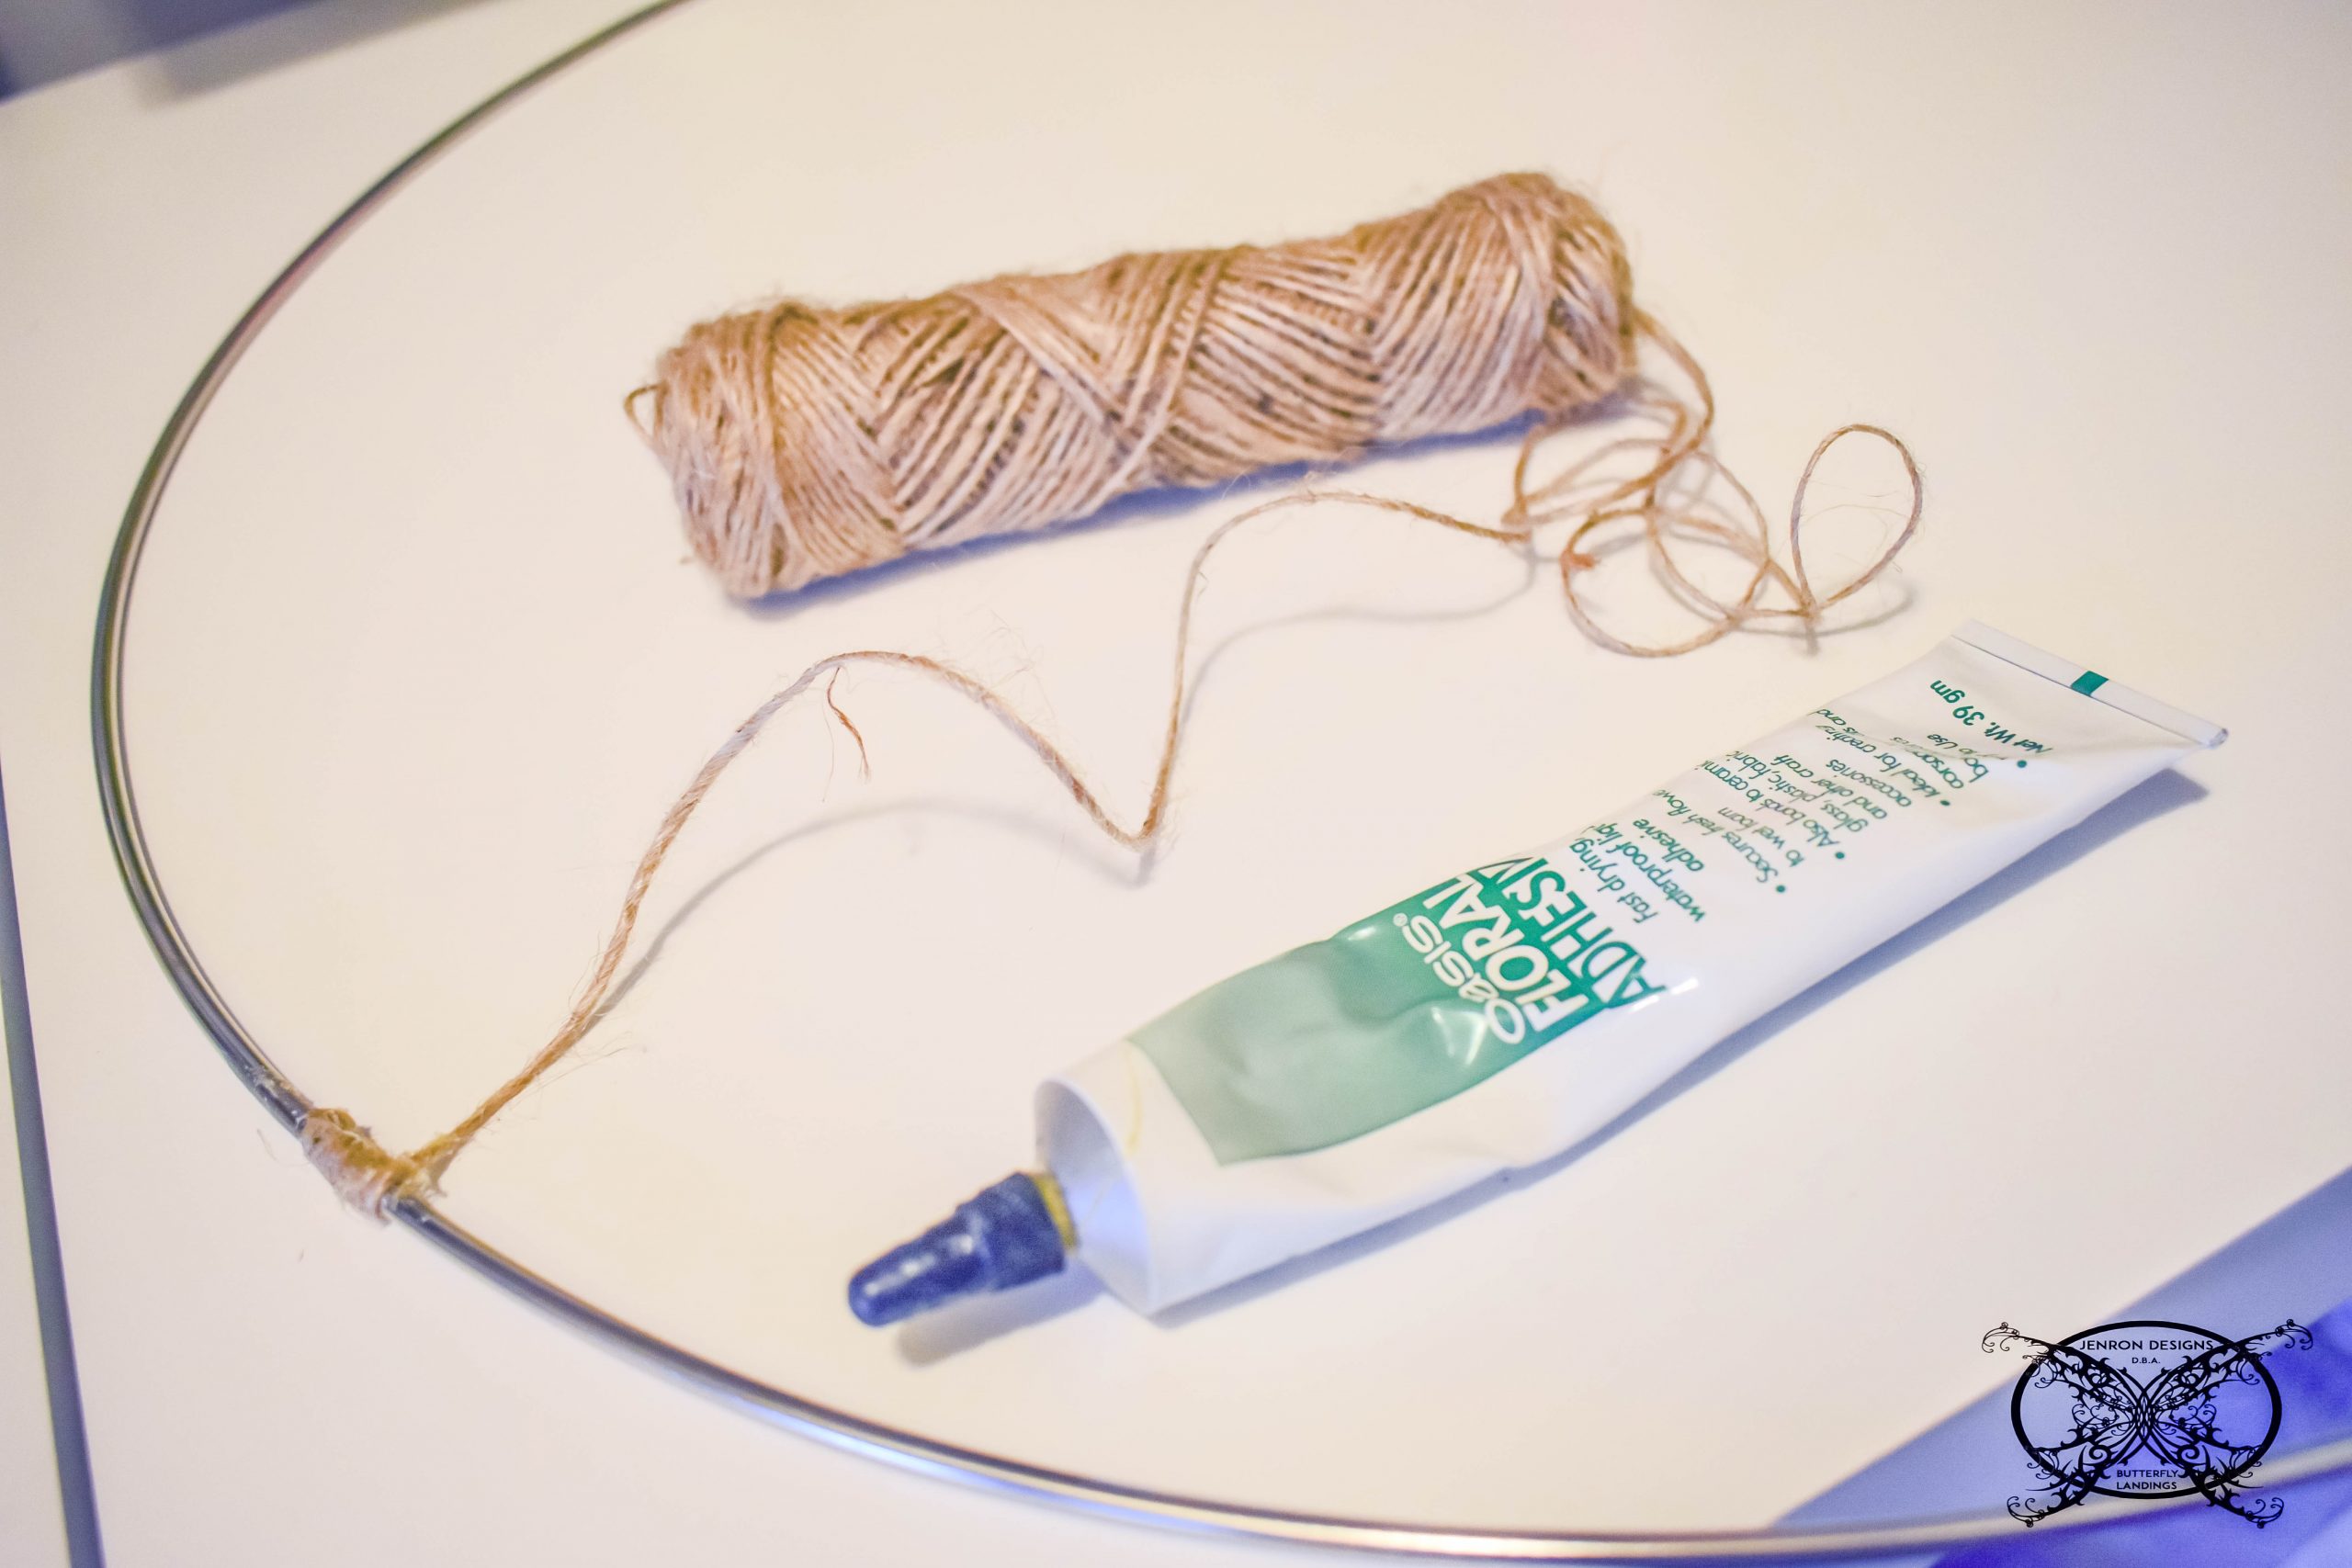 You are going to want to to start by tying a knot on to the hoop, repeat this step three times, so you have three knots. Then glue, all three knot to the hoop, secure with binder clip and let dry for 2 hours.
Designer Tip- The reason I do not recommend hot glue for this project is my porch gets a lot of sun. Hot glue, by nature melts when it heats up. So if your porch gets a lot of afternoon sun your wreath will fall apart. Floral adhesive is meant to hold up to all types of temps, hot or cold, so it is an all around better choice. 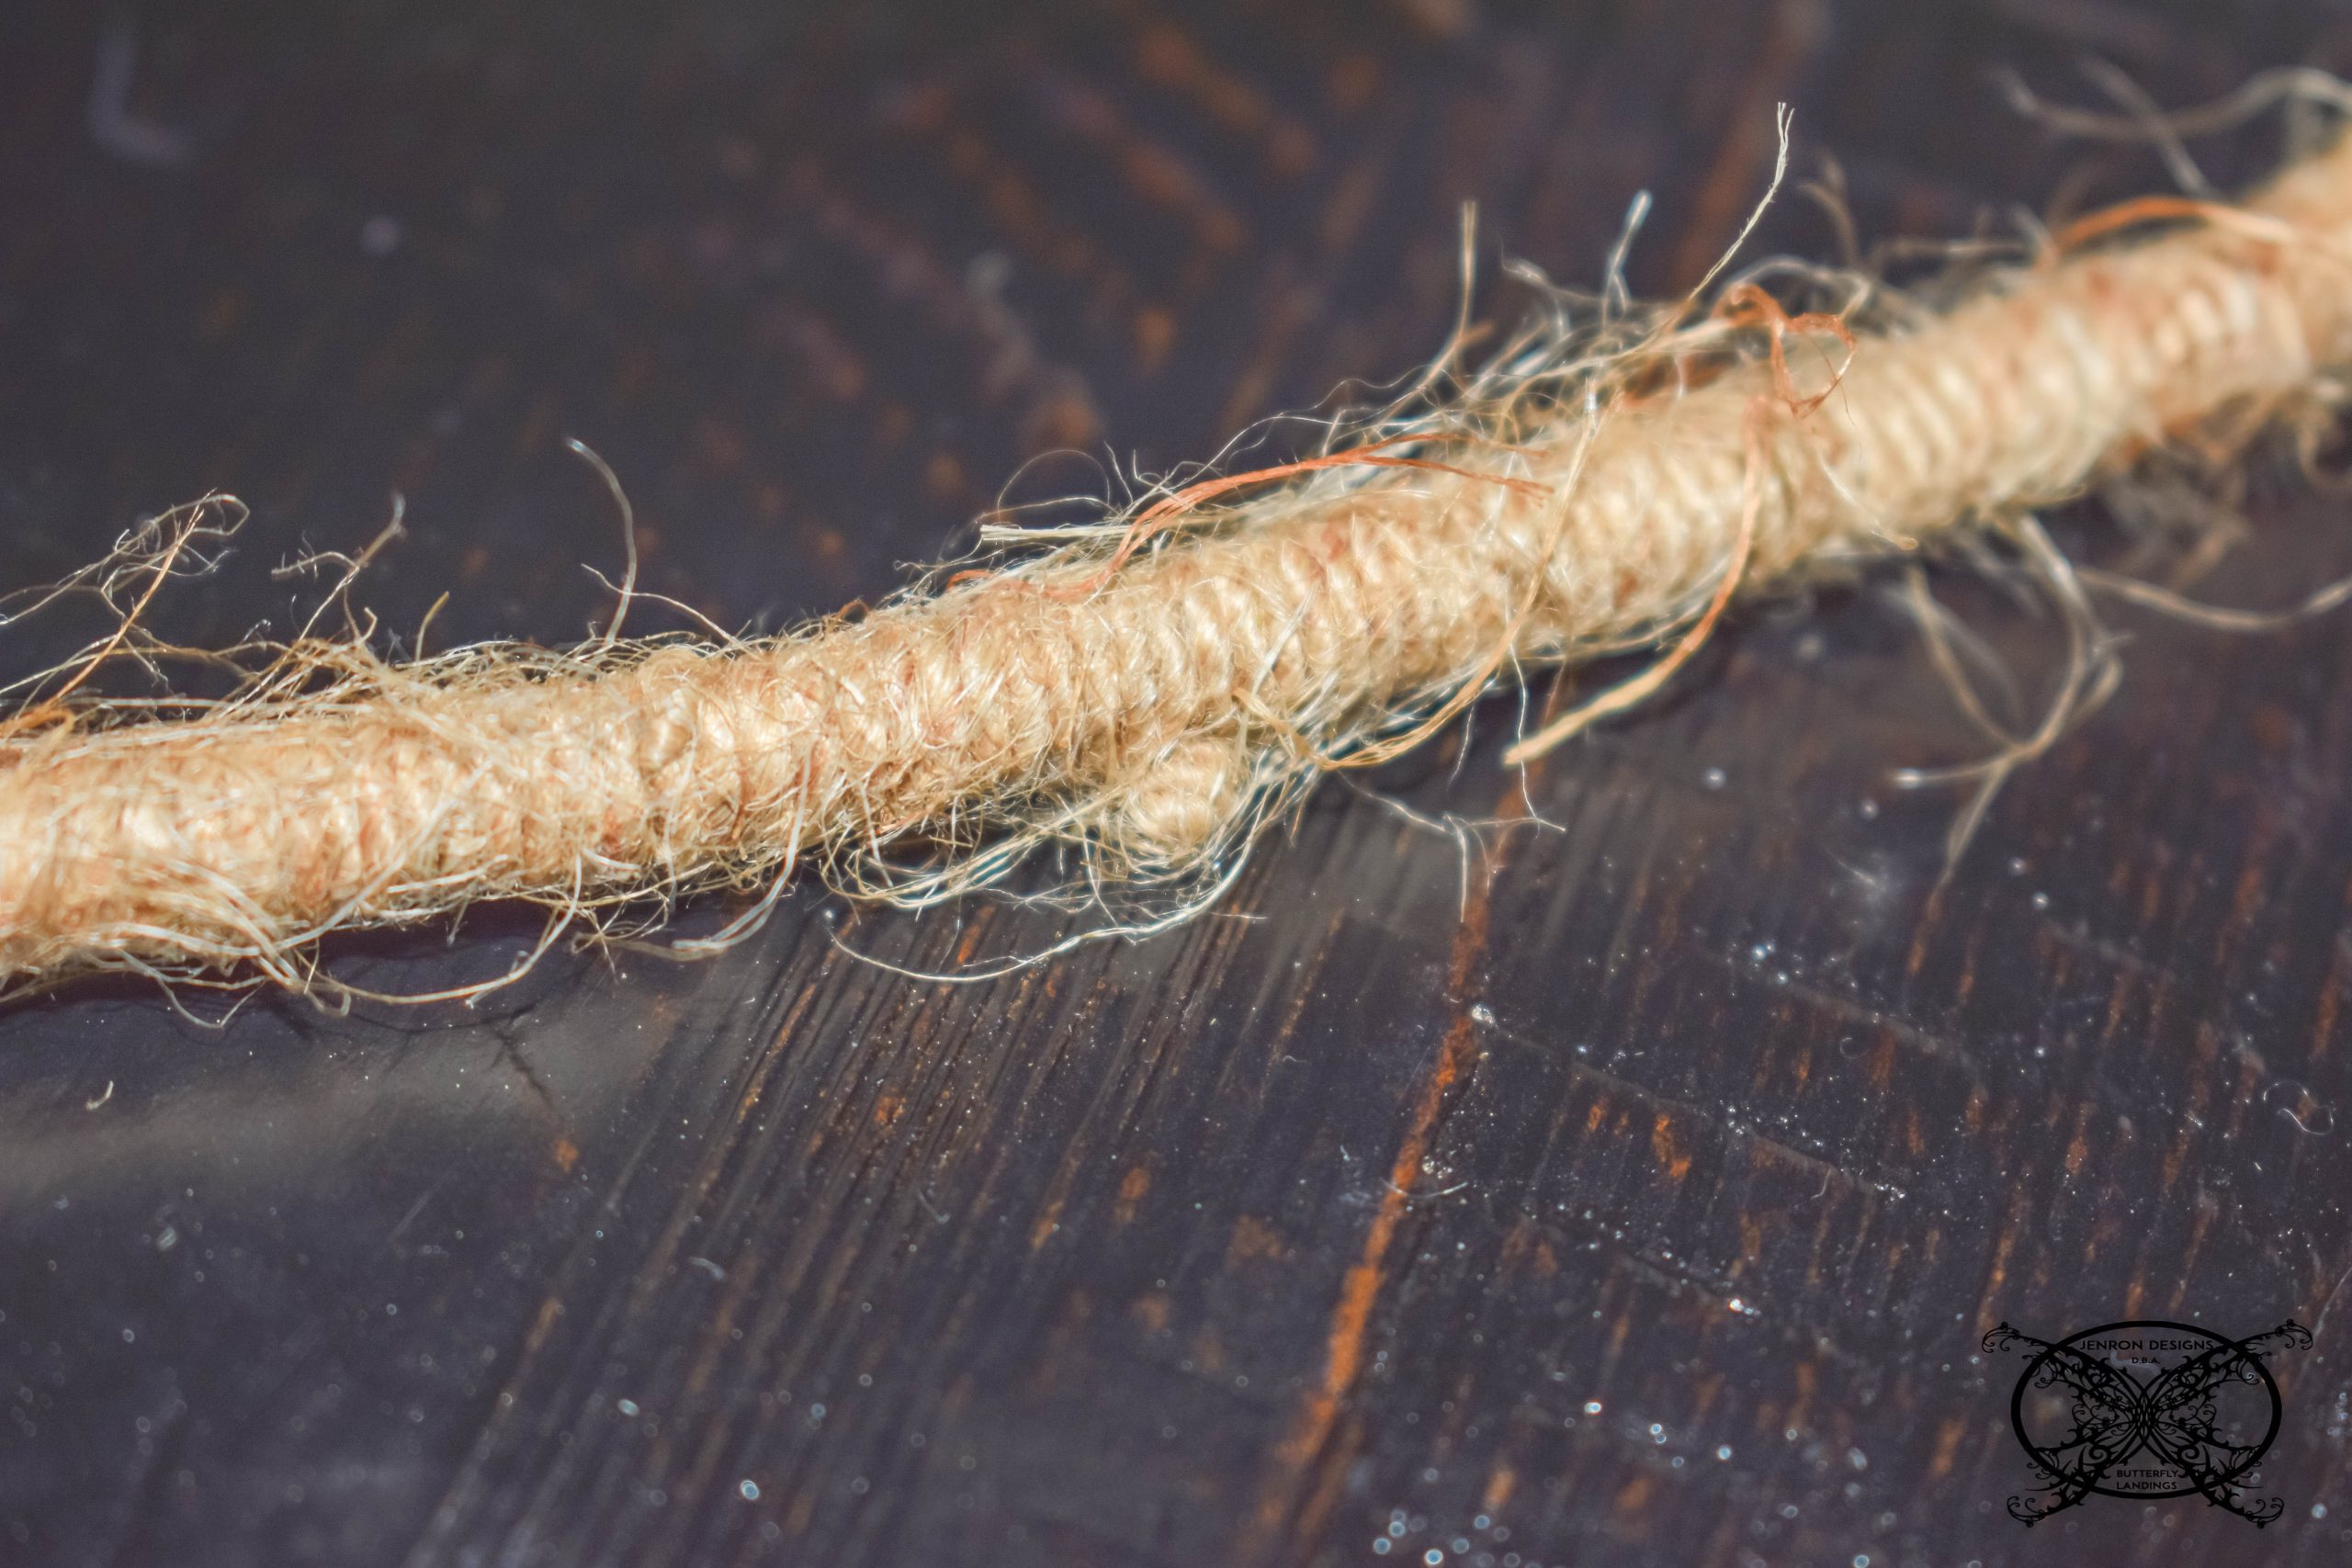 Once your glue is dry then you want to wind the twine onto the hoop until it is completely covered. once you reach the end you will tie off 3 knots again and glue, the same way you did above.
 This will give you a completely twine covered hoop. If you find this step too tedious and time consuming you can omit this part and just purchase a basic wood embroidery hoop, which looks great too.
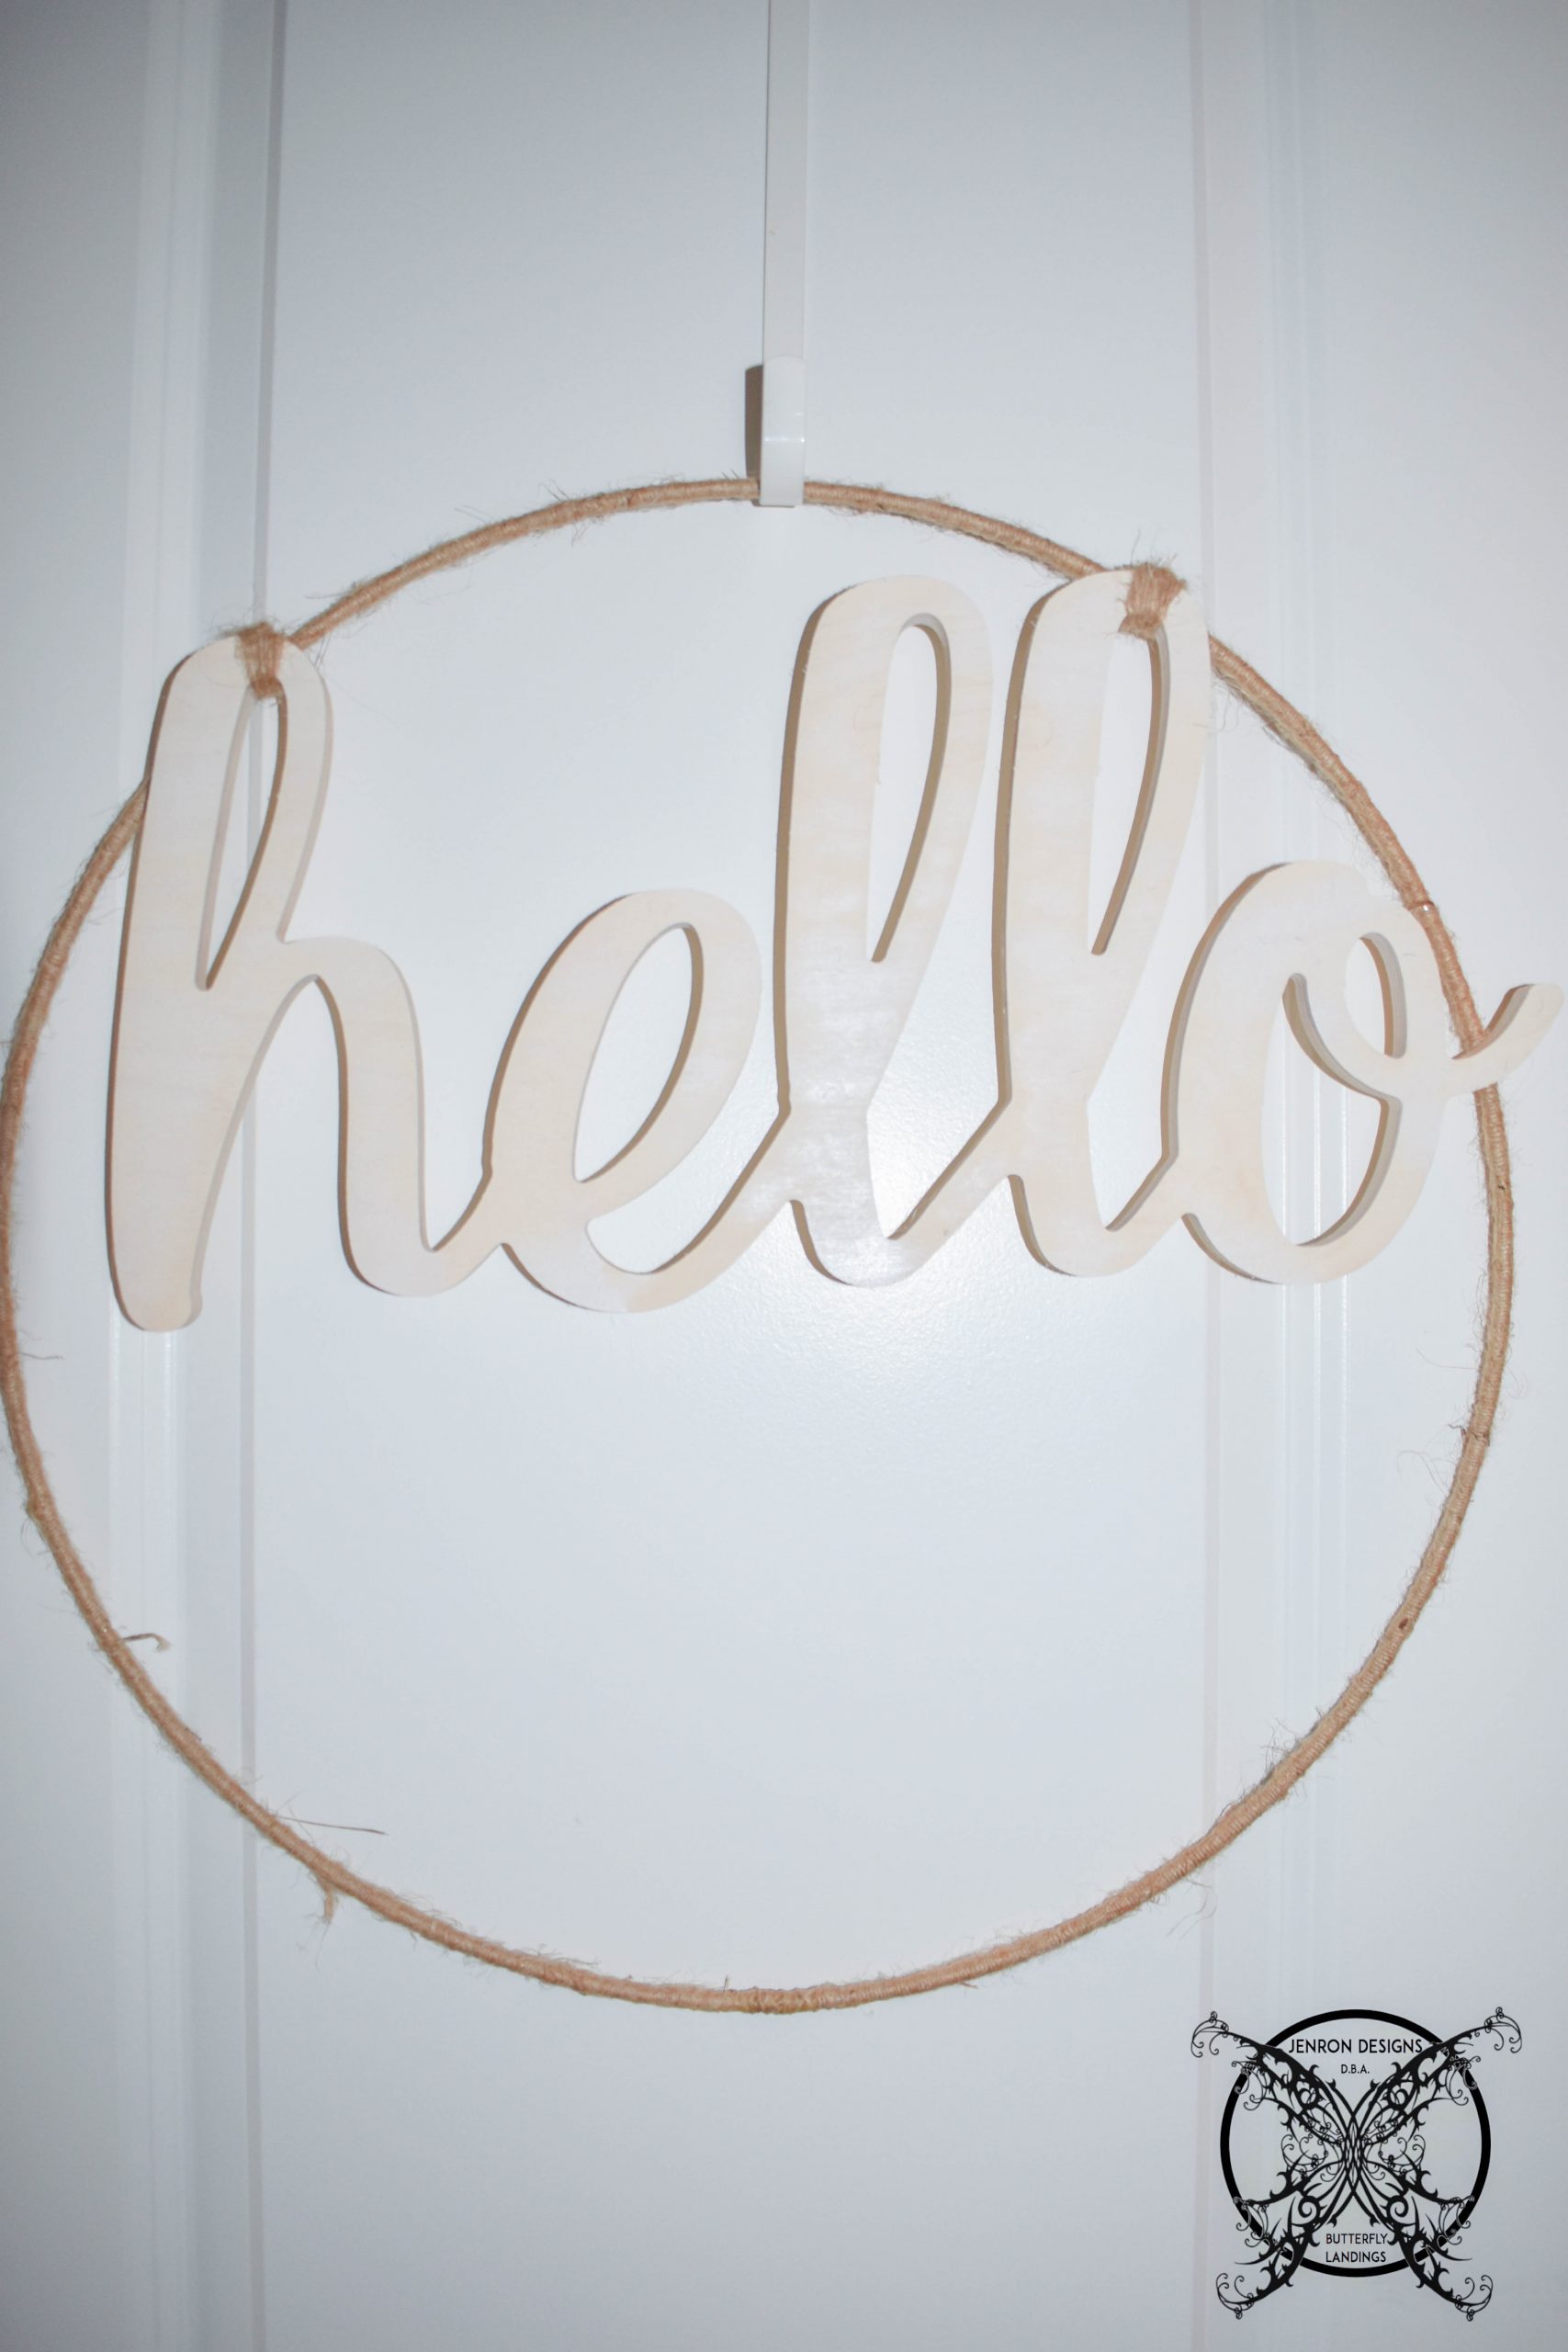
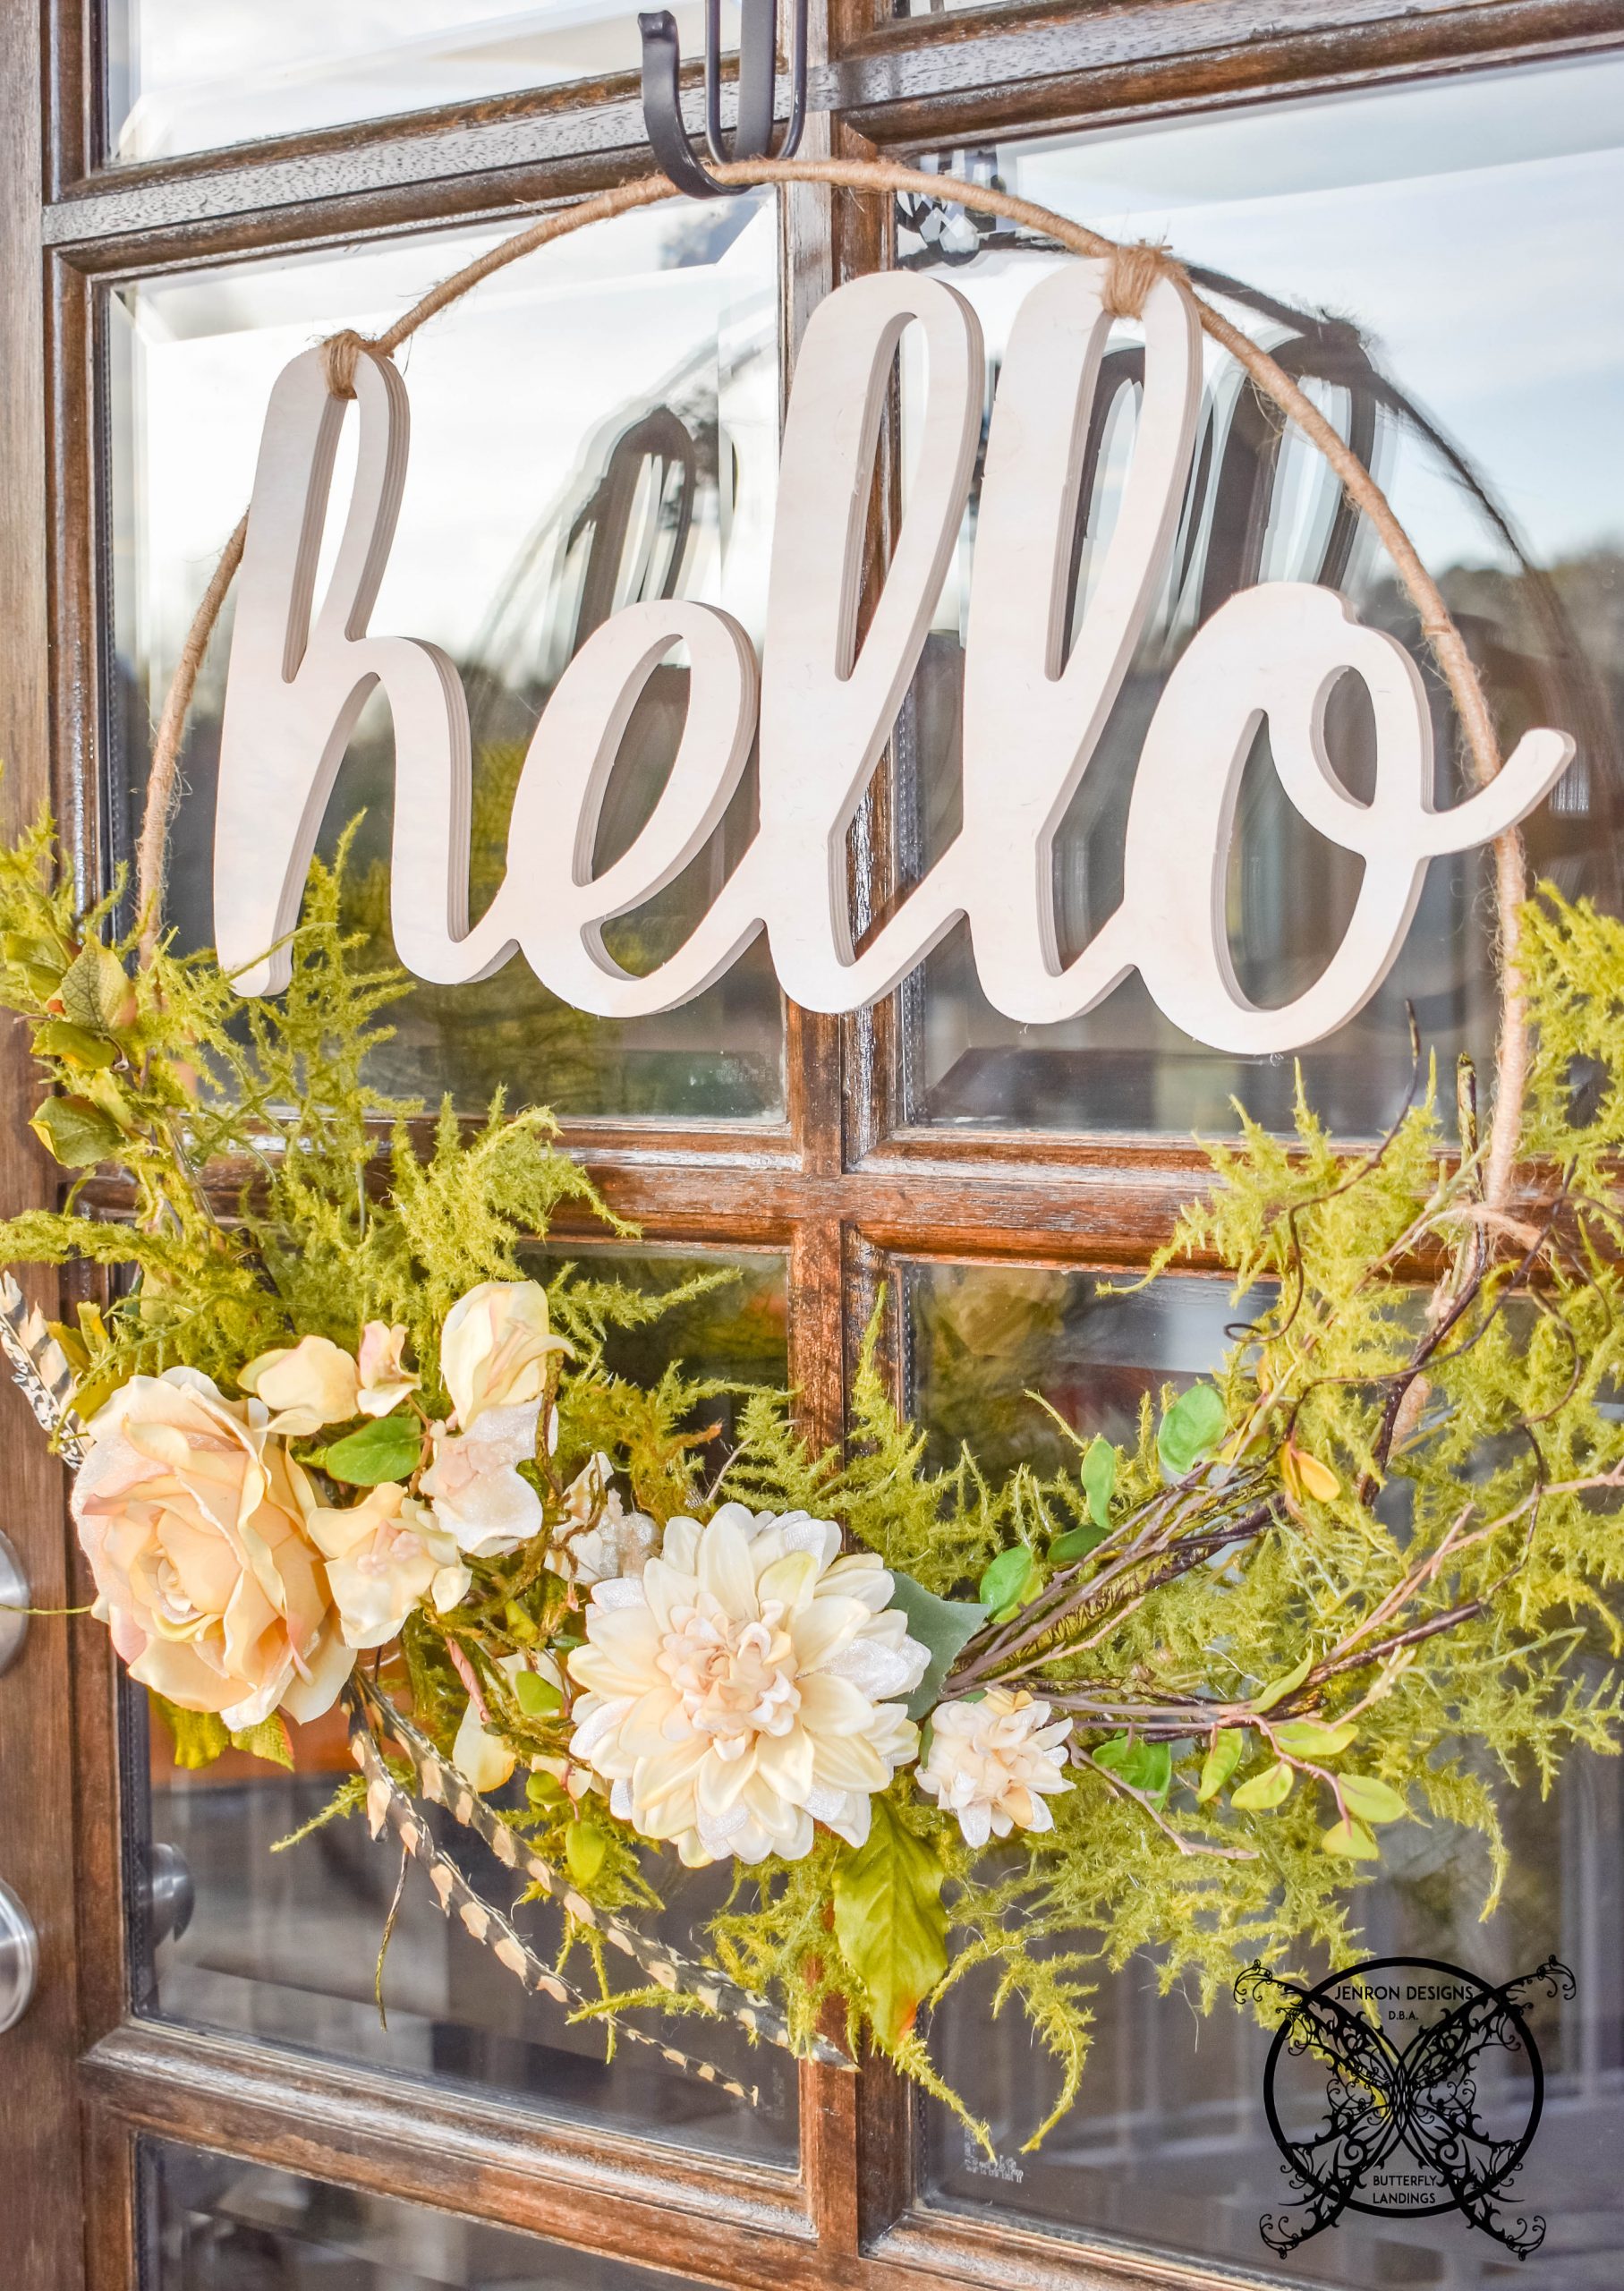
The next step is to attach your greeting. I choose hello since it was for my front door, but you can pick any wood lettering you like as long as it fits inside the hoop. The main thing you want to look for is letters that have loops so you can attach them to your hoop. You can see I used the, H and one of the L’s to keep the word centered.
Designer Tip- While you can leave the raw wood for a rustic look. I decided to use a white milk paint wash just to seal the letters. This is where you get to be creative and make it your own. Pick a pretty color that will not only compliment your flowers but pop on your front door. Don’t forget that the final product needs to have curb appeal from the street and not blend in with your home.
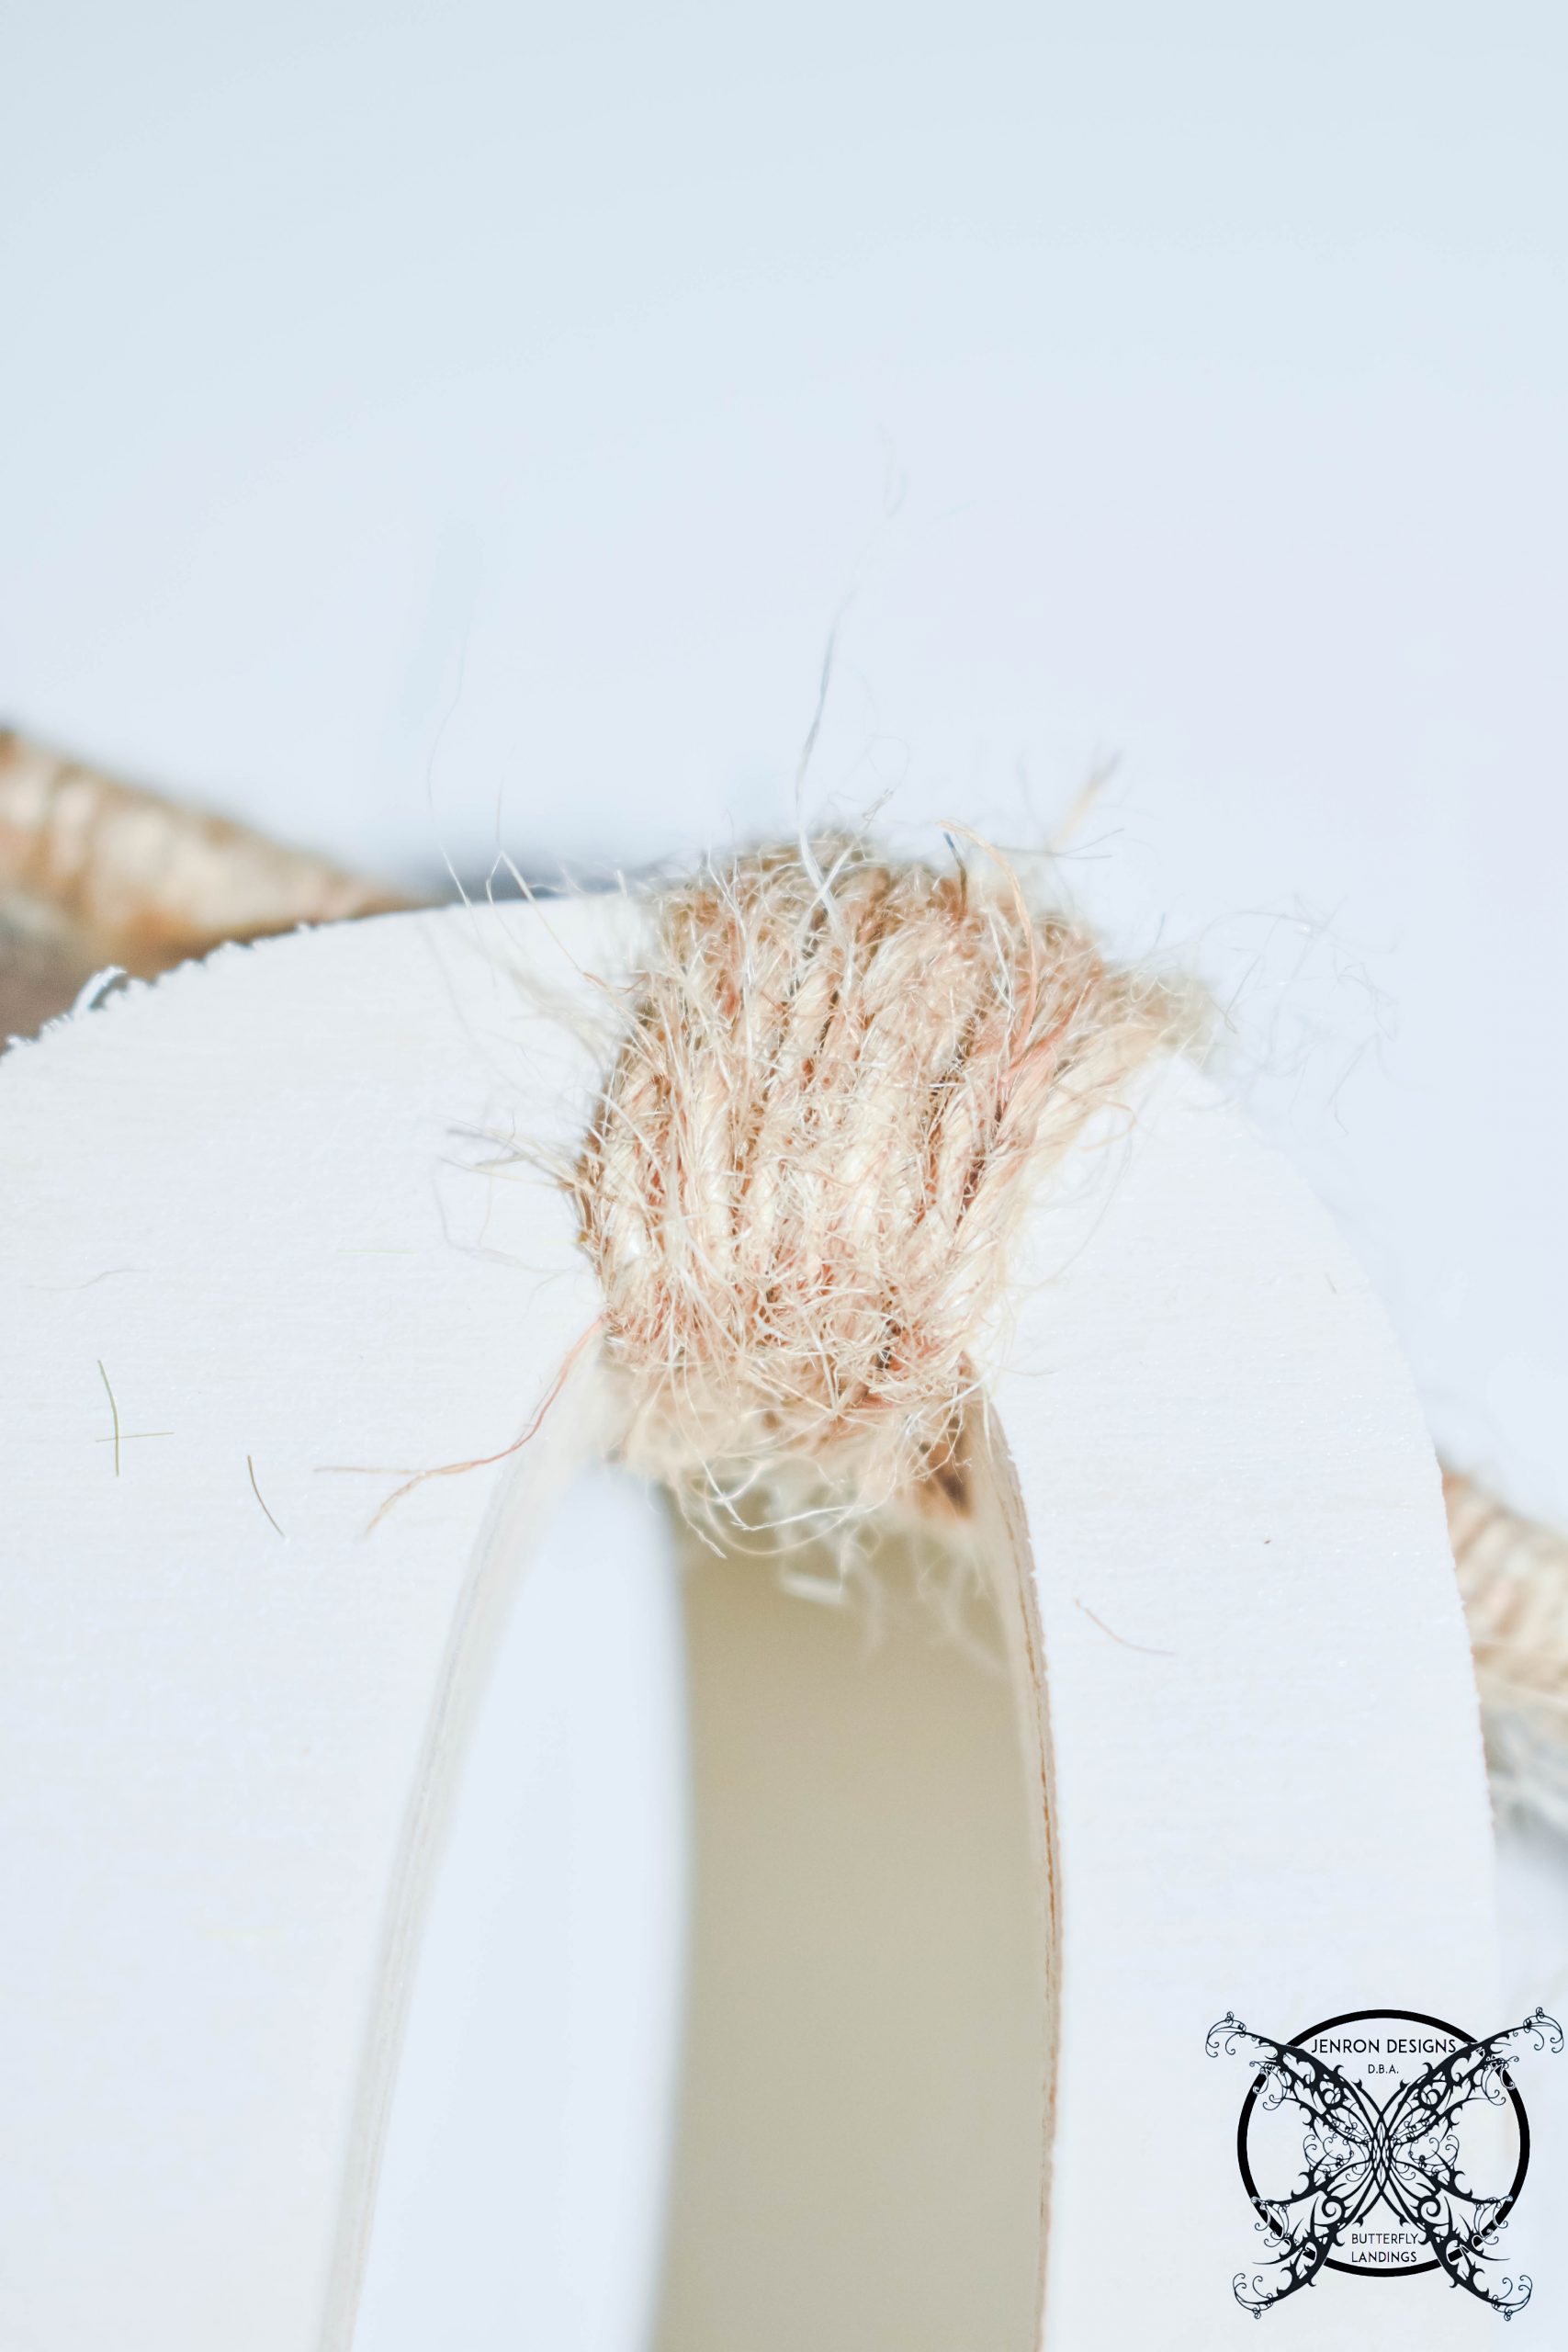 I adhered the lettering by tying several knots and wrapping the twine around the letters. The reason for this decision is simple, (1) it goes with the style of the hoop and (2) I have a glass door, so everything I make for my front door can be seen from the back. Which means it has to be pretty on the backside as well. No ugly wire or tape can be hidden on a simple design with this much open space so it had to be natural twine and look like it was a conscience part of the overall design.
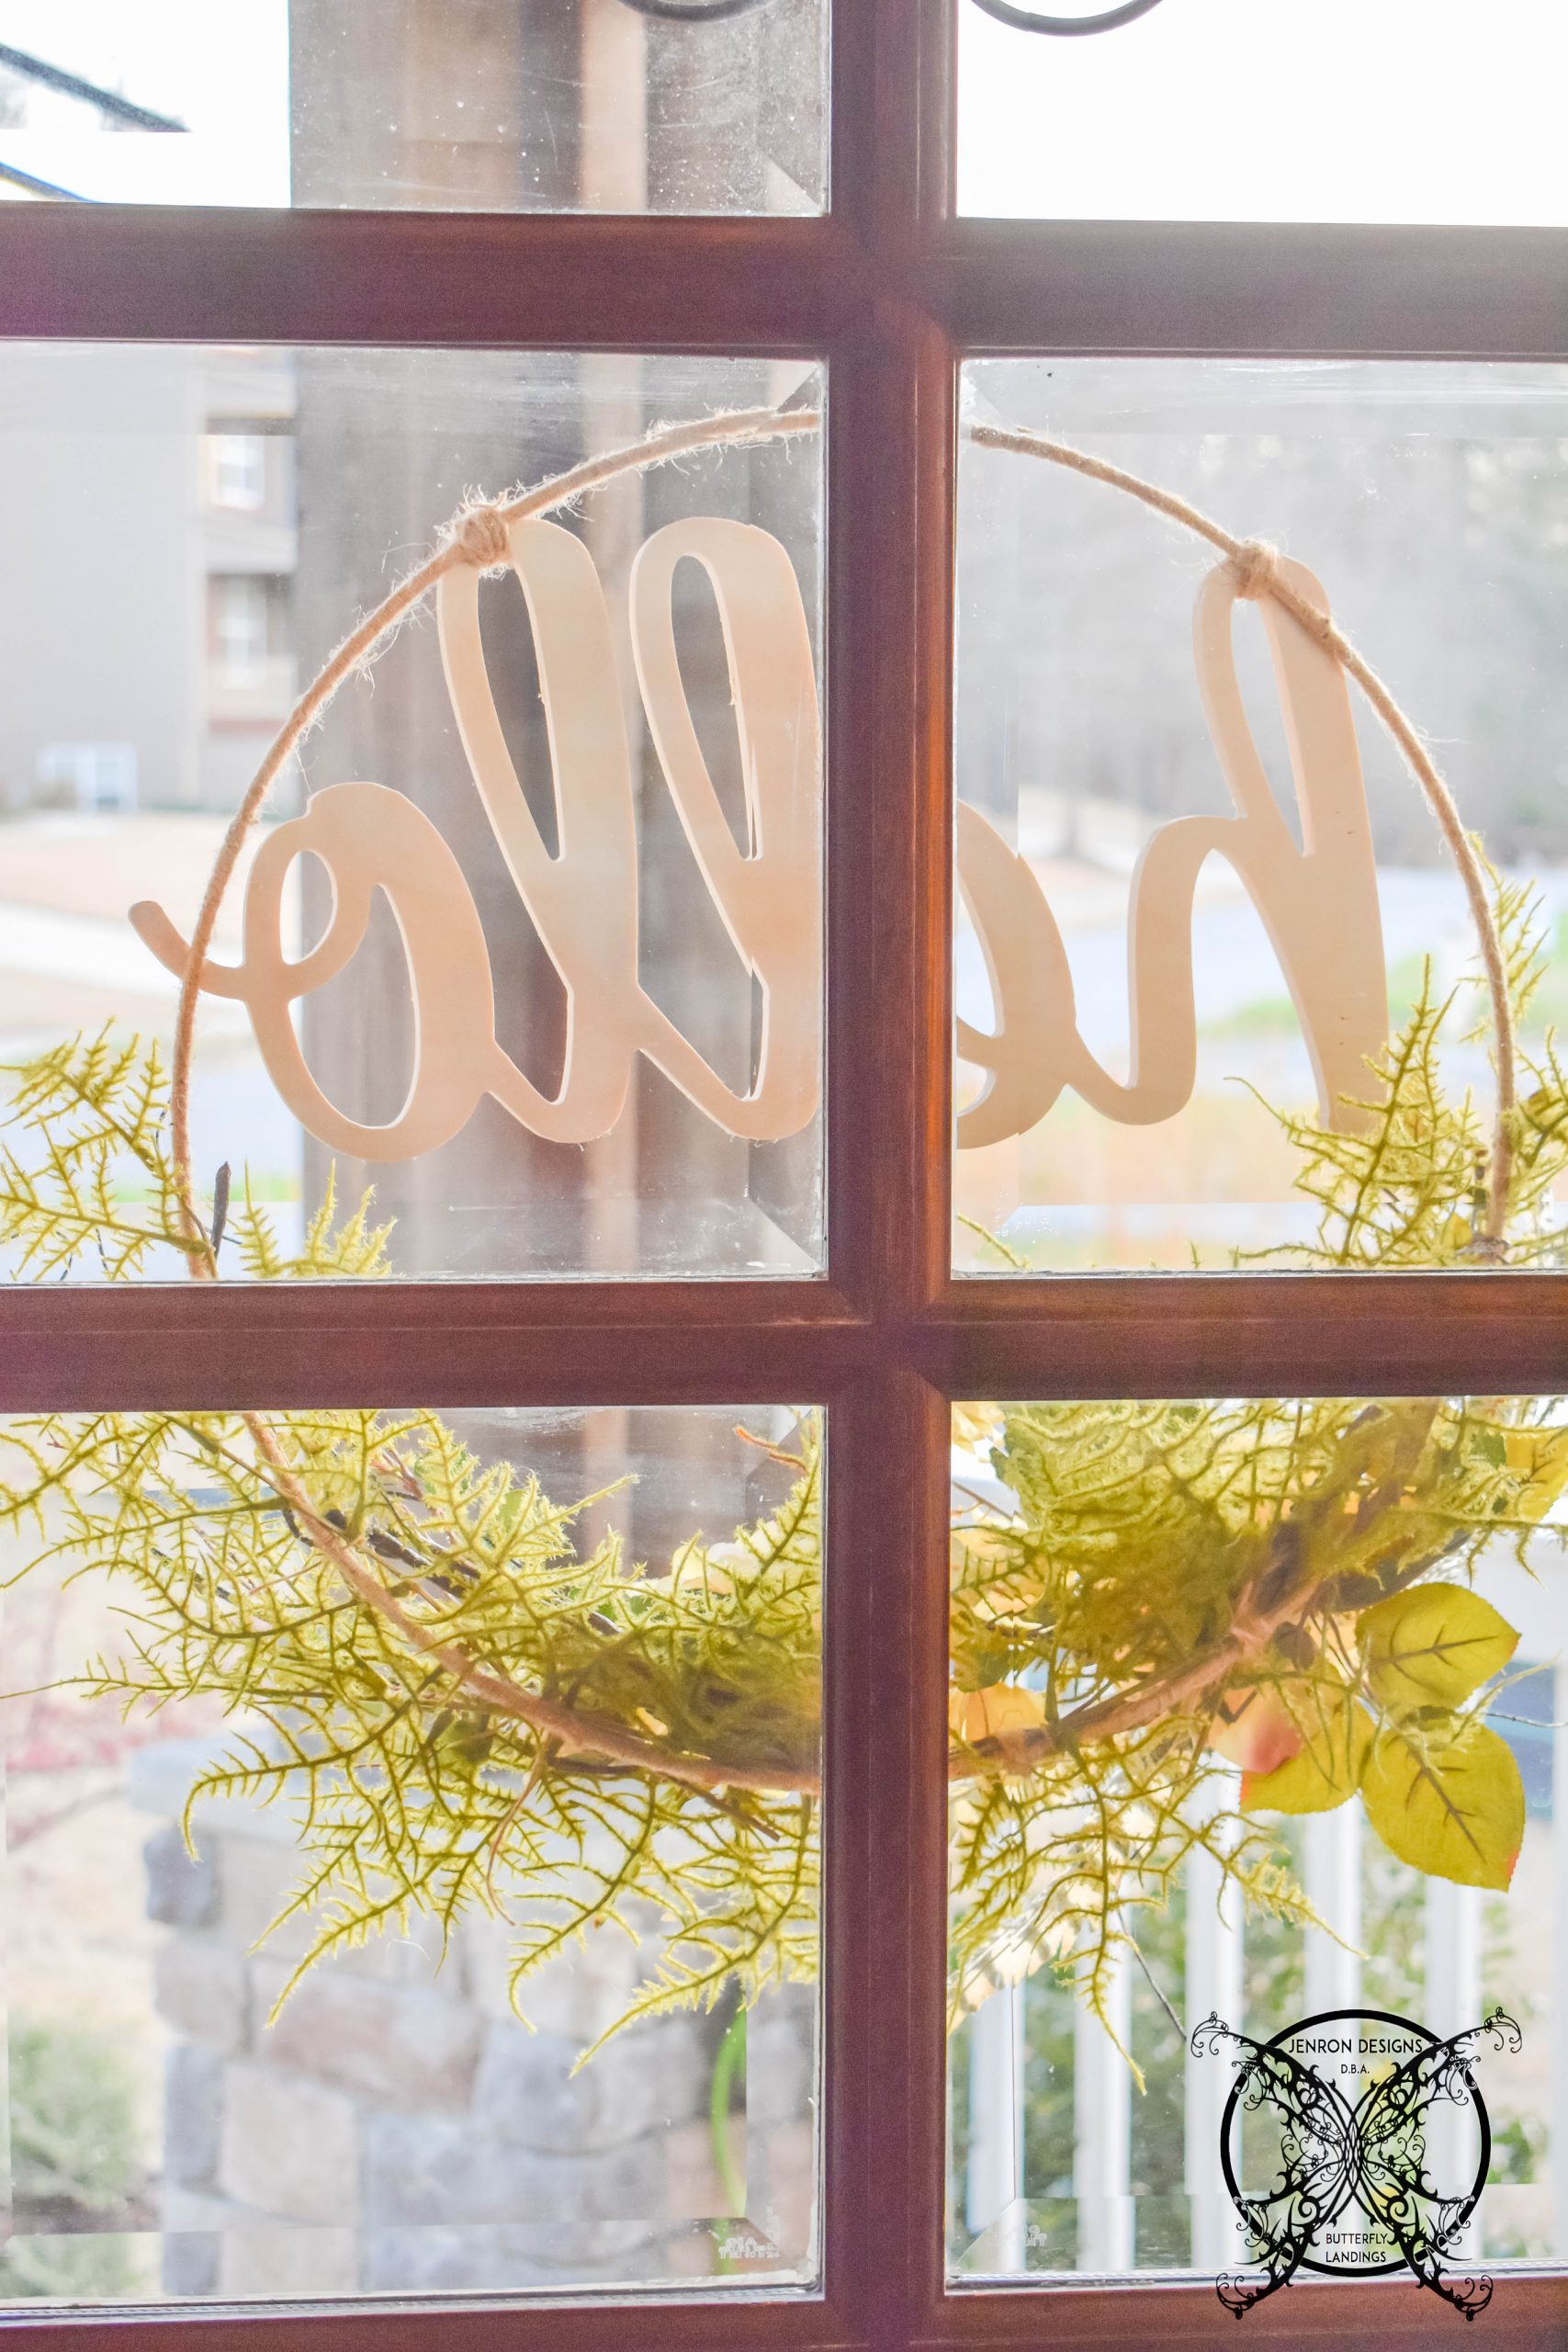 As you can see we continued this process even into the assembly of the floral stems by tying them in with twine versus using wire. It kept the entire wreath looking very natural. It is also very sturdy too, we had a few gale force winds that I thought might destroy my poor little wreath but it did not even drop a petal.
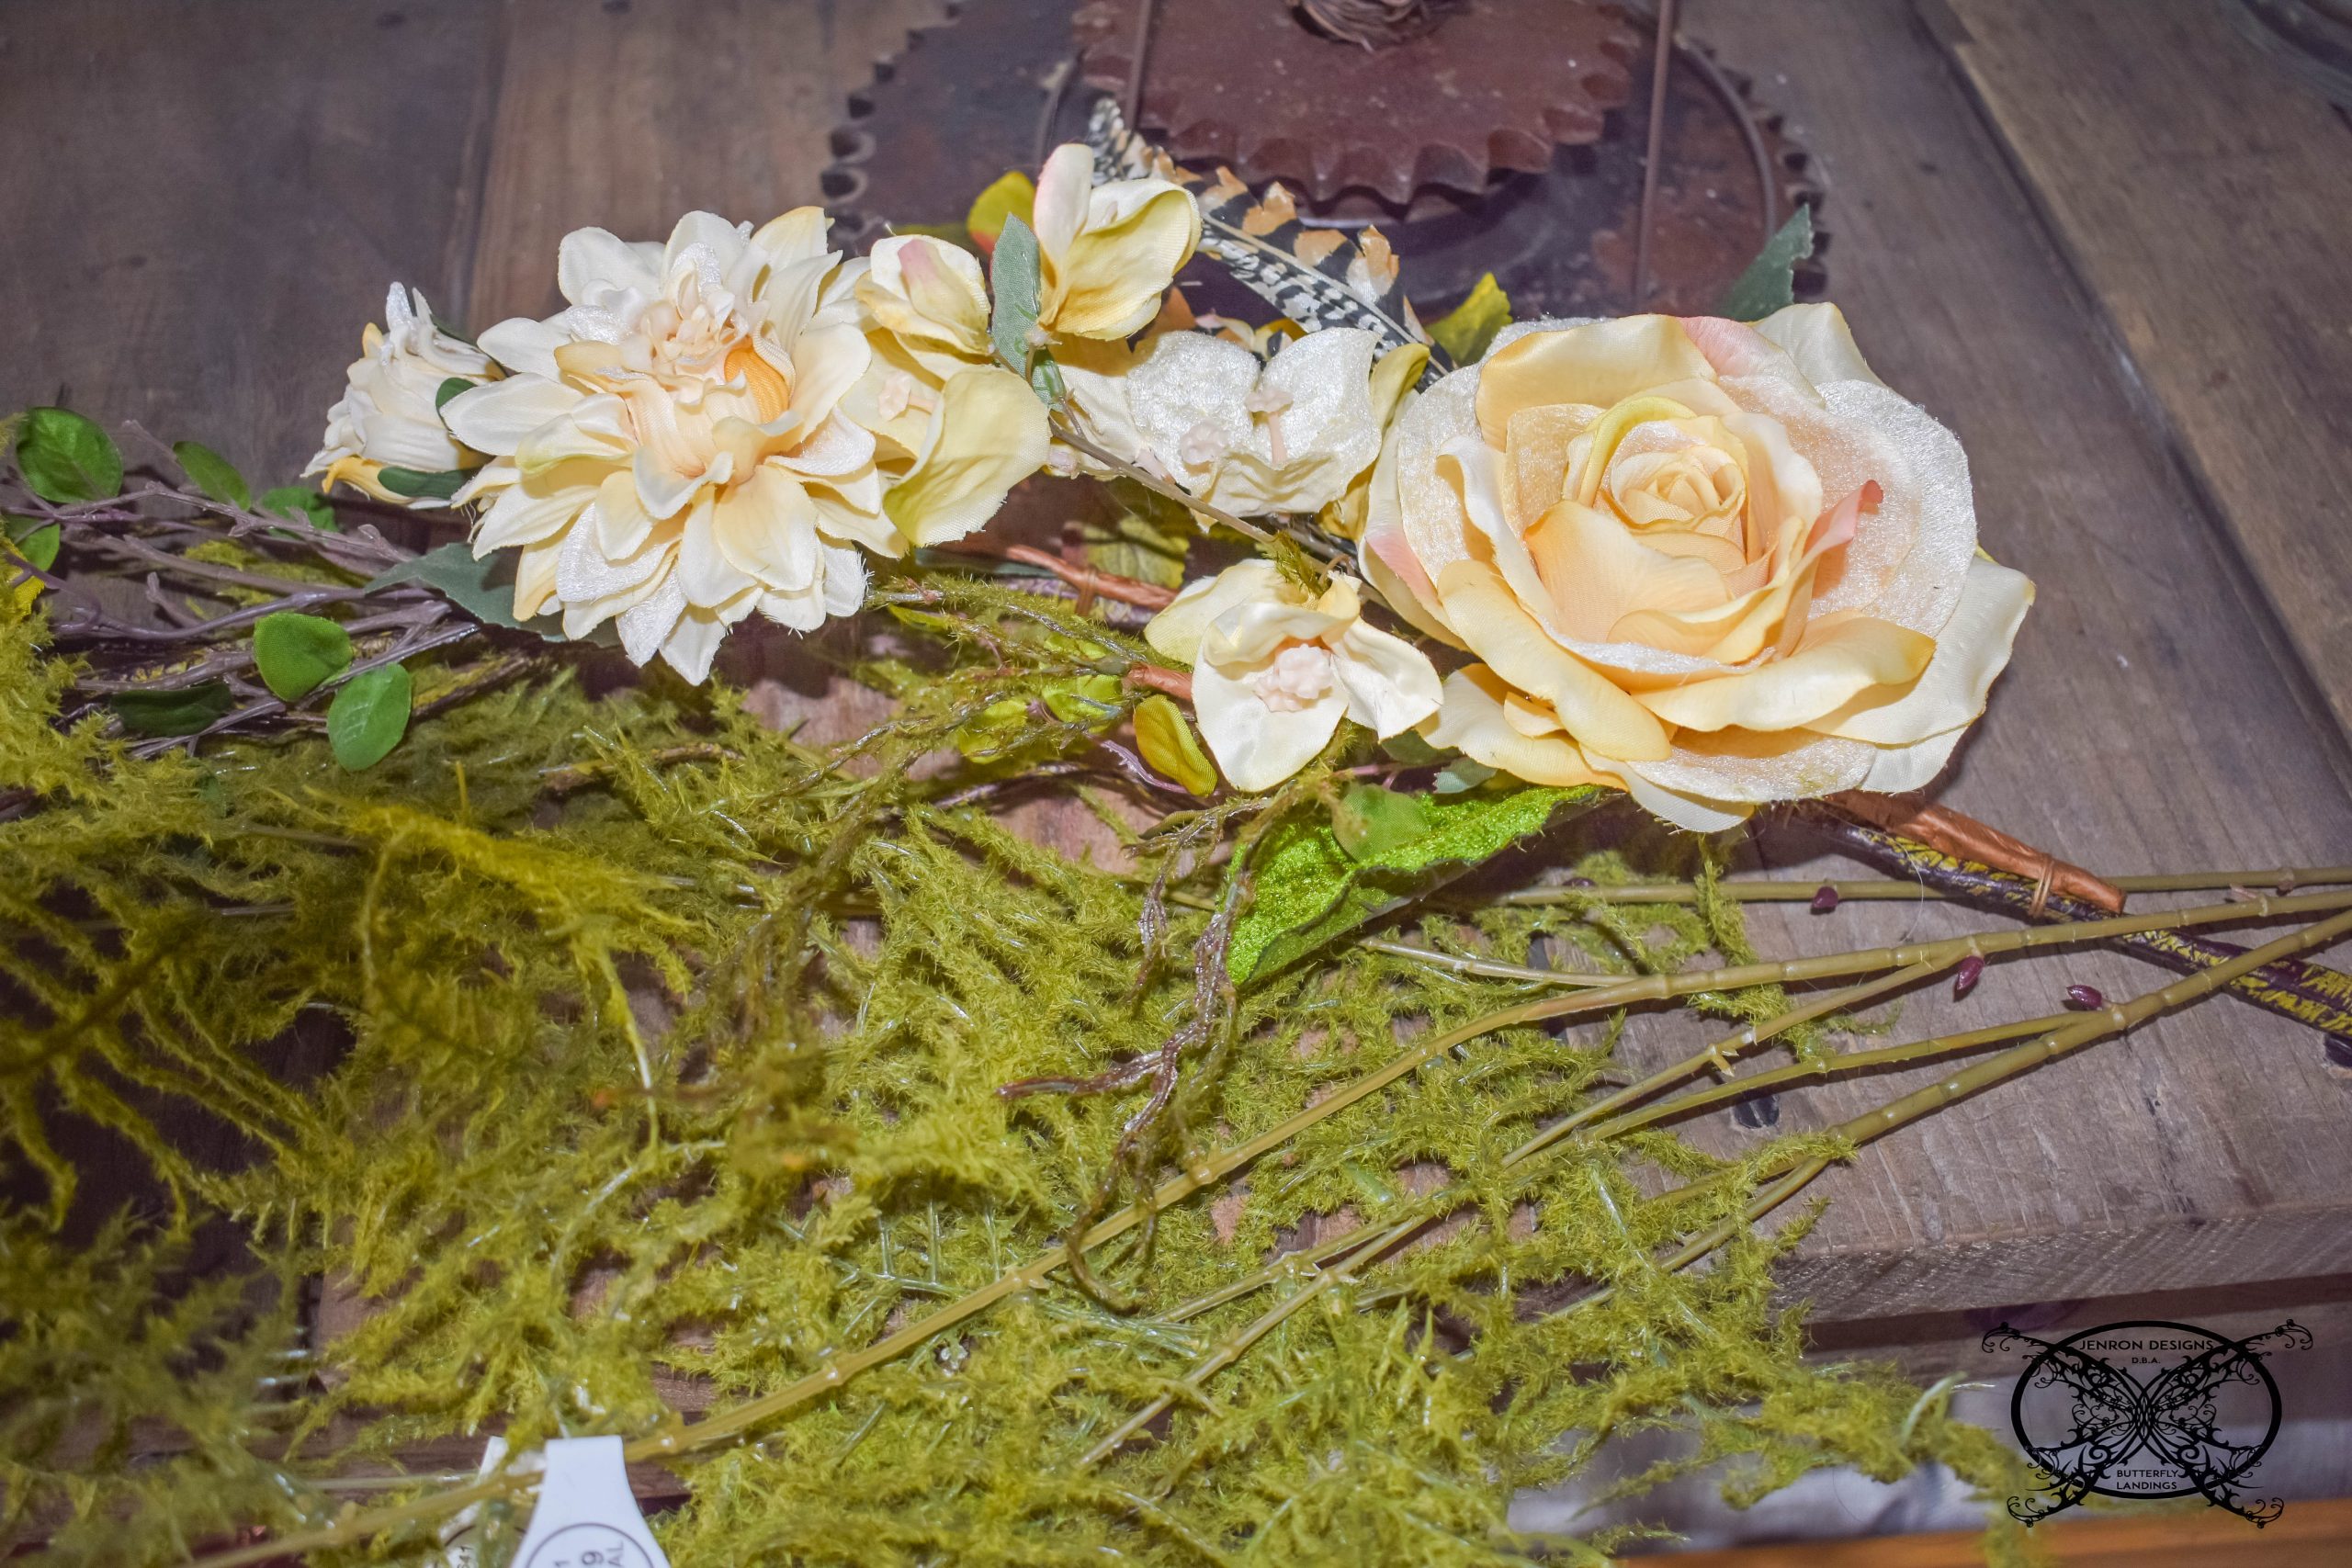
 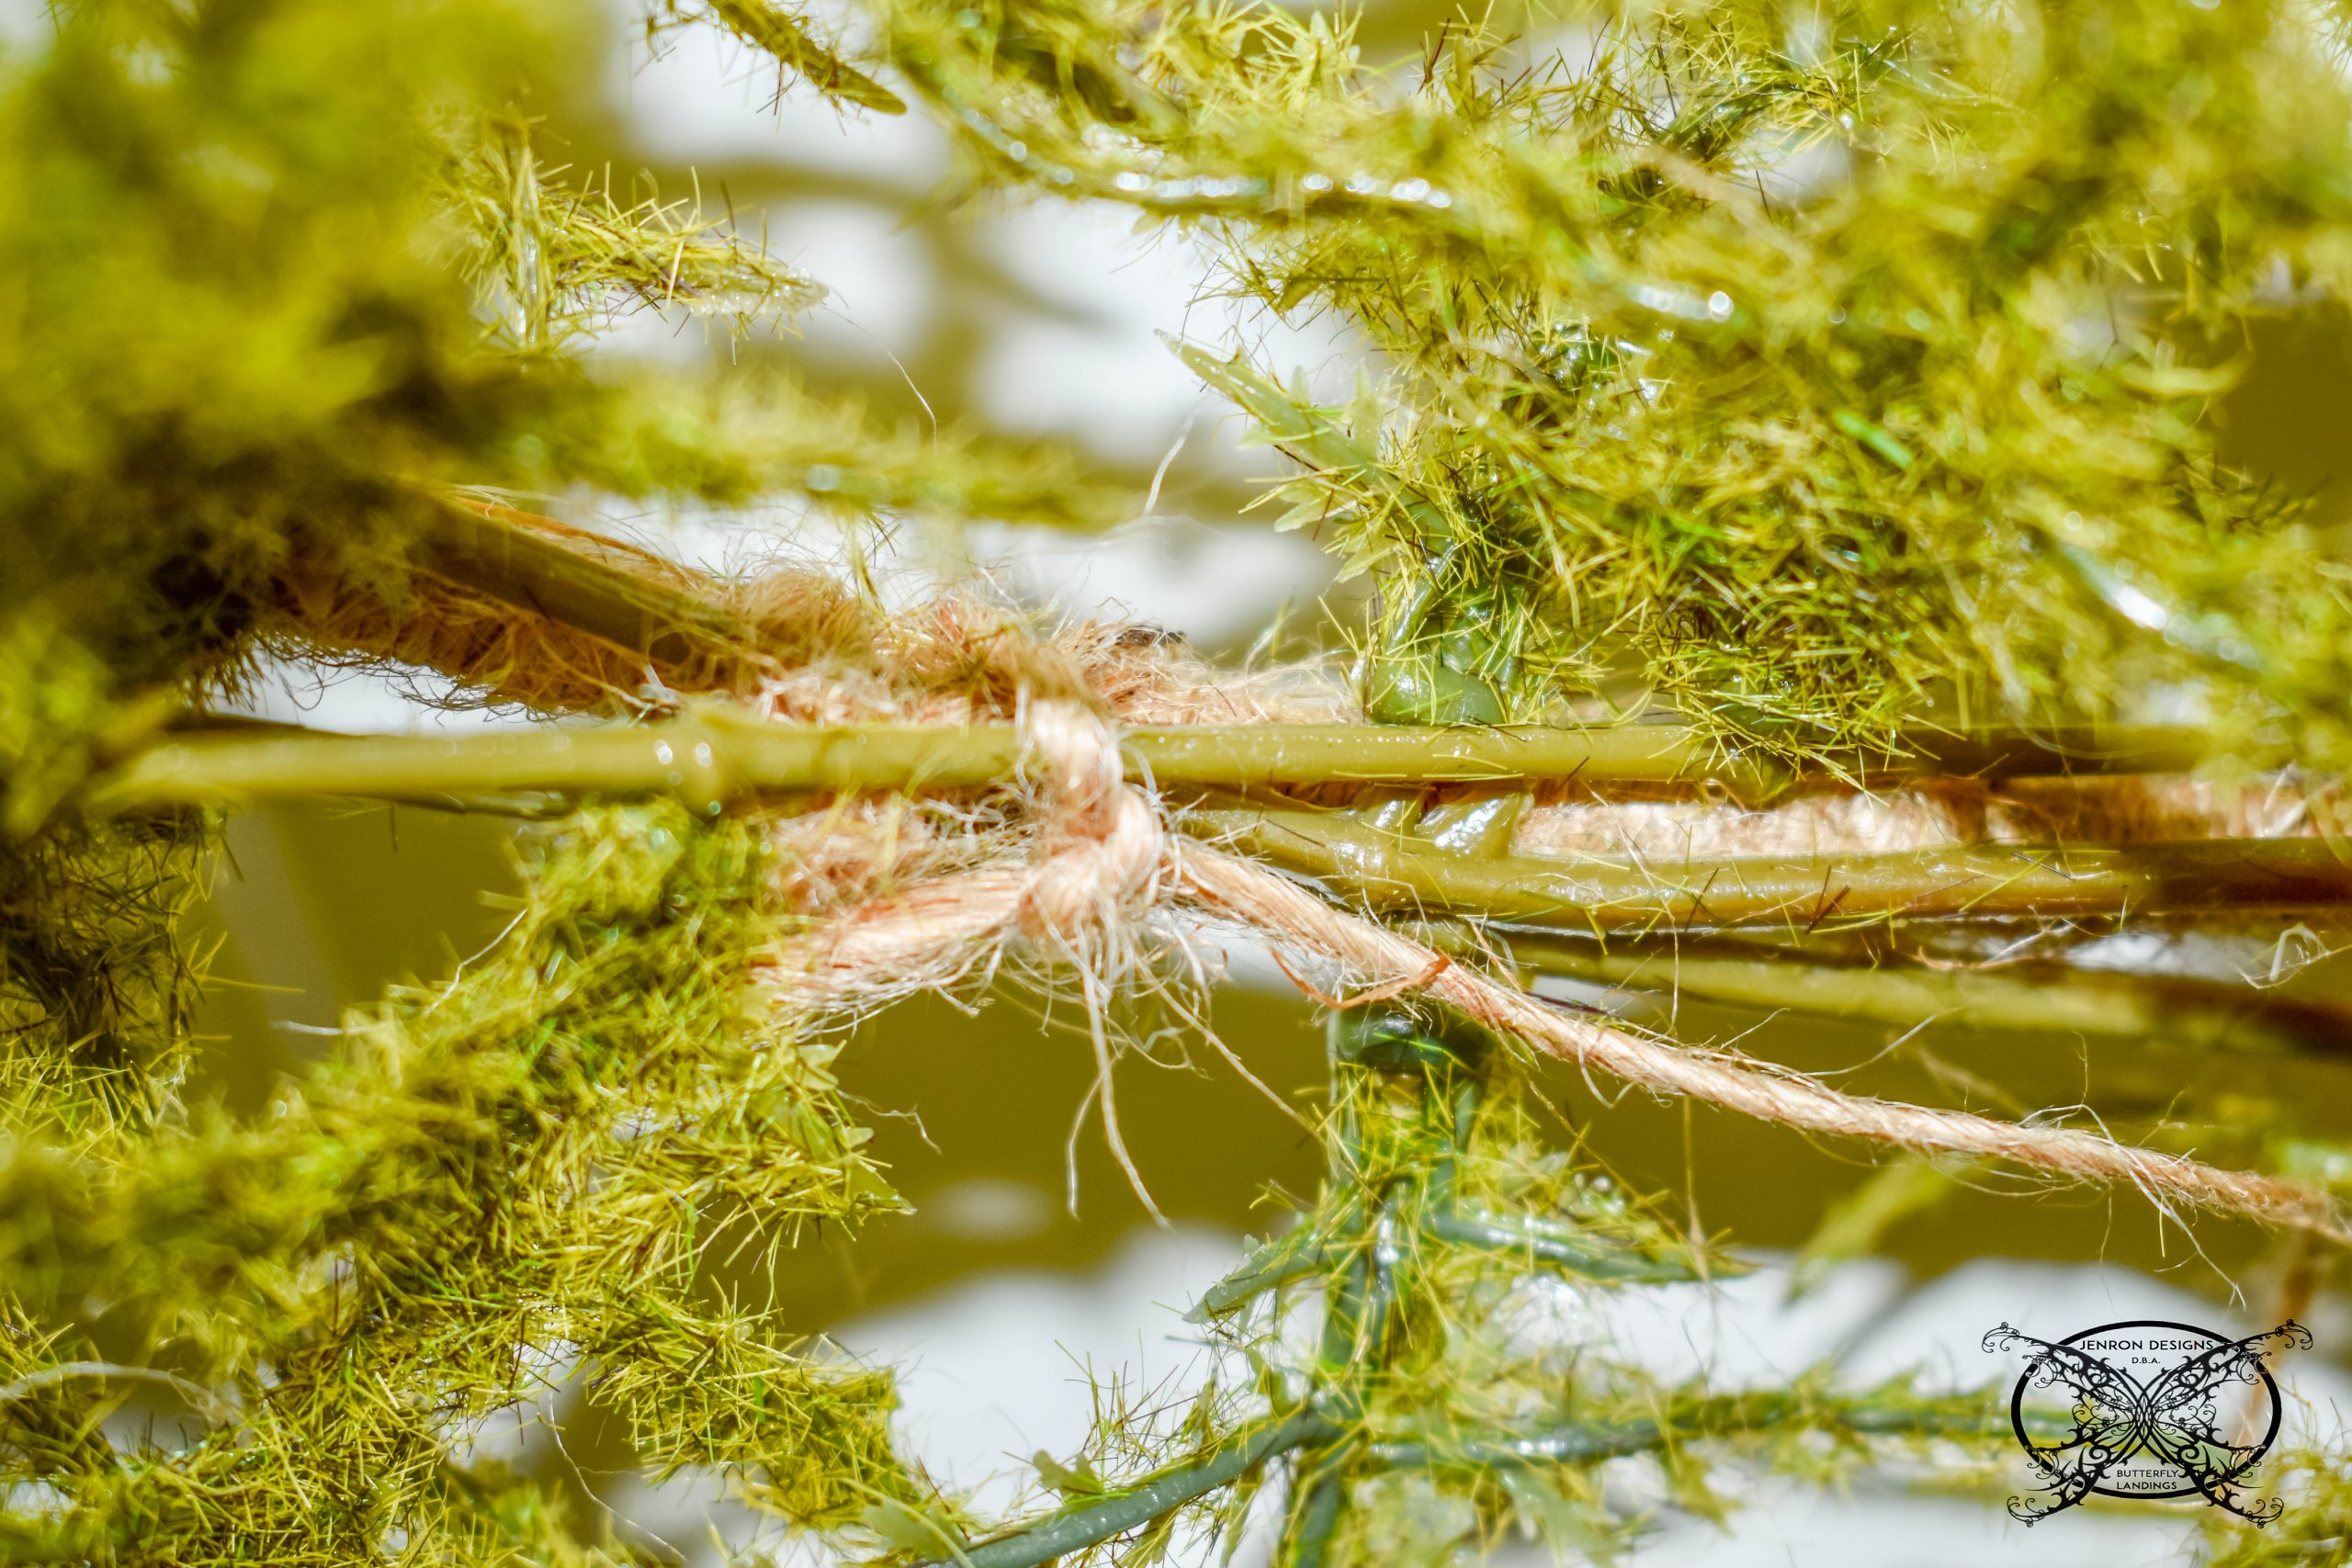 Okay, so when adding the floral stems, let me give you a few tips. Alway, always, always divide and cut your stems. No where on the planet did the manufacture expect you to keep them in the exact form you bought them. Take a look at the picture below, this is a full stem, that I have separated into sections, where I will be cutting.
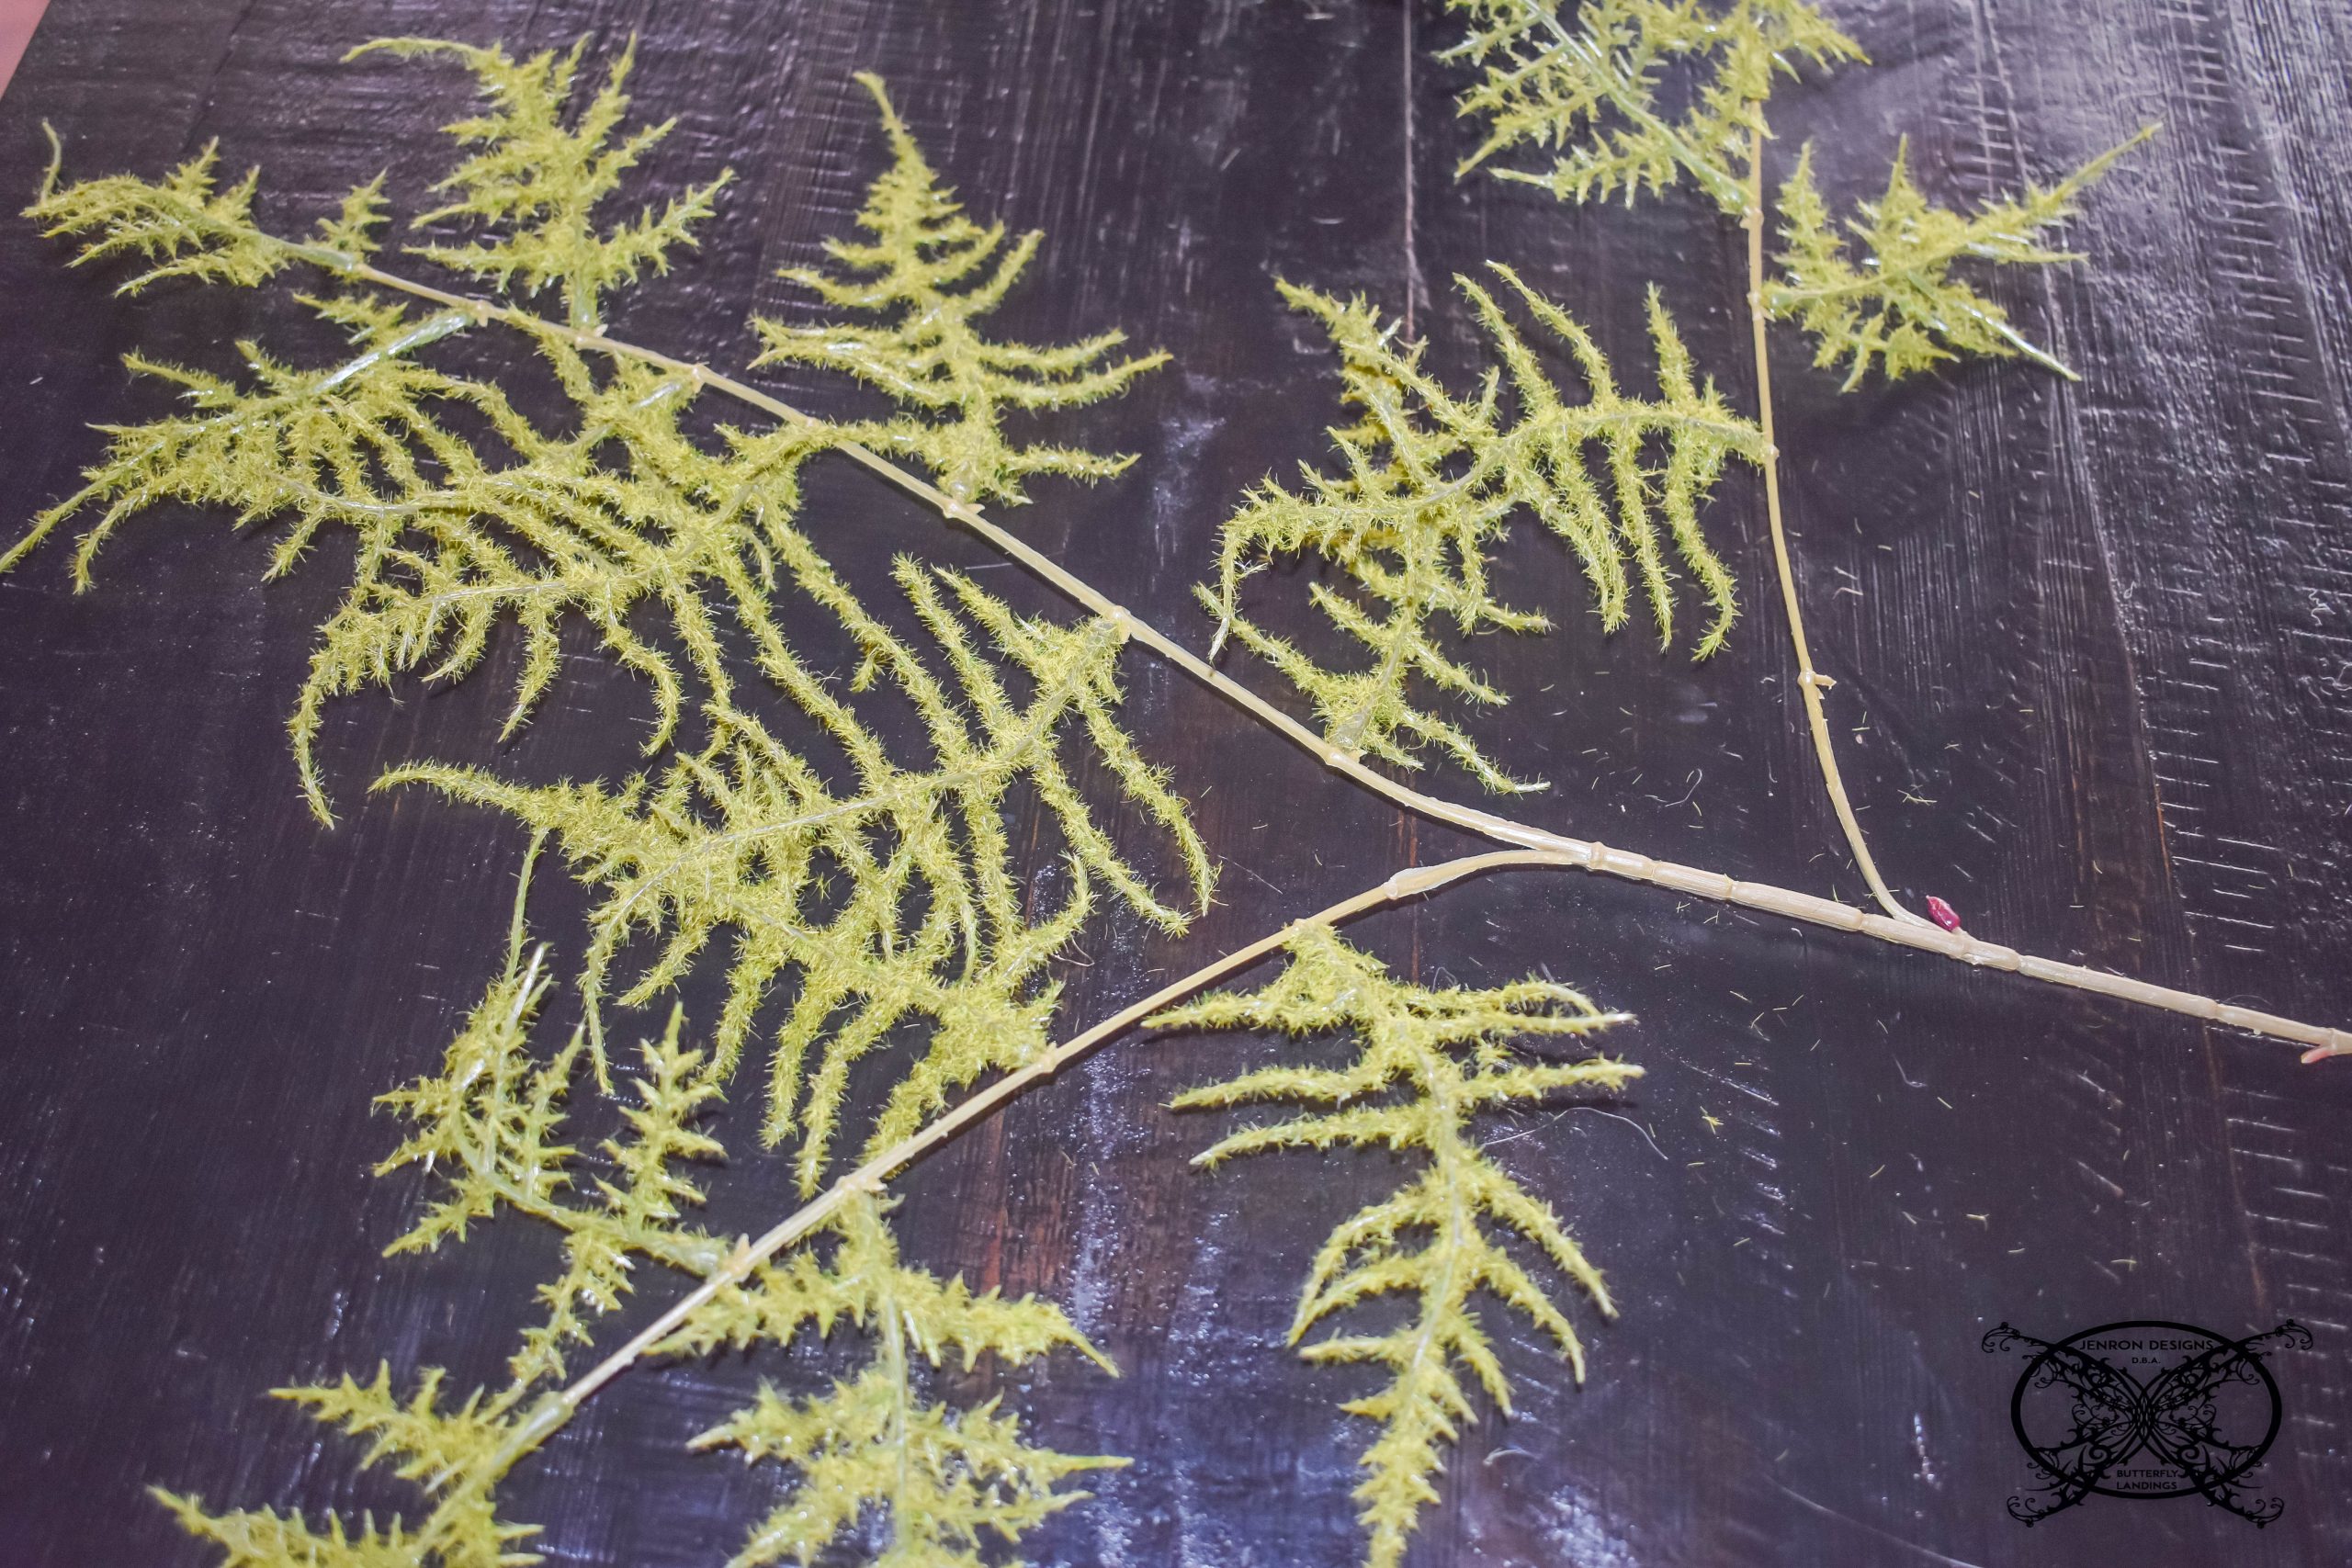 This will allow one stem to become three pieces for you wreath. While you can certainly use it as one piece and bend it to meet your needs, I find that cutting the stems up allows for better coverage in a design.
 When I talk about coverage, I am referring to the ability to layer the pieces on top of each other. This will allow you to easily hide the mechanics of a wreath design. Below, I have taken all three pieces and layered them to create a thick lush foliage on the hoop.
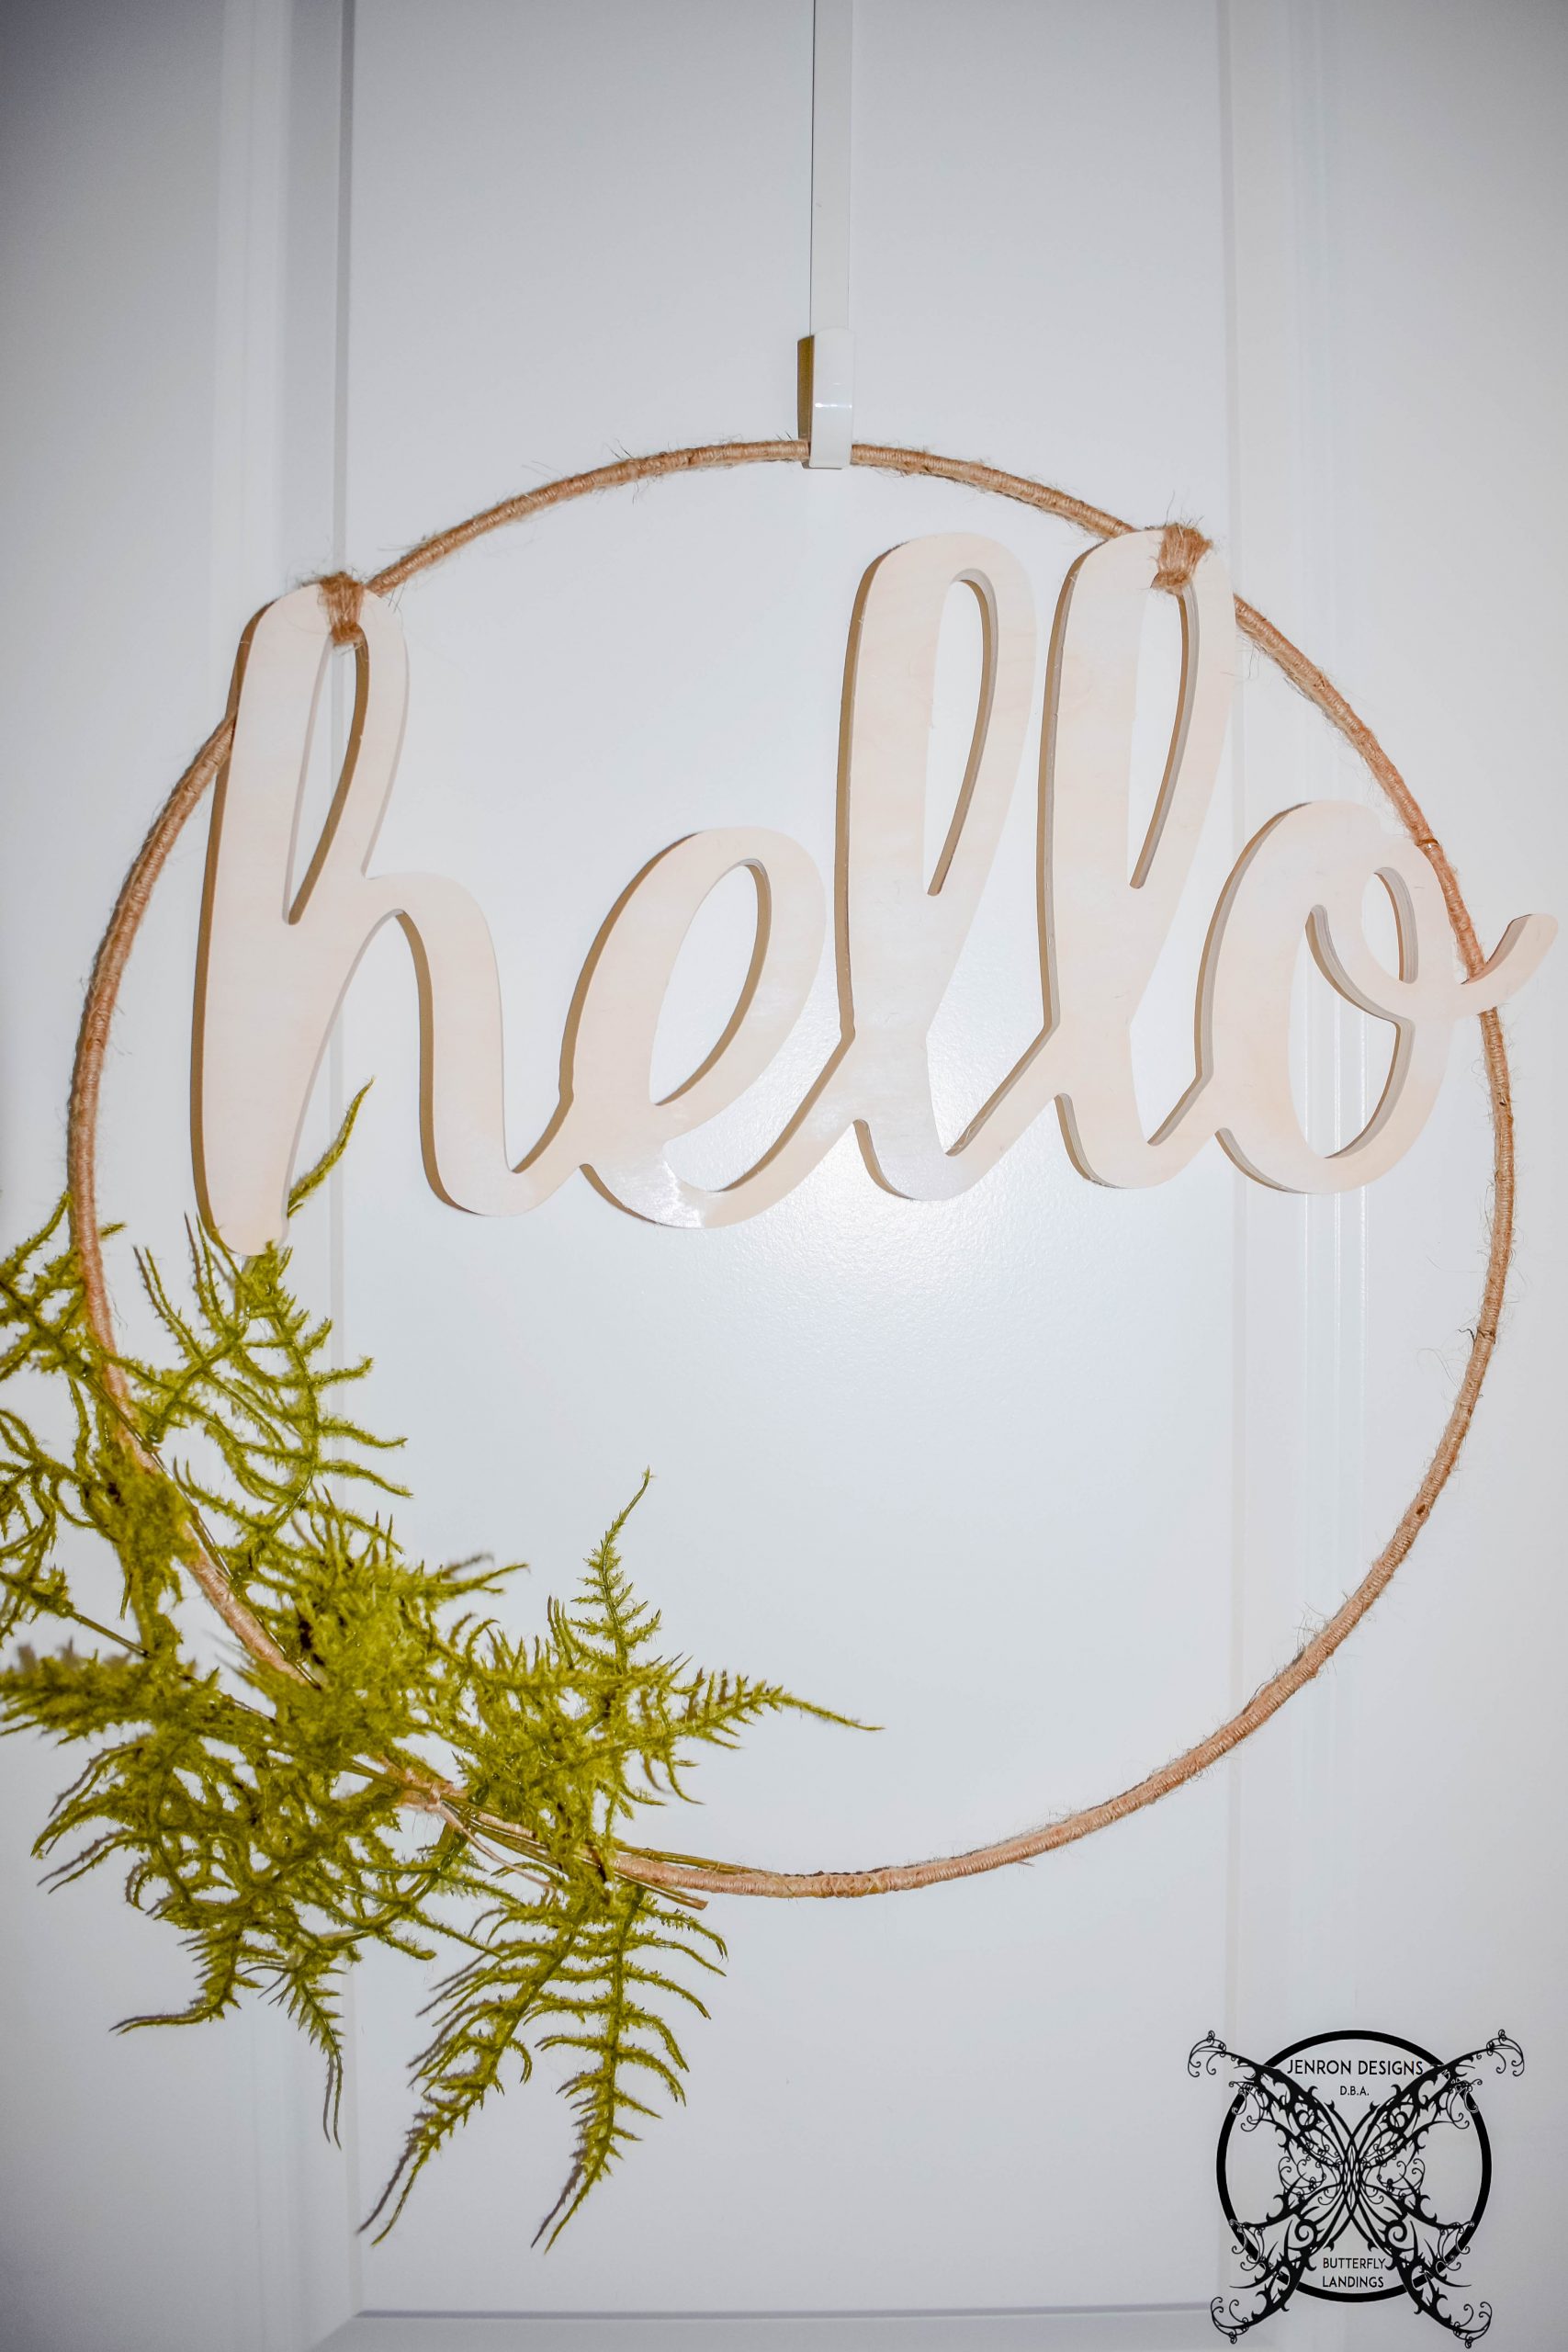 I then repeated the exact same process to the other side of the hoop for a nice balance of greenery. This will create a nice nest to place your flowers into. Also by cutting the stems to smaller pieces this keeps the foliage closer to the hoop giving you a denser look and fanning out all over the place.
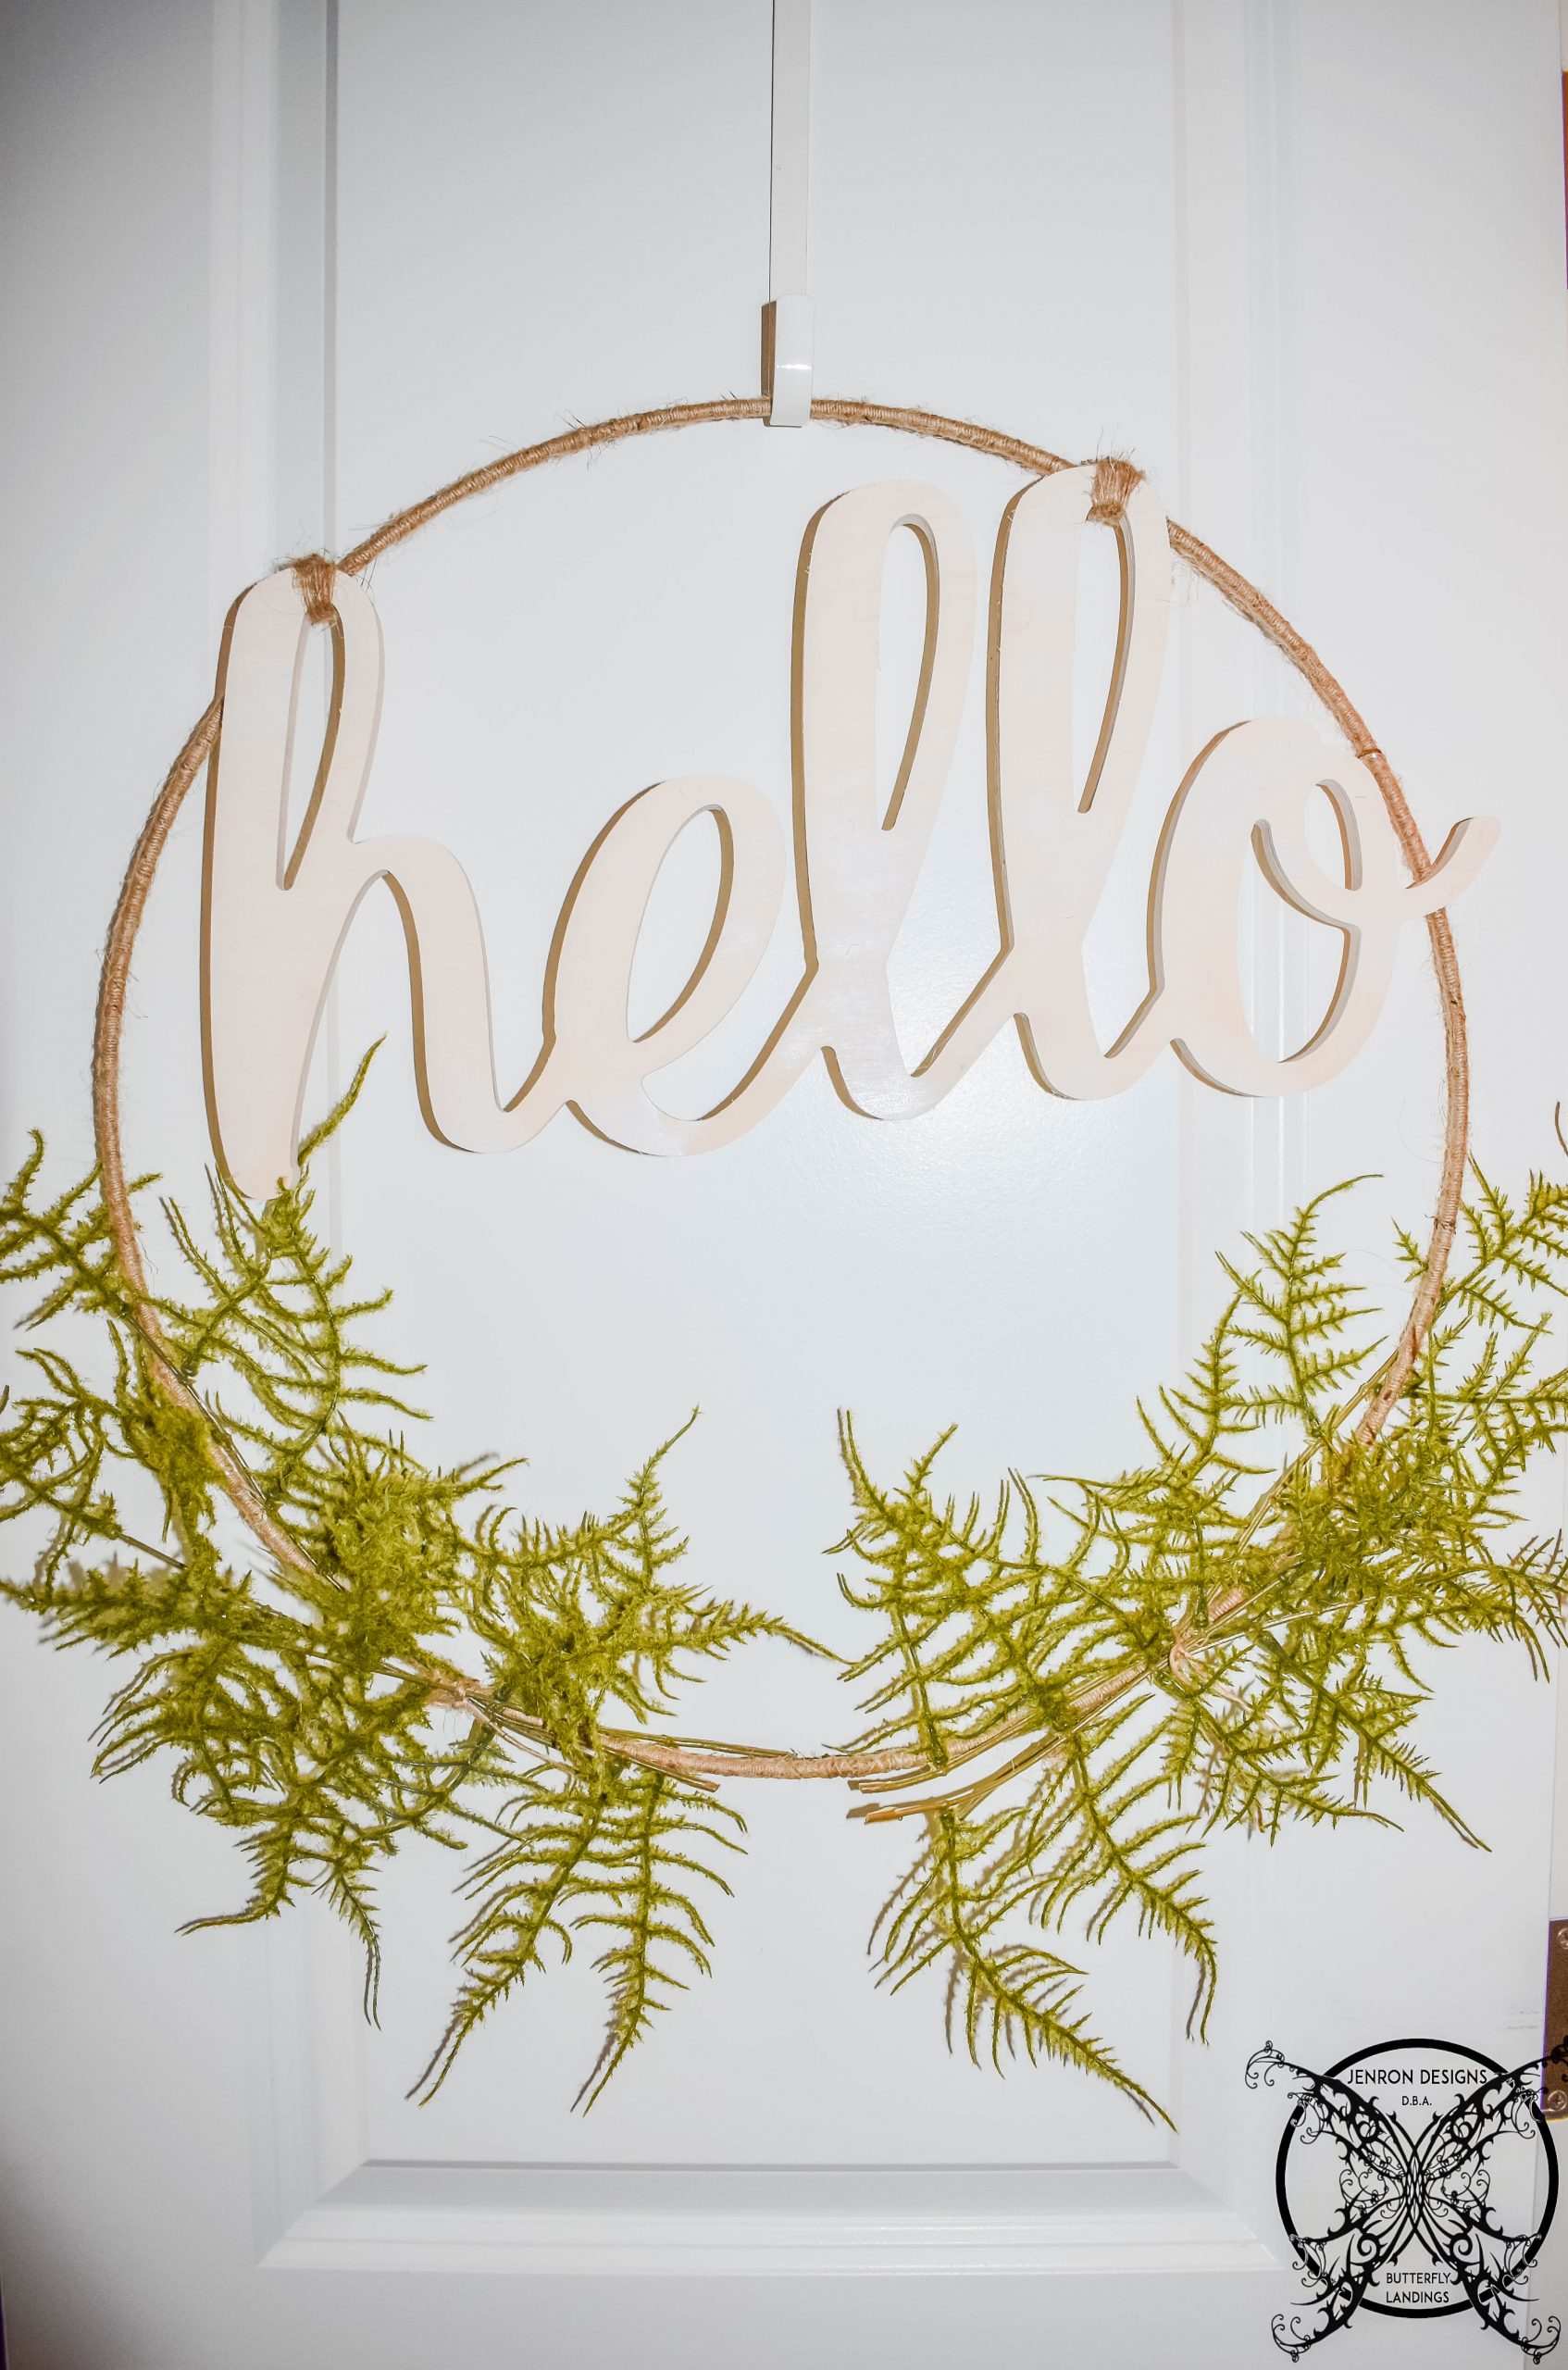 Finally you will add in your flowers. I selected a pre-made swag that had grapevine, pheasant feathers, dahlias and roses. While I could have easily constructed one very similar, it was actually less expense to buy the pre-made swag at half off than all the separate pieces I would need at full price.
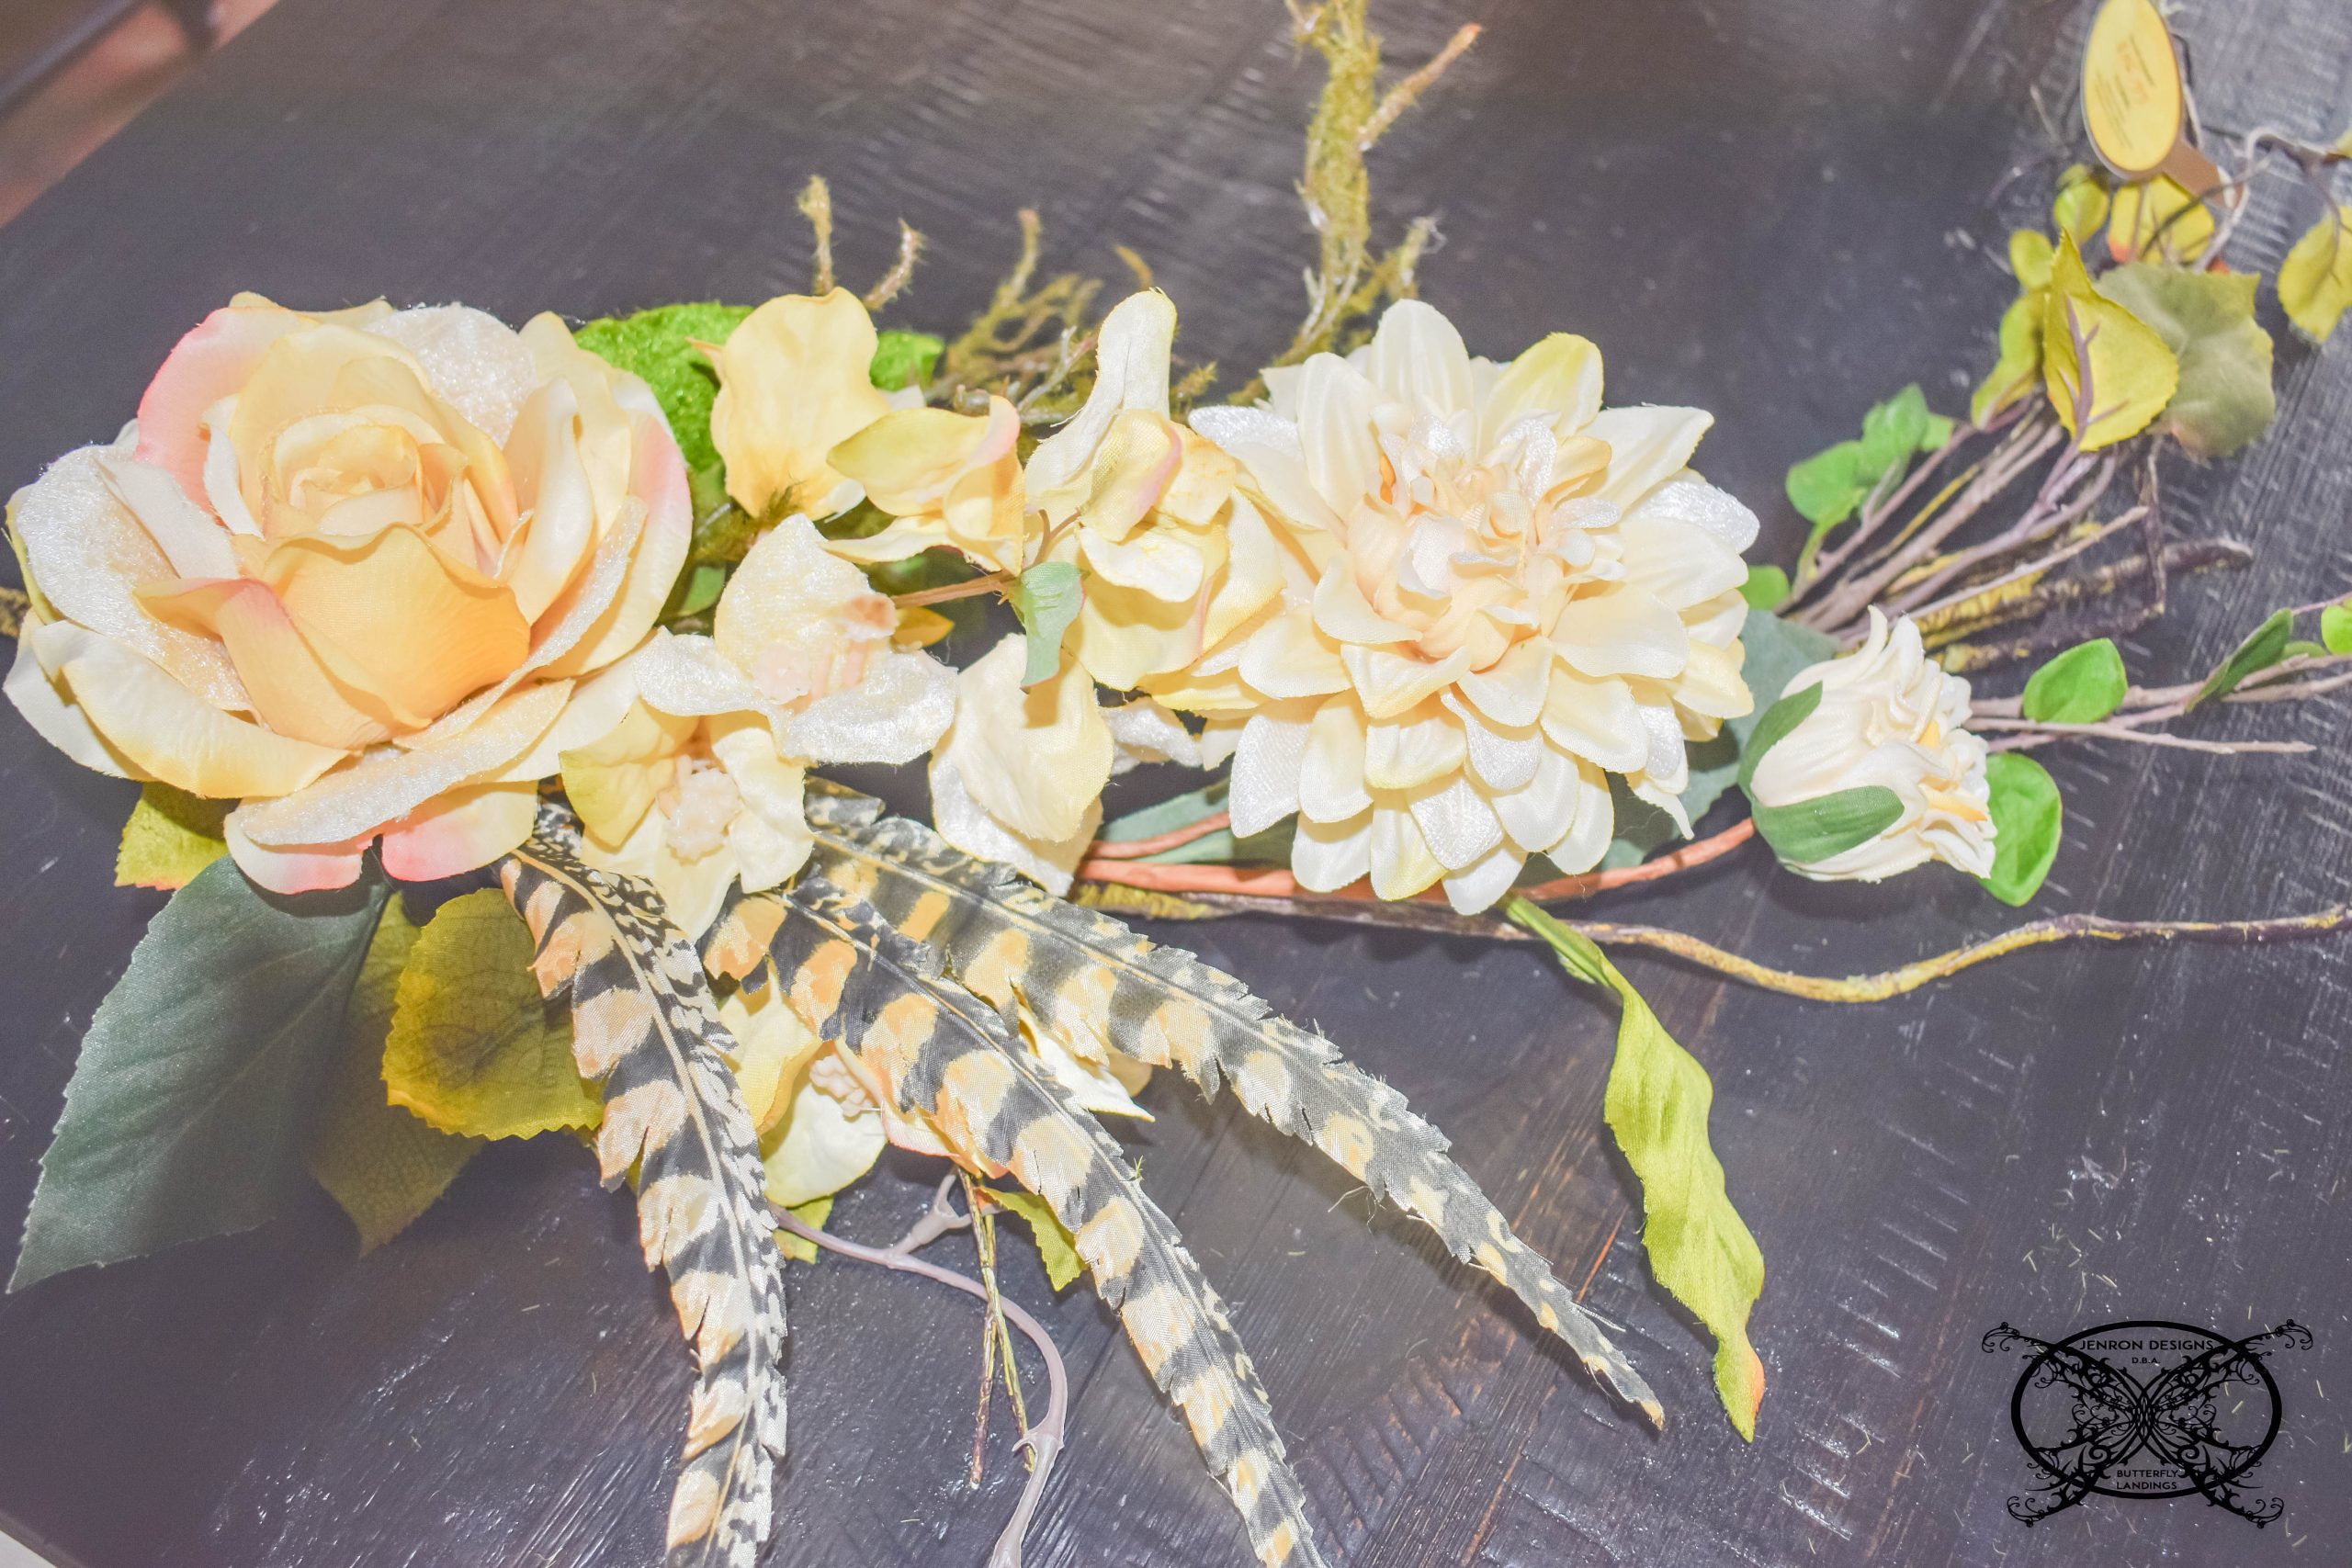 One last tip I would like to talk about when selecting silk flowers, is color. If you are trying to create a natural look, like a real live arrangement. You will want to stick with flower colors that are naturally occurring in nature. What I mean by this is not all silk flowers are made in colors that mimic real flowers. My favorite example is hydrangea, it comes in white, blue, pink, purple and green, that is it! Nature does not make orange, red, burgundy or yellow hydrangea. So, if you are trying to make a piece look real these choices are not going to do that.
*Please note that this post may contain affiliate links for your convenience. These involve no extra cost to you, but may result in me receiving a small commission – for which I am very grateful! You can view my full advertising disclosure here.
GET THE SUPPLIES:
PIN ME for later and be sure to follow us on Pinterest at Jen @ JENRON DESIGNS

THE MAYPOLE VERSION:
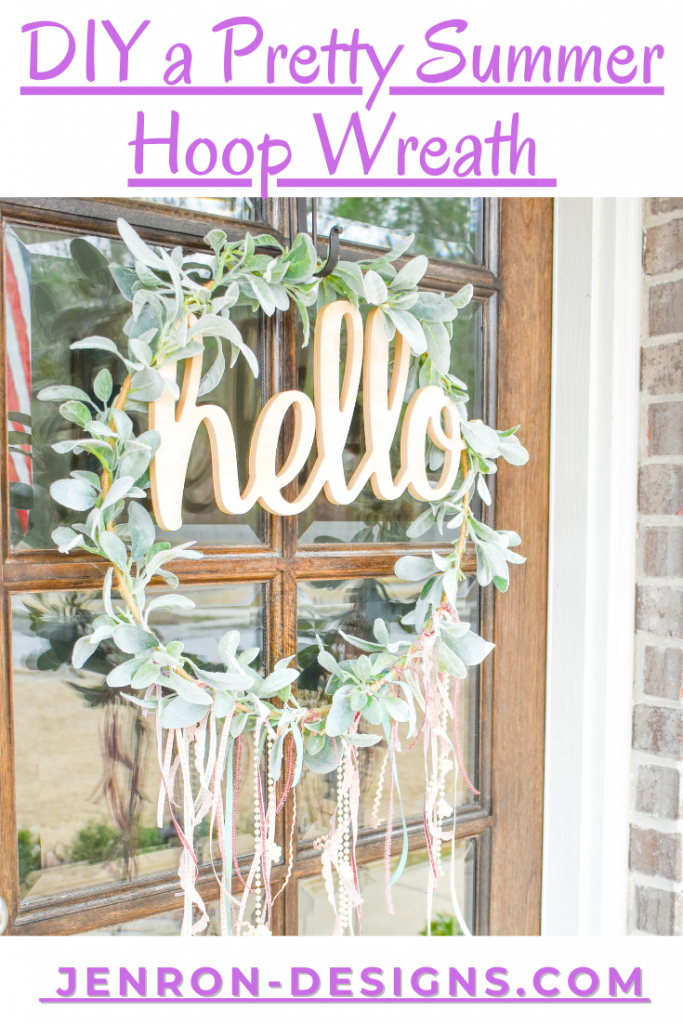
 I also decided to upgrade this wreath into a spring Maypole Style wreath for by changing out the the fern style greenery to lambs ear to look like the floral crowns worn by flower maidens. Then attaching various styles and varieties of pink, ivory and aqua colored ribbon along with some pearl strands to catch the breeze, as seen above.
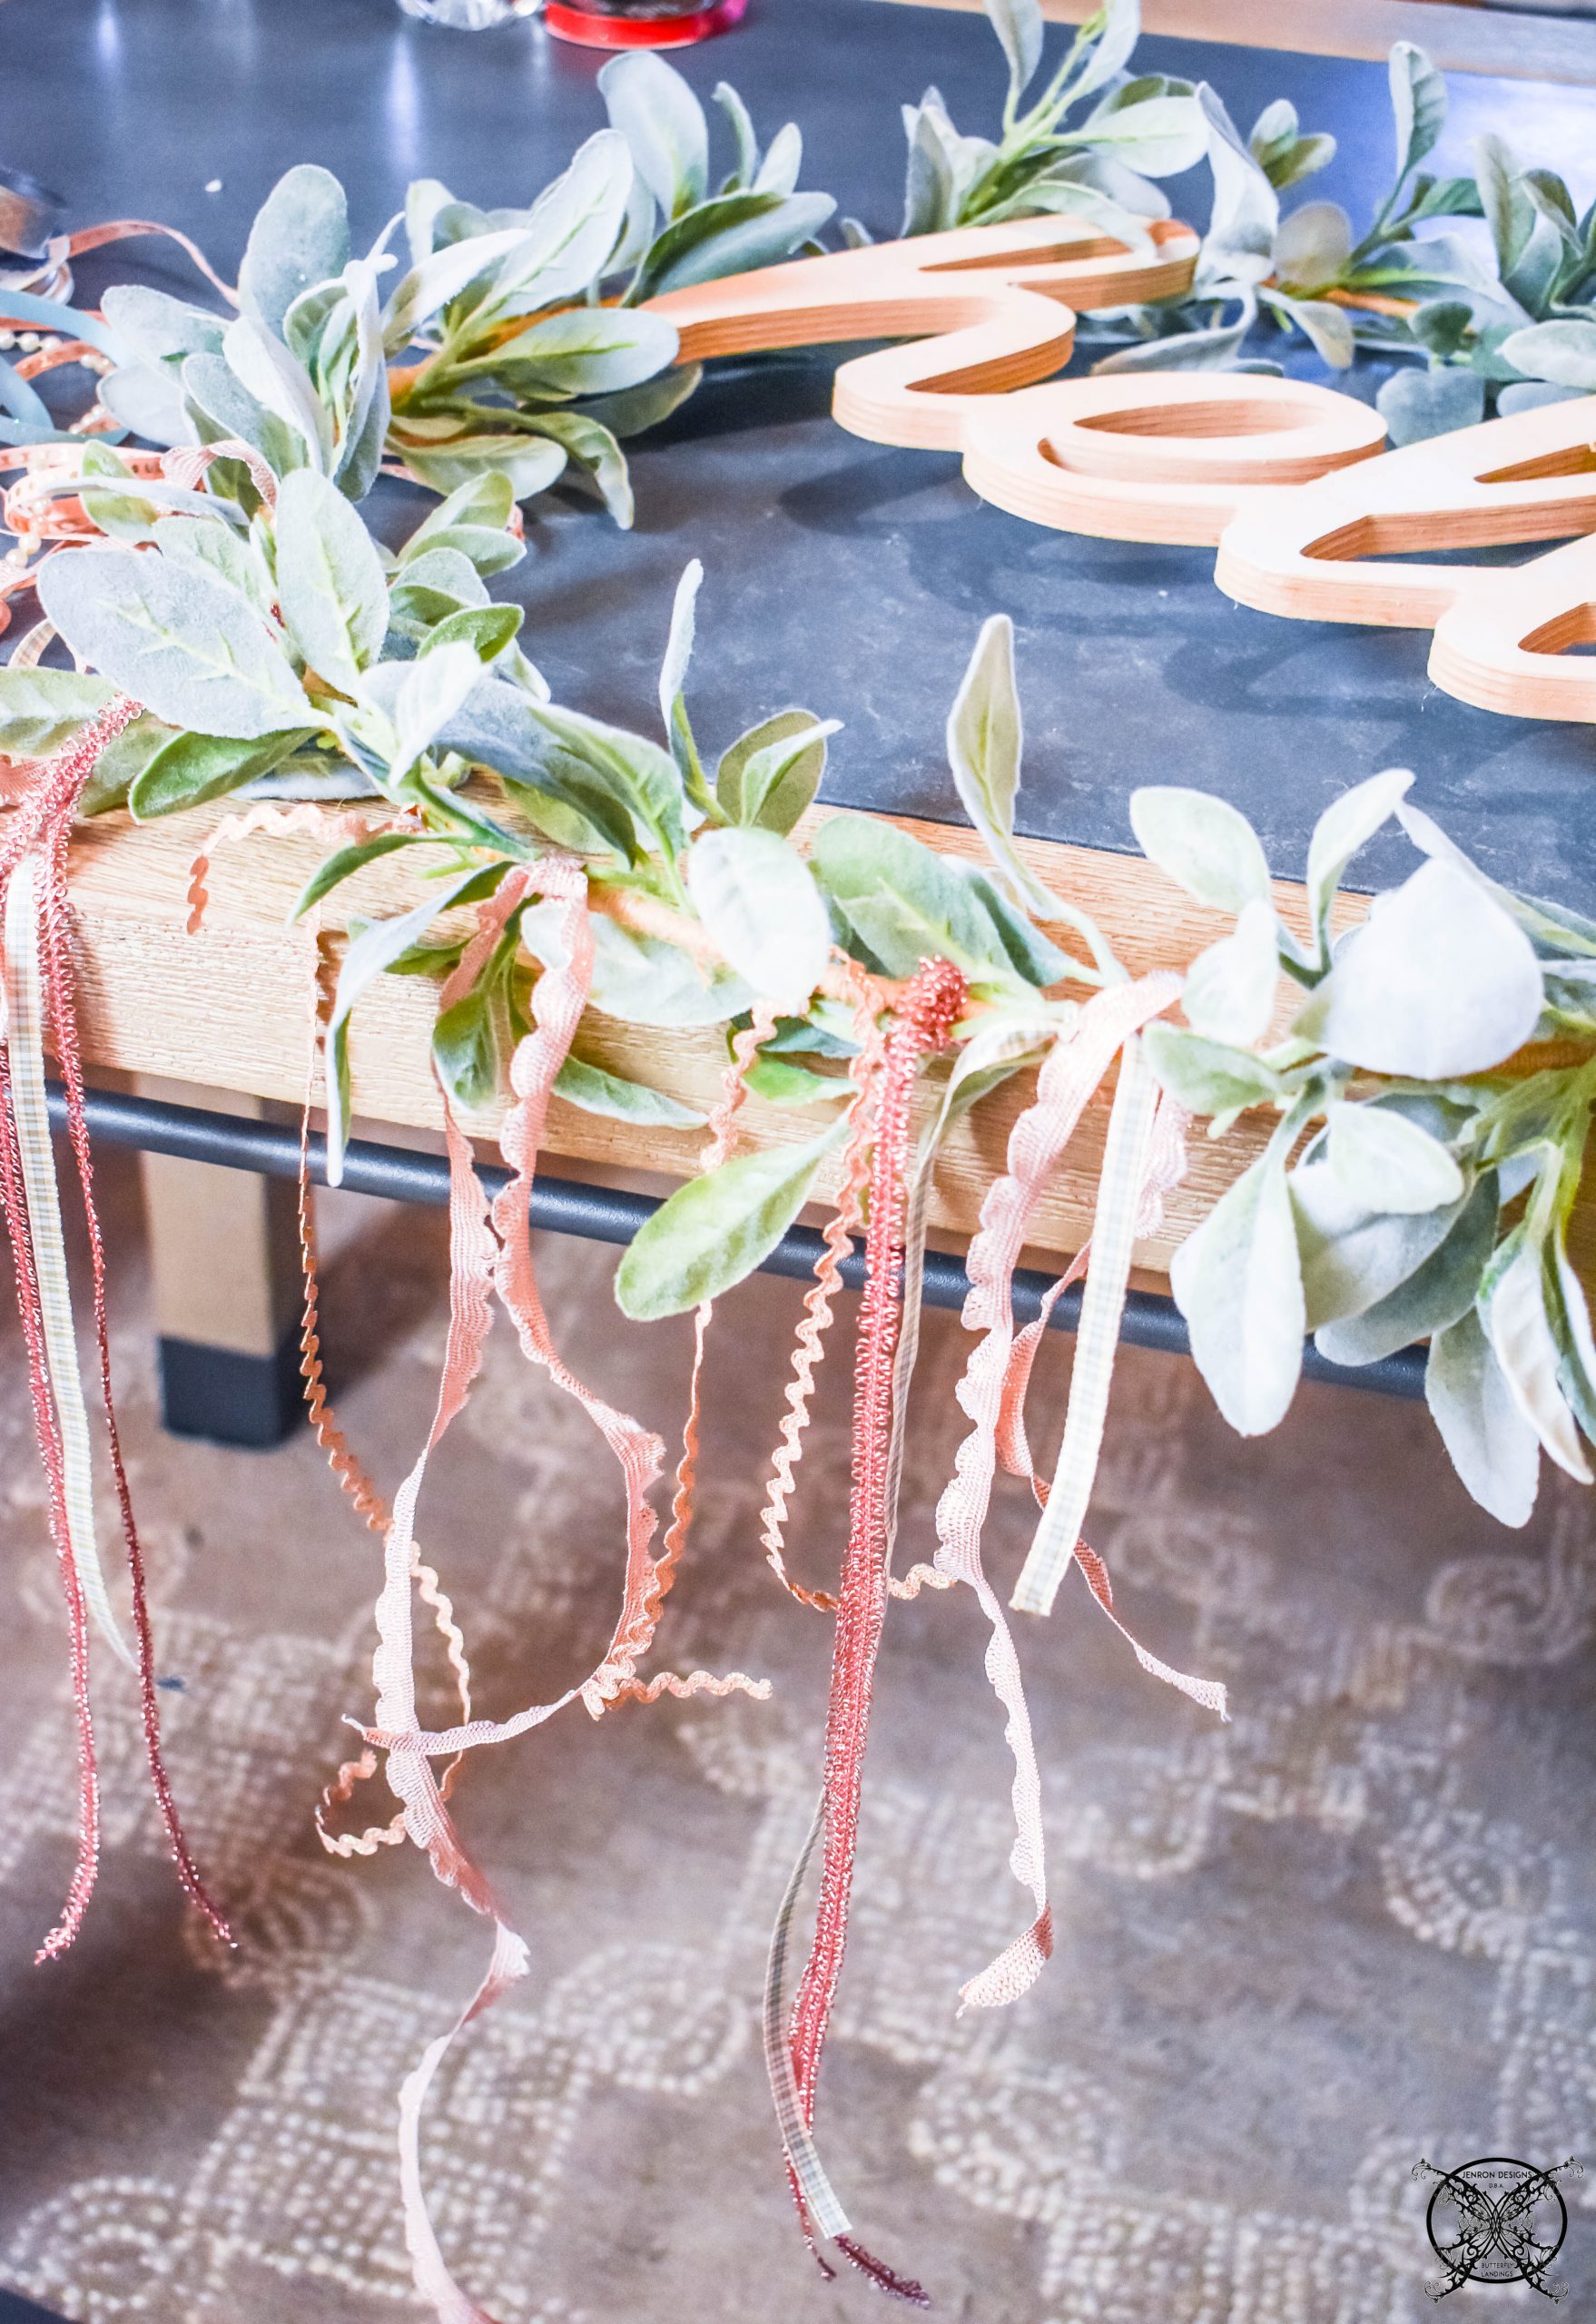 It was the perfect way to reuse the base of this wreath but give it a new life and look for a whole new season. I loved the idea of using the maypole style of ribbon for early spring in pretty pastel colors to carry my front door wreath through the season for Easter, and Mother’s Days and now I do not have to think about changing until Memorial Day weekend, when we break out the Amercana summertime decor.
 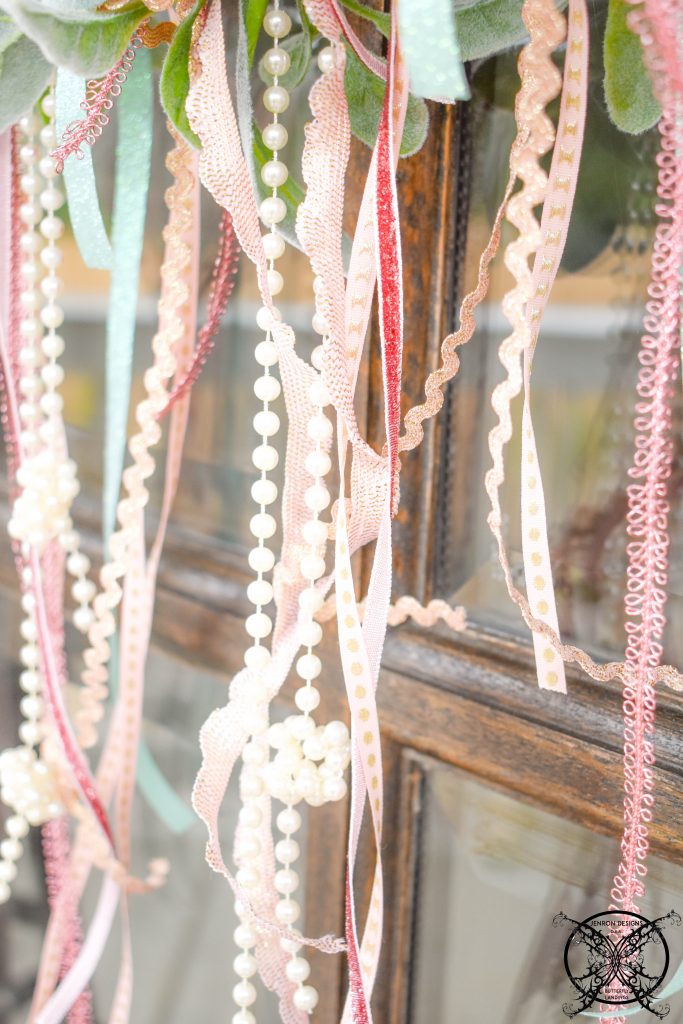 The upgrade was very simple using the same tie on technique as seen in the DIY above. I affixed the lambs ear garland to the entire wreath. Then added strands of ribbon at various lengths by tying them to the bottom of the hoop by using a simple larks head knot. I thought it would be sweet to tie knots in the base of the pearl strand to look like necklaces and add a little bit more visual interest to the ribbon, for a garland like effect. Now when the wind blows the ribbons it makes me think of a maypole on this sunny spring day.
PIN ME for later and be sure to follow us on Pinterest at Jen @ JENRON DESIGNS
This is seriously so cute! I want to try this!
Oh wow!… This is lovely! My 5 year old dreams of having a wreath on our front door… this looks like someone I could do. Thanks for the tip not to use a glue gun… I always reach out for it whenever am doing a craft. Loving this 🙂
So pretty . . . I love it!
So pretty. I like the tip about the hot glue, I need to get me some floral glue.
What a great project! My daughter in law loves making wreaths, I’ll have to send her your link.
That is so beautiful and so easy to make! I’ll have to attempt this!
So beautiful! You make it look so easy, but I still don’t know if mine will turn out nearly as nice as yours! <3
Maddy I am sure it will be beautiful. I like to think that craft project like this have a signature look much like handwriting we all have our own style, as long as it is legible it is all good 😉
Thank you Margaret I love it people share my links. The more the merrier!!!
Thanks Stacey!!! Yeah, I really felt like I needed to share that about the hot glue, because here in GA, the hot summers just melt the glue and everything else right off your doors LOL!!!!! 😛
This is such a pretty project for a front door arrangement I need to make one for the summer.
Jen thanks for the article post, I really love this door wreath and it is so versatile, and perfect for anytime of year. Another really great post, thank you for the inspiration!
This hoop wreath is perfect to welcome guests and create a wonderful first impression of one’s home. I really appreciate your knowledge when it comes to flowers and the tip about using floral adhesive glue rather than a hot glue gun. I will definitely purchase some before making my next floral project, thanks Jennifer!
Okay I’m obsessed with the beautiful rustic vibe of this wreath! Love DIY decor!
I love this so much <3
This wreath is absolutely adorable! I’ve never ventured into summer wreaths, but I may have to try making one!
I just use these type of hoops for my holiday set too, love this post.
This is SO cute! I love making seasonal wreaths and will need to try this! Also had no idea about hot glue! That explains why my flowers keep falling off my front door 😂
That is adorable! I love it and you’ve inspired me to try making a wreath for our door as well!
This is so pretty! As someone who isn’t super crafty, I actually think I could handle this! Thank you!
Stunning!!! Such a great social distancing activity to beautify your home.
Oh my gosh, that wreath is stunning! I love how you kept the top half bare…it’s so beautiful!
-Madi xo |
I really love this wreath. You are so creative, girl!!
How pretty! I love how this turned out. I need to try and make one.
So pretty and looks easy to make. This is so creative !!
What a fun project, so creative my friend!! thanks for sharing
Oh I love it! So pretty and perfect for spring/summer!
I like to make my own home decoration and the door wreath are always part of that. I like your design. Congrats.