Cascarones Smash Eggs for Easter
Remember the year that Easter fell on April 1st? We celebrated with a few Cascarones Smash Eggs for Easter, but who says you can’t make that a yearly tradition?
My goal in this easy DIY is to walk you through how to create pretty Cascarones Smash Eggs for Easter. Since they do require prior proper planning, I wanted to release this post a month out so you can actually create these fun smash eggs. Think of it like a Piñata meets an Easter egg.
So what are Cascarones, and where do they come from? Cascarones or “confetti eggs” were first seen in Asia, then brought to Italy by the explorer Marco Polo. The eggs were often presented as gifts and had finely decorated exteriors while the insides were filled with a elegant perfumed powder. The word cascaron comes from the Spanish word “cascara”, meaning egg shell. Today Cascarones have become synonymous with “smash eggs”, used in various celebrations and parties for confetti fights by kids.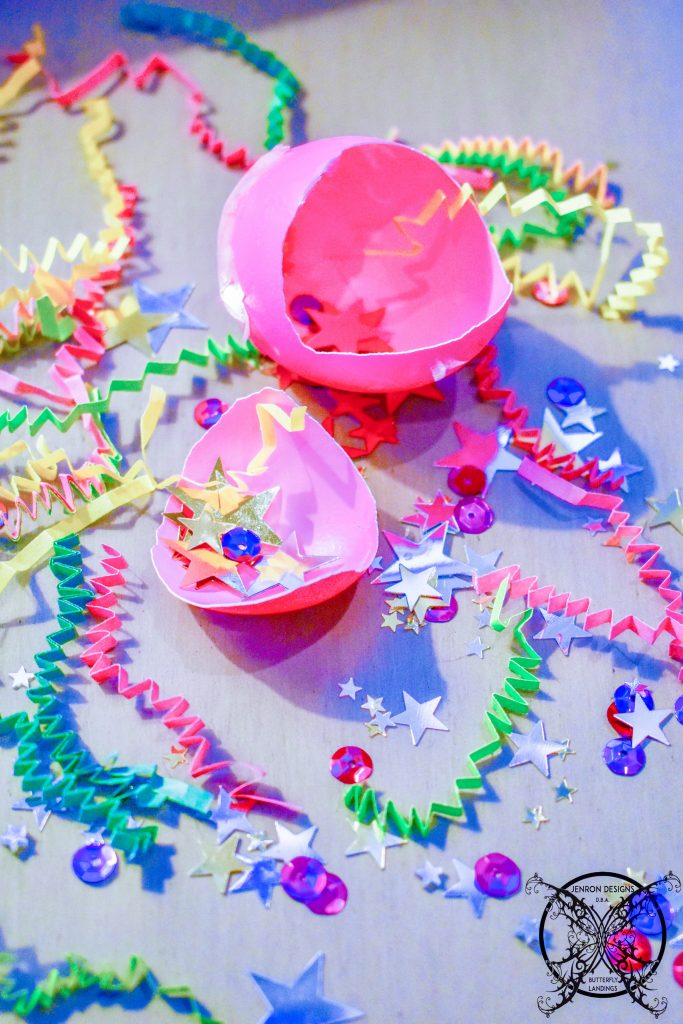
The CASCARONES D.I.Y.
How to Create the Cascarones:
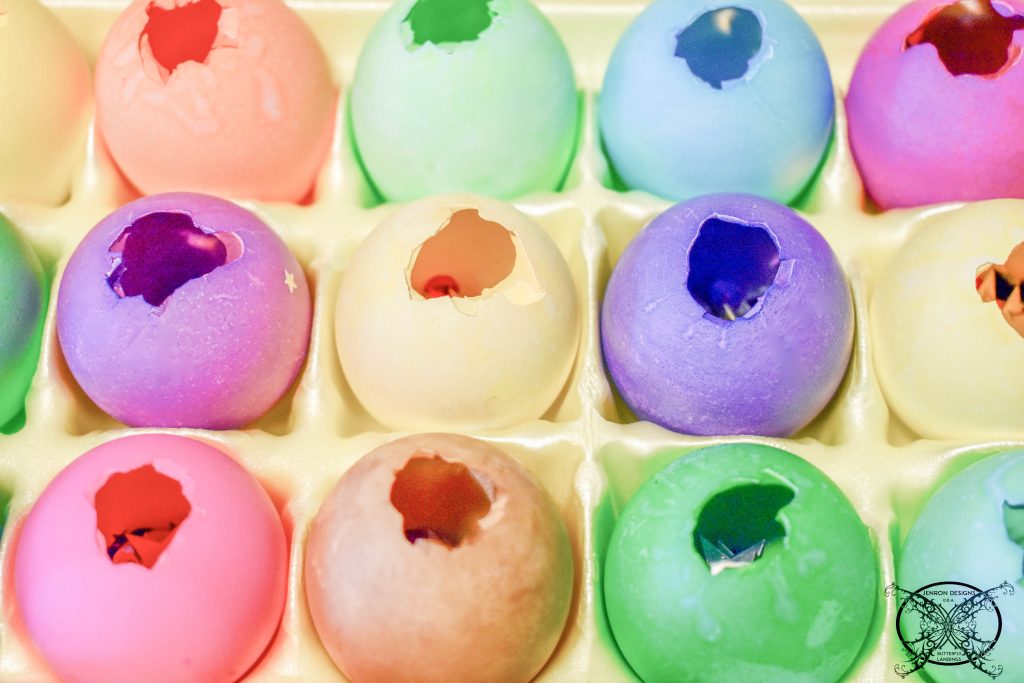
The collection of eggs can be done over a period of time, as you eat eggs, or all at once. If you are doing them all at once you In which may elect to save the eggs for a quiche, or frittata. Which I will be posting a few recipes later on in the month along with my Easter Brunch Tablescape. 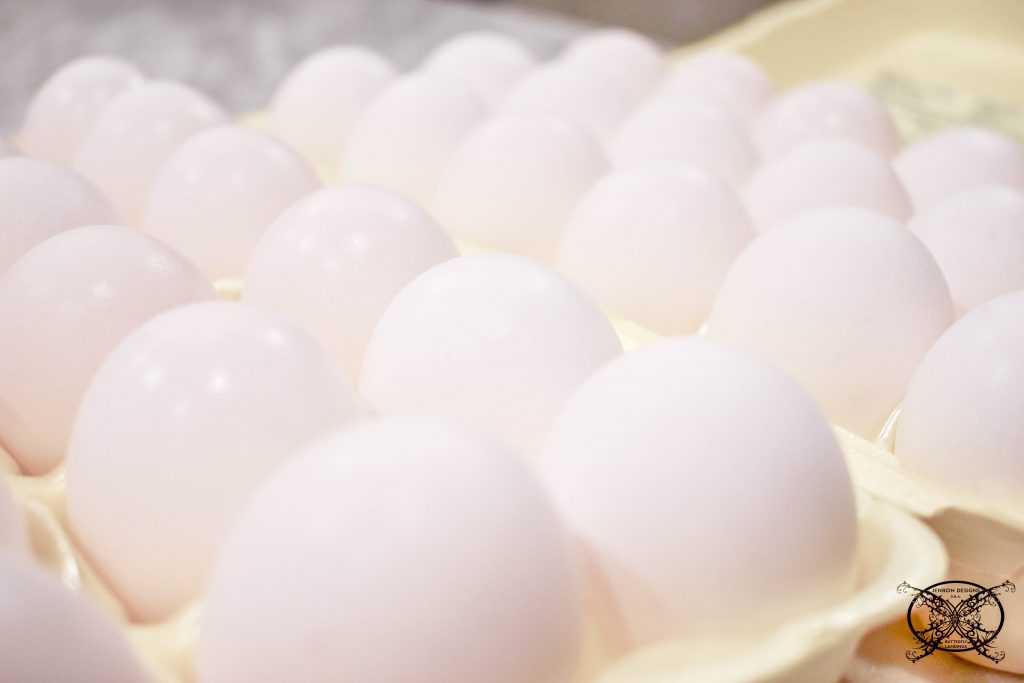 First step, is to crack just a small hole in the eggs. It is easy to just tap the large end of the egg with the handle of your silverware. I personally prefer a spoon, as it is easy to hold on to and gives you nice leverage. You want to tap the large end since there is an air cell located at that end, that makes creating the opening easier.
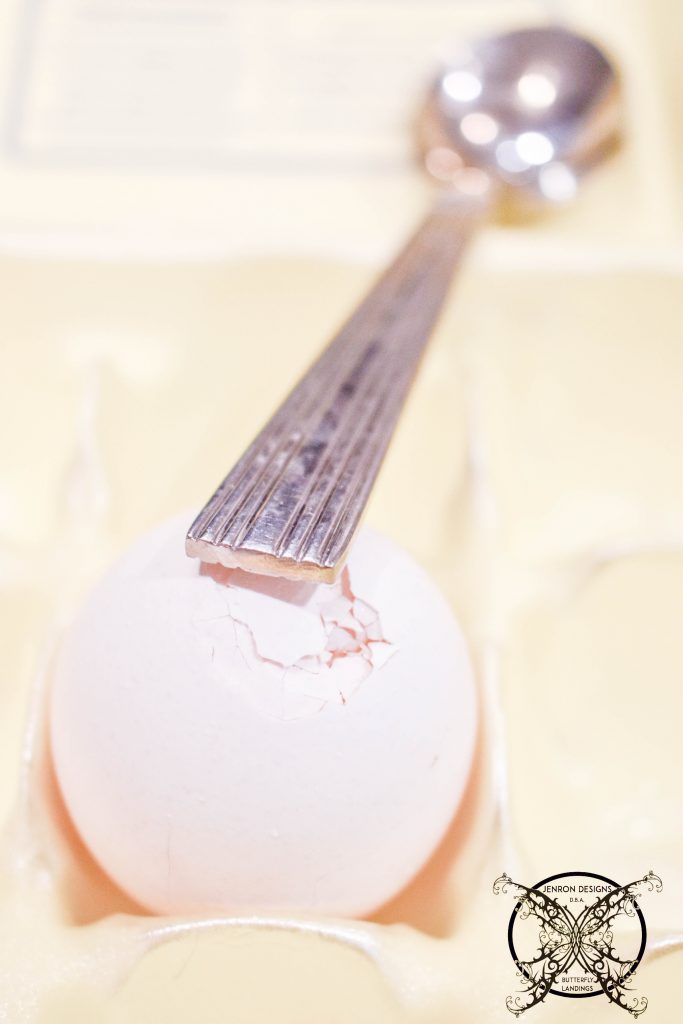
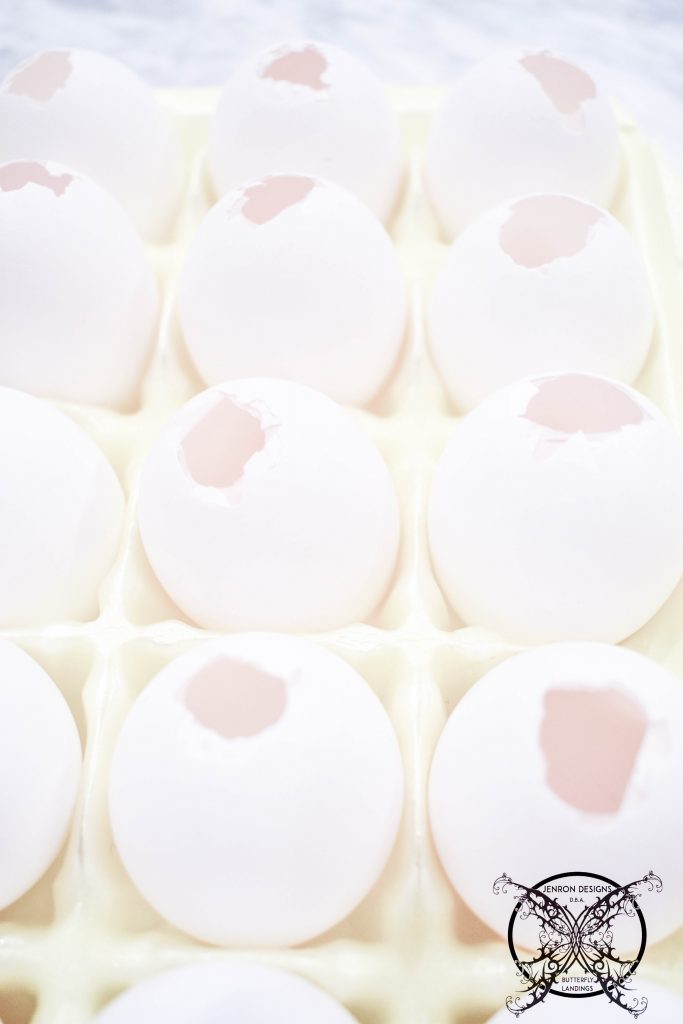
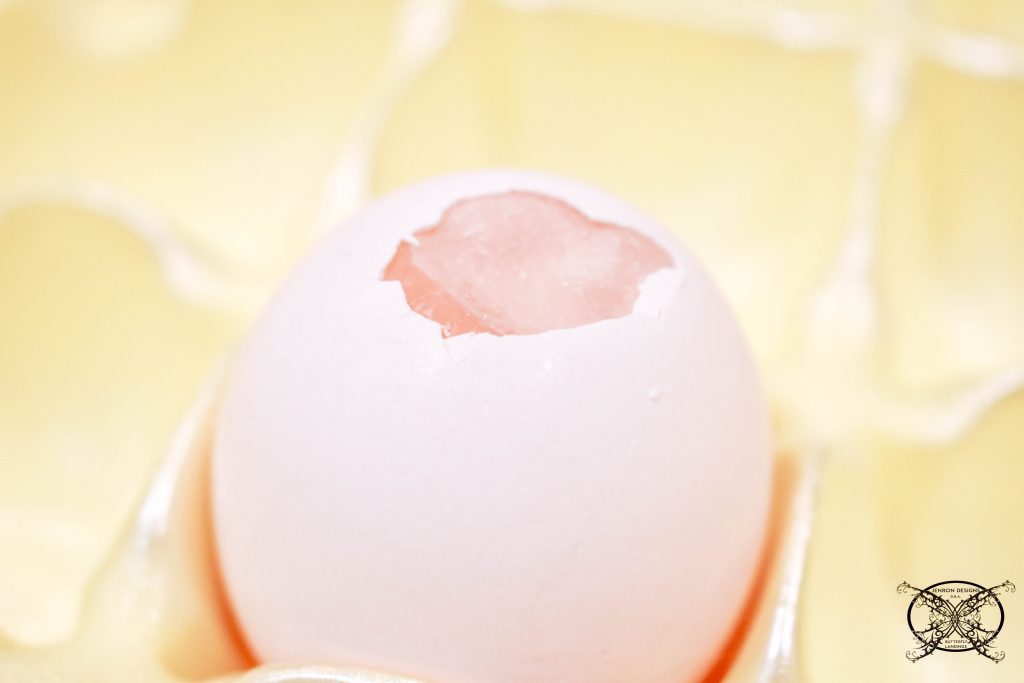 After you have tapped a light crack you will gently remove the shell to form and opening. There may be a membrane still intact after doing this which is perfect, and allows you to dust of the eggshell, and utilize the egg.
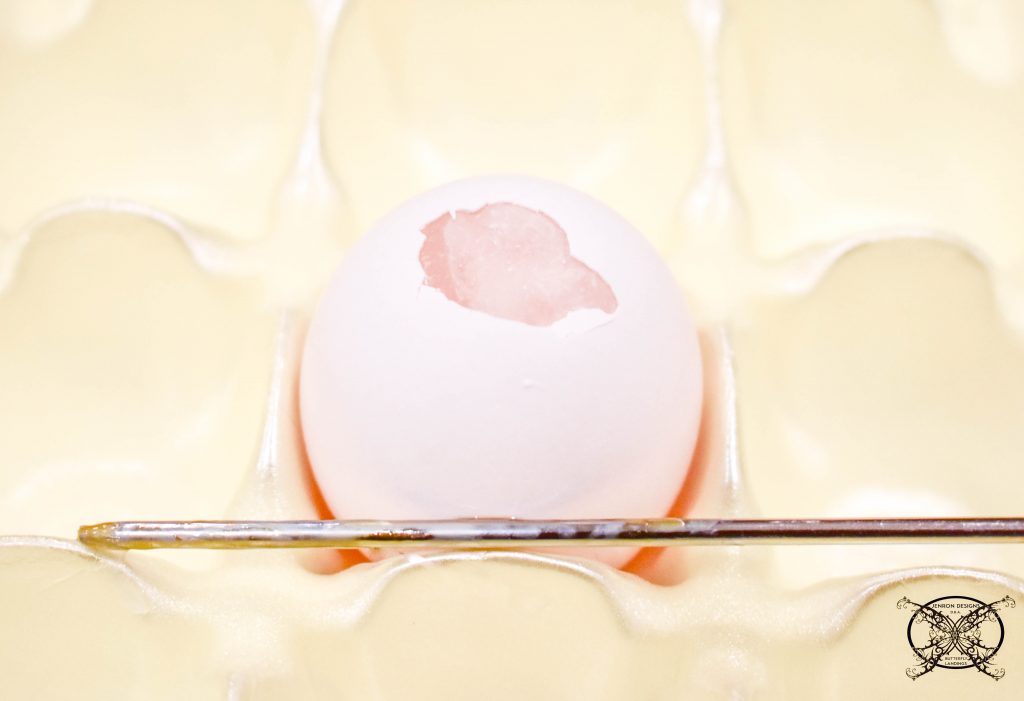 Next I use a metal shish kabob skewer to poke through the outer and inner membrane, along with the yolk. I lightly puncture and stir the egg interior for easy removal.
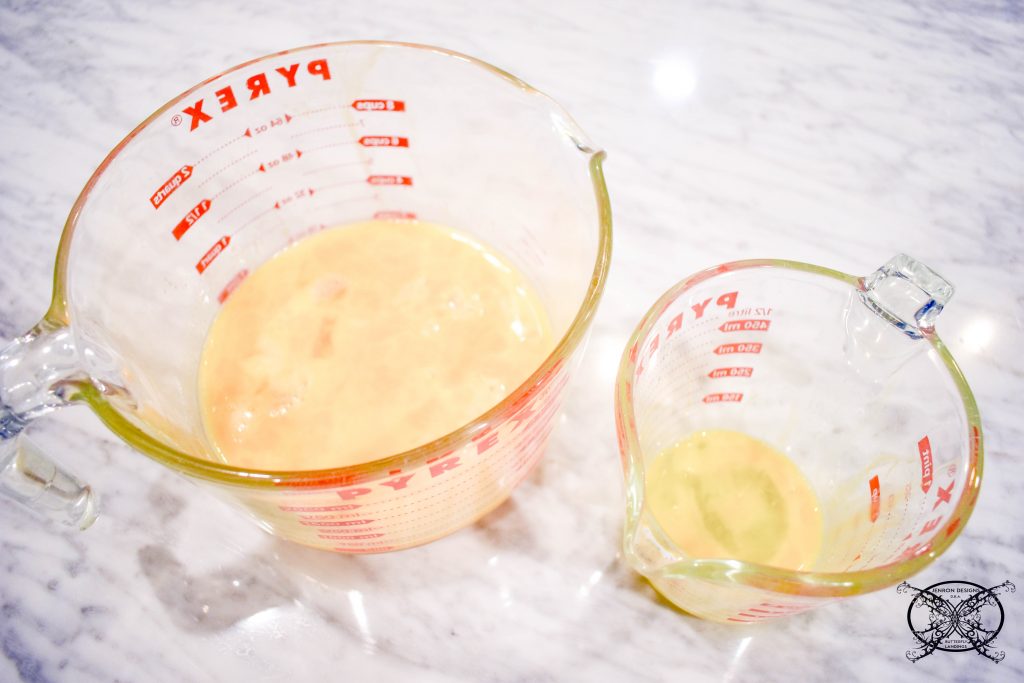 If you have decided to utilize your eggs, I highly recommend shaking the egg yolk out into a separate glass bowl or cup. The reason for this step is to make sure you are not accidentally getting any shell in your egg. By using glass you can view the egg from all sides and remove any stray shell pieces. Then you can add them to the eggs you have already checked.
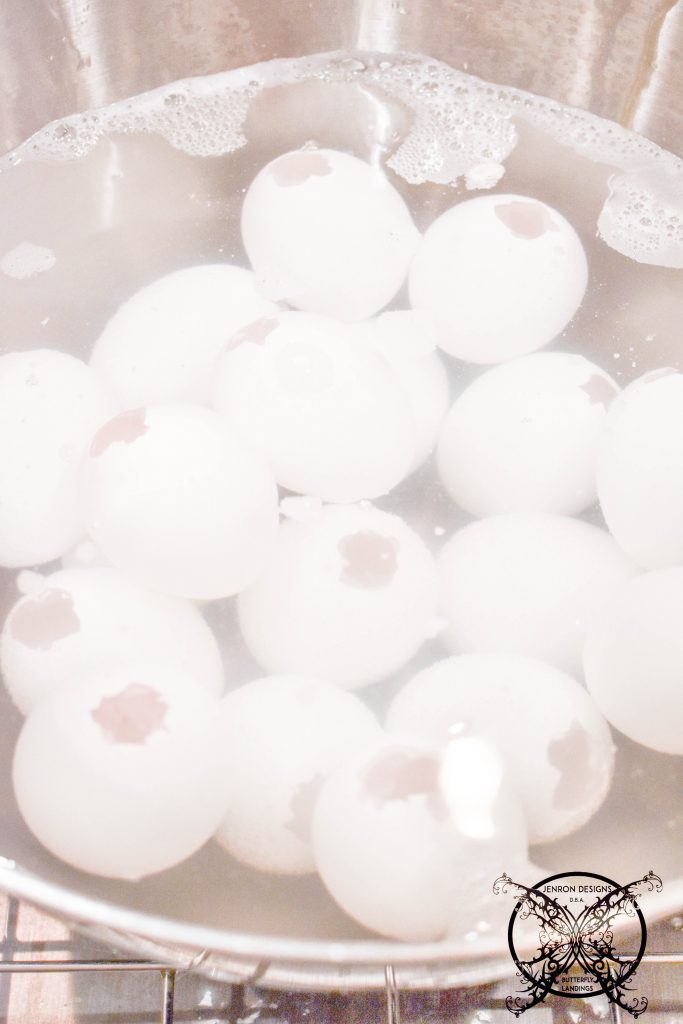 After you have repeated this step with all your eggs, you then wash the shells and allow them to soak in a bowl of hot water with 1/4 cup of vinegar. This will clean the shells and open the pores of the egg shells for dying.
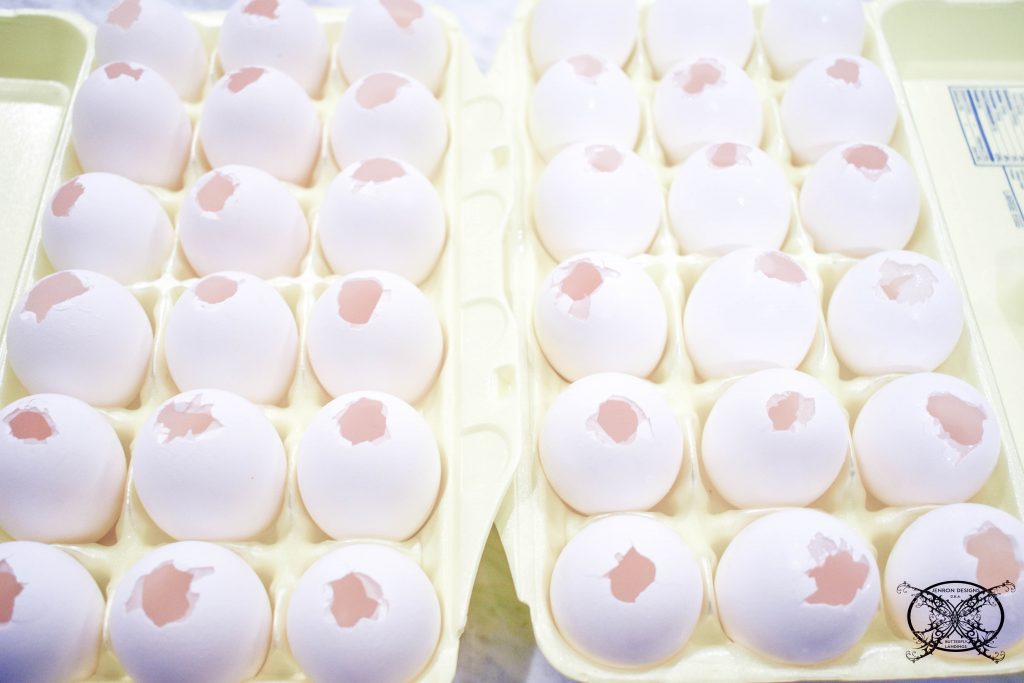
 If you are choosing to collect eggs over a period of time, save an old egg carton and store clean eggs in a dry location until you have the desired amount.
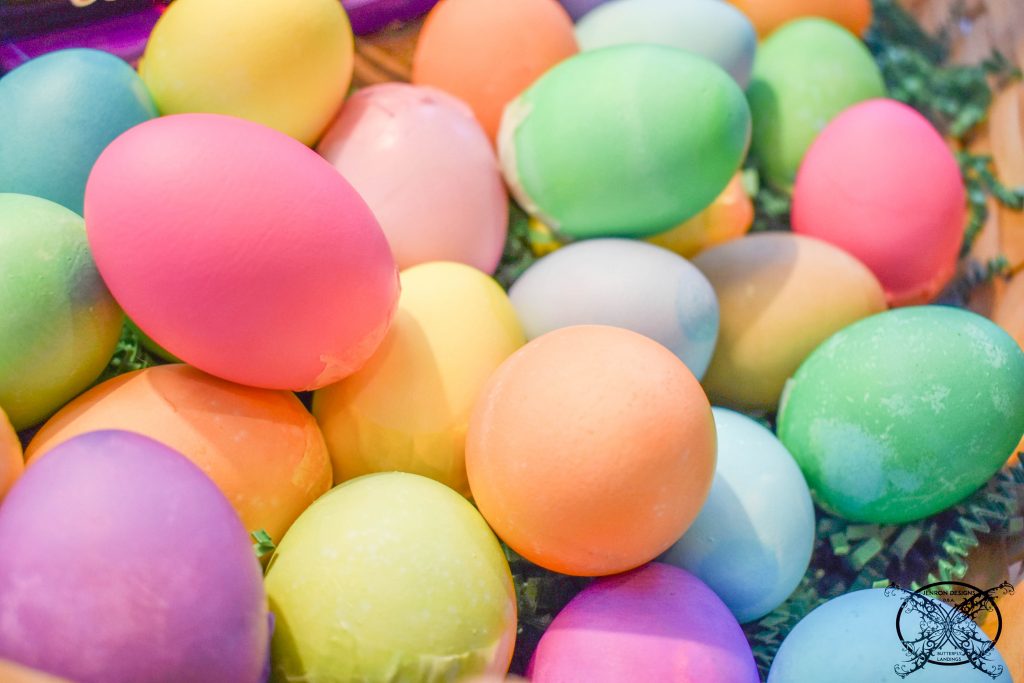
Color the Eggs:
Let me tell you, I love to dye Easter eggs!!! As a child it was always one of my favorite things to do. I love the colors and loved to mix them to make unique colors other than the 5 color tabs they had when I was a kid or the three colors of food coloring my mom had in the cabinet. It taught me a lot about primary colors and how to create secondary colors.
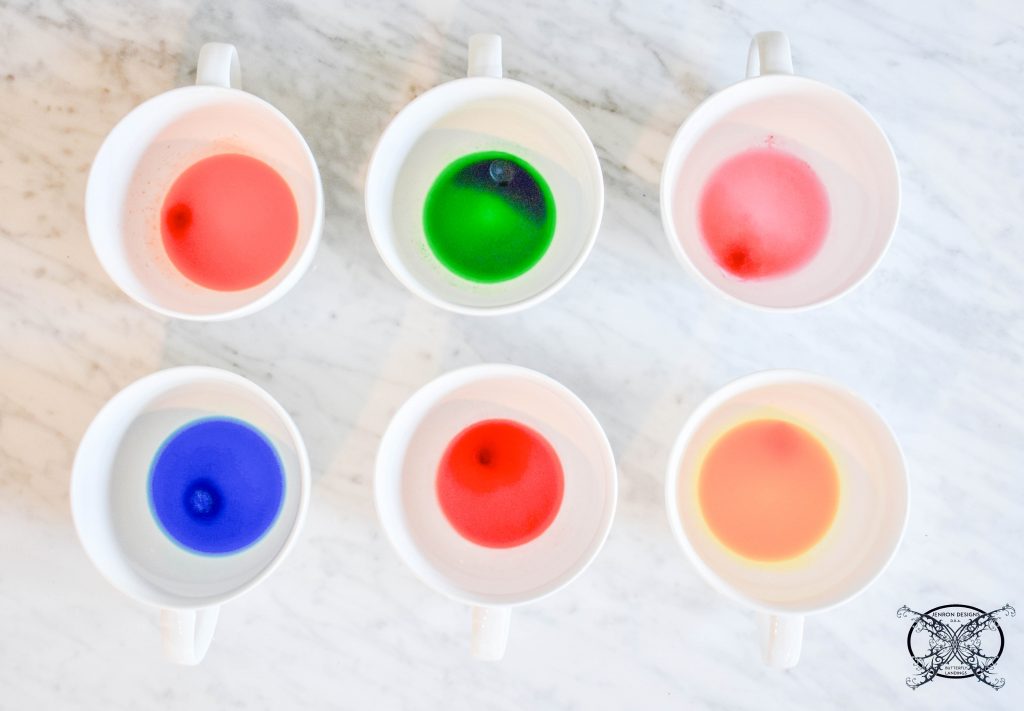
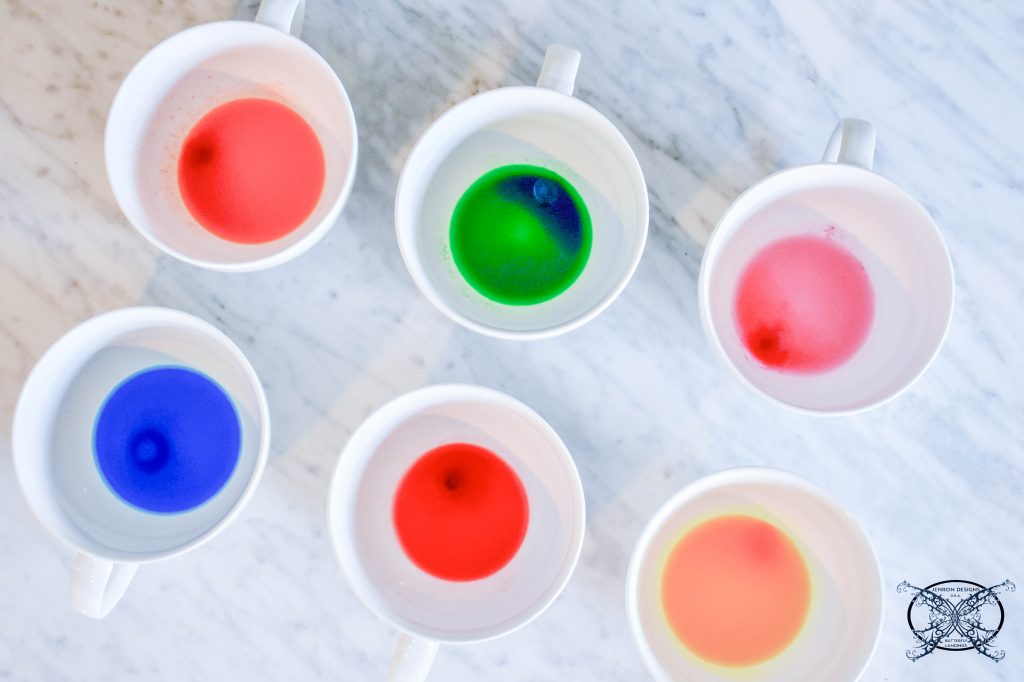 Today just for ease, I just picked up a basic Easter Egg coloring kits from my local Dollar Tree, or you can create your own with 1 tsp of vinegar and a few drops of food coloring or kool aid packets. I still fell back into my old habits of mixing the colors so you have several shades. Like mixing the red with a touch of blue to make a purple. Which is not seen above in the color kit basics.
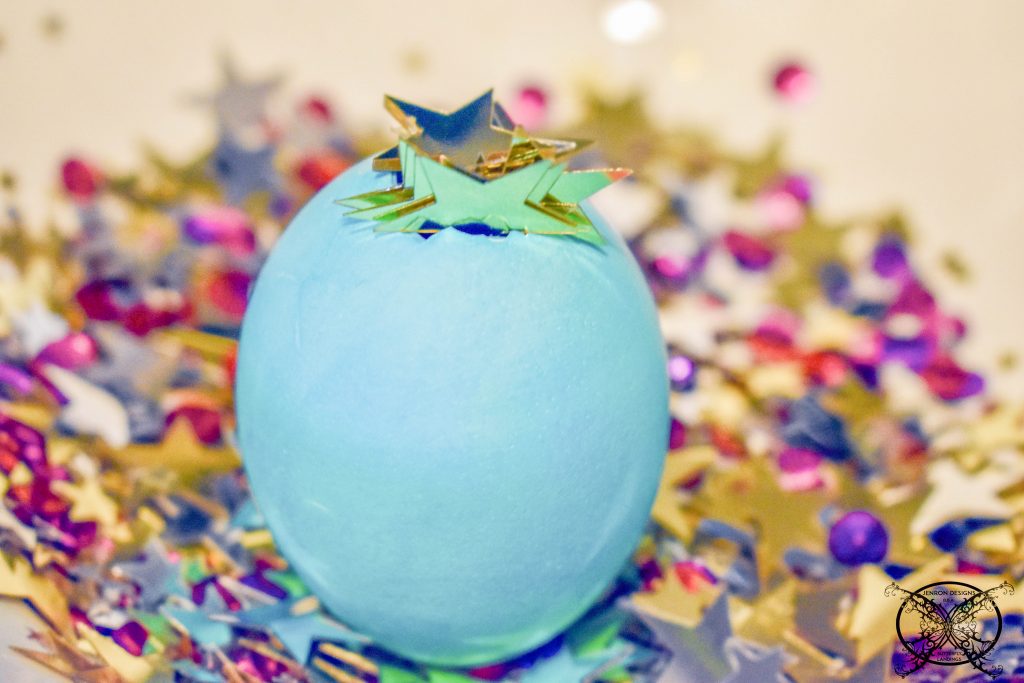
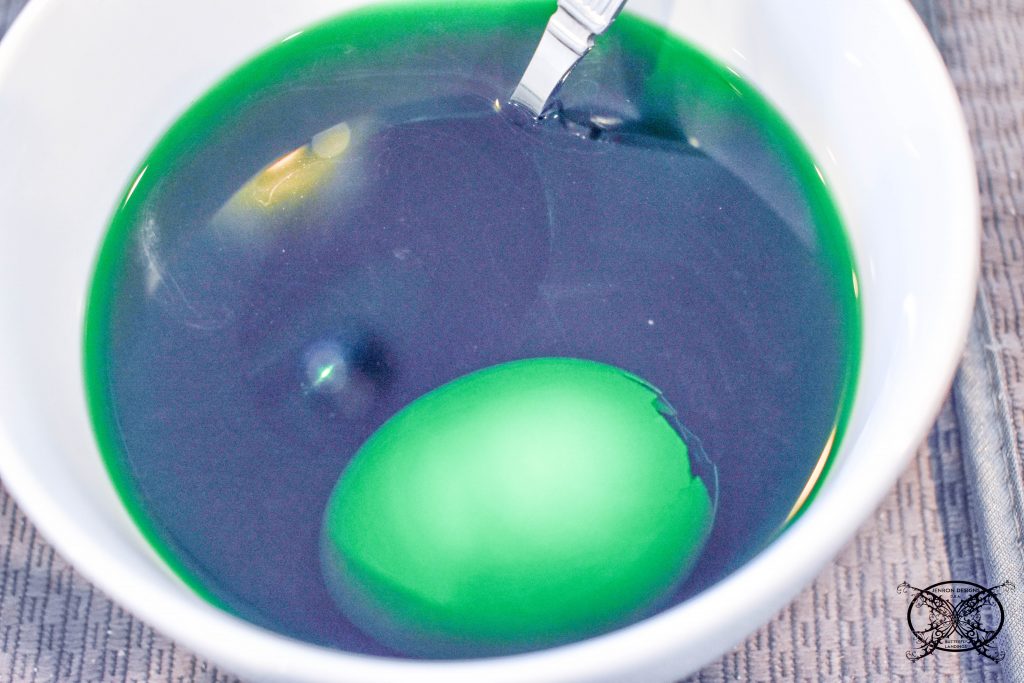
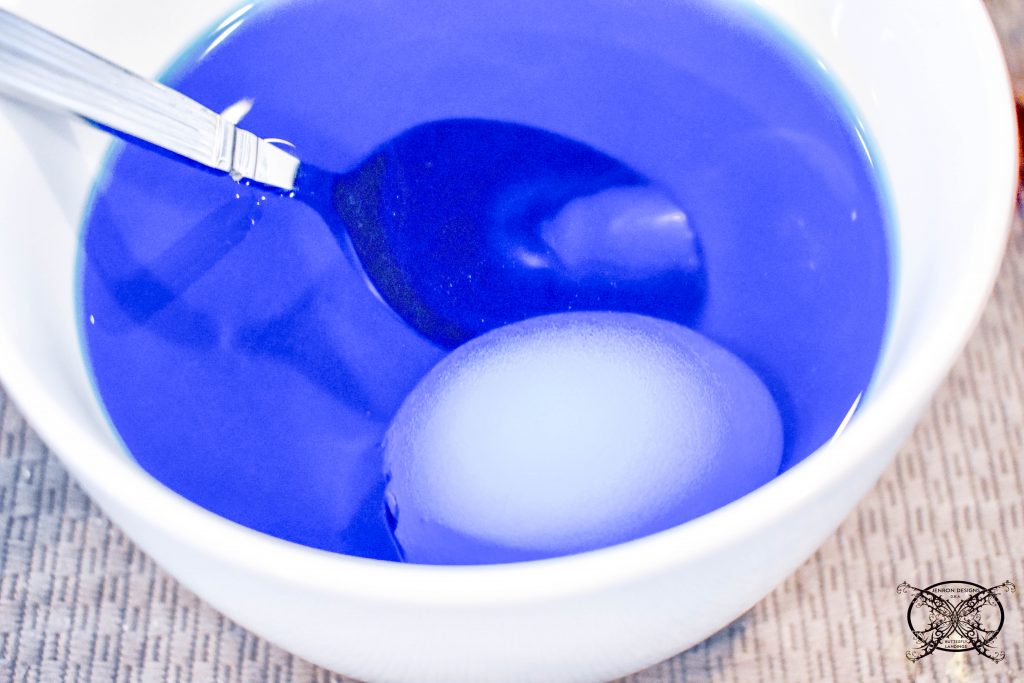 My favorite color is turquoise. So you know as a kid, I had to figure out how to make an egg that color. Basically you take a blue egg and lightly washing it with a green to give it a slight greenish overlay.
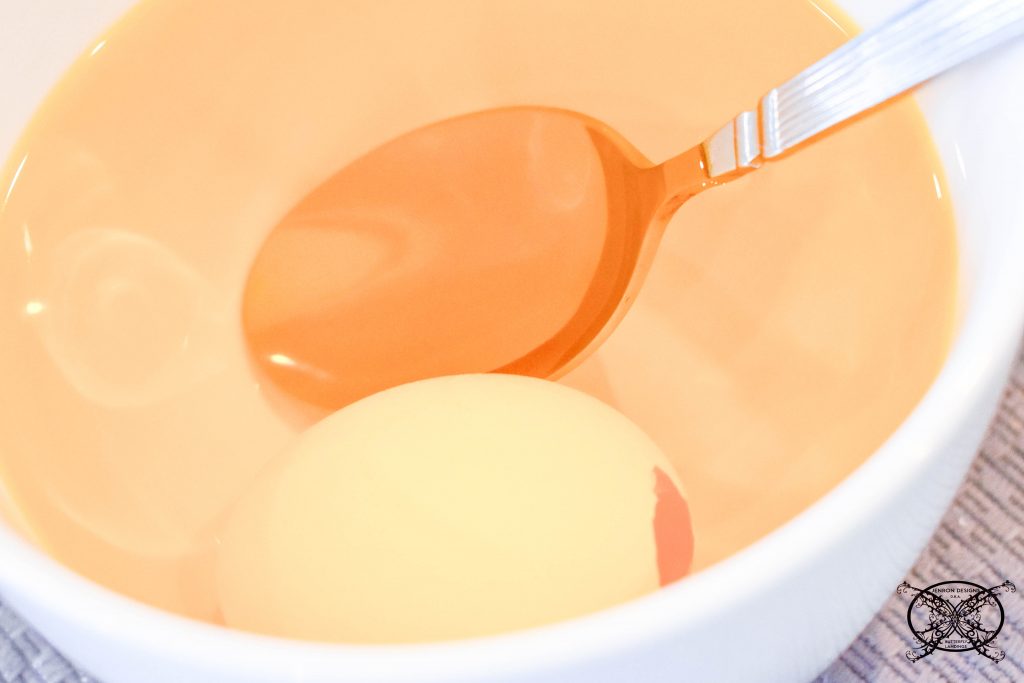 You can do the same thing with a yellow egg and just dip quickly into the green to make a fresh spring green or a little longer to get a lime green. I even decided to try a few tea soaked ones this year. I wanted every shade in the rainbow.
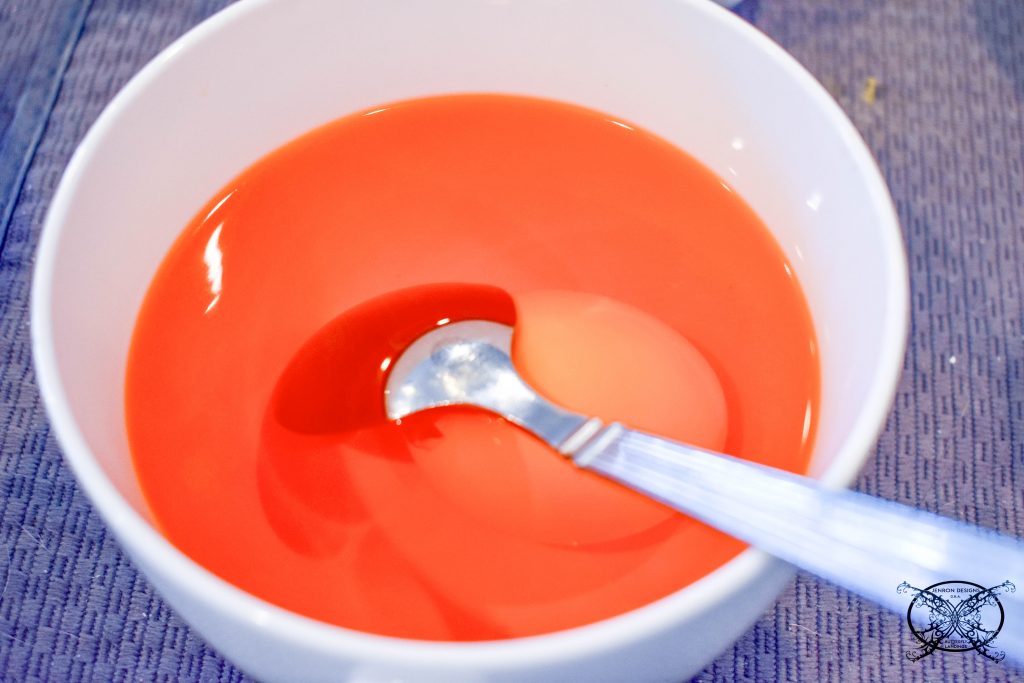
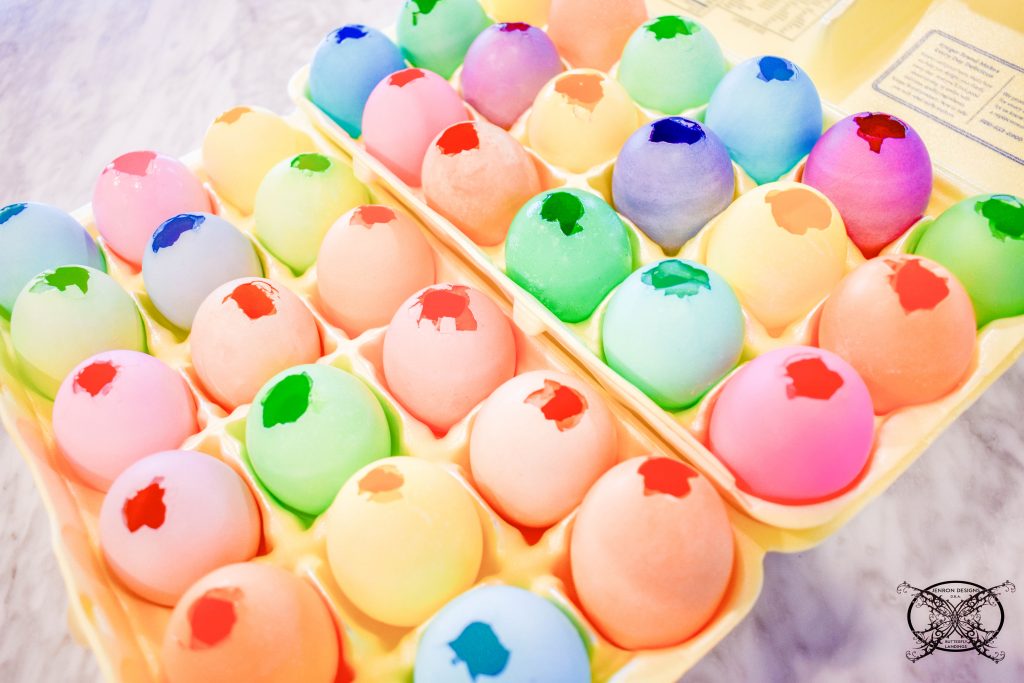
 You may have noticed that I use a spoon. I find this is a little bit gentler on the eggs and allows you to lift and remove them easier. I then stored the colored shells back into the same egg carton for drying. A great tip my husband came up with, was taking them to our basement and storing them near the dehumidifier. This dried them quicker and more thoroughly, so the confetti would not stick.
Filling the Eggs with Confetti
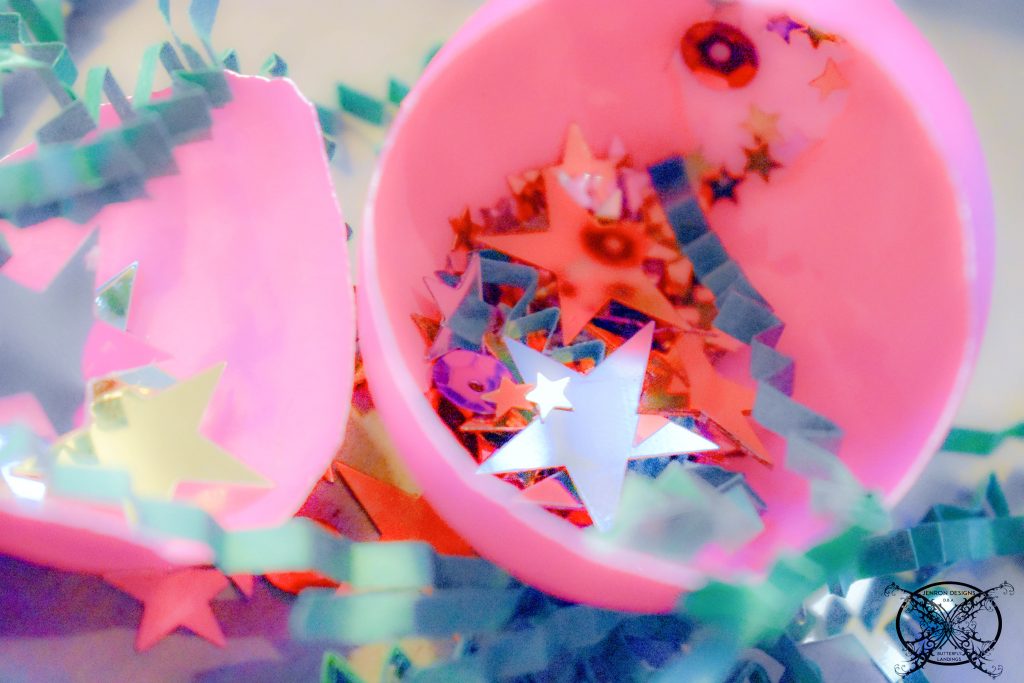
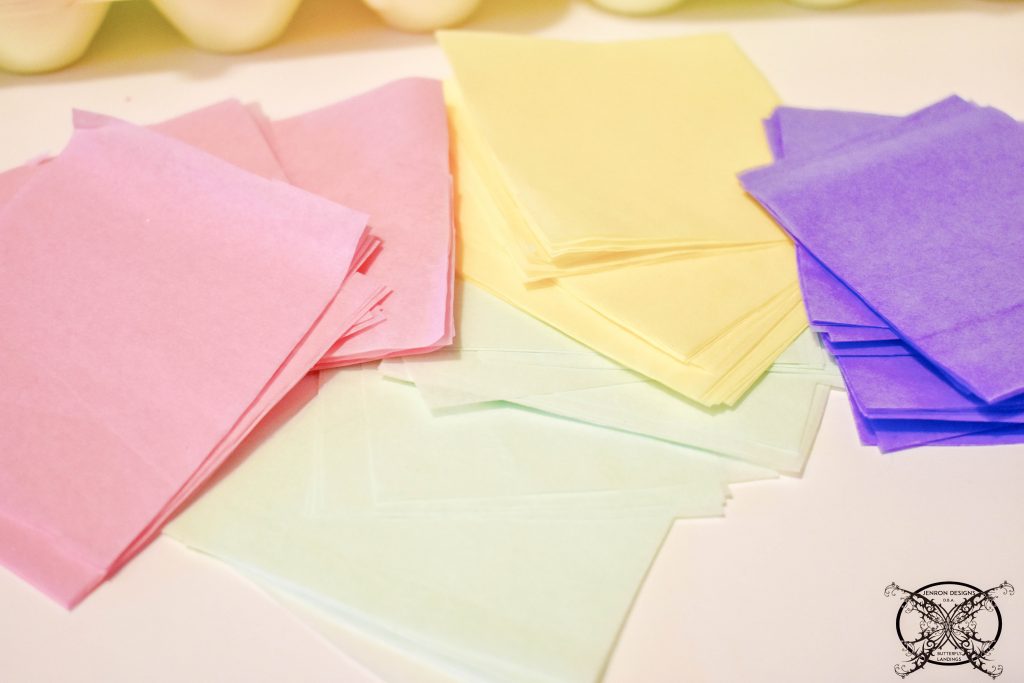
Here are a few of the items you are going to need to fill the eggs with confetti. Obviously, you will need confetti, which can also be sequins, cut up tissue paper, spliced ribbon or anything you can get through the top of the eggs. I do not recommend using glitter, since it is harder to clean up and can get stuck in your hair.
Tip-For an environmentally friendly version try filling with bird seed or dried flower petals.
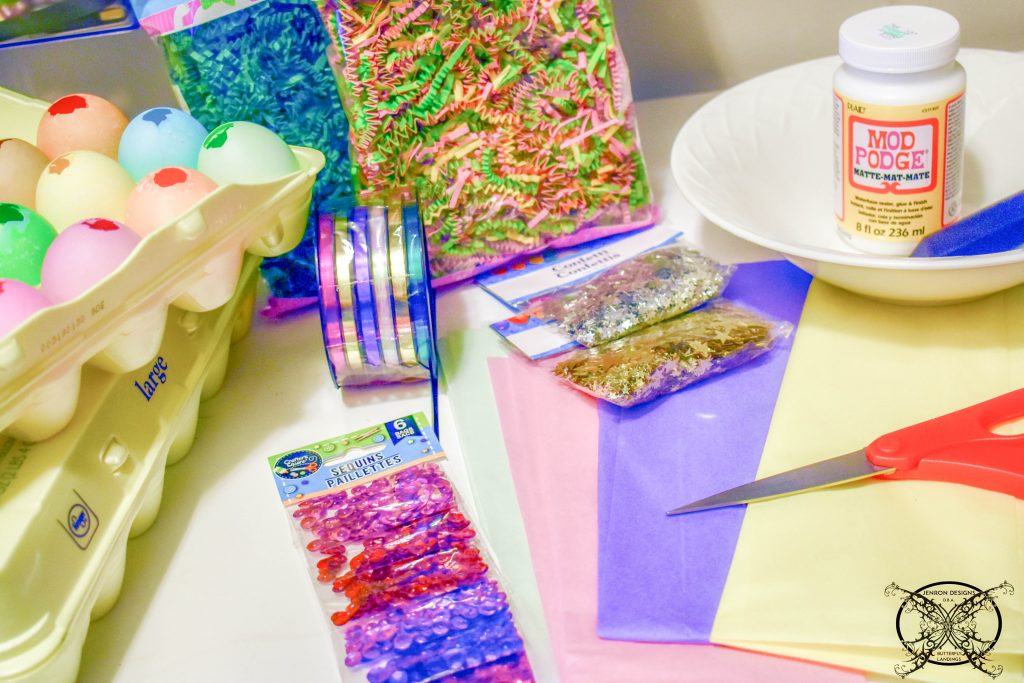 I got to tell you I found the best confetti, and egg filler at the Dollar Tree. They also had a great color selection for the tissue paper and crepe paper too. All for just a dollar! I know some locations with food also sell eggs and food coloring. So you could essentially do this entire project with a one stop shop.
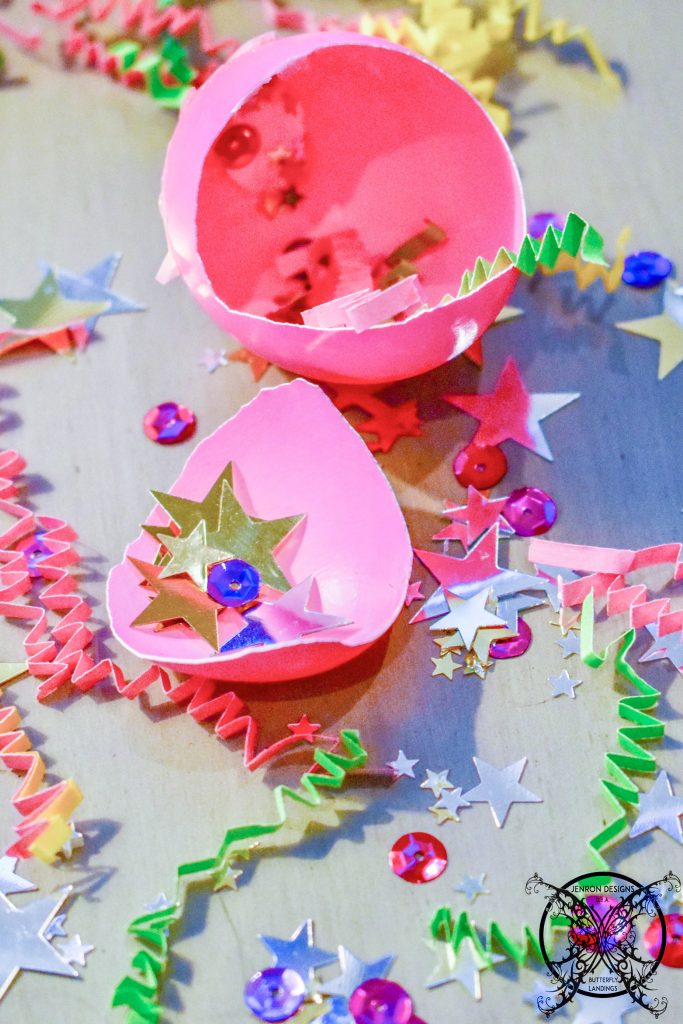
*I was compensated for this post. Please note that this post may contain affiliate links for your convenience. These involve no extra cost to you, but may result in me receiving a small commission – for which I am very grateful! You can view my full advertising disclosure here.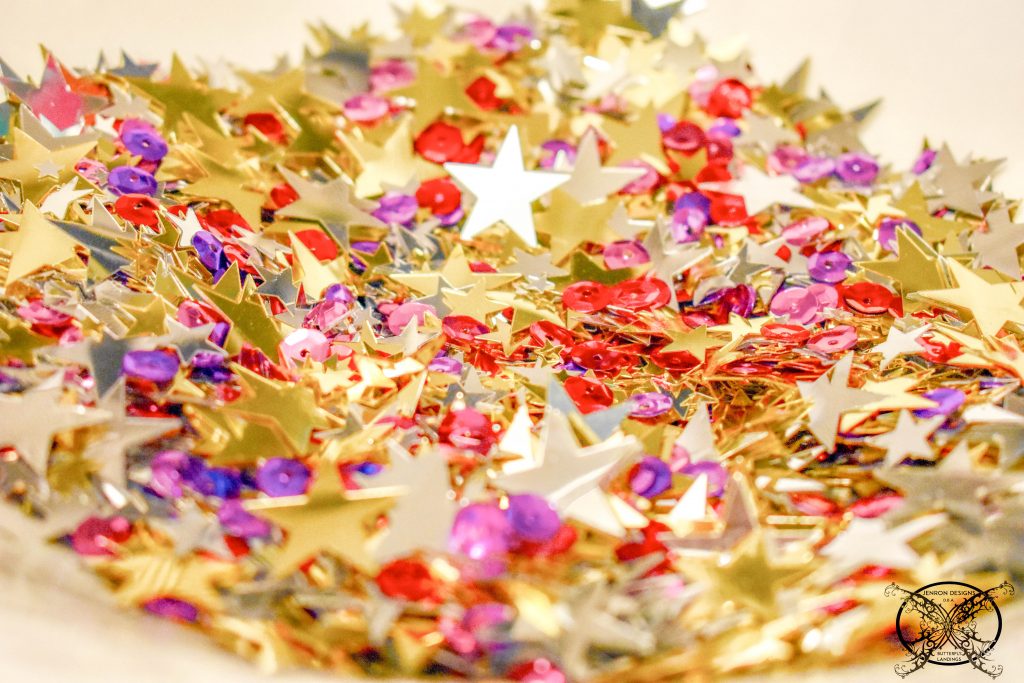 I picked up several bags of confetti, Easter grass, and I even found some pretty sequin packs in the craft aisle. I just poured them into a large bowl for easy filling of the eggs. This also prevents the confetti from ending up all over the place as you are filling the eggs.
  *If you are worried about a mess in your yard, you can opt to use organic items like dried rose petals, herbs, or even a water soluble biodegradable paper. Even bird seed would be a good choice. However, keep in mind that some bird seed will leave weeds in your yard if it is not eaten by the birds.
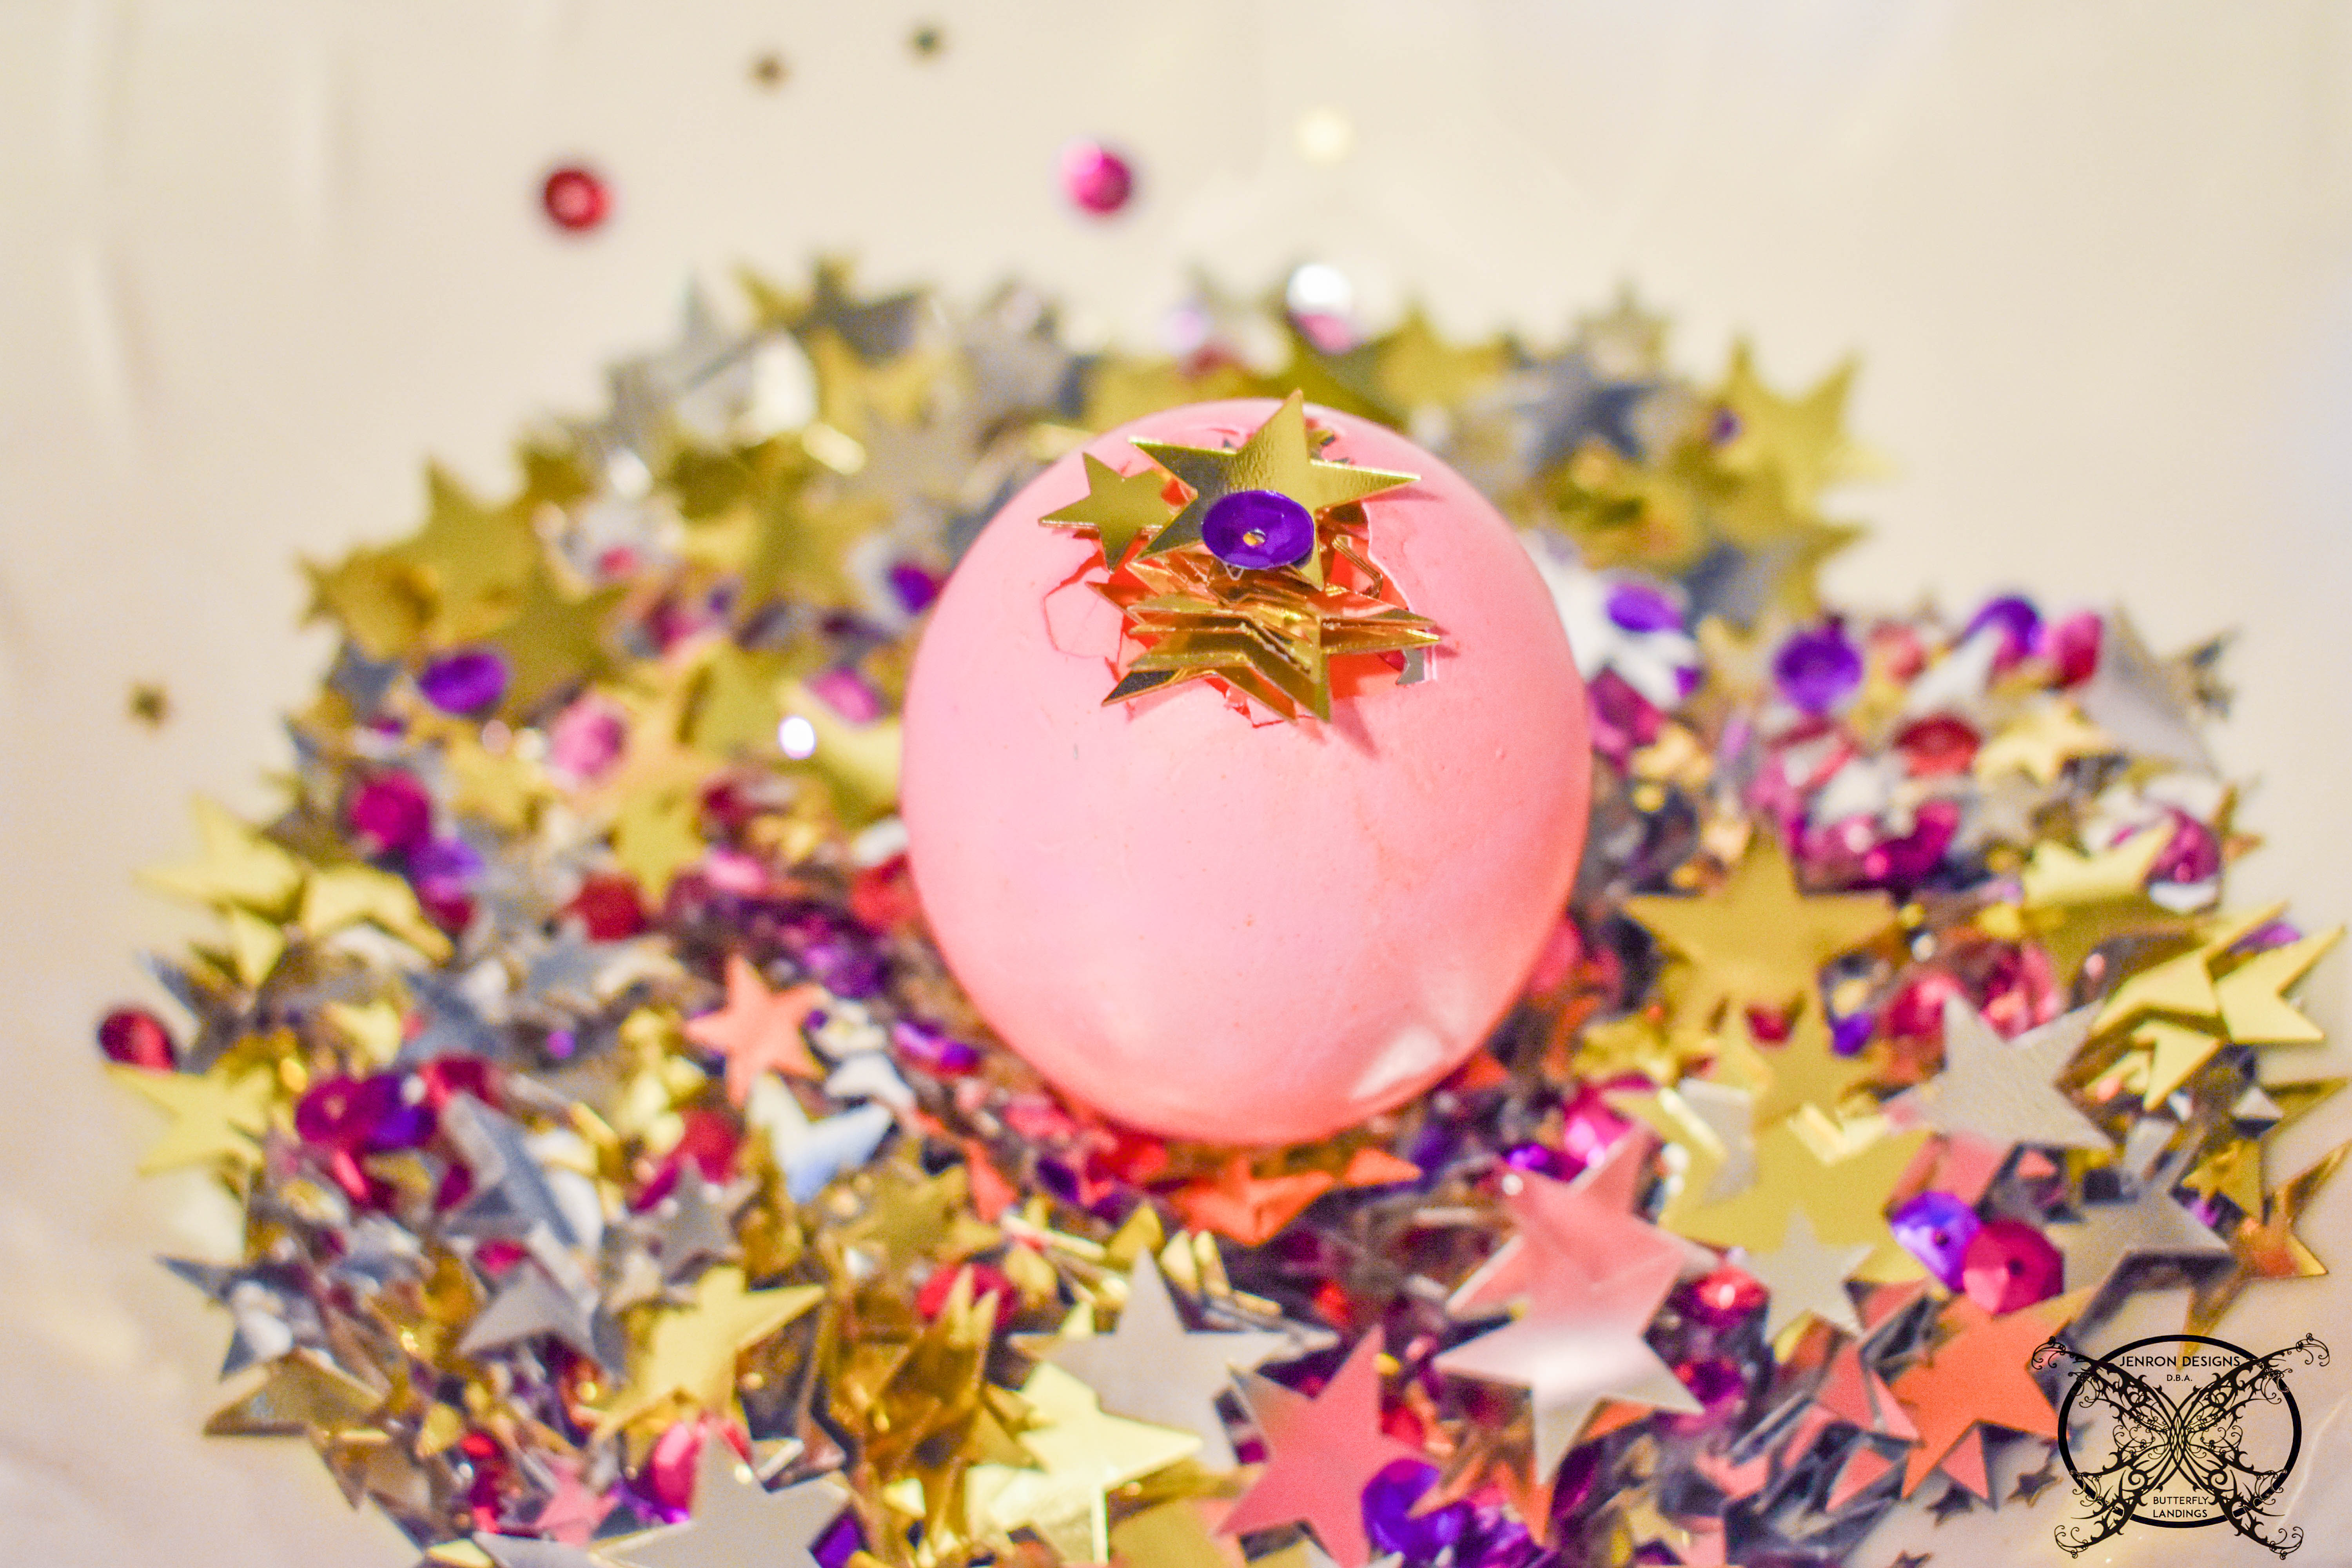
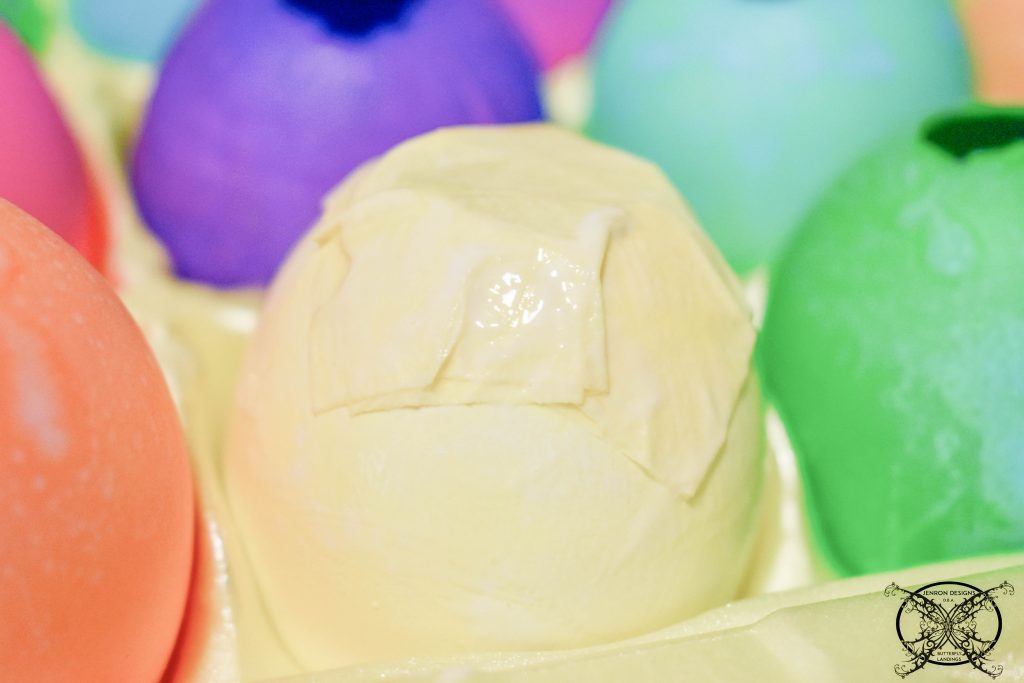
 Once you have all of the eggs filled with your choice of confetti, you need to close them up. You will want to use glue or Mod Podge to seal the squares of tissue paper to the base and close up the holes.
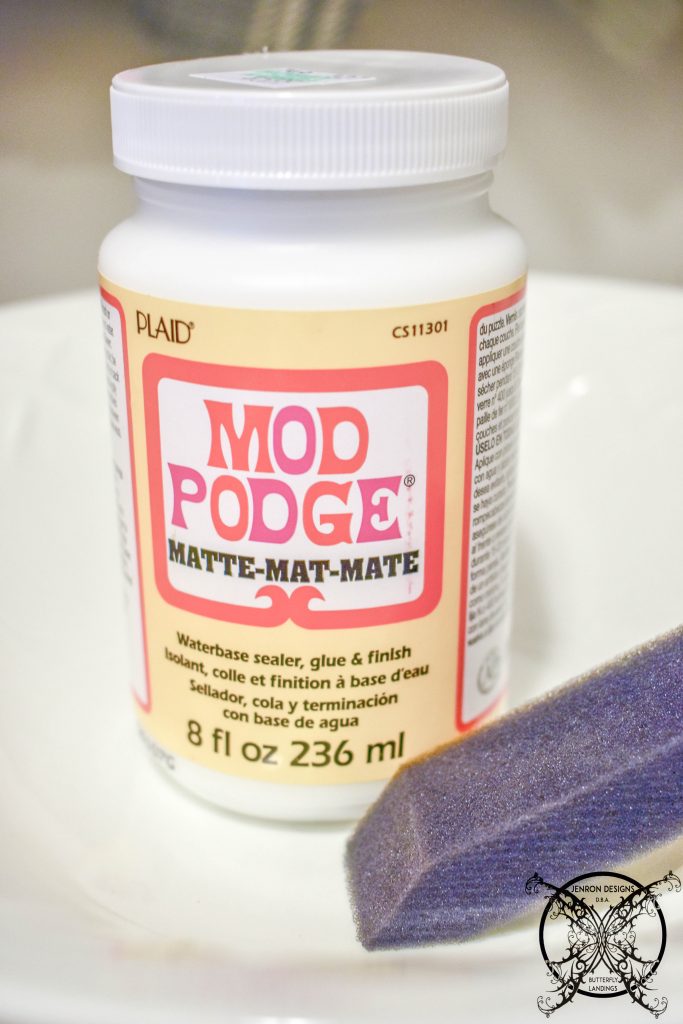
 I used a foam brush and just lightly coated the the base of the eggs. Then I stuck the tissue or crepe paper to the base of the eggs and coated them with more Mod Podge.
 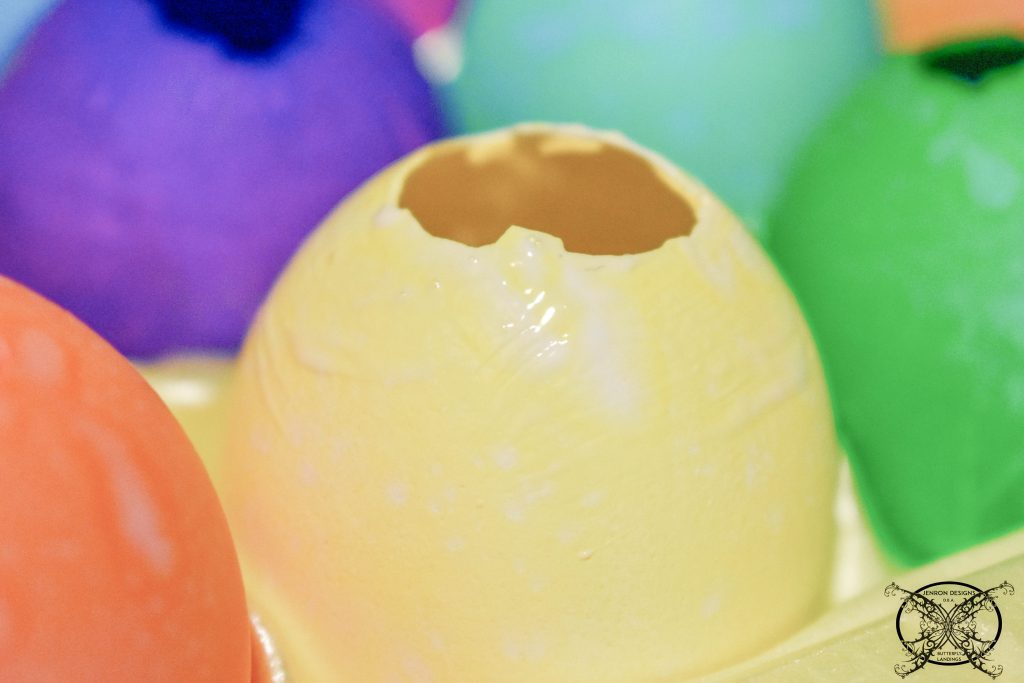 Tip- If you do not have Modge Podge, a slurry of Elmer’s school glue and water will work in a pinch. Just use two parts glue to one part water. This is what is used for pinatas and other types of crafts.
 Allow the eggs to dry completely. Again I used the same egg container and placed them next to the dehumidifier in the basement. After at least 2 -3 days the tissue paper should have harden up and the eggs should be completely dry.
 REMEMBER to keep them confetti side down in eggs, during the drying process to prevent it from sticking in the wet Mod Podge on the inside of the eggs.
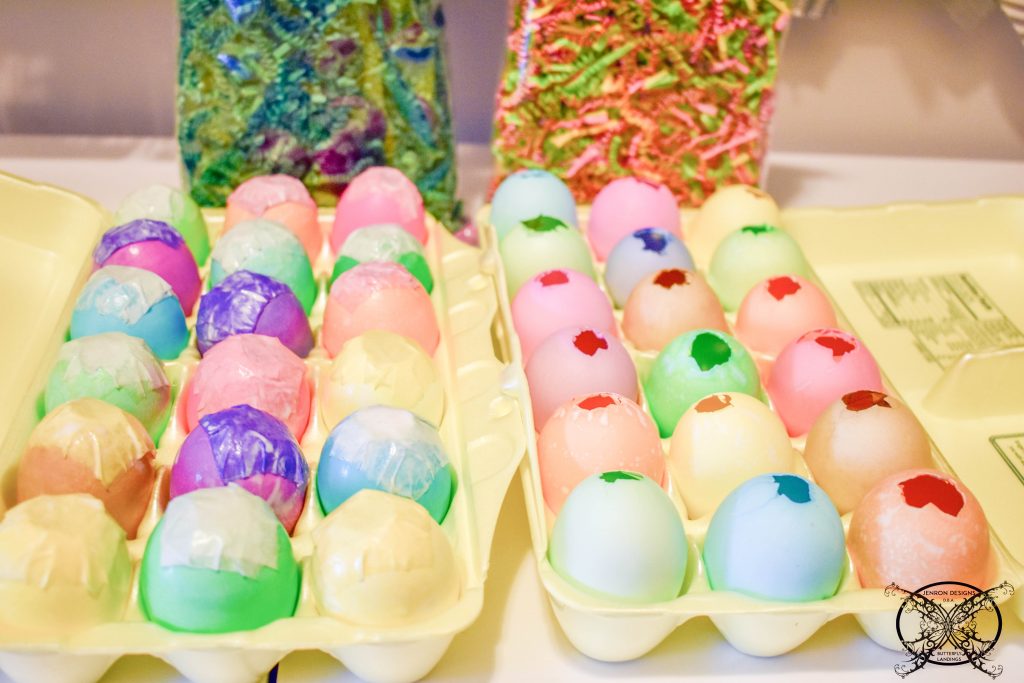 Then bring them out for a fun Easter surprise or use them to decor areas of you home until the big smash day arrives!
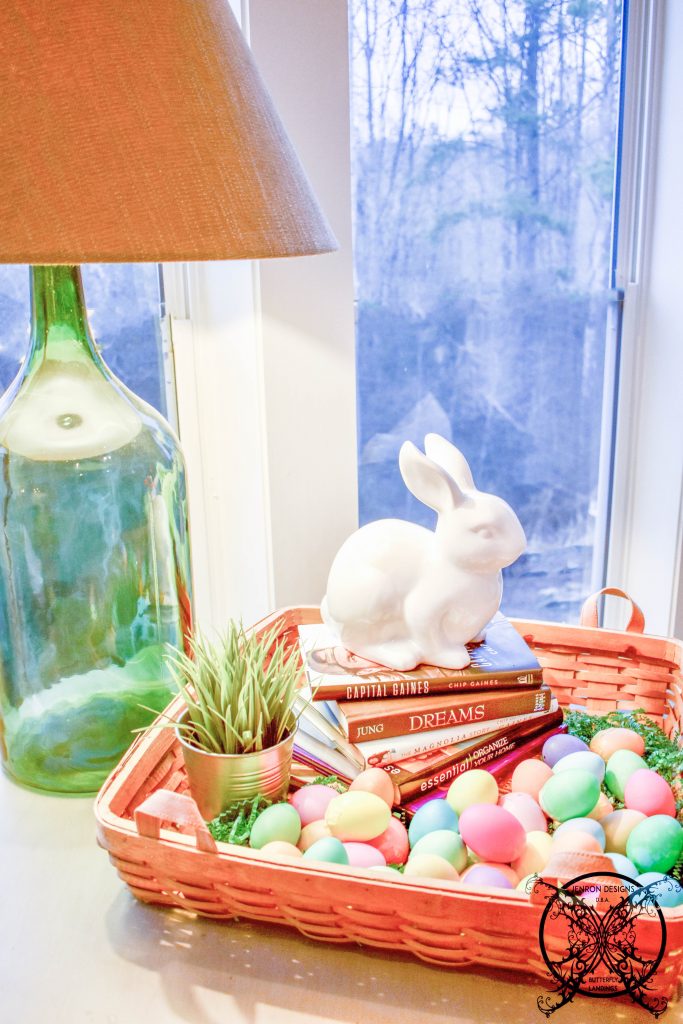
 I guarantee that your kids will have fun tossing these around and smashing them into their siblings and family members. Just remember that they are real egg shells so the fragments left behind could be sharp, and they are guaranteed to make a pretty big mess, so it recommend to smash them outside.
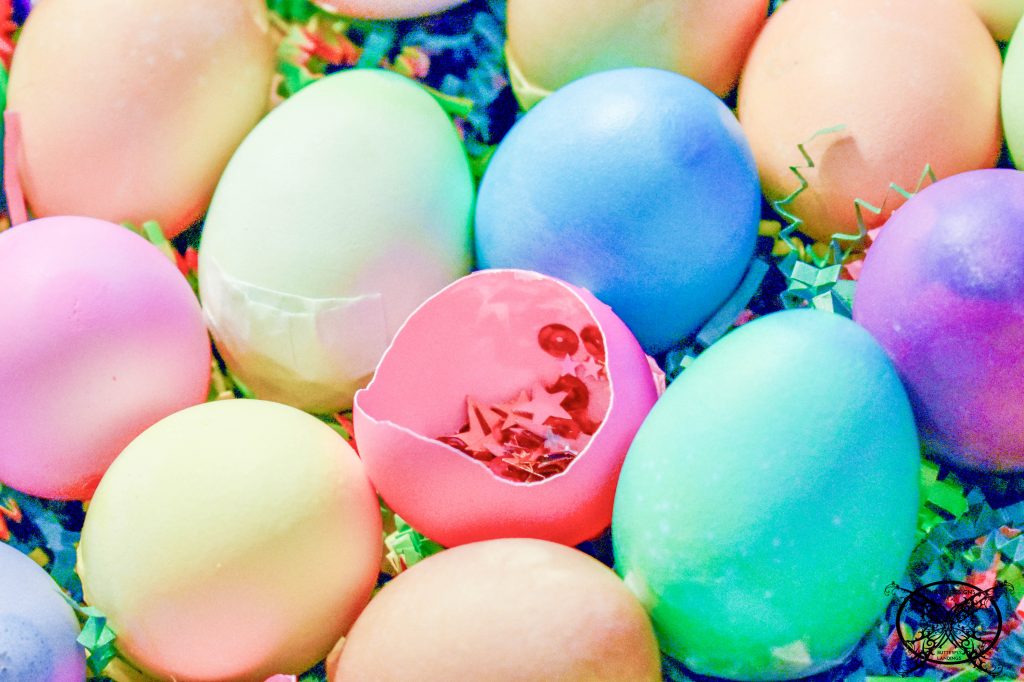
PIN ME for later and be sure to follow us on Pinterest at Jen @ JENRON DESIGNS
Hi Jen,
This is an awesome post! 🙂 I have never heard of these eggs before reading this!
Your step-by-step process makes it foolproof for anyone to make. (I really appreciated the extra tip of drying them faster by a de-humidifier.) Easter should be interesting this year seeing that it is on April Fool’s Day! 🙂
Best,
Christina
I’m so glad I found this! I usually just buy some smash eggs, but I’ve always wanted to make my own!
Hey Toni I am so glad that you found this article too. Please know that they take a little bit of prep time, mainly for letting the dye dry so the confetti does not stick. All in all they are pretty easy to make.
Hey Christina I am so glad that you enjoyed this post. I agree Easter and April Fool’s Day is rather a odd combination.
Great idea! Easter is my favorite holiday and I am always looking for fun new ways ti celebrate. I really like the idea of using these to decorate and then the kids can have fun smashing them on Easter. Thanks for sharing!
I’ve never heard of this! Lol it looks fun though
Thanks so much for the post this will be perfect for Easter with it falling on April Fools Day this year. Thank you for another great idea!
Wonderful !!! Such a great craft activity we can do on Easter.. Now my holidy is booked to try this😀
This is such a fun idea for families to do! I love it.
We made these every year and also for our special heritage days. Any kind of festival. Oh, I miss my granny Vega! Thank you for the memory.
This is such a wonderful and creative idea and I love how you provided a bit of a history lesson. I think I will make a few for my daughter she would get a kick out of this. You know how toddlers love to smash things 🙂
My kids are going to love this idea, good thing we live on a farm I think it could get a little messy, ha ha. Thanks for all the tips, since we always have fresh eggs, it would be very easy to save up the shells each day for this project, and some a already pretty blues and browns so we wouldn’t even have to dye those.
Arvind, yes you could use dried flowers and herb instead of confetti, I think that is a wonderful idea. Thanks for stopping and leaving a comment.
Translation To Dutch: Arvind, Ja, je zou gedroogde bloemen en kruiden in plaats van confetti kunnen gebruiken, ik vind dat een geweldig idee. Bedankt voor het stoppen en een reactie achterlaten.
Thanks to the wonderful manual on how to create these fascinating smash eggs, I think they are so much fun even for a birthday party.
Thank you for the terrific article
I spent a lot of time to locate something similar to this
Such a fun idea for a little Easter surprise and it keeps the kiddos busy too. We just used the dried rose petals like you suggested for a bio-degradable option and it kept the HOA happy too.
Good website you’ve got here. It’s difficult to find high-quality writing like yours nowadays. I honestly appreciate people like you! Take care and stay safe!
What a cute idea for Easter! I am totally going to do this when my little is bigger next year! Gotta save my egg shells!
I have never heard of such things, but man, do they look like fun!!
Great idea! Love it! And it looks fun though 🙂
My youngest is a HUGE fan of anything that has a surprise inside. She is going to love making these!
So fun! I’ll be honest, I buy them already made, ha. I’m pretty lazy.
I have seen those too they and they are all fun! I just made these a few years ago and then made quiches with all the eggs for brunch, LOL! It was a whole thing for Easter that year.
These decorative eggs look like a really fun tradition. Thank you for the tutorial.
These are so much fun!!!
I’d never heard of cascarones! Thanks for this fabulous how to! They look so pretty.