Adding Wainscot Walls
Hello my friends, we are entering week 3, ORC Fall 2019: Adding Wainscot Walls. Check out this easy DIY that will instantly dress up any room.
This season for the Fall 2019 ORC we will be completing our Closet, which is directly off of our on suite Bathroom that we completed this past Spring. That challenge plus our recent Owners Suite Bedroom Renovation just left us excited to finish up the complete Owners Suite. Week 3 is all about ORC Fall 2019: Adding Wainscot Walls to elevate the closet space. This is such a simple DIY and I am very excited to share it with you all this week. This week was also cut a bit short, since we are currently traveling to Waco Texas for Silobrations at Magnolia Market. So bare with us, as this was not a week that will have a ton of progress.
WEEKS AT A GLANCE:
WEEK 1 WEEK 2 WEEK 3 WEEK 4 WEEK 5 REVEAL
Just in case you maybe wondering exactly what is the ORC aka The One Room Challenge here is the full scoop. This event was started by Linda Weinstein @ Calling It Home and is hosted twice a year, in April and October for the past 16 seasons. The ORC has hosted over 300 interior designers & home decor bloggers, that have joined together in this challenge to makeover one room in their own homes. The participants have a total of six weeks, from start to finish, to complete a full room transformation. Over 3,500 rooms have been transformed through the One Room Challenge to date, and many spaces have been recognized and featured by several prestigious sites seen here:
 Thank you to the One Room Challenge Media Partner, Better Homes & Gardens, for your continued support and love for original interior design.

THE INSPIRATION BOARD
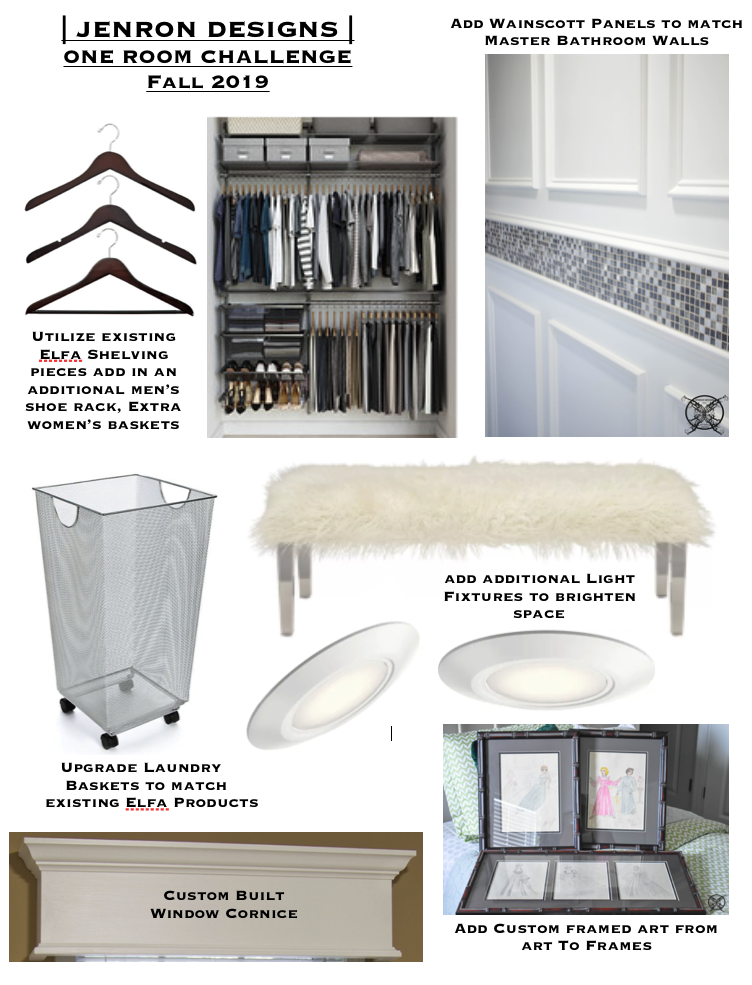
Tutorial of Easy DIY Wainscot Walls
As we headed into the Wainscot wall DIY, keep in mind that we had to remove all of our clothing and existing fixtures from the closet. Which truly was a chore unto itself. I highly recommend labeling all the fixtures in sections so you keep all the pieces together and it goes back to together quickly. Since we are not really reinventing the wheel on this project that tip was vital. We labeled each section of the head rail with small sticky notes, example A, B, C, D for each section and then labeled the stack of pieces we laid out in one of our guest rooms. I also photographed the shelves as well.  Once the shelving was down we could easily add the Wainscot panels to the ceiling and exposed walls we had previously designated. The spacing of the Wainscot panels have been set by our previous Owners Suite Bathroom since the closet is adjacent to that space. So standardized 4 inch drops from the ceiling and from all edges of the fixtures.
 There were a few areas that we did cheat this measure to make the panels look appropriate for the space. A great example of not sticking to standards can be seen here under the window. While the baseline is 4 inches from the baseboard, we opted to only come down from the window 3 inches so we would not have a weird cut around the plug.
  Although I have seen custom cut or boxed areas to accommodate plugs, those are one of my biggest pet peeves about Wainscot Panels. My eye will always go to those unfortunate spaces, and like a train wreck, I can not look away, lol. In nature our eyes always gravitate naturally to things that stick out, or do not become a natural part of the space. So in this case I opted to fool the eye into thinking that the space is the same, without having some weird cut out or box which would absolutely call attention to that area.
 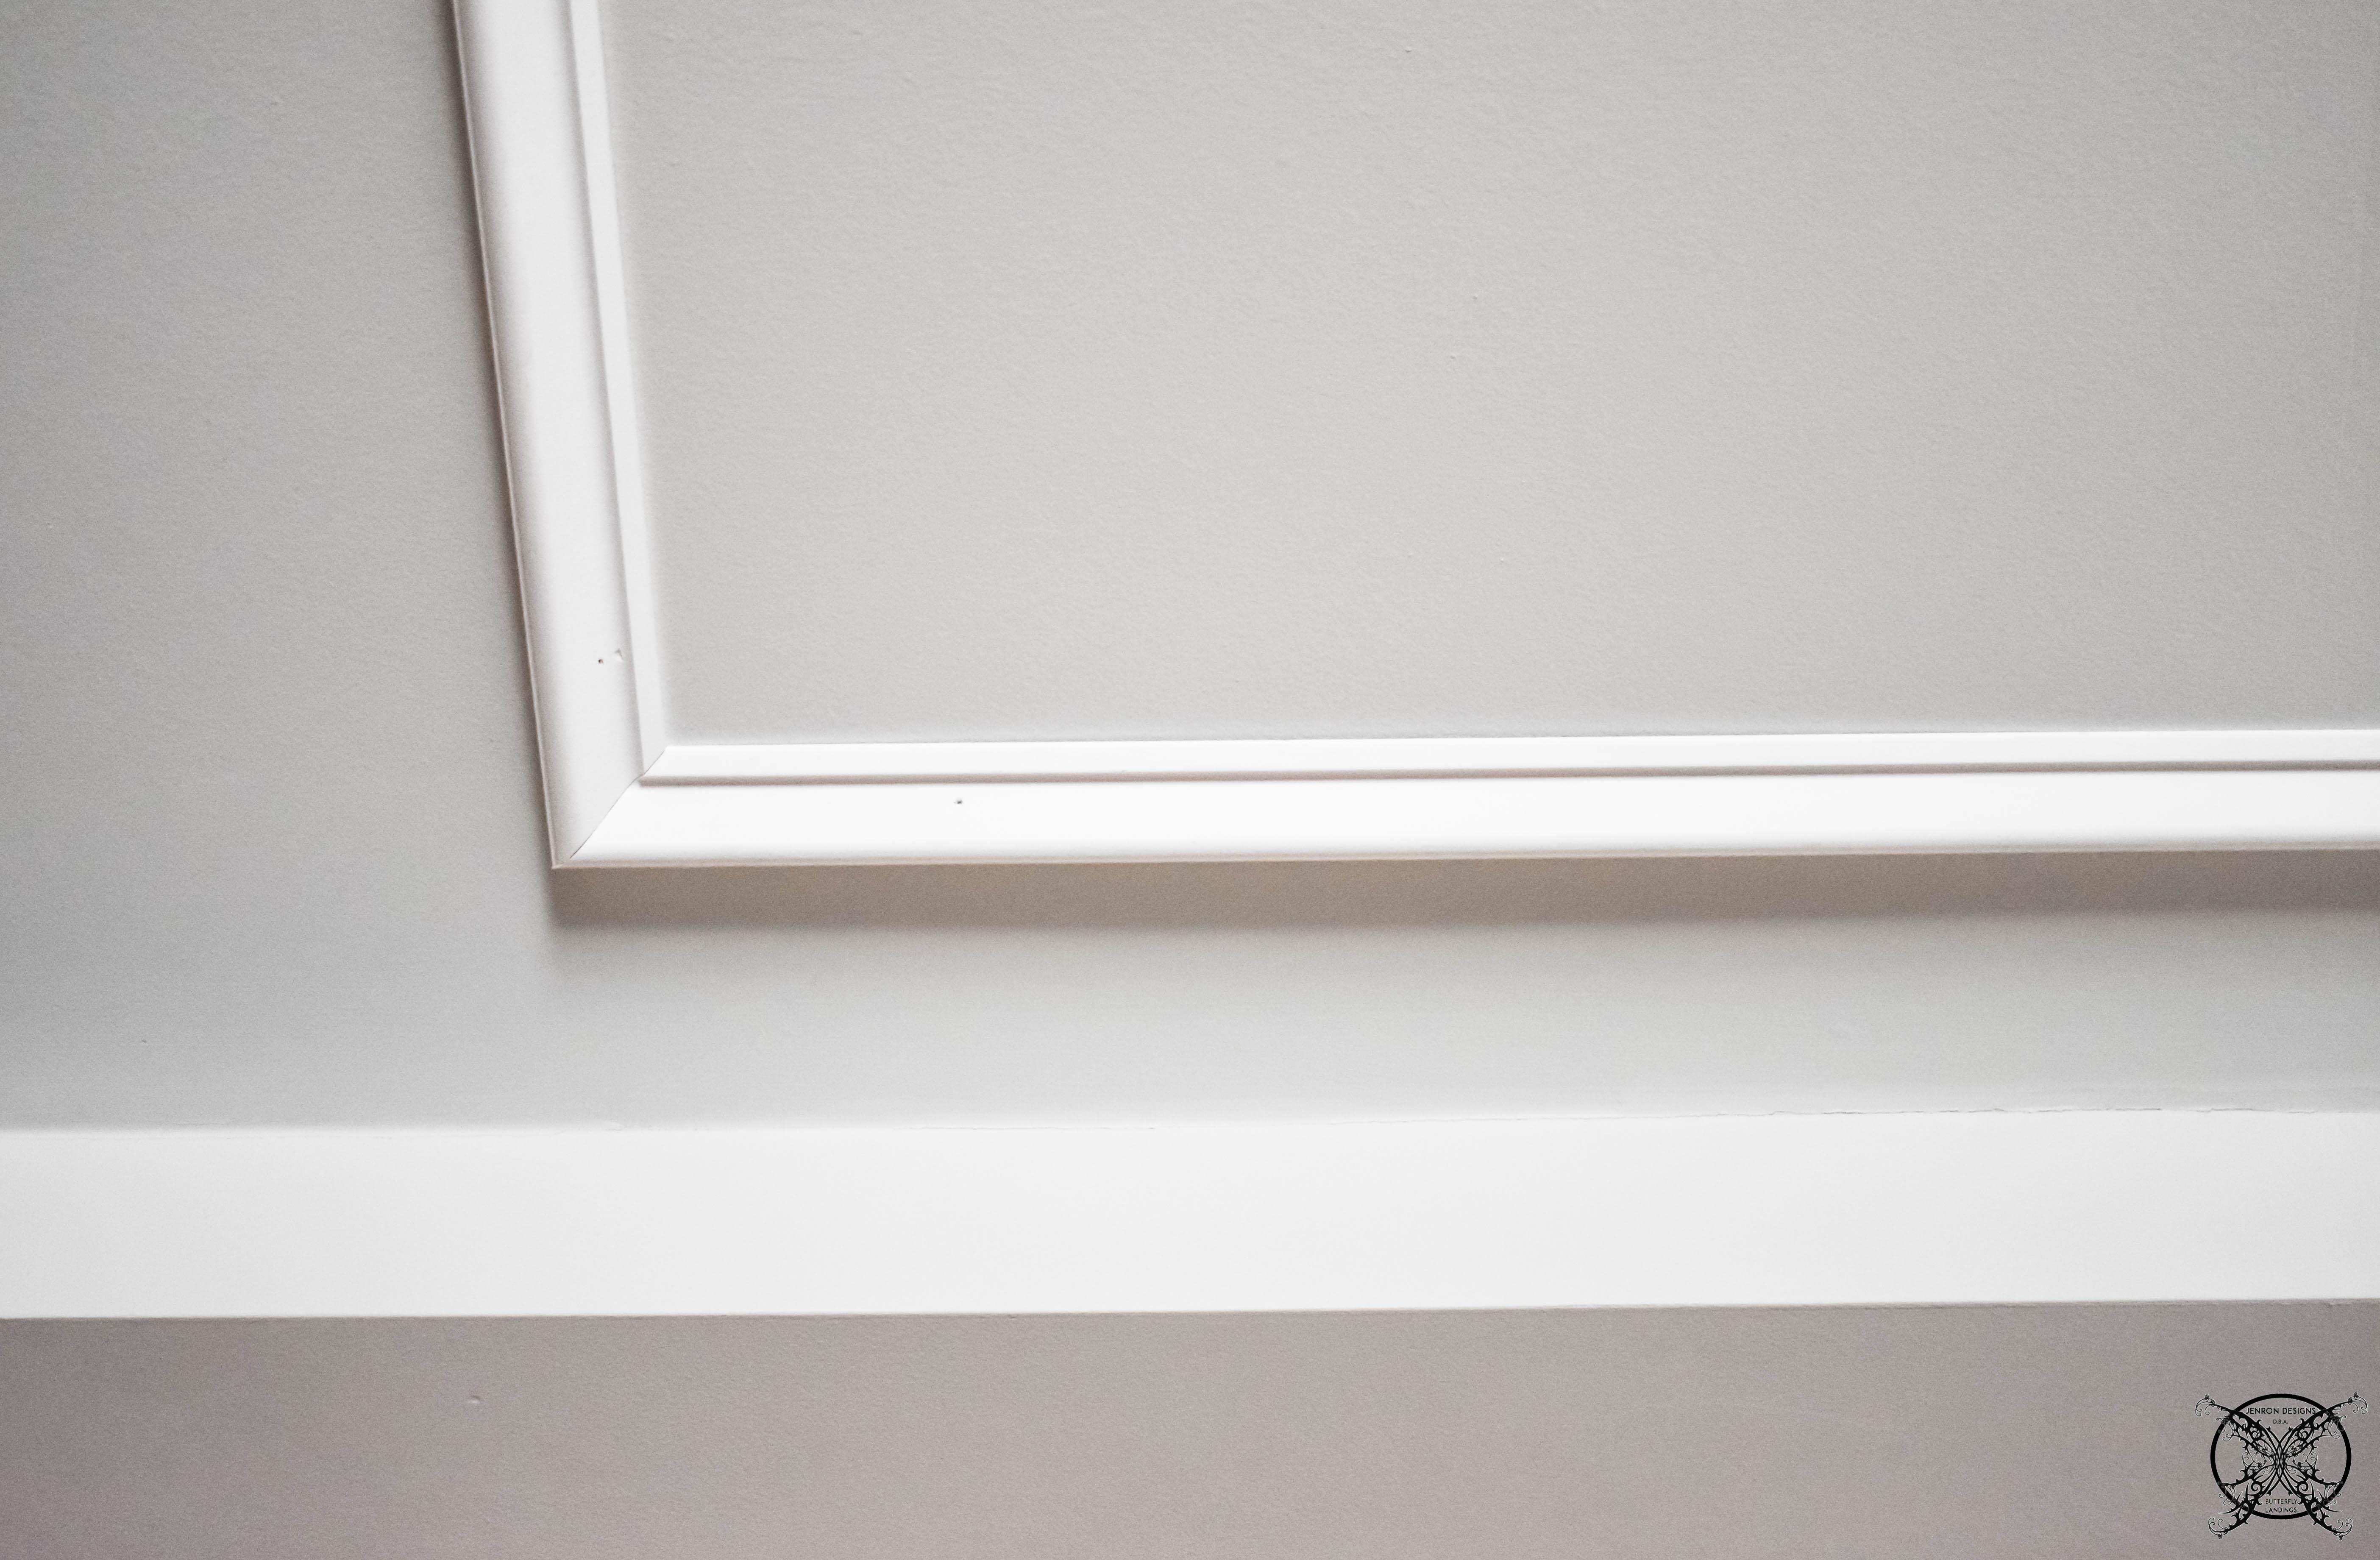 The closet hallway was also one of those areas. You can see below how the ceiling drops down in this areas and the molding almost meets up to the ceiling. Since this area was a part of the standard 4 inch spacing, we decided to keep the standards since the bathroom hallway was just on the other side of the door and visible. However, I am toying with the idea of making the drop down look like a faux beam, I just have not decided yet.
  The final part of this week’s project was to caulk all the gaps and nail holes. This way the caulk will be dry and we will be already to paint when we get back from Texas. Who knows maybe I will find some fun accessories to add to this space while we are there. You may also notice how dark this area is in the middle of the day, I can not wait for the new light fixtures to go in next week!

As you can see the window wall looks great, and we decided to add the same panel style to the top of the cornice board we installed last week. The trim really dresses up the plain cornice and it finishes up the edges. Here is what is left on our to do list:
THE PROPOSED SCHEDULE:
WEEK 1: Introduction, Inspiration Board, Ordering and Procurement of Supplies
WEEK 2: Build a Custom Sized Window Cornice
WEEK 3: TRIM- DIY Wainscot Panels
WEEK 4: PAINT – Paint Room, add new Light Fixtures
WEEK 5: ELECTRICAL- Sort & Organize all clothing, Add new Elfa fixtures, Add decorative features
WEEK 6: FINAL REVEAL

Wow! This is gorgeous. Can’t wait to see the big reveal!
Love the detail this adds to any space.
Great miters. Looking so good! I’m totally jealous…please come do my closet next! LOL..
Wow! This is beautiful! You did such a great job. And have fun in Waco!
This closet is going to be breathtaking!
This is going to be THE most luxurious closet I’ve ever seen! Awesome details
Susie you are just the sweetest!Thanks for all the kind words and support.
That trim is such a high end detail! It looks incredible Jen!
Really love all the detail you include! Especially in an often overlooked space.
Thank you for your sharing this inspirational idea for the home. It is such an easy way to upgrade basic drywall to make a home feel more regal and have more value. I wish more bloggers would show these types of projects instead of the tacky modern angular trim from the 70’s that stuff is going to be dated before they finish hanging it up.
A great post without any doubt such an easy way to make a room pop!
Very interesting and easy to follow.
Great job, your blog always helps me.
Excellent explanation, you made it simple.
Such a valuable resource, thanks.
Such a valuable resource, thanks.
This post is very detailed and informative.
I enjoyed reading this, keep it up.
Such an easy DIY to make you home look fancy.
Great site, I recommend it to everyone!
I value the information and responsive team at this reliable site, which is hard to find these days. So much fake AI stuff out there I prefer the real real.
Your post selection impressed me. I really love all the DIY project you are doing they are really great, and easy to follow, thanks.