
Brighten a Room with Painting & Lights
Hello my friends, we are entering week 4, ORC Fall 2019, today we will show you how to Brighten a Room with Painting & Lights.
Painting is the quickest way change your space and adding additional lighting at the same time will give you a whole new look.Today we will show you how to brighten a room with Painting & Lights.
This season for the Fall 2019 ORC we will be completing our owners suite closet, which is directly off of our on suite bathroom that we completed this past Spring. That challenge plus our recent Owners Suite Bedroom Renovation just left us excited to finish up the owners suite closet as well. We are now in week 4, the ORC Fall 2019: Painting & Lights. This project will brighten and elevate the closet space further. I am super excited to be working the ORC sponsor HANDy Paint Products this season since we love all of there products especially the HANDy Paint Cup.
WEEKS AT A GLANCE:
WEEK 1 WEEK 2 WEEK 3 WEEK 4 WEEK 5 REVEAL
Just in case you maybe wondering exactly what is the ORC aka The One Room Challenge here is the full scoop. This event was started by Linda Weinstein @ Calling It Home and is hosted twice a year, in April and October for the past 16 seasons. The ORC has hosted over 300 interior designers & home decor bloggers, that have joined together in this challenge to makeover one room in their own homes. The participants have a total of six weeks, from start to finish, to complete a full room transformation. Over 3,500 rooms have been transformed through the One Room Challenge to date, and many spaces have been recognized and featured by several prestigious sites seen here:
 Thank you to the One Room Challenge Media Partner, Better Homes & Gardens, for your continued support and love for original interior design.

THE INSPIRATION BOARD
 Please note that was compensated for this post and. These involve no extra cost to you, but may result in me receiving a small commission – for which I am very grateful! You can view my full advertising disclosure here.
DIY Tutorial of Easy Painting Tips to Brighten your Room
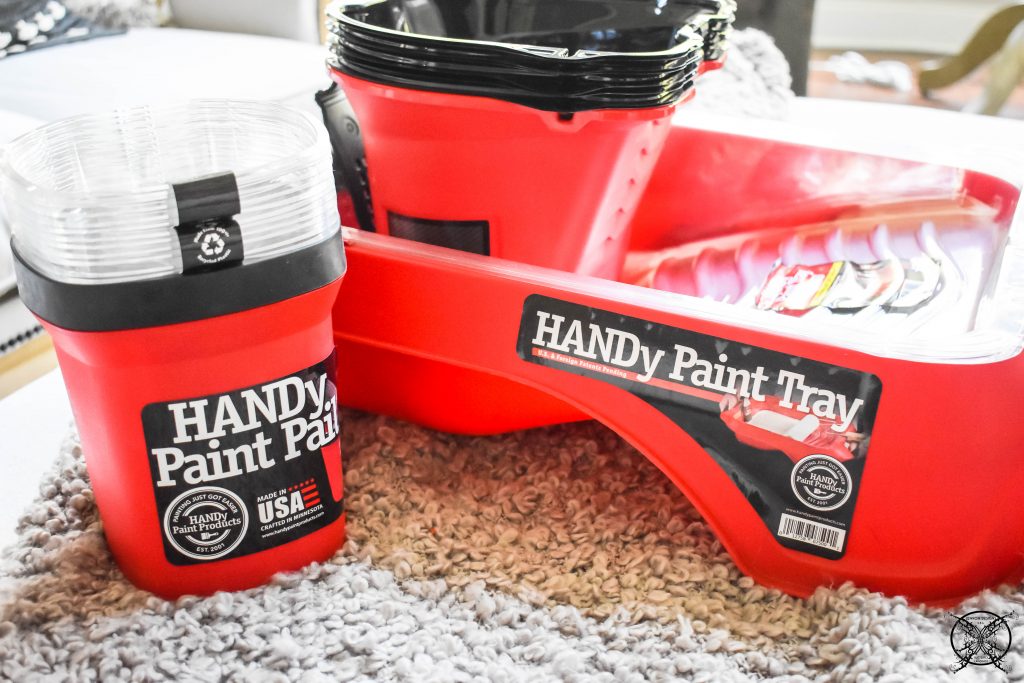
Tip 1– The HANDy Paint Products have been a staple in all of our interior painting projects since last year, and I can say without a shadow of doubt that they have saved us tons of time and paint. So getting the proper tools for the job would be my number one painting tip.
 The HANDy ladder pail allows you to use a full size roll and has a patented bracket that securely attaches it to the side of most step and extension ladders. It also holds over a gallon of paint which saves you time on refilling your bucket. Plus it has a built-in magnetic brush holder and a rag holder. Ruggedly constructed and super easy to clean especially if you utilized the liners. The HANDy Ladder Pail will make all your projects faster, safer and much easier.
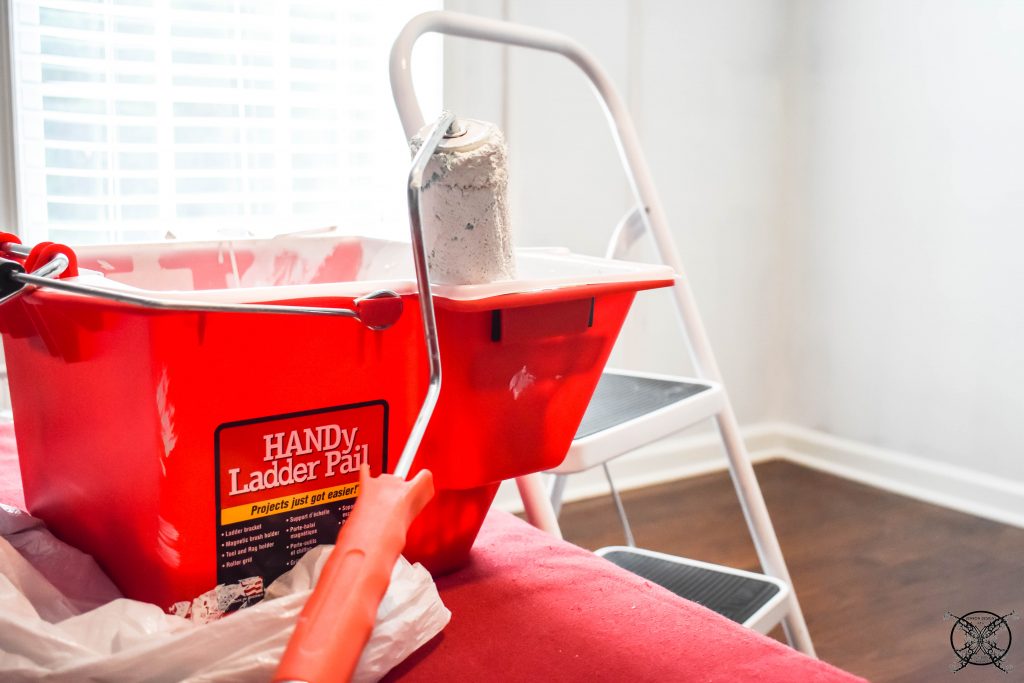 Tip 2– Always trim out your space this makes sure that tight corners and crevices are well coated and match the rest of the rolled space. We love the HANDy Paint Cup for the trim out areas and tighter spaces. The HANDy Paint Cup also has a built-in magnetic brush holder, which makes climbing up and down a step ladder easy and no worries of dropping your brush or getting too much paint soaked into the bristles when the brush is not in use.
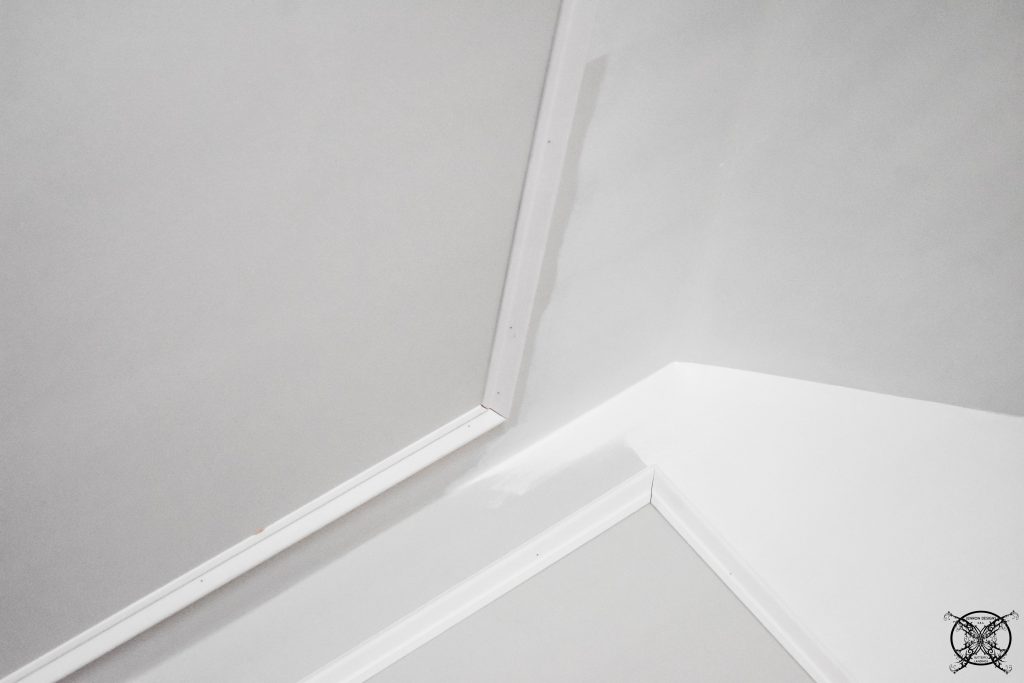 Tip 3 – Inevitably you will need a minimum of two coats of paint to get any kind of decent coverage and that is with a good, high quality, paint. This will again save you time and money. We always use Sherwin Williams paint the global leader for 150 years in the manufacture, distribution, and sale of coatings and related products.
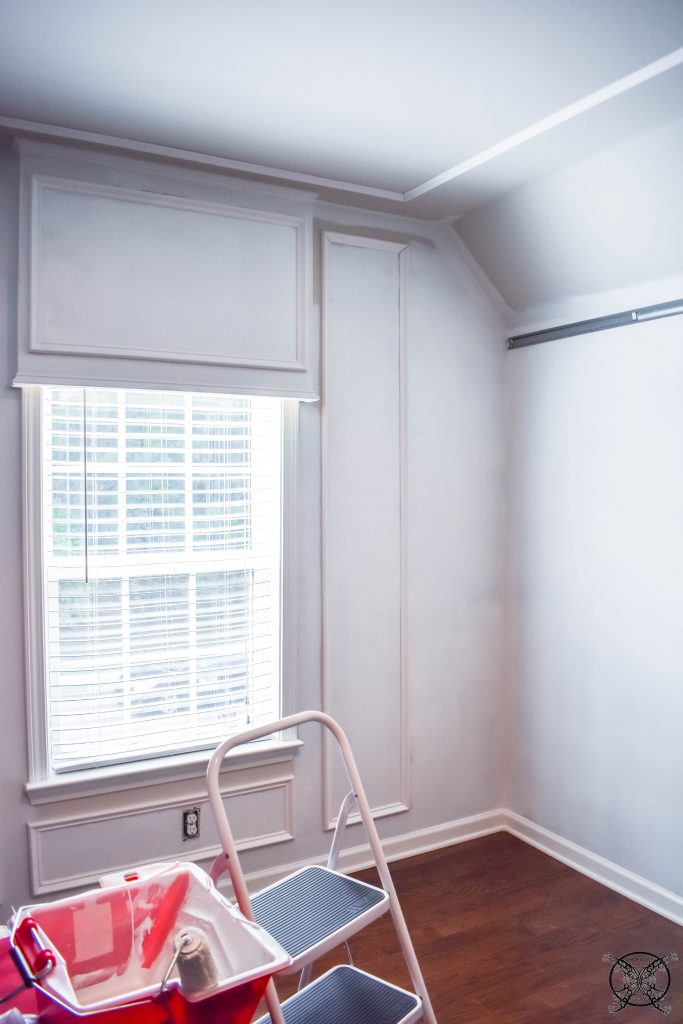 Tip 4: Know your sheen factor, sheen equals shiny. There are several sheen levels in paint, the basics are flat, eggshell, semi gloss and high gloss. What you need to know is flat paint will hide the sheetrock flaws and can be easily watered down to get more coverage. This is why most newer homes have flat paint. Semi gloss or high gloss is usually reserved for trim, and has a higher sheen factor, but it also the most scrubbable. While flat paints look good you can not clean a flat paint wall, because all the pigment is just sitting on the surface of your wall. Even if you use a Magic Eraser, all you are doing is scrapping pigment off your surface, which will then need to eventually be repainted.
 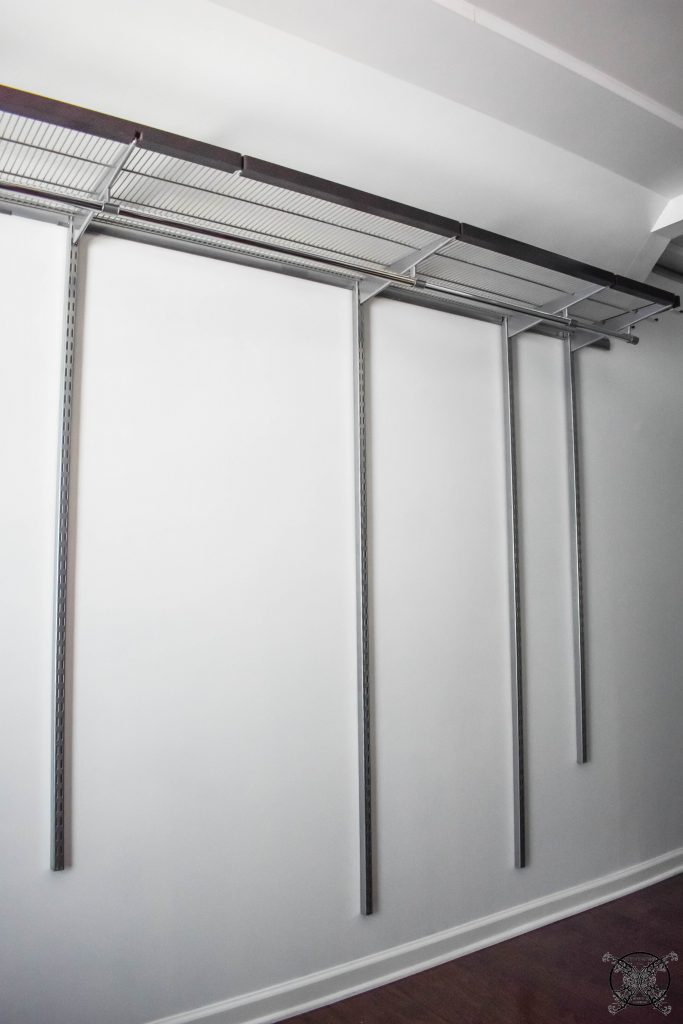 Once we got the closet painted it was time to add back in the shelving. We made a few changes to the layout but had planned to keep it mostly the same. This is where the prior, proper, planning made this part of the job simple. The standards went in the exact same place with the exception of two long ones we had on the shoe rack. They would be used for Ron’s new shoe rack and the donation bin. We also added in extra bin on the shoe shelves to house my sandals, flip flops and fuzzy footies.
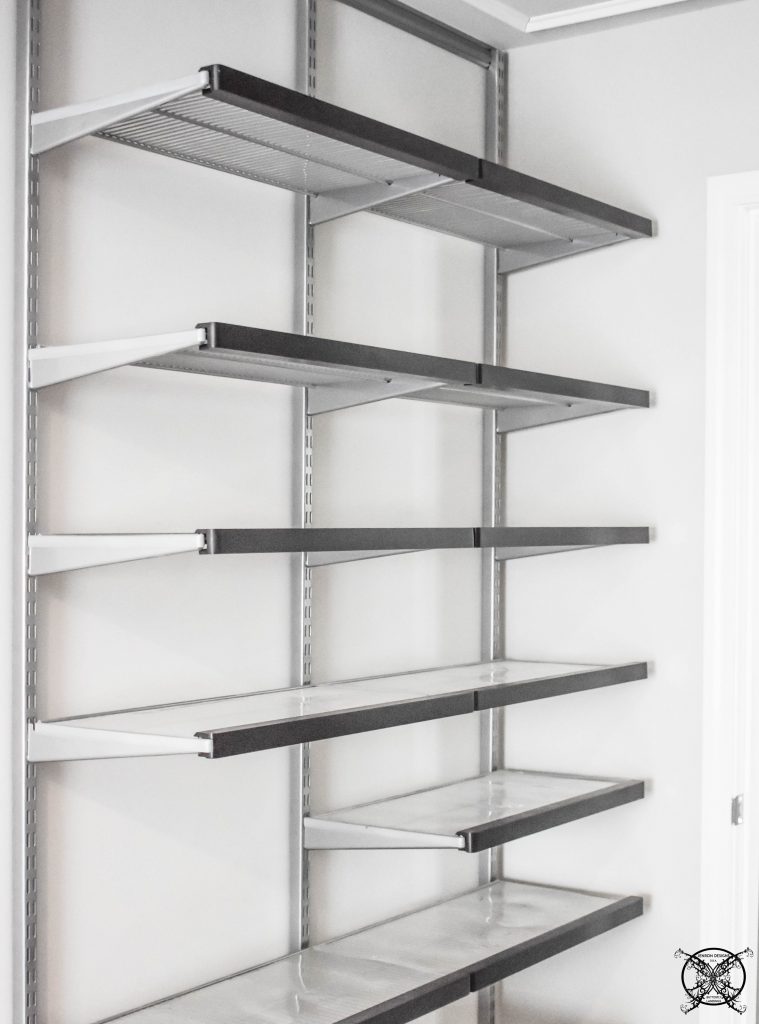
DIY Tutorial of Easy Light Installation for Instant Brightening Effect
This is actually the first part of a 2 part project. We are installing a new larger, brighter LED light in the closet in place of the LED down light we recently installed. Then we are relocating the LED down light to the hallway area of the closet.
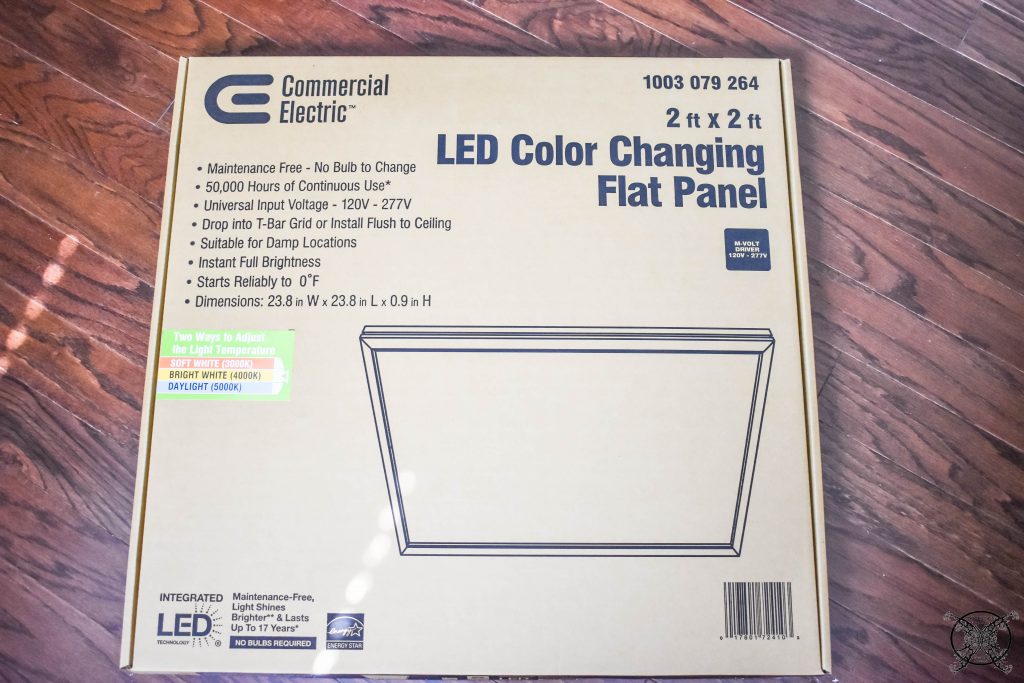 I know this is not really considered a pretty fixture like a chandelier, but the main goal for this space is to add additional light. In order to make the closet more functional and not a dark hole where you find yourself asking, “Is this navy or black?” So in this case, functionality beats out pretty all day long.
 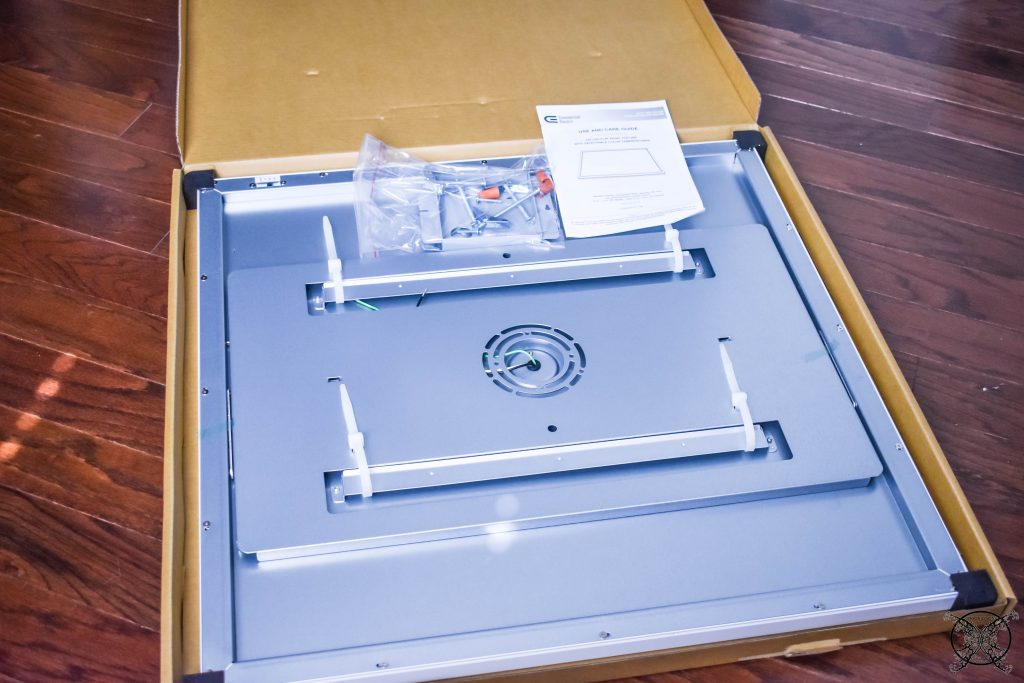 The fixture was super easy to install. It even had it’s own hanging brackets so I did not have to stand on the ladder and hold the fixture while Ron wires, which is my usual job. It also had corner protectors so it would not mar up your ceiling too. Commercial Electric really thought of everything.
 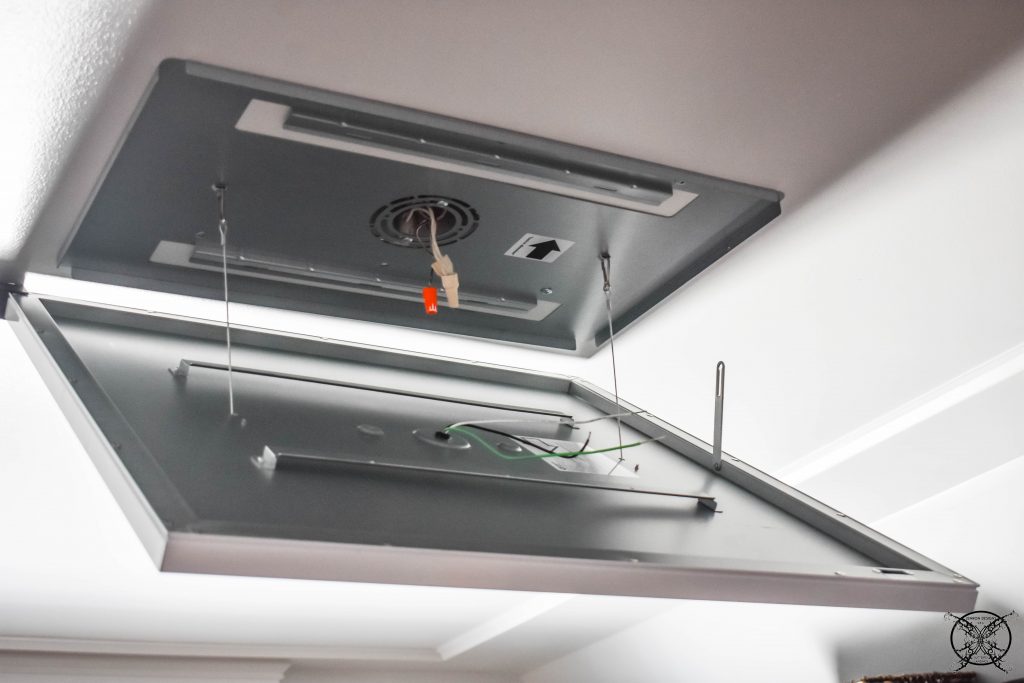 So while it was just a basic fixture it is truly a nondescript fixture. So it neither adds or detracts from the space. However to quadruple the lumen output from the previous fixture is really huge for this space. Plus it has an option for daylight, warm or cool light so you can get the glow you like.
 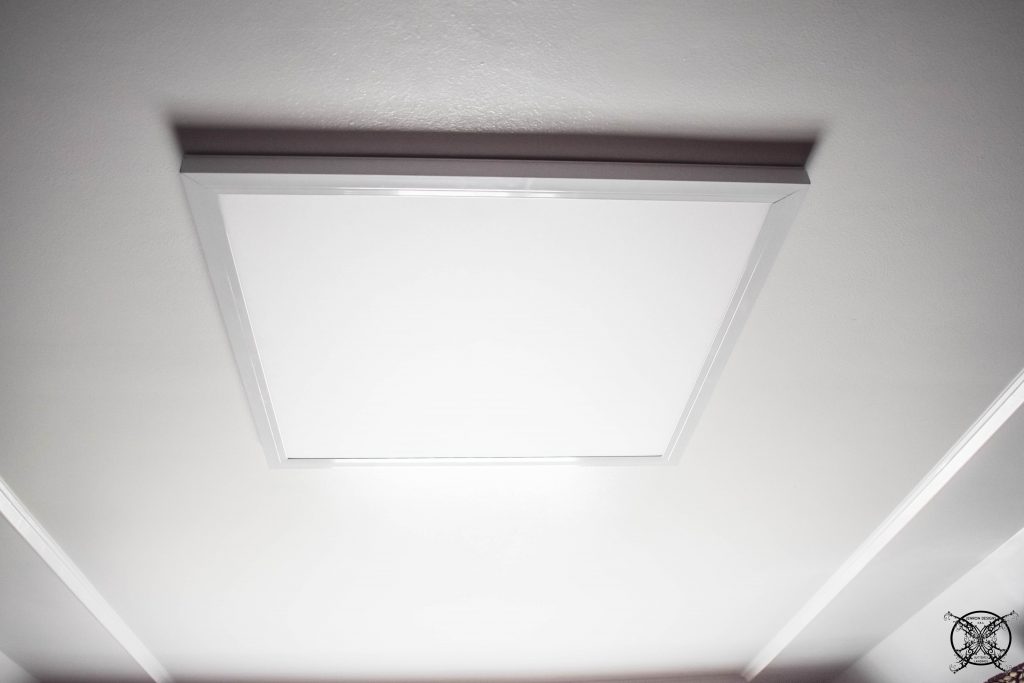 The second half of this project required a little expedition in the attic for Ron to pull wire for the new light fixture that previously did not exist. He did scout the potential ability to do so, when we were wiring the Master Bathroom Chandlier, another fixture in a space that had to be created as well.
 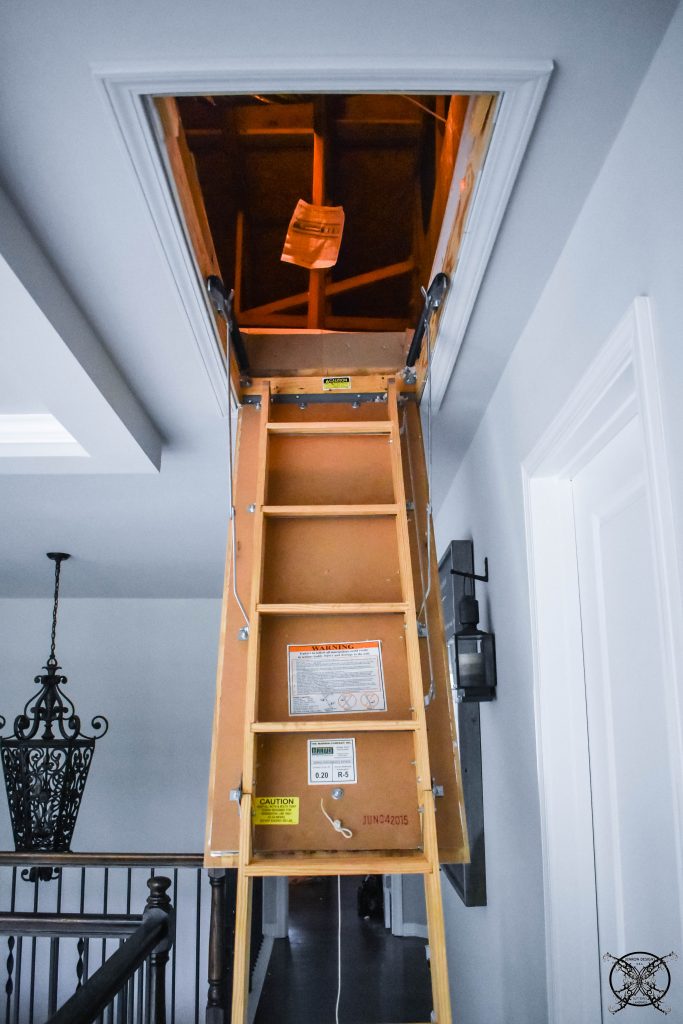 So without getting to technical, he basic intercepted the wire to first closet light and added a secondary run to the new light so they would indeed switch on at the same time with one switch.
 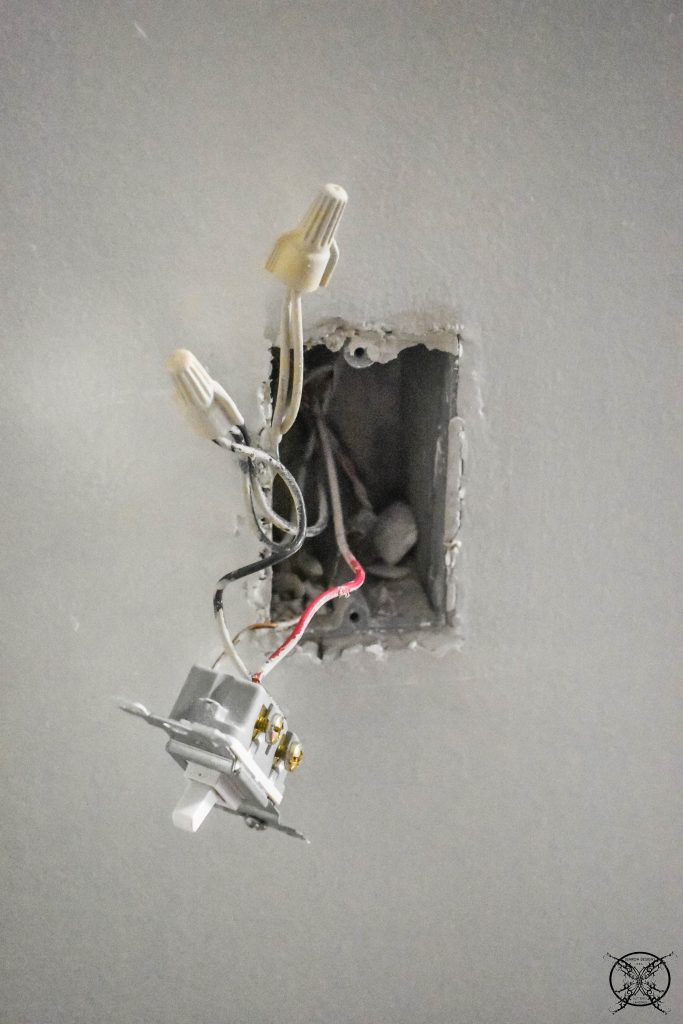 This is the new wire that is being added for this light.
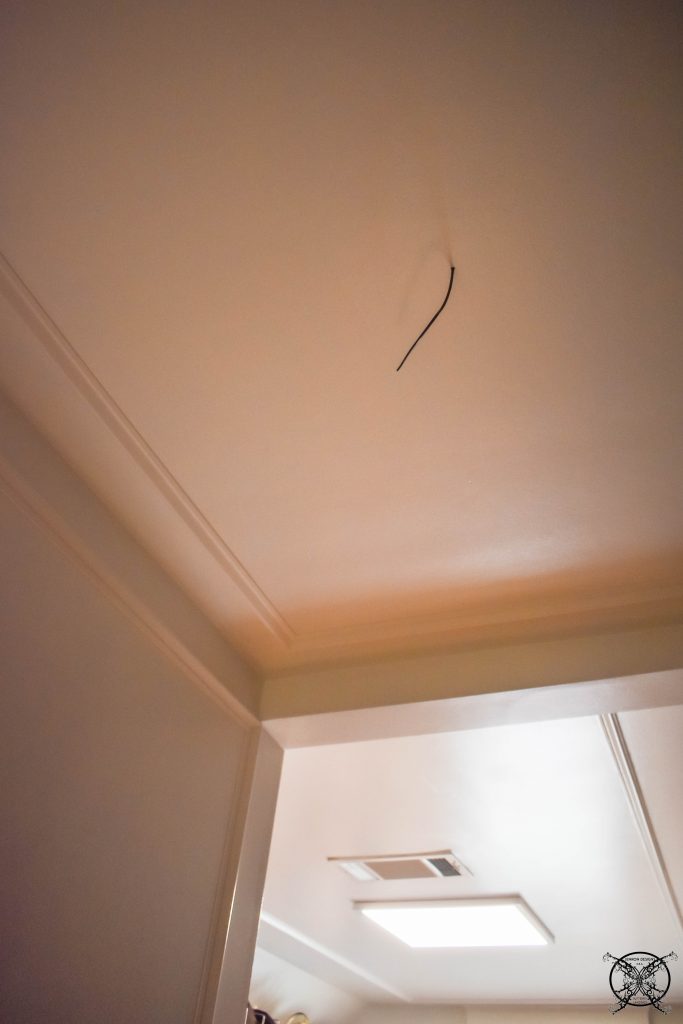 Next step was to cut a hole in the ceiling to add a electrical box for the new fixture.
  This part can get a little messy, so you might want to keep a vacuum handy. The drywall dust gets everywhere.
 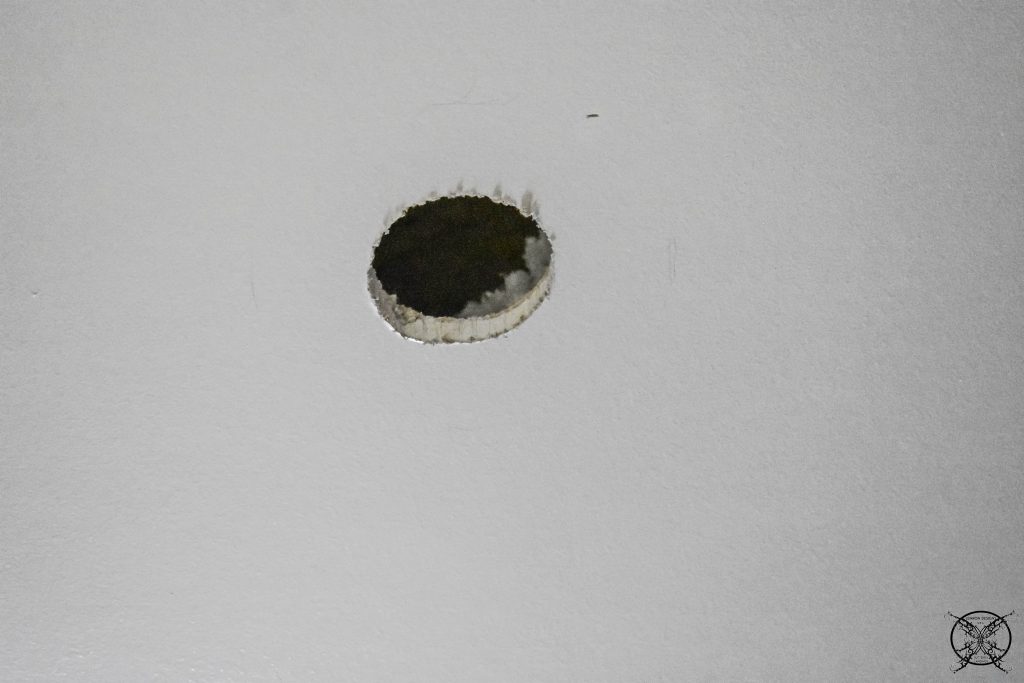 The next part was adding in the blue box which has flip out ceiling anchors on the sides to hold it in place.
 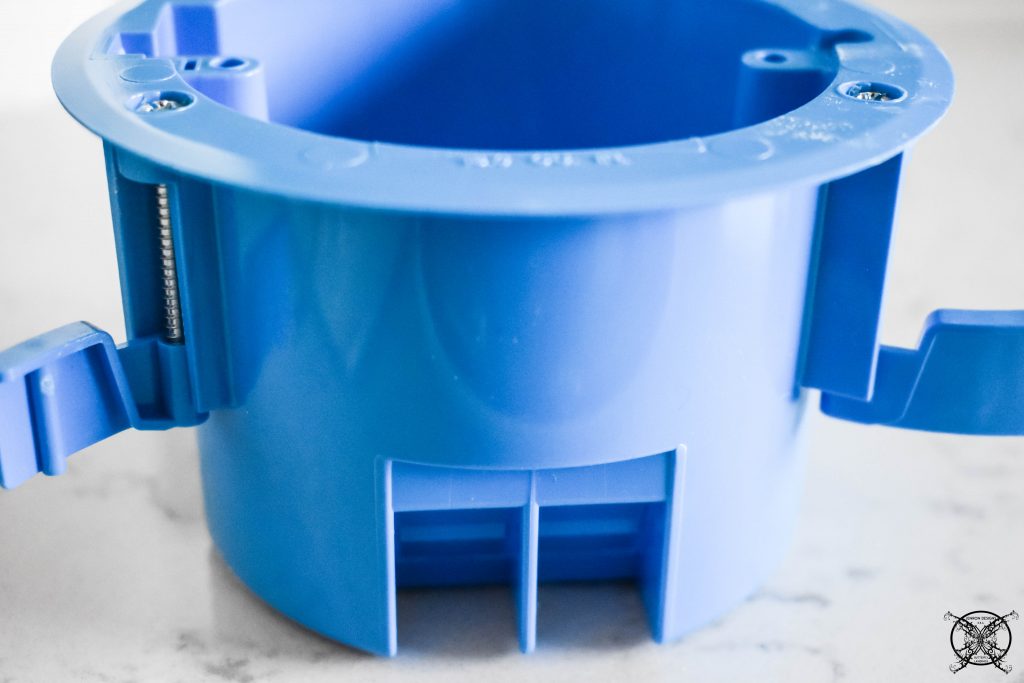 This fixture is so easy to install once you have contacted the white wires to each other and black wires to each other and grounded the copper wire. The fixture itself is just a plug in. The orange connector just plugs right into the back of the LED light and it twists directly on to the bracket.
 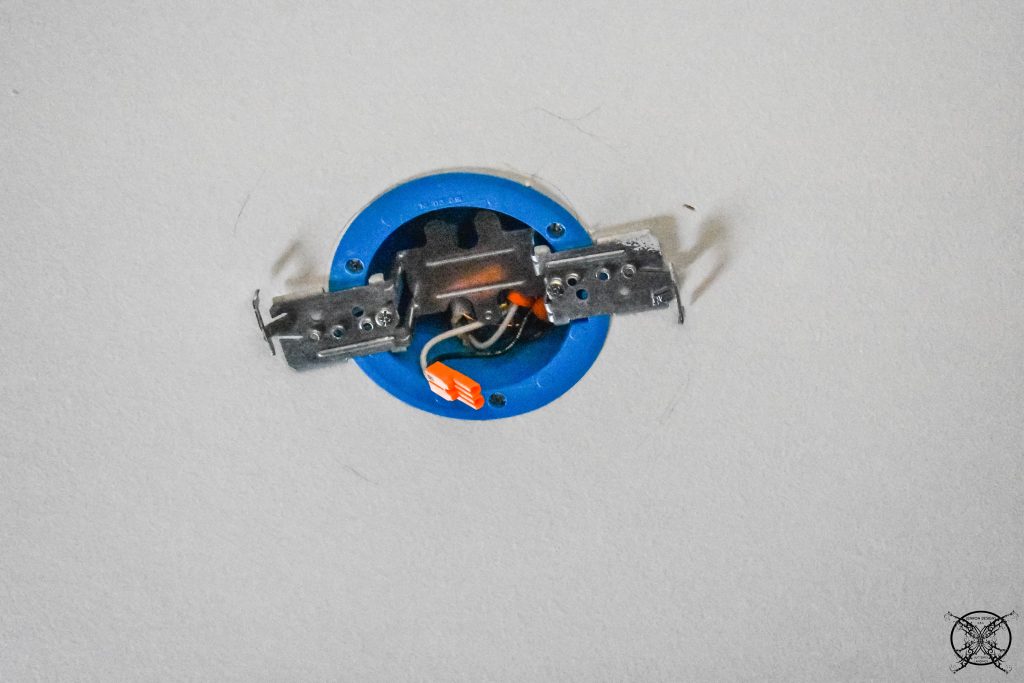 Tada, here is the new light fixture over the shoe rack which was previously a dark hallway in our closet. Now it is full of light and helps to brighten the space even more.
  So we are moving right along, only 2 more weeks left and next week is all about sorting, organizing and accessorizing the space. You may remember a previous post about some sentimental artwork? Well it will be getting installed next week.
The To Do List:
WEEK 1: Introduction, Inspiration Board, Ordering and Procurement of Supplies
WEEK 2: Build a Custom Sized Window Cornice
WEEK 3: TRIM- DIY Wainscot Panels
WEEK 4: PAINT – Paint Room, add new Light Fixtures
WEEK 5: ELECTRICAL- Sort & Organize all clothing, Add new Elfa fixtures, Add decorative features
WEEK 6: FINAL REVEAL
wow! The contest idea is amazing! All these tips are very useful! Thanks a lot for sharing and will definitely save this for when i need to renovate my house !
The Handy Journal-
I’m using a similar flat light fixture in my project. They really do look unobtrusive but bright. Looking good!
I would love to try those painting tools. They look fabulous. Love your new lights, too. Lux closet is on the way!
Handy Paint products are amazing! I love the cup that holds your brush! The shelving looks gorgeous!
It’s looking amazing Jen! I bet you’re excited to get everything back in your closet soon.
It’s great to follow how you are changing that room! Definitely painting changes completely any space.
Looks great! I love the light fixtures. The whole closet looks great, too!
This is all coming together so nicely. I love the LED light.
This is going to be such a beautiful space to get dressed in. What a way to start off your day. Love the lighting.
I love how it turned out! It looks really good!
WOW Jen – you accomplished so much this week! Your space will be beautiful!
This space is going to be amazing, looking forward to the reveal!
This is too good to miss out on! I love how it turned out and how detailed you guided us in this blog!
Thank you very much for sharing, I learned a lot from your article. Very cool. Thanks.