DIY Rustic Swivel Chairs
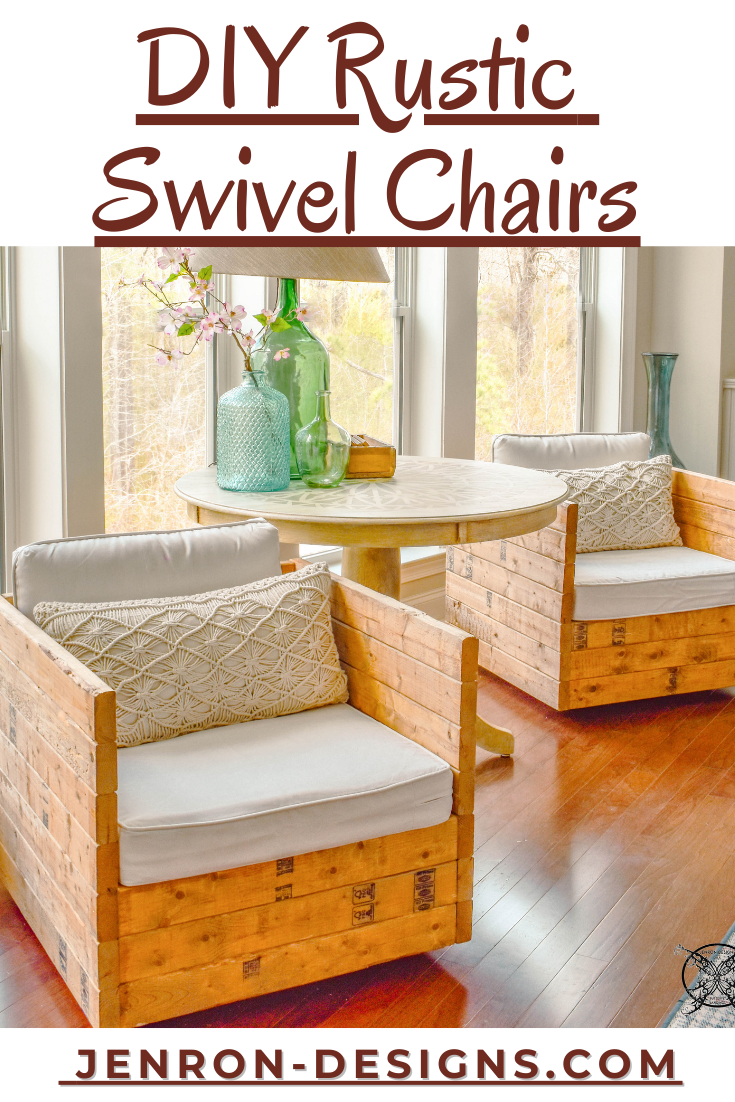
Hello all, this week I am sharing my DIY Rustic Swivel Chairs! This is a great way to create a chair if you cannot find what you are looking for at the store.
Y’all I am so excited about my new DIY Rustic Swivel Chairs that Ron built for me. He actually built them for me as my birthday present back in December, but I am just now getting around to posting all about them, sorry it has been a busy year already!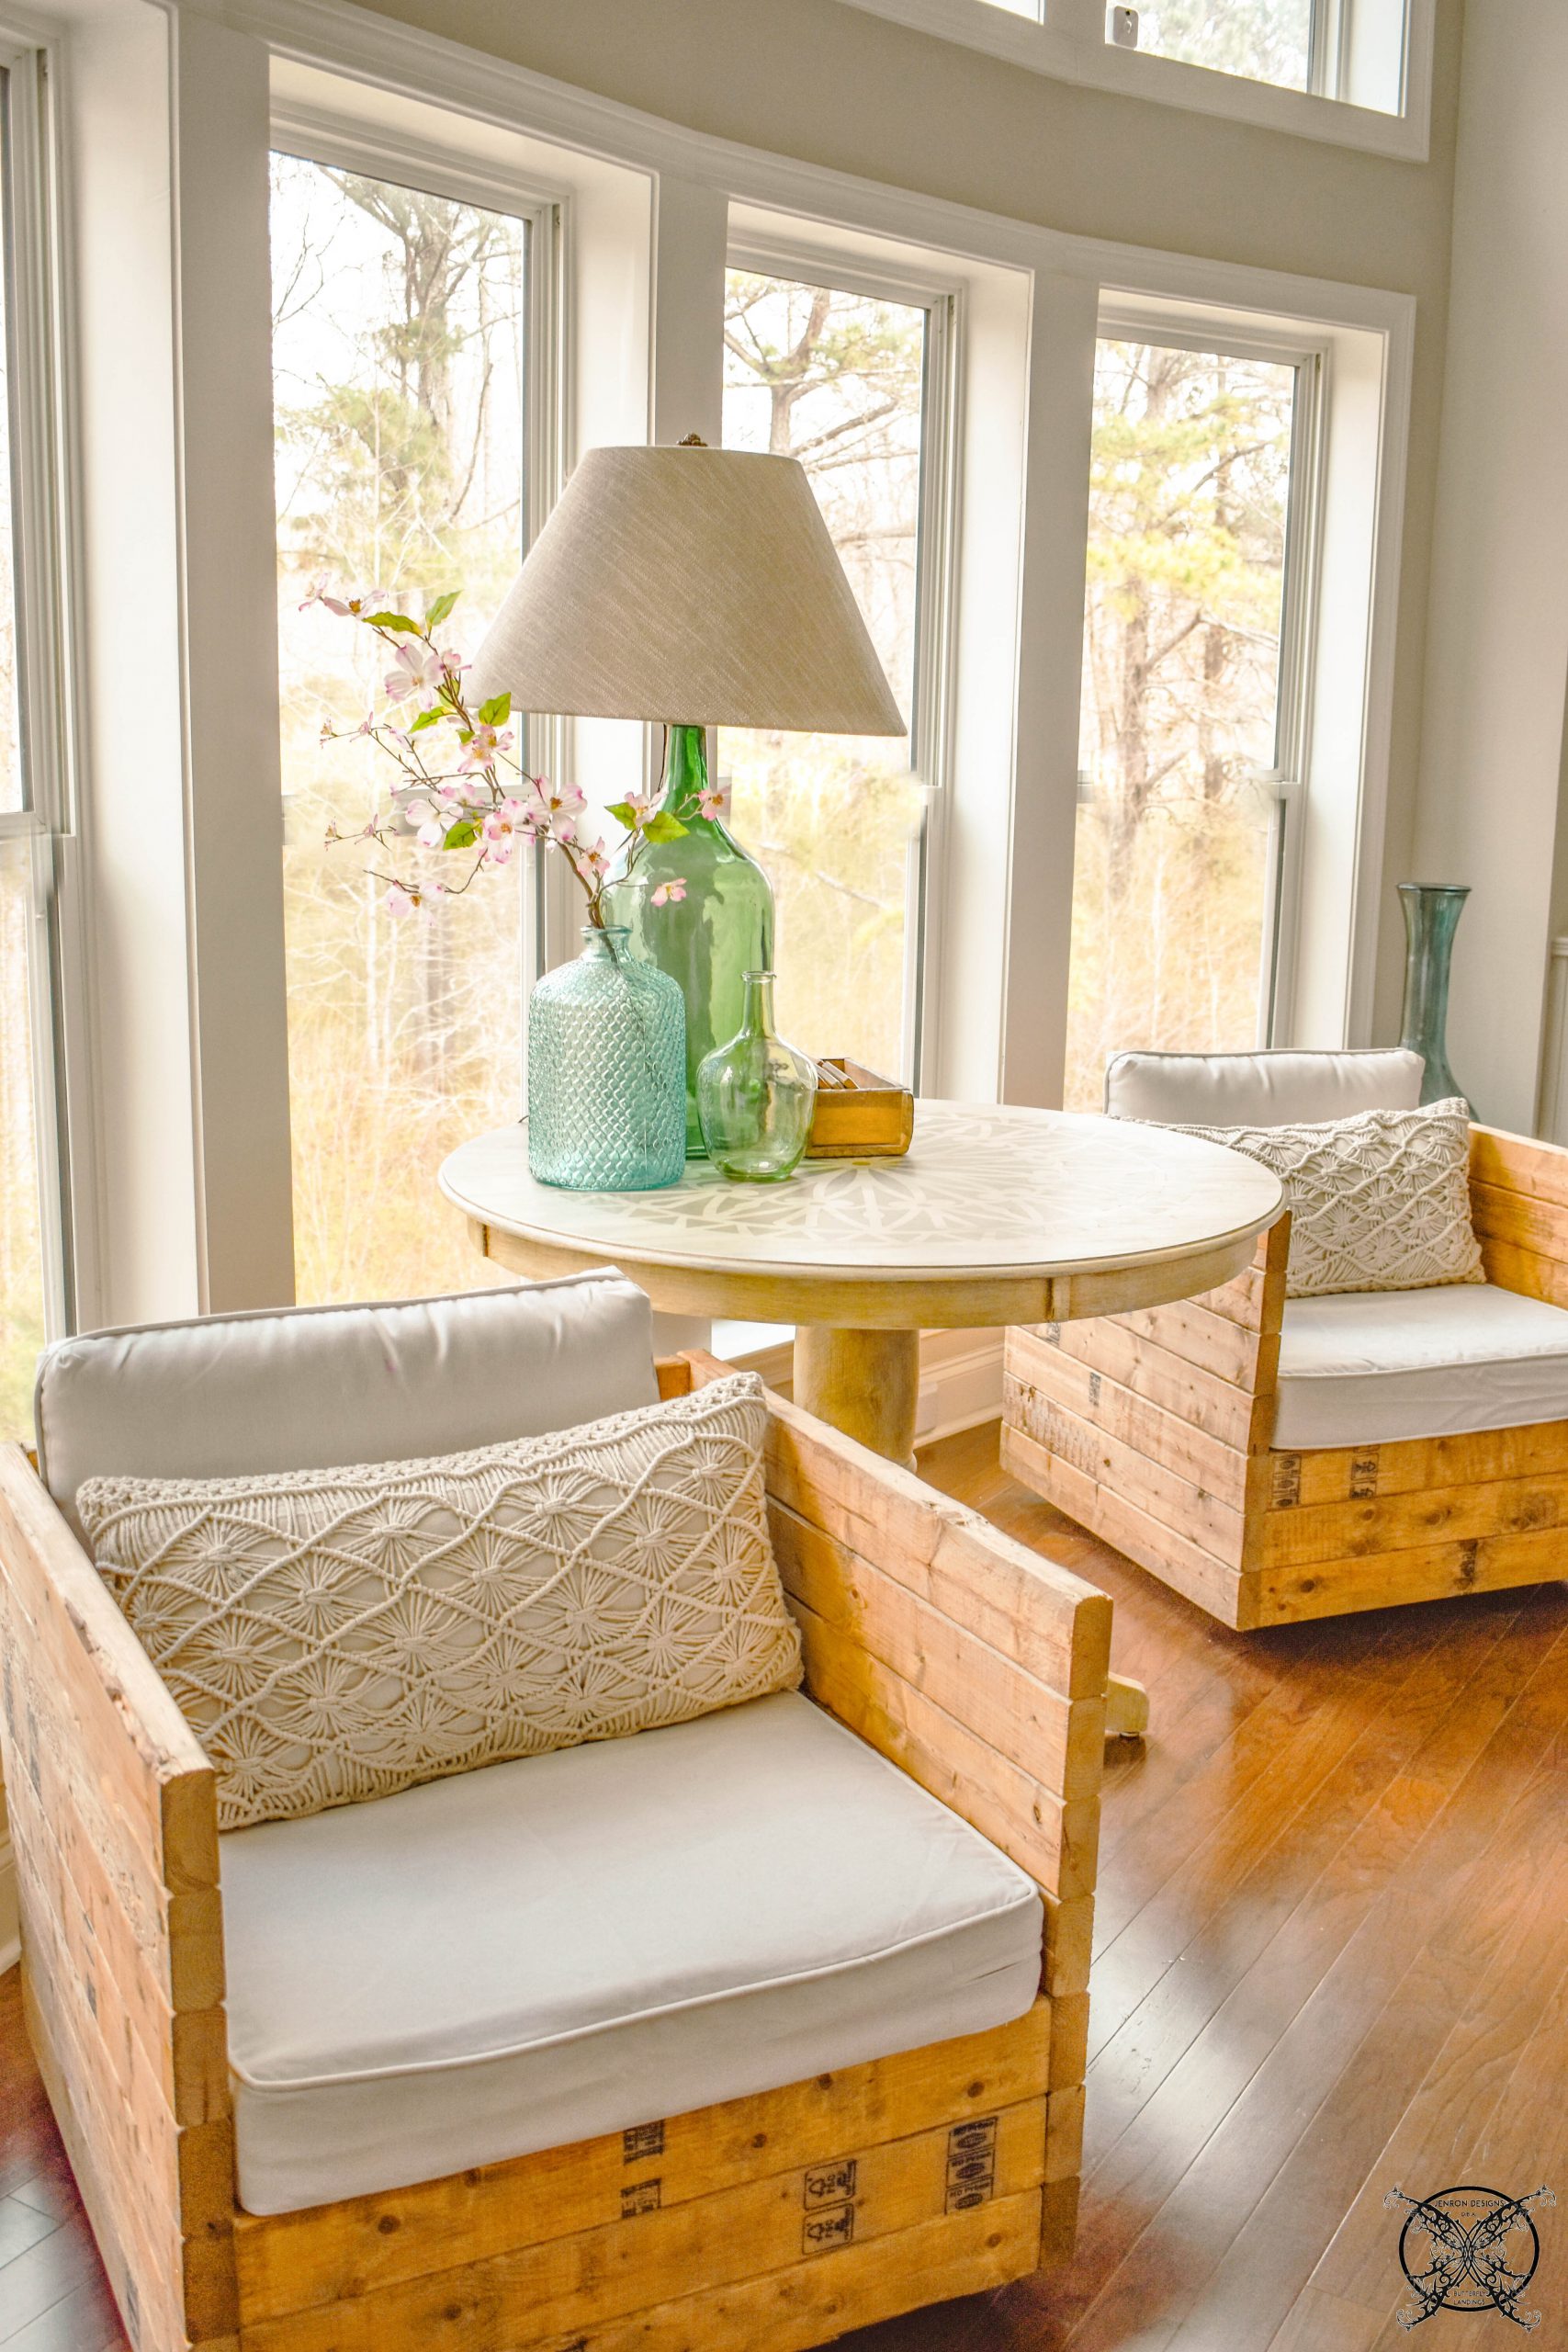 Okay so here is what you are going to need to build these amazing looking chairs, I have in my living room. We made ours swivel, which is optional, but I highly recommend if you have a great view that you want to take in from your windows.
Supplies Needed (per chair):
- (16) 2″ x 4″ x 8′-0″ Boards
- (2) 2″ x 2″ x 8′-0″ Sticks
- Gorilla Wood Glue
- Kreg Pocket
- Dowel Hole Kit
- Kreg Pocket Hole Jig Kit
- 100 Dowels
- Drill
- Brad Nailer
- 1 3/4″ – 2″ Brads
- Tape Measure
- 2 large 36″ clamps
- Stain of your choice/paint brush
- 1 large piece of Masonite Board
- 1 1/2 or 2″ Drywall/ Decking Screw
- 1 Metal Swivel Base
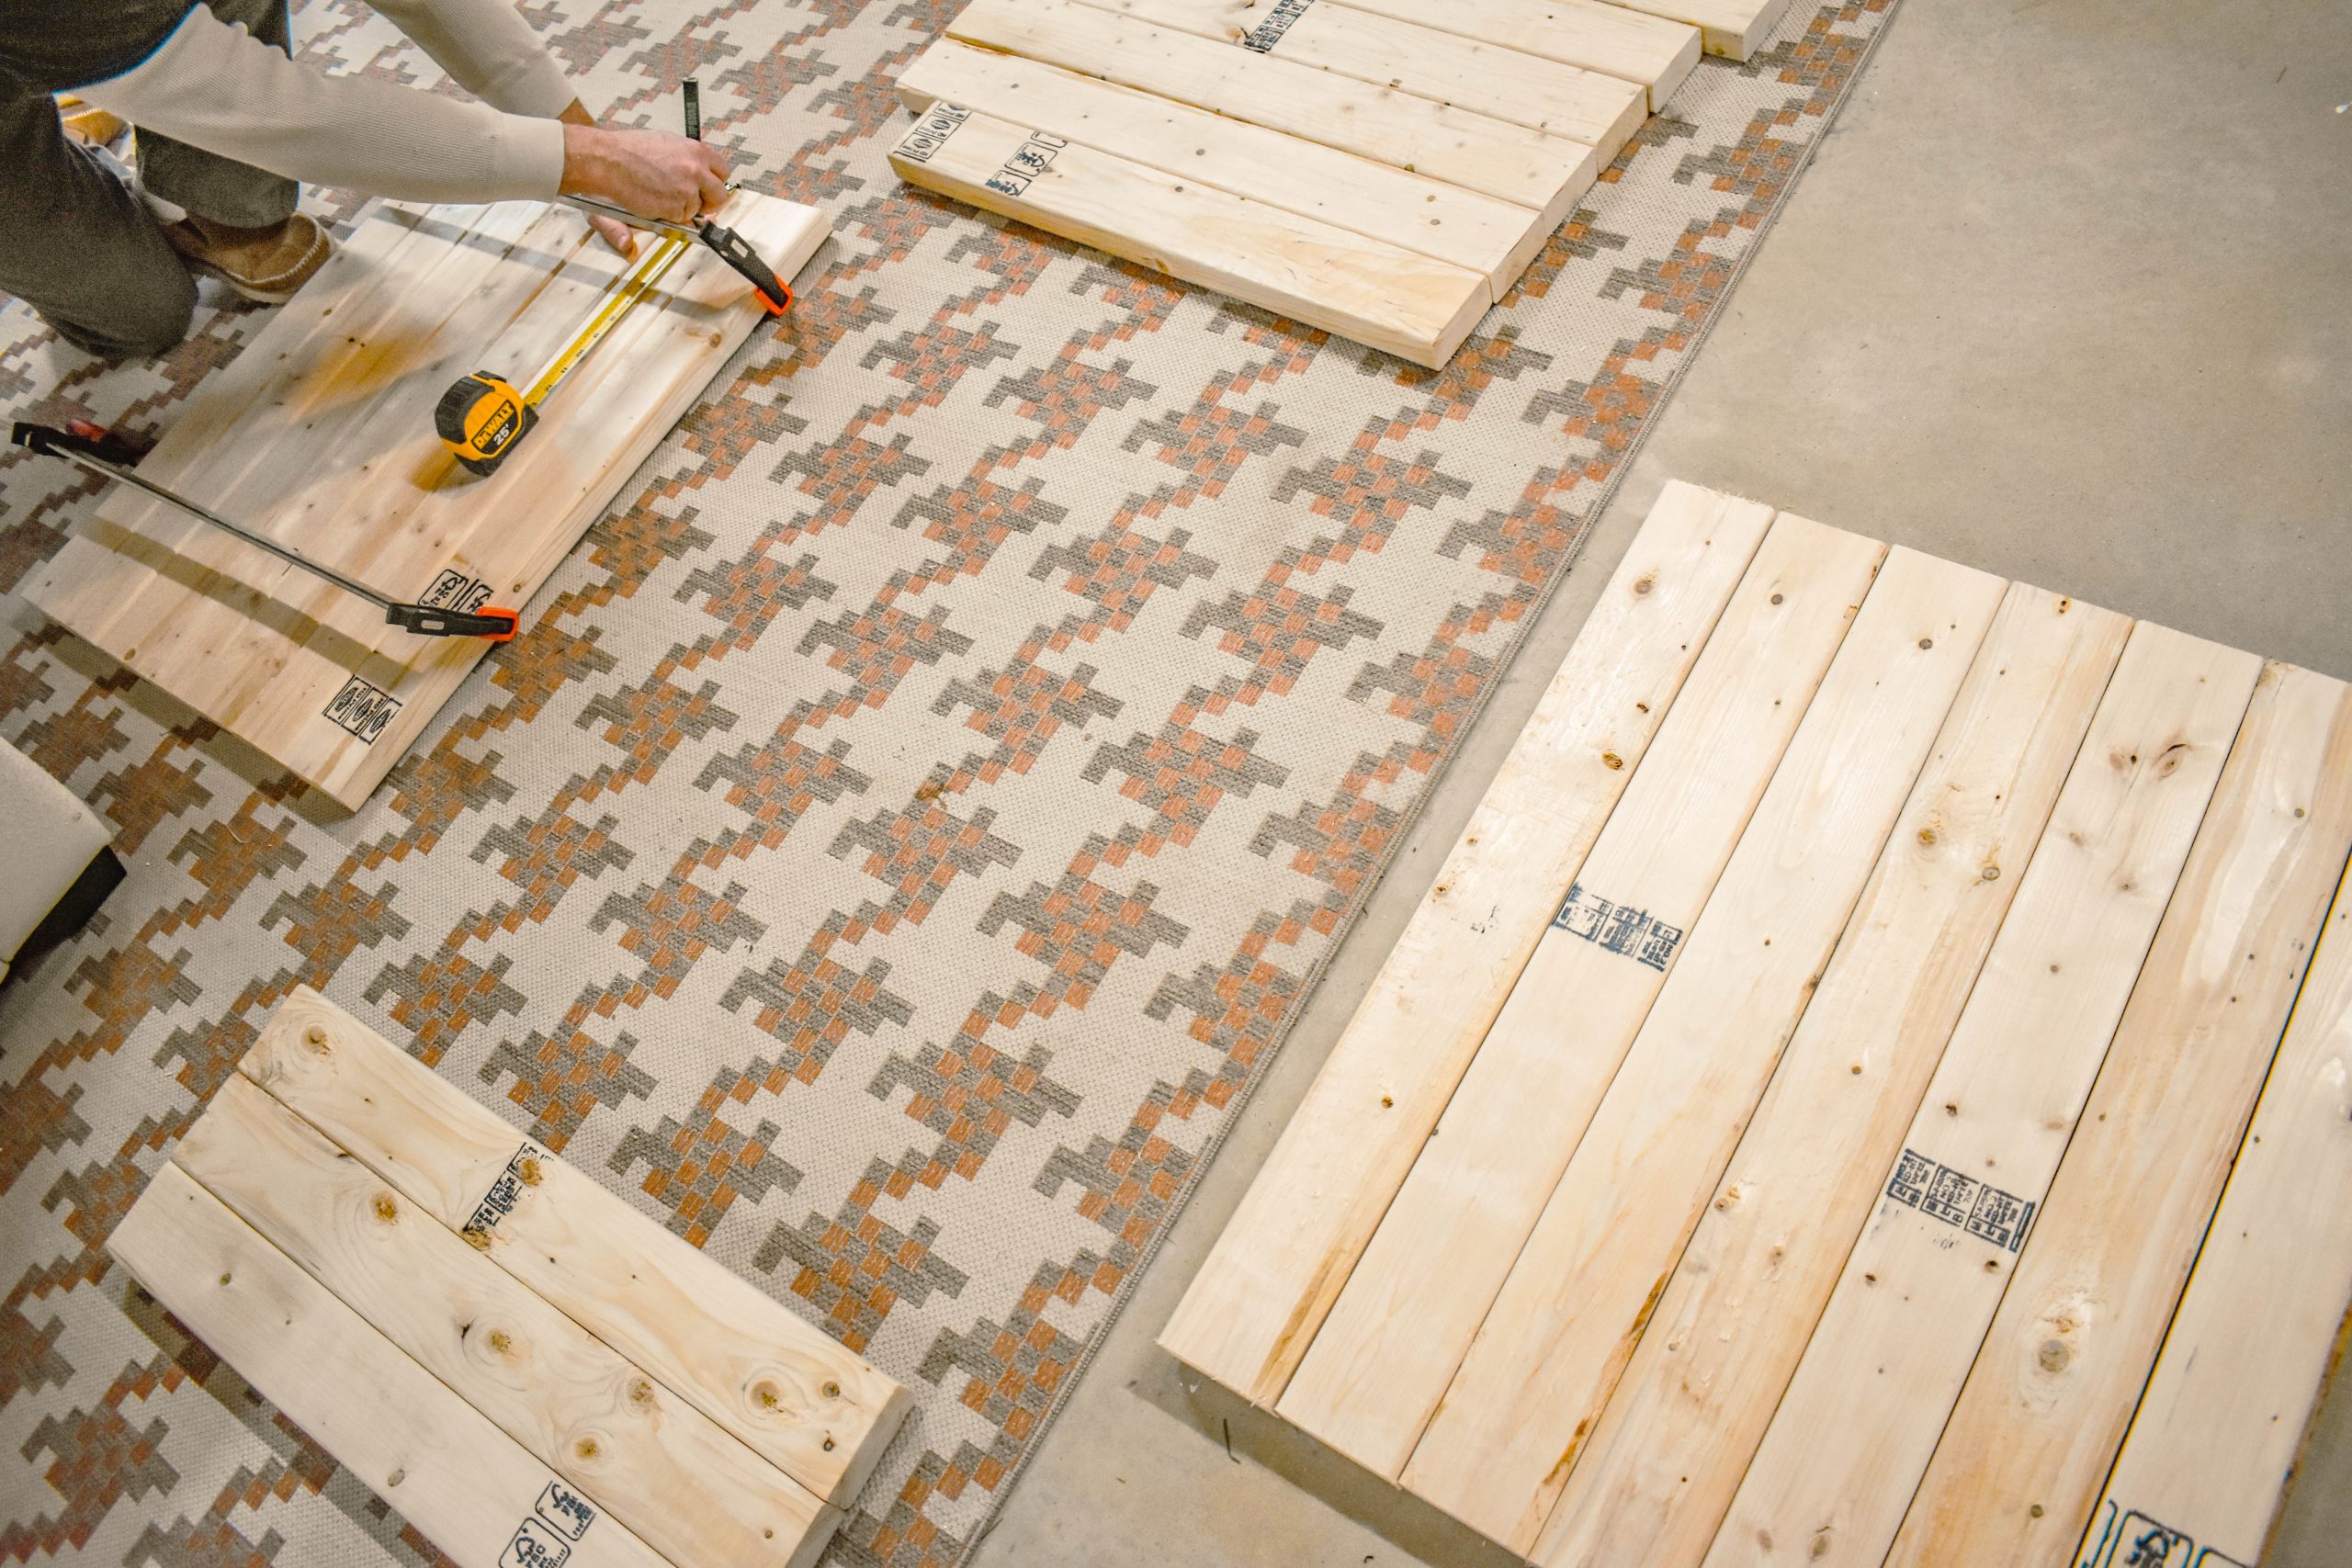 Once you have cut the desired width of the your boards for the back and sides, ours was 30″ for the back and front since they will sit inside of the sides, and 36″ on the side panels. The height will be created by stacking the boards. Three boards create the front edge, while 7 made the perfect height for the sides and back.
 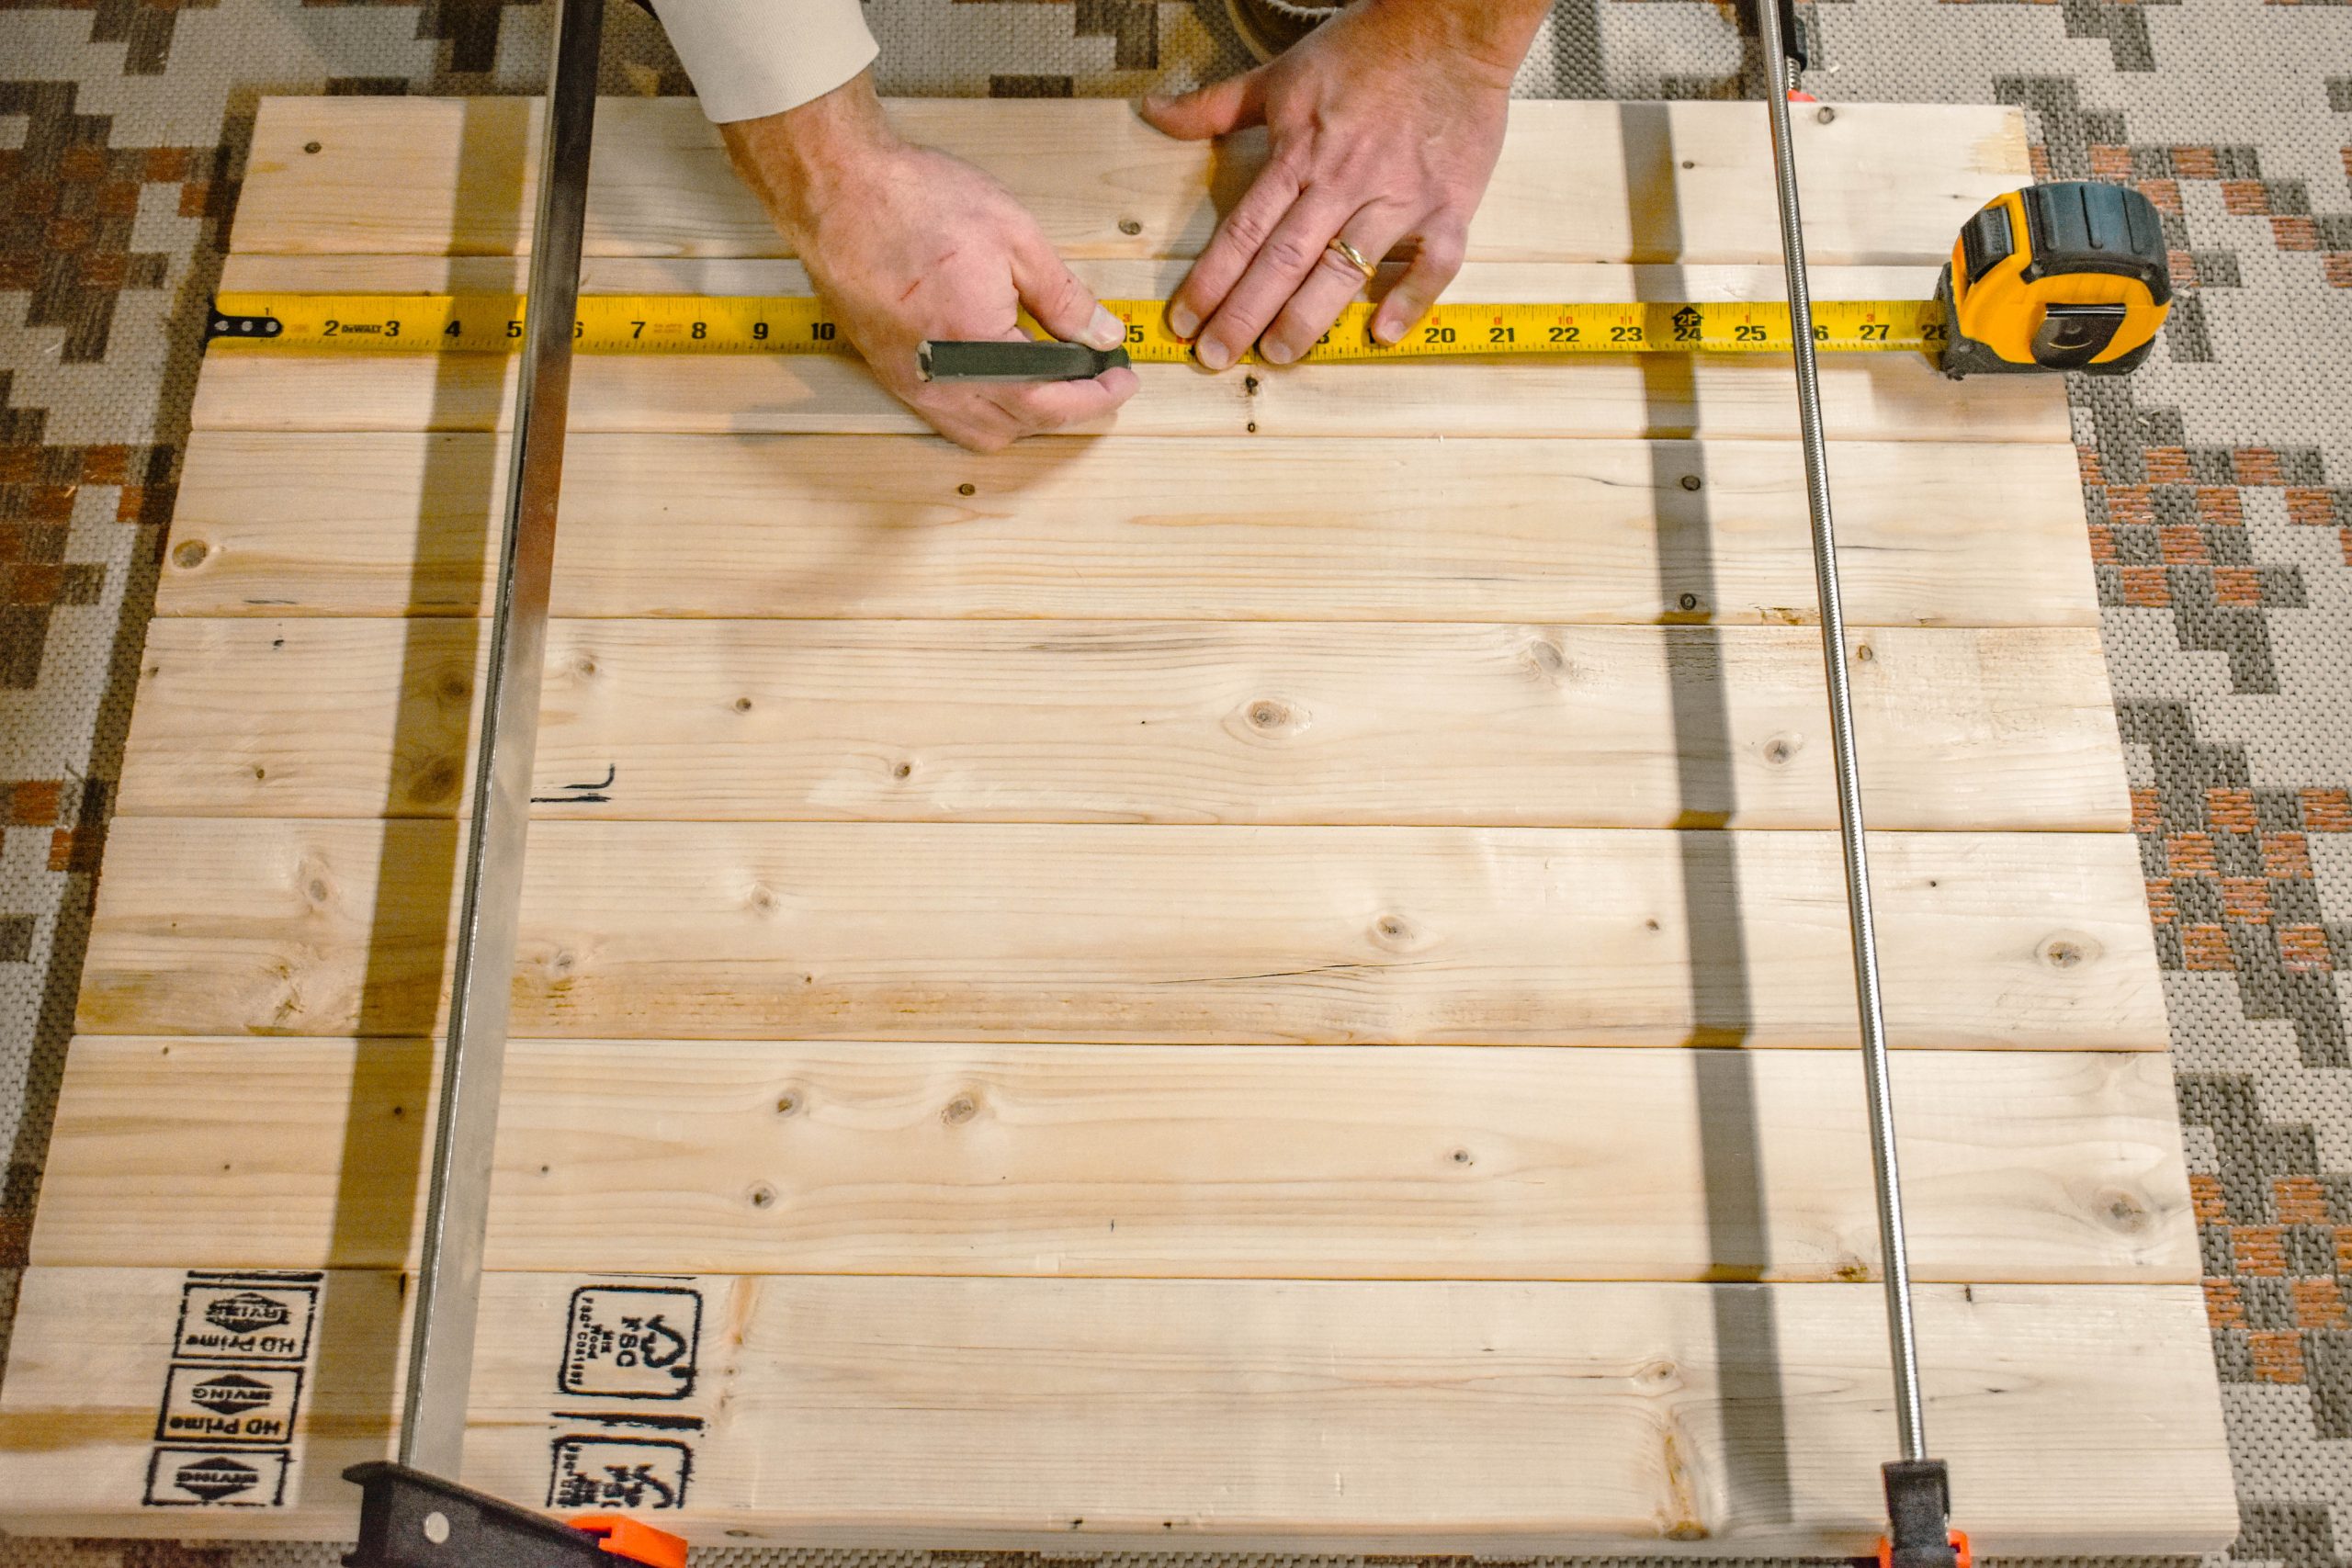 The next step is to mark the locations for the wooden dowels to be placed and pilot holes to be drilled. We actually ordered this great dowel jig on Amazon along with the dowels which made this project super easy.
 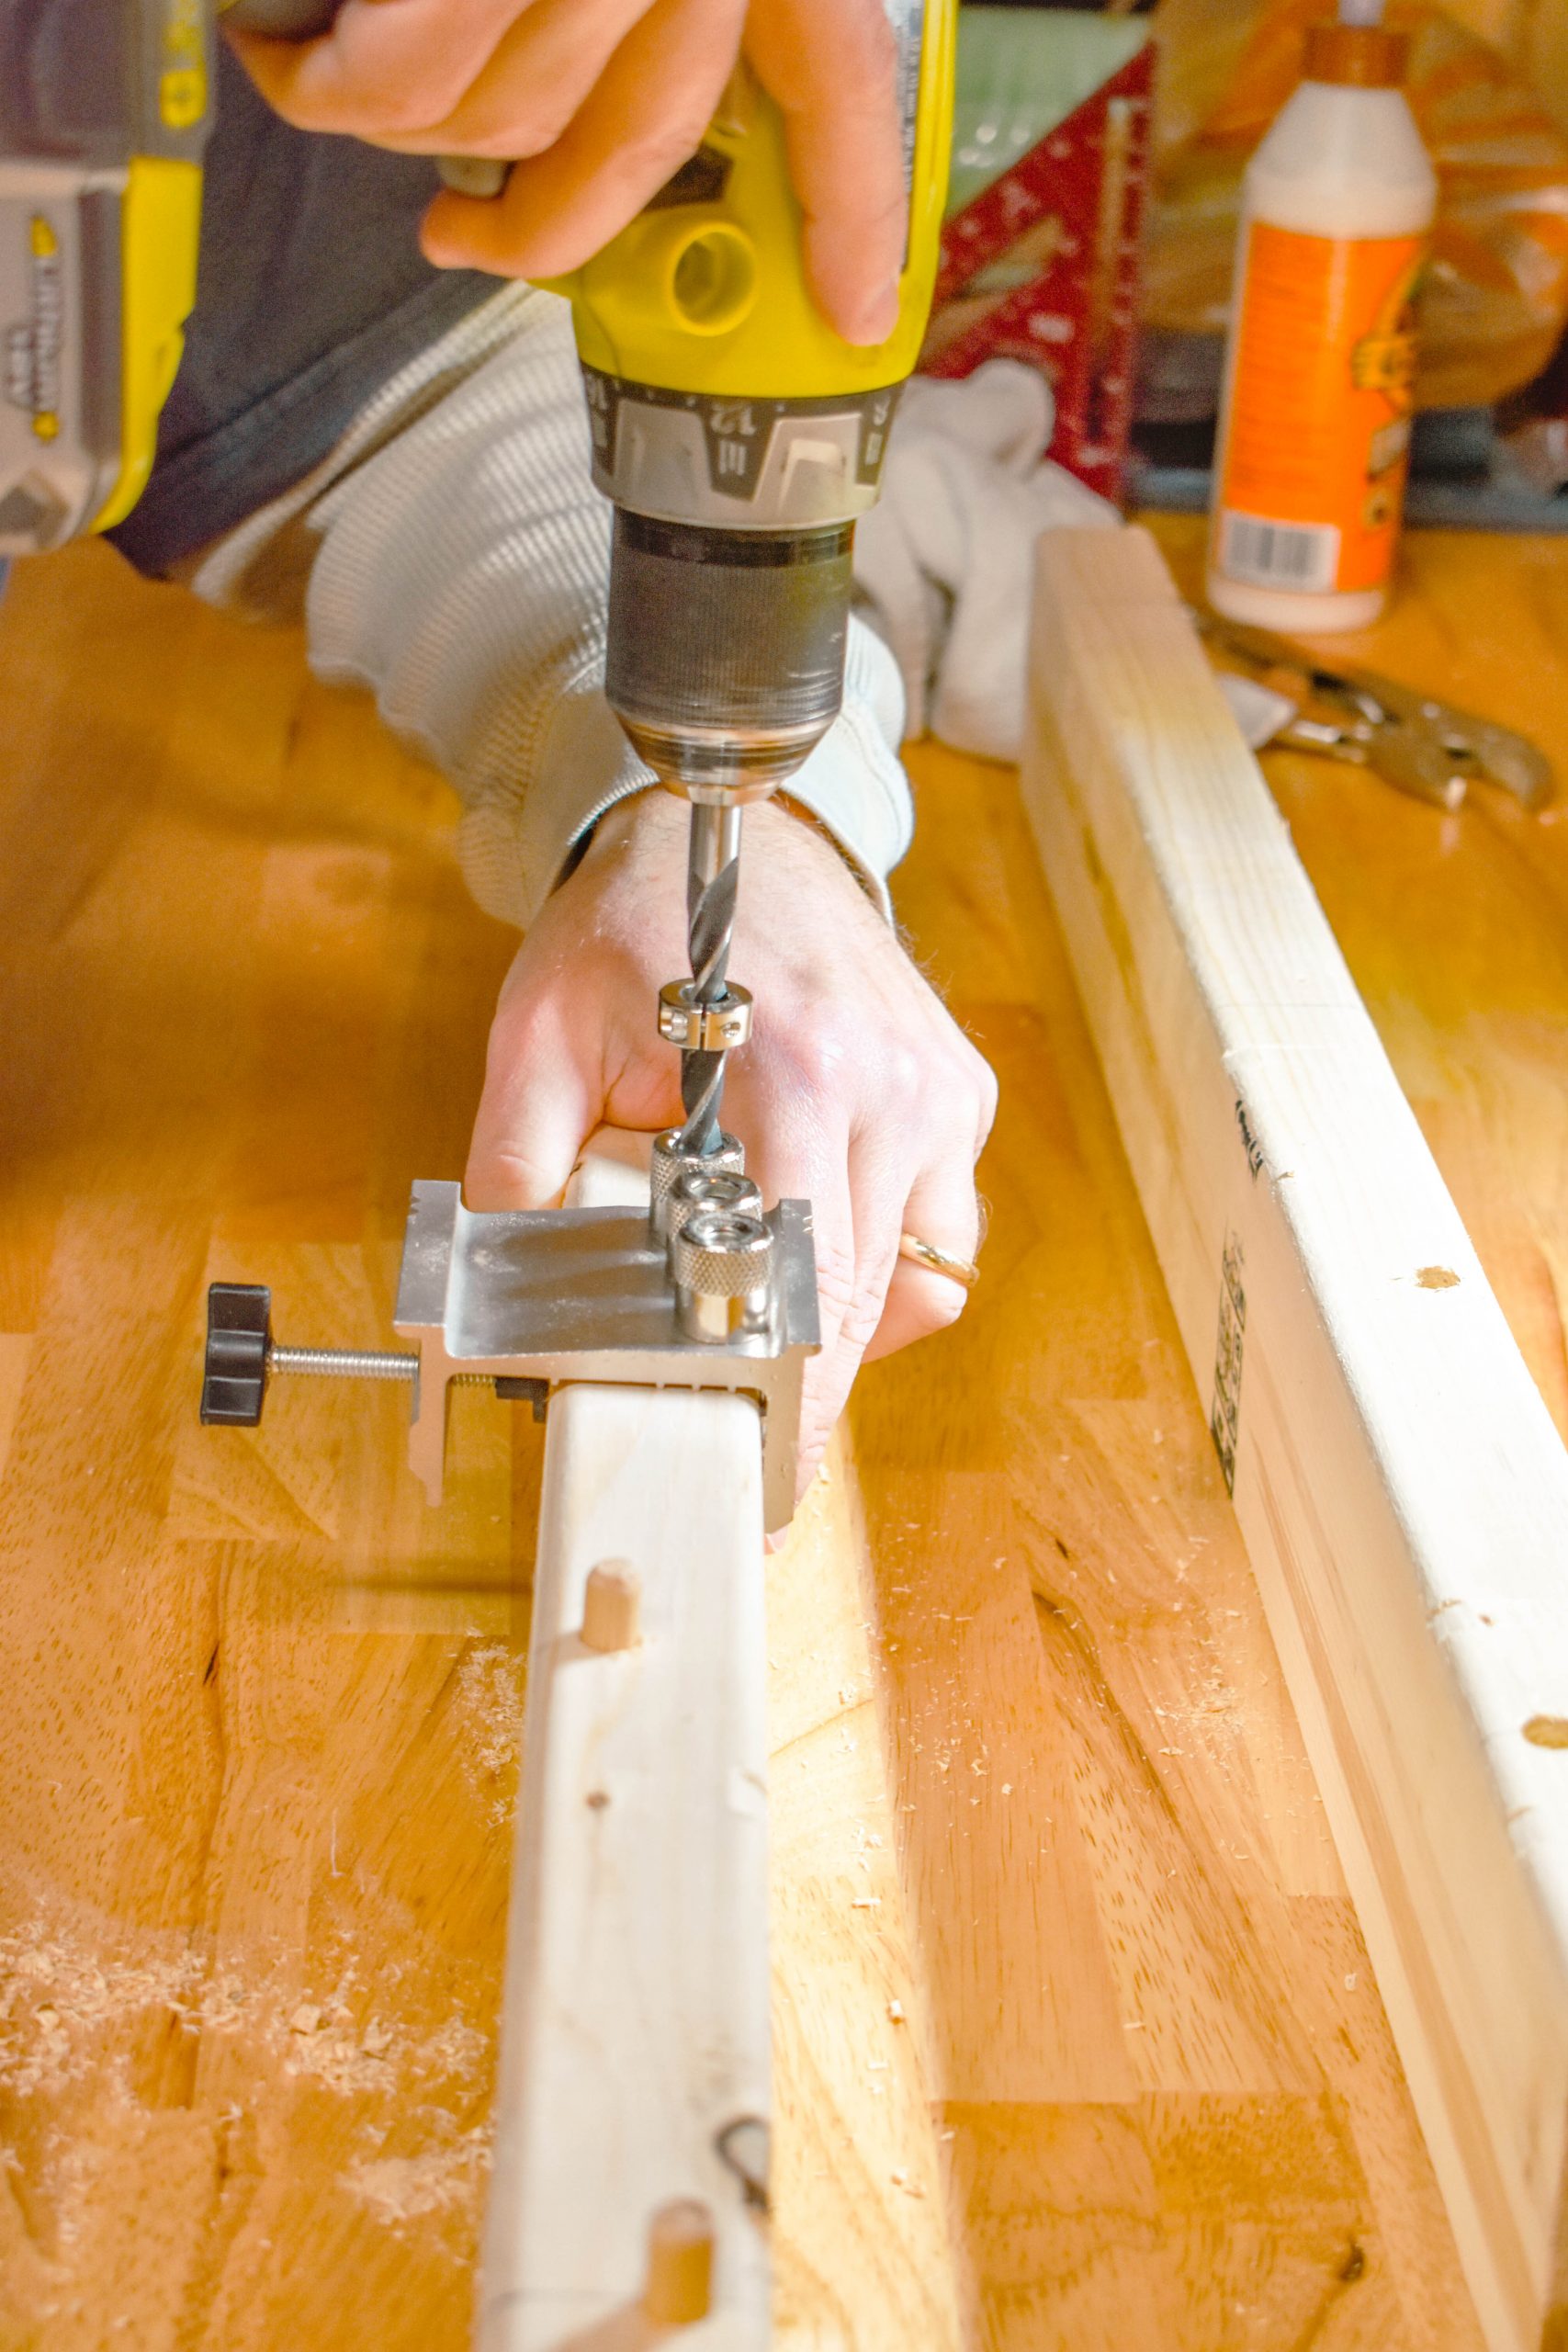 Once the holes are all drilled you can add a drop of glue into the base of the hole to add extra security to the dowels before securing the boards together. Once you have the entire panel secure and in place then you can use the clamps to hold everything in place until the glue is dry.
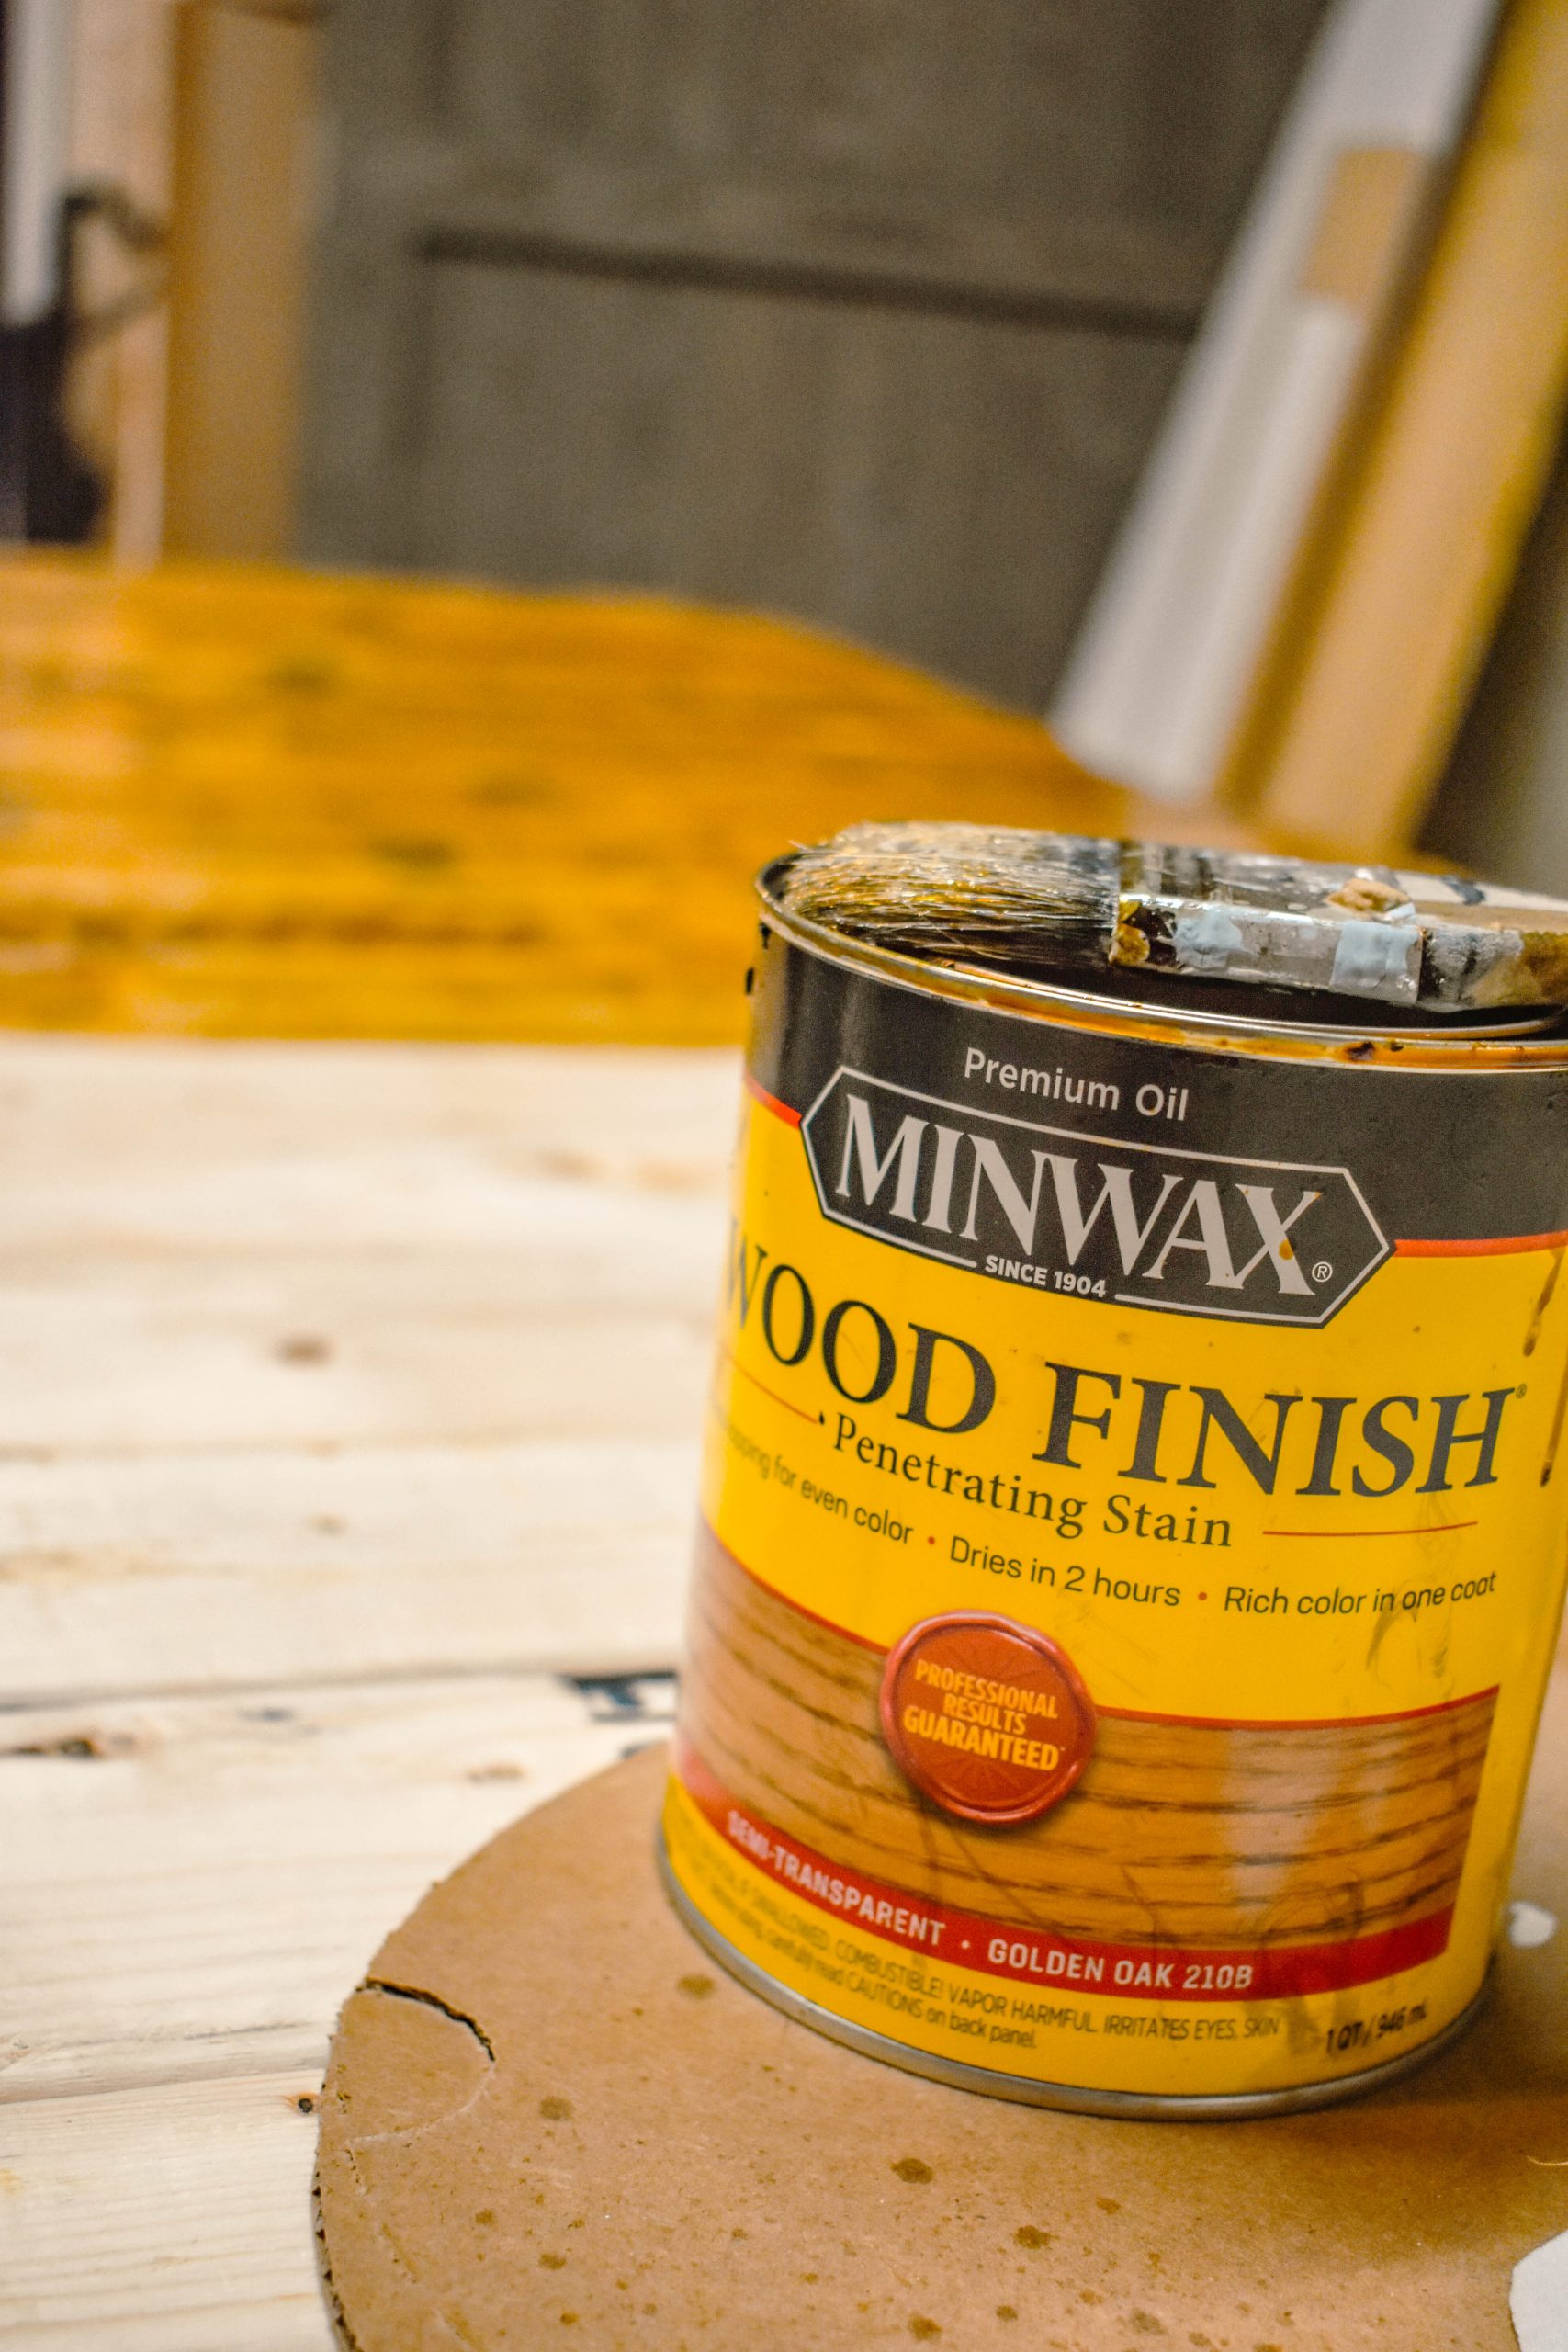
 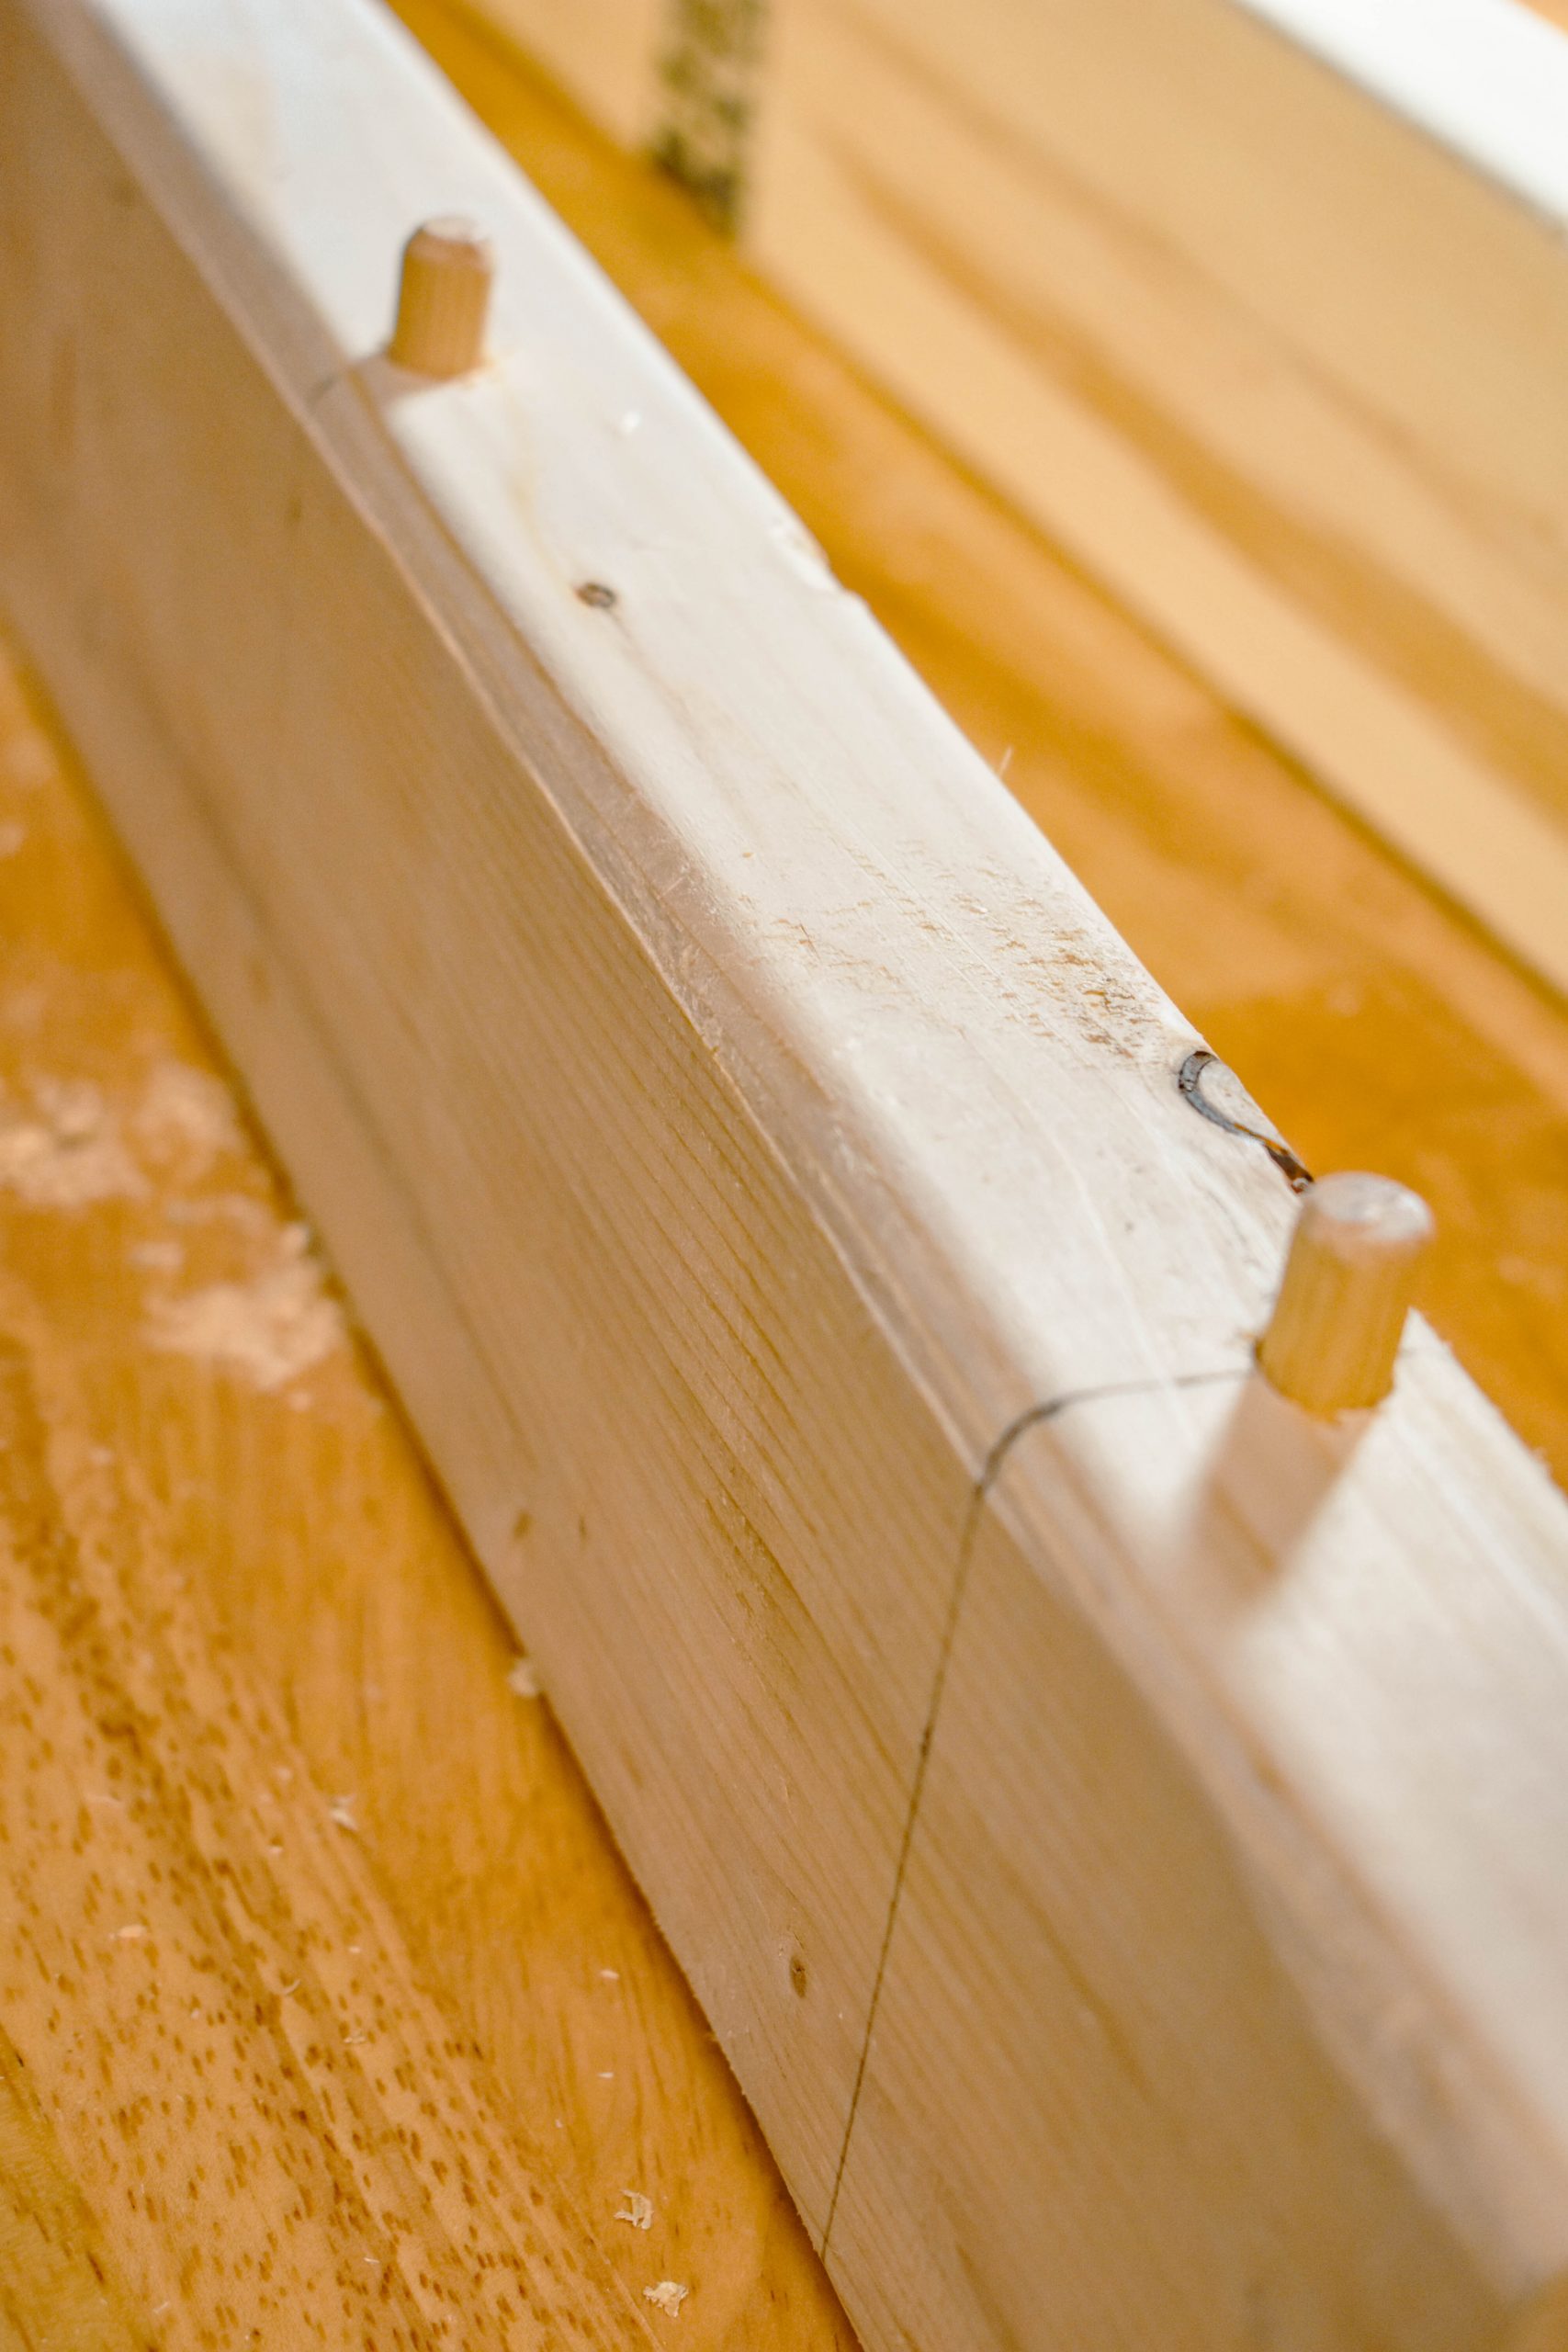 Once the glue has dried overnight I used a basic stain to seal the ruff cut boards in a natural golden oak 210B color by Minwax. I did not use a sealer on these boards to keep the wood basic and simple in a rustic look.
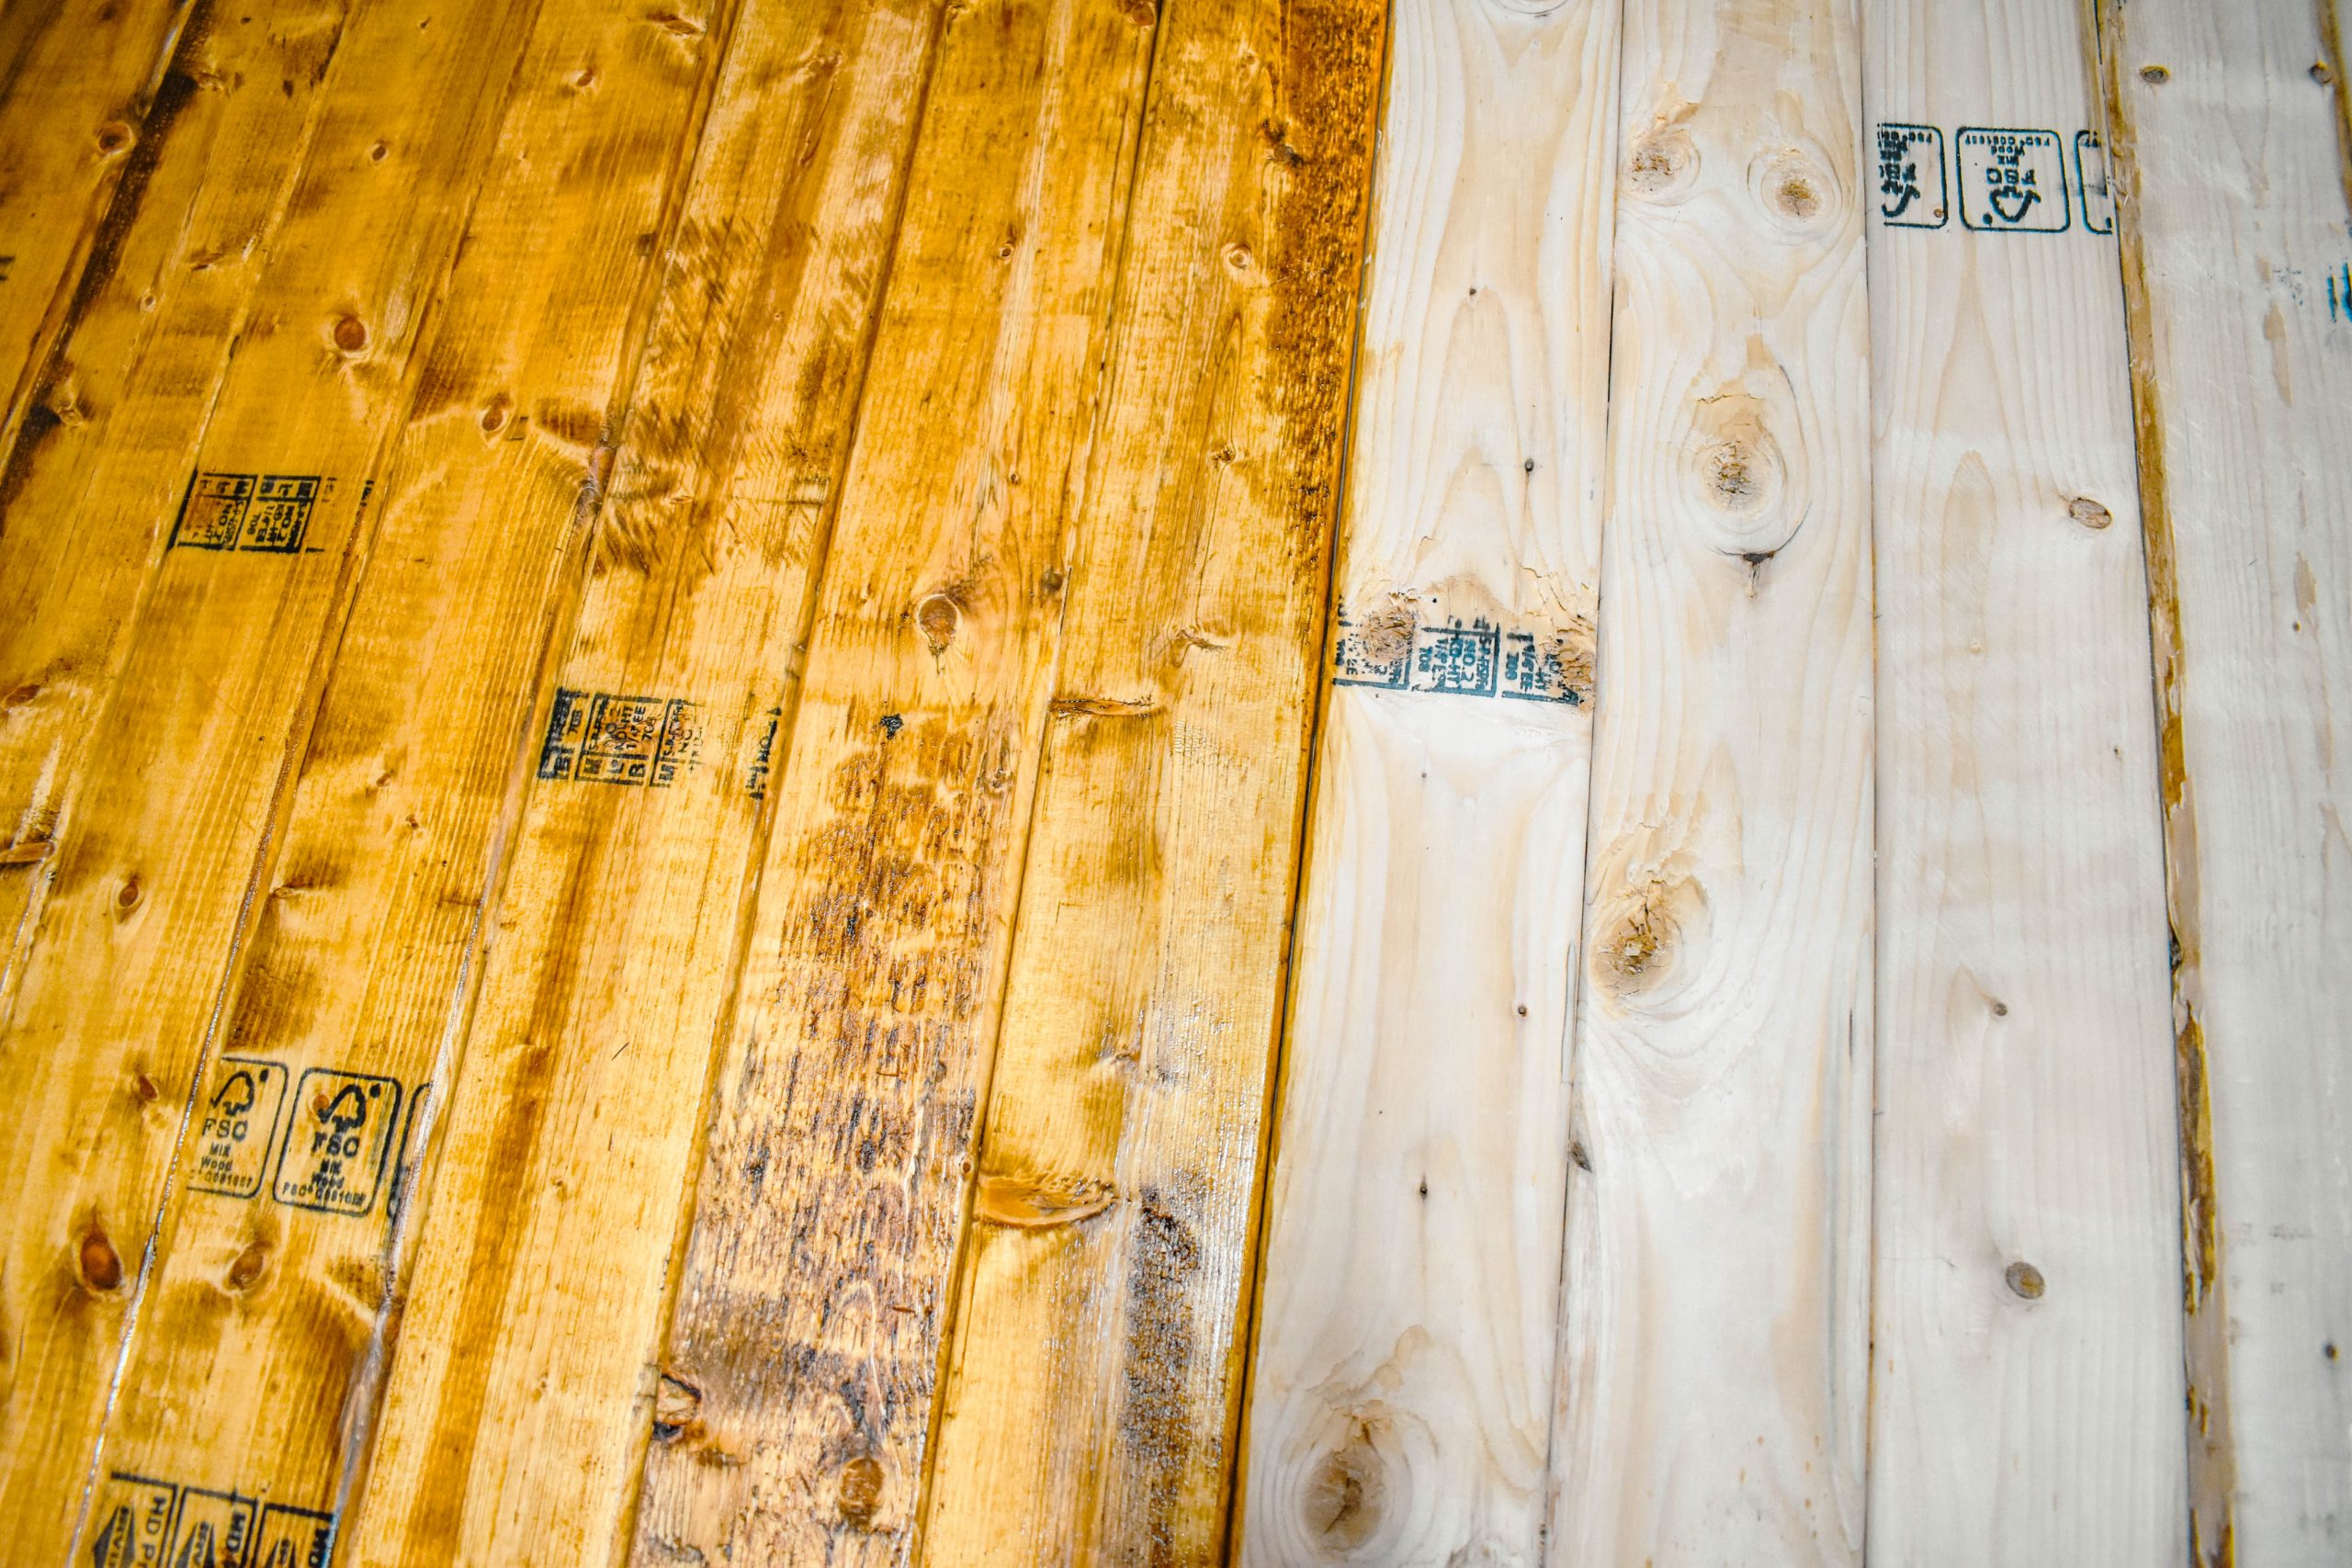
  I also hand picked which way the boards were going to face so that a few of the wood stamps on the lumber would actually show on the boards once the piece was finished.
  The final step of the project was to add in a swivel base before sealing up the seat base. We actually used a swivel from a previous set of swivel chairs that had been destroyed by our cats and was headed to the dumpster.
 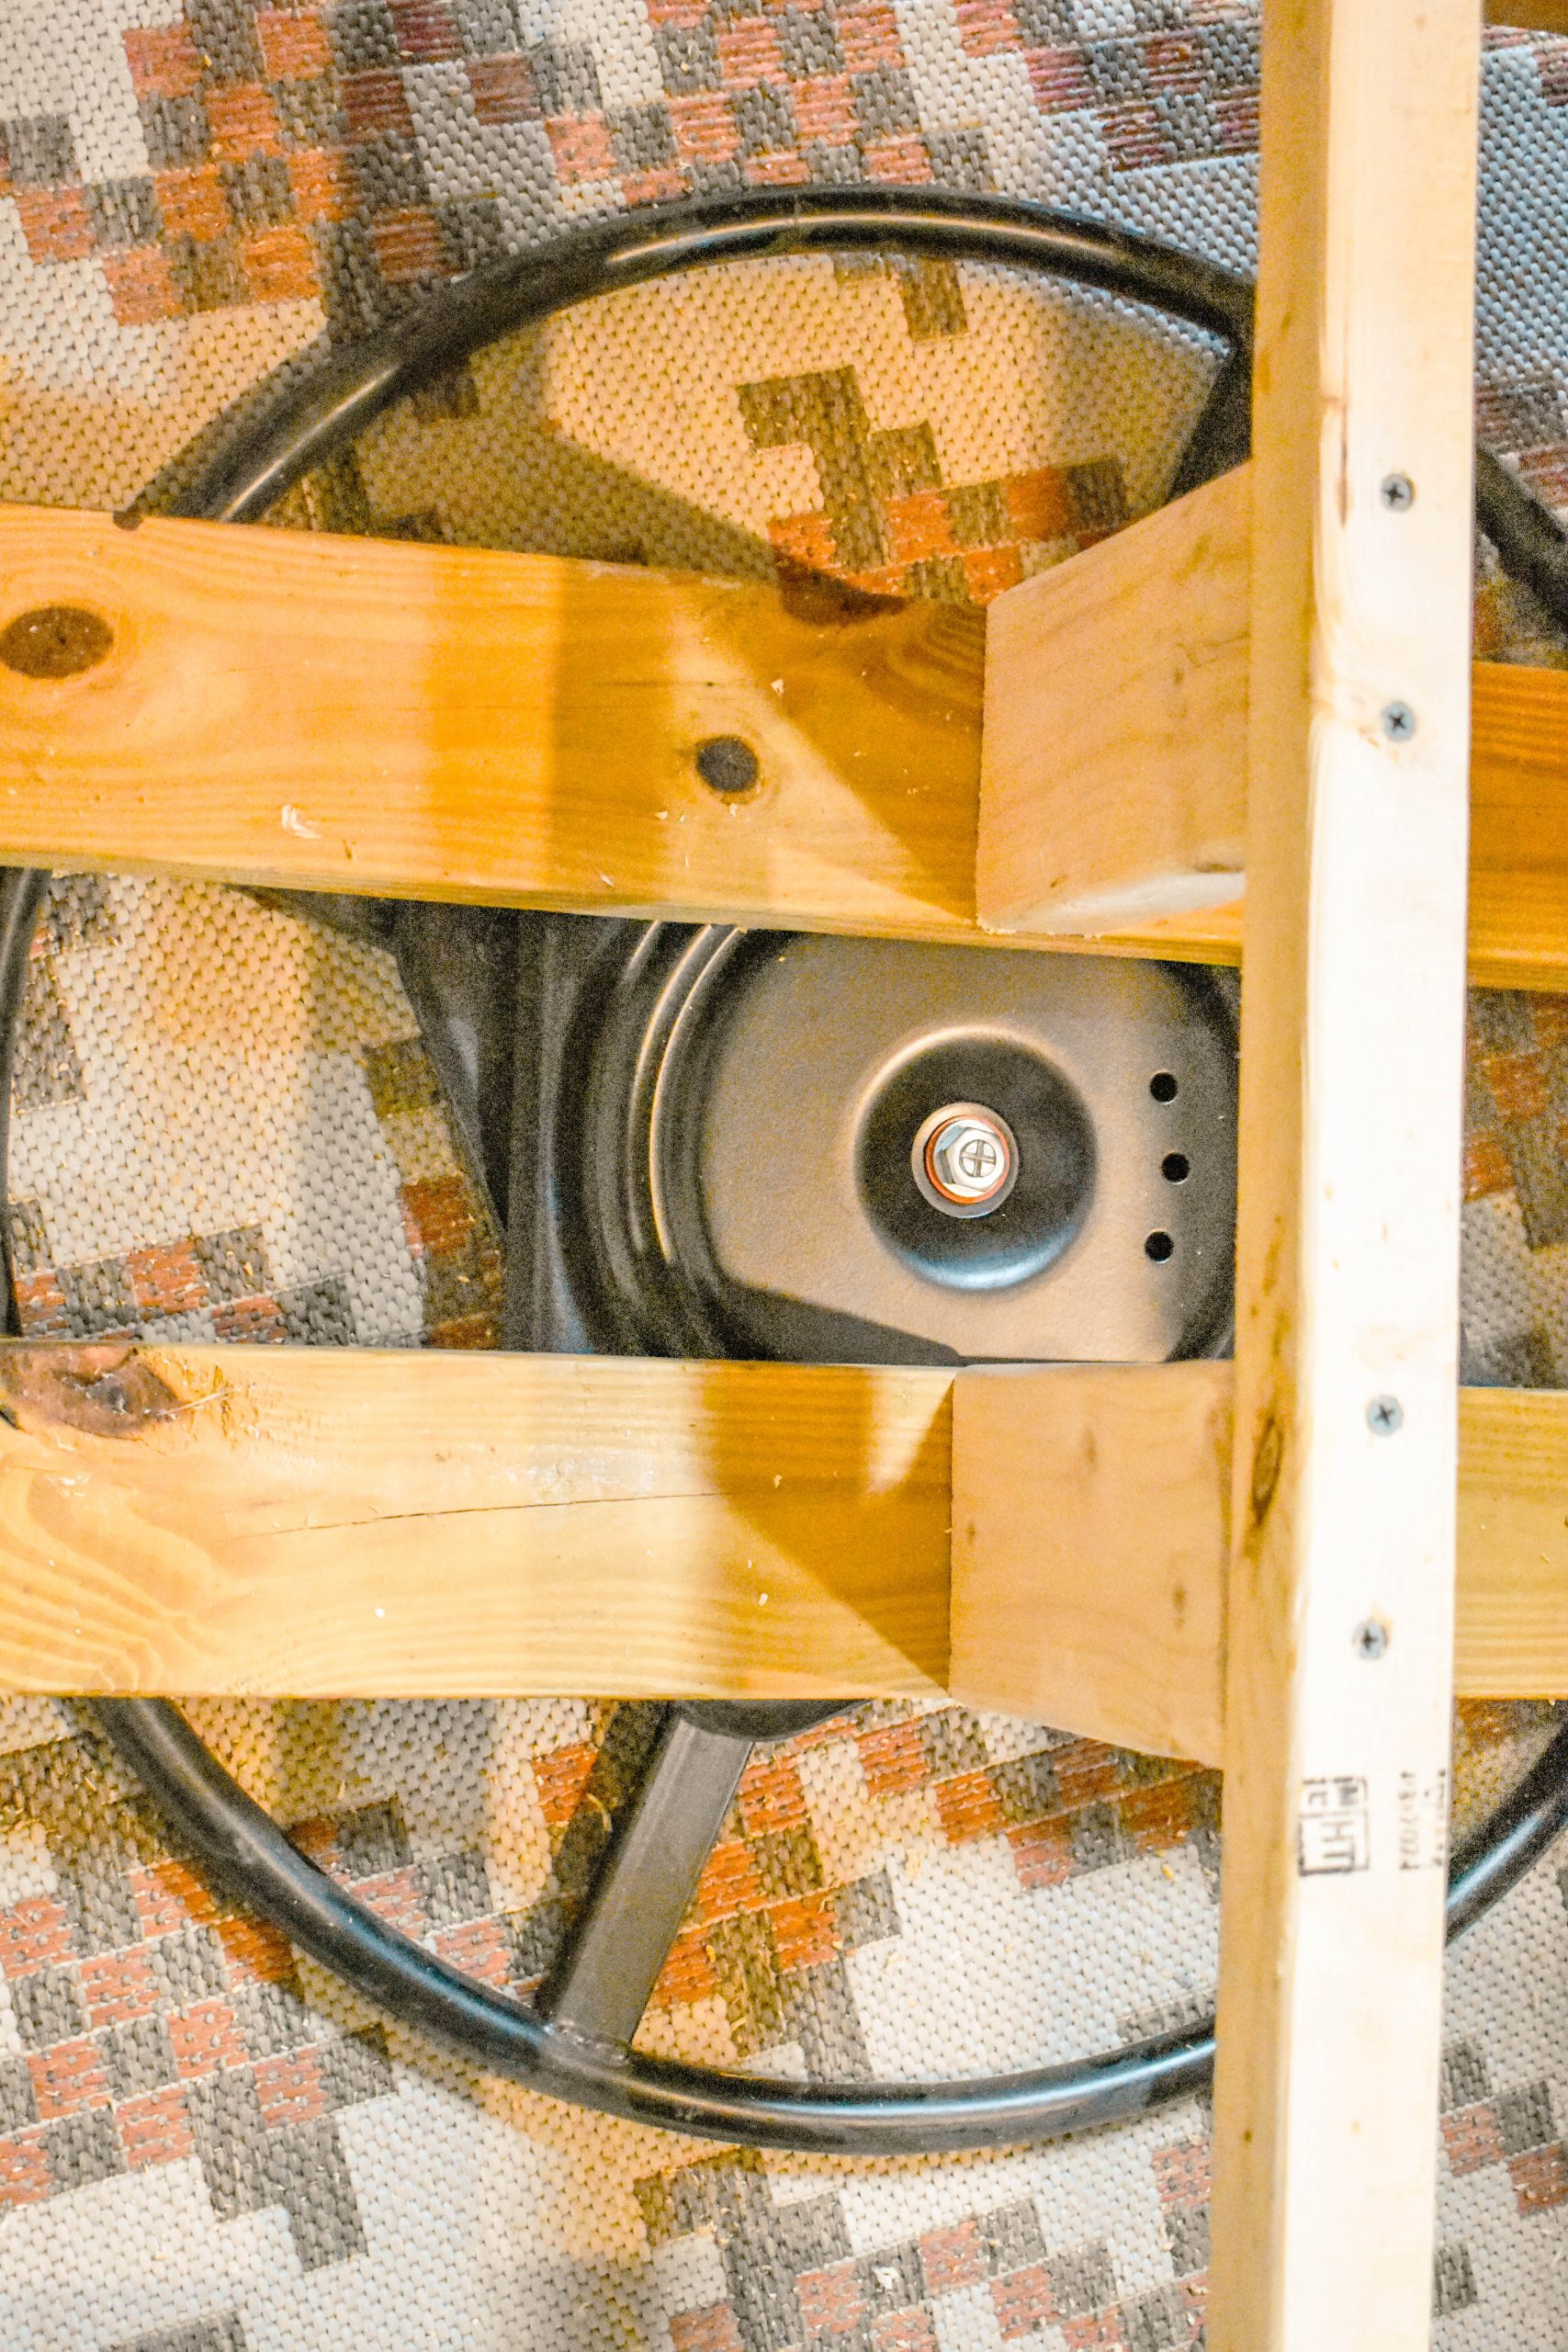 You can see how Ron built an internal frame work for inside of the chair for the base of the swivel and the seat walls and base to be attached to as well. This was done with the same basic 2×4 and 2×2 boards. We also secured the sides to each other at this point with basic wood screws using the Kregg Jig under the seat area and Brads along outside, just to make it all solid after the base was placed inside. Then we secured the base seat framing to the sides with wood/drywall screws (Just make sure that your screws are not too long that they push through the outer wall of the chair, use a 1 1/2 or 2″).
 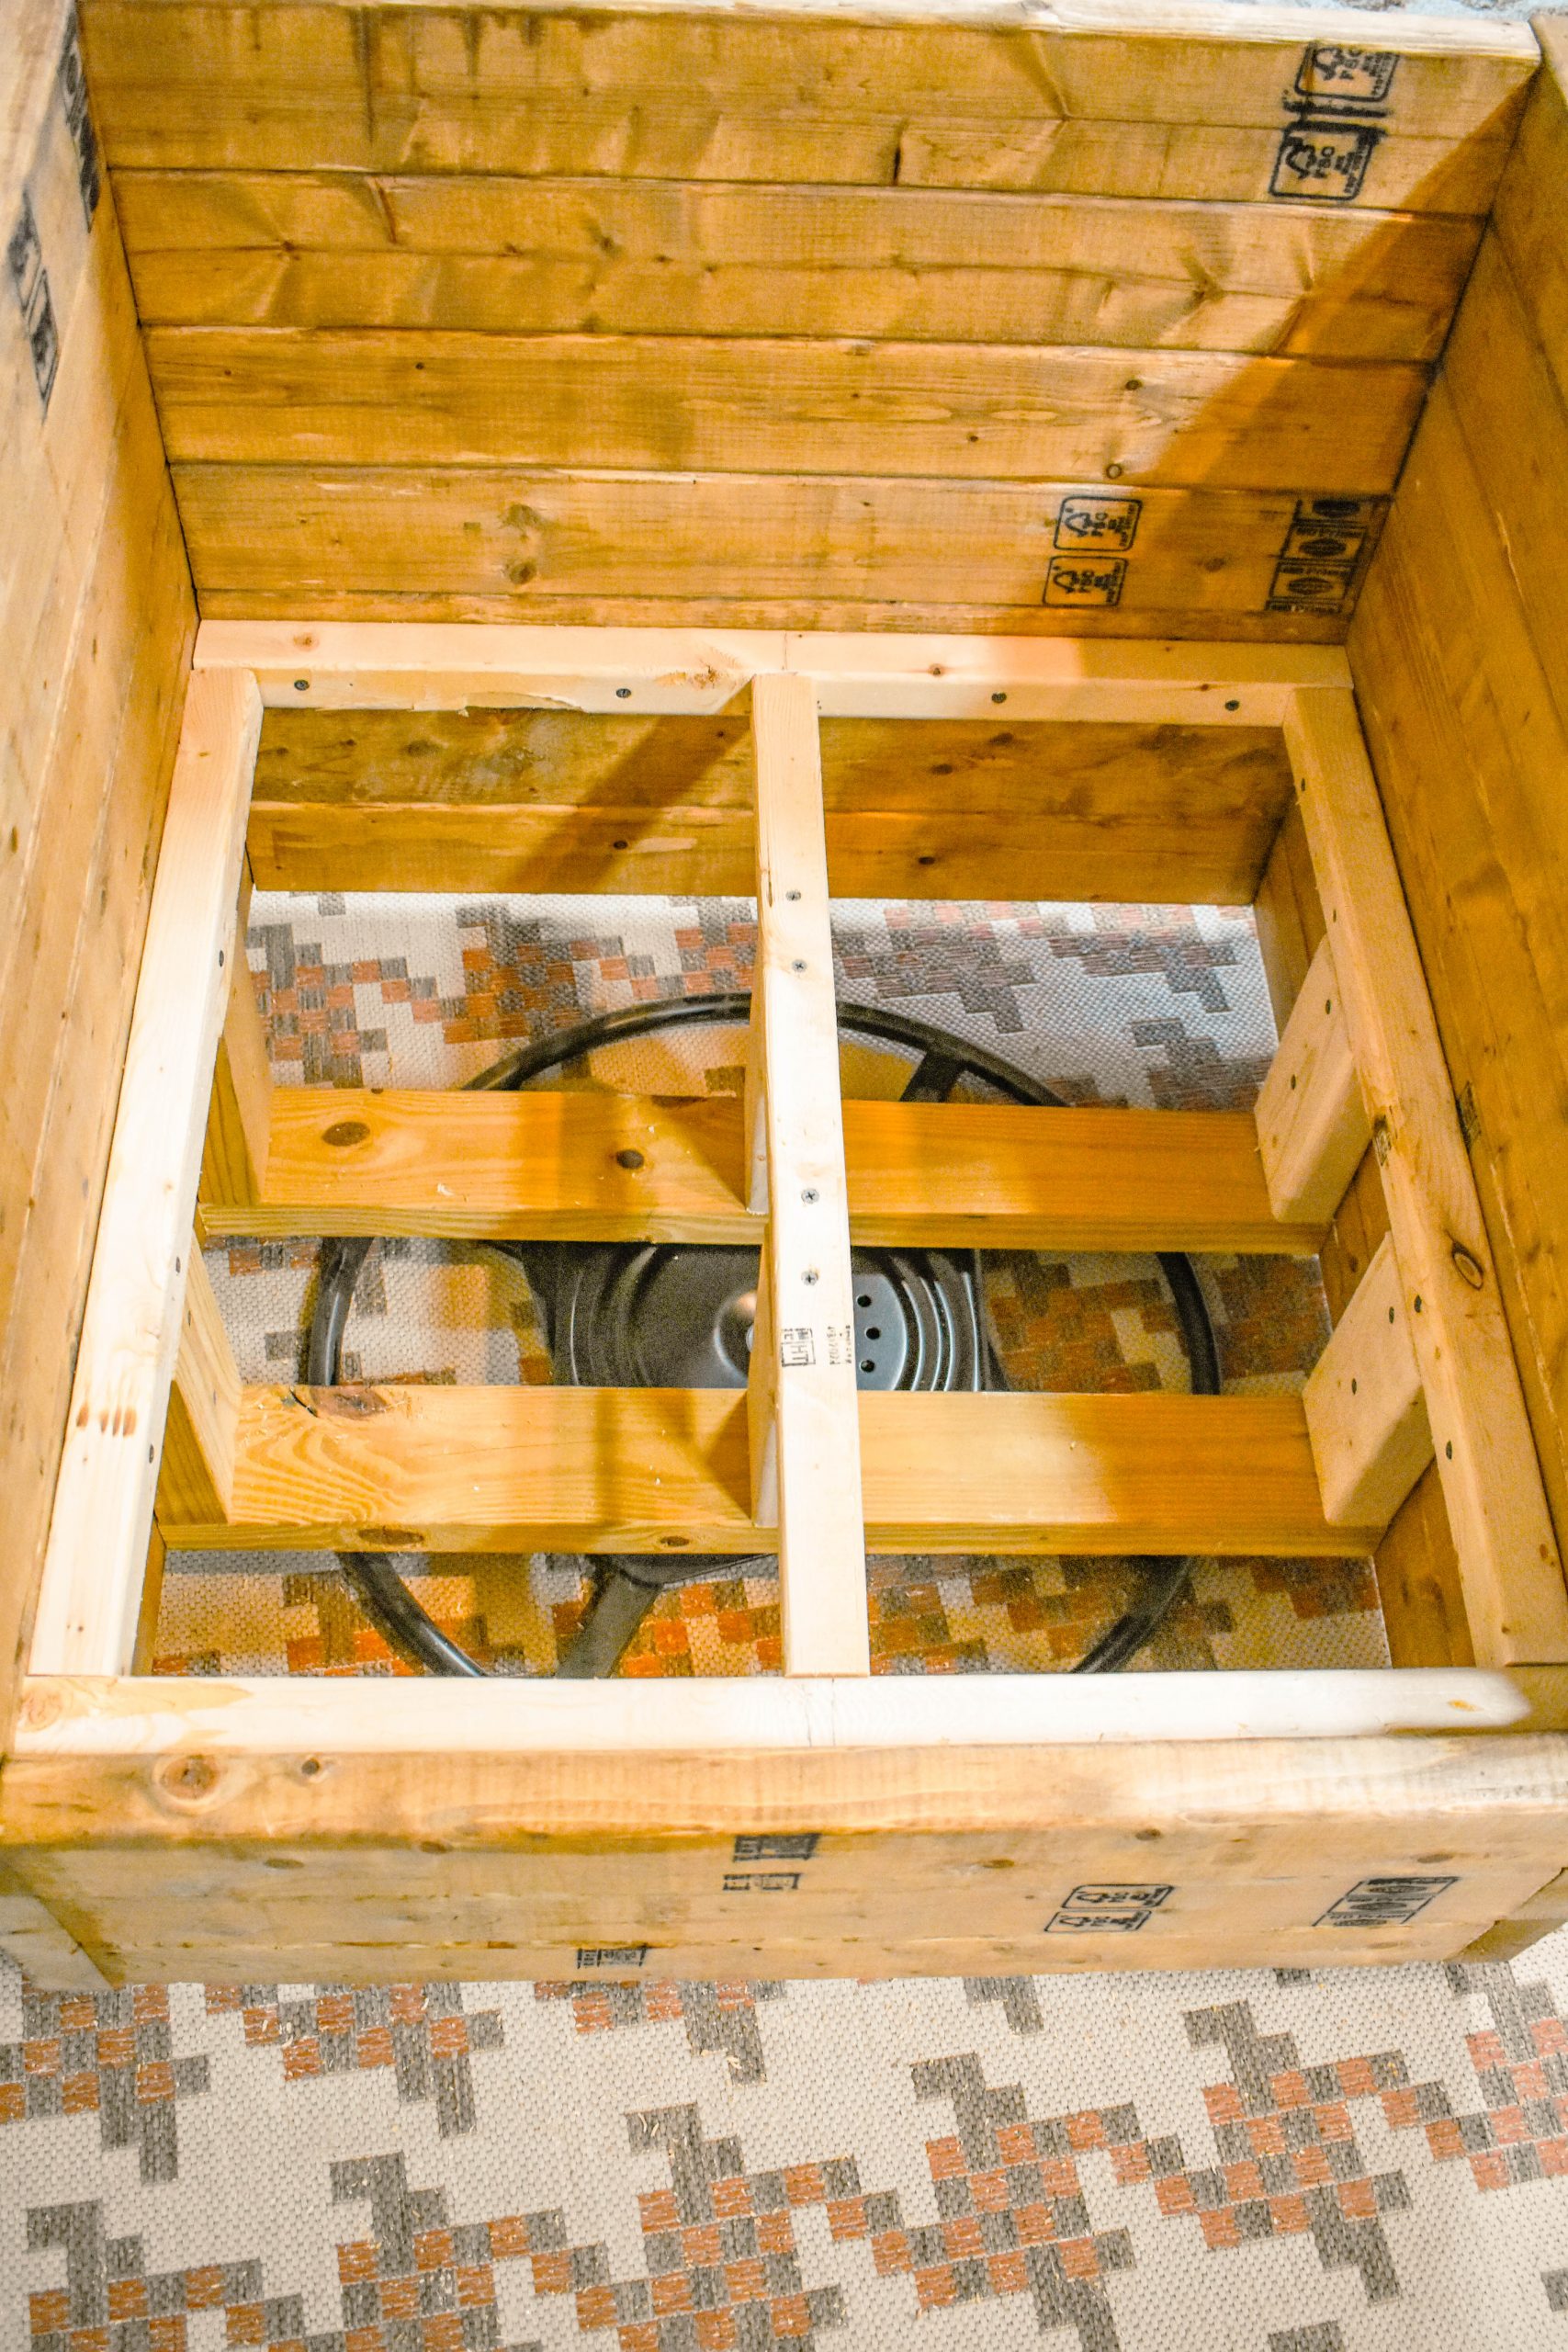 Once the seat base was solid we added in a masonite board that would conceal the mechanics of the chair and swivel base. You can either secure the masonite with screws or brads. We used screws so we could easily remove them later, if needed.
 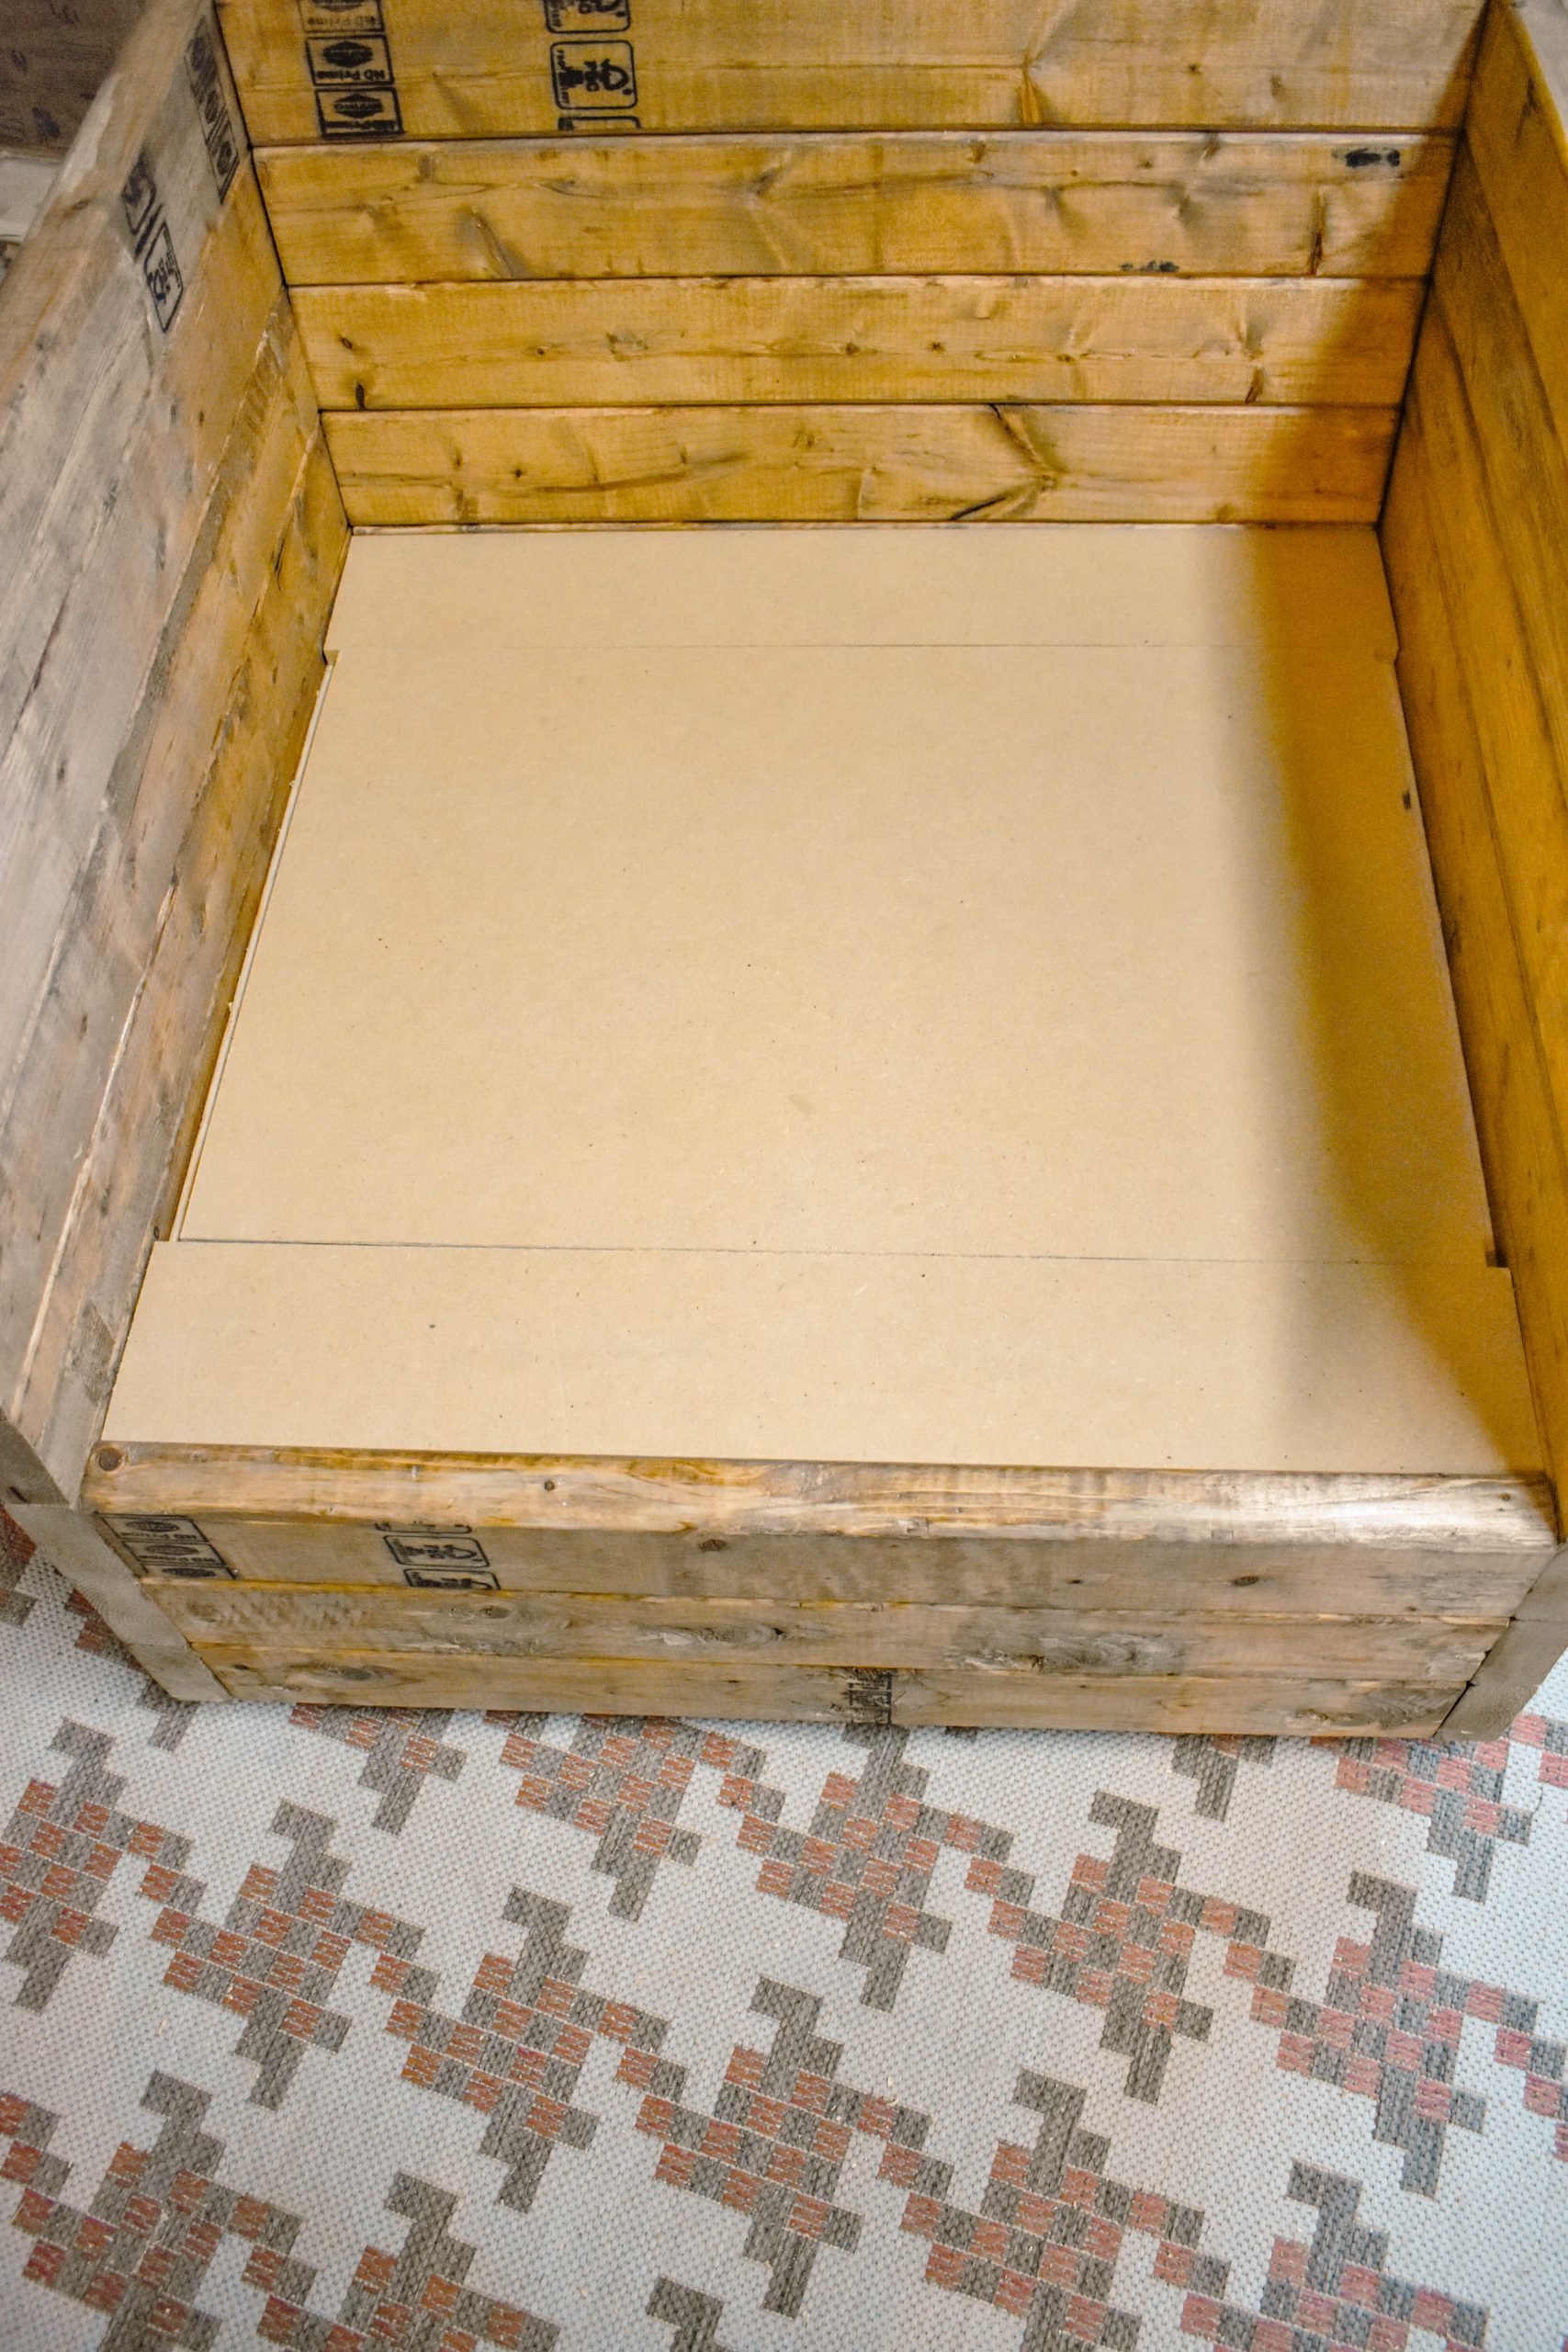 This allowed a space for a cushion to placed to make a comfy cozy seating area. A good tip is base you chair off of a cushion that is a standard size and easily orderable online.
 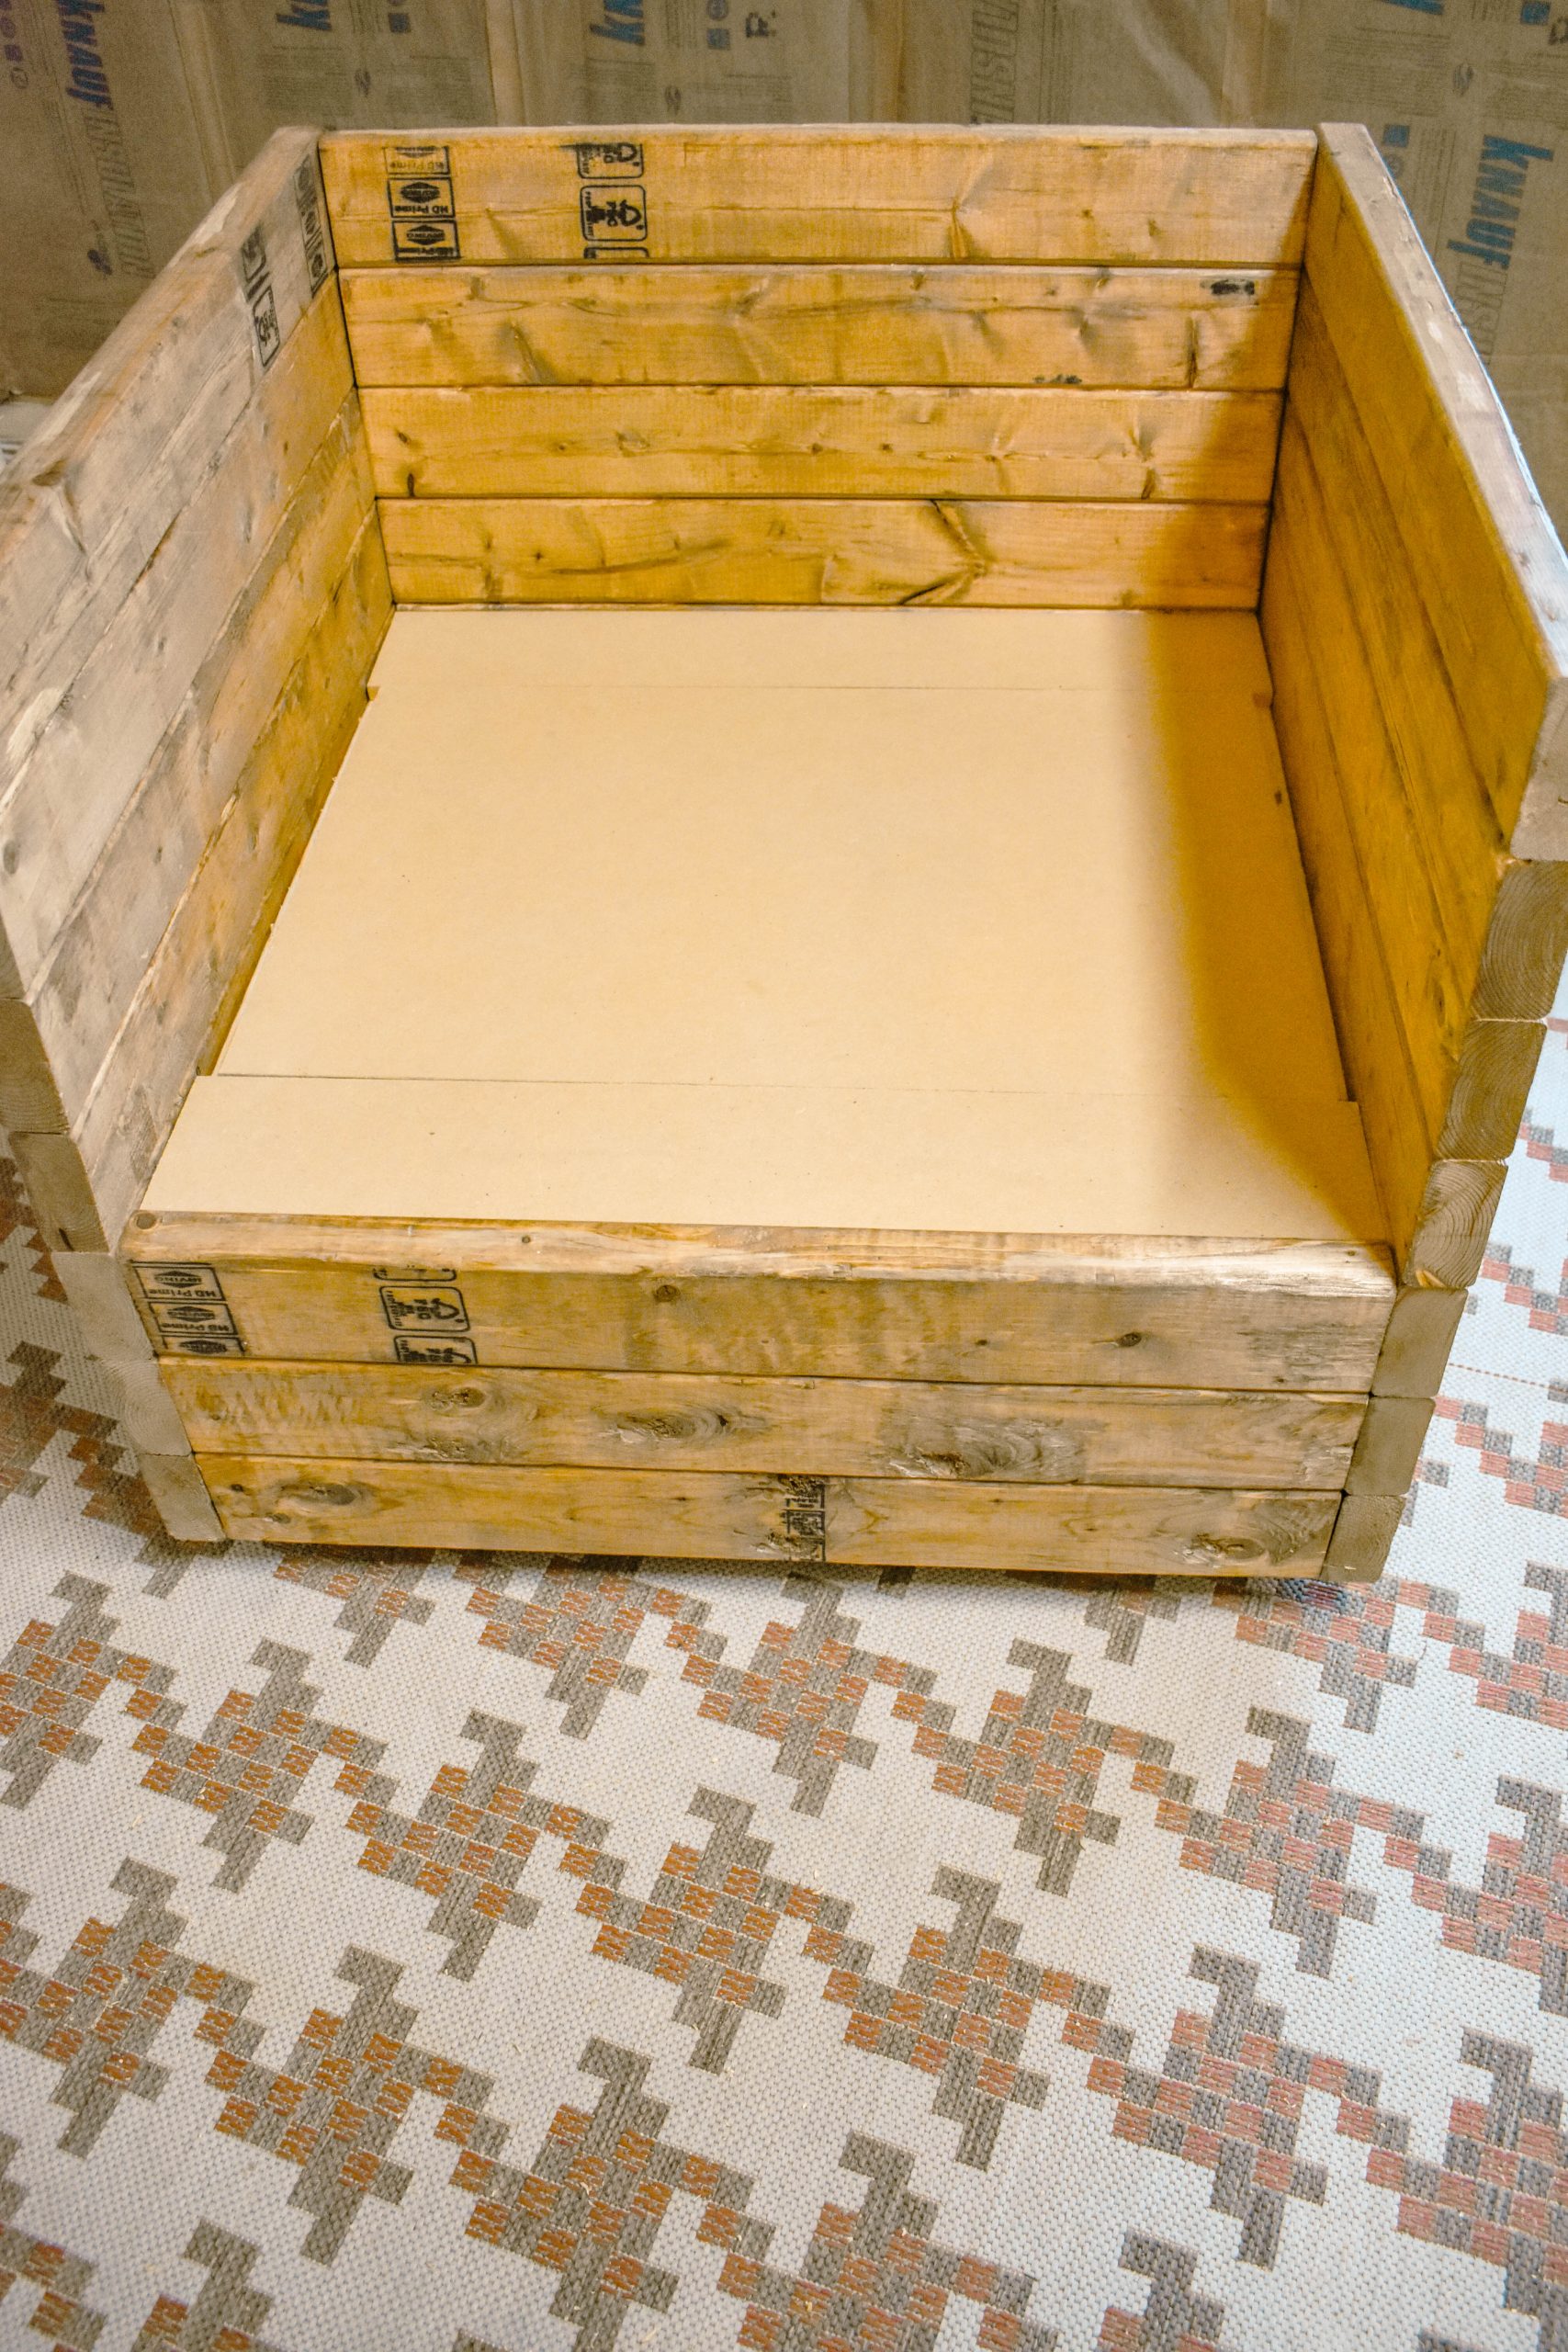 This will make getting a replacement or custom colors for your chair super easy later on down the road. A great example would be Ballard Furniture Cushions or Wayfair Furniture Cushions. My lumbar pillows actually came from World Market, which they are sold out but here are some that are similar.
 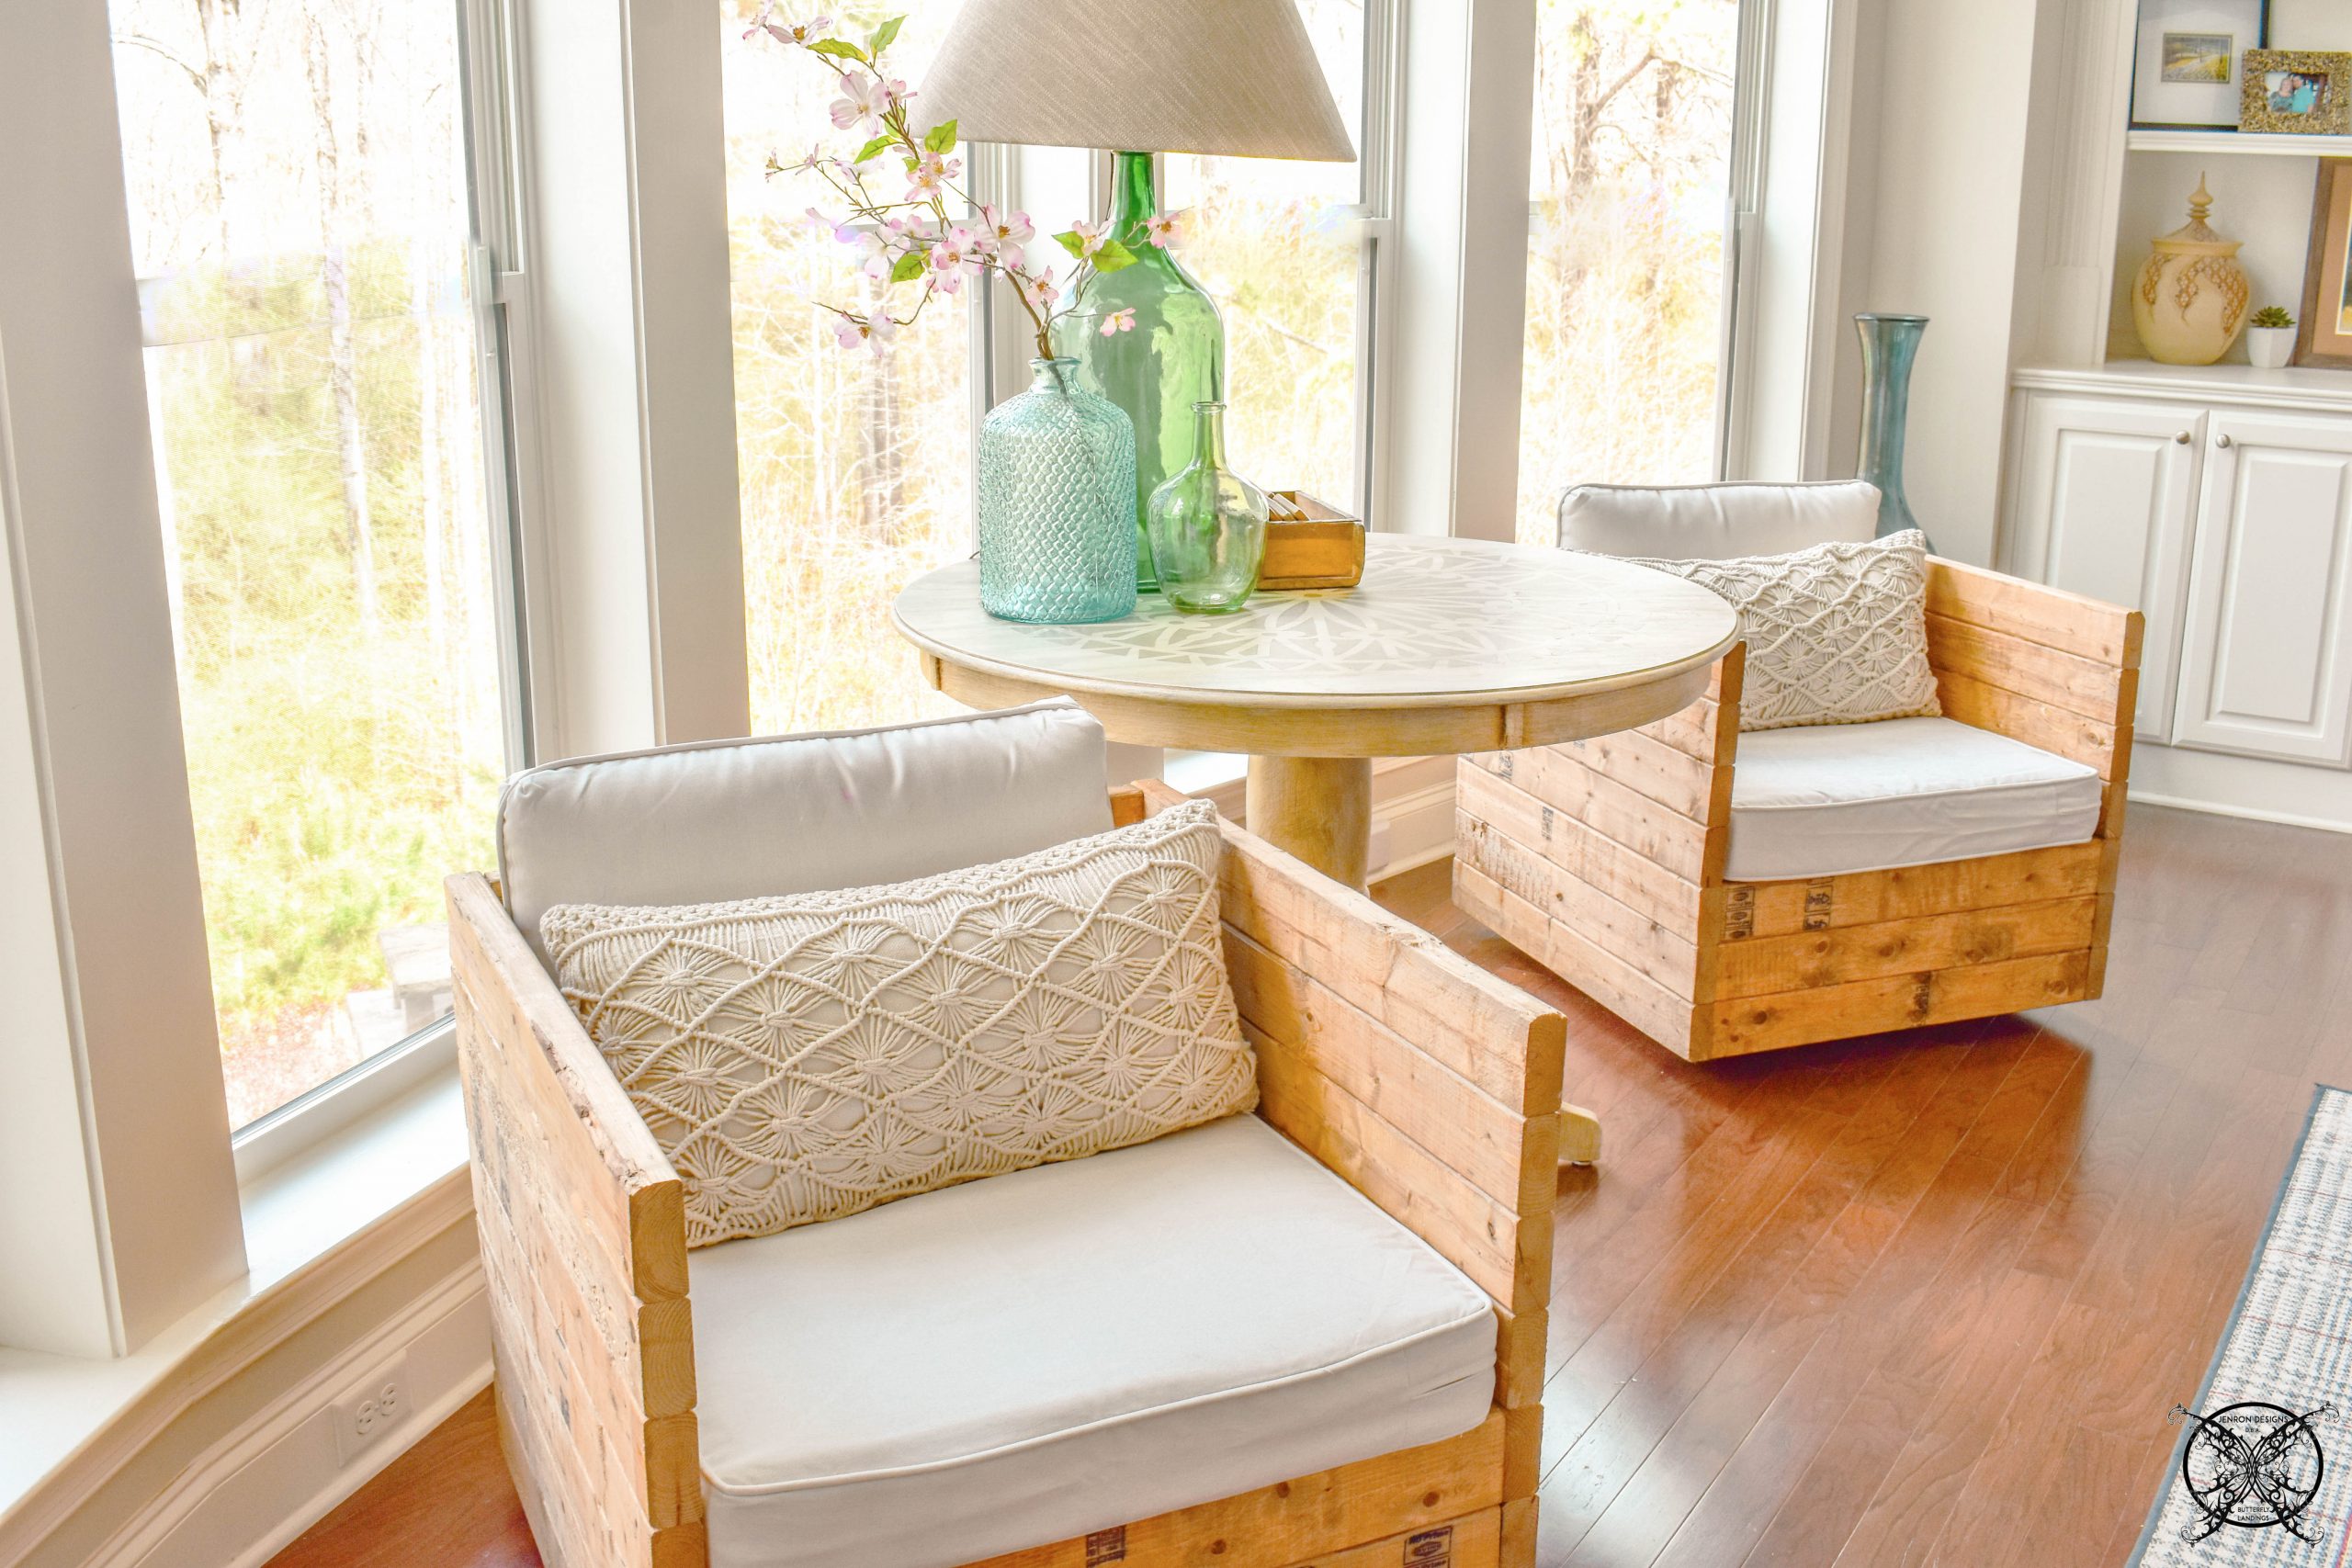 I have to say I love my new rustic swivel chairs they are exactly what I wanted and love that they are pet friendly and indestructible. These will really hold up to anything you throw at them and are pretty darn comfortable as well. I will say the entire inspiration for these chairs came from a photo I saw online for a chair that is no longer available from a well known retailer. Like I always say, if I can not have what I what I will just build it instead, and so we did!
PIN ME for later and be sure to follow us on Pinterest at:
These look amazing! I love a natural wood look and these add comfort to a great design!
These look so good! They’ll be perfect for my bedroom so I need to make them
OMG these are really cute! I love DIYs! These are perfect in my sister’s porch!
These chairs look amazing! I may have to try to make a couple for myself!
okay these are so cute! what a great idea! thanks for sharing this!!! so talented!
These look great! What a creative DIY idea. Thank you for the step by step simple instructional guide
These are so pretty! They’d be perfect in my living room
These chairs are beautiful! It seems like these were a perfect addition to the room.
Wow! That’s smart! I love DIYs and i think this is moving to the top of my list to do!
Can you be more specific about the content and directions of your article? After reading it, I still have some questions. Hope you can help me.
Hi Penny I am happy to answer your questions on this DIY just send me an email and we will help you out. I will say if you have never built furniture before it can be a bit daunting, and is not well suited for a beginner.
Wow this is a great set of chairs that your husband has built, I love them so much. I wish I buy a set just like them for my home. You guys are so talented and creative.
Hello! I really like your writing very much! I also wanted to tell you how much I appreciate this project and those beautiful chairs.I love that you just build what you want, verses trying to find the perfect thing, that inspires me. I find that so much of the furniture today is just junk, so I think I would rather build it too.
Hello! I know this is kinda off topic but I’d figured I’d ask. Would you be interested in exchanging links or maybe guest writing a blog article or vice-versa? My site discusses a lot of the same subjects as yours and I feel we could greatly benefit from each other. If you happen to be interested feel free to shoot me an e-mail. I look forward to hearing from you! Great blog by the
way!