Create My Custom Strawberry Napkins DIY
In this DIY I will show you how I created my Strawberry Napkins that I used for my custom tablescapes, all by stenciling with fabric paint.
I have found that the majority of the time with my design projects I will get my mind set on an idea or concept, and then when I go out to try and find the product or a similar item there is not one in existence. I know I am not the only person out there that has this problem, so that is one of my missions with my blog. Sharing how I create all those unique and one of kind things that I dream up inside my head that do not exist currently on the market today. Today that product is a white cloth strawberry printed napkin. I had envisioned one single large strawberry centered at the base of the napkin in a very simple outlined pattern. 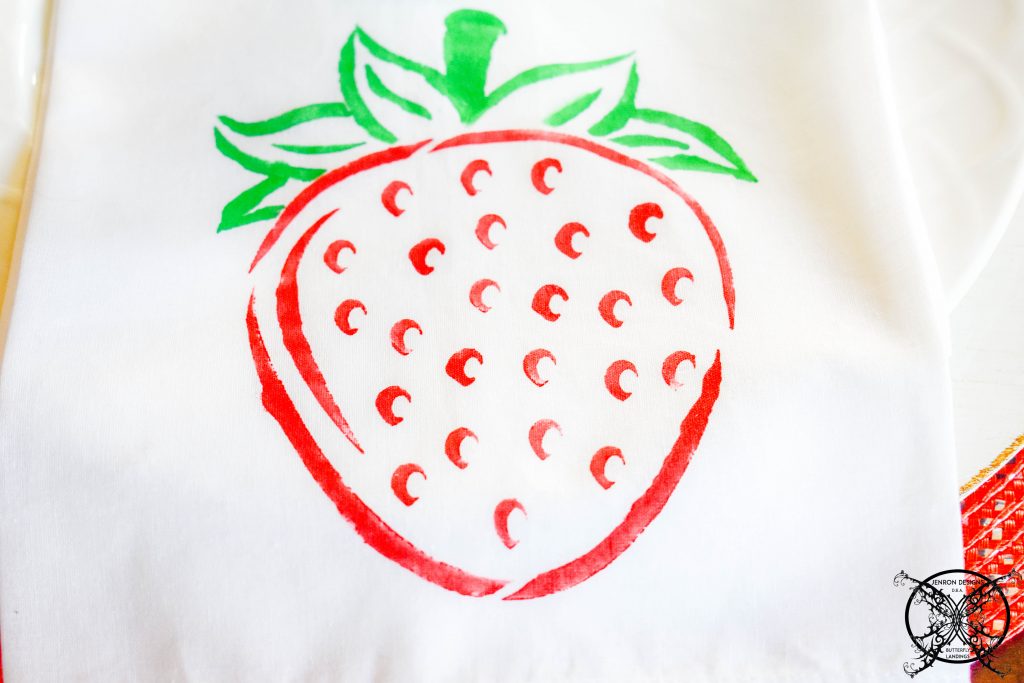 *Please note that I was compensated for this post. This post contains affiliate links for your convenience. These involve no extra cost to you, but may result in me receiving a small commission should you decide to purchase after clicking on my links – for which I am very grateful! You can view my full advertising disclosure here.
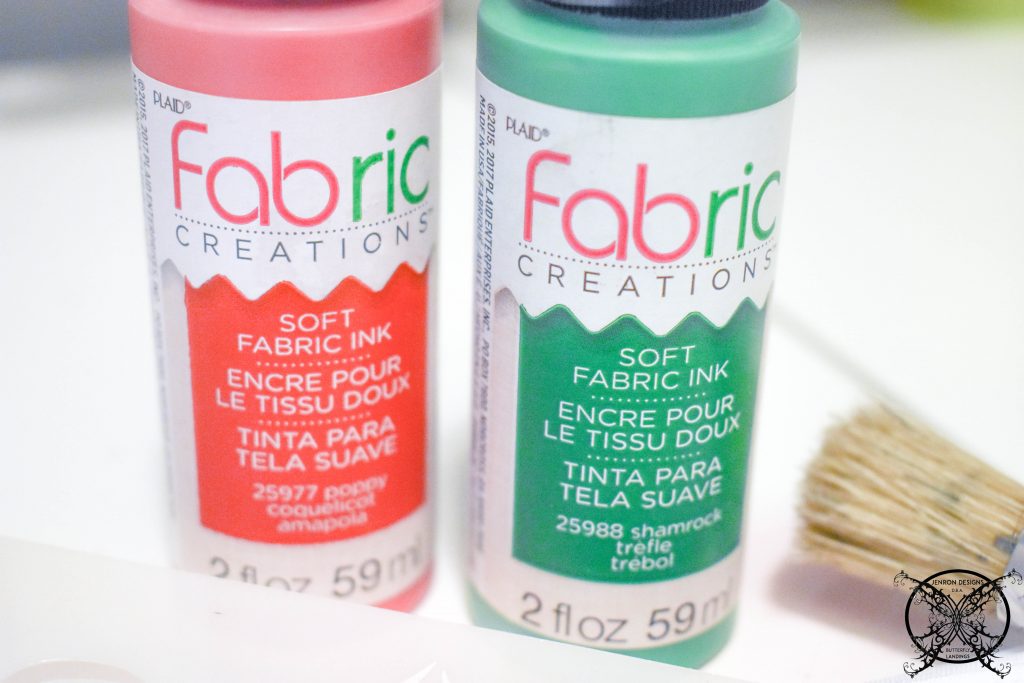
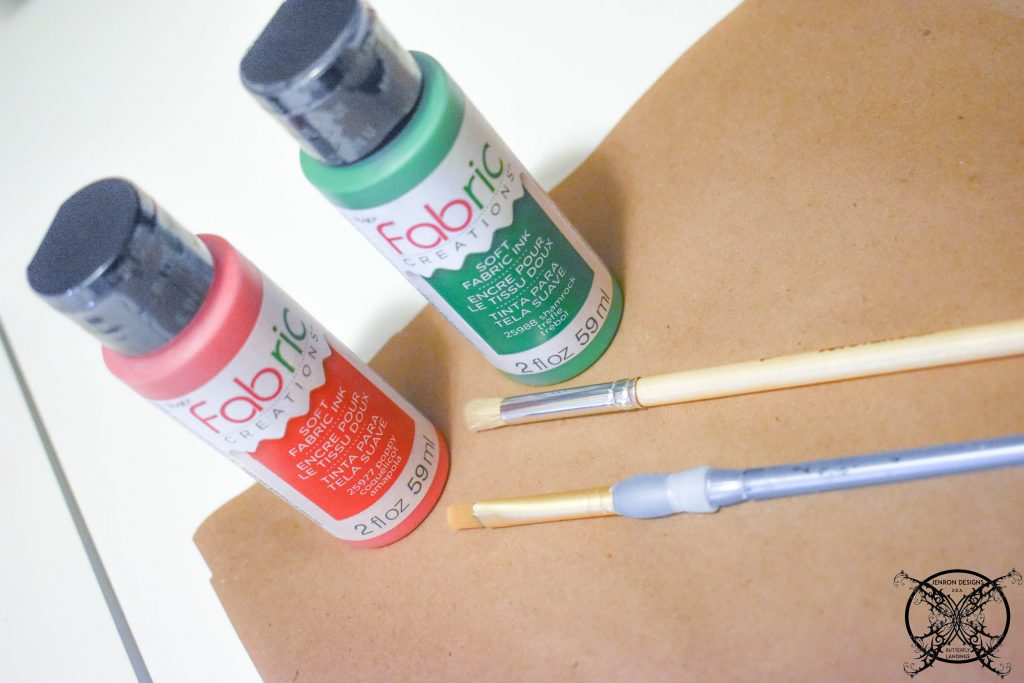
These custom cloth napkins were created by using the perfect 6×6 strawberry stencil provided by my friends at Stencil Revolution, along with this handy Fabric paint from Plaid. The entire process was very simple to do and helped me to create that custom look that I was unable to find in stores. 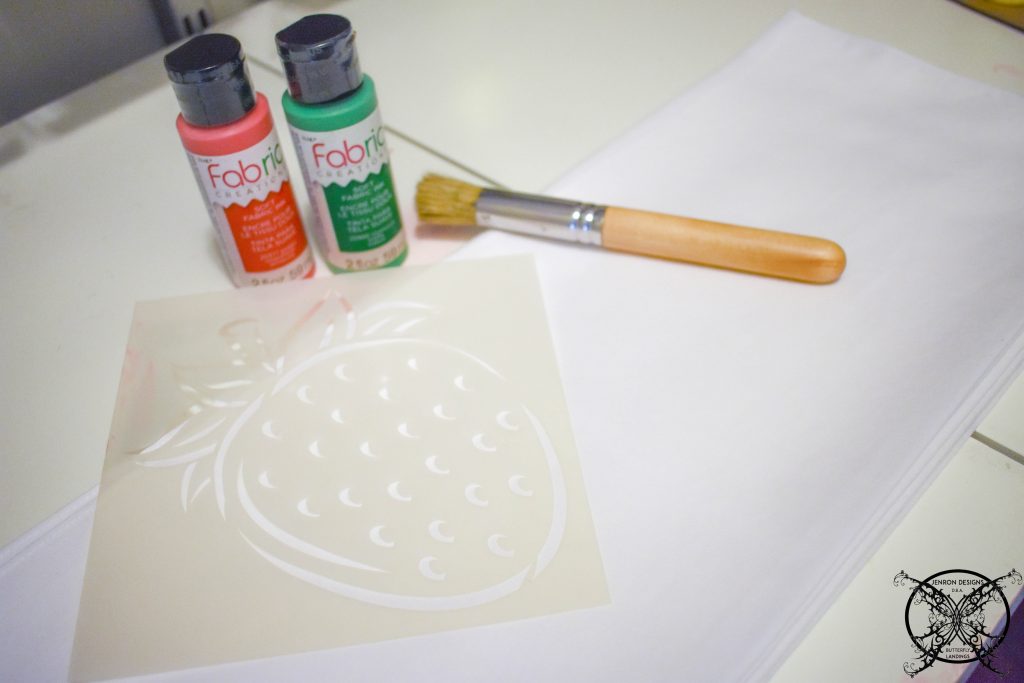 The first step in the process was to wash and dry your cloth napkins prior to starting any painting. I also decided that a quick ironing was also beneficial at this point too, in order to insure that the fabric would lay flat for the stenciling process.
 Once you have your napkin prepped for the project you are ready to start the stenciling process. I decided that I wanted my design centered in the middle of the bottom edge of the napkin. So when folded in thirds the pattern would be visible whether it was folded in half or left long wise.
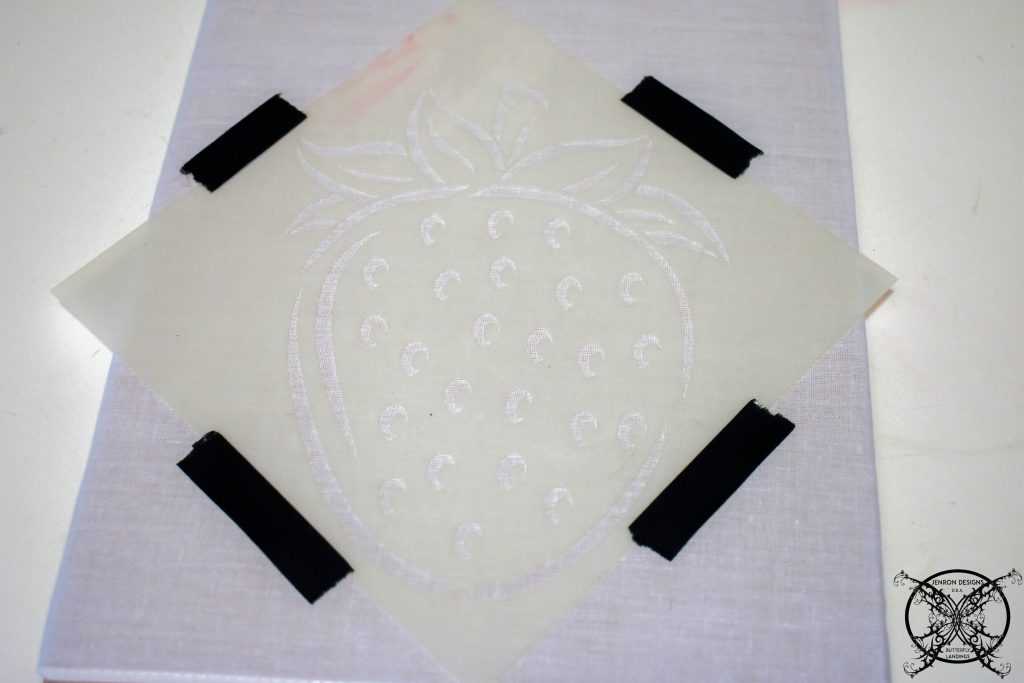 Once I found the center I placed the stencil 1″ above the bottom edge and apply a craft tape to hold it in place. I choose to keep the pattern in an upright direction but you could tilt or angle your stencil to add character if you like. Just remember it may make getting all the napkins laid out into a consistent pattern more challenging.
 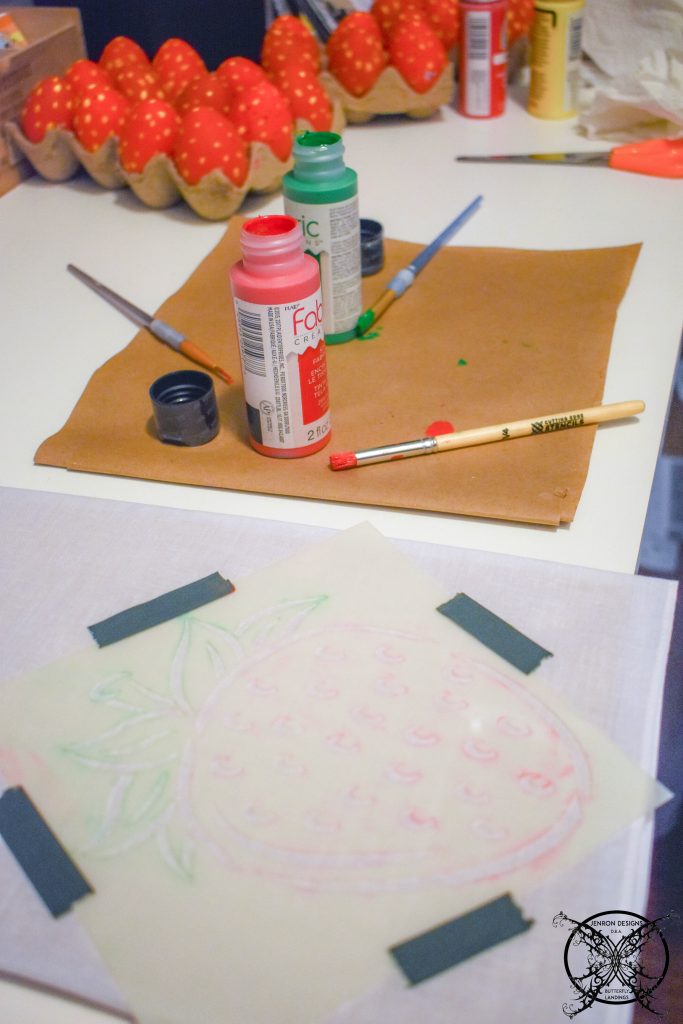 I used a piece of craft paper to off load the excess paint on my brushes and keep accidental spills from occurring. Also remember to place a thick piece of cardboard between the layers of your napkin, not craft paper, to the keep the paint from bleeding through to the next layer.
 Now you are ready to start stenciling, I had two types of brushing since I had never stenciled on a napkin or cloth before. I had a regular stencil brush and an artist paint brush. I will say I ended up using both, but I used the stencil brush for the majority of filling out the stencil. Then went back with an artist paint brush afterwards to do touch ups.
 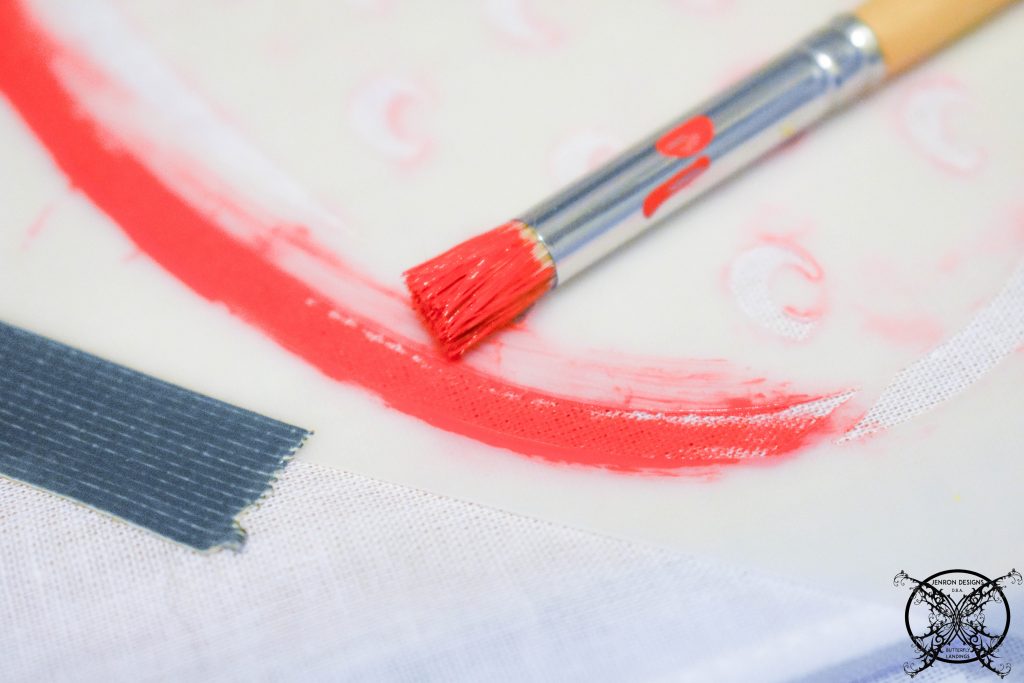 Once you have completed all the red sections, go wash your brush while giving the napkins a few minutes to dry and on to your green stem.
 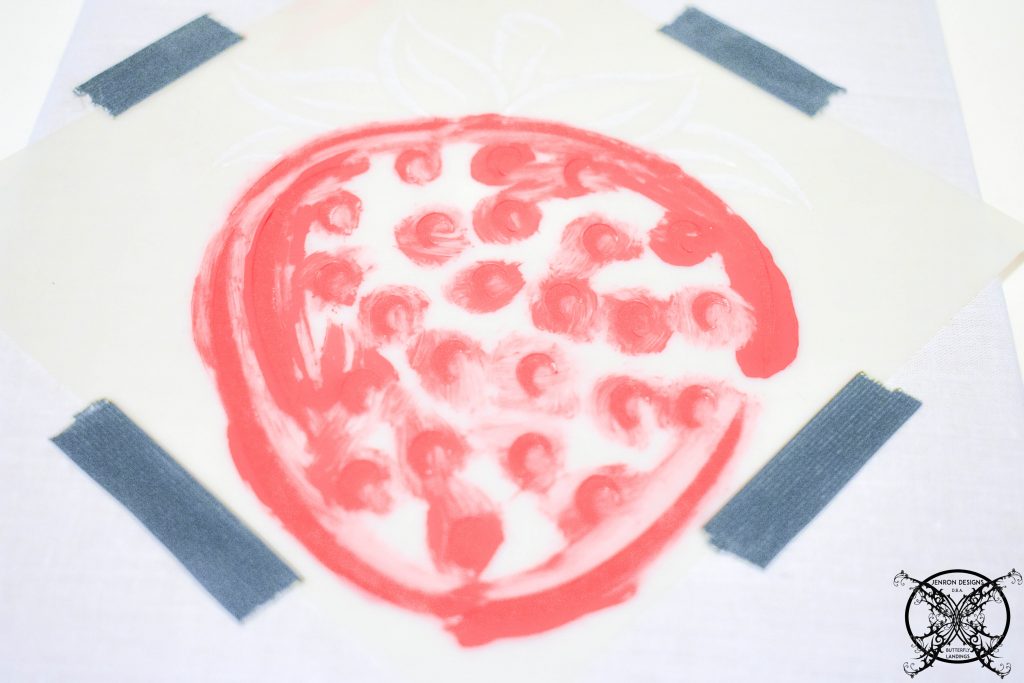 Once the green stem is complete you can lift your stencil to see your handy work.
 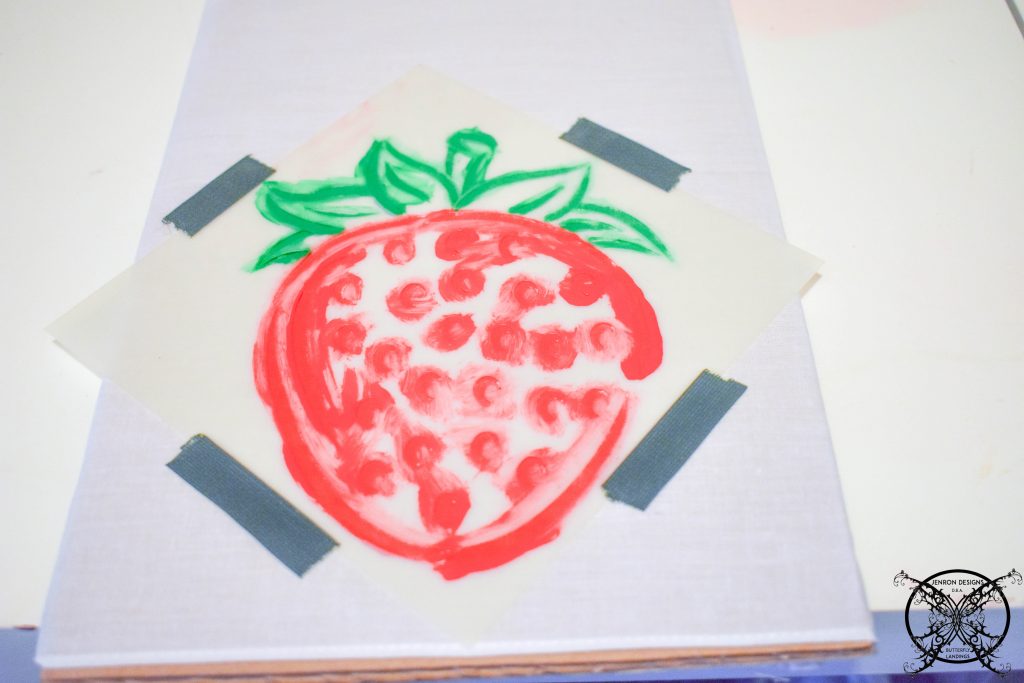 As you can see it was not a perfect trail run, but this is where the artist brushes come into to play. You can clean up a few of the edges and fill in some of the spaces that are lighter now that you have a framework to guide you.
  I also liked the the stem painted a solid green and felt like it added a bit of character, so I painted it completely. Just remember it is your design, so you can do what makes you happy and makes your heart sing.
 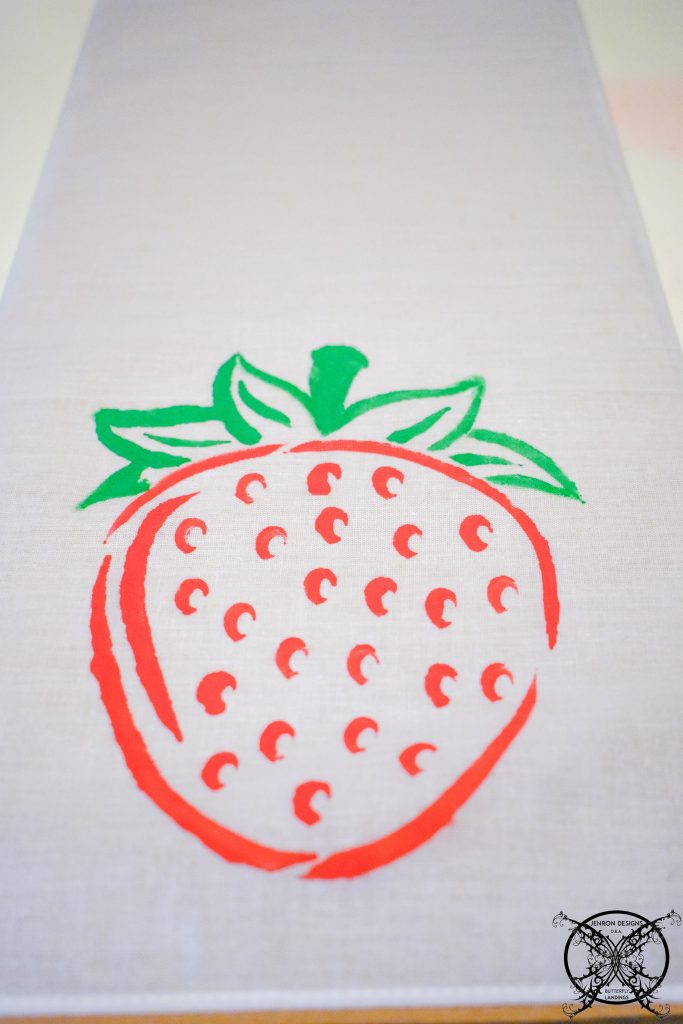 Once you get the designs the way you like it you will want to find a spot to hang them to dry for 24 hours. Then to permanently set the pattern you will want to iron the paint in on low heat with a clean white cloth separating the painted napkin and iron. After you have done this step, your napkin patterns are set and ready for everyday use.
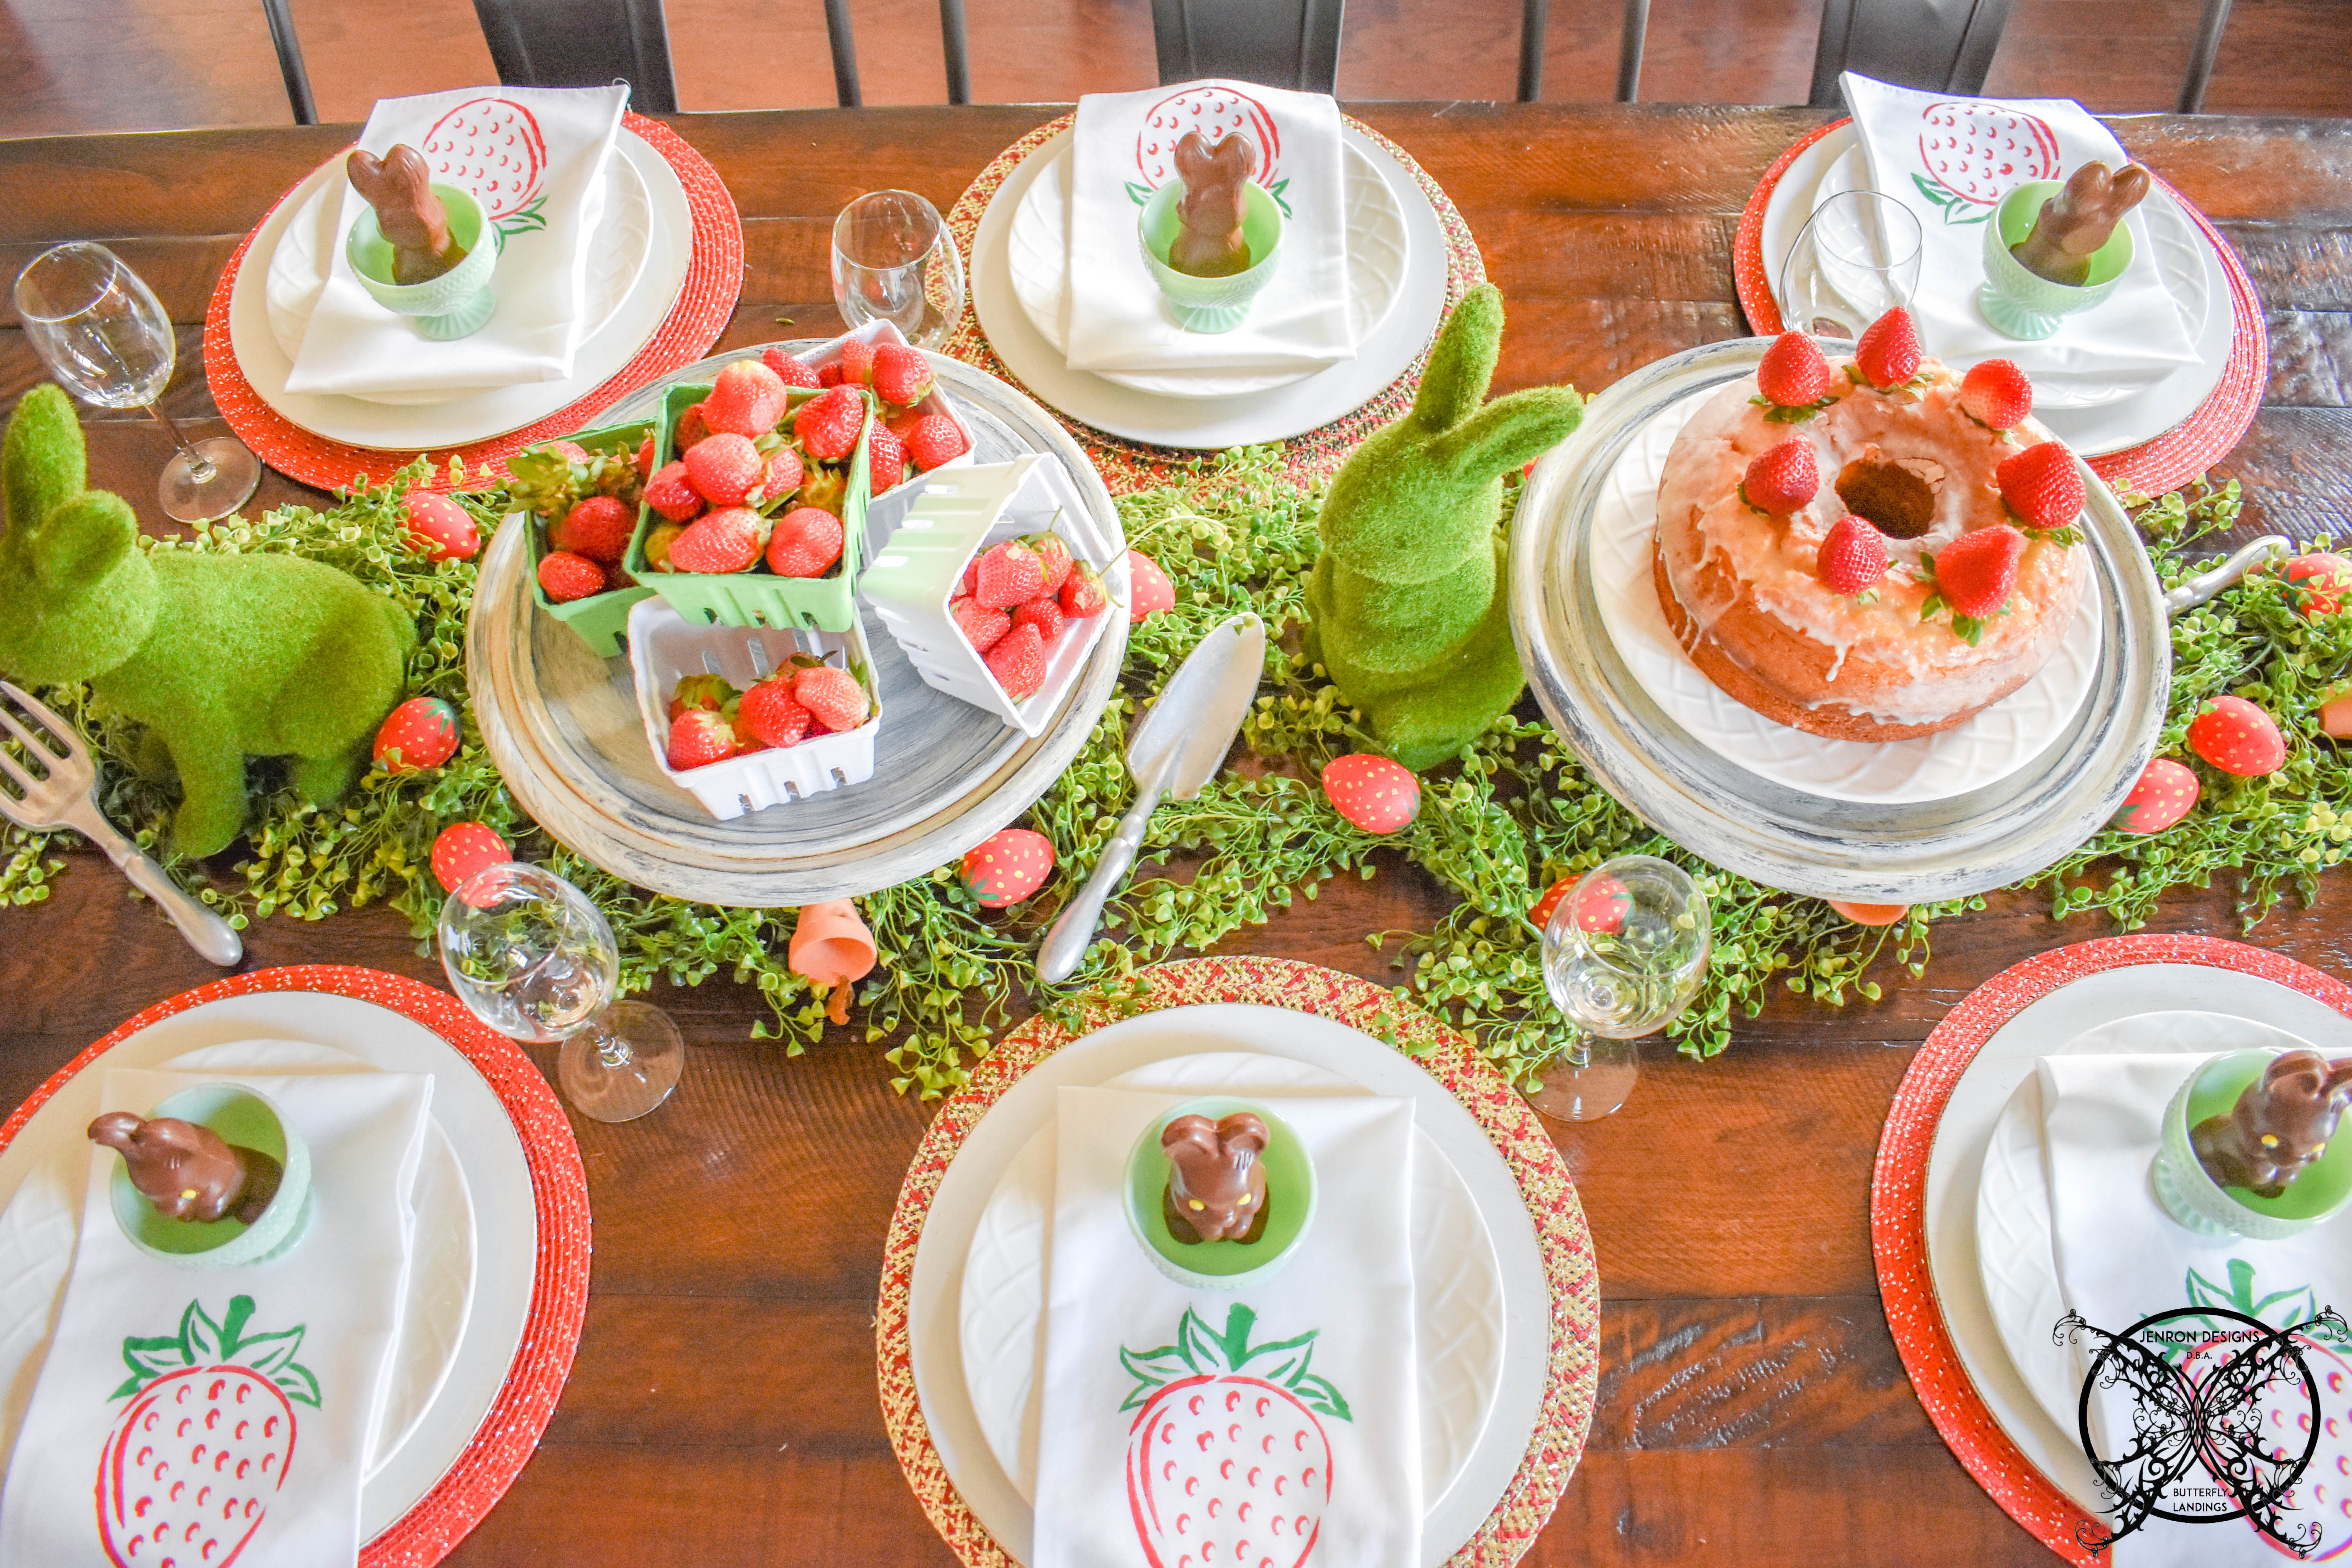
 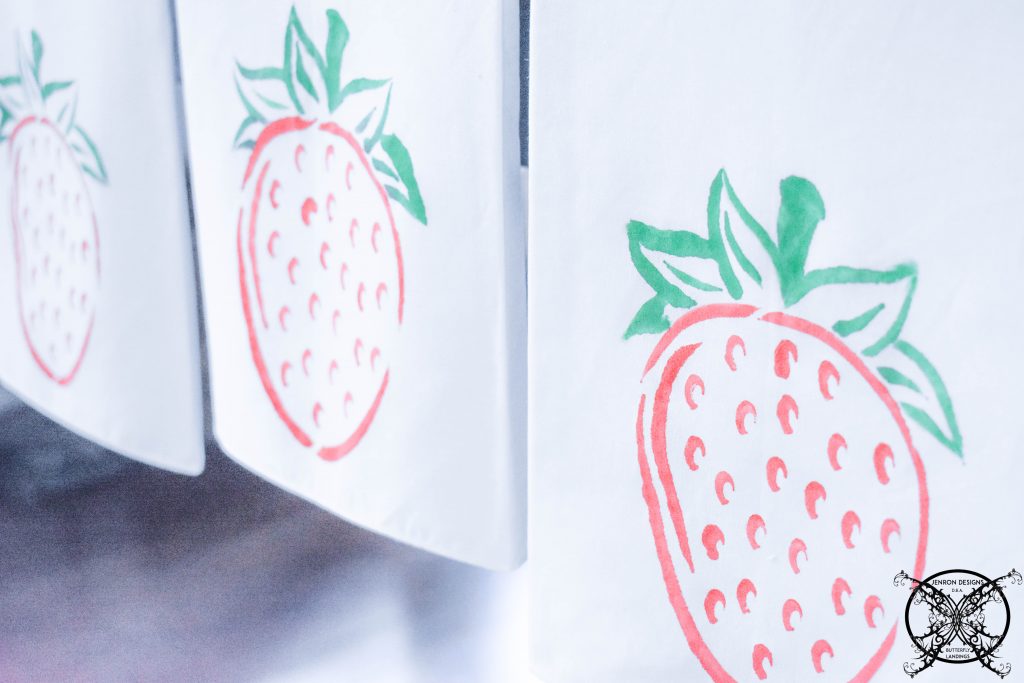 Now off you go, you can now have fun creating that perfect tablescape you were imagining, now that you have created the perfect napkins that will add the one of kind special detail that make all the difference. You can see how the napkins look on my Easter table at my Bunnies In The Berry Patch post, but here is a little peak.
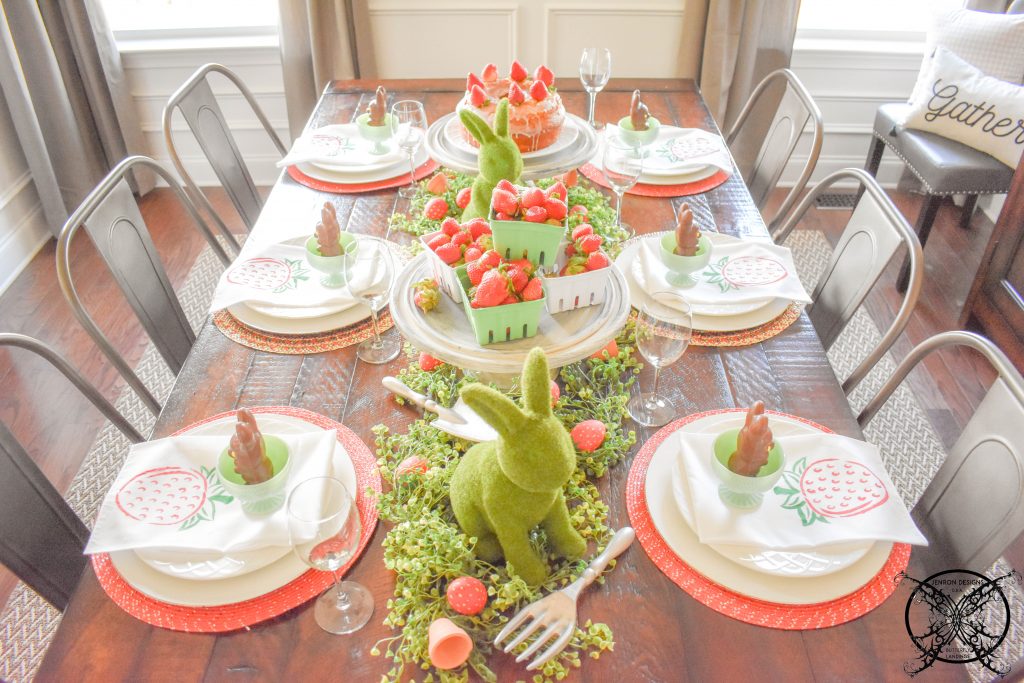
PIN ME for later and be sure to follow us on Pinterest at Jen @ JENRON DESIGNS
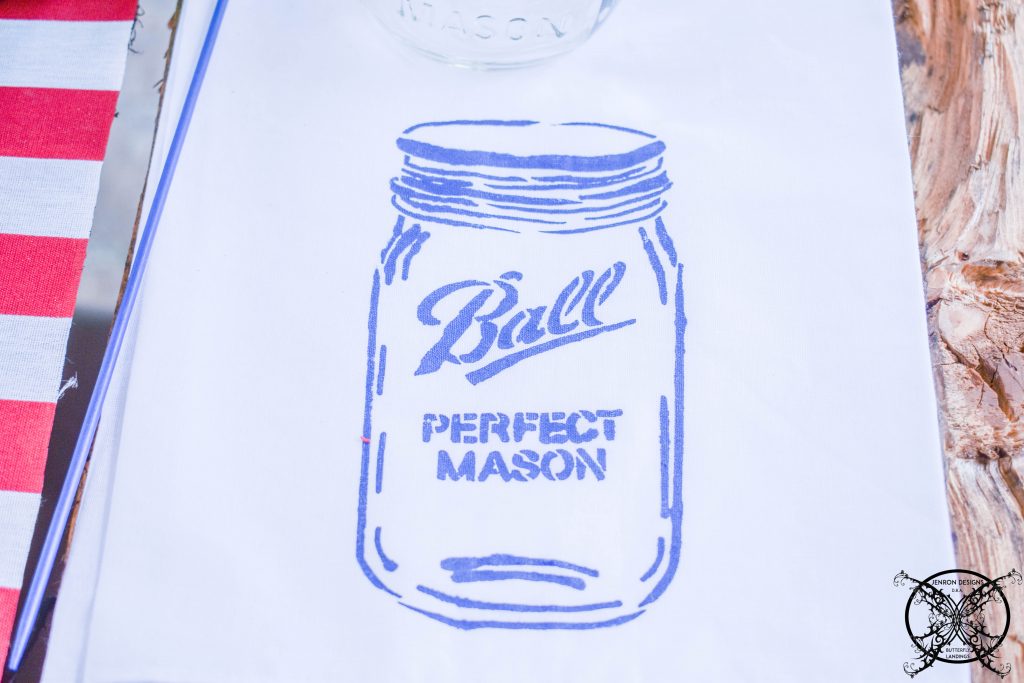
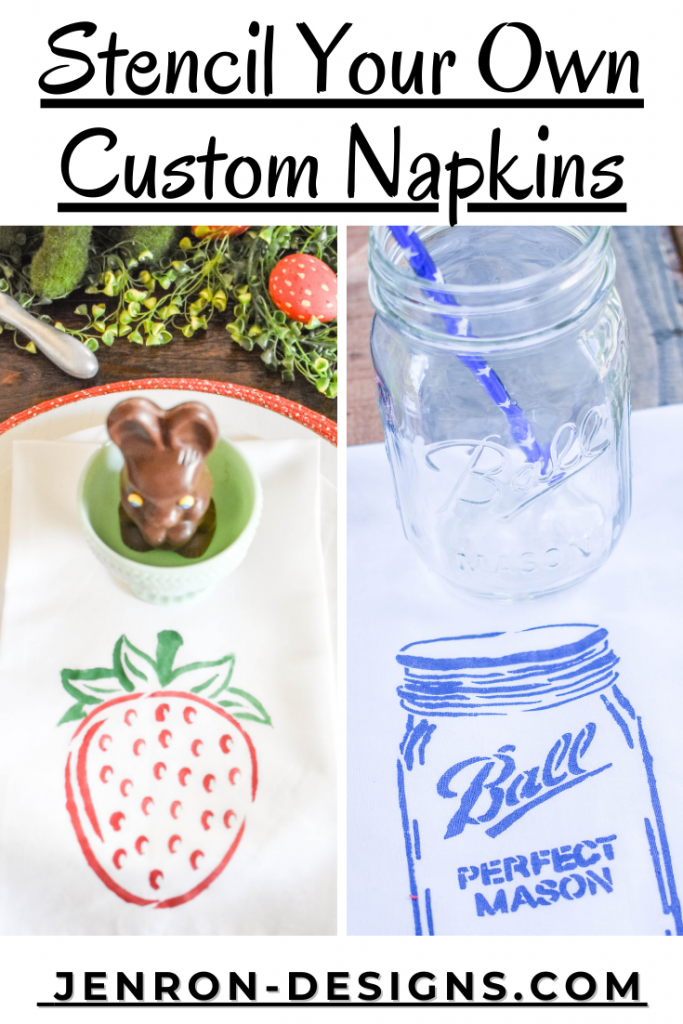 I also created these cute little Ball Mason Jar Napkins too for my Farm To Table Fourth of July Dinner, using the Ball Mason Jar Stencil from Stencil Revolution, using the same exact technique above and using navy blue paint.
Those are absolutely adorable! I’m going to try my hand at them as well.
Wonder!! I love the pictures.
I wanna know if you can wash n reuse.. Does the psint stay?
Oh my I LOVE a beautiful napkin! And these are just perfect for spring and Easter.
The process seems so simple yet the napkins look so pretty!
Such cute design and color. Love it!
Thank you for sharing this as the detailed steps are so easy to re create . They look so beautiful 😍. I will definitely try them.
These are adorable! What a great idea! Would love this on a set of dish towels too.
Natalie E
This is too adorable! Such a neat idea. I would love to do something like this with some of the kiddos I work with on the community.
Beautiful idea and so easy to implement… definitely goes to my todo lisi
Dying over this table setup!! SO cute! And I really love this idea…it could easily turn into a big craft night before Easter to get some family members involved in the decorating process! Thanks for sharing!
-Madi xo |
These are sooo stinking cute!
Lauren |
These are adorable and so creative! I am going to attempt to make them with my son this weekend. Thanks for sharing!
These are so cute and perfect for parties, too bad mine was last week, I’ll save it for my sister’s
These are adorable! W
hat a fun project to make your own napkins!!
These are so cute! It looks like something that even those that aren’t great at DIY-ing could do successfully!
These are absolutely adorable!!! Love a good DIY project
How fun! I used to make things like this with my Mom when I was a kid.
I love these! So cute. I’m a big fan of strawberries.
These are so cute! The perfect upgrade to the kitchen for spring. Thank you for the tutorial!
Oh wow! This really great and so easy to make! I have a lot of designs in mind now to print!
Love this idea it’s so adorable!!