
Closet Organization for Accessories
Oh my goodness we are in the home stretch now, week 5, ORC Fall 2019: Closet Organization for Accessories . Check out my custom framing that instantly dresses up any room.
This season for the Fall 2019 ORC we will be completing our owners suite closet, which is directly off of our on suite bathroom that we completed this past Spring. That challenge plus our recent Owners Suite Bedroom Renovation just left us excited to finish up the owners suite closet as well. Week 5 is all about ORC Fall 2019: Organization for Accessories to elevate the closet space. This is such a simple DIY and I am very excited to share it with you all this week.
WEEKS AT A GLANCE:
WEEK 1 WEEK 2 WEEK 3 WEEK 4 WEEK 5 REVEAL
Just in case you maybe wondering exactly what is the ORC aka The One Room Challenge here is the full scoop. This event was started by Linda Weinstein @ Calling It Home and is hosted twice a year, in April and October for the past 16 seasons. The ORC has hosted over 300 interior designers & home decor bloggers, that have joined together in this challenge to makeover one room in their own homes. The participants have a total of six weeks, from start to finish, to complete a full room transformation. Over 3,500 rooms have been transformed through the One Room Challenge to date, and many spaces have been recognized and featured by several prestigious sites seen here:
 Thank you to the One Room Challenge Media Partner, Better Homes & Gardens, for your continued support and love for original interior design.

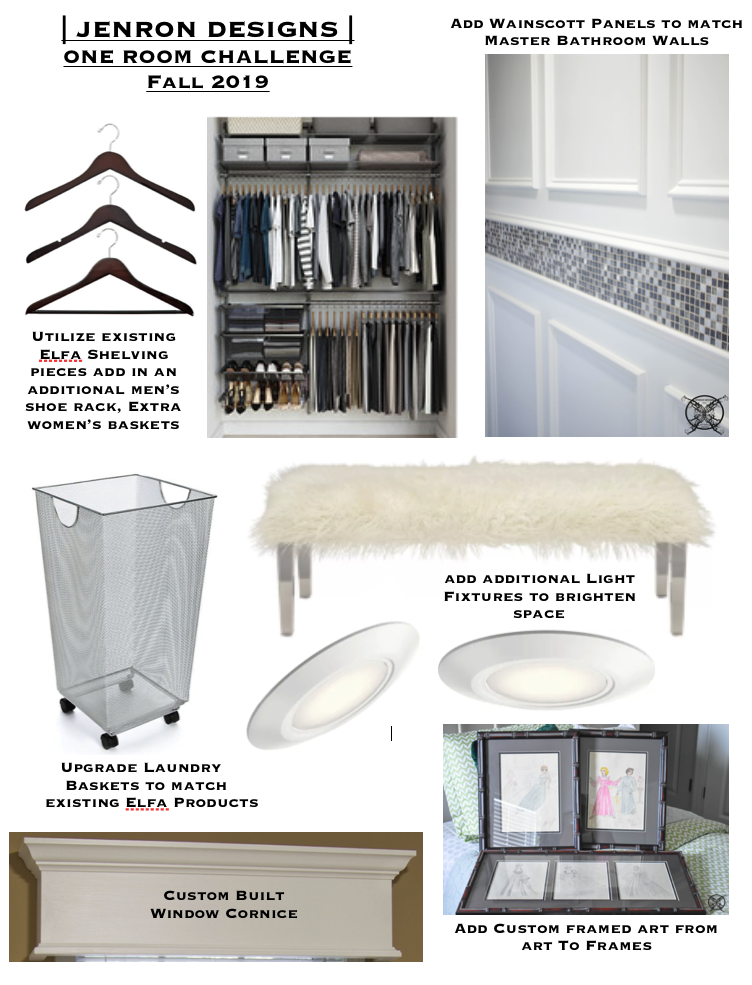
THE INSPIRATION BOARD
 *Please note that was compensated for this post and. These involve no extra cost to you, but may result in me receiving a small commission – for which I am very grateful! You can view my full advertising disclosure here.
Organizing the Closet
The organization process has really been an ongoing event over the past 4 weeks. I will admit I had way too many clothes that I could no longer wear due to some recent weight loss, and other items that were well worn that got turned into dusting rags and paint cloths. Yes, we truly recycle everything around here. I mean why buy new rags just to ruin them? If you have a soft holey T- shirt, that can not be donated, but could be used for the same task?
Here are a few tips for sorting and organizing your clothes:
- First I sort into 3 piles:
- Love to wear all the time keepers
- Might wear, it fits, classic or current style, and still in good shape
- Have not worn it in over a year, doesn’t fit, and needs to be donated, if the garment is well worn and can not be donated I try to turn it into rags or dust cloths.
- I also like to keep a basket in my closet for donations at all times. This cuts down on the heavy sorting process. If I put something on and notice that it no longer fits or I do not like it, I place into the donation bin immediately.
- Another tip I tried once was to rotate all your hangers facing the opposite direction. Each time you wear a piece you place the hanger back in the proper direction. At the end of the season all hangers that have not been flipped around are the items you give away, since you do not wear them.
- I also sort by like styles: T -shirts all together, long sleeve shirts all together etc… I also place them in rainbow order according to ROY G. BIV. If you are not familiar with ROY G. BIV it is a acronym for red, orange, yellow, green, blue, indigo, and violet. For the colors not mentioned pink goes in front of red, and my neutrals go after violet, in the order of brown, black and gray.
 This is a Marie Kondo tip, she likes to use boxes and line them with pretty papers to sort junk drawers. I took pretty boxes and used them to sort out my accessories. These brightly colored designer boxes that I had been holding onto came in handy for folding all my various scarfs, knit and silk, plus my belts, gloves and knit hats.
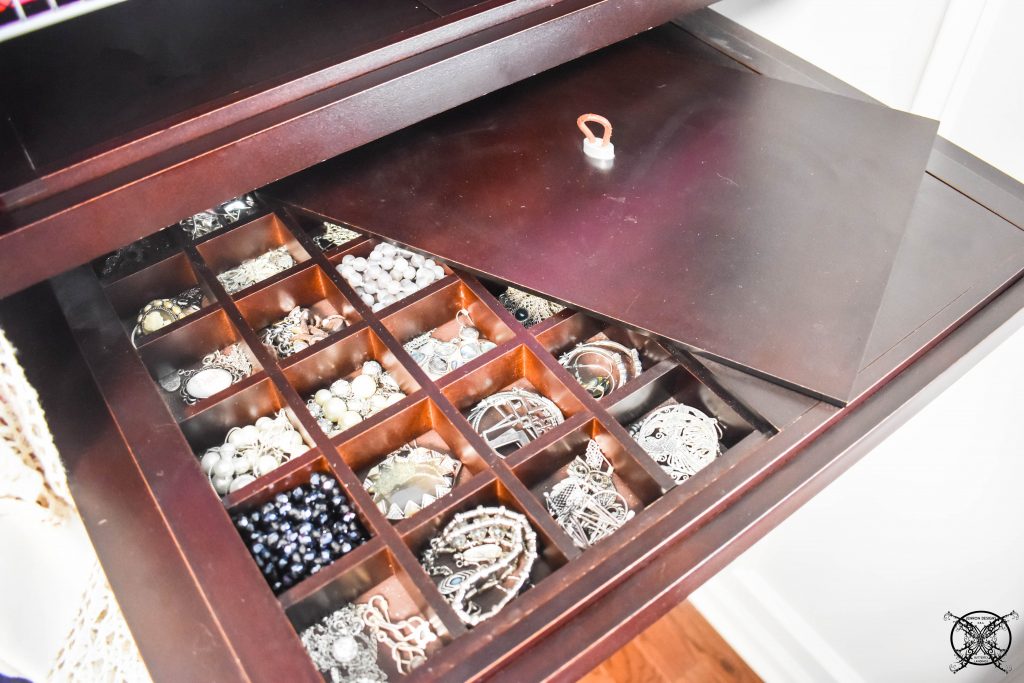 For jewelry organization, I also love my three Elfa jewelry box drawers, which is the perfect way to sort all my costume jewelry. I have one gold drawer, one silver drawer and one natural stones drawer. This keeps me from having to hang it up along a wall, which is a nightmare if you have cats or even children. Just think out of sight out of mind, which I think is the best policy when it comes to tangley things.
*Please note that was compensated for this post and. These involve no extra cost to you, but may result in me receiving a small commission – for which I am very grateful! You can view my full advertising disclosure here.
Custom Frames for Special Art & Installation
This season for the One Room Challenge I wanted to take the opportunity to frame some one of kind art. I believe framing sentimental artwork is even more important than a basic framing job, because the contents hold a memory or in most cases is irreplaceable. This means that your framing and glass should be of the utmost quality to preserve the contents of your framed piece of art..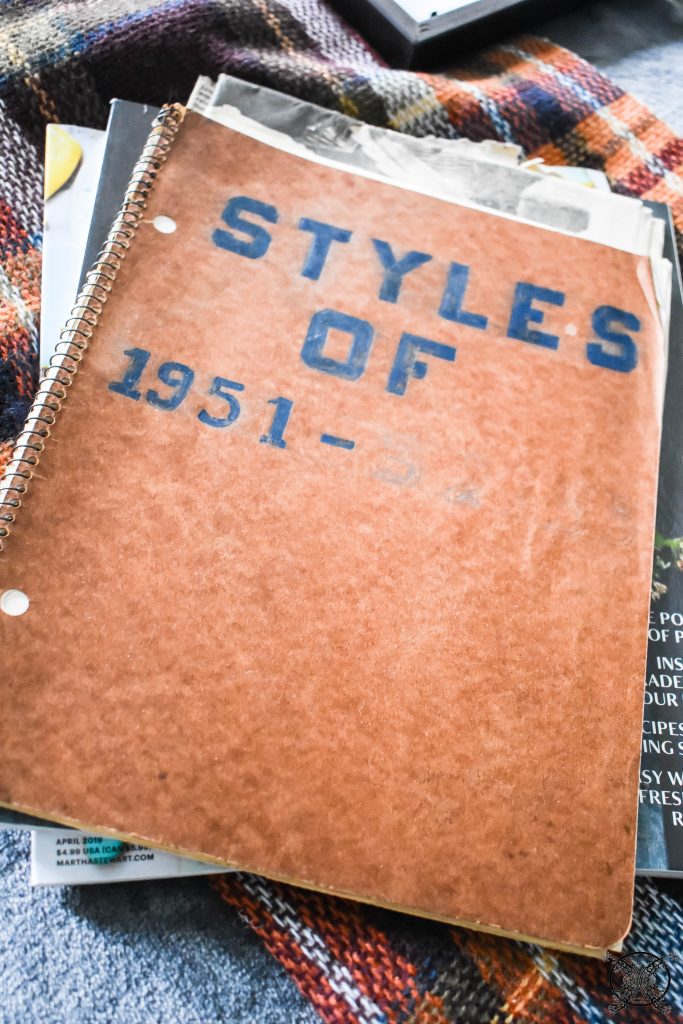 I recently came across my mother’s old sketch pad, circa 1951 by the dated drawings. My late mother, had a hidden talent for drawing and this sketch pad contained some very early drawings that she produced during her high school years. Since the sketches are from the the 1950’s a lot of her sketches were based on fashion during that time.
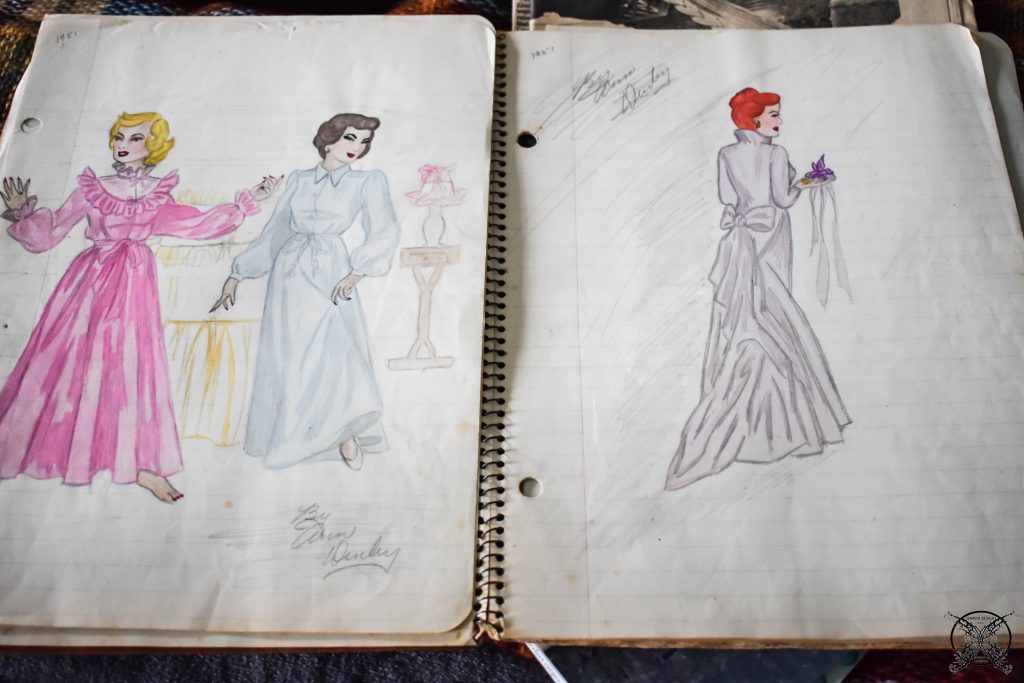 I just knew that these beautiful early pieces, on basic notebook paper, needed to be framed and preservation was of the utmost importance to me. I was very lucky to be able to commission custom frame sizes and mattes from my friends up at Art to Frames. The ordering process is super simple and stream lined with Art to Frames. You can basically measure your art or print size and design from there. They do all the figuring for the mat boards and the finished frame size.
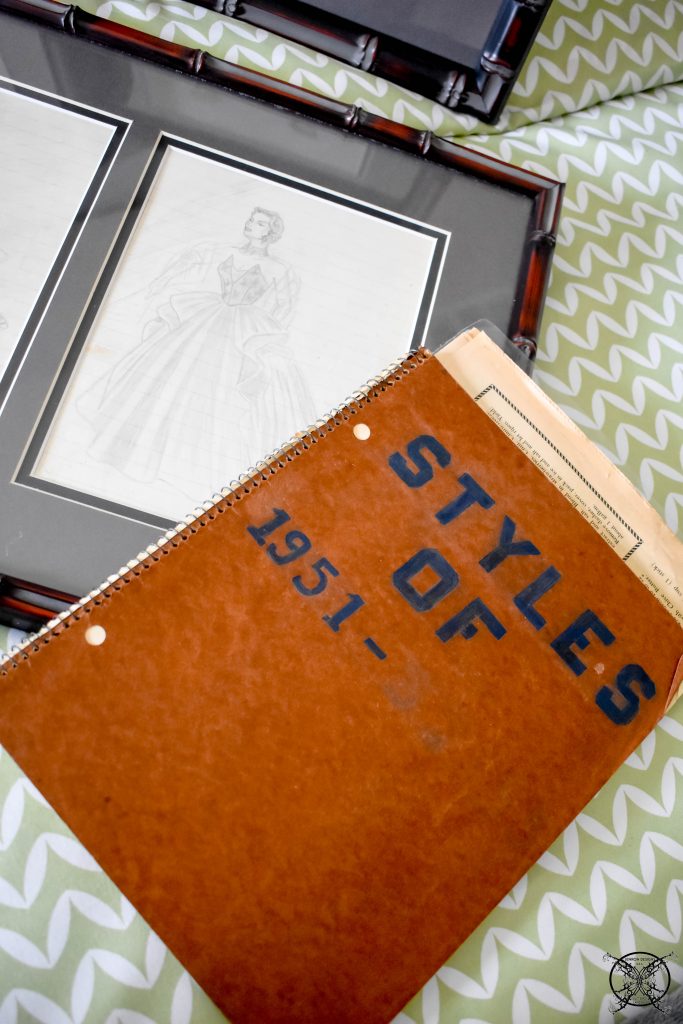 I selected preservation quality mats and protective UV blocking glass for all the of these frames. Art to Frames offer over 300 frame choices with styles ranging from modern to rustic and everything in between, so you can find everything you are looking for at one site. They also offer quality products with over 60 mat colors, all with PH Neutral or Acid-Free and custom cuts like V-Groove and Fancy corner shape mats; which give your finished product a one of a kind custom look.
 I picked some really pretty Dark Walnut Bamboo Frames. Since these are going in my master closet I went with the dark walnut bamboo frame, to match my existing built in shelves and cabinets. They have a lovely red cherry wood undertones so they would also look get with any cherry wood accents as well.
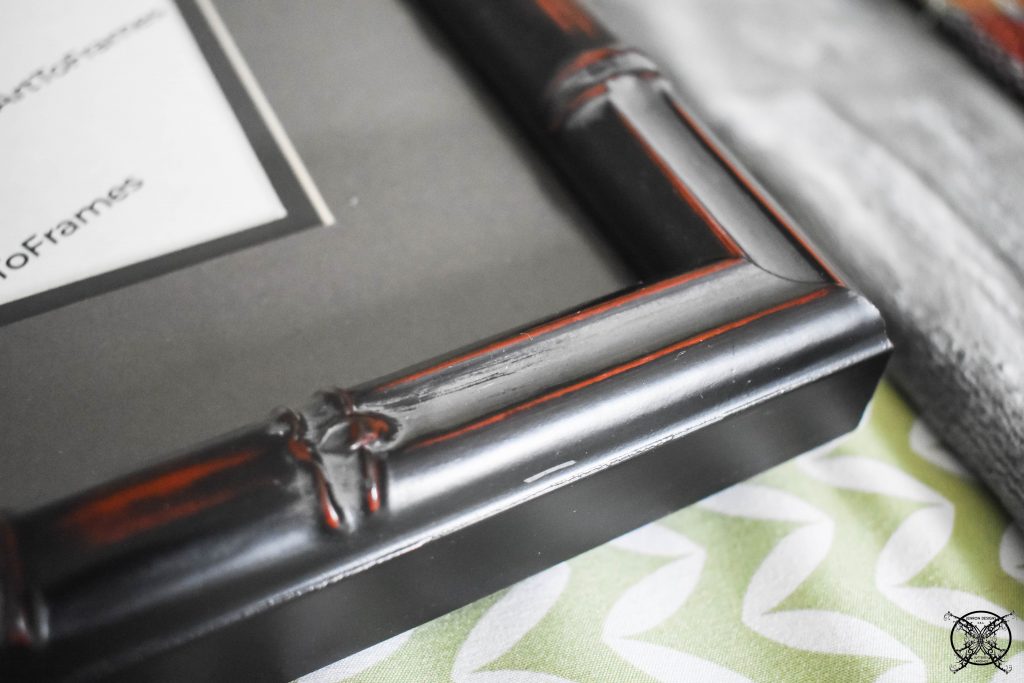 Today I am going to show the installation of these frames using the the easy hang kits included with my order. They really did make the hanging process super simple and very quick.
 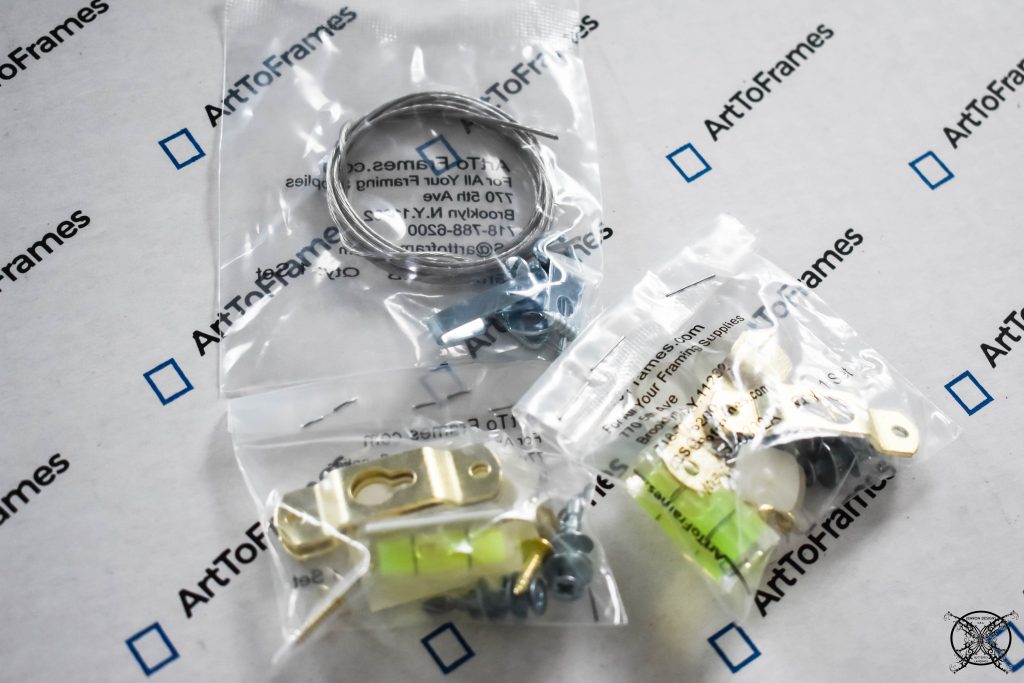 Art To Frames include an attachable level so your picture always ends up being straight, which is preferable, so you get the right installation every time.
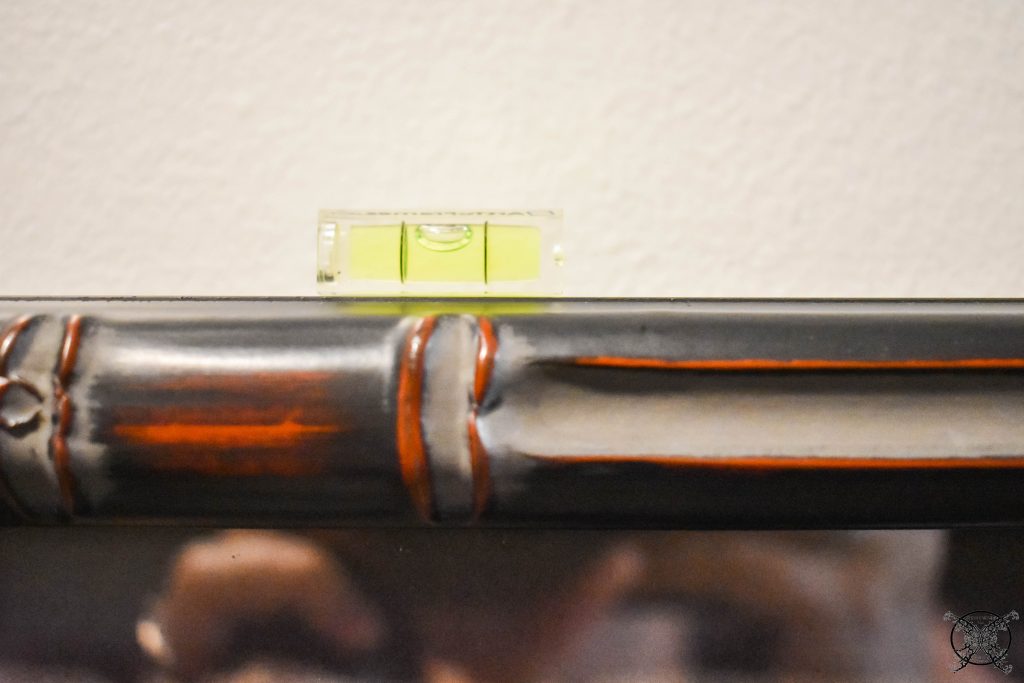 Okay so the first step on the easy install is attaching the hanging bracket to your frame. Since Ron knows I am super picky about how my artwork is hung and getting it straight, he made sure to measure the location of each bracket.
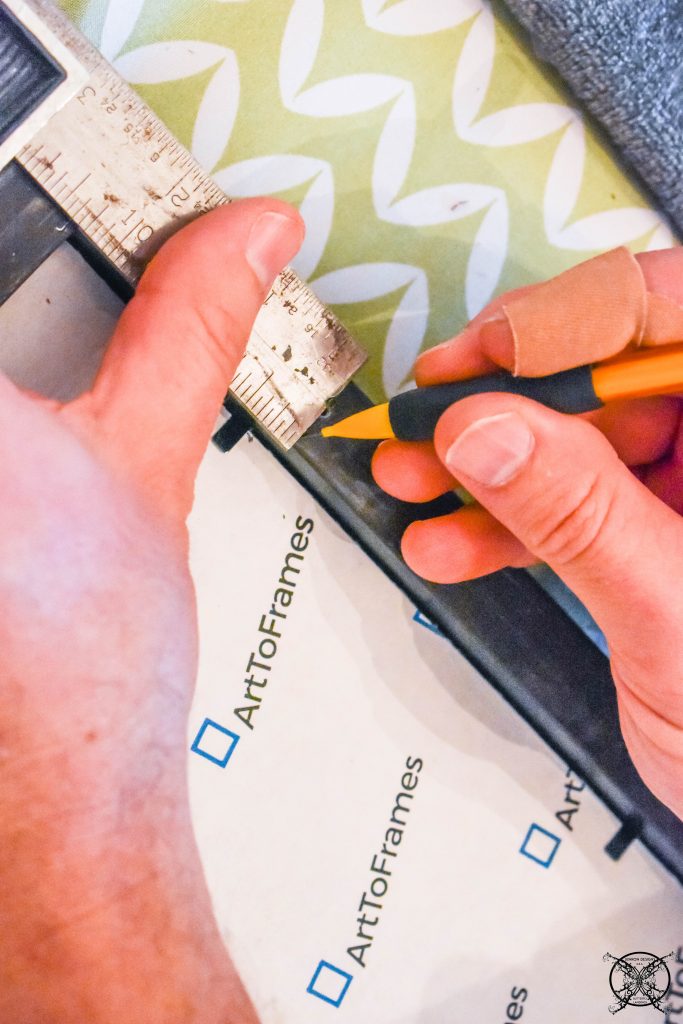 Then the self tapping screws were used to attach the brackets. The kit even comes with bumpers or skid pads to keep the frame form marking up your wall and from wobbling from side to side after the installation.
 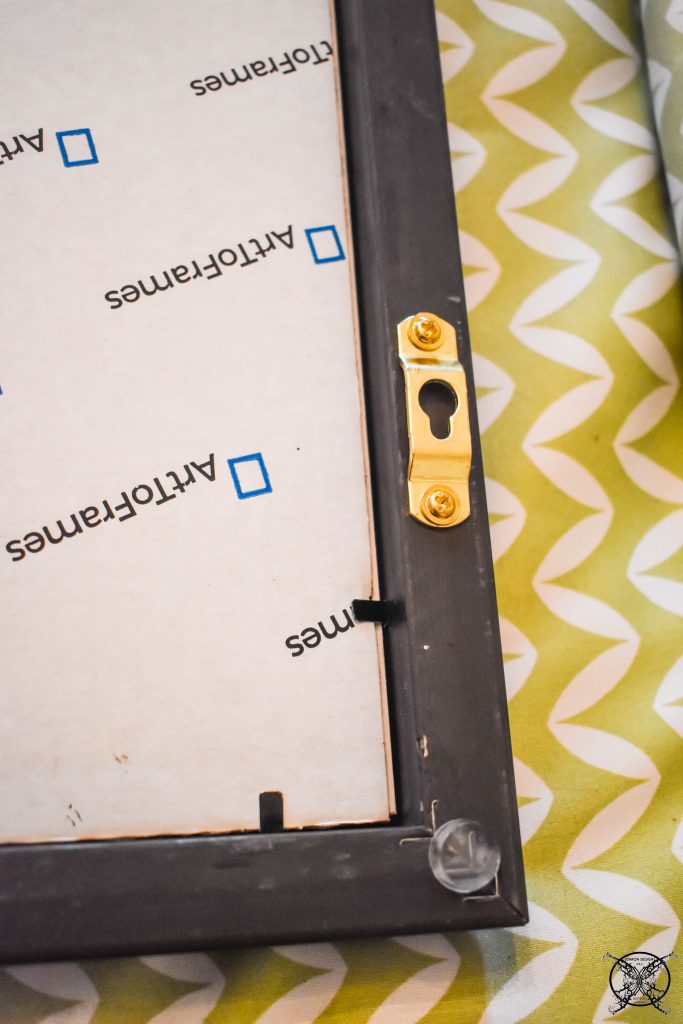 Next you insert the plastic marking guides into the brackets. Then find your location, check to make sure your frame is level and pressed into the wall. You see below how the marking guides are attached to the brackets and we marked the wall.
 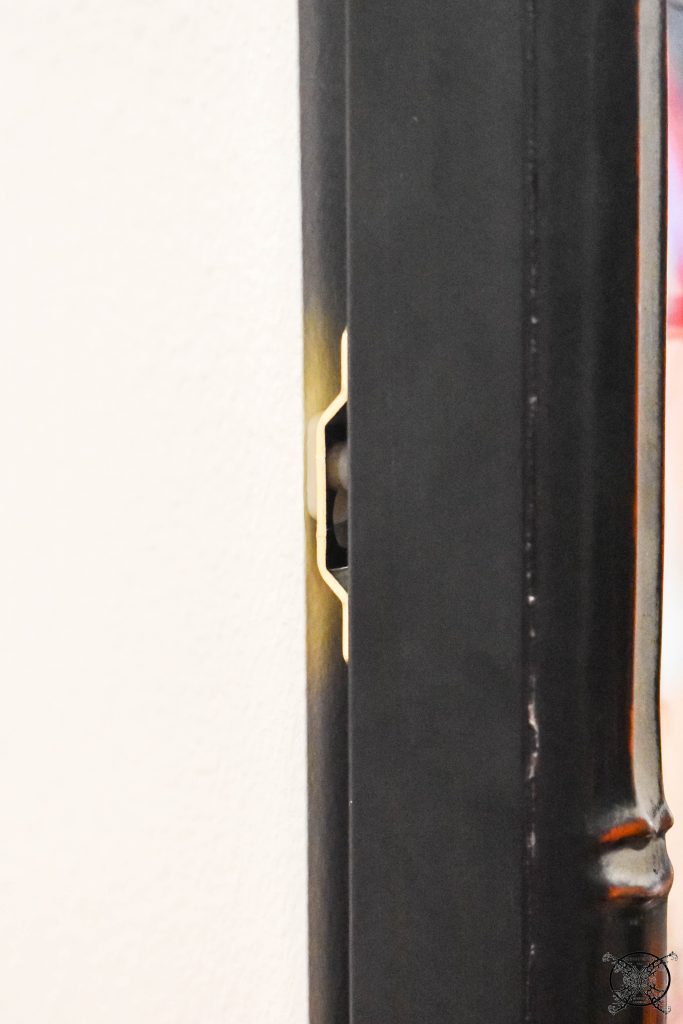 The marking guides leave a small indention which is the location you will add the self tapping anchors.
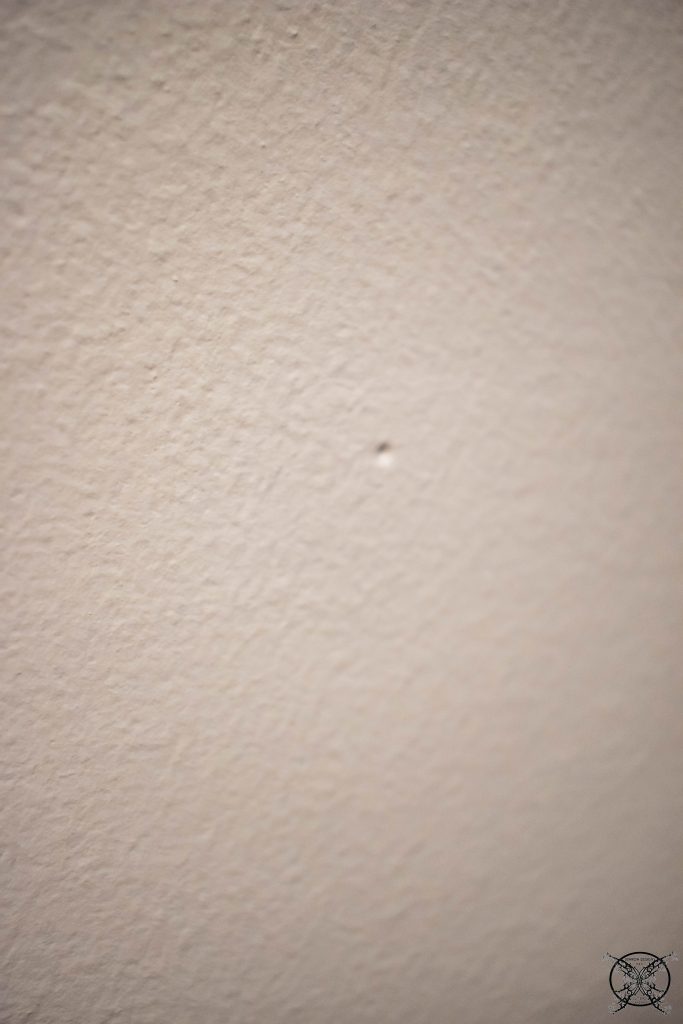 Then you simply screw your anchors into the wall and hang your frame on to the perfectly adjusted screw height in the anchor.
  It is a no fail picture hanging process, where they are always level, and exactly where you want them. No adjusting wire, or picture hanging hooks.
 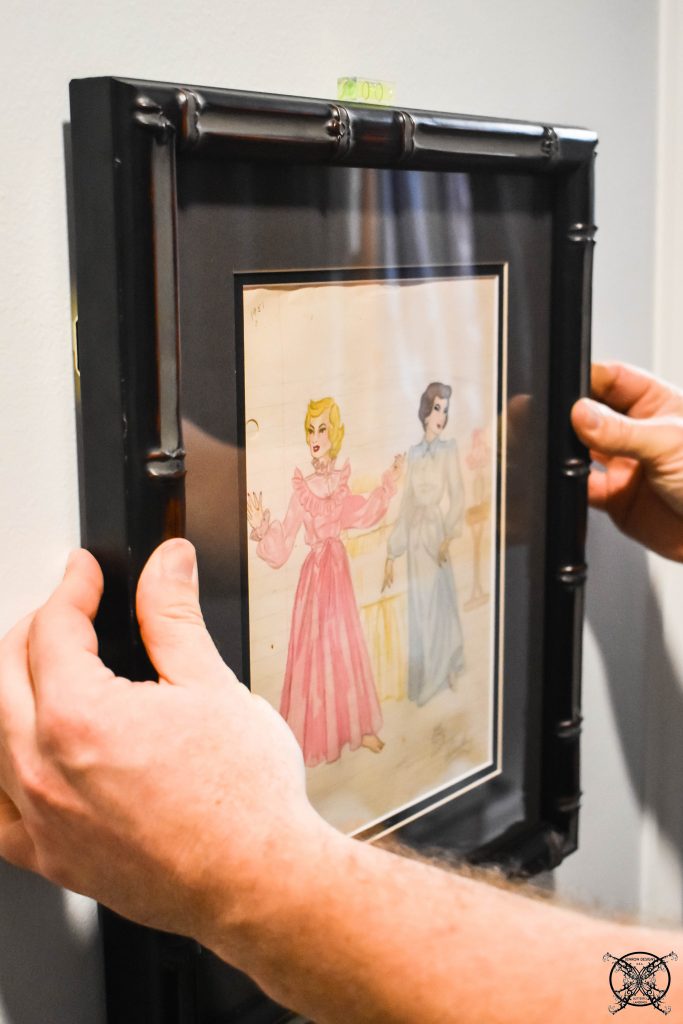 The best part is they are so sturdy, so you have no worries if you are hanging valuable art in a high traffic area, where they could be easily knocked off the wall. These frames will stay put where you installed them.
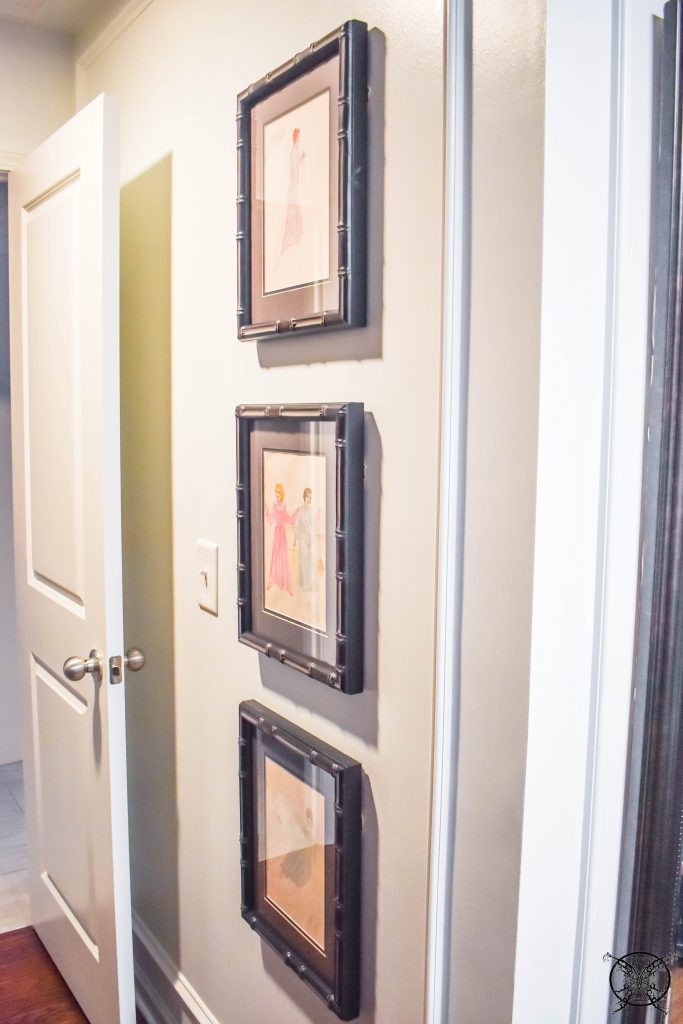 Now my mom’s beautiful art will be something I can enjoy everyday. Even though it is not out in a public area of my home these pieces will always be enjoyed by me instead of being stored away in the a cedar chest never to be seen.
  Well we still have a little more work to do before the final reveal next week, but all in all, I think we got the to do list knocked out.
THE PROPOSED SCHEDULE:
WEEK 1: Introduction, Inspiration Board, Ordering and Procurement of Supplies
WEEK 2: Build a Custom Sized Window Cornice
WEEK 3: TRIM- DIY Wainscot Panels
WEEK 4: PAINT – Paint Room, add new Light Fixtures
WEEK 5: ELECTRICAL- Sort & Organize all clothing, Add new Elfa fixtures, Add decorative features
WEEK 6: FINAL REVEAL
Love the jewelry organizer! Thanks for sharing!
It’s looking good Jen! Can’t wait to see the final reveal. Have a great last week.
Those drawings are so special. What a great way to use them. I can’t wait to see the reveal Jen ❤️
I’m so inspired to get my master closet done! And love those photos…vintage prints are the best. Looking so good. Excited for Week 6….
Awww… that’s an extra special touch added to your bedroom makeover…I love that added appeal. Looking forward to the reveal
Love the beautiful frames!
The drawings are so beautiful and such a special way to preserve them
I hate to clean but I LOVEEEE to organize! I can’t wait until we move so I can organize every single room.
I love organizing so much!! I did my pantry last week feels so nice. your drawing are beyond stunning
Whatever I do, I always end up messing my drawers 🙂 But if I had such great organised drawers, I’m sure that I would be more careful. Guess I should take one step at a time to get to this point. Thanks for the tips.
Looking forward to the big reveal! I love seeing before and after organzational pics. I would love for someone to come organize my closet.
MY closet can get messy and chaotic quickly. I like the idea of always having a donation bin in there. I am SO guilty of putting something on and being like “meh” and putting it back on the hanger.
OMG this is brilliant! It makes me want to organize my closet too
I have separation anxiety and i really have to work on disposing my old stuff that i havent used for quite some time.
I really need to start organizing my closets and drawers like this!