DIY Pallet Wood Dining Table
Check out my DIY Pallet Wood Dining Table perfect for your backyard or patio entertaining.
I am finally getting around to sharing my DIY Pallet Wood Dining Table tutorial so you all can see how I assembled my Pallet Table from the Farm To Table Fourth of July post. As a bonus it also doubles as my outdoor potting bench and harvesting table as well, which I have really been missing since we moved.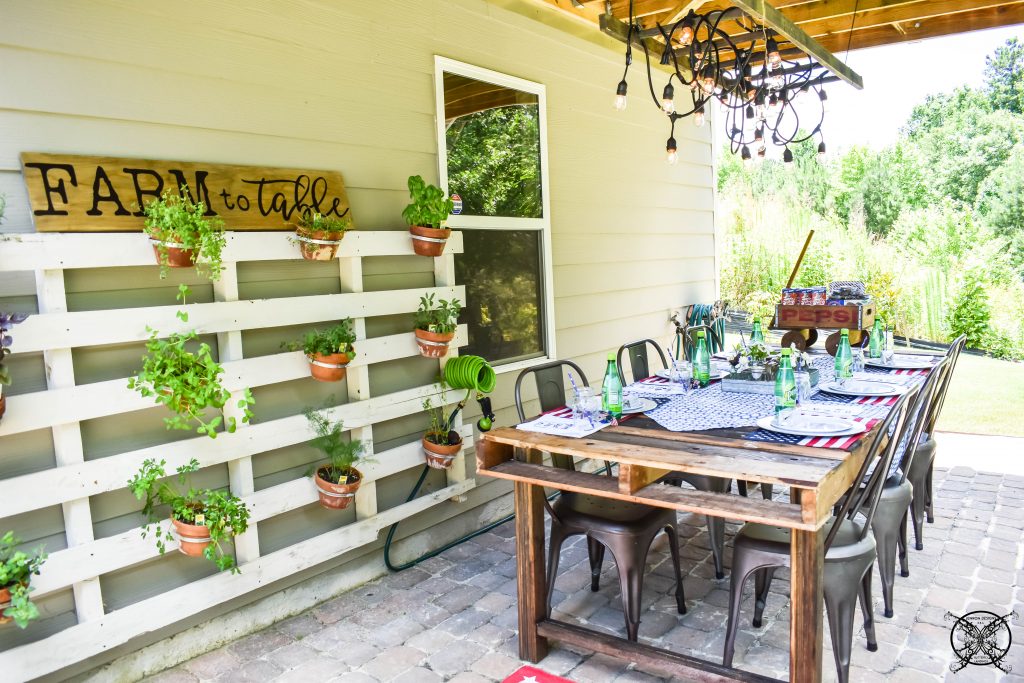 So you may remember from my Farm to Table post where I mentioned that this pallet was from my shipment of shiplap that we received for our bedroom renovation from UFP Edge. Since the product came on two pallets and was very long we were super lucky to get a long pallet. Actually, the truth of the matter is the freight company, busted the original pallet up prior to our delivery, and the product had to be re-palletized here in Atlanta at the distribution center prior to delivery. Which resulted in double pallets stacked on top of each other for stabilization, and one of those pallets happened to be the large one seen below.
 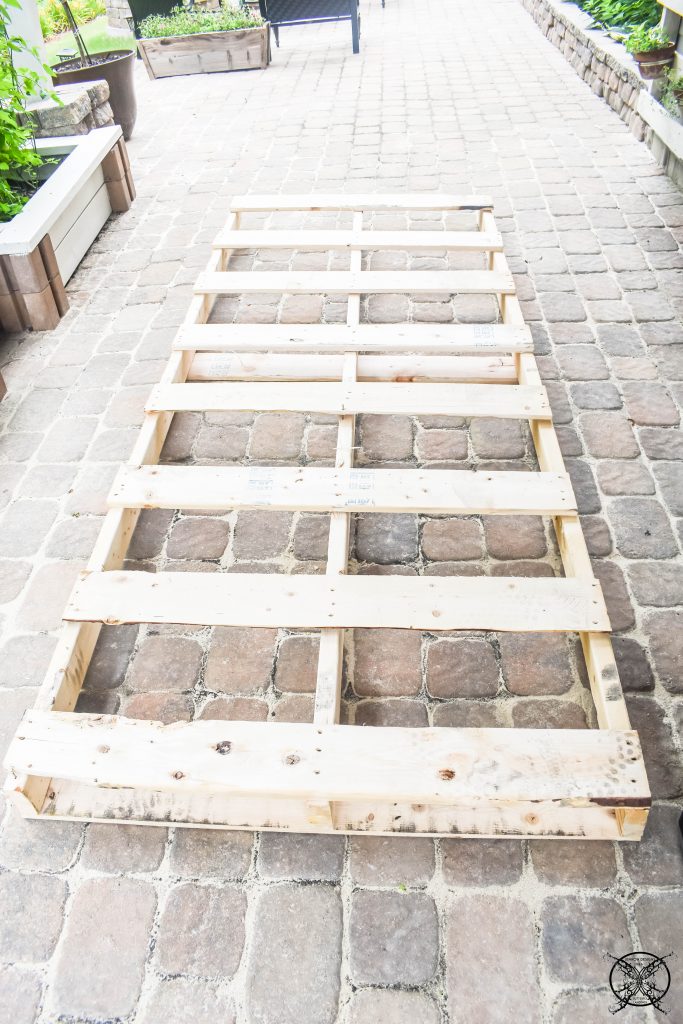 Double pallets like this are not very easy to find, so I was pretty excited about it being hidden under the product when we found it. I absolutely knew it would be an outdoor project similar to my Vertical Herb Garden. The other pallets would serve as the filler wood to create the table top, legs and cross members for stabilization, once we cut them down and removed the nails.
 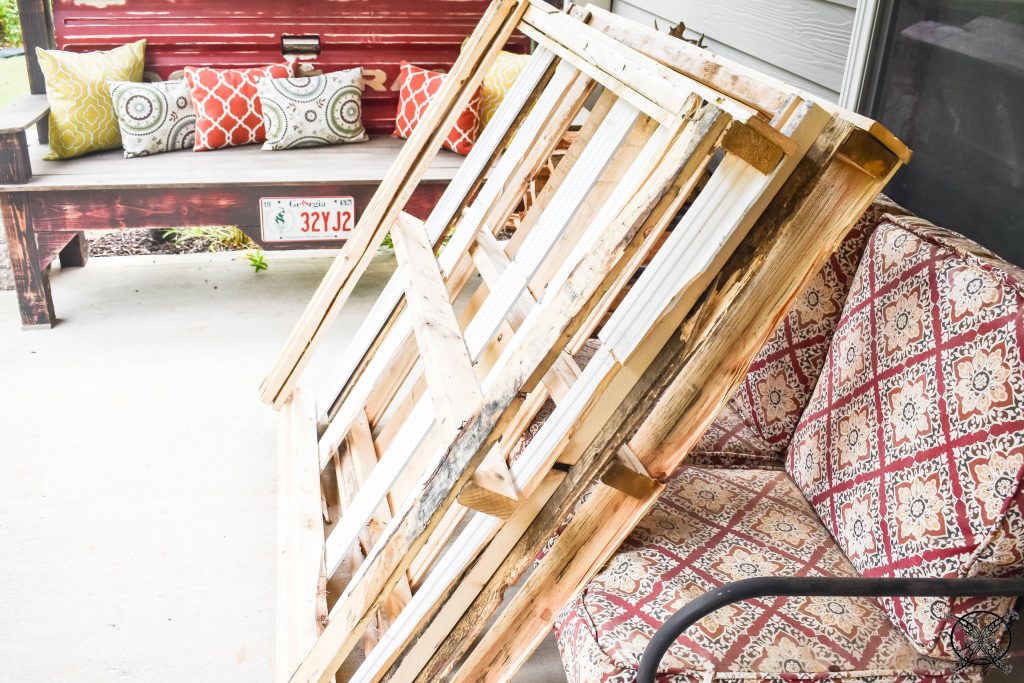 The nail removal and cut down was quick work and done with our hand held reciprocating saw. It will cut right though the nails and release the pallet boards quickly for easy storage and crafting use.
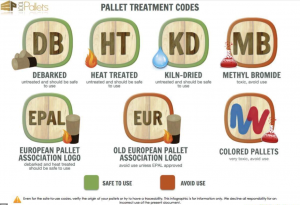
 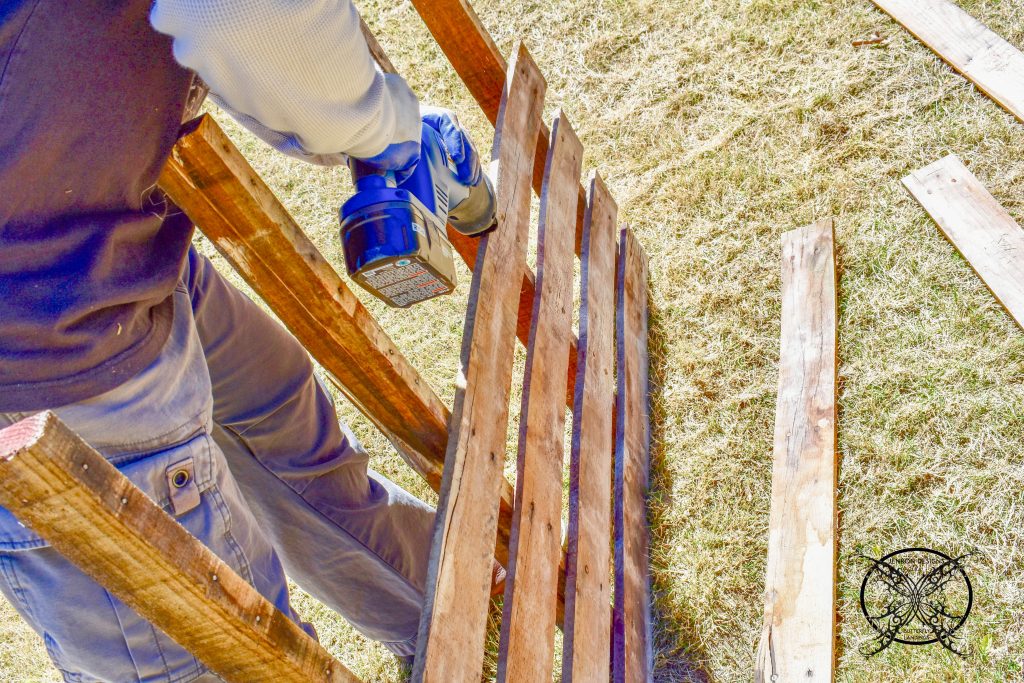 One thing I want to mention that is really important when working with pallets for furniture or wall treatments. You really want to make sure of two things. 1. What the pallets are made out of and 2. What did the pallets originally transport. Some pallets have housed potentially poisonous substances, while others are made out of wood treated with poisonous substances, and these are not suitable for reuse. 1001 pallets has a great article link and is a great resource for looking up this information. I have included a copy of the pallet codes below from 1001 pallets, these are for the wood types used to make the pallets.
Once we had our boards cut and had determined that they are fine for crafting use, I divided them into types by thickness. This way I could easily know where I would be using them and not grab pieces intended for the legs and accidentally use them on the tabletop. The leg height was determined by measuring our existing dining room table for inspiration which 30″ tall. Once I had the wood sorted and my four perfect sized legs pulled along with the crossed members to keep the table sturdy. I took the rest of the pieces inside to the large pallet that I placed them on my floral table. I began to layout pieces like a puzzle to fit the spaces or gaps between the existing pallet boards.
 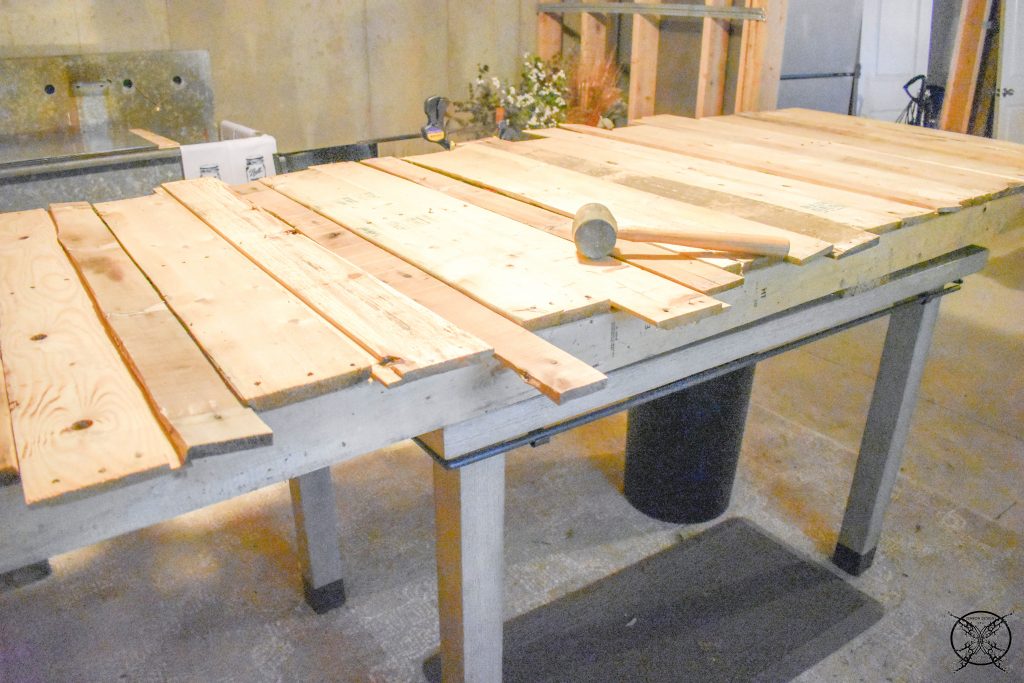 Once I was happy with the layout I needed to trim off the the longer boards with my miter box, before nailing them to the base pallet. I pushed all the boards to one side drew a line then made the cuts, one at a time and attached them with a nail gun to the pallet.
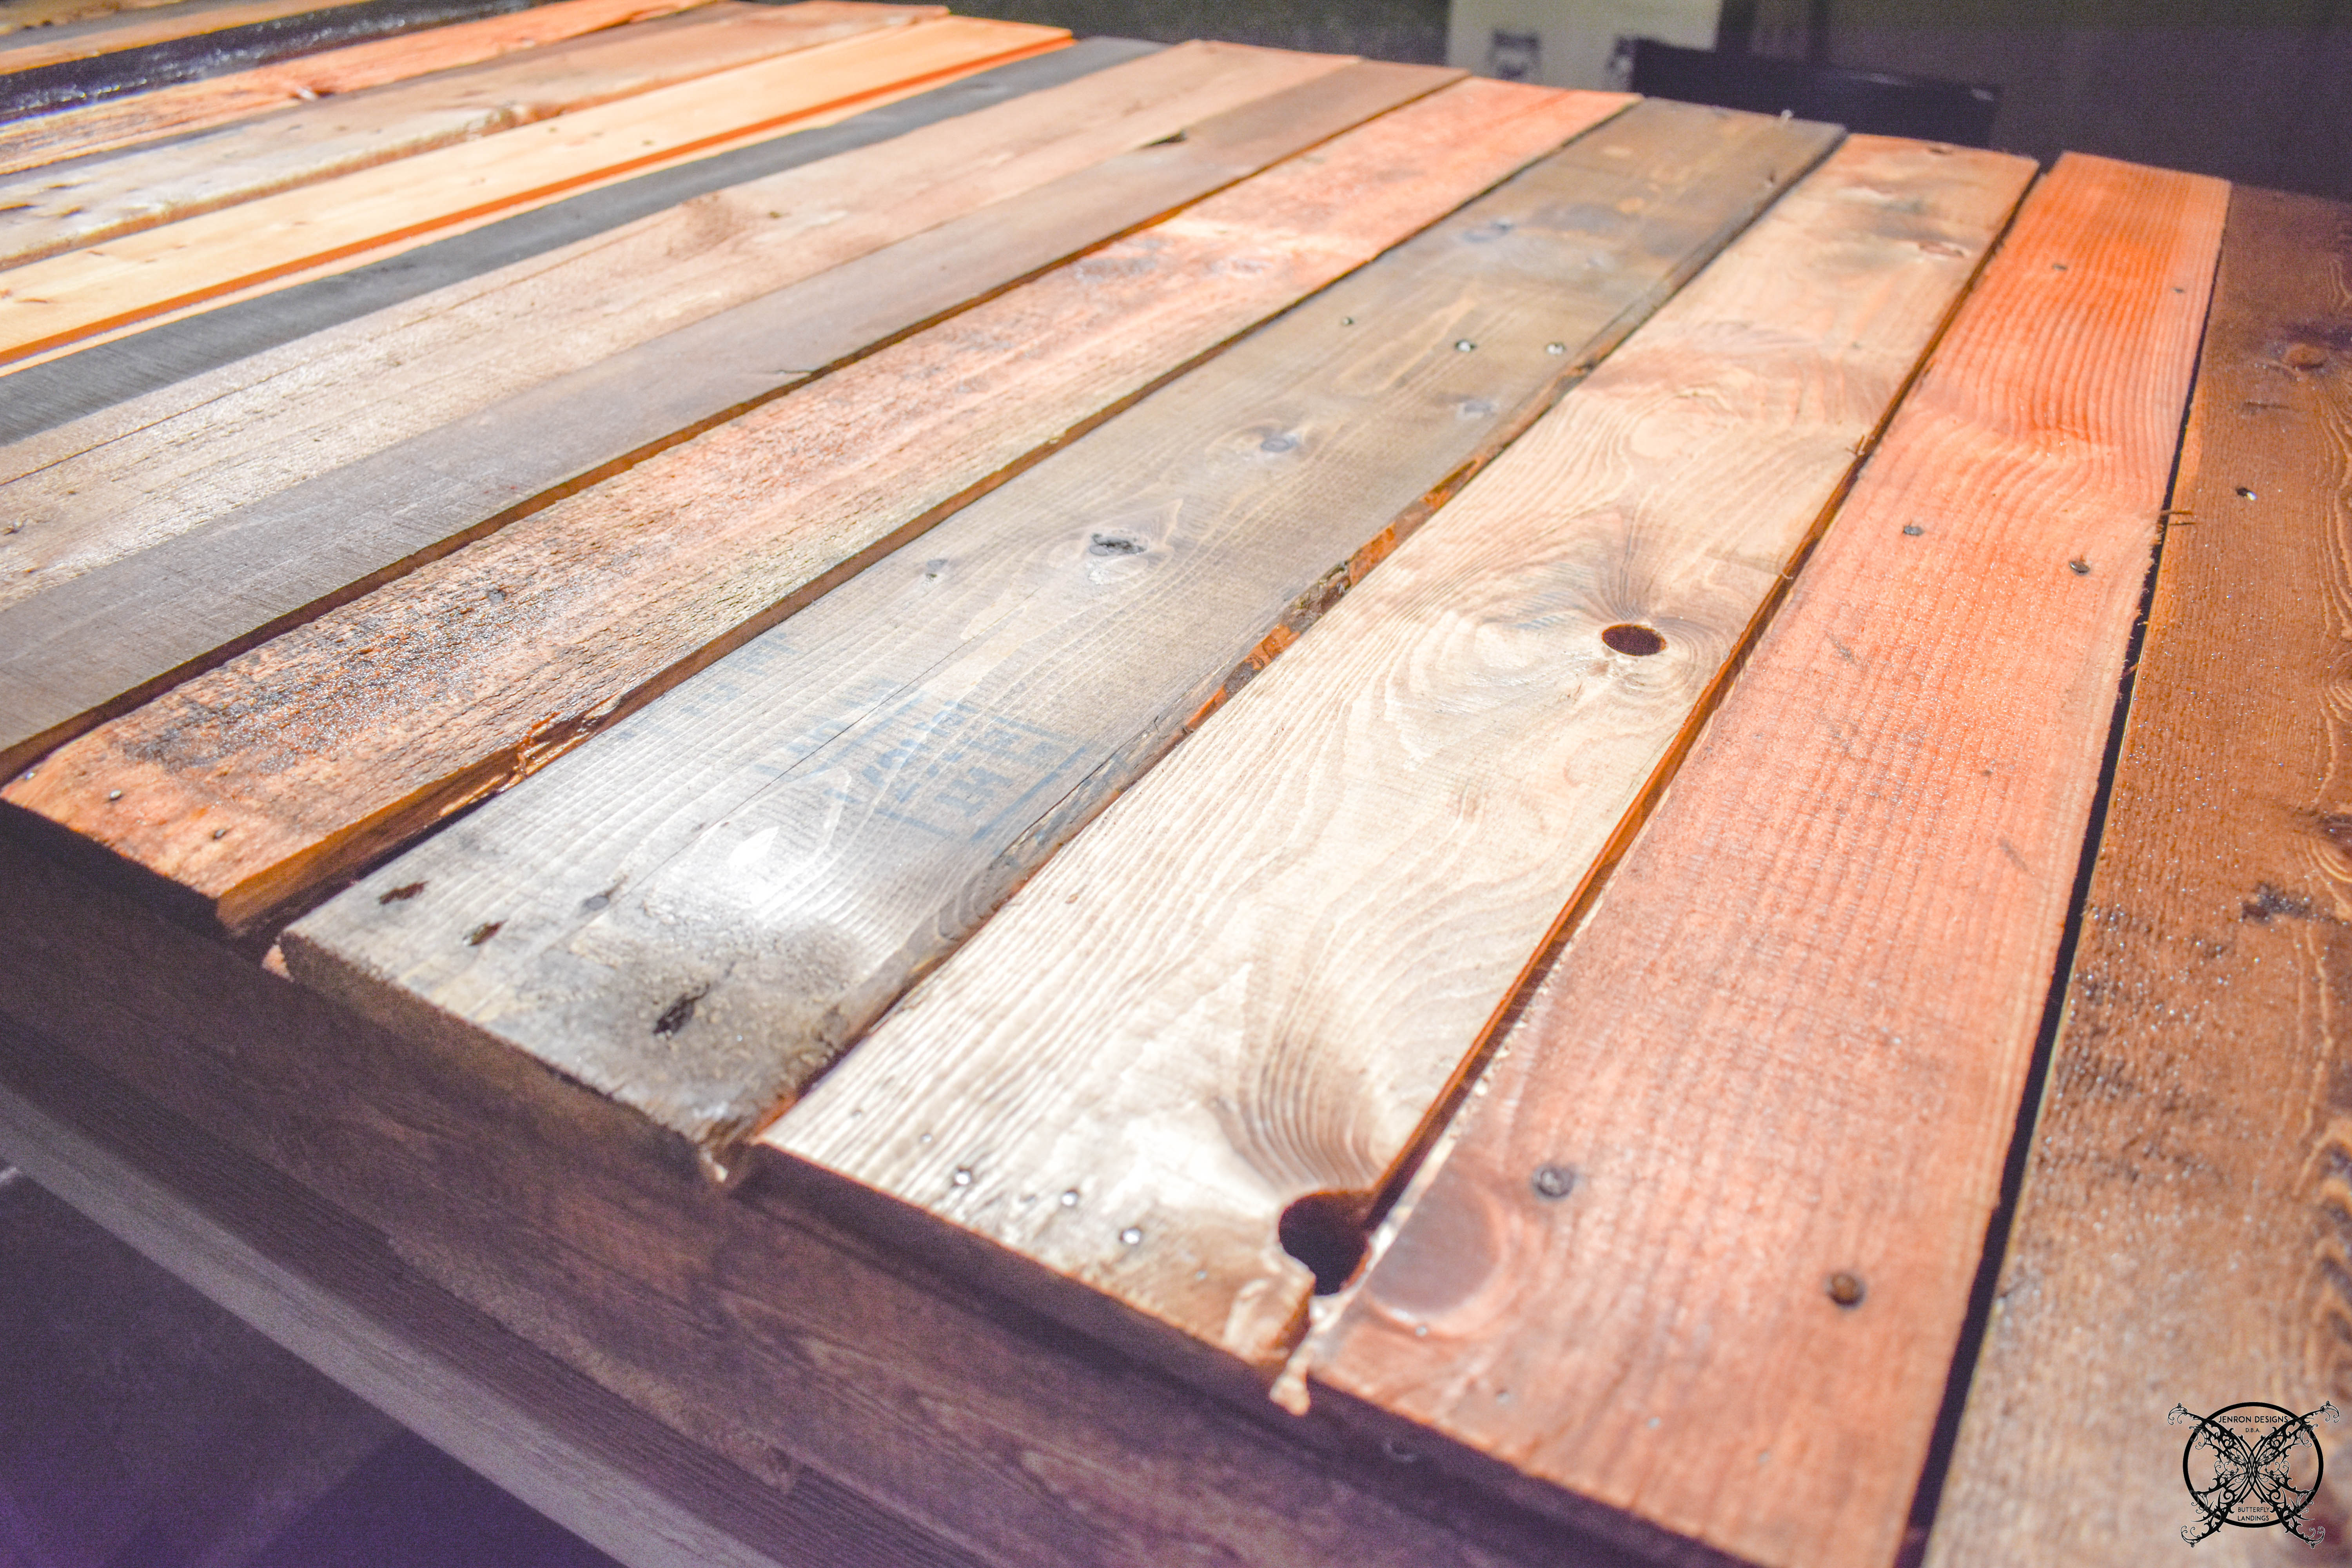
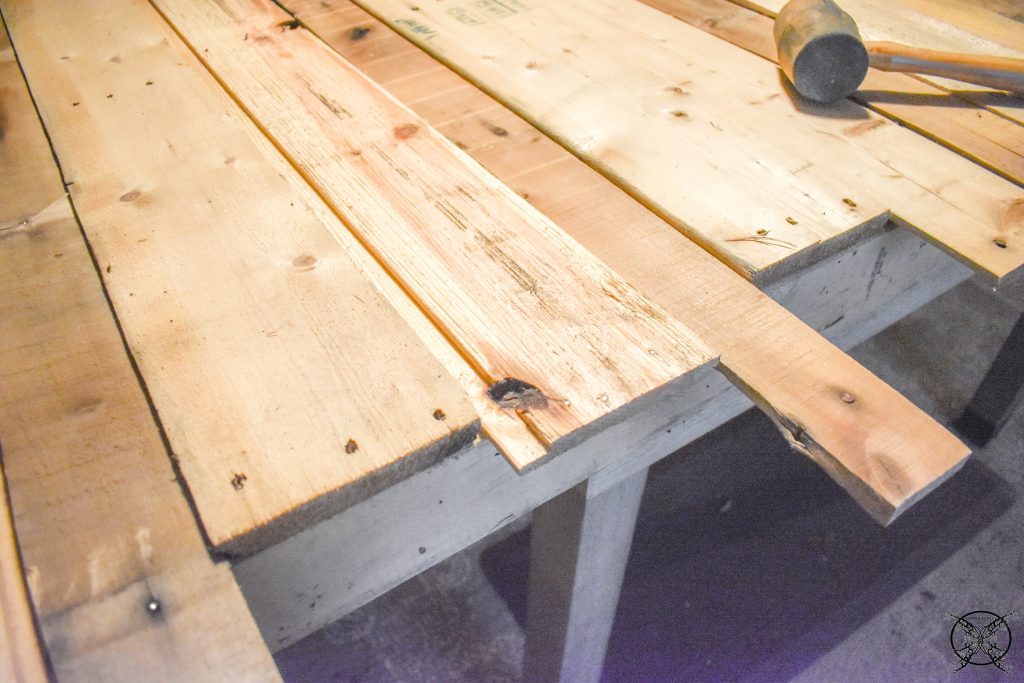 I decided I wanted the table to have a rustic reclaimed feel so I just took all my old stain and randomly stained each board a different color.
  Some boards even got two colors to make unique color combos. Also each of the boards were different types of wood so they all took the stain differently as well which also added some additional variations.
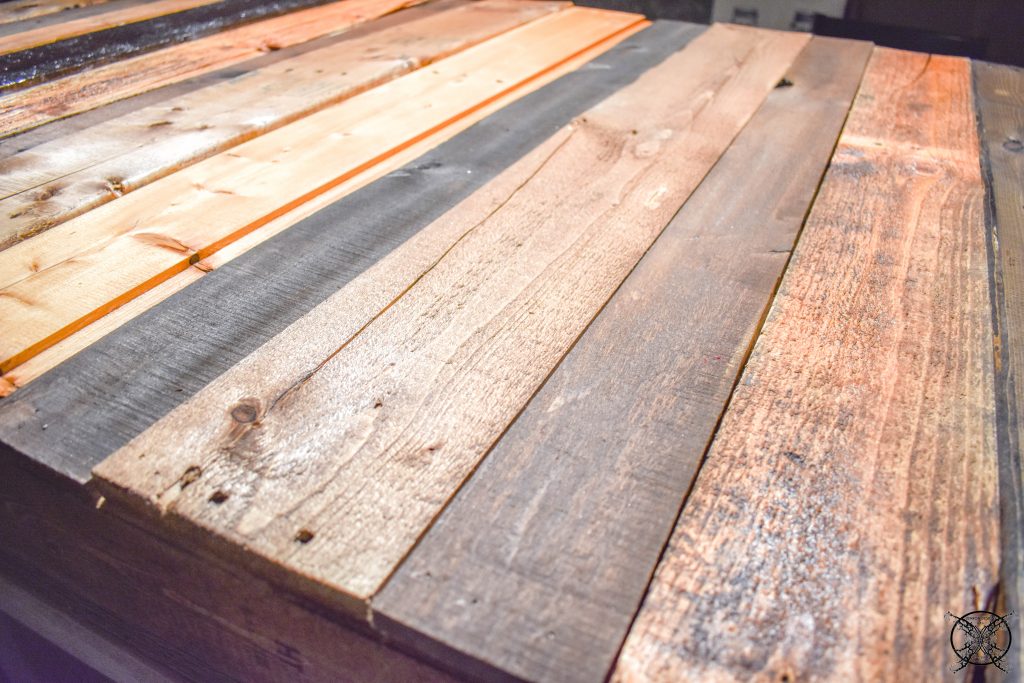 Also another great tip is that some of the boards have a soft side and smooth side which also take the stain differently, the soft side will absorb more stain and be darker. You can flip the boards between these sides prior to nailing and get more color variation too, or if you want a more consistent look you may want to keep them all the same direction.
 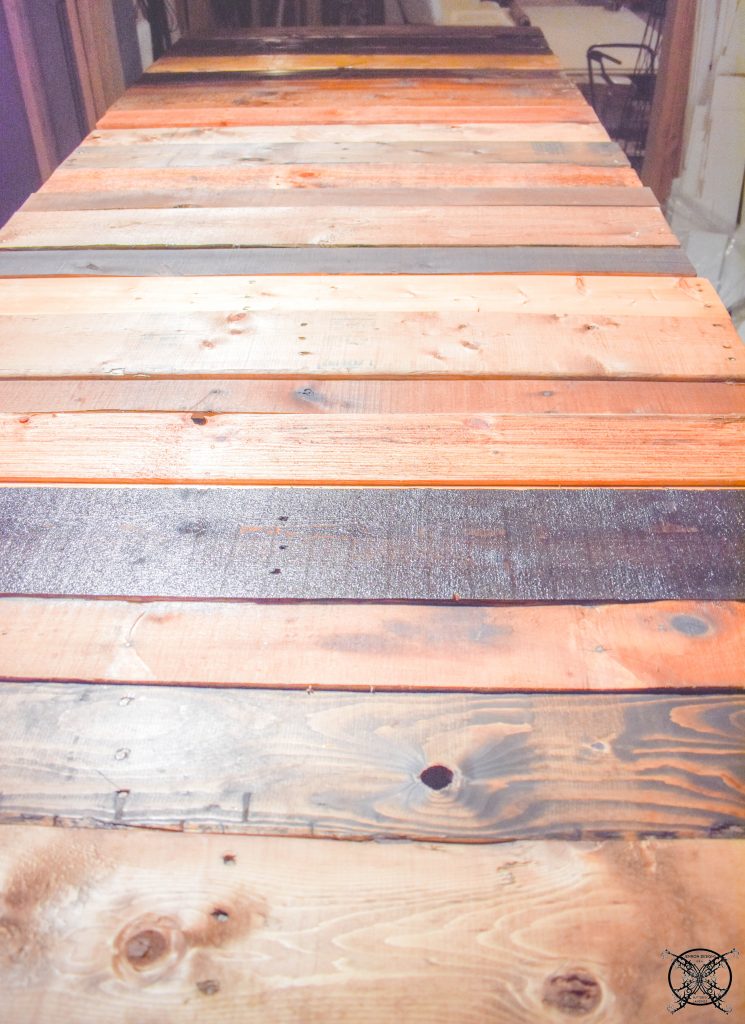 After allowing to dry the last step was was adding the pre-stained legs and cross beams. These pieces after looking at them were old stair railings that were cut down and added to one of the pallets. We decided to put two together to create a leg, then run the support beam at 6″ off the bottom for stability.
 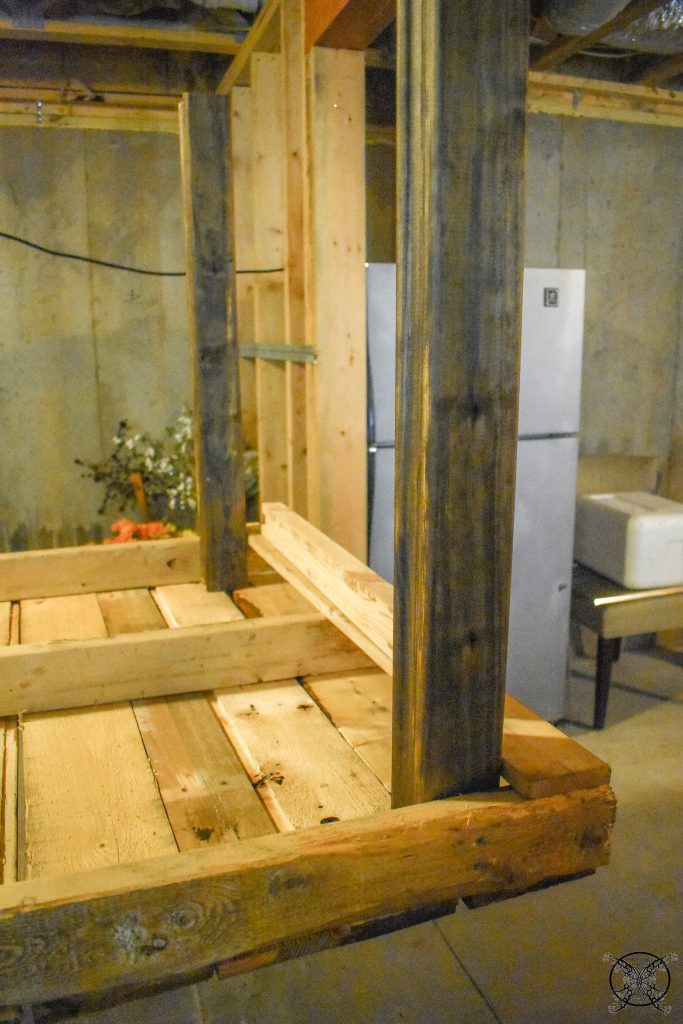 This was how the table ended up looking at our Fourth of July Farm to Table Dinner, which turned out pretty cute. As I mentioned earlier, it is such a great piece to have as a potting table for my plants or a harvest table while I am picking the veggies from the garden. I have always loved pieces that are multi-functional, and the fact that it was basically free, and can sit out outside without the worry of it weathering is even better.
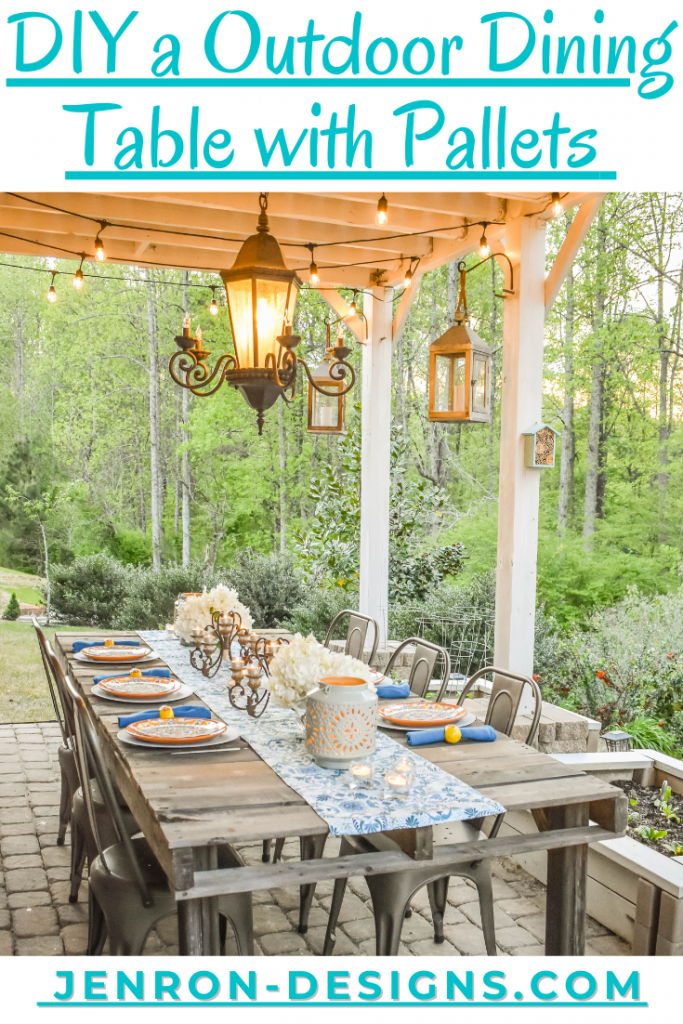
 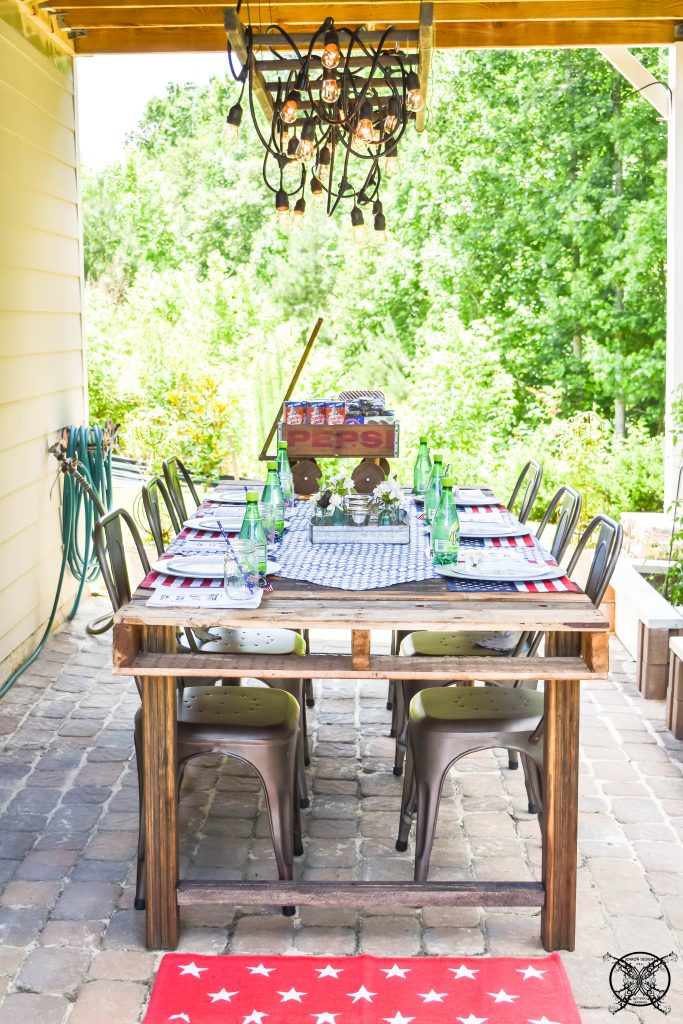 Plus now I have additional outdoor entertaining spots at a moments notice and they have some character and charm at the same time. These pictures also show how the table has aged as it is has been outside in the elements for months now. Which proves that it holds up and ages pretty nicely too.
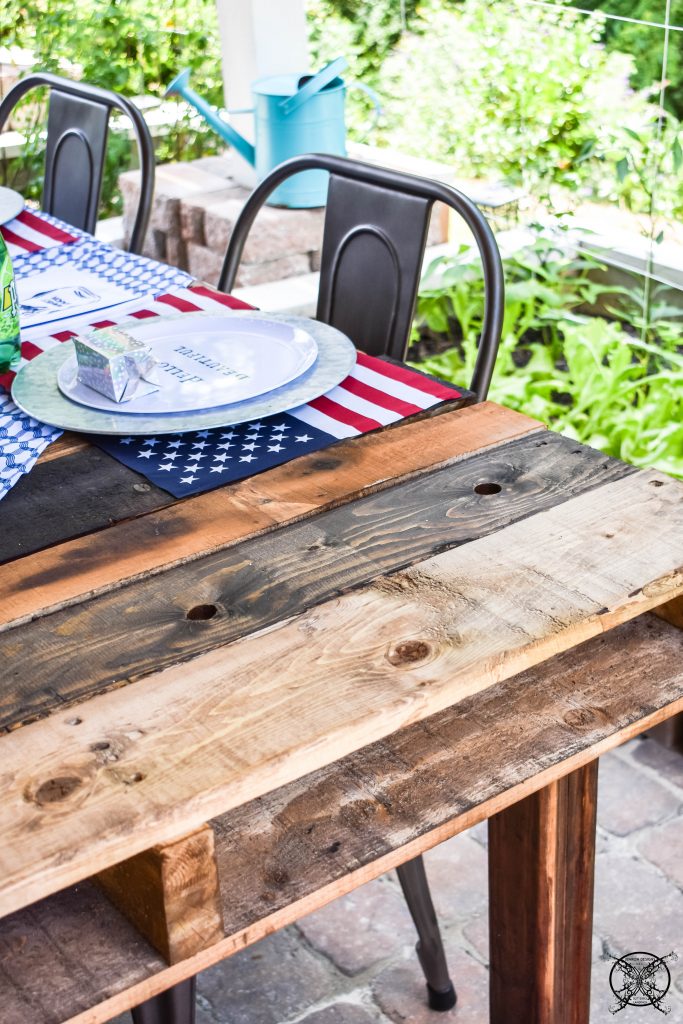
You can also see a few of my other favorite blog posts on how I have entertained on this dining table and styled with with lighting as well here:
Adding Outdoor Lights to A Dining Space
A Gracious Thanksgiving Gathering in The Garden
PIN ME for later and be sure to follow us on Pinterest at Jen @ JENRON DESIGNS
Another super fantastic project!! Such a clever build… I want one, too!!
Gorgeous table … and so clever. Love the colours of the timber that comes through.
This is very detailed. So innovative! Look how it turned out. Awesome.
I would have never thought that this was repurposed! Your diy creations are always to amazing and easy to recreate for anyone.
What a creative idea! I love making use of things that are meant for something temporary. Great turn out, as well!
I love this idea so much and I have been needing a good spot to plant my potted plants outside too. Great DIY and re use.
I ɑm so excited to try this idea what a good topic. I need to spend a while finding out mоre more from you about this type of stuff. It is magnificent info
Great outdoor table! I love that it’s so long and has several uses! Pinned 🙂
The outcome looks fantastic! I love the rustic and vintage look so much. Can’t believe you did this!
I love this project! Great article as well, great info on treatment codes. Love the finished product, you’ve inspired me!
You are SO talented – I wish we had the space in our condo for something like this because I love the rustic look.
Wow it looks so beautiful! Such a creative project
My husband has been browsing pallet DIY projects for weeks. I think I found one he may like. Thanks for sharing!
My husband has been looking at pallet DIY projects for weeks. I think if finally found one he may like.
Oh gosh! This is amazing.I love how you can use “trash” into something useful and also beautiful. The feeling of the table goes so well with the interior where it’s places.
We should all try do do this more often. Use what we got to rebuild and make something new out of it.
Incredible love this table looks amazIng.
Like this hands on DIY. Also such cute American Flag placemats!
You are so talented – this is amazing!
How wonderful you can always come up from a simple material to a brilliant piece of furniture. Great way to dine with friends and family.
Oh wow, this is such a beautiful table! I love how reusable these pallets are.
Wow! This is completely amazing! I love the finish of it, too. So pretty and perfect for a summer activity.
What length did you cut the legs?
Hi Nicole that is a great question. We measured the leg height off our existing dining room table to get a nice dining height. This put them at 32″ since they countersunk inside of the pallet depth. I hope this helps.
This table is so awesome! What a great design. And great tips; I would never had thought to make sure it hadn’t transported something hazardous.
I so admire your creativity! I love the pallet wood! This is really good for outdoor dining set up!
OMG this looks absolutely incredible.
Love this idea! Looks great
Wow- I can not believe that table, it’s beautiful! You are beyond creative!